Hello everyone and welcome to my first ever painting tutorial on my
DKOK, this was actually requested from a user to help them achieve a similar effect that i have got on my army, and so i hope this will help anyone else planning on a
DKOK squad or army.
So your tools for this job are very basic, a tub of water, a range of brushes. (fine detail brushes are best used through out the painting for this particular course.)
You will also need a black spray paint to base your models as this gets the best finish on the colours,
And, ofcourse, you will need your appropriate paints for your chosen scheme, In my case they are as follows:
Codex Grey
Fortress Grey
Scab Red
Blood Red
Blazing Orange
Chaos Black
Snakebite Leather
Dark Angels Green
Goblin Green
Skull White
Bleached Bone
Tanned Flesh
Dwarf flesh
Bestial Brown
Graveyard Earth
Shining Gold
And finally Boltgun metal
NOTE: If you do not use
GW paints as standard find their equivilent colours for the above names
So we shall begin, Presuming you have followed the corect prcedures of cleaning resin models of their horid oil like substance, and sorted out any modelling issues like warping air holes etc, we can begin painting !
NOTE: Do not assemble your models until all painting has been finished as you can get alot more detail on these models.
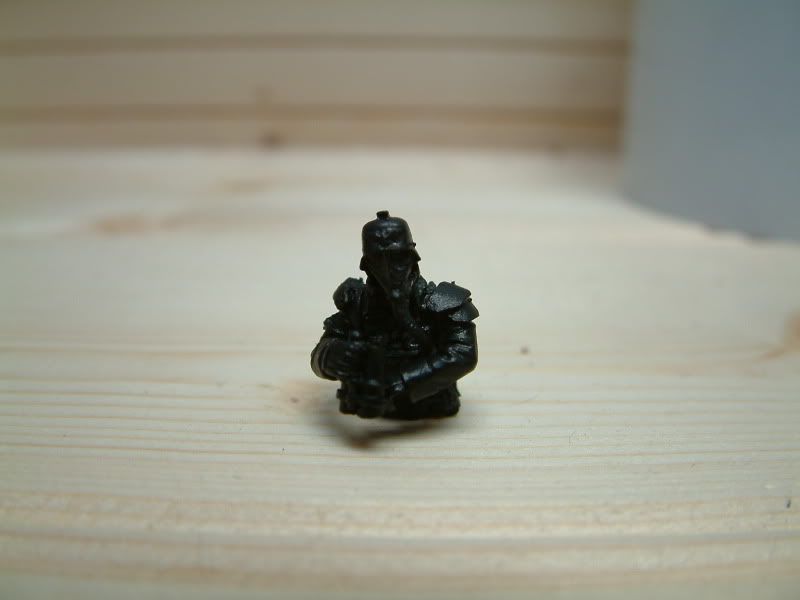
1: Spray paint your models black for your base coat, Kepp the spray can at a reasonable distance of 15
cm from your model to make sure the beautiful detail on these models is not damaged in anyway.
So you have Sprayed your model and you should have something that looks something like this :
(please note this model was assembled for simplicity reasons and is not the model that will be painted in this tutorial, just to show how the model should look after spraying)
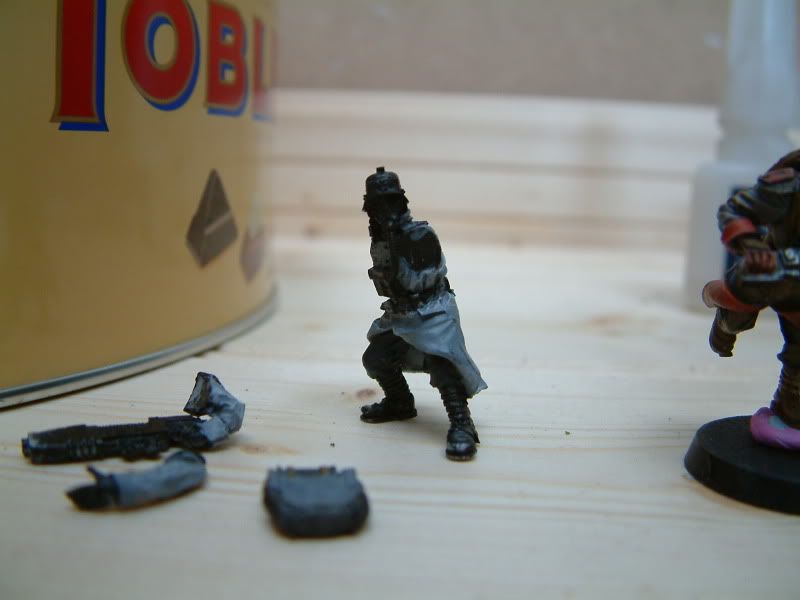
2: When the paint has dried, get your model and cover the coat with Codex Grey covering all the folds and so on, do this for the back pack, and the arms.
Also in this stage we can do the trowsers which is a 1:1 mix of Chaos Black and Codex Grey, and make sure to make plenty if your batch painting !
and now your model should look something like this :
2a: After this codex grey has dried, you can now add the highlights to the coat, on his arms etc. Grab your fine brush and carefully paint on the raised pieces of cloathing, if you make any mistakes just correct it with the appropiate colour. WARNING a very steady hand is required, but it is good practice.
Look to the above photos for and idea of how it should look.
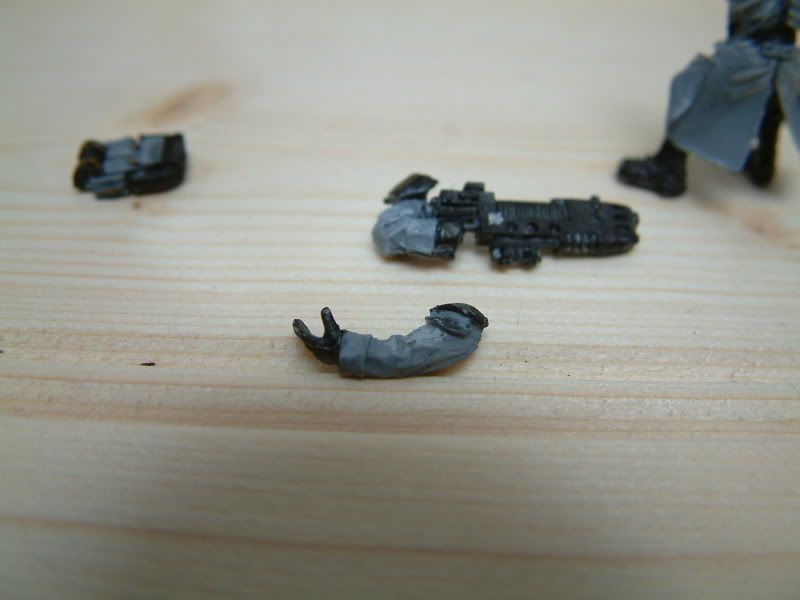
3: Ok so after all this lovely grey has dried we can now move onto the straps. Now before we start this, if you made any mistakes and covered any strap part with grey get a Quick dab of chaos black and paint over it to give a solid colour.
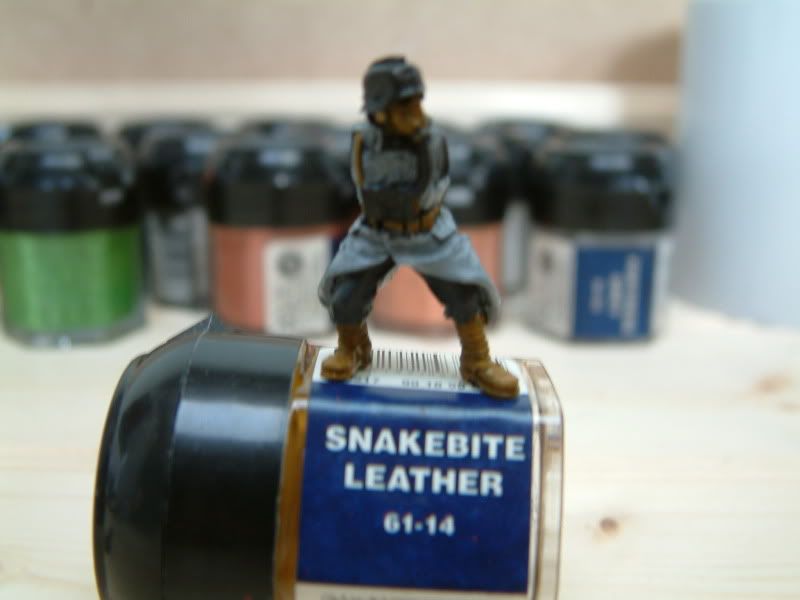
Now, Get your SnakeBite Leather and carefully apply this to the Belt, the Shoulder straps, The mask, and all of his boots. Also make sure the straps on the backpack are done too !
Also apply this the the square sections on the hands as shown in the pictures below.
Now your model should look something like this !
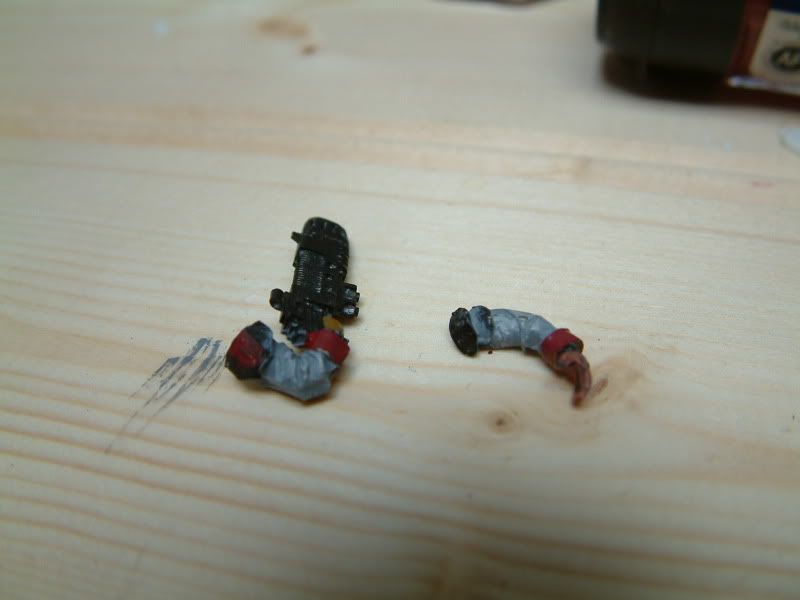
4: So now that all the Leather has dried up we can now move to the Red
NOTE: The red sections on this particuar model are because of his place in the command squad, normal infantry only get thier shoulder pieces done to represent army markings.
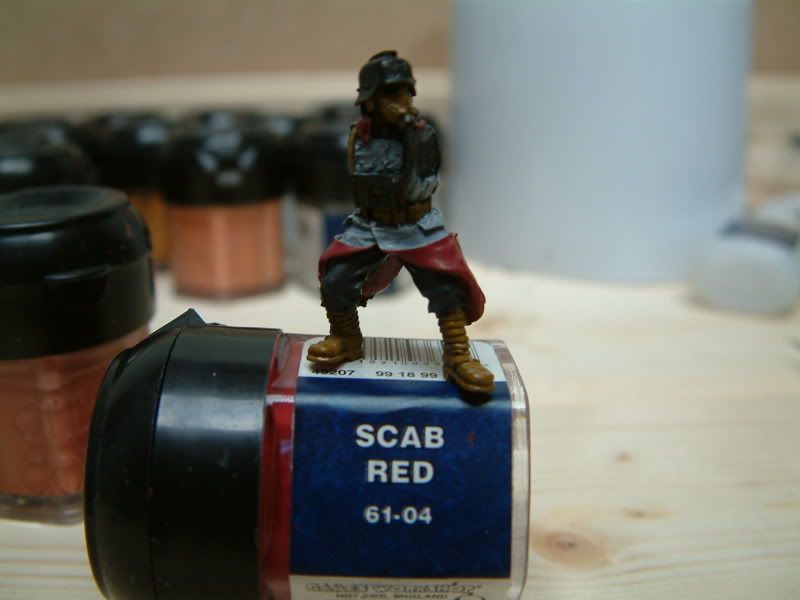
Ok so we get your Scab Red and paint the Colar, the Insides of his coat, and his Wrists, As well as his shoulders, The red should come through nicely because of the Grey undercaot that you will have. Make sure to correct those mistakes on the way repeating various stages according to the mistakes made!
And now your model should look something like this :
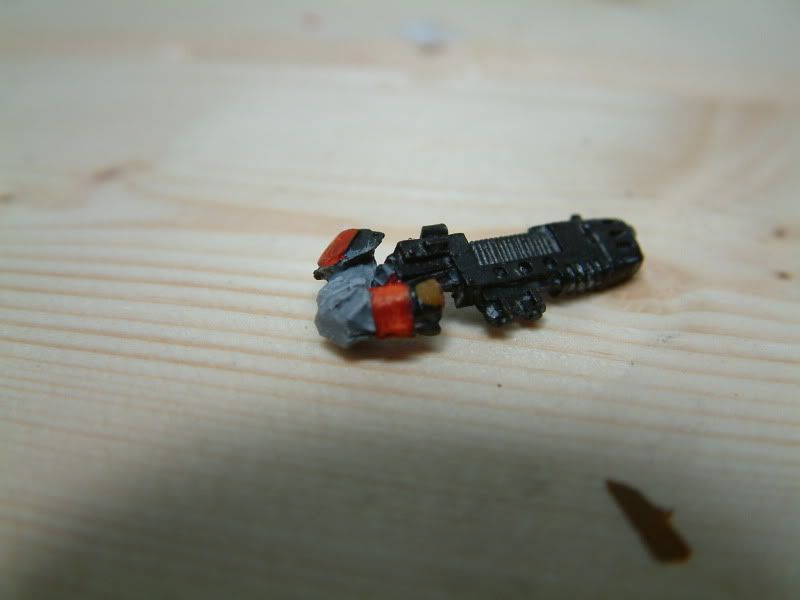
5: Ok now we are staying on this red for another 2 sections so listen up !

So go find your Blood red and recote the same places as the Scab Red, Simple really
Your Model should now look like this :

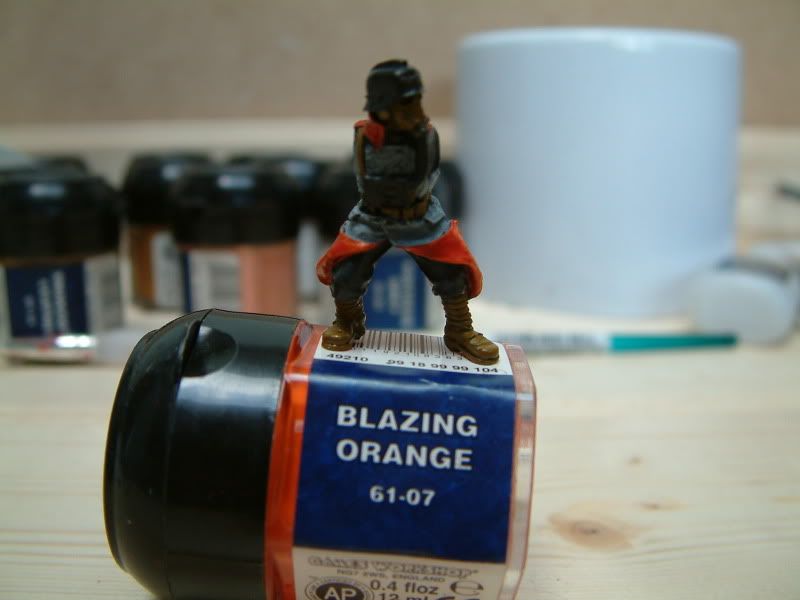
6: Ok so now comes the highlighting of the red, this takes a careful hand and a good eye to spot where it is needed.
So lets flick up the lid on the Blazing orange and high light the Red areas in nice clean strokes, giving a nice line of colour.
Now your model should look something like this :
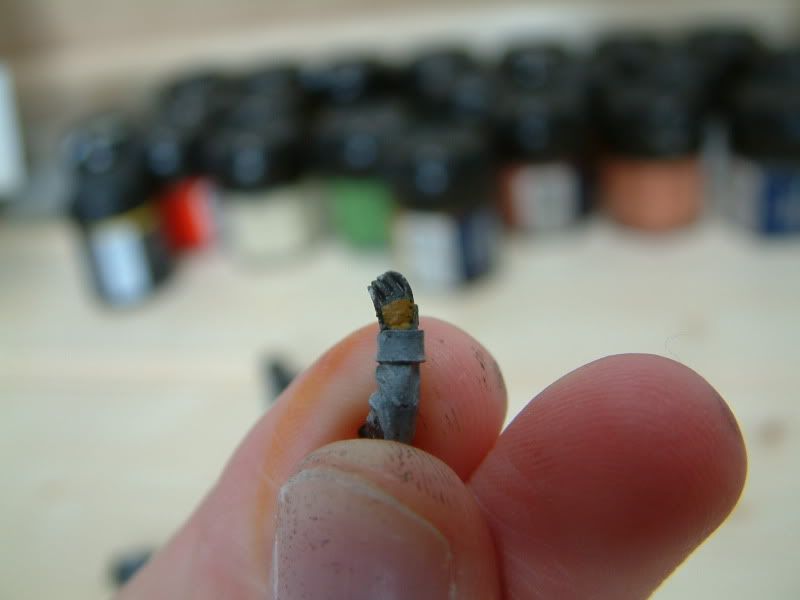
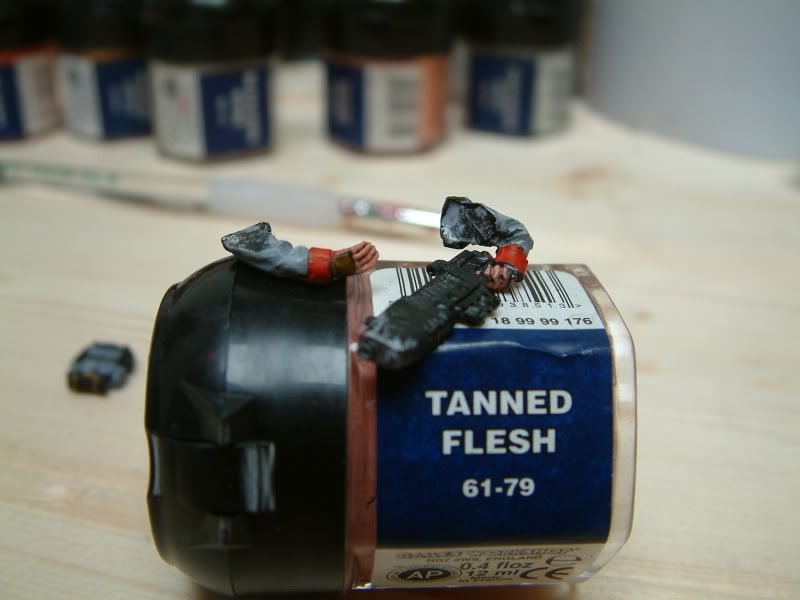
6: So moving onto the skin on his hands. You can skip this stage if you would prefer him to be wearing gloves and just coat his hands in SnakeBite Leather.
Righto ! Get your Tanned Flesh and coat his hands, making sure to keep the Leather clean, go into the Cracks between his fingers etc.
Your hands should look similar to this !
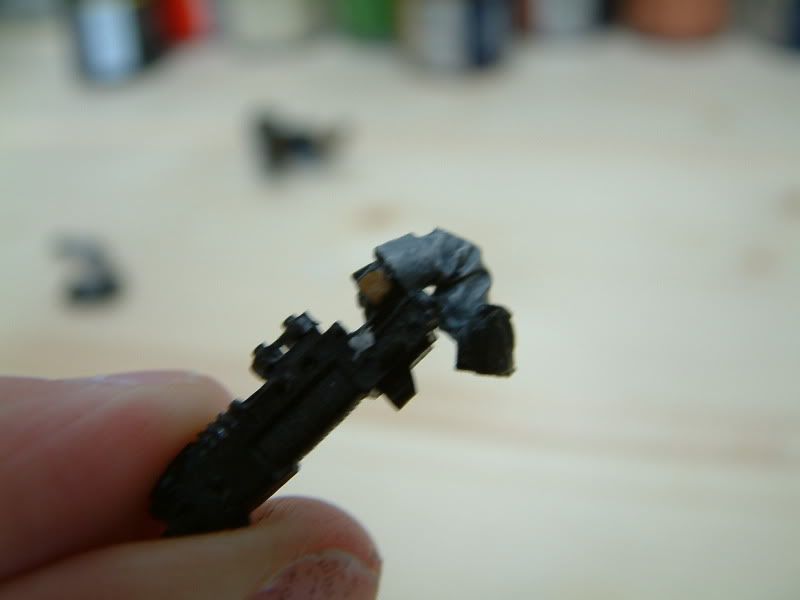
7: Once that Tanned Flesh has dried, grab your Dwarf Flesh and high light the key parts of his hands, so his figners, thumbs and so on, making sure to leave those cracks dark !
So your hands should eventually turn out like this !
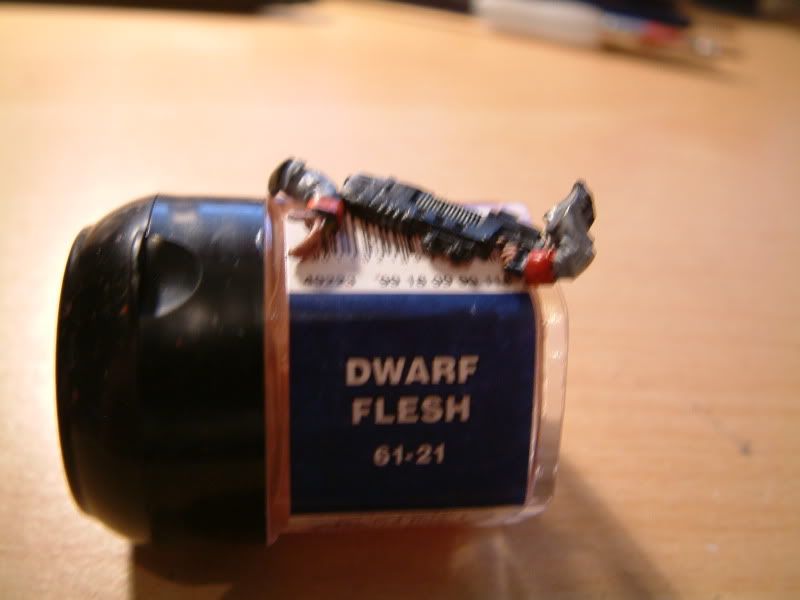
(sorry for the quality of this one !)
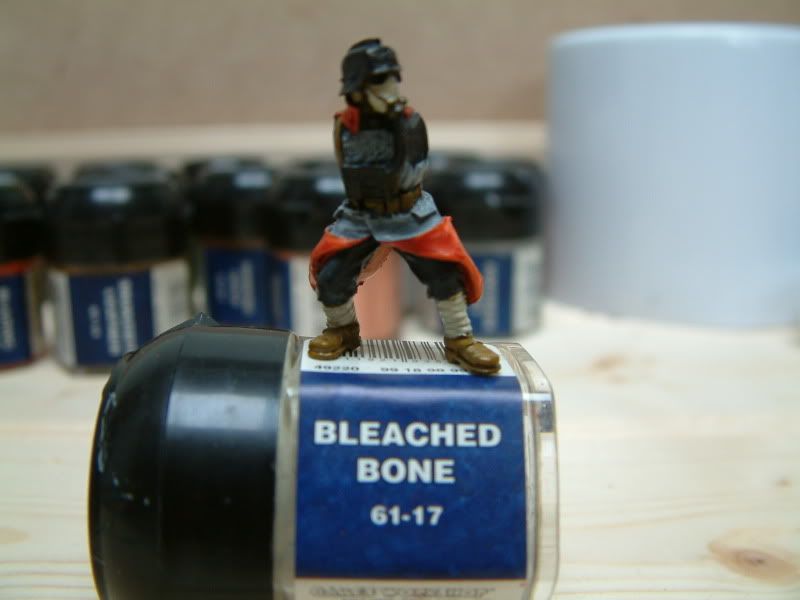
8: Now the hands are done with we now move onto the Mask and straps on the boots.
Flick the lid on your Bleached bone and CAREFULLY fill in the mask leaving the deep seperation lines that leather colour.
And coat the strap on the ankle area aswell.
The photo explains it better than I do so here is what it should look like.
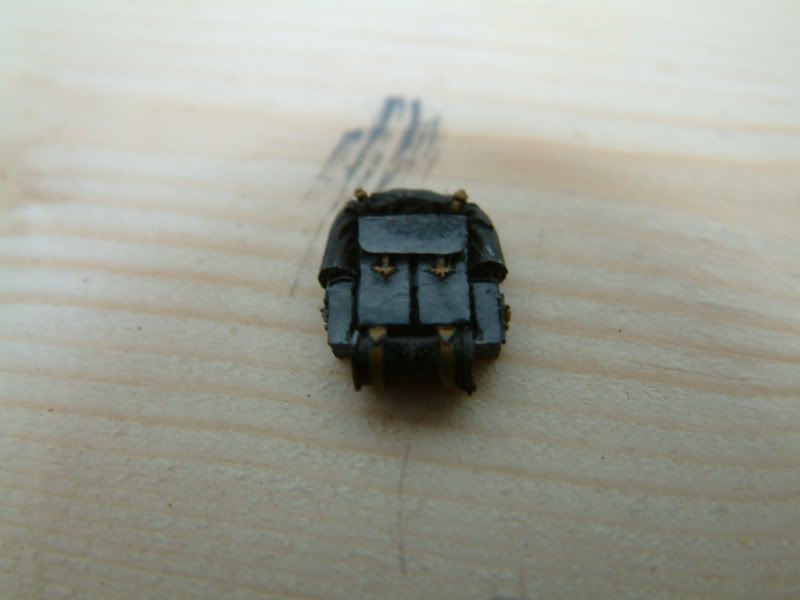
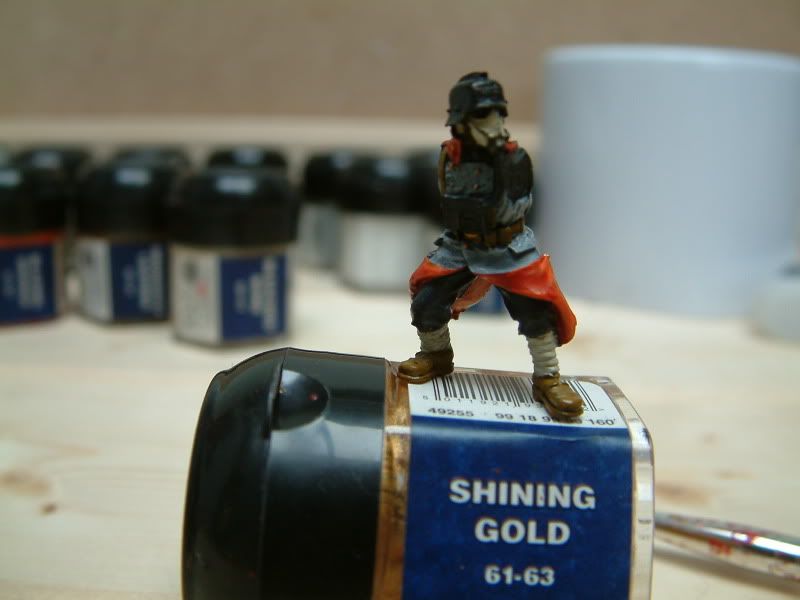
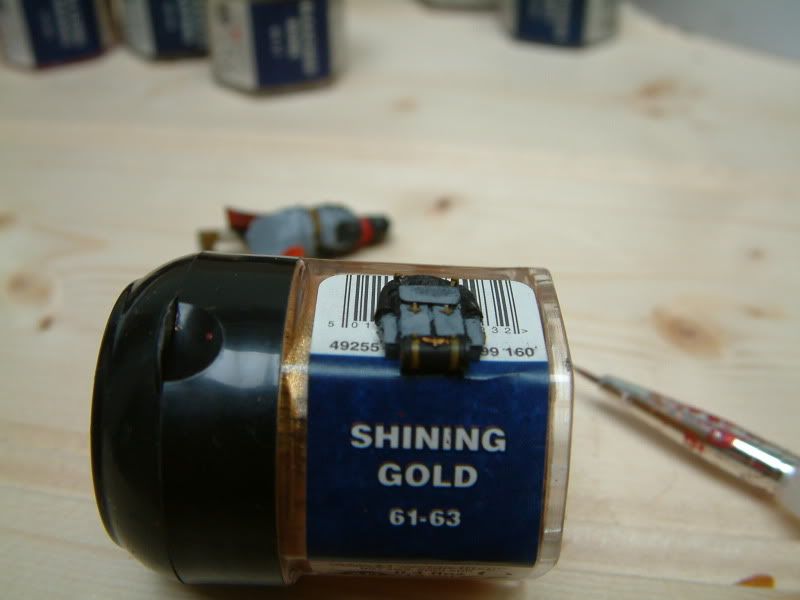
9: Ok so were onto the final stage for this session, The gold buttons and symbols !
So lets get your Shining Gold open, So very carefully dot this gold onto the buttons on his coat, and get the aquila on his belt buckle (that is for the very steady hands)
Also get the skull on his colar, as well as the rings on his shoulder straps, and the small rods on the back of his belt, aswell as the aquila on the can at the botom of the backpack.
Your model should now look something like this !
So that Concludes this session of Painting
DKOK Wolf Style, Next comes the Boltgun metal, some shiny parts and weathering! Stay Tuned and thanks for reading.
All the Best
Wolf


 chapters in the works now.