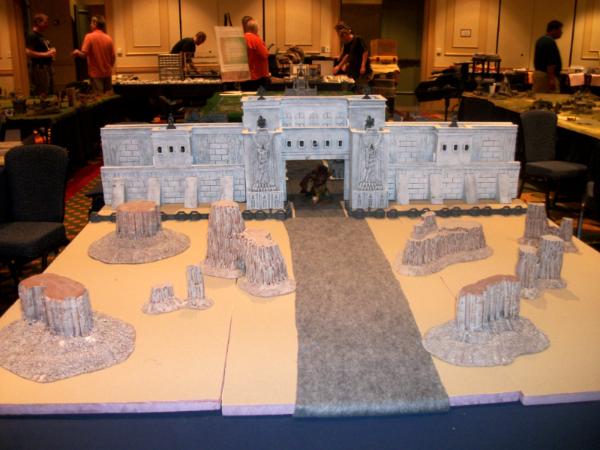
Warboss_Waaazag wrote:I vote for layout B. By layering I mean gluing down large rubble, sealing it with watered down pva glue (I use elmers glue) and then literally gluing a finer rubble mix on top of it. I usually put down about 3 to 4 layers of overlapping debris from large, bulky aquarium gravel, to coarse sand, to fine sand, and then individually placed bricks. I also embed carefully battered bits of the actual buildings in various layers, making sure some semblance of the architectural details are exposed above the debris, but also going out of my way to make those same pieces look half buried and not just stuck on. Conventional warfare does an amazing amount of damage to everything.
Automatically Appended Next Post:
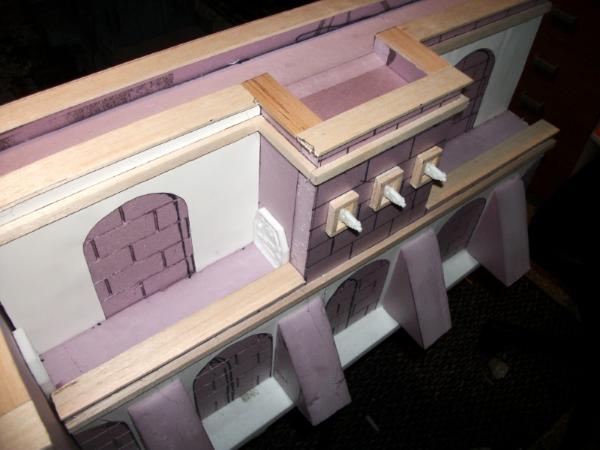
I'd use a fine sand to blend the edges of your bulky rubble with the untextured foam.
Okay, I see what you mean. Unfortunately I don't have time to get that done this time around. Perhaps I will go back later and touch everything up after the convention is over. Thanks for the advice!
Phutarf wrote:Wow.. Great thread Lord_Mortis - can't wait to see more progress on your board!
Thanks! Glad you like it!
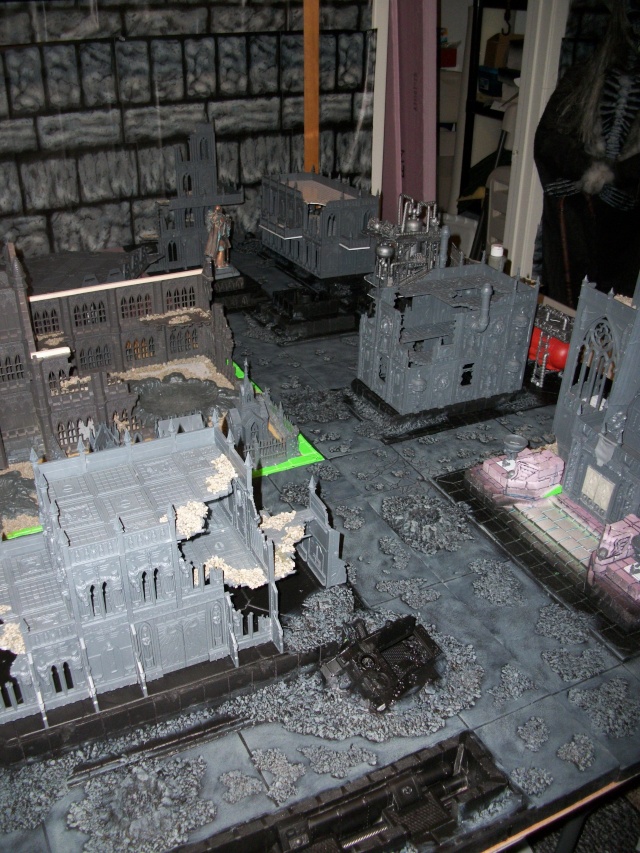
W.I.P. Wednesday update for April 23, 2014.
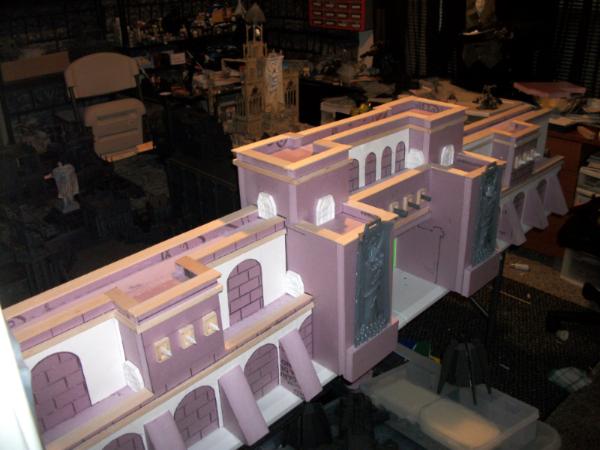
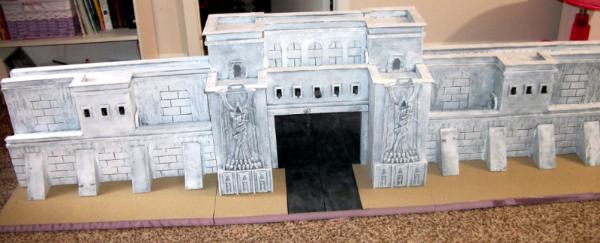
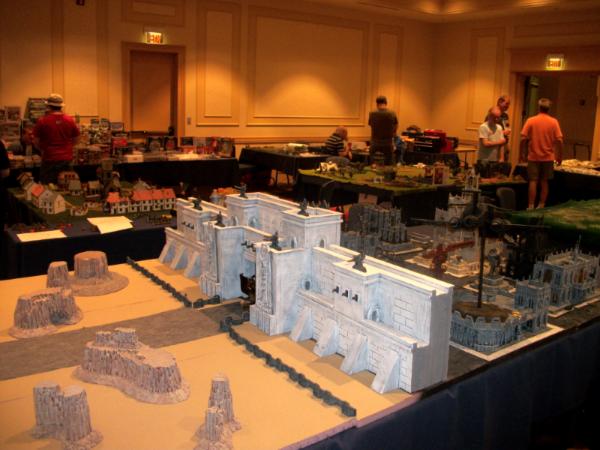
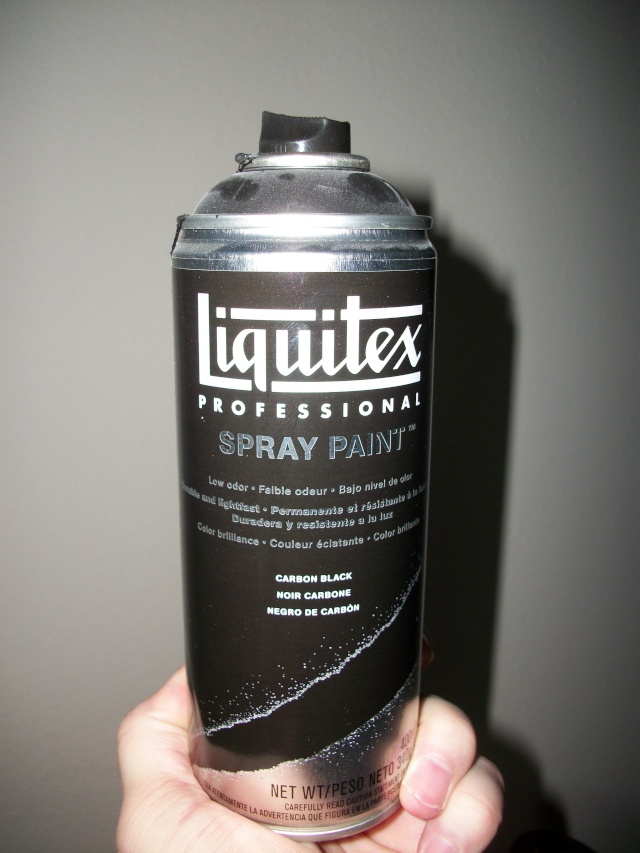
With the board sections done, I went about spray painting them this weekend. For that I used a can of Liquitex Professional spray paint, the kind that doesn't melt foam!
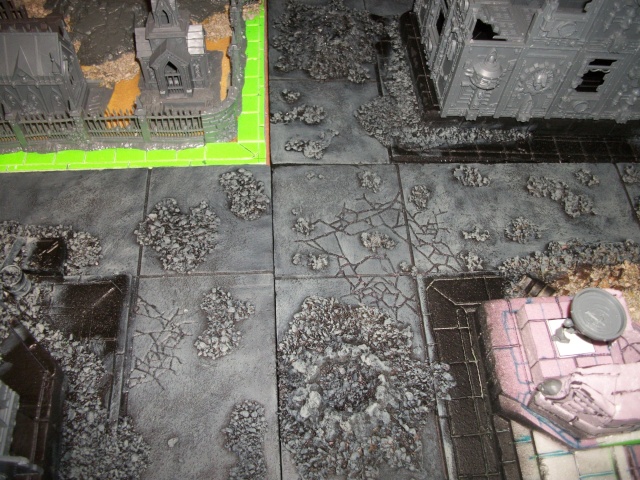
After they were dry, I put on the base coat of paint for the streets, using some craft paint I picked up at Hobby Lobby. Most of the buildings are probably going to be a light gray, the sidewalks a cream color, and the streets a shade of gray, but darker than the buildings. I will go back over the street later with a highlight of gray.
So in my research for different images of the Forgeworld tiles I came across this site:
http://thepaintingbunker.com/2013/02/
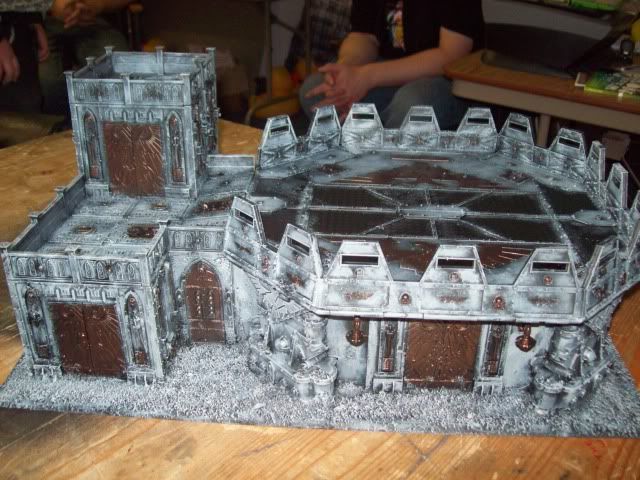
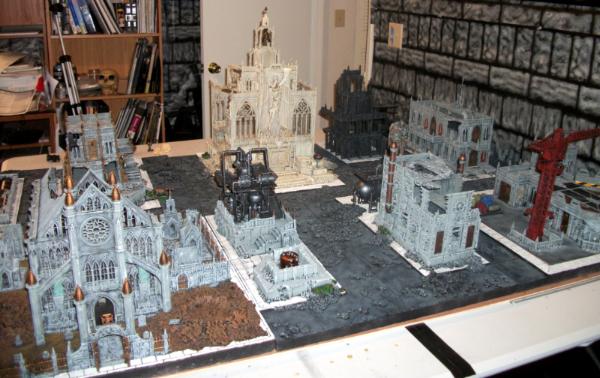
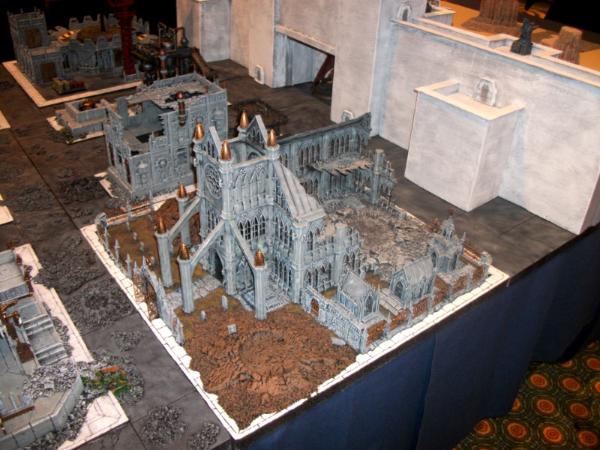
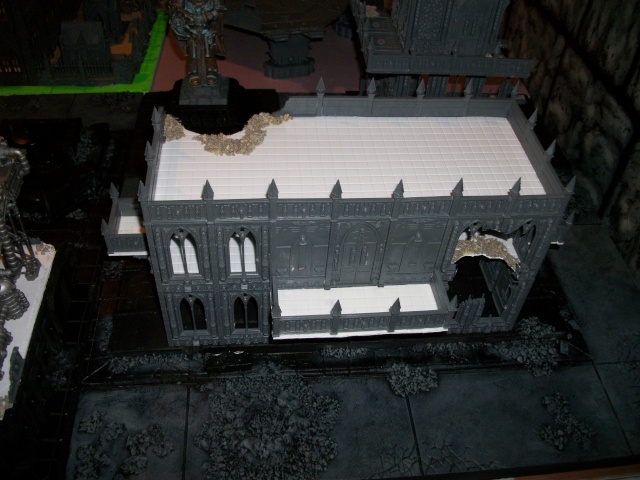
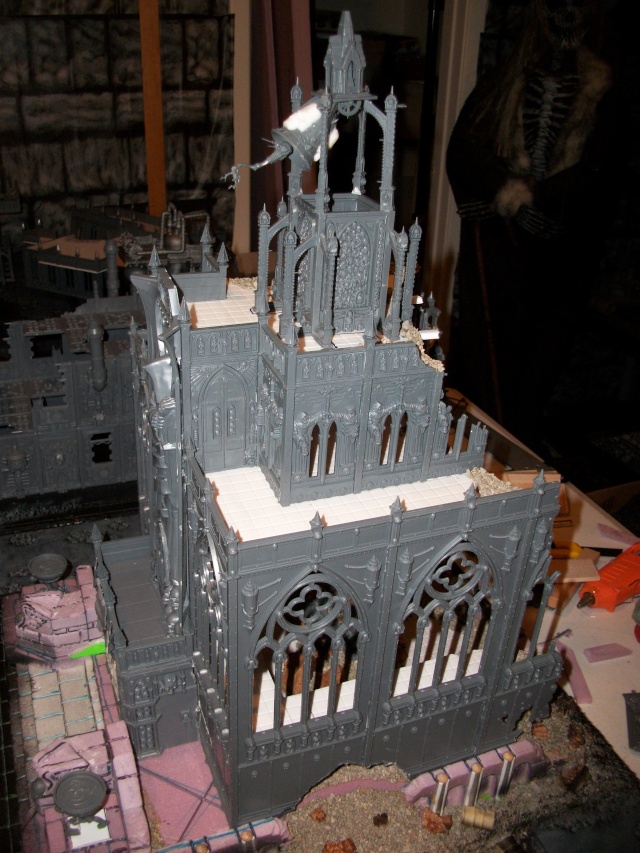
This guy bought the actual Forgeworld tiles, painted them up very nicely, and built and painted buildings for the tiles. One of the buildings he made was this one (the bigger one in the pic):

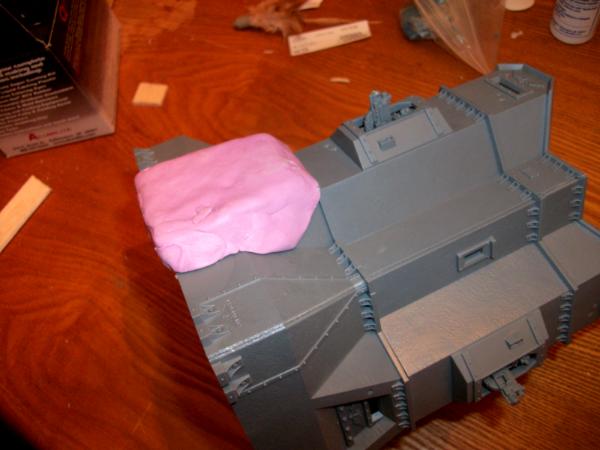
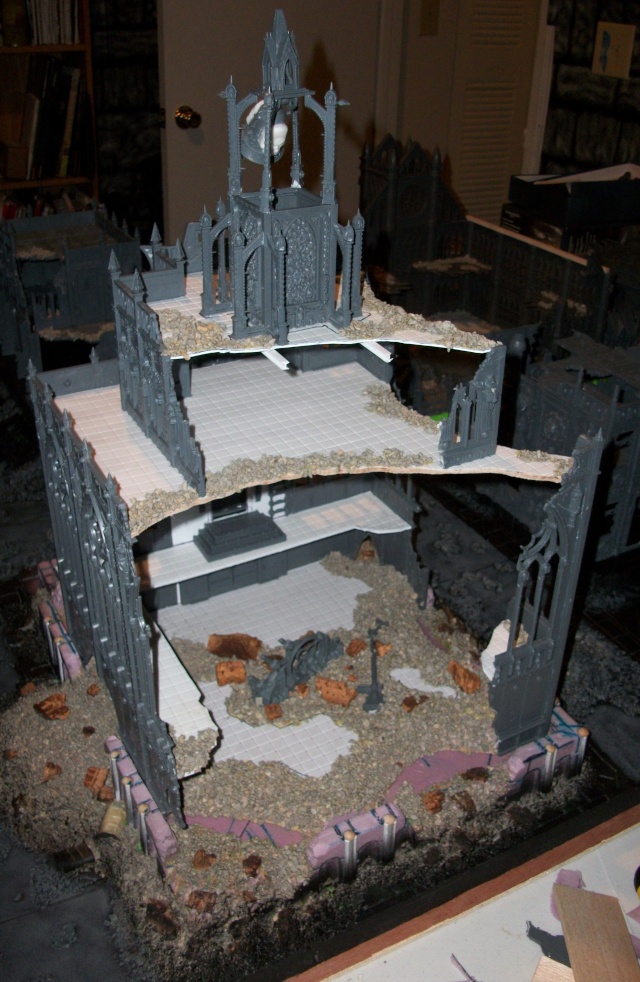
With a bunch of Basilica tiles on hand, I decided I wanted to make a building like that. I had run out of floor tiles when doing all my other buildings, so I ended up using thick plasticard and some doll house vinyl tile floor sheets from Hobby Lobby to make the floors of this building (as well as the floors for my Shrine of the Reaper). I made it modular so that the second floor could come off and models could be placed inside. I still need to build the piping that goes on top and add the communications array.
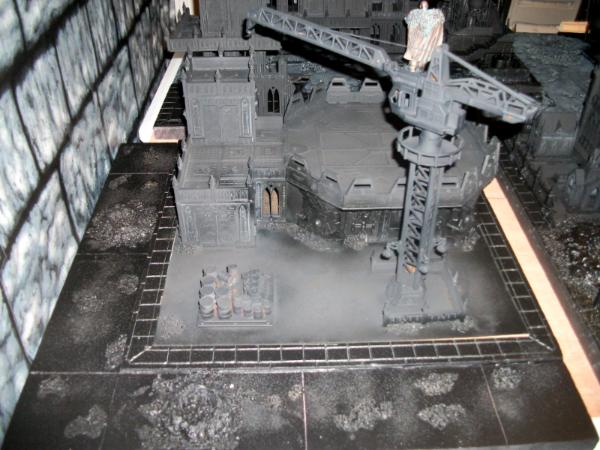
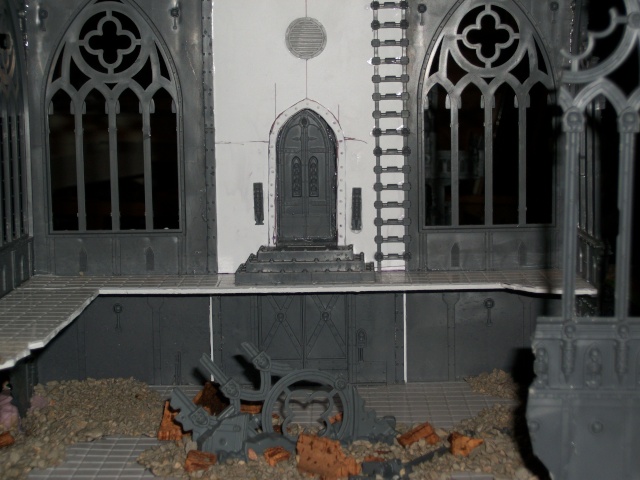
And now we come to the Shrine of the Reaper. Once again, I was inspired by an image I saw on the paintingbunker.com. This imagine, to be exact.

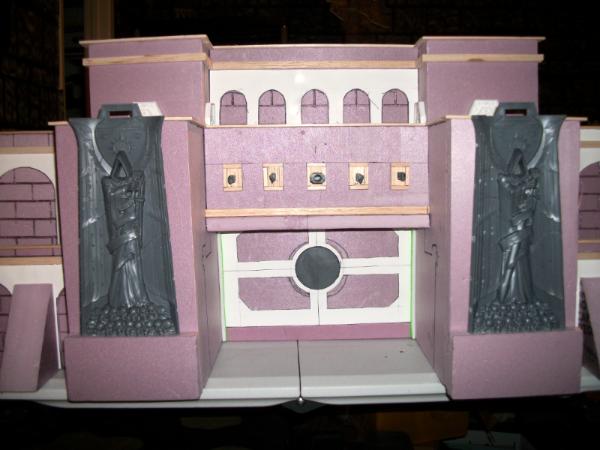
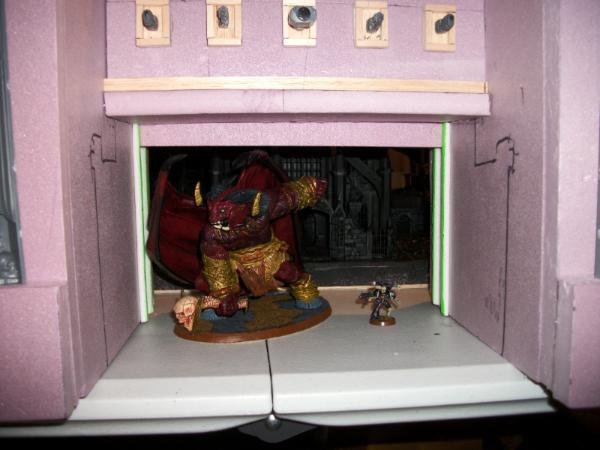
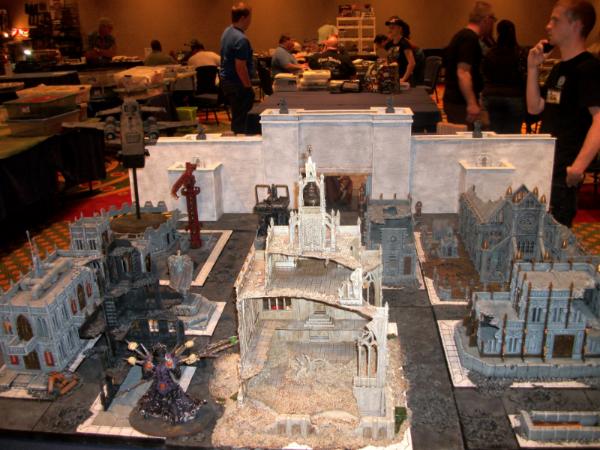
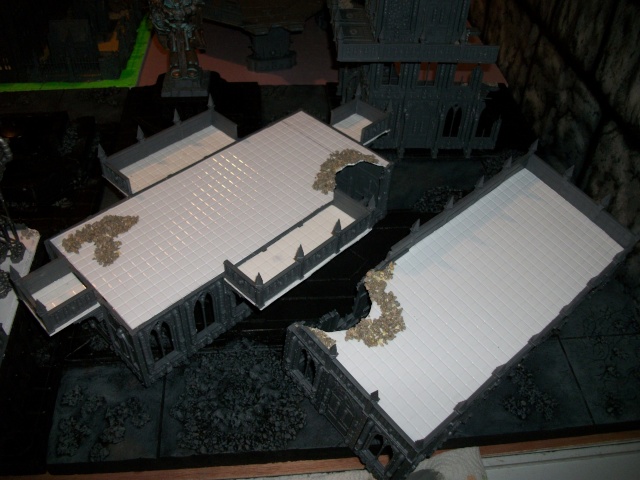
I originally thought this was going to be a hard build since I was replacing the Aquila with the Reaper from the Fortress of Redemption and would have to fill the gaps and do a lot of cutting and adjusting. Turns out it wasn't that hard after all. After gluing on the left and right wall sections to the Reaper section, I took a sheet of thick plasticard and placed it over the back of the Reaper section. I then cut out an arch that would lead to the doorway that is on the Reaper, added a doorway from the Sanctum Imperialis to represent the first floor entrance way,and added some other bits to blend it in with the rest of the walls. I will probably add some more detailing to this section later. With the front of the building complete, I then began adding the other walls and floors.
For stablility, I cut out a piece of thin plywood and glued that to a section of insulation foam, topping that with a vinyl sheet of doll house flooring, and then attached that to the walls of the building to be the first floor. For the large roof section, I again used plywood and then glued the vinyl flooring to it. I then added the top section and bell tower.
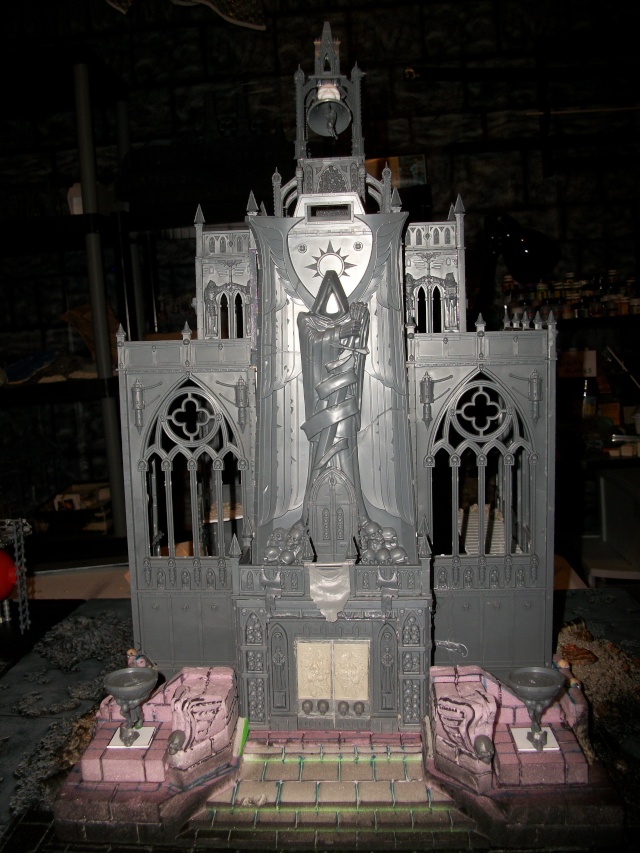
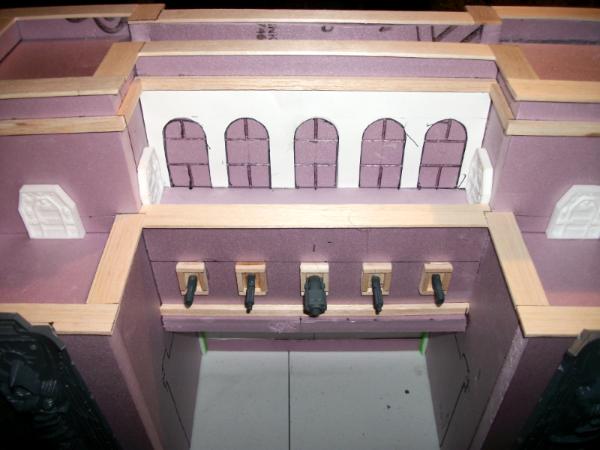
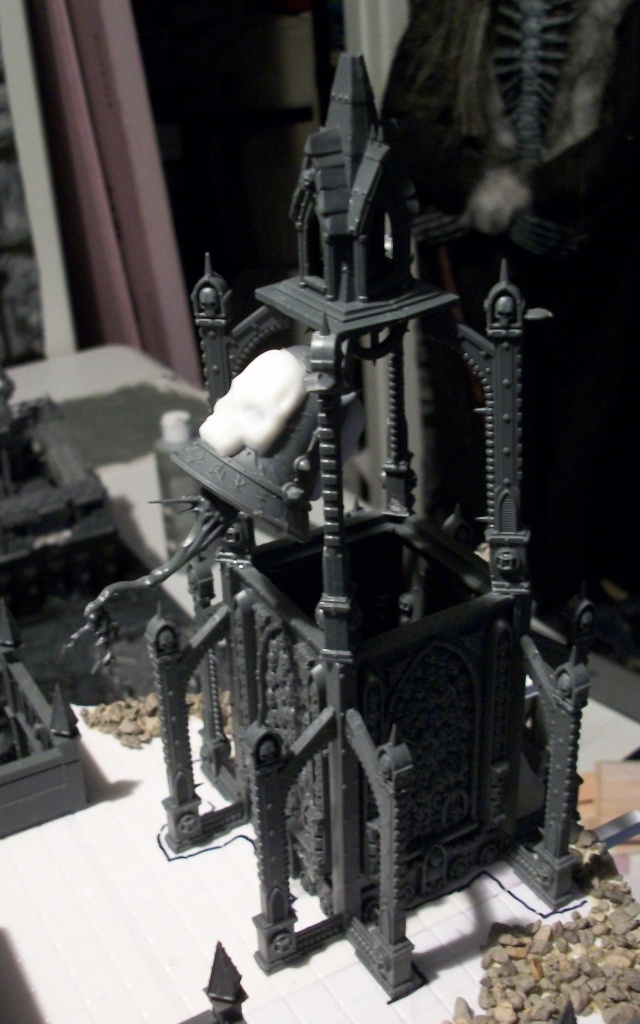
Now, on the paintingbunker's Shrine, there was something about his bell tower that seemed off to me. Not that he didn't do a great job, because his building is awesome, it just looks to me that if someone were to actually try to ring the bell there wouldn't be space for the bell to actually move because it is blocked in by the posts. I can see why he did his that way, as the arches aren't very long and by placing them in the position he did he was able to make them reach the center point where the bell was to hang from. For mine, I placed my posts in the corners of the tower and I used the top of a mausoleum from the Gardens of Morr kit to top off the tower. I used the bell from the Skaven Screaming Bell, and the bell anchors fit nicely inside the Garden of Morr bit. I shaved off the Skaven head and replaced it with some resin cast skulls, then positioned the bell as if it were in mid swing.
Well, that is all for this week. Hopefully by the next update I will have everything that has been built so far painted.


 6000 pts -
  4000 pts - Harlies: 1000 pts -
  1000 pts