Anybody who uses non-
GW models probably knows what I'm talking about.
You get a model that looks like this:
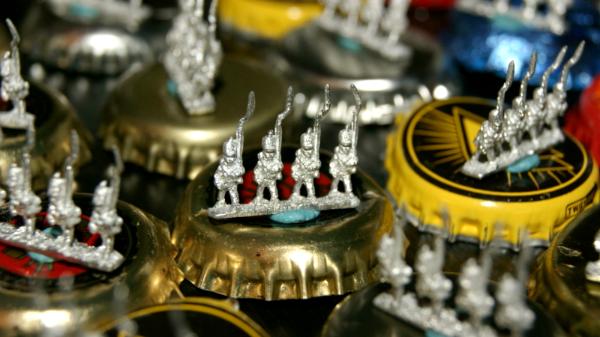
You proceed to lovingly paint and base it, only to discover a few weeks later that the paint has chipped off your wonderful basing work. Exposed white wall plaster sticks out like a sore thumb, drawing every eye to the now exposed portion of your model instead of towards the lovely paint job that you've applied! Well let's solve that problem right now with my quick, cheap, and easy guide to chip resistant bases!
If you're looking to build up the base of your
GW model this technique works equally as well for them (and it would probably be easier as you don't have to contend with the mini being stuck to the base to do it!)
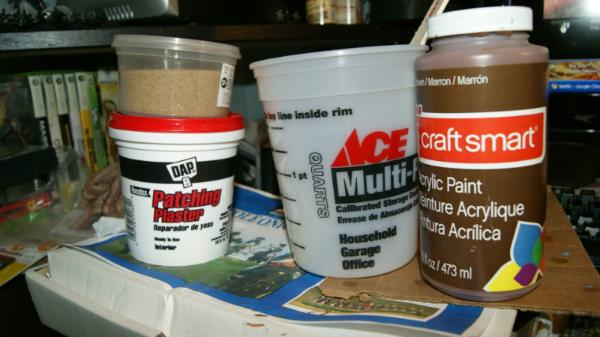
Items that you will need:
Patching plaster
Cheap acrylic paint (You can use the expensive stuff if you want, but you're going to need lots of paint!)
Sand
A mixing bucket
Stir sticks
Water
Corn Flower
Sculpting tools (optional)
Step 1: Gather your supplies
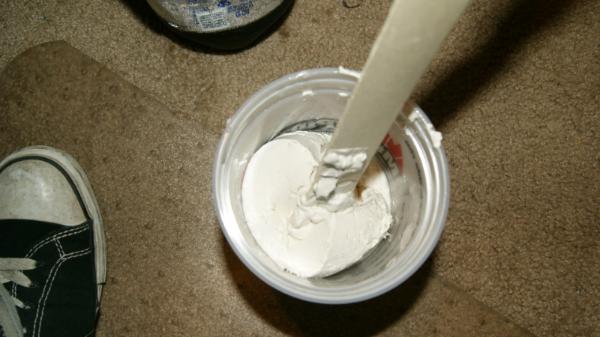
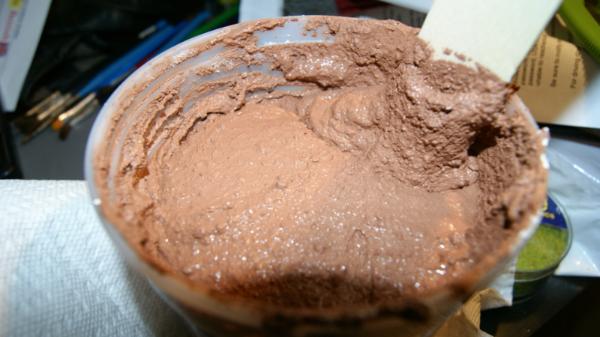
Step 2: Pour the plaster into the mixing bucket
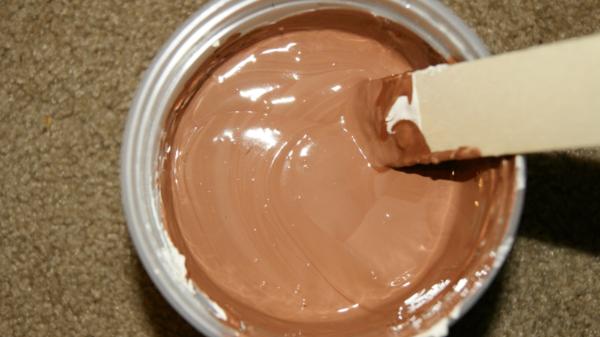
Step 3: Mix the acrylic paint in with the plaster and stir until well blended
Step 4: Mix in as much sand as you would like to add "grit" and texture to your bases
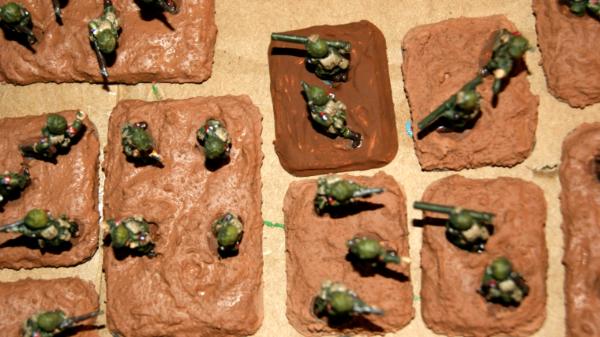
Step 5: Apply the mix to your bases with sculpting tools or with other implement. Note the darker colored base in this picture is what the paint applied OVER white plaster looks like
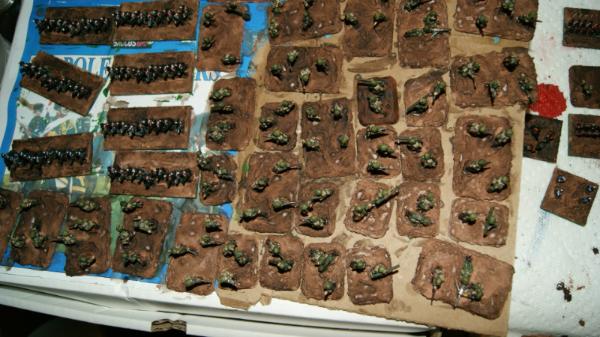
Step 6: As your bases are probably too light, apply a wash of the appropriate color to the base (I used Devlan mud in this picture)
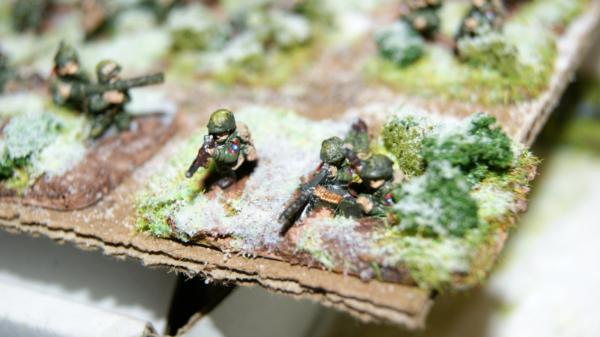
Step 7: Apply your static grass/flock/snow/silflor and enjoy the finished product safe in the knowledge that if the plaster on the base chips your model will still look presentable!
A few notes:
1) The paint I used was purchased from an arts & crafts store for $5 for an enormous jug. As I noted above you're more than welcome to use your expensive hobby paints but doing so will probably require $50 of them for the equivalent effect
2) I used the entire tub of plaster for this job, which turned out to be far more than I needed. I think 1/3-1/2 would have covered the bases nicely with plenty left over
3) The wash in step six is optional, if you like the lighter color then go ahead and stick with it!
4) You may have noticed that I didn't say when to use the corn flour or the water. That's because using them is left to your discretion. Adding corn flour will help to thicken the mix up if you choose not to use a lot of sand. Be sure to stir the flour in very thoroughly or else you'll end up with flour spots on your bases! The water is used to keep the mixture from drying prematurely. I personally prefer my mix to be at the point where I can stick a stir stick in and the mixture does not drip off.
5) Though I didn't say it, wait for the stuff you applied to dry before you start the next step. For example, it should go without saying that applying static grass to models that are still soaking in a wash is going to come out terribly.


