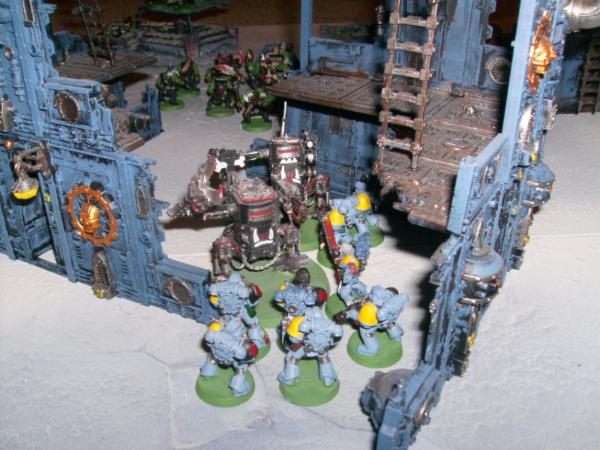
Game 9 saw 3rd place Space Wolves take on 2nd place Orks. A new leader was guaranteed even with a draw so all was to play for.
The other rumble games can be seen here so go read them or I'll spank your bottoms:
G8 -
http://www.dakkadakka.com/dakkaforum/posts/list/422869.page
G7 -
http://www.dakkadakka.com/dakkaforum/posts/list/410232.page
G1-6 -
http://www.dakkadakka.com/dakkaforum/posts/list/420105.page
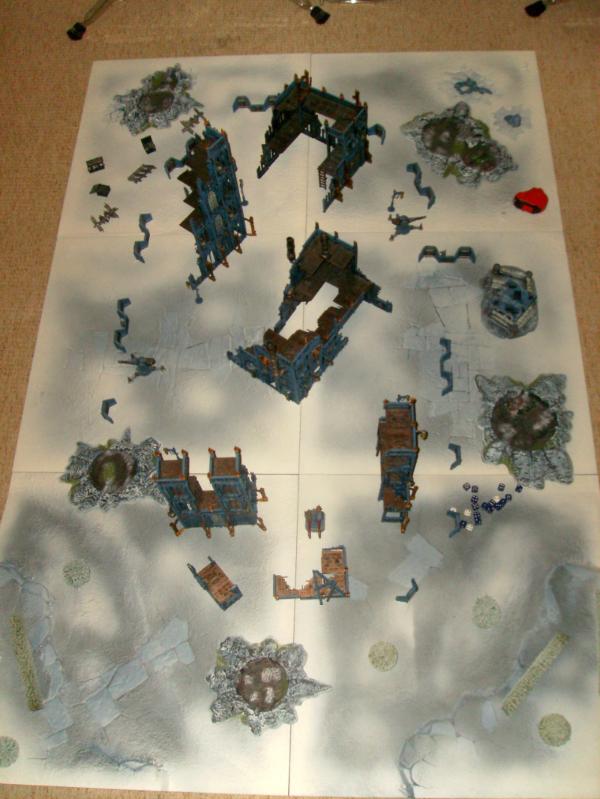
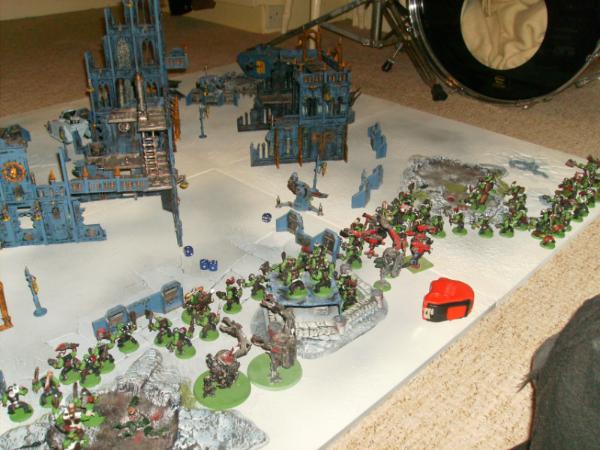
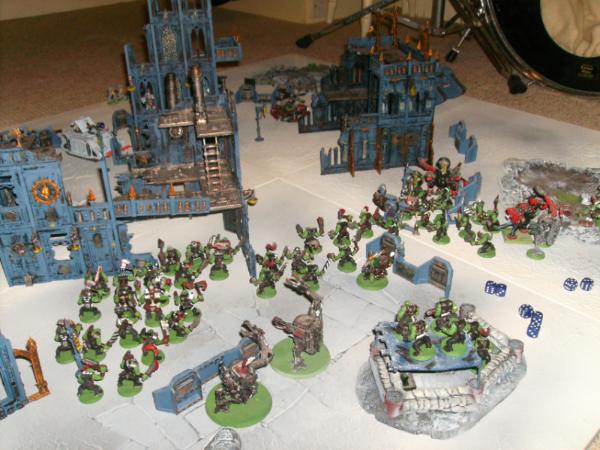
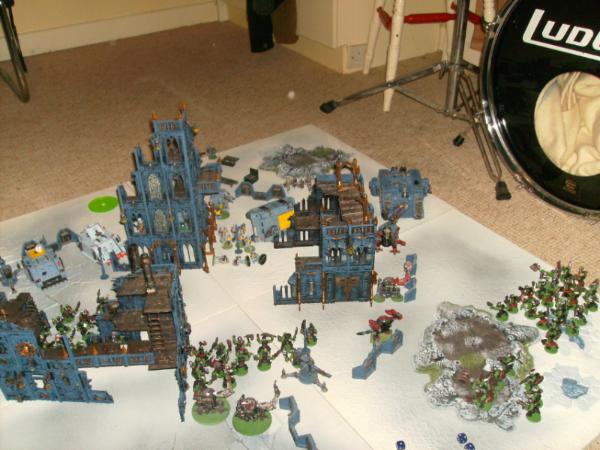
Map number 5 was rolled (urban) and mission was Annhilation on Dawn of War.
This game would give either side the chance to go top (even with a draw) and with the Eldar having 2 games left for a possible 6 points, it was all to play for.
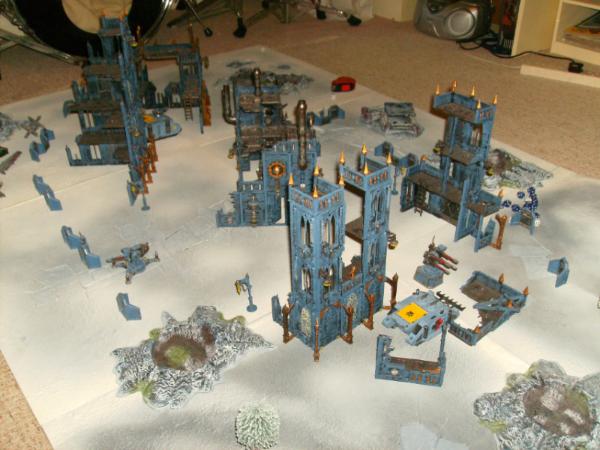
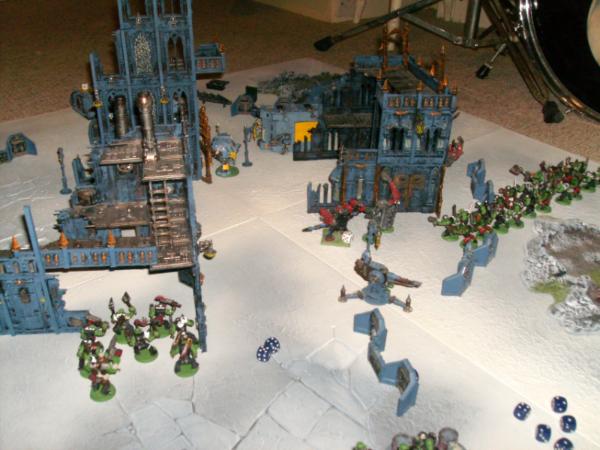
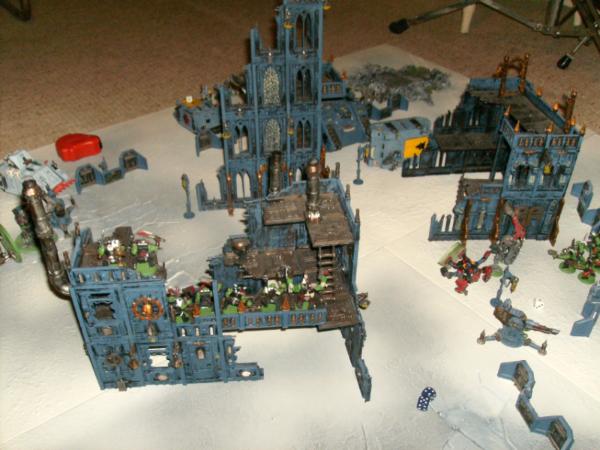
 Space Wolf deployment.
The Space Wolves spread their 3 initial deployment units across the map, one Rhino on the left flank, one on the right and the Runepriest centrally in the Manifactorium. The idea was to deny the Orks any sort of large deployment area and keep them pinned back as much as possible in order to put as much fire into them as they slogged forward. With better mobility it was hoped a weak spot could be found in their lines and then each of the mech units would redirect into it and crush it.
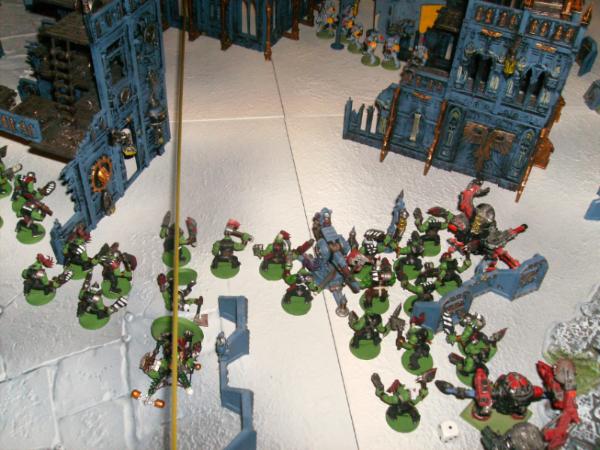
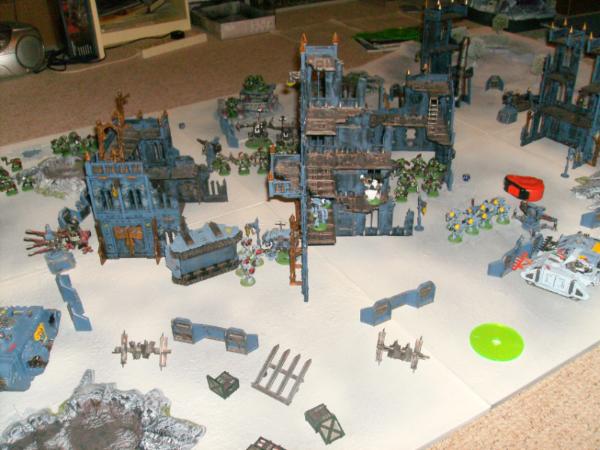
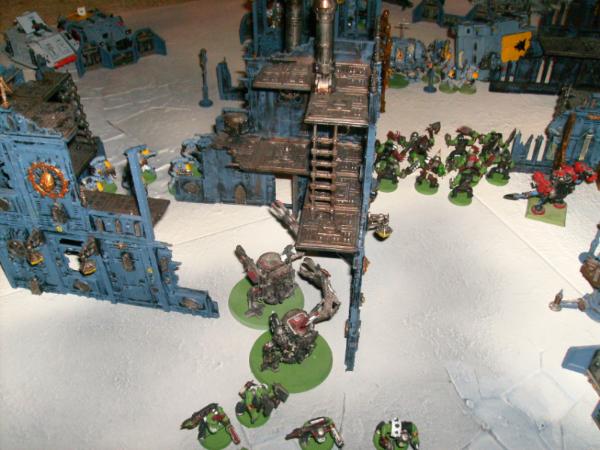
 Ork deployment.
The Orks chose to deploy the Bigmek and two units of Boyz for their deployment. Based on the
SW placement they spread out along the lenght of the board edge, able to engage any of the
SW units as they advanced. With the army being slow overall, they didnt want to deploy all on one side and give the
SW a chance to turtle on the other. The BM would give
KFF cover to both squads early on.
 Space Wolf turn 1.
We made an error here forgetting that Rhinos and their
GH units count as two seperate squads for
DoW so allowed the Rhinos to remain but forced the
GH squads to footslog on.
The basic plan was to deploy for the most part on the left side, destroy the Ork forces there and roll up their flank, isolating the Ork forces on the opposing flank.
To that end the Land Raider and
GH/Wolf Lord deployed far left, passing its difficult terrain test and moving on 12”.
The Dreadnought also moved on 12” to the right of the
LR in support.
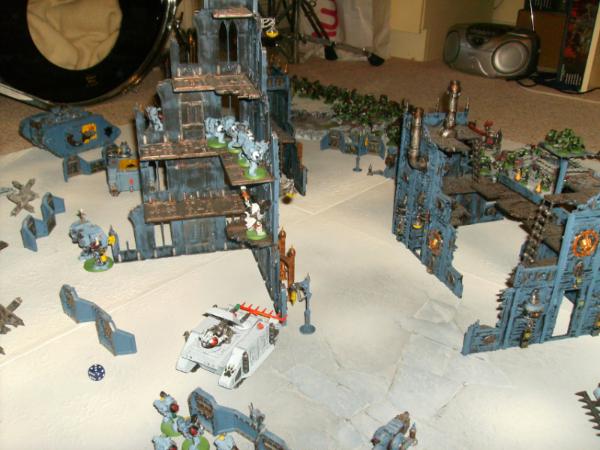
The Razorback deployed the Long Fangs into the base of the cathedral, ready to get in position higher up next turn.
The Rhino on the left flank moved back to collect its
GH unit as did the one on the left as both
GH squads came on.
With everything having moved full no shooting took place.
Ork turn 1.
The Ork forces rumbled on.
Seeing how the
SW had deployed the Orks sent their Warboss Boyz unit down the right flank to counter the
LR deathstar (rolling an aweful double 1 for their
DT test).
The Deffdread and two single KillaKans also came on that side albeit more centrally. The Kks wanted to loose some shots off at the exposed central Rhino early.
The two Boyz mobs that had deployed initally both ran shifting towards the right hand flank whilst the KK squad came on more centrally.
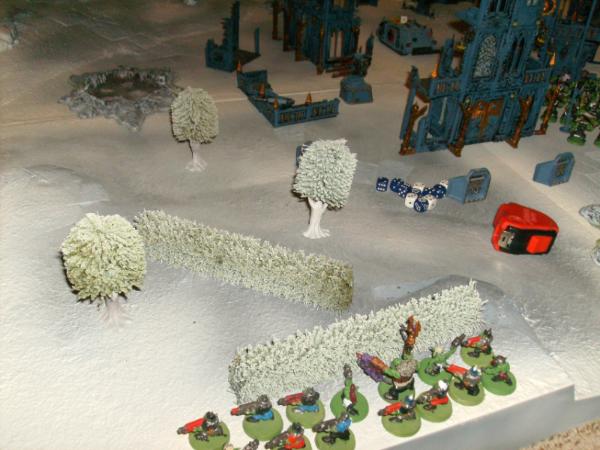
The Lootas deployed relatively centrally, one in a bunker, the other in a crater for cover.
The sneaky Grots deployed on the far left flank about as far from the action as they could get.
Both Deffkoptas had reserved.
Shooting saw the KKs fire off a few shots at the central Rhino and with some luck stunned it.
Space Wolf turn 2.
On the left flank the
LR again passed its
DT and moved forward 12” to the midway table point.
The Rhino on that flank picked up its
GH unit and moved 12” to support it, keeping behind a building for cover.
The Dreadnought moved forward slightly ready to shoot at the Kks.
The Long Fangs moved to the second level of the temple ready to fire next turn and their Razorback setup just beside it to fire on the Kks also. The
RP moved back to the temple too, being too close to the Ork lines for comfort.
Finally the other
GH squad moved behind an aegis line to await their Rhino next turn.
Shooting saw both the Dreadnought and Razorback fire on the Kks but only managed a shaken result on one. The
LR then fired its assault cannon on the Warboss mob killing two.
In a poor move the
RP forgot to fire any powers this turn.
Ork turn 2.
With a decent roll the first Deffkopta arrived and got to choose its flank. It picked the
SW left flank, targetting the Rhino there and hoping to destroy it and put the
Ghs on foot.
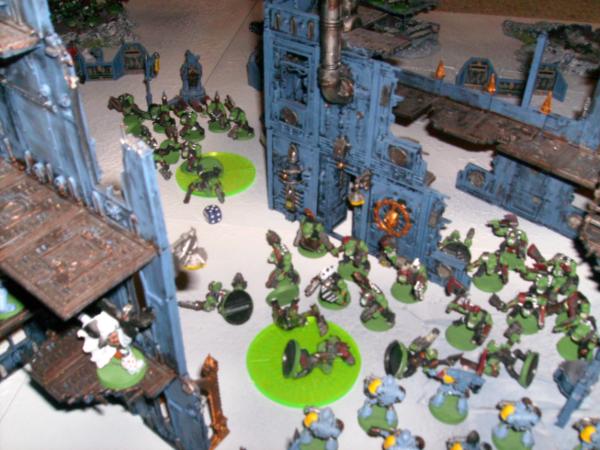
The rest of the Ork forces moved forward. The Boyz on the left flank ran to get themselves positioned more centrally and with a good roll made it into the Manifactorium.
The BM and second Boyz mob stayed centrally, hoping to pressure the Long Fangs and
RP.
On the right flank the Deffdread broke and started towards the
LR to intercept it. Fearing a
LR charge the Warboss unit shuffled forward slightly but not to any major extent.
The shooting phase saw the first unit of Lootas target the central Rhino again but only manaegd a weapon destroyed result this time.
The second unit however had more luck targetting the
Lfs, likking two and forcing thm to break. They ran down one level of the temple.
The Deffkopta failed to damaged the Rhino with its rokkits but in the
hth phase it did its job wrecking it and forcing the
Ghs to footslog.
 Space Wolf turn 3.
Losing the Rhino was a bit of a loss but since it was a
KP game the Deffkopta was as good as dead which would even things up.
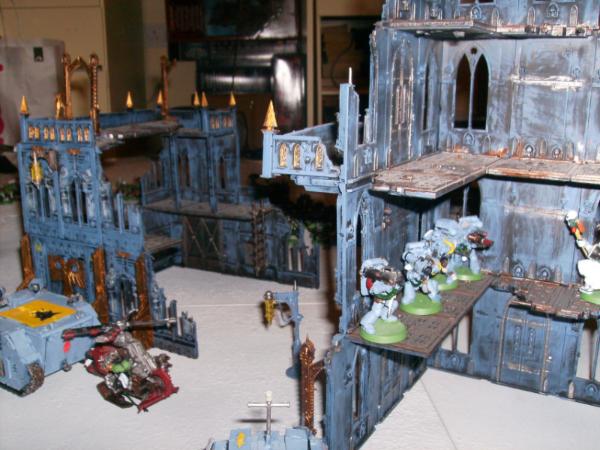
The Long Fangs rallied and took up position on the 1st floor of the temple.
The
LR held its position this turn to take shots at the approaching Deffdread to kill it. Semi weary of a Waaagh charge by the Warboss mob but with only the Warboss able to pen it and it having moved, it took a gamle and held.
The other
GH unit emabarked on the right flank Rhino ready to move into the approaching Ork Boyz next turn.
Shooting saw the Dreadnought obliterate the Deffkopta. The Razorback and Runepriest then fired on the forward KK but only managed a shaken between them.
The
RP then followed up with Jaws vs the Mekboy and his mob and with a good roll killed him , leaving the Boyz with no
KFF.
A poor mistake saw the
Ghs having fired first into them but poor rolling and the
KFF doing its job, none fell.
The
LR fired on Deffdread but failed to do any damage.
Ork turn 3.
The Boyz in the left flank made a run move towards the
Ghs/Razorback, hoping that the Lootas could pop one or both and leave the
Ghs on foot for a charge next turn.
The central Boyz unit held their ground, electing to shoot the central
GHs rather then move forward and risk getting charged themselves – a Waaaagh was still possible in later turns. They were supported by the KK unit.
On the right flank the Deffdread and Kks changed diredction and headed for the
LR, determined to neutralise it so the Warboss mob could move forward. His unit stayed where they were again due to the
LR threat.
Shooting saw both Loota squads open up on the Rhino to try and pop it but neither failed to do any damage, some shocking rolling not helping.
The central Boyz unit had more luck though, killing three
Ghs who passed their break test.
So far it had been quite a cagey game with both sides feeling each other out and for the most part being pretty non commital.
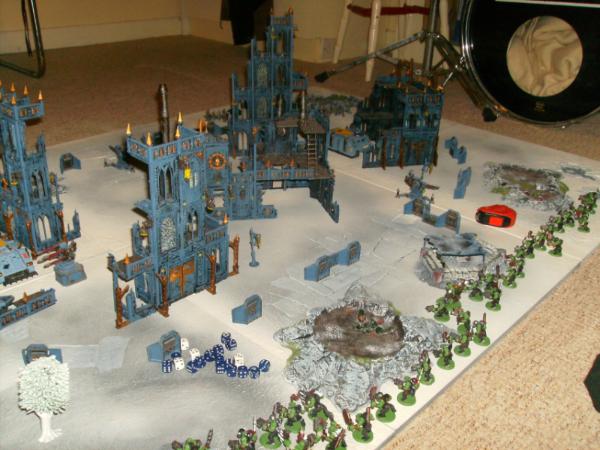
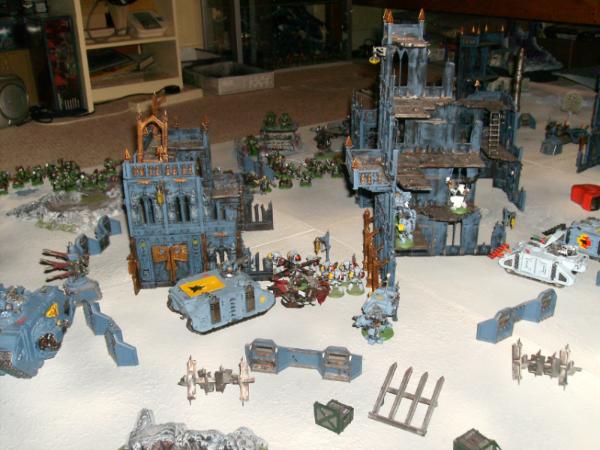
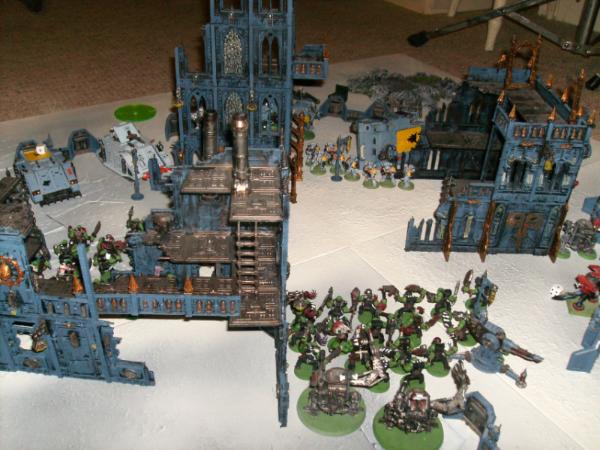
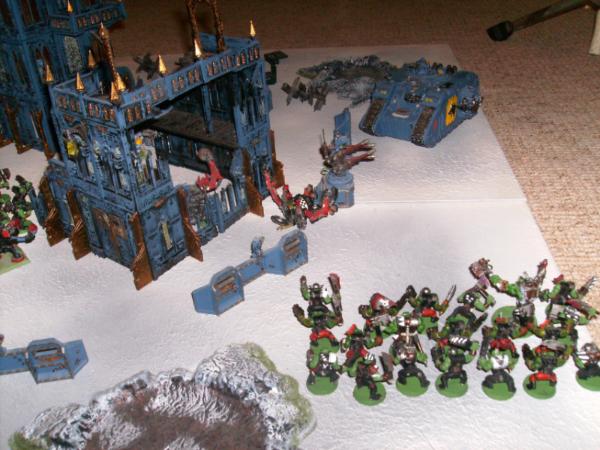
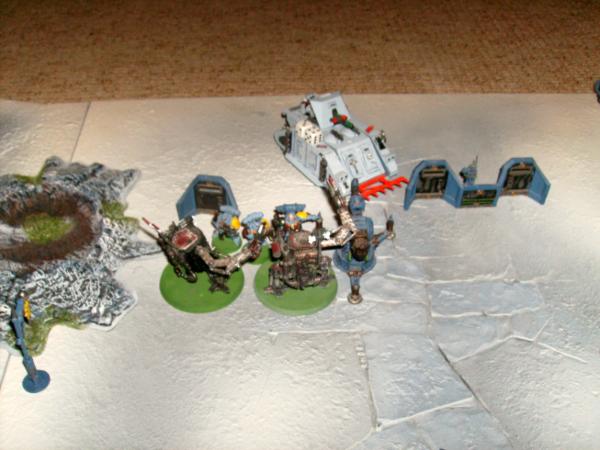
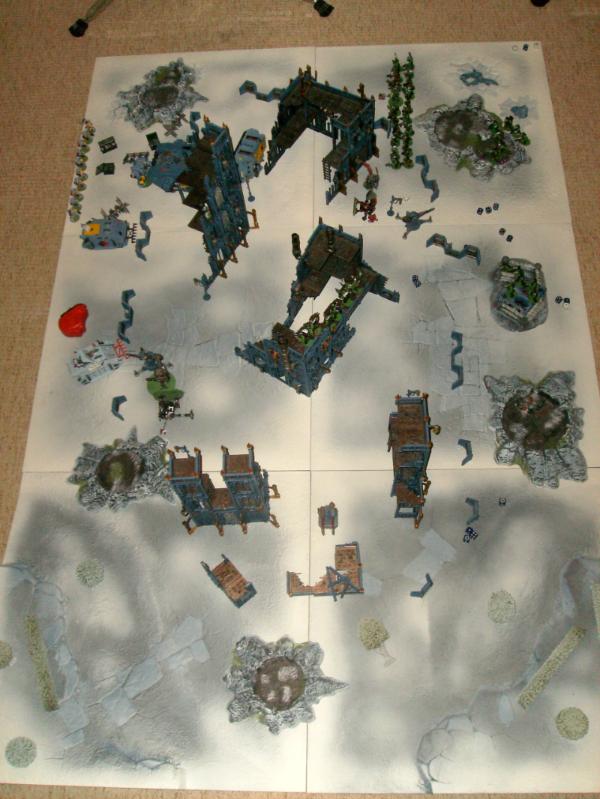
End of turn 3 looked like this with the score at 2-1
SWs.
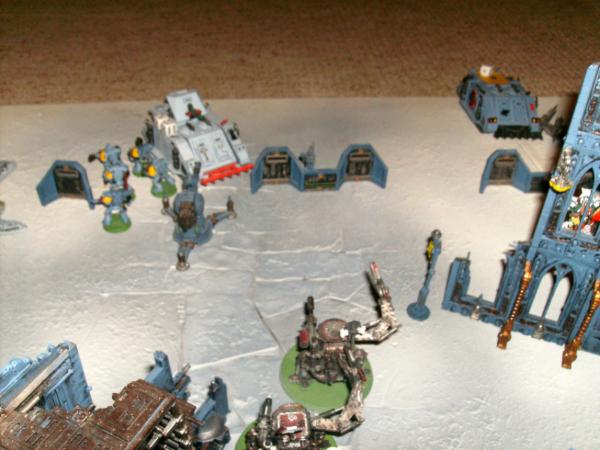
 SW turn 4.
SW
SW turn 4.
SW turn four saw the
LR move back 6” (hopefully) out of Waaagh range from the Warboss mob and intended to shoot the oncoming Deffdread again.
The central
GHs and Dreadnought held poistion to put some fire into the oncoming Boyz mob at range.
On the other flank the
Ghs disembarked their Rhino andmoved forward a few inches to boltpistol/charge the oncoming Boyz mob.
Their Razorback/Rhino held position being hull down in cover.
Shooting saw the Long Fangs target the central Boyz mob and the
Ghs on the right flank bolt pistol the Boyz mob there.
Both took their toll killing 3 and 5 respectively and weakening both units.
The
LR then fired its multimelta at the Deffdread and being at short range turned it to slag.
Hand to hand saw the
GHs charge the weakened Boyz mob and with typical ferocity they killed 5 forcing the Orks to break. However they were not able to run them down and consolidated back slightly into the Manifactorium. The Orks fled a whopping 12”.
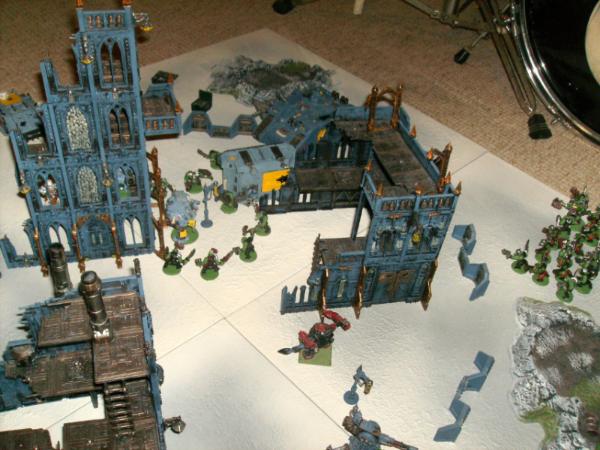
Ork turn 4.
That turn had not gone well and the
SWs were edging ahead in the
Kps. In addition, the
LR was becoming a real pain, it effectively held a flank itself and there was little that could take it out.
Movement saw the second Deffkopta come on and it arrived on the Ork right flank coming in close to the weakened
GH squad there.
The broken Boyz unit failed to rally but only fled a further 2” luckily for them.
The KK squad moved into the Manifactorium to engage the victorius
Ghs there.
The central Boyz mob moved, shot and then got ready to charge the
GH at the temple. They had a chance to engage the Long Fangs but with the 3” up the stairs they werent likely to make it.
The Warboss and his unit again help position, they were really at a loss what to do!
The Kks on their flank both moved more centrally, their intent to engage the
SW dreadnought simultaneously.
Shooting asw the Lootas again open up on the Rhino/Razorback but they only managed to immobilise the Razorback.
Hand to hand saw the Deffkopta and central Boyz unit charge the
Ghs and with a flurry of blows they were wiped out. Both units consolidated, the Boyz surrounding the Dreadnought, preventing him from getting a charge into the KK and the Deffkopta back behind cover.
The Kks fought the other
GHs on the opposite flank and avoiding any nasty Krak hits they killed 3
Ghs, forcing a test which was failed. The Kans however could not catch the
Ghs but consolidated close on their heels.
 Space Wolf turn 5.
Worryingly the
GHs failed to rally this turn and continued fleeing towards their table edge.
The
LR moved back a few inches ready to unload its cargo into the Boyz unit who were trapping the Dreadnought. No other movement took place.
Shooting saw the Long Fangs fire on the Lootas but with poor rolling they only killed one.
The Dreadnought fired on the approaching KK near the ruins and immobilsed it. With no weapons left the backfield tanks stayed hull down, ready to extract the
Ghs should they rally.
Combat saw the
GH/Wolf Lord charge the Boyz unit and with no great surprise wipe them to an Ork, they consolidated back towards the
LR.
The score now was
SW 5 - Orks 2.
Orks turn 5.
Points needed to be made and fast!
The fleeing Boyz rallied and moved forward 3”, there wasnt a lot in range but a long shot charge to the Long Fangs was still possible next turn.
The first lone KK moved to support its comrade in the case of the
SW dreadnought charging it next turn. The Warboss mob also moved centrally to support the Kks and see if the
SW made a last turn rush forward.
Shooting saw one Loota squad fire on the
Lfs, killing two but they passed their test. Only one remained.
The other squad fired on the Razorback again getting another immobilised result which translated to destroying its pintel storm bolter.
It now had no weapons left and was immobilised. Any other damage result and it was toast.
Combat saw the Kks make a move/charge and manage to get back into combat with the
GH, where they killed one but they held valiantly.
Despite best efforts not a single
KP was eanred that turn leading to a worrying finish.
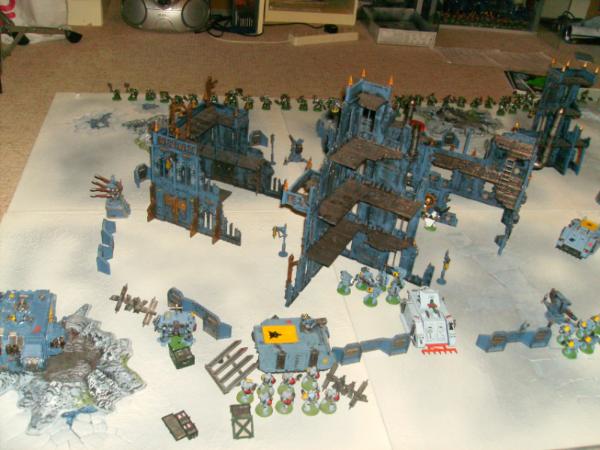
SW final turn.
With a healthy lead the
SW decided it was time to play it safe.
Both the
RP and lone Long Fang moved to the top level of the temple and tucked right in out of
LoS.
The
LR moved backwards out of range of any Ork charges and the Dreadnought tucked in behind it out of
LoS too.
The surviving Rhino moved 12” left and away from the KK unit.
No shooting took place.
Combat saw the Killakan squad kill another
GH but not before their powerfists destroyed a KK,
meaning the fight was a stalemate this turn.
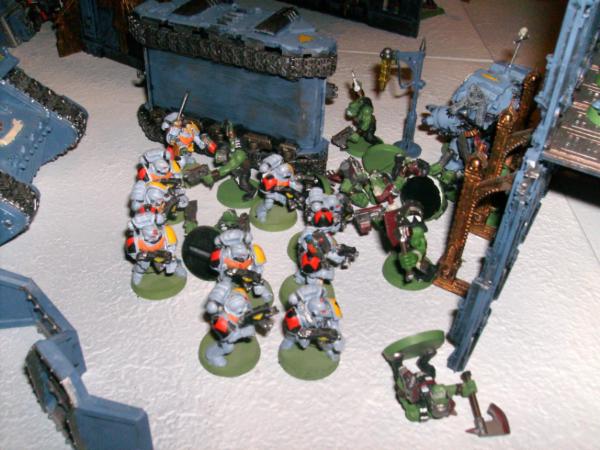
 Ork final turn.
There wasnt a lot that could be done now in the face of the
SW withdrawal (retreat more like!).
The Boyz unit on the left flank moved up into the Manifactorium and managed to get a bead on the
RP.
They shot everything they had but failed to wound him.
The Lootas then fired all they had on the immobile Razorback but with shocking luck did no damage and it survived.
Combat saw the KK finish off the last of the
GH unit earning a
KP.
The game concluded.
SW 6 – Orks 3.
A win for the Space Wolves!
 Space Wolf final thoughts.
Considering the absolute slobberknocker that was the first game this was much more cagey and slow. The plan overall didnt really work, no part of the Ork line was selected and overrun, mainly due to the Rhinos getting stunned/destroyed and some good Ork repositioning.
However each area what was fought in held up pretty well. The
LR didnt do a whole lot but the Warboss flank seemed unwilling or unable to enage it so it nicked a few points here and there without giving away any.
The
Lfs/Razorback were very lucky to survive the game, it could have been a lot closer if the dice Gods had have had their say.
Only giving away 3 Kpd all game was pretty good though and when targets needed to be taken down for the most part they were.
Ork final thoughts.
Bleeeuuugh. Not a great game. Silly points given away needlessly, primarily the Deffkoptas who again bled points and were used poorly.
If they had have survived and the dice were a touch more favourable a draw could easily have been gained.
Another problem was spreading out and trying to engage the
SW units “one for one”, the Orks should have stayed together and hammered one part of the
SW line, preferably their right flank where the Razorback was and away from the
LR.
It really paralysed that wing, once the Deffdread went down it had free reign and the Warboss mob was totally wasted. Again too slow going forward and too cautious albeit a bit unlucky overall.
For the final game we just gonna Waaaaaaaaaaagggggggggggh!
So the table with 3 games to go looked like this with some fascinating permutations still possible
SW P5 W2 D3 L0 Pts 9
Orks P5 W2 D1 L2 Pts 7
Eldar P4 W2 D1 L1 Pts 7
IG P4 W0 D1 L3 Pts 1
Eldar vs
IG next!


