So, I recently decided to run a mini
DW campaign for my game group; you can see the thread for it here:
http://www.dakkadakka.com/dakkaforum/posts/list/424899.page.
I wanted to include land, air, and sea components into each of the games. This mean that I had to have some way for the players to transport their land forces to the beach, but Spartan has yet to release (or even announce) official landing craft for the game. So, I decided to make my own! I had a few design criteria I wanted to incorporate:
1. A carrying capacity of at least 2 medium tanks or 3 small tank tokens.
2. Operating bow ramps (for the "cool" factor).
3. A simple design for mass production.
So, below is what I came up with:
First I started with a rectangle of styrene, 1.5" by 4":
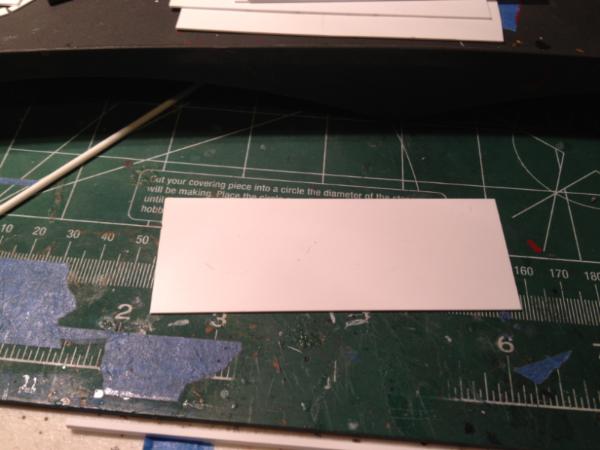
As you can see, this is large enough to hold the two tanks I wanted to carry, while still leaving room at the back for a small supersturcture that would notionally house the engines and crew quarters:

Next, I took some 1/16" square styrene and lined the edges of the base plate, in order to provide bracing to the vertical side walls of the hull:
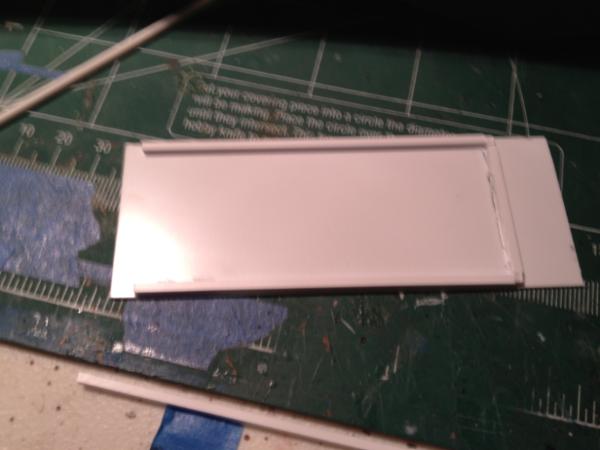
Once this was done, I fashioned the two sides of the hull from 1/2" strips of styrene sheet, with an angle cut into the bow end. I attached one of the sides:

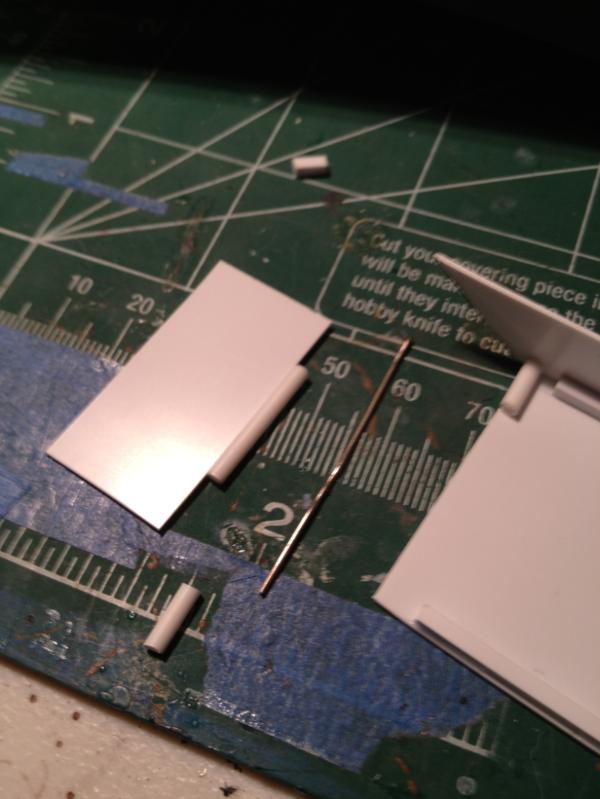
Next, I started working on the door. The hinges for the door consist of styrene tubing and wire from a straightened paper clip. The first step was to attach a short piece of tube to the bow of the lander, on the same side as the one the wall was glued to above:
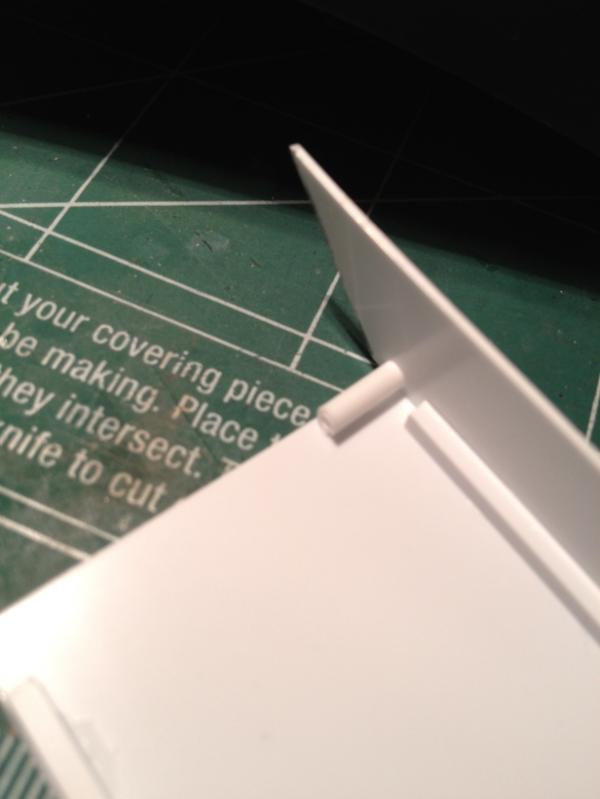
Next, I glued a longer length of tubing to the piece of sheet stock that will form the bow ramp:
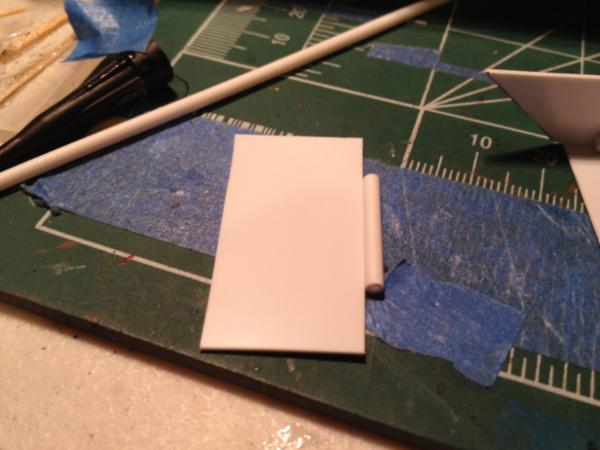
Here are all the components for the door hinge, right before assembly. I found the trick is to make sure the piece on the boat and the piece on the door have had a little time to dry. I then inserted the wire into the piece of tubing on the door, slid it onto the piece of tubing on the lander, and then slipped the short piece of tubing onto the opposite end of the wire. I then glued that short piece to the hull. Once the other side of the lander is glued on, there is no way for the wire to slip out:
Here is a view of the completed hinge:
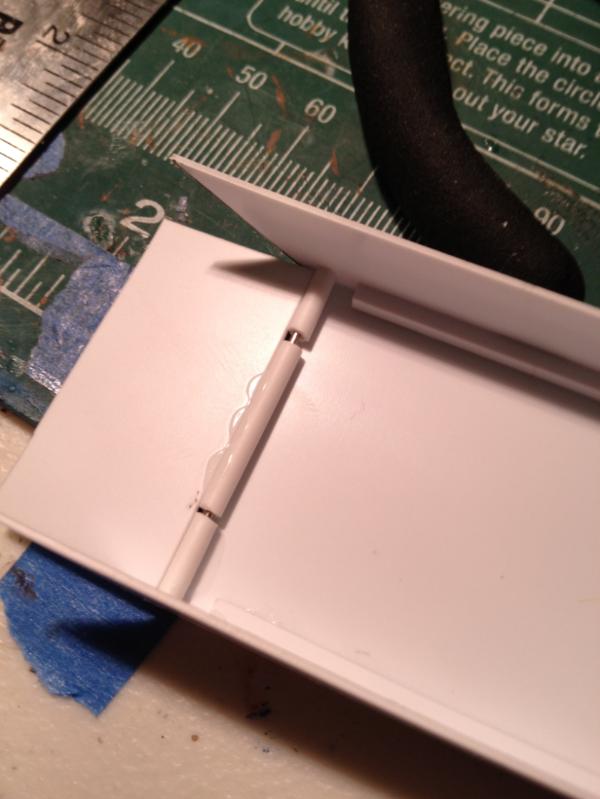
At the aft end, two pieces of styrene sheet were used to block off the cargo compartment and the stern of the lander. Another piece was added on top to completely box this area in:

Here is a look at the finished landing craft. The superstructure is a simple box made from styrene, while the smoke stack is a short piece of larger diameter styrene tube. The bow ramp has been equipped with a magnetic closure by gluing a rare earth magnet to the side of the hull and a short piece of paperclip wire to the edge of the ramp:
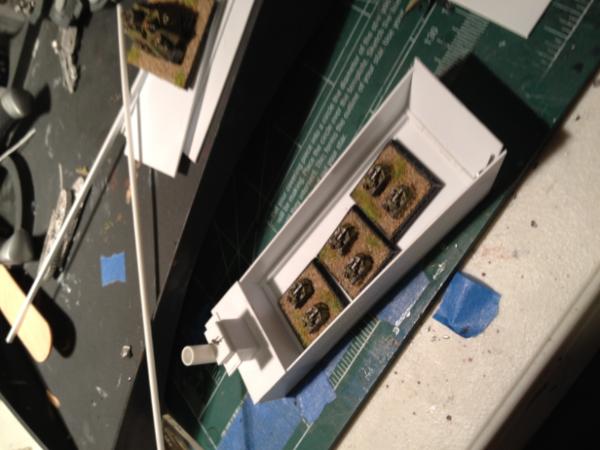
Overall, these landers satisfied all of my initial requirements. They certainly proved to be very useful in the first game of the campaign: Here is a group of three that have just disgorged their cargoes onto a beach:


