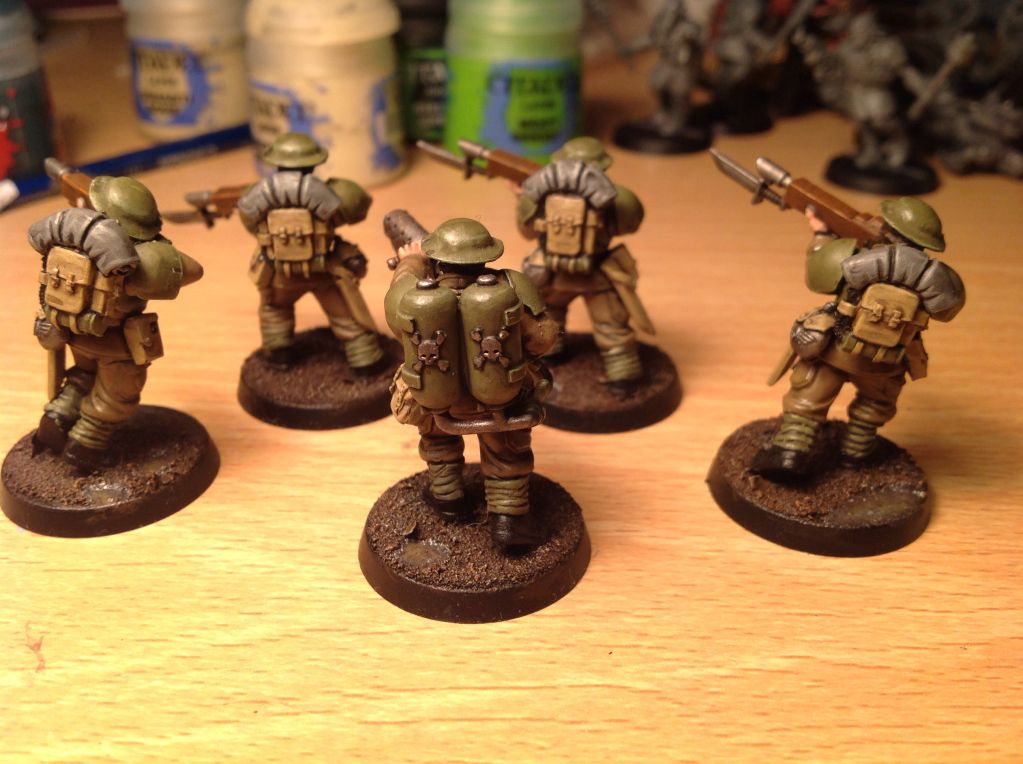
After a few people expressed their interest in my
GS foot wraps or puttees (puttees made from putty?), which I had applied to my WW1 themed
IG, I decided to create a short tutorial on how to get the effect on your own models. It’s simple but effective conversion which can help to give some definition to hordes of seemingly identical guardsmen.
Tools needed:
Hobby Knife
GS
Sculpting tool of your choice
File (Optional)
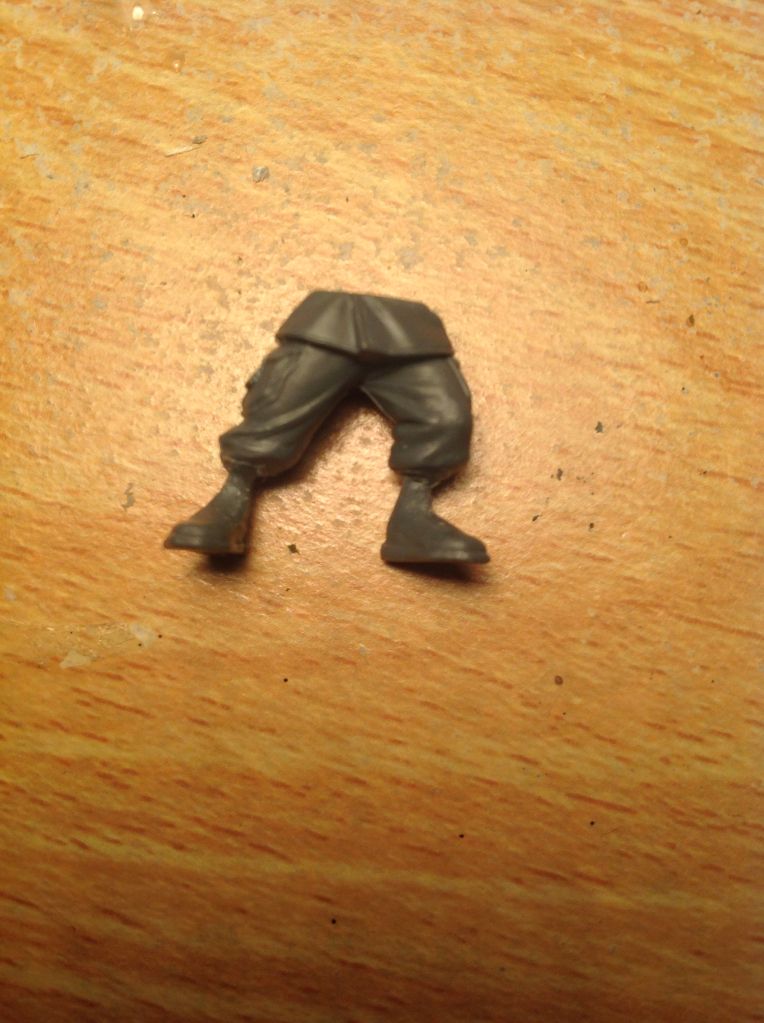
Step 1:
Take a pair of
IG Cadian legs and, using a file or hobby knife, trim the ankle part of the boots. Narrow down the ankle as far you can before you start to feel it is becoming weak. The more you can trim off the better the wraps will look. Avoid cutting or filing the trousers however and only concentrate on the ankle/lower shin, possible trimming the bridge of the boot slightly as well.
Step 2:
Mix up some
GS and leave it to cure for about 40-60mins (I find that this process is easier when the
GS is a little harder and not quite as sticky). Roll it out flat to about 1mm in thickness, I used the round handle of a hobby knife.
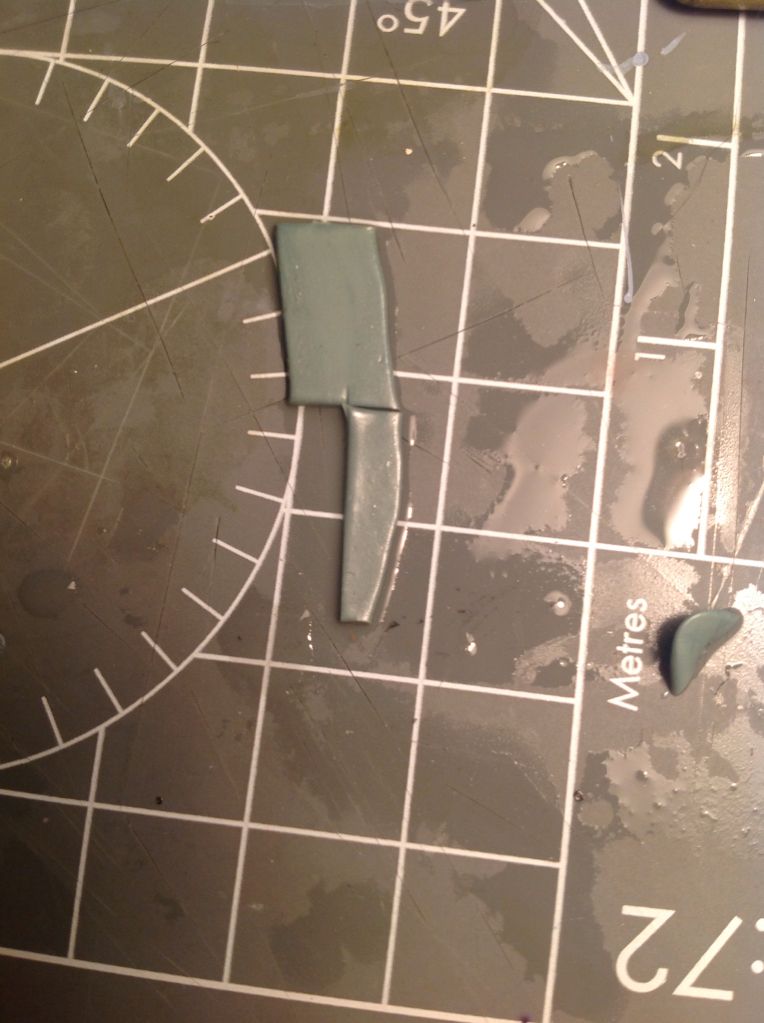
Step 3:
Using a hobby knife cut the
GS into strips with a width roughly equal to the gap between the trousers and the bridge of the boot. Cut the strips down into more manageable lengths.
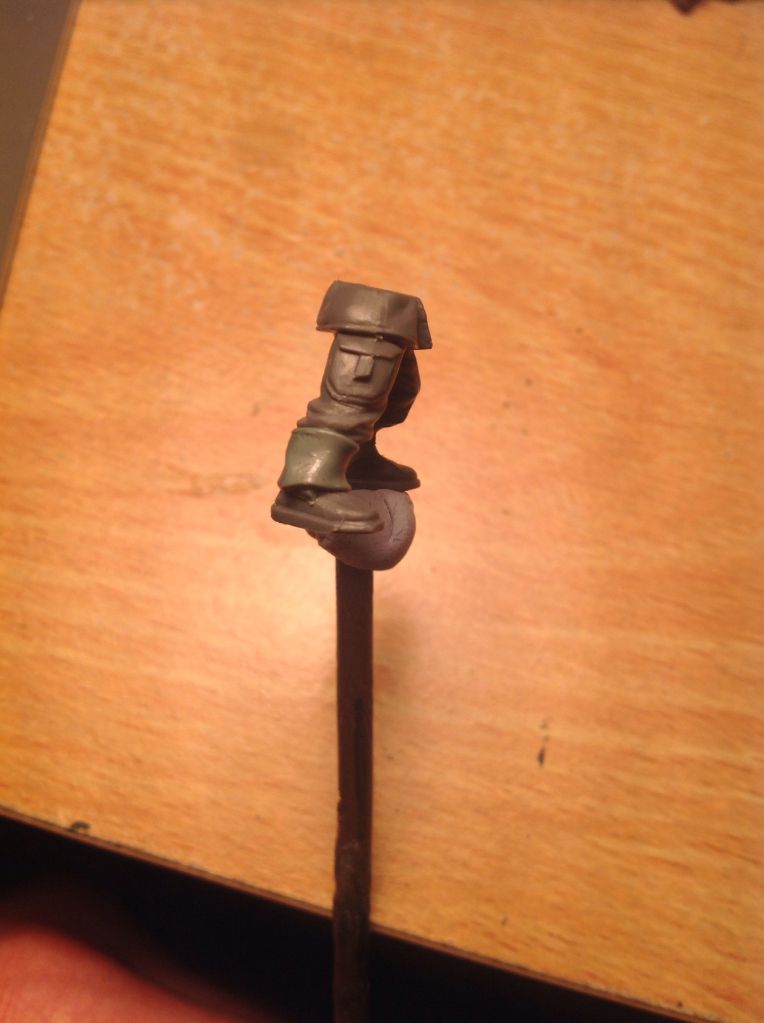
Step 4:
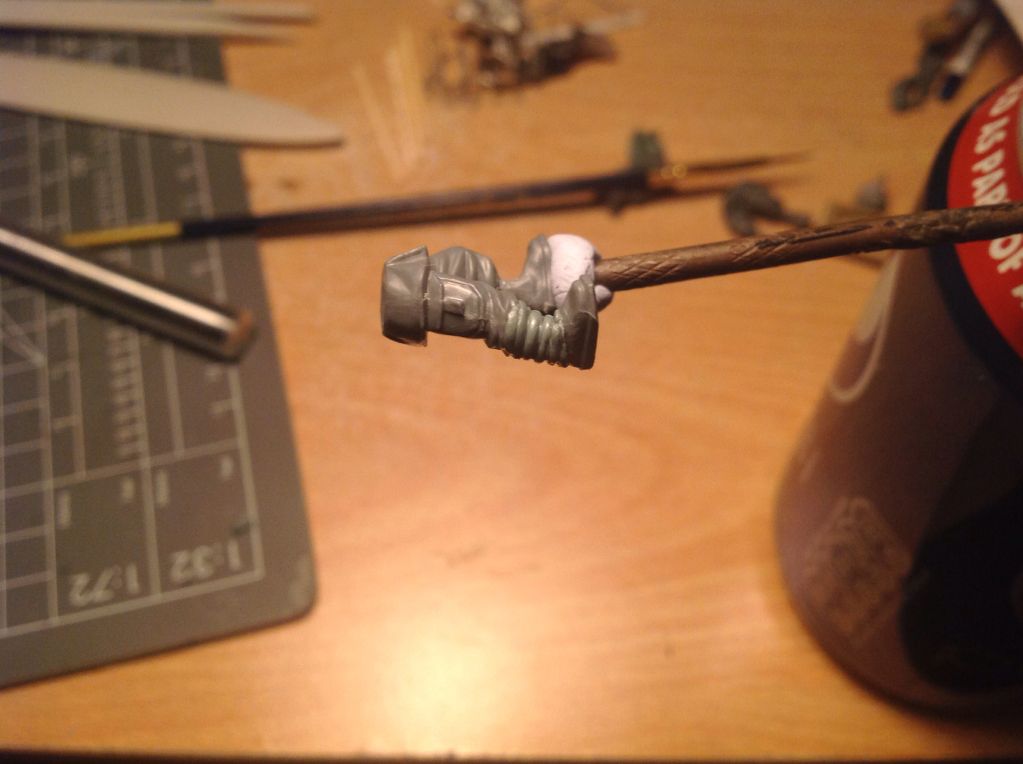
Now apply the
GS strip to the ankle (I find that a wet paintbrush is great for this), start by placing one end of the strip and then wrapping it around the ankle as tightly as you can without stretching the
GS. Try not to overlap too much and trim any excess. I would recommend doing one ankle at a time, there is nothing worse than completing the second ankle and finding you can pressed onto the previous ankle wraps before it has dried.
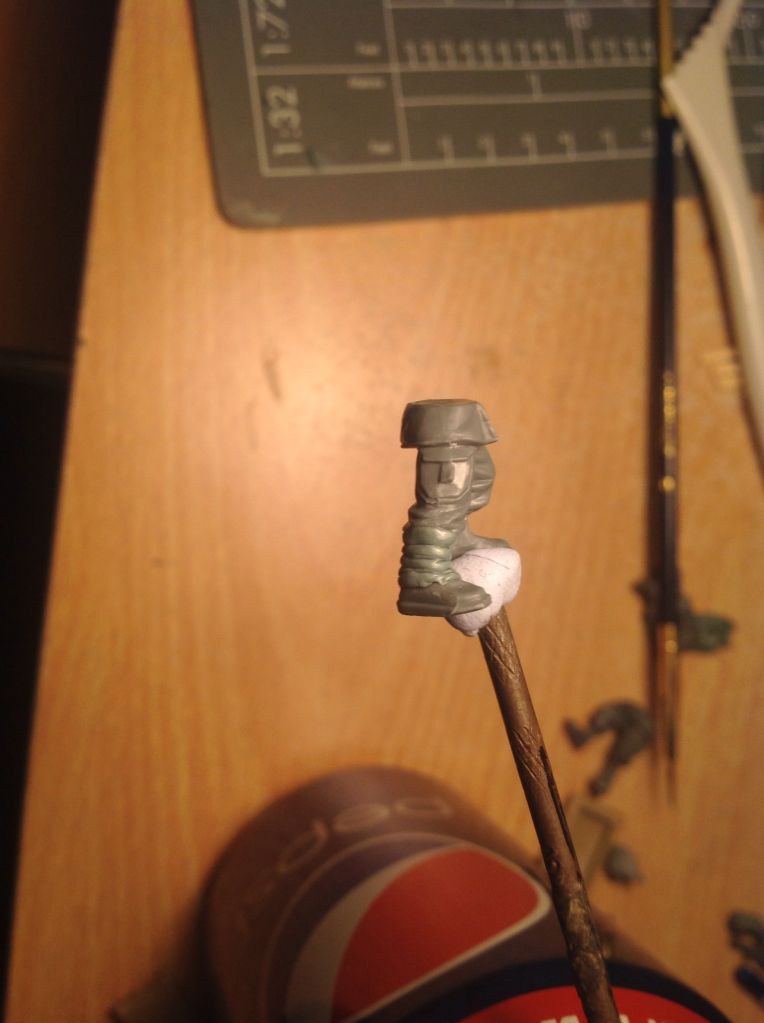
Step 5:
If the strip is loose on the ankle use a when sculpting tool to press it into the ankle, ensure that it does not move before proceeding.
Step 6:
Using a damp hobby knife press some parallel groves around the circumference of the ankle. About three or four will do for now.
Step 7:
Now continue to divide the sections until the bands are at a width of your liking. Adding the odd diagonal line between two parallel bands will help to reduce the uniformity of them.
Step 8:
Wait for the
GS to fully and cure and then paint.
Of course this technique isn’t limited to
IG Cadians and could be applied to other armies or even fantasy miniatures.
I hope you find the tutorial useful, if you have any suggestions for improving it then let me know. If you have tried out the tutorial please post them here along with some pictures as well.


 - 2500
 - 1500? 2000?
 - 550
- 550 
