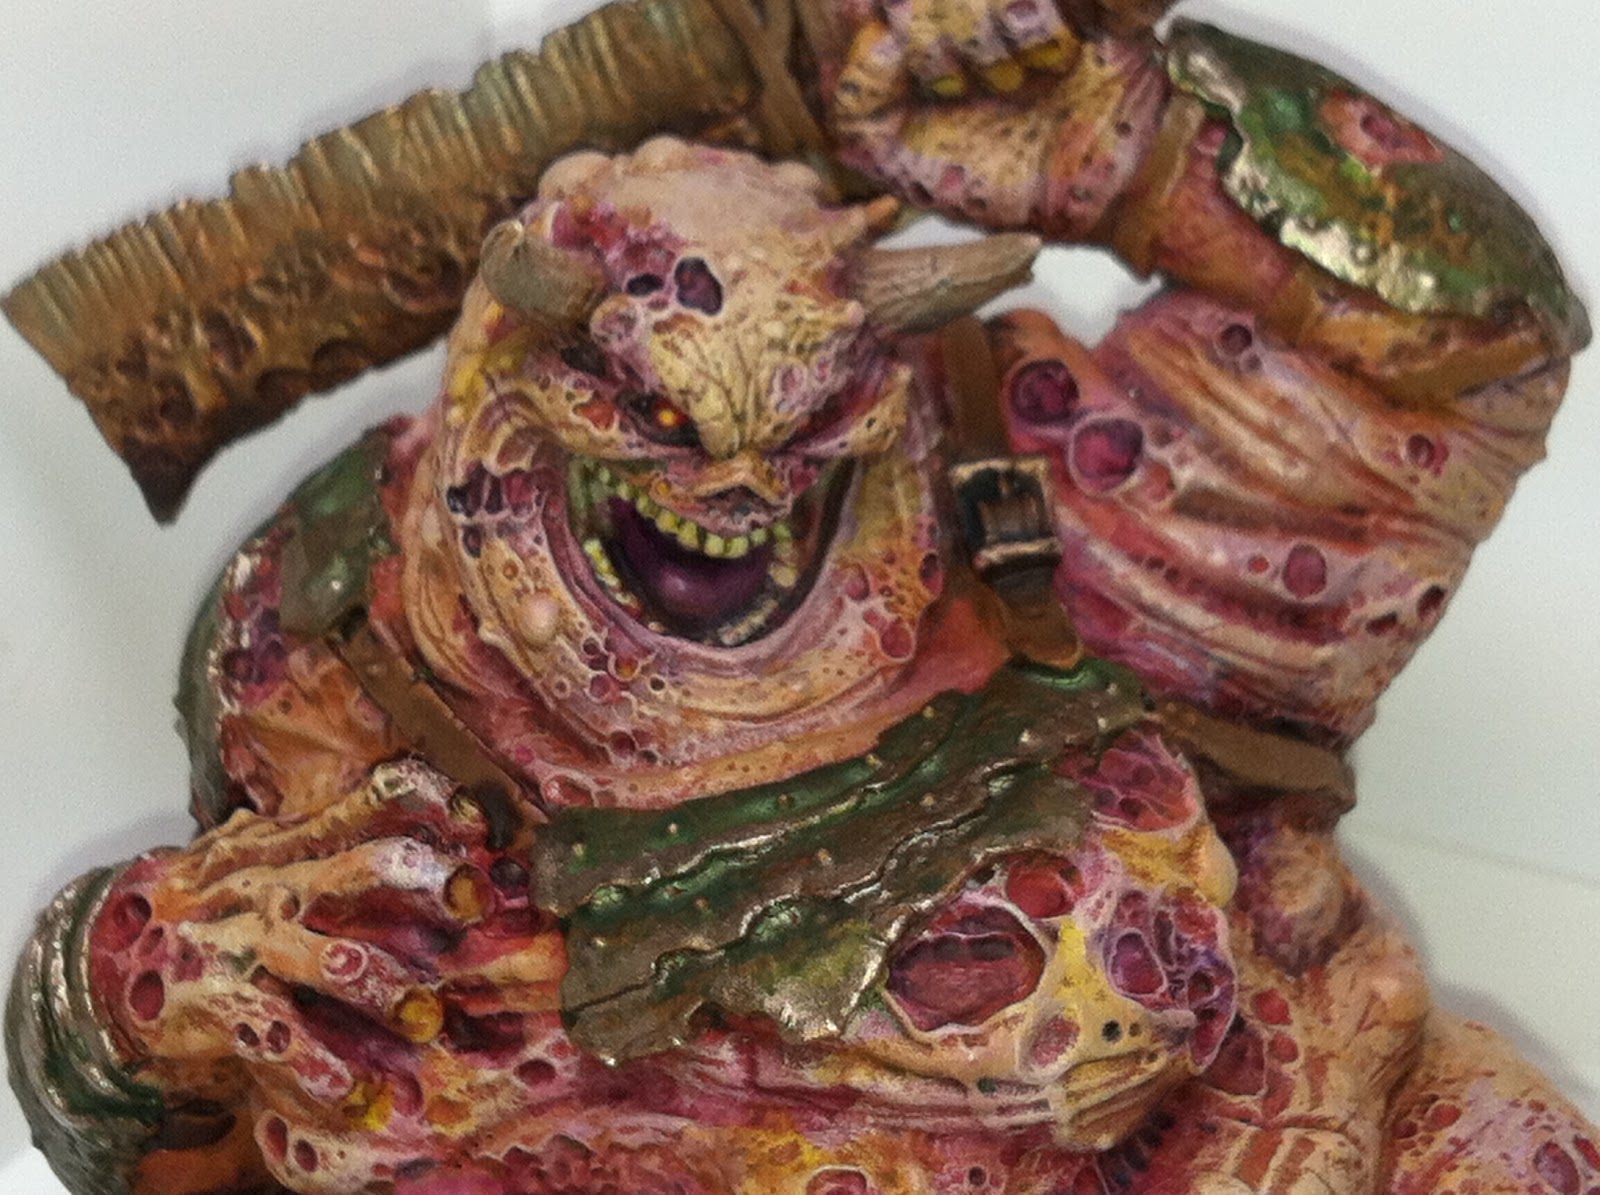
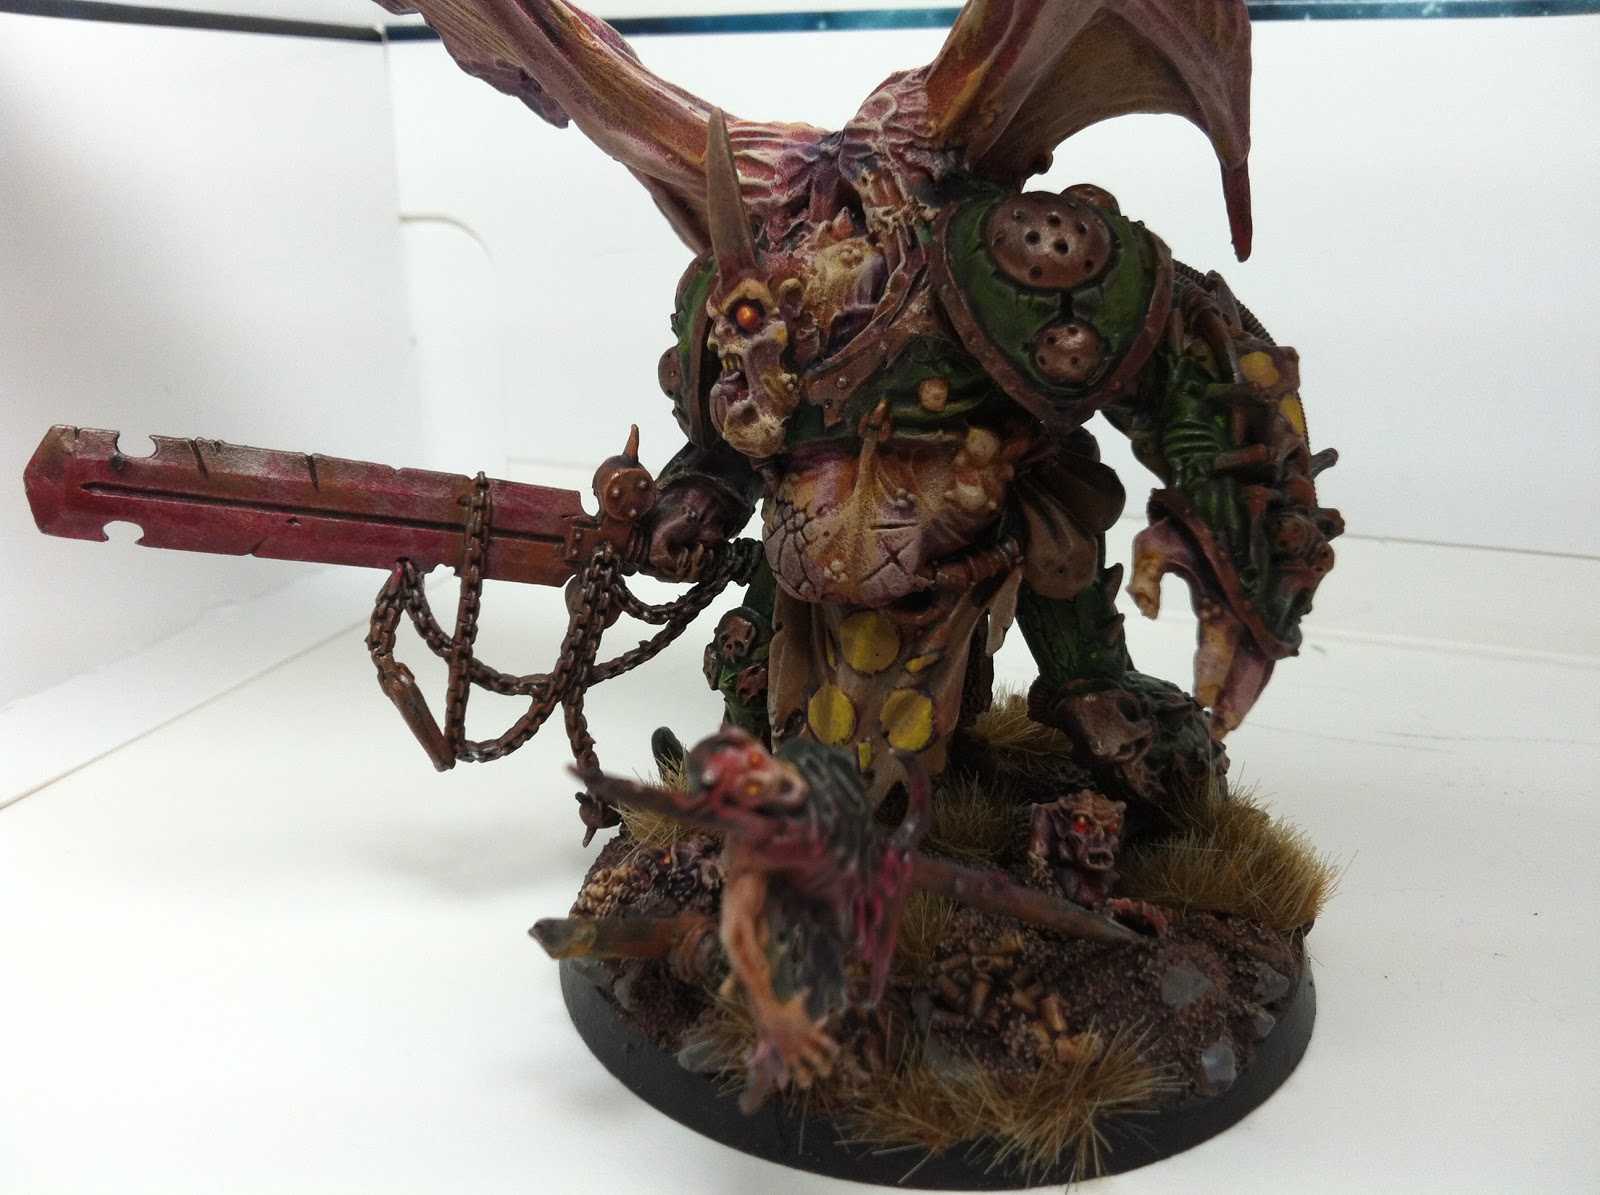
Let's talk about how I paint corrupted flesh on my Nurgle models, like this big guy in the photo above. The method is really just that ... a process and it can be easily replicated. If you are up for it, let's get started:
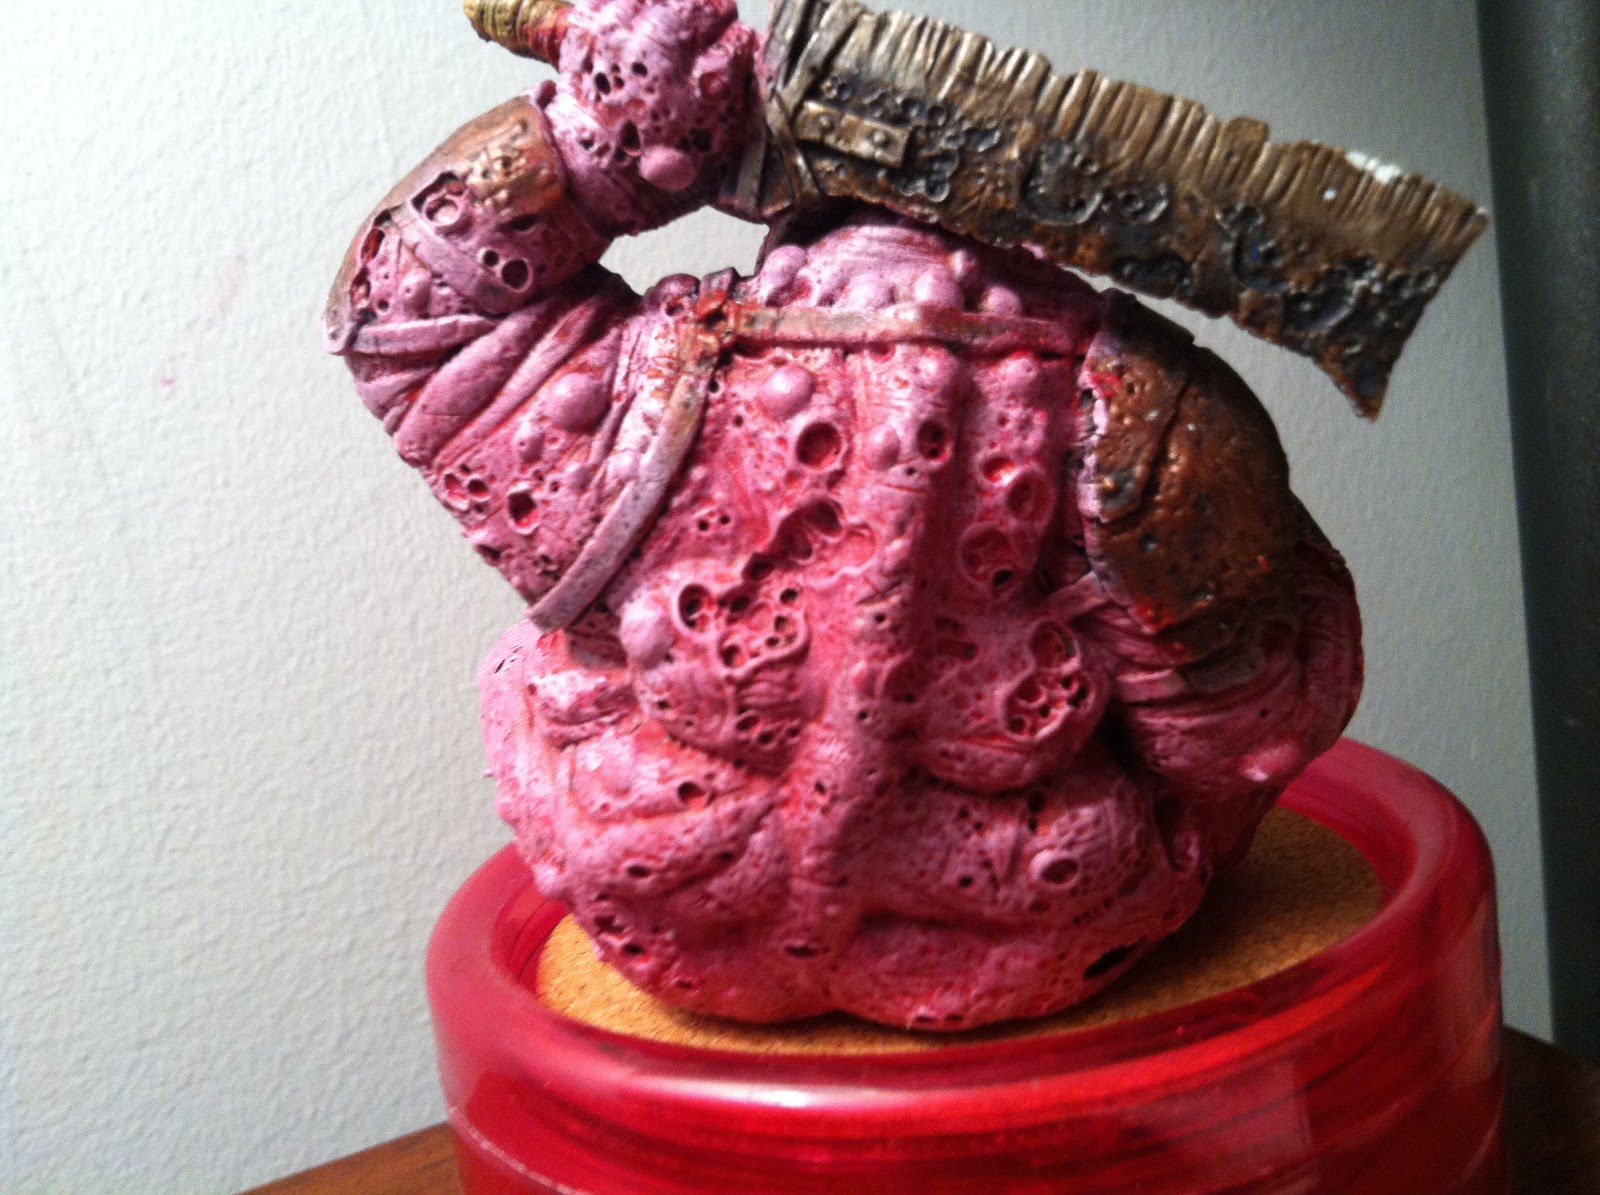
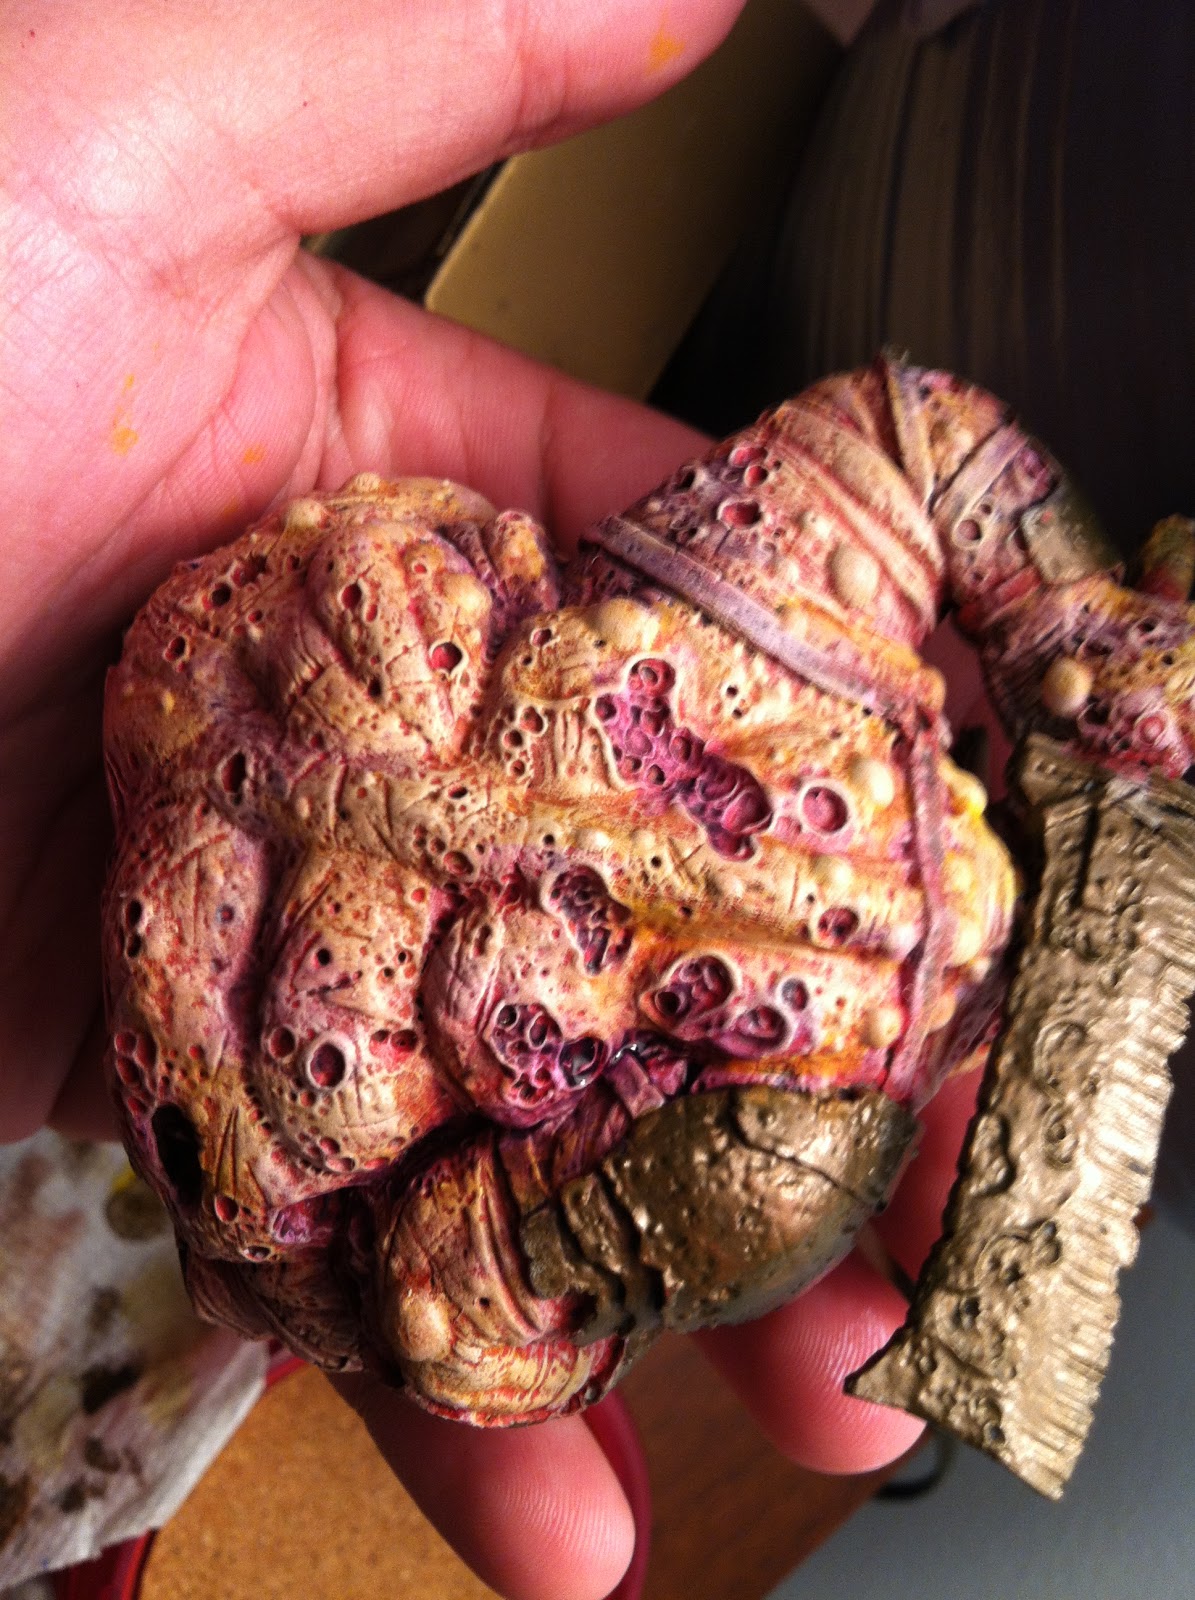
Alright, I missed the first step, but I caught myself as it happened. The very first thing you want to do is paint all of the flesh on the model Mephiston Red. Next, you will do what I started on the bottom half of the model in this photo. I dry brushed all of the fleshy areas with Emperor's Children Pink.
You want to get a lot of pink on this model, leaving only some of the red behind in the deepest recessed. That might mean you want to do two coats if you don't trust yourself with a little more than the average amount of paint on your drybrush.
Once you have the two coats (or on heavy one) down, you should have a model that looks sore, with the redder areas being in the folds or recesses.
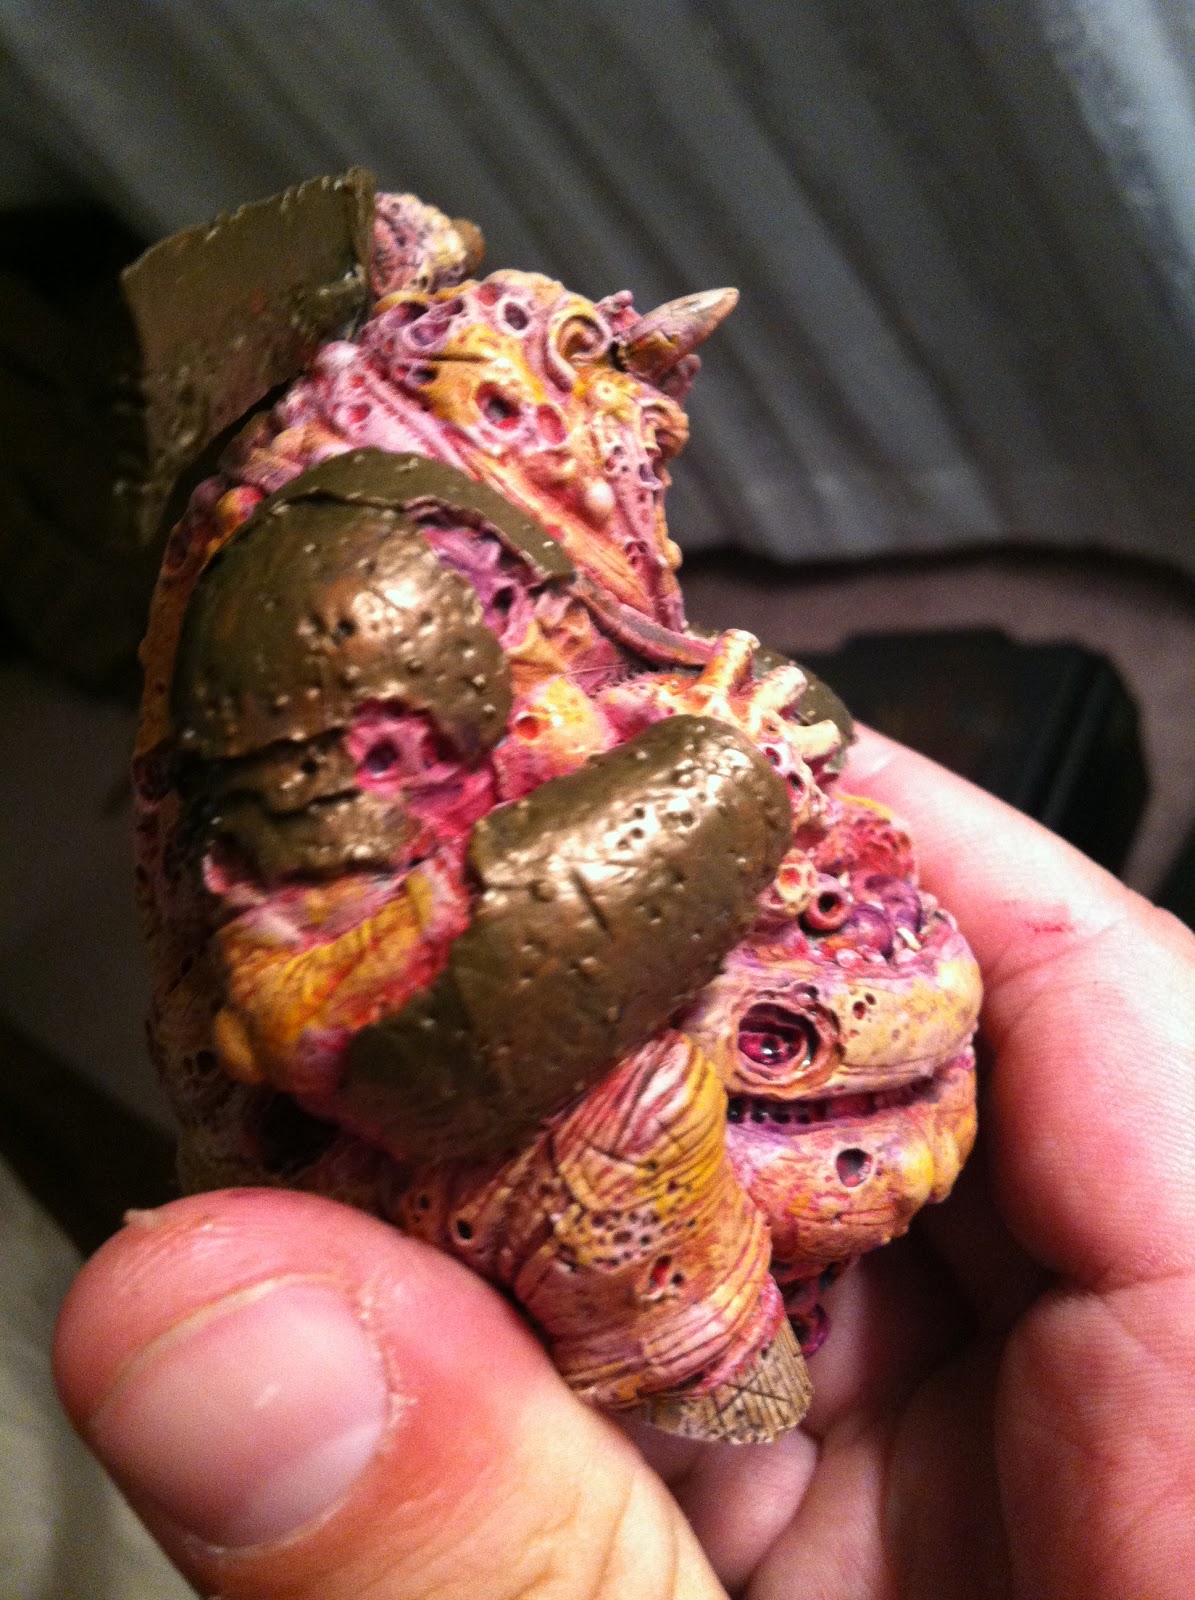
Next, you will drybrush the flesh areas with Tallarn Flesh (or Cadian Fleshtone and I am going to keep messing up old and new paint names). This time, you want to pay attention to the areas that are legitimately flesh, so ignore the open wounds.
The idea at this step is lay down a layer that isn't overpowering. You should be able to see pink as if you had tinted the model into a flesh tone. Next is where it gets gross.
Now you want to go around the model and spot certain areas with the new Lamenter's Yellow glaze. put it places near sores or blisters and near the armpits or other folds (but not all of them).
Next, you want to take a purple wash, like Leviathan Purple and wash it into some of the sores and lightly into a few of the areas that you want to appear bruised. now let all your washes dry.
Next step is to dry brush Bleached Bone (or Ushtabi Bone) all of the flesh, including the edges of the flesh near open wounds, but not the wounds themselves.
The drybrush should be very light and once you are finished, you will want to do it again on the most raised surfaces only.
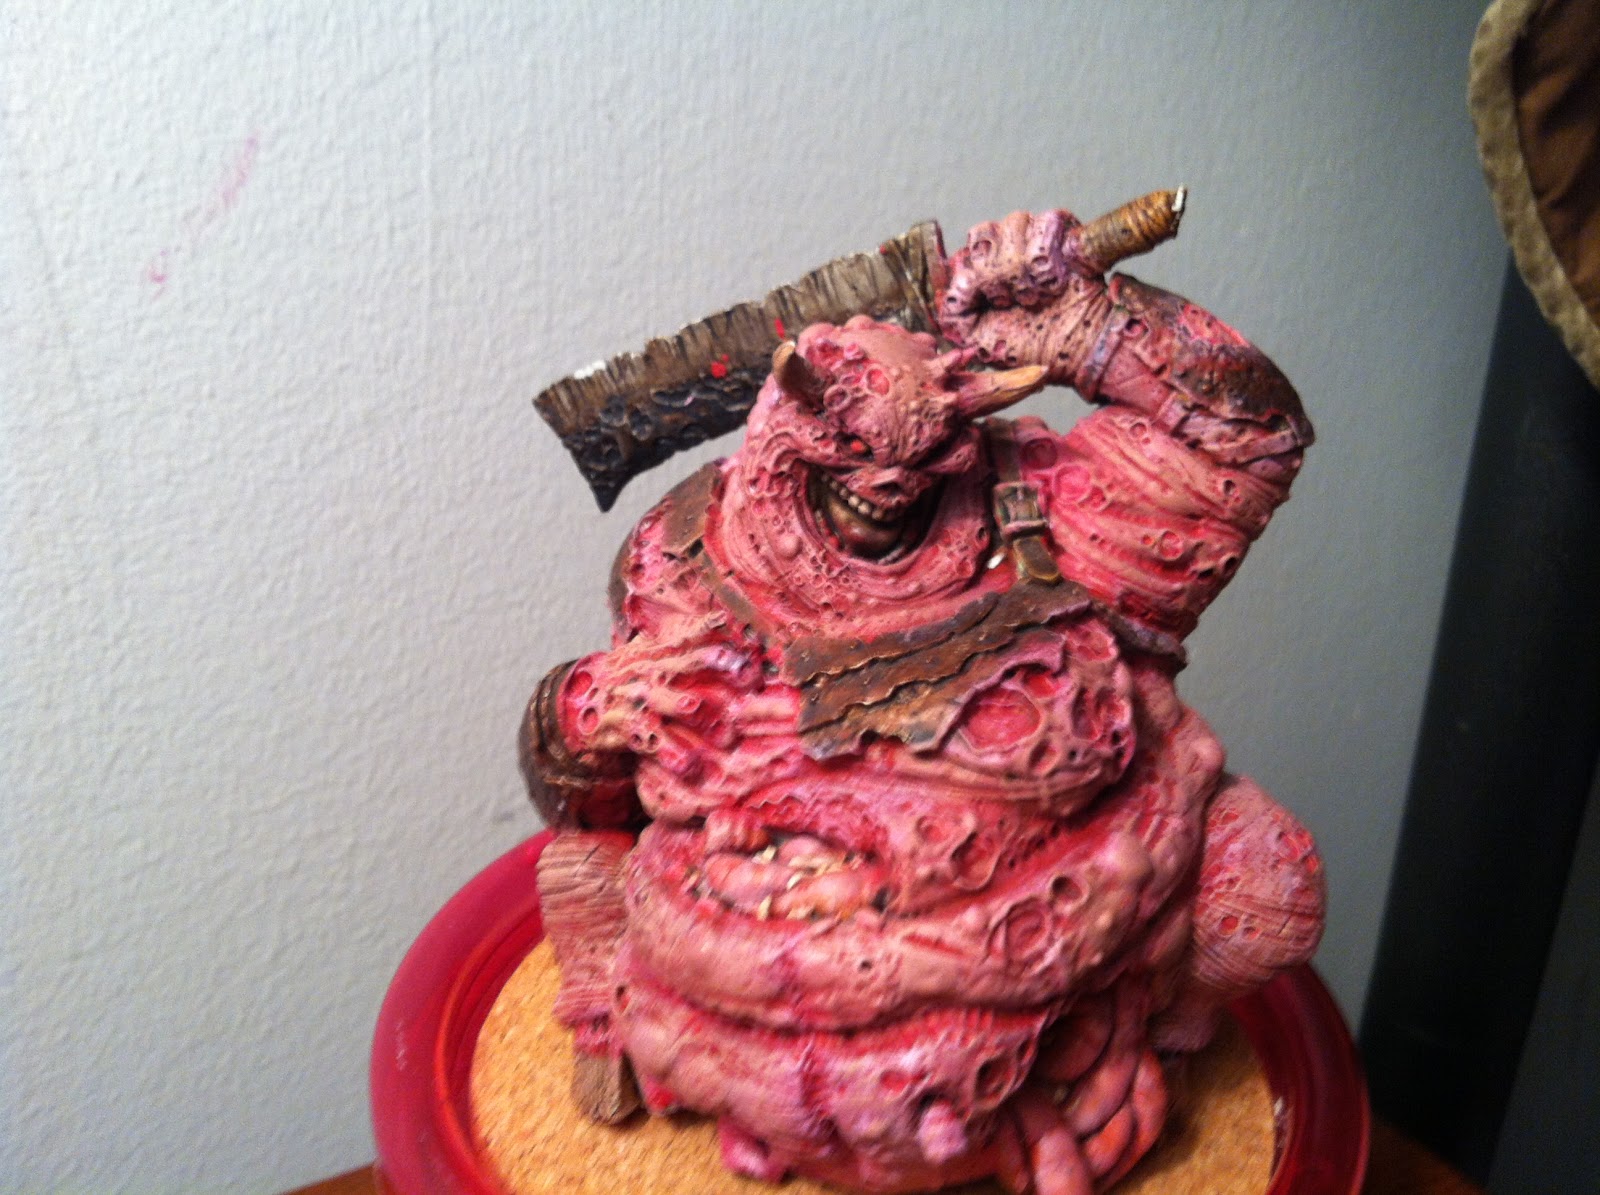
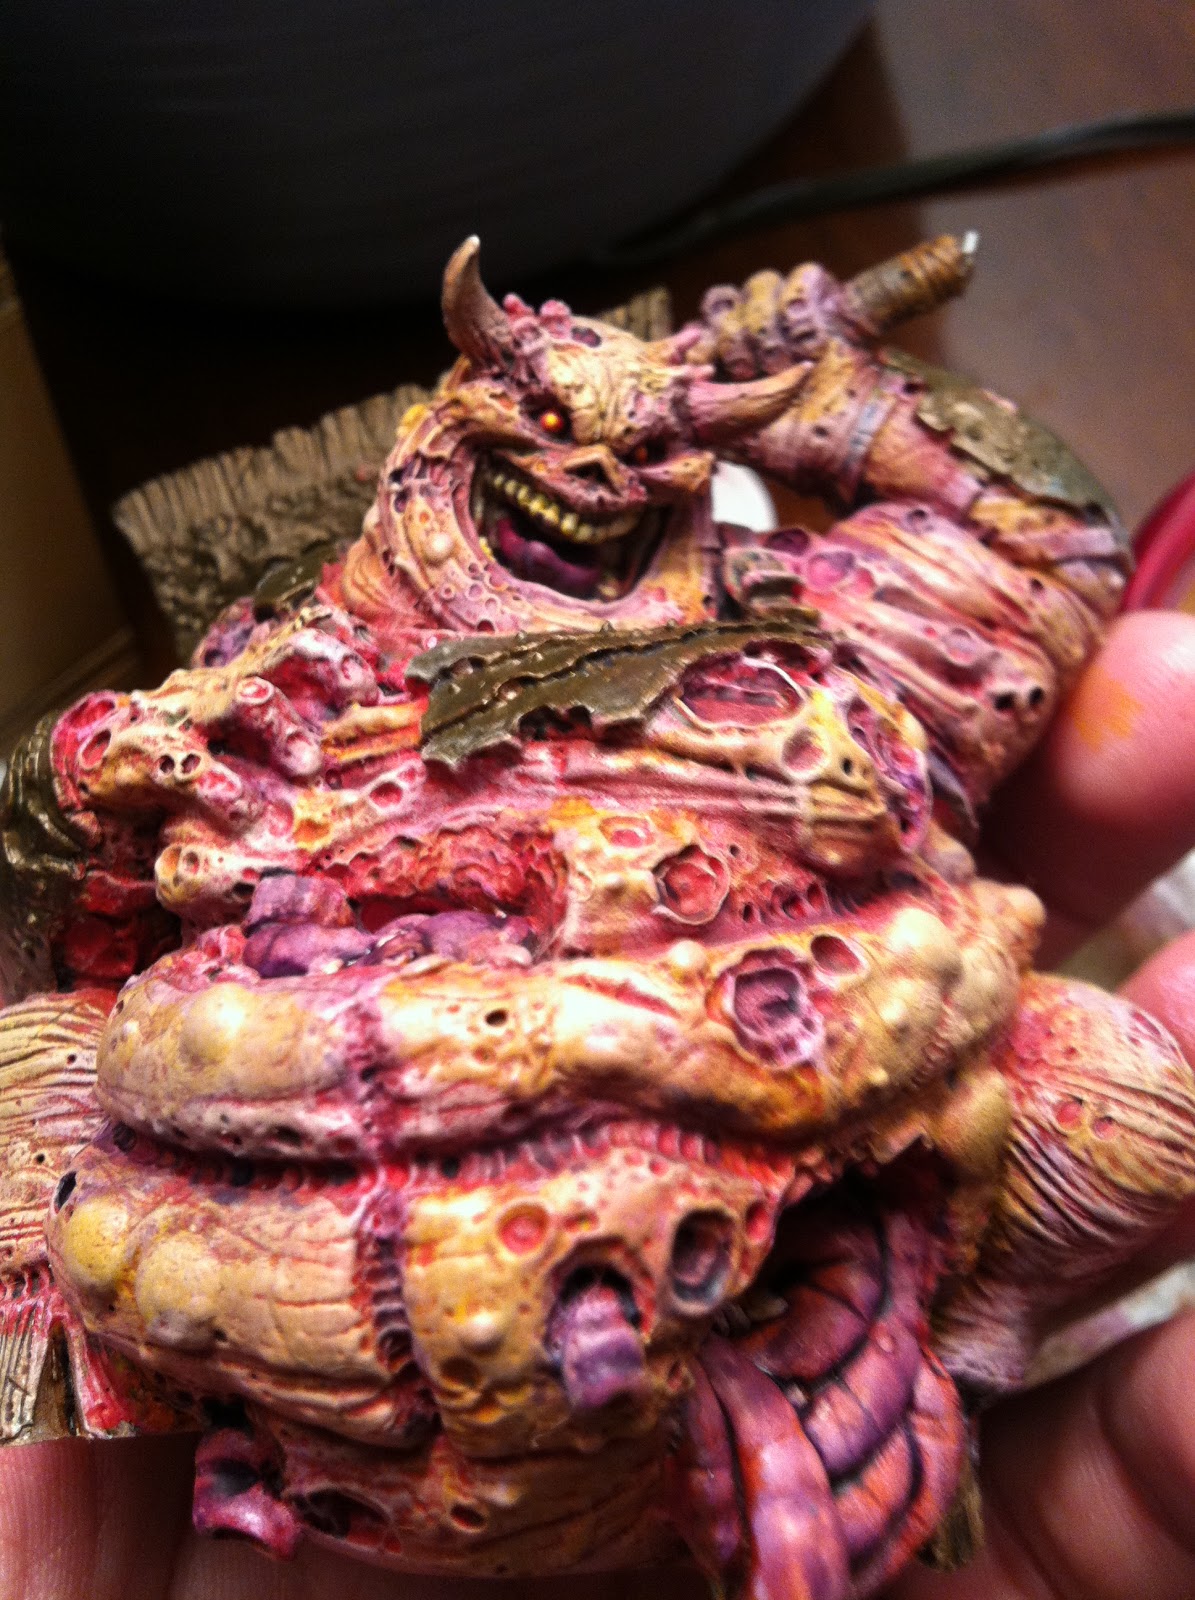
The goal is for the model to lighten up as a whole, while maintaining the yellowed look in some spots and the purple in others, while the highest areas become the brightest. As you look across the flesh here, you can see the way the skin has taken the colors from the process and made them look natural, like bruises and pus under the surface or jaundiced skin.
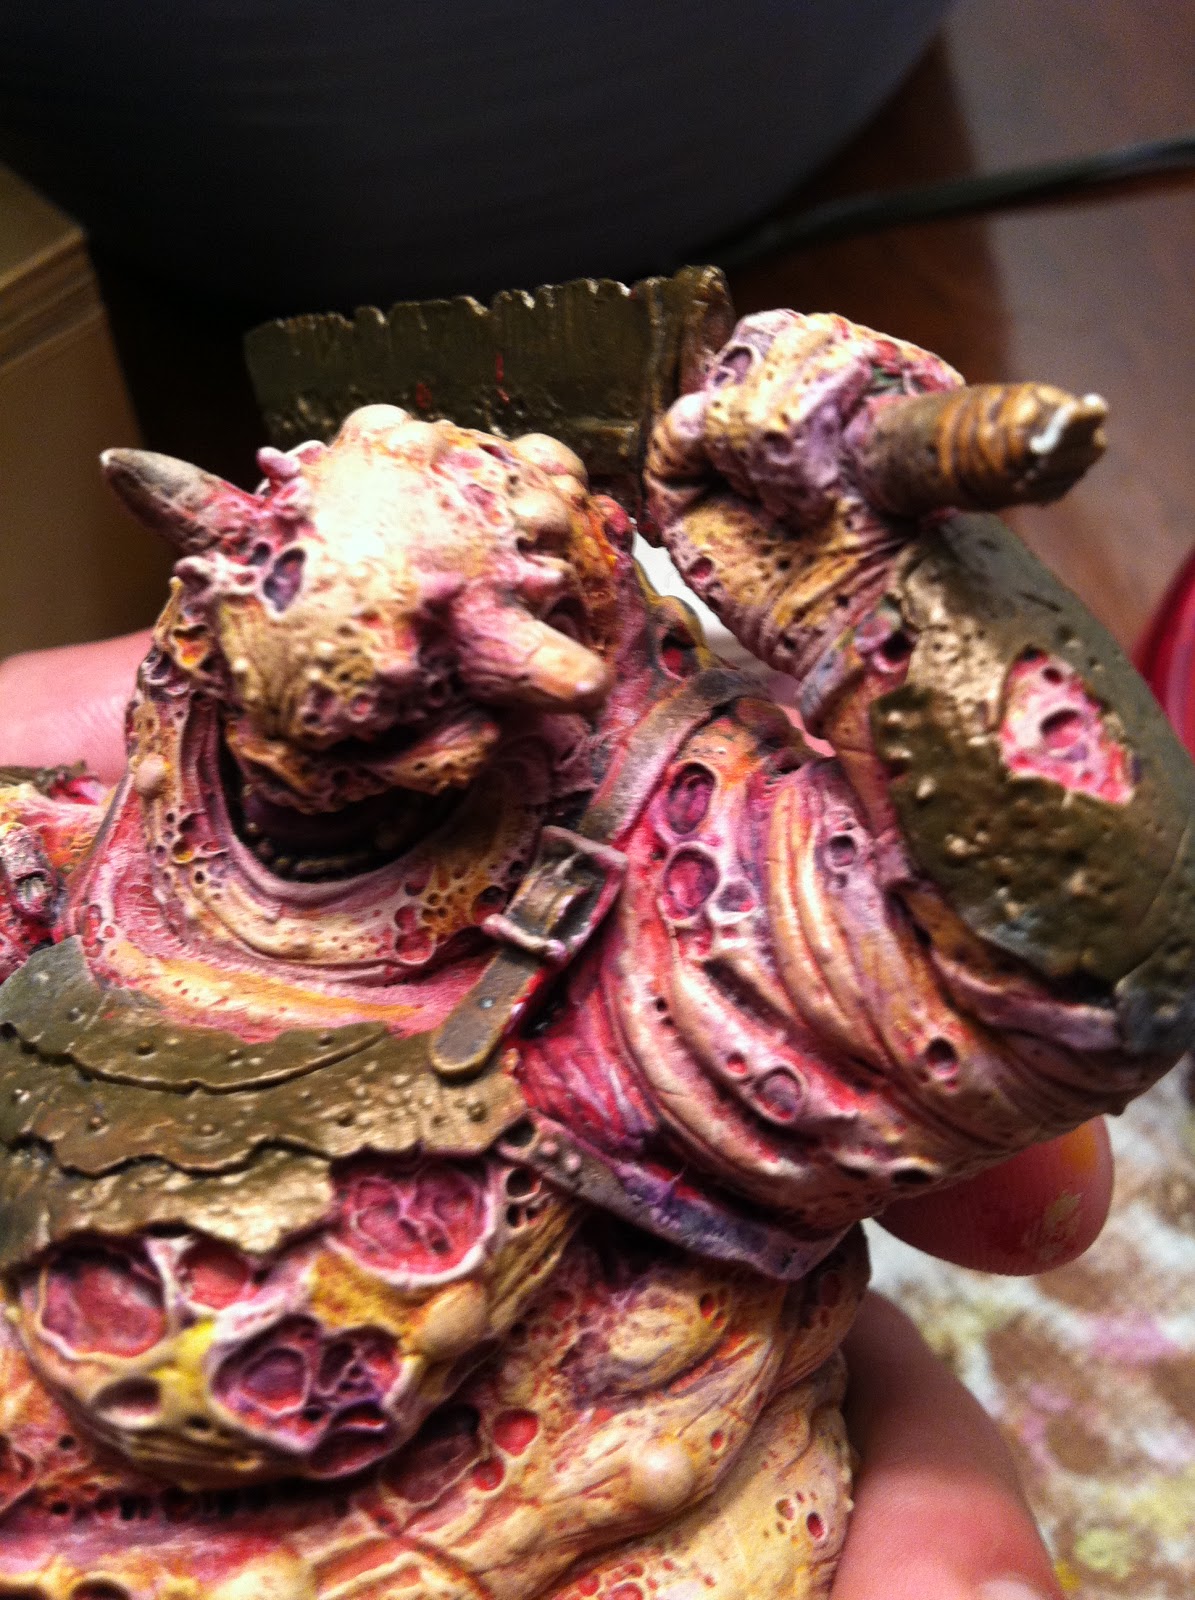
When you have some practice in, you will find it pretty easy to build up this effect and as you build the confidence, you will begin to pick out areas you want to skip steps on, like I did on this shoulder section, where I wanted an Athlete's Foot look from the chaffing of straps against his rotten flesh!
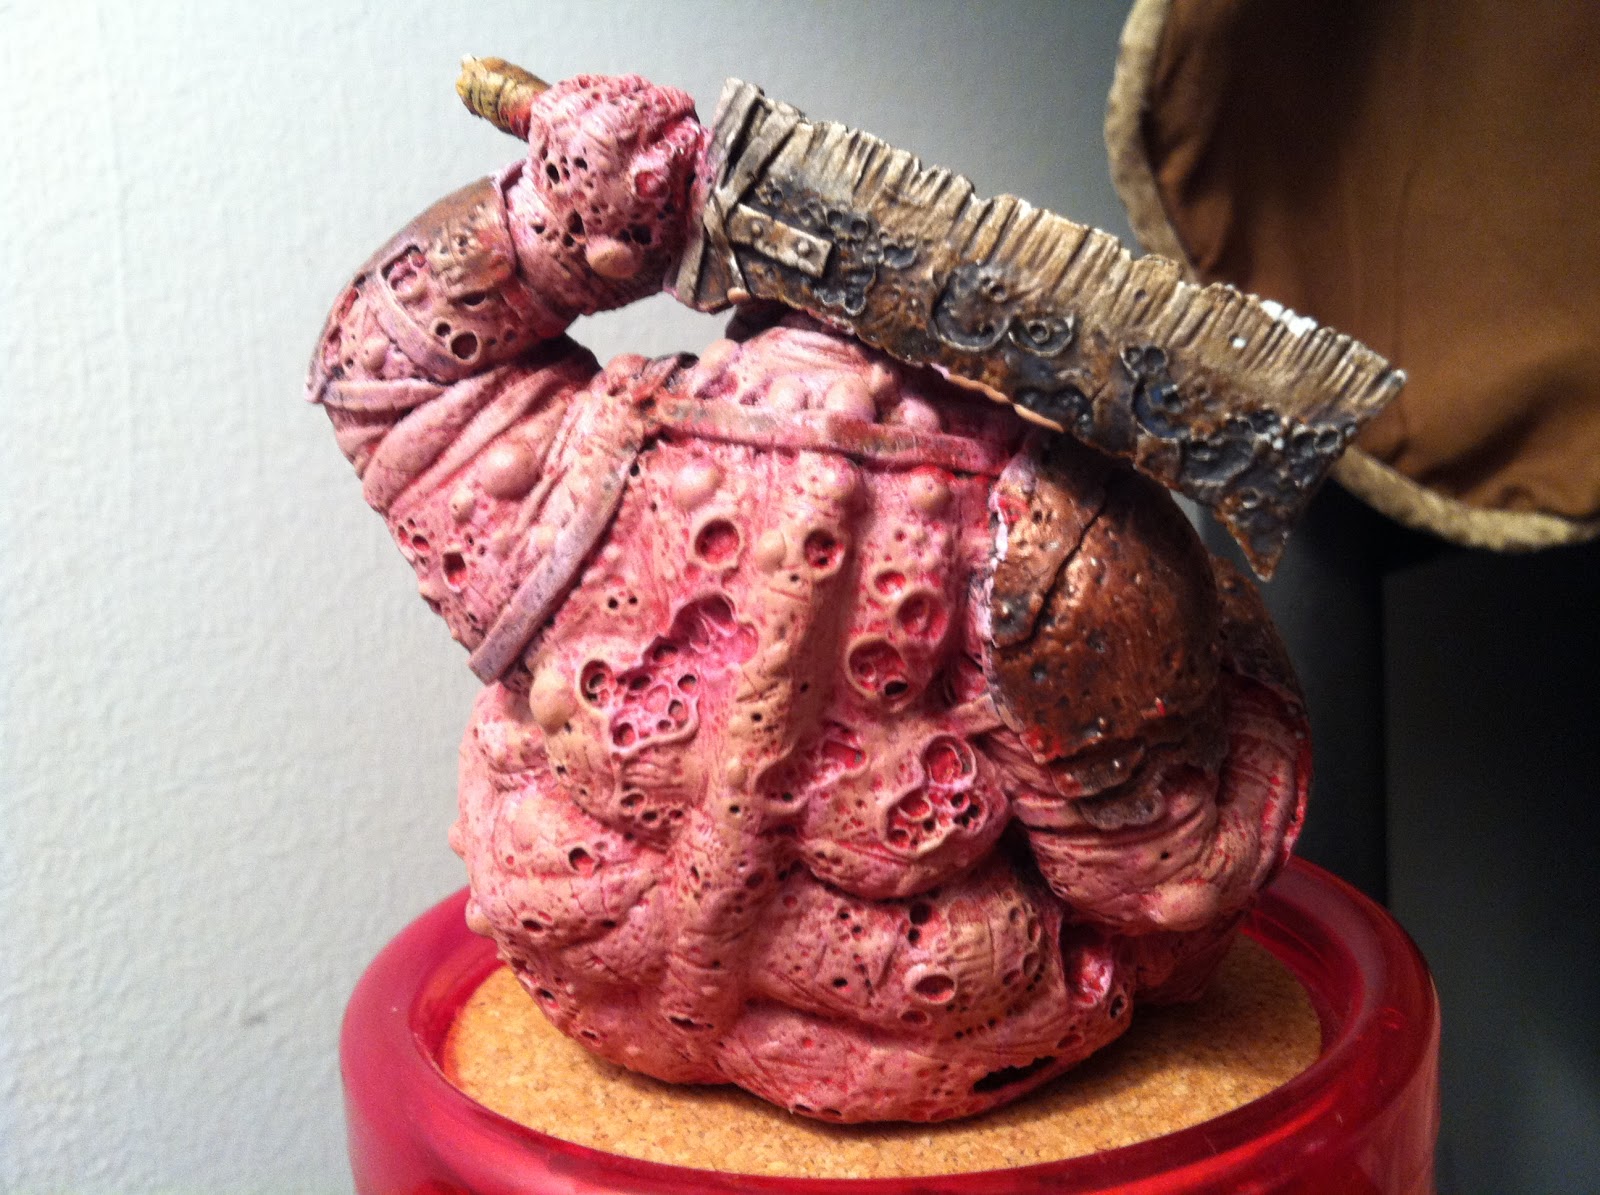
Now, I didn't go into the leather, the exposed intestines or the armor here, because I really wanted to focus on the flesh method. It is deceptively easy and when I explain it to people I usually get "that's it?" in reply. Yeah, that's it. It's really a matter of how to apply it rather than color choices and mix. It's good, old straight-forward drybrush and wash techniques!
Once you get the rest of a model painted that already has the rotten flesh, you will really see the effect come through!
While I have only used this method so far on zombies, daemons, plague Marines and such, I think this is a great method for Grotesques, Chaos Ogres, cultists and anything that you want to have a corrupted look.
I hope you have enjoyed the tutorial as much as I enjoyed making it.
As always, let me know what you think and if you try it outtopost results in the comments here to let Me know how it turned out! For more examples of my flesh tones, check the link below for an entire army painted that way over several years:
http://darkfuturegaming.blogspot.com/search/label/Army%20of%20the%20Apocalypse


 Waaagh an' a 'alf
 1500 Pts WIP


