Hi guys, this is my first tutorial hope its useful!
This is how I make cobblestone effect bases using green stuff. The first part of the tutorial is making the reusable press mould, and the second half of the tutorial is making the cobblestone base. At the end is one of my finished bases - I'm not a very good painter so I've left that bit out of the tutorial, but I'll put some notes at the bottom on how I painted my base... You can also use a different modelling putty other than green stuff, which is expensive...
So, this is the stuff you'll need to make the press mould. You probably won't even need all those sculpting tools - the important one is the flat square shaped spade tool. You'll need about 3 inches of green stuff to make the press mould.
Step 1

Using liberal amounts of water (I dunk my green stuff in water constantly) smudge it all together to get a nice ball of the stuff.
Step 2

Lots of water on the surface you are working on, press the green stuff out to be about twice the area of the largest base you will make.
Step 3

That's a 30mm round base on-top to give you an idea of how much area you want for your green stuff mould.
Step 4

This is where it gets fun. Take the square sculpting tool and start to push stone indents into the green stuff. Can't really explain this in words, but you want the 'stones' to be pretty neat, the the grouting lines (the raised bits) to be nice and clearly defined. Remember, this is a press mould so the actual cobblestones will come out the reverse of this... Use lots and lots (and lots) of water to keep the green stuff from sticking up.
Step 5

Carry on pushing the cobblestones into the green stuff. Don't try and make 'damaged' cobblestones in the press mould - we can add those later on our actual bases...
Step 6

This is the finished press mould for our cobblestones. Leave it to fully harden and cure for 24 hours. Don't be impatient - you want this thing to be nice and solid...
Step 7

Now, for making our cobblestone base. Grab a base you want to use, and cut off a bit of green stuff which is about the same size area as the base.
Step 8

Again, lots of water and smudge the green stuff all together. Push the ball of it onto the base, using some pressure. Don't worry about finger marks, we'll deal with them later. Leave the green stuff on the base for a few minutes, just so it sticks firm to the plastic base. You don't need to glue it (or at least I never found I had to).
Step 9

Take your nice and dry press mould (I'm using a different one I made for this bit of the tutorial) and absolutely saturate it in water. The base as well. You want that press mould to be absolutely soaking wet. No such thing as too much water. This will help release the mould once you have pressed it...
Step 10

Push the green stuff firmly into the wet mould. Be firm, some of the green stuff will start splodging over the base - don't worry about it. Now, gently and carefully remove the base from the mould, you have to 'tease' the green stuff away from the mould, nice and slowly, allowing the mould to flex a little bit. The huge amount of water you used earlier will help it not stick.
Step 11

This is my favourite bit of the whole thing. Take another of your sculpting tools (a thinner pokier one) and start to give some character to the cobblestones. You can put some damaged ones in. Have fun with it. Just remember - lots of water on tools and green stuff at all times!
Step 12

Now you want to add some impressions into the cobblestones - this is optional - you could be going for perfectly smooth roads. I prefer my stones to have a bit of wear and tear - makes it look like they've been travelled on a lot.
Step 13

Now you need to clean up the sides of the base. Start by gently pushing the green stuff towards the centre of the base, and at the same time smoothing it down into the base. You your finger for this, gently, lots and lots of water so you don't leave finger prints. Then finally you need to use a scapel or something sharp to carefully scrape away the over-hanging green stuff from the base. Be careful! Its green stuff - not red stuff ;-)
Step 14

That's the finished un-painted base. Leave to dry and cure for 24 hours.
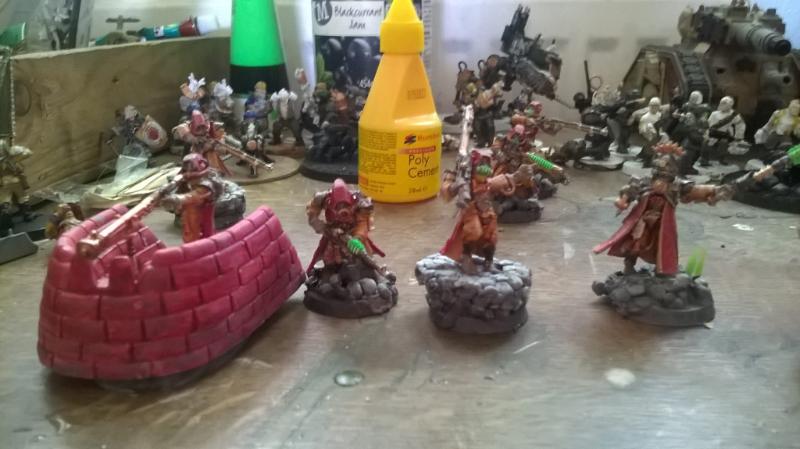
Step 15

This is a finished painted base. I'm not a very good painter so I won't give a tutorial on that. I just primed it, then painted very dark brown (almost black) then slowly highlighted up to bone white. Then gave it an edge highlight, a couple of washes (black and brown, especially in the deep bits) and then painted the plastic rim of the base in black to finish it off.
Step 16

Hope that's been useful or intesting. It's an expensive way to make bases - but I think they look nice and a bit different to the usual sand + scatter grass.