Greetings all,
I've recently completed a trio of broadsides with both weapon load outs and it was suggested I put up a guide on how I got mine to fit together. regretfully the photos are with paint so I'll do my best to explain. I'm sure there are better/quicker ways to do it, this is what I've done.
During the build phase I cut the round ball joints flat to create a better surface to drill into, using a 2mm drill bit drilled into the ball joint and glued in a 2x1mm magnet in each side, taking note of the polarity to match on each suit

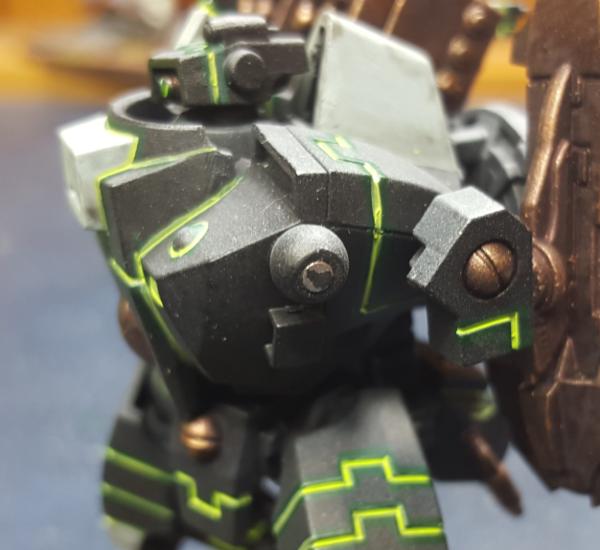
Worth taking note here, when you drill the hole its position will dictate where the arm will point, so if you want strait on placement then drill 90 degrees to the body, if you want a slight slant then adjust the direction of the hole.
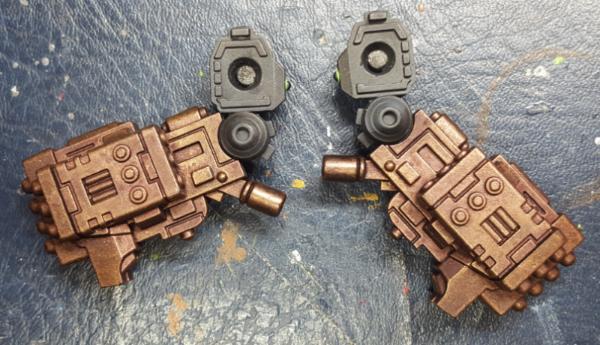
For the missile pod arms I drilled another 2mm hole in the socket, being carefull not to push through to the other side
The two magnets are strong enough to keep the arms on, but not upright, you could use stronger magnets in the should joints if you wanted to.
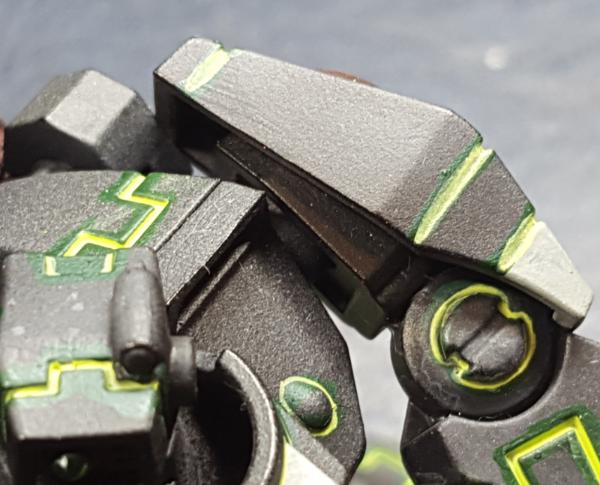
For the Railgun arms I didn't use any magnets, surprising I know, but when I glued the arms together with plastic glue there will allow a little bit of bend which allows you to slip the arms over the ball joints once they have been cut.
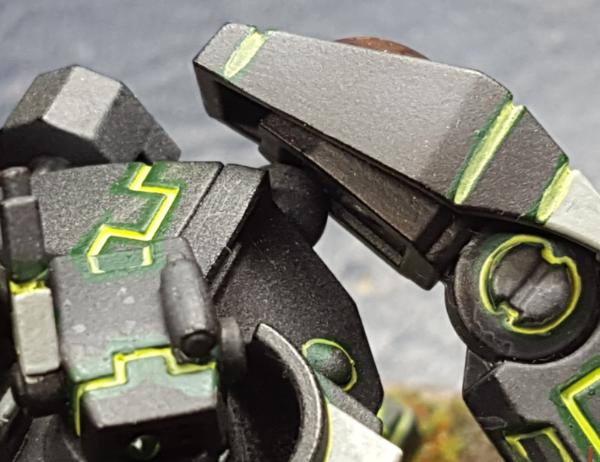
here you can see the flat edge just allows it to pop over.
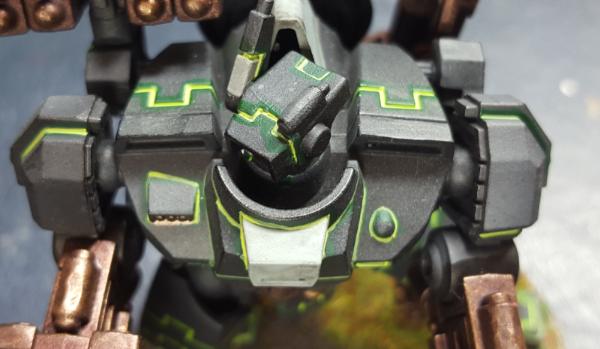
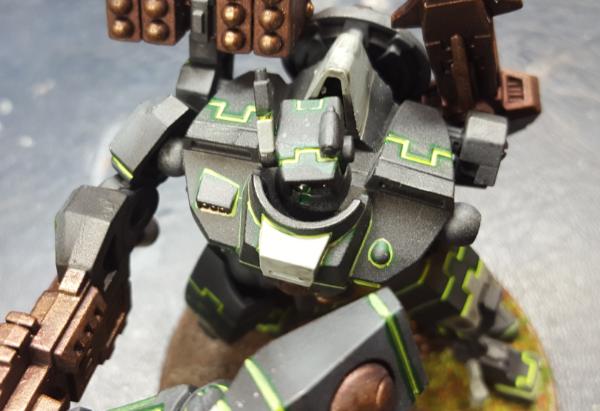
So there you have it, how I managed to allow both weapon sets for a broadside

I hope you find it useful.
If you interested in the tau paint scheme I have more over on my blog -
http://www.dakkadakka.com/dakkaforum/posts/list/349329.page starting from page 153


 ~15000 Astra Militarum:
  ~1200 | Adeptus Custodes:
  ~1900 | Imperial Knights:
  ~2000 | Sisters of Battle:
  ~3500 | Leagues of Votann:
  ~1200 | Tyranids:
  ~2600 | Stormcast Eternals:
  5000pts
  6000pts
  3000pts