We've discussed many ways to make bases. However, complicated techniques such as water or thick grass imitation can be difficult for beginners. Today we'll show you and easy way to make bases.
The main thing you need - is cork. You can buy a sheet of cork in every hardware store. The colour and texture don't matter. Another ingredient is sand. You can use special sand for modeling or sift the one from your backyard - there's no difference. You can use grass imitation instead of sand, depending on the landscape you want to get. Both are glued with PVA. You can use ice cream sticks for making wooden constructions - it's simple and we won't do it in this guide. So, as you can see, you can decorate your base really cheaply.
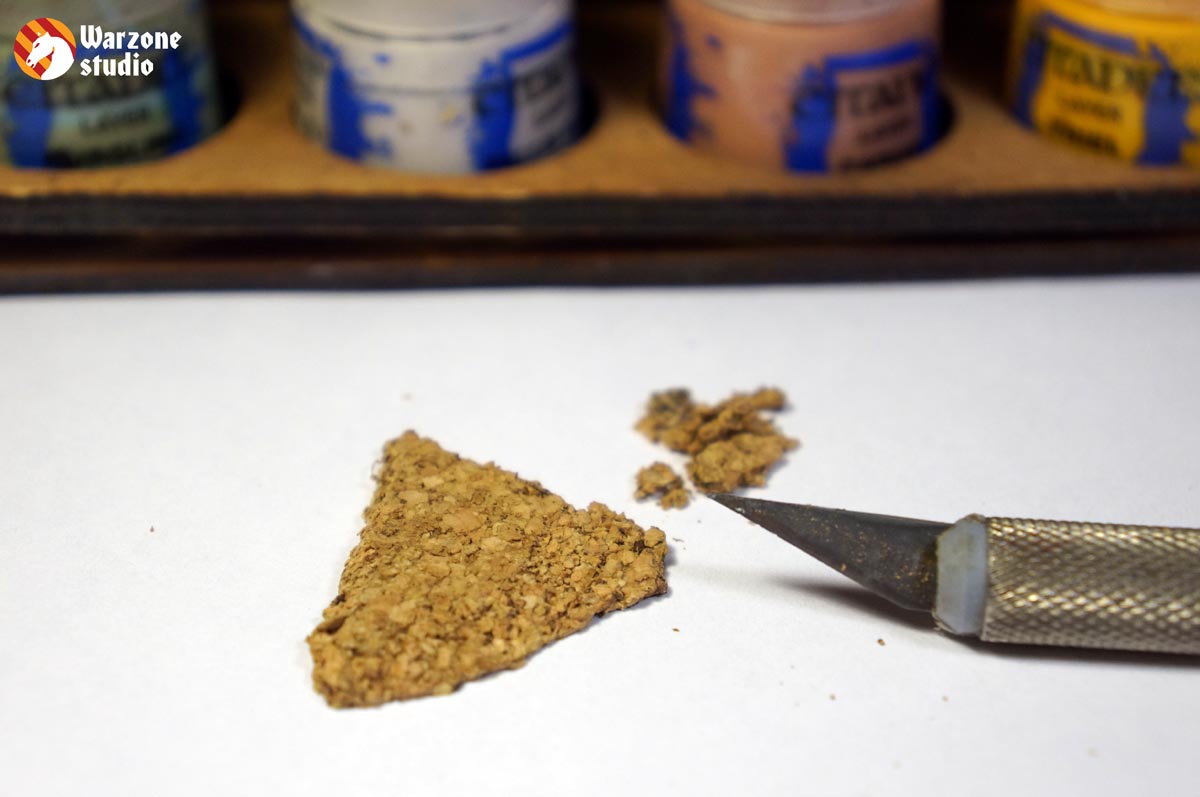
Don't glue cork as it is. Scratch and slice it with a knife to make it look like stone. Don't throw the leftovers out - you can use them to imitate small pebbles on this base. The shape and size of cork pieces depend only on your imagination.
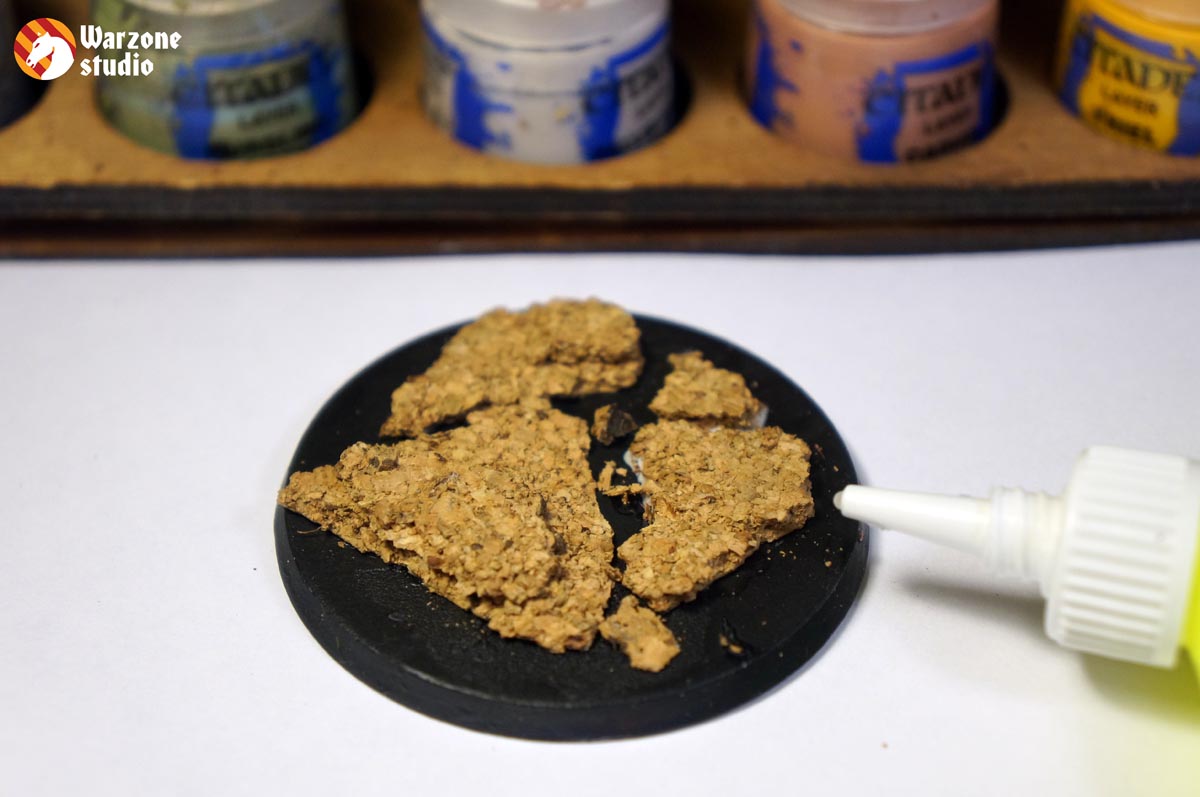
Glue the pieces to the base. You can use instant glue or PVA. Think about how the model will be placed in advance - so that to avoid problems with placing.
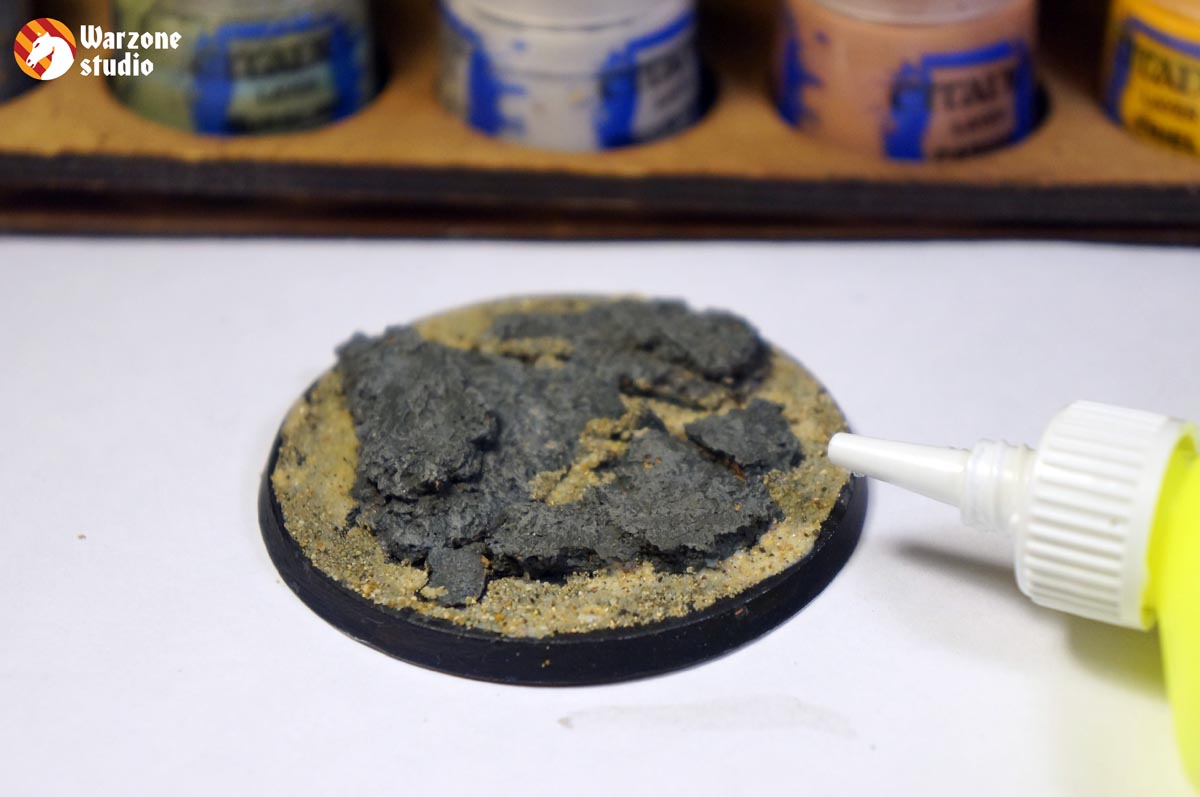
Paint the cork. You can choose any colours, the main point is to take a darker shade as base and then drybrush it with the lighter one. You can choose brown, grey or sand colour scheme - as you wish. Add more water to the base layer so that the paint would cover all the cracks in the cork.
After the paint dries, you can apply sand or grass. Carefully cover the base with PVA avoiding the stones, cover it with the sand and get rid of the extra sand by shaking the base.
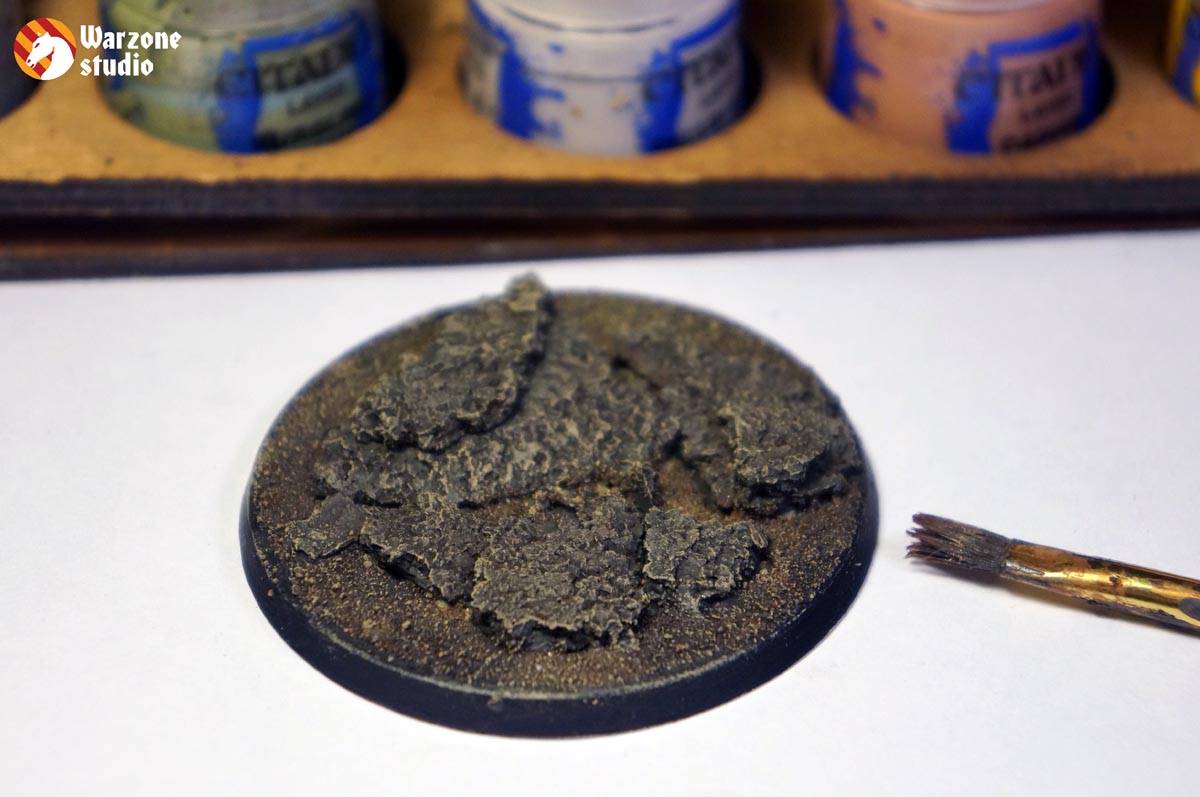
When the glue dries, it's a good idea to wash the base. The wash will add any shade to the sand and volume to the stones. We took the same wash for both of them, but you can choose different ones. If you applied grass, use wash and the following drybrush only for the stones.
Now you need to drybrush it all. You need a much brighter colour to get a nice texture. Beige or bone paint is perfect to any scheme.
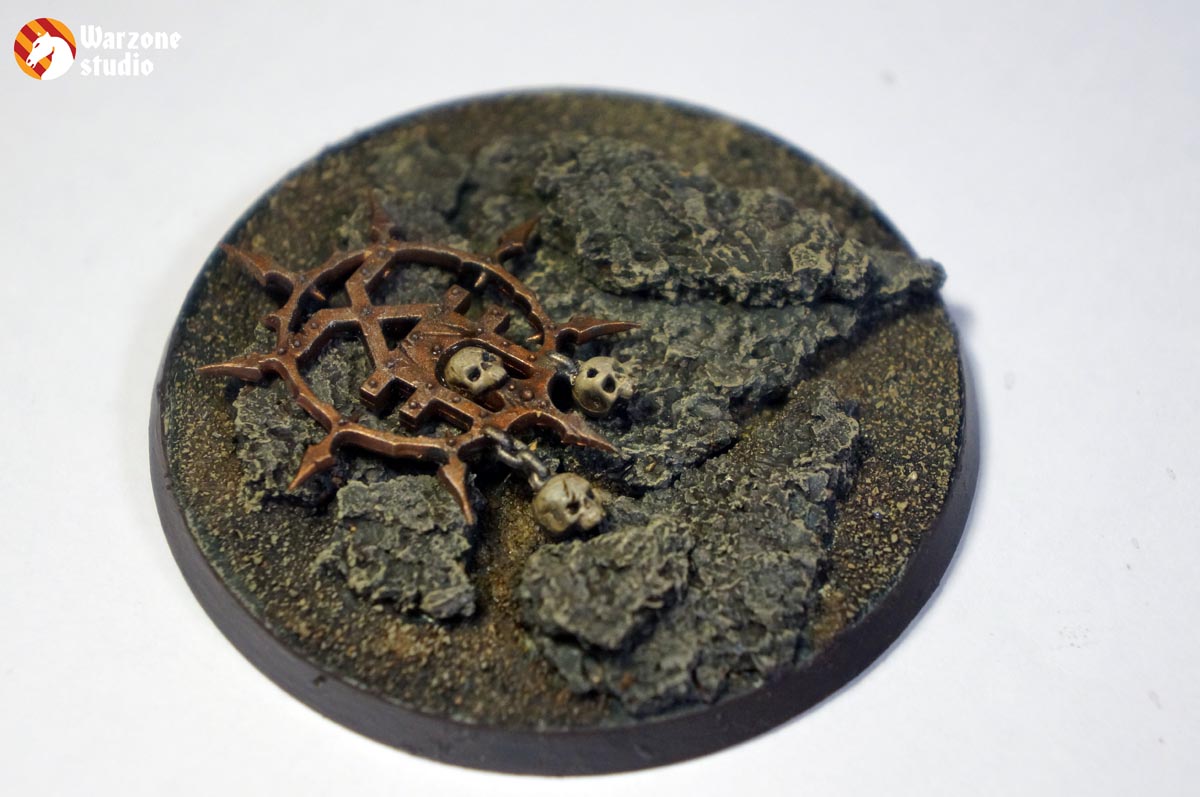
The base is almost ready. You can add any bits, water or grass imitation - if you want and can. It's a must to paint the side of the base - it will bring the finished look to the model. Dark brown colours are the best choice.
More interesting stuff in our blog:
http://warzone40k.com/basing-tips