Switch Theme:

Tutorial - Tech Bases  [RSS] Share on facebook Share on Twitter Submit to Reddit
»
Author Message
Advert


Forum adverts like this one are shown to any user who is not logged in. Join us by filling out a tiny 3 field form and you will get your own, free, dakka user account which gives a good range of benefits to you:
  • No adverts like this in the forums anymore.
  • Times and dates in your local timezone.
  • Full tracking of what you have read so you can skip to your first unread post, easily see what has changed since you last logged in, and easily see what is new at a glance.
  • Email notifications for threads you want to watch closely.
  • Being a part of the oldest wargaming community on the net.
If you are already a member then feel free to login now.


Made in gb
Slippery Scout Biker


Bracknell UK


First off we need to know what tools and materials are needed to make these bases. The list is as follows:


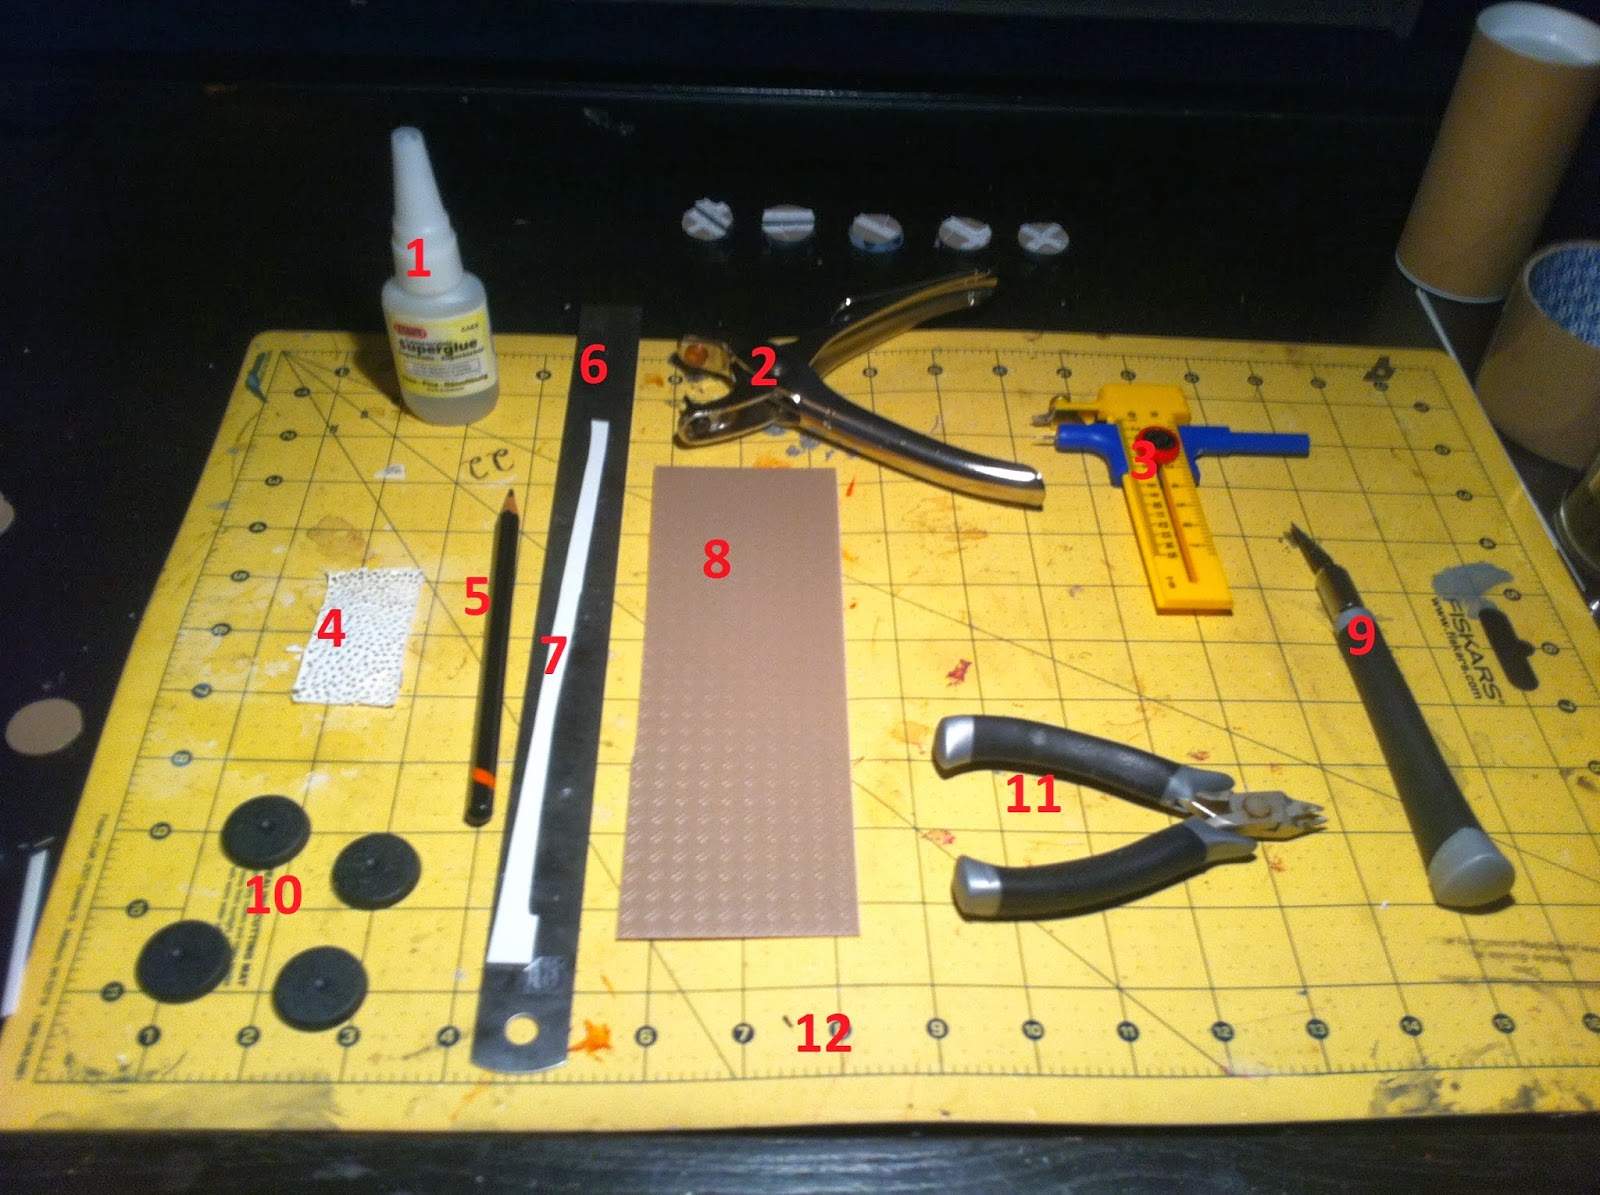
1. Glue. Every hobbyist needs glue.
2. Hole punch. Mine is a 1mm punch perfect for rivets.
3. Compass cutting tool. Invaluable for getting a perfect circle.
4. Some plasticard of an appropriate thickness for rivets (I think mine was 1mm).
5. Pencil for marking lengths etc.
6. Metal ruler for measuring lengths.
7. Plasticard for detailing (again I think 1mm thick).
8. Deck plate style plasticard.
9. A knife.
10. Bases!
11. Clippers.
12. Cutting mat.


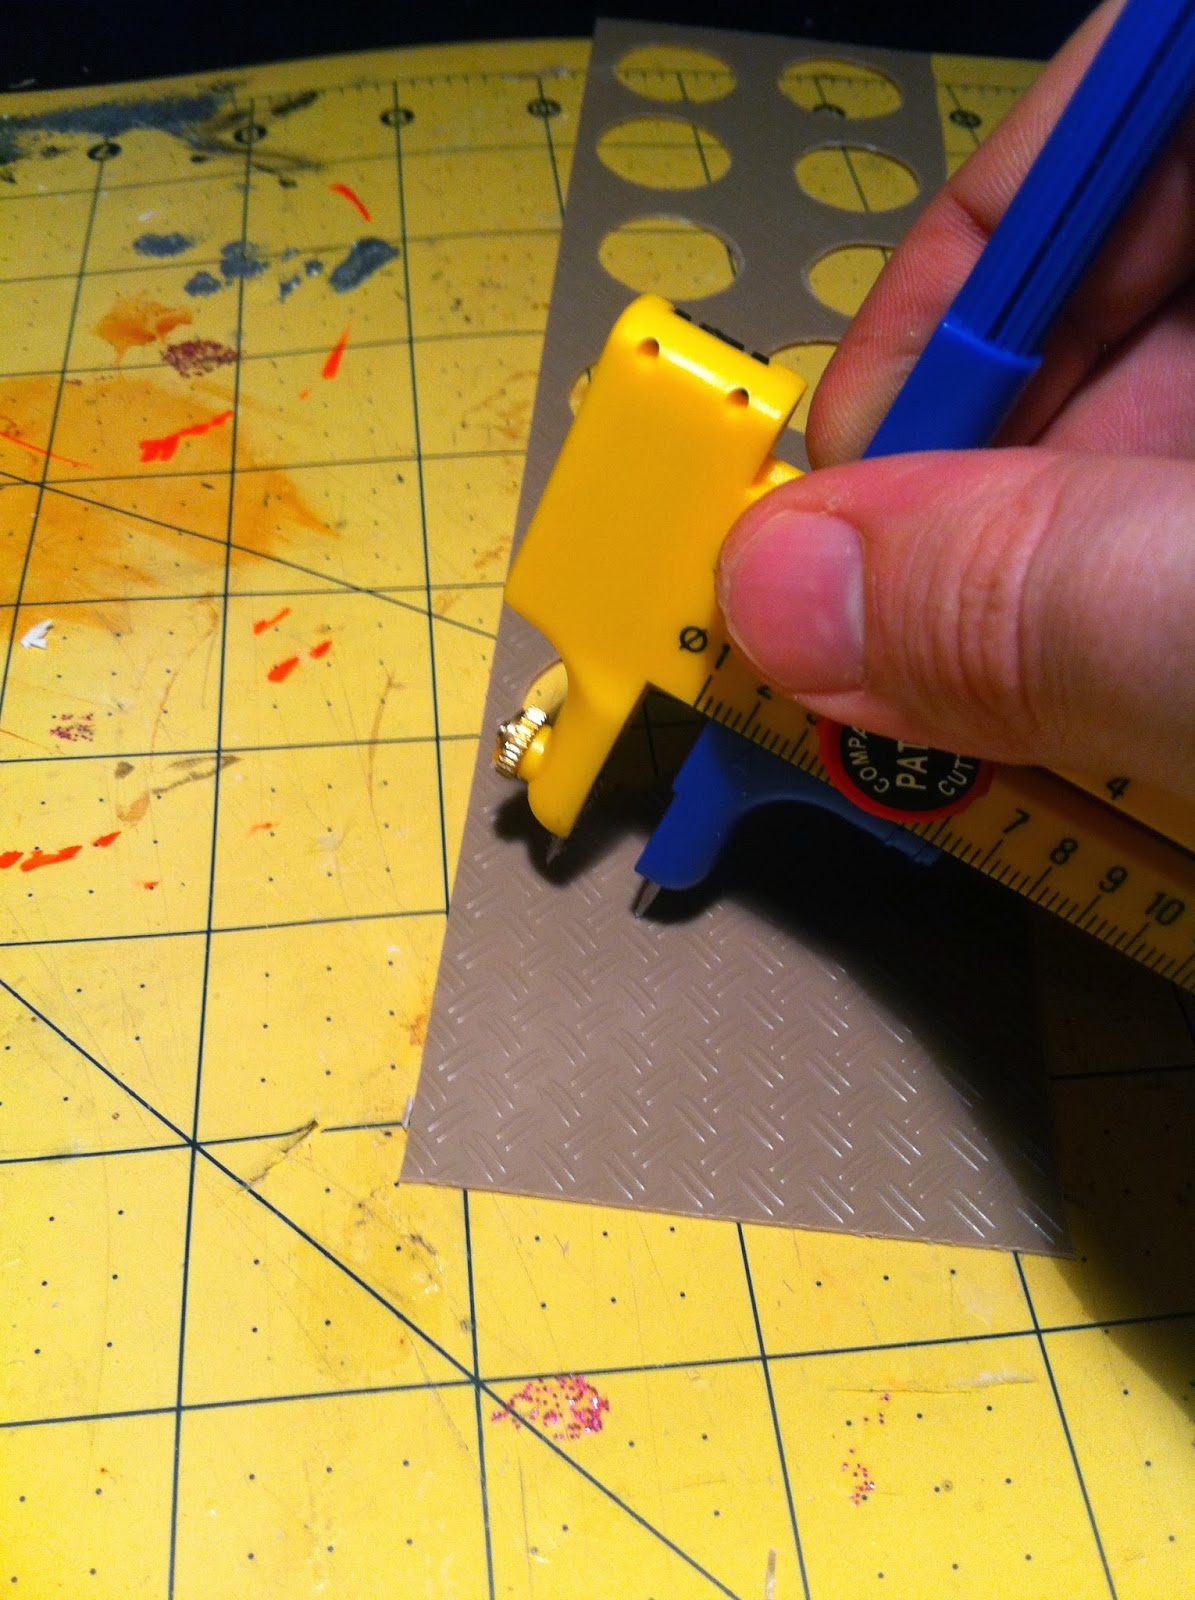
I start off by setting the compass cutter to the right width for the base we are making. I score the circle into the deck plated plasticard a few times before applying any real pressure to ensure it is a perfect circle.


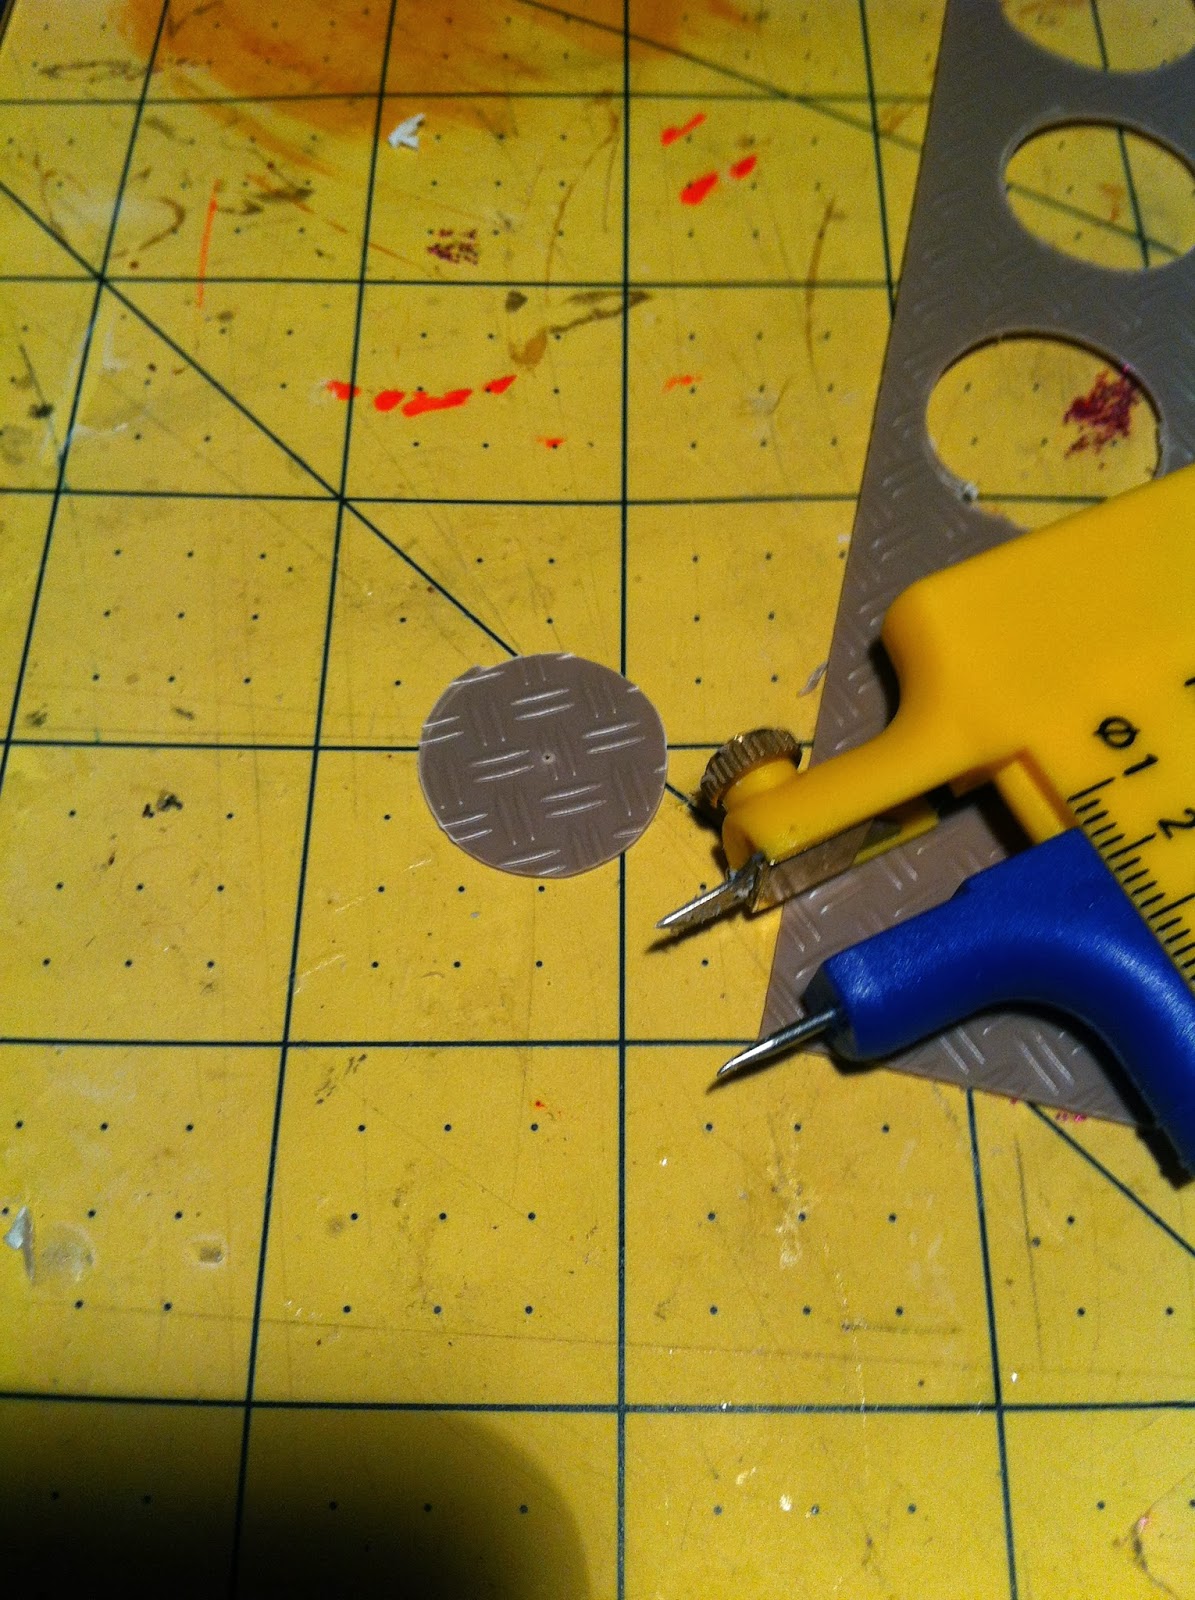
Now we have a perfect circle cut from the deck plated plasticard. Sometimes you may need to go around the edge with a knife to tidy it up.


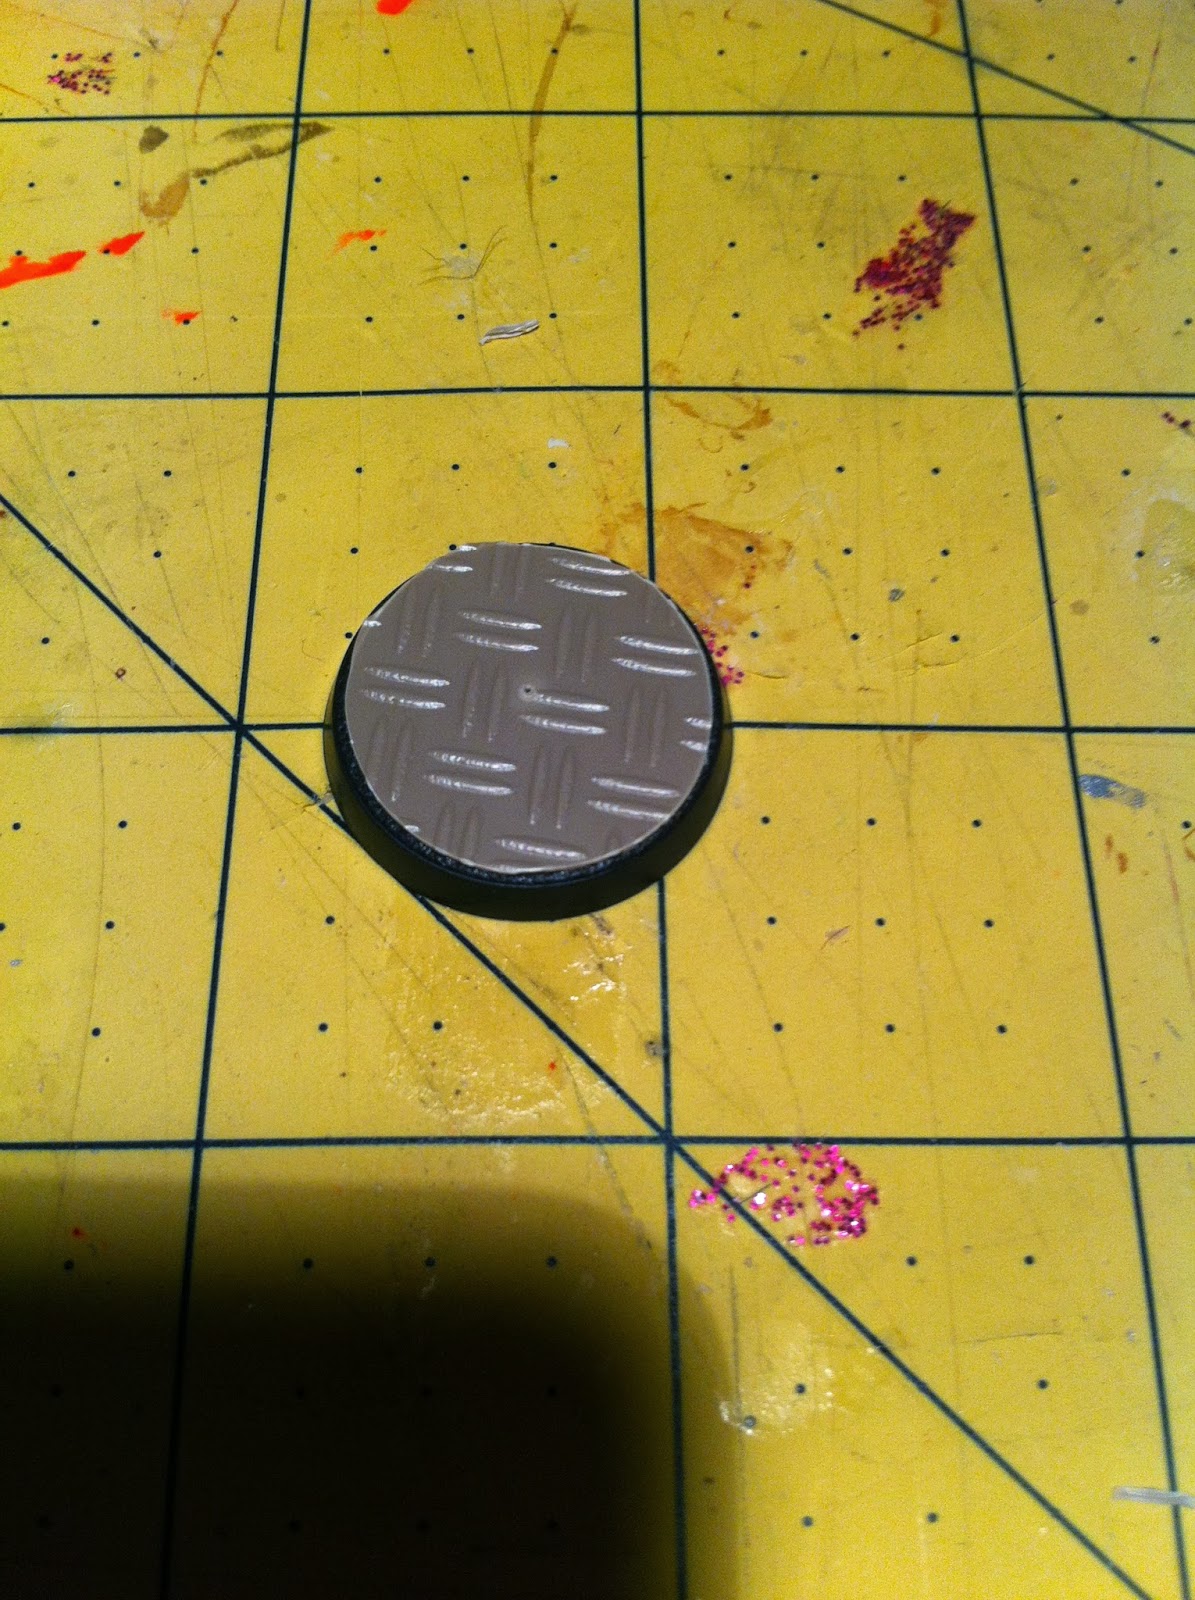
Now we glue the circle we just cut out of the deck plating plasticard to the base. Now we are ready to go. If you were in a hurry or wanted to keep the base simple you could stop here.


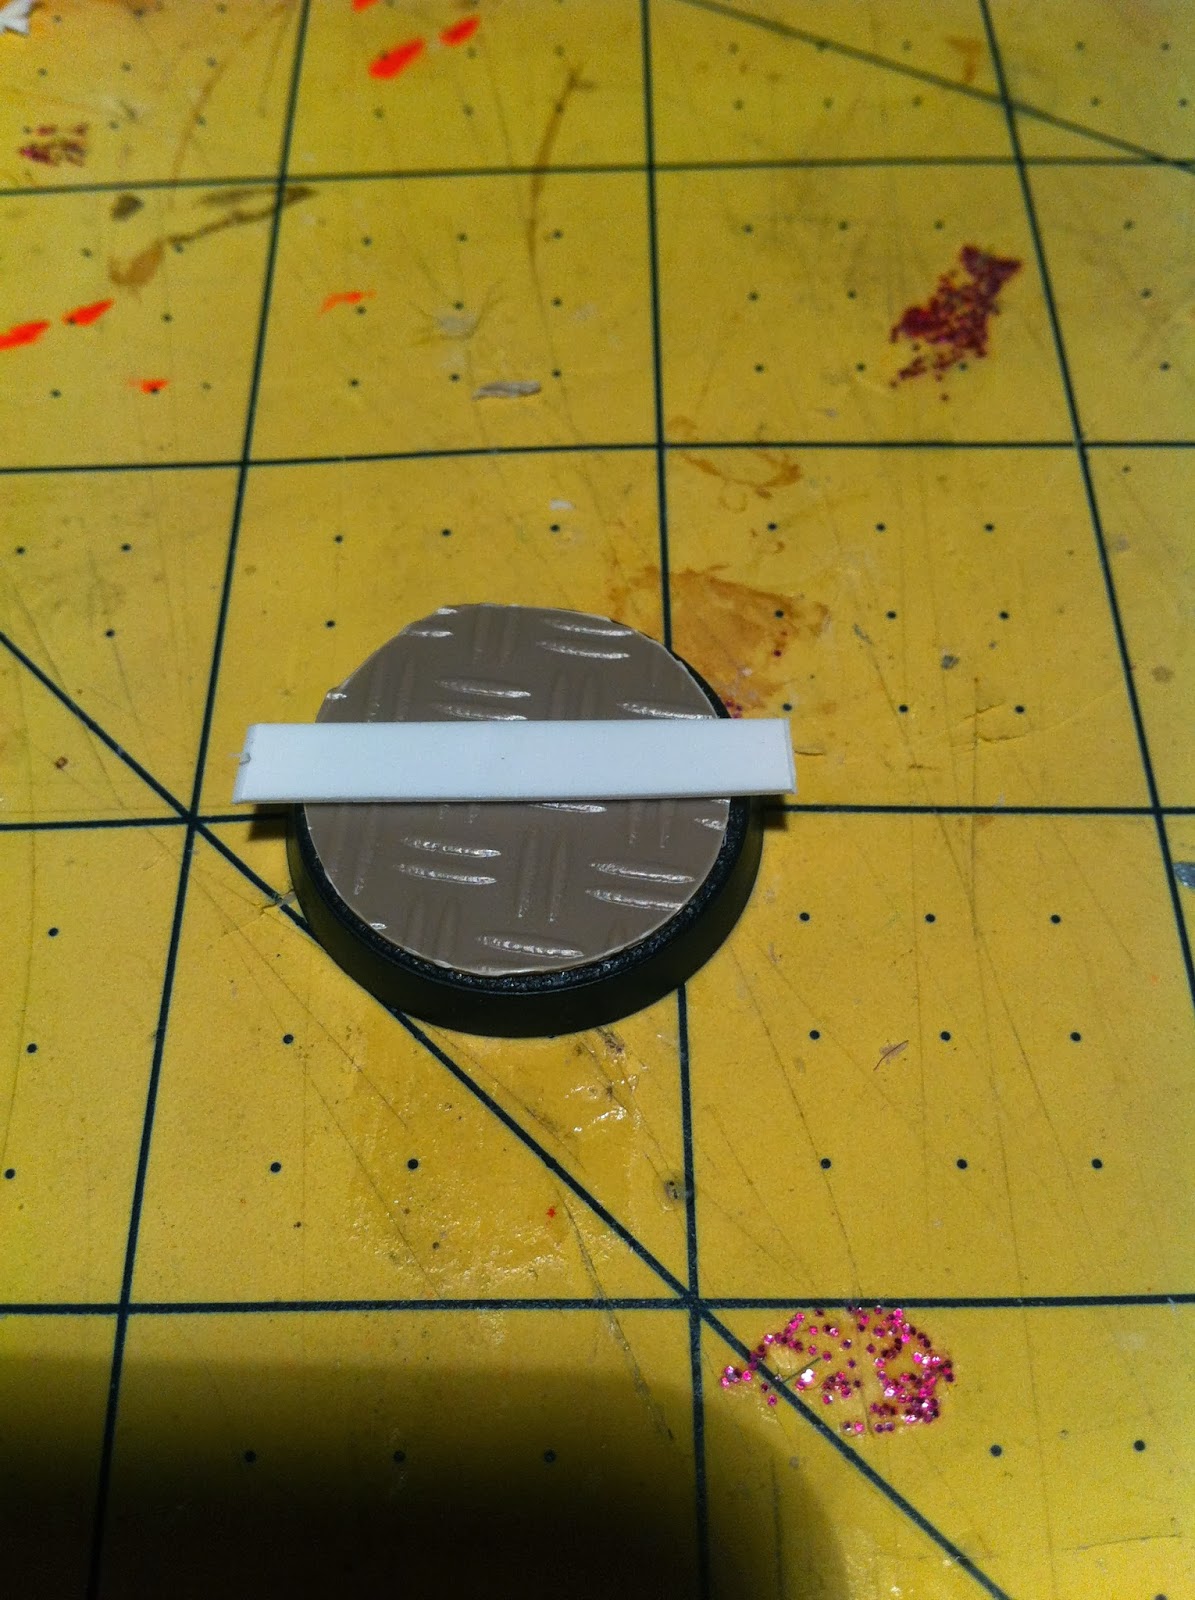
Next we measure our plasticard and then cut to size for the base. You can keep this simple like above or make it more complicated if you wish.


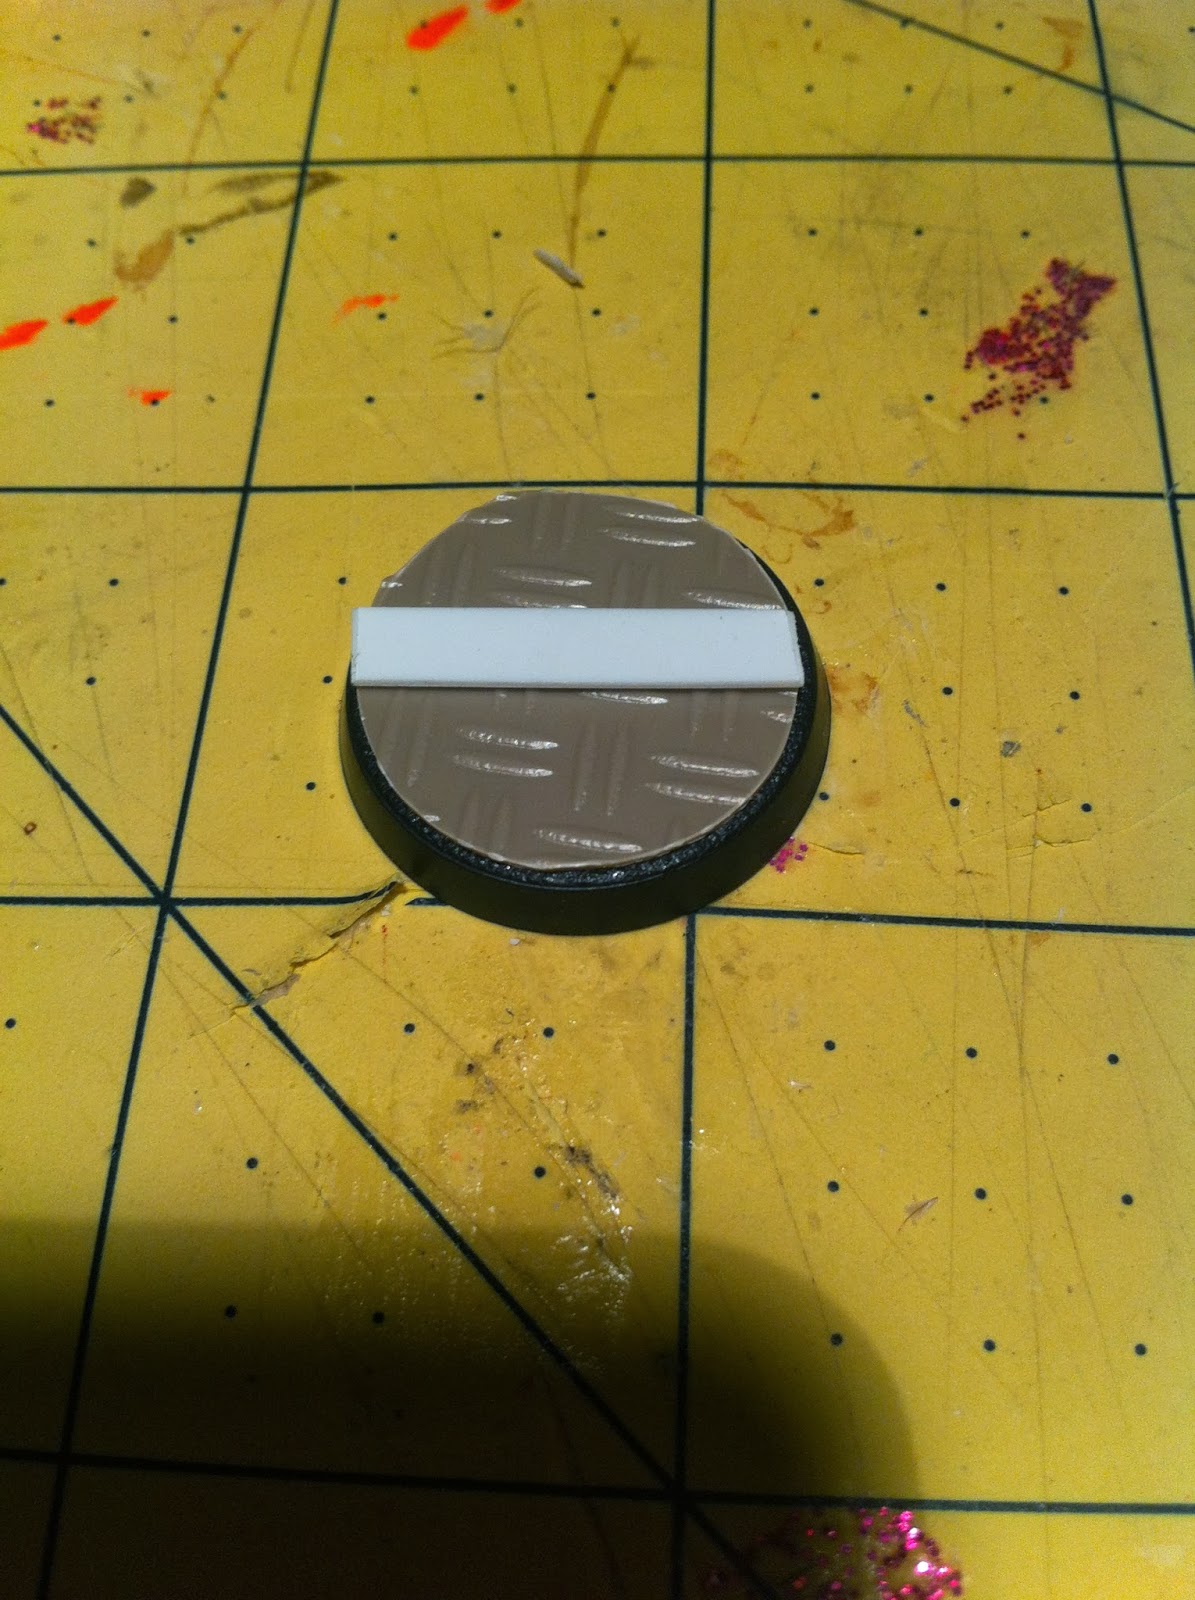
Make sure that you have trimmed the plasticard to size for the base so we get a nice and flush finish.


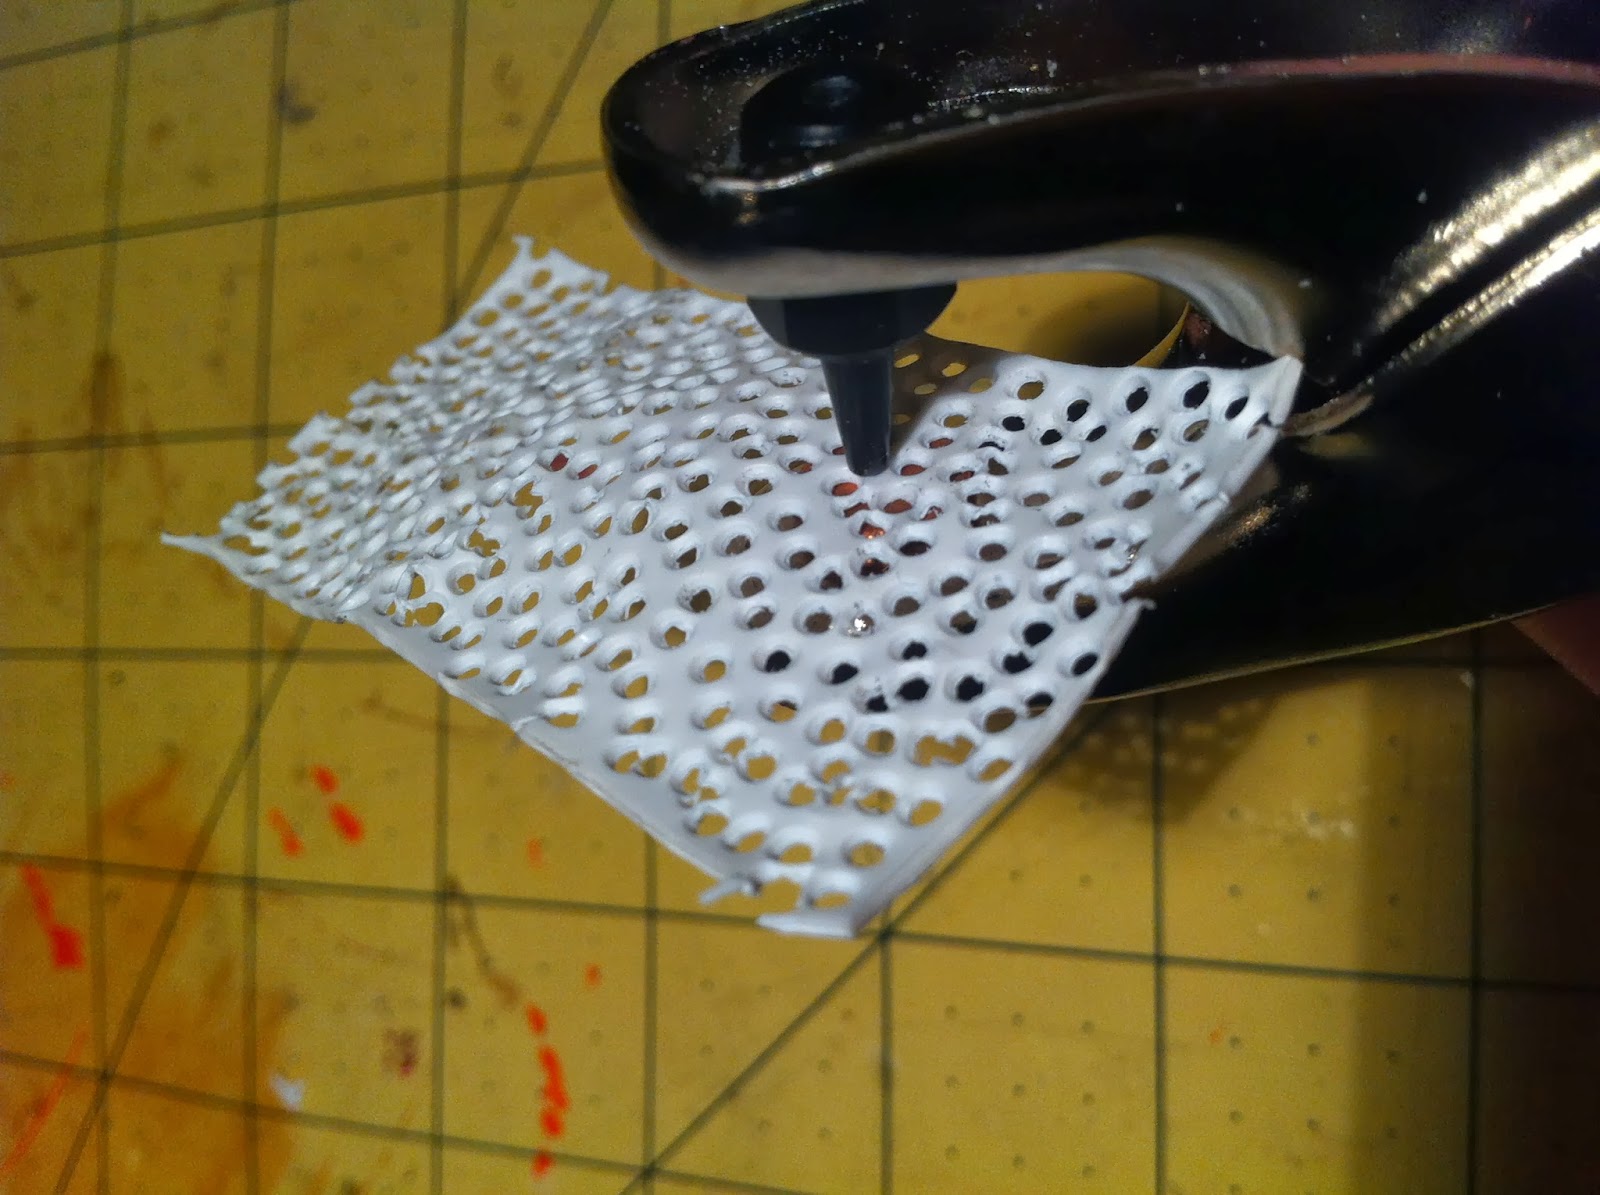
Now for the tedious bit... rivets. This is a dark art of modelling apparently. Personally I get a beer and watch TV while doing this as it is worth doing more than you need so you do not have to do any more


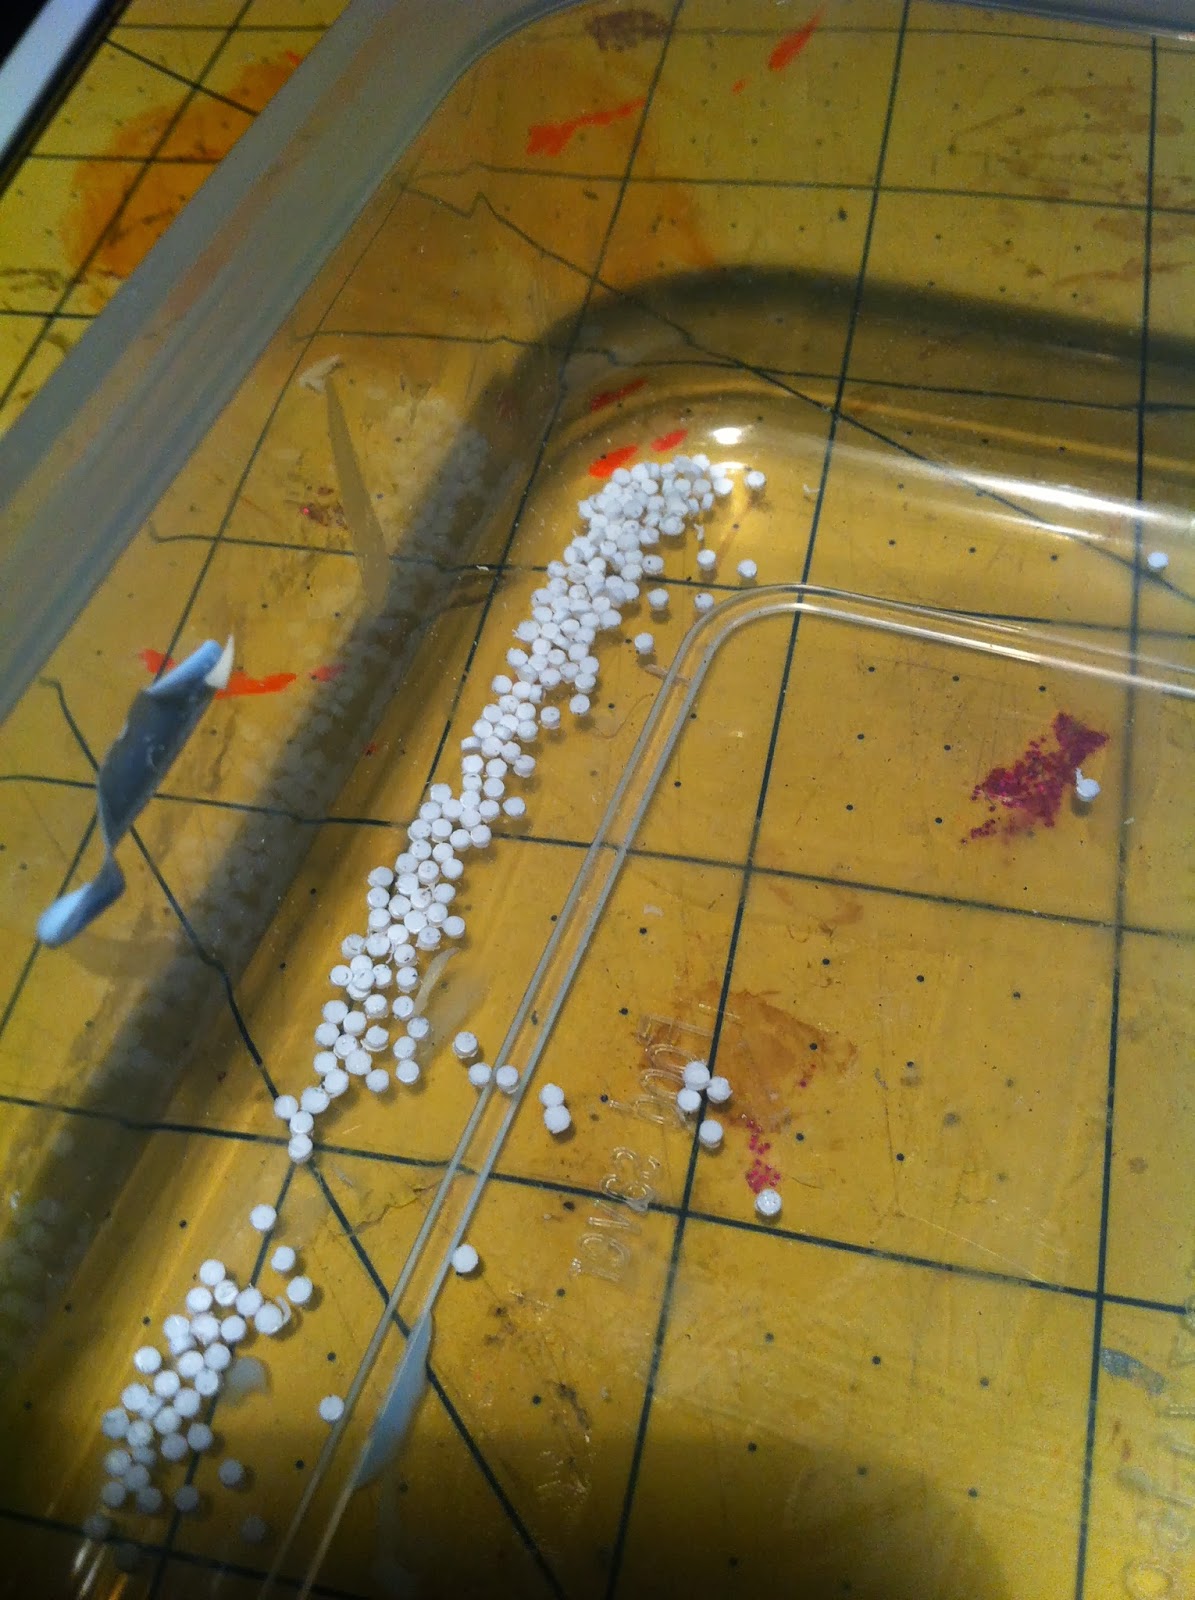
They are plastic rivets officer I swear!


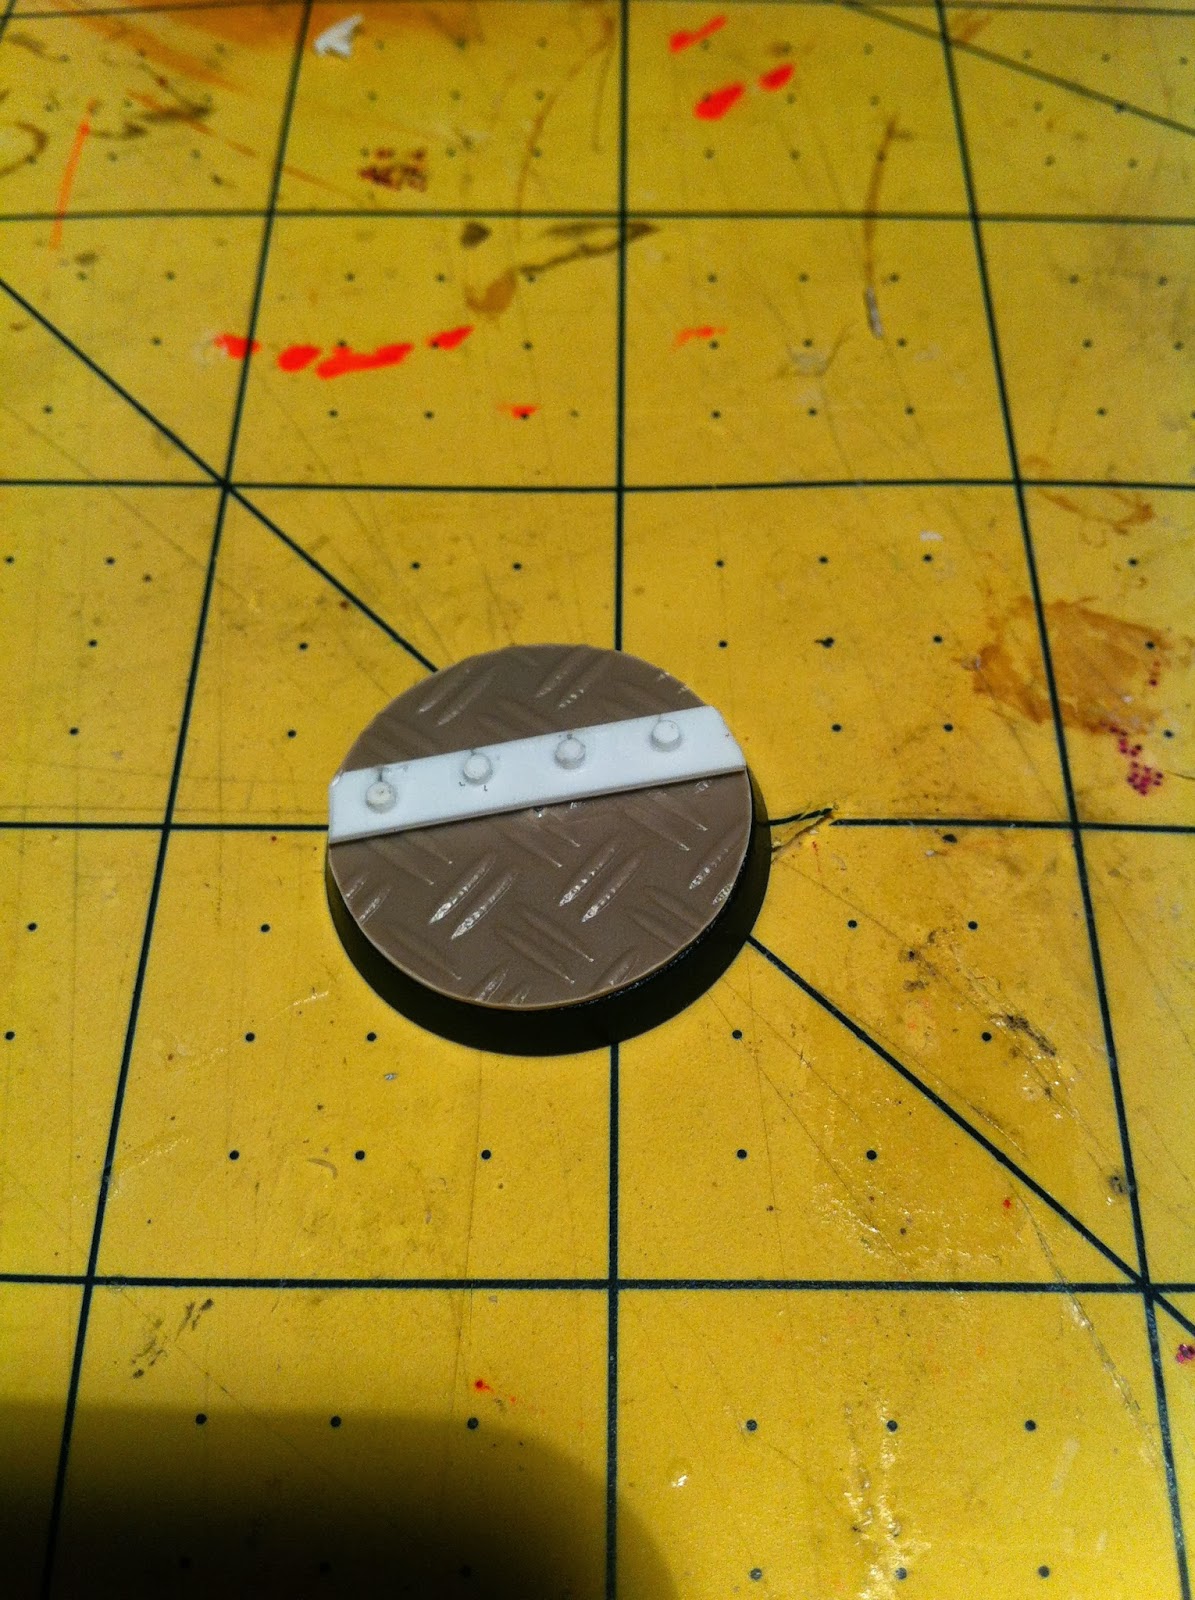
Mark out regular intervals on the plasticard with your pencil and then commence the fiddly business of sticking the rivets on.


Now we are getting somewhere! With carrying thicknesses of plasticard tubing you can detail out some piping and wiring on your base.


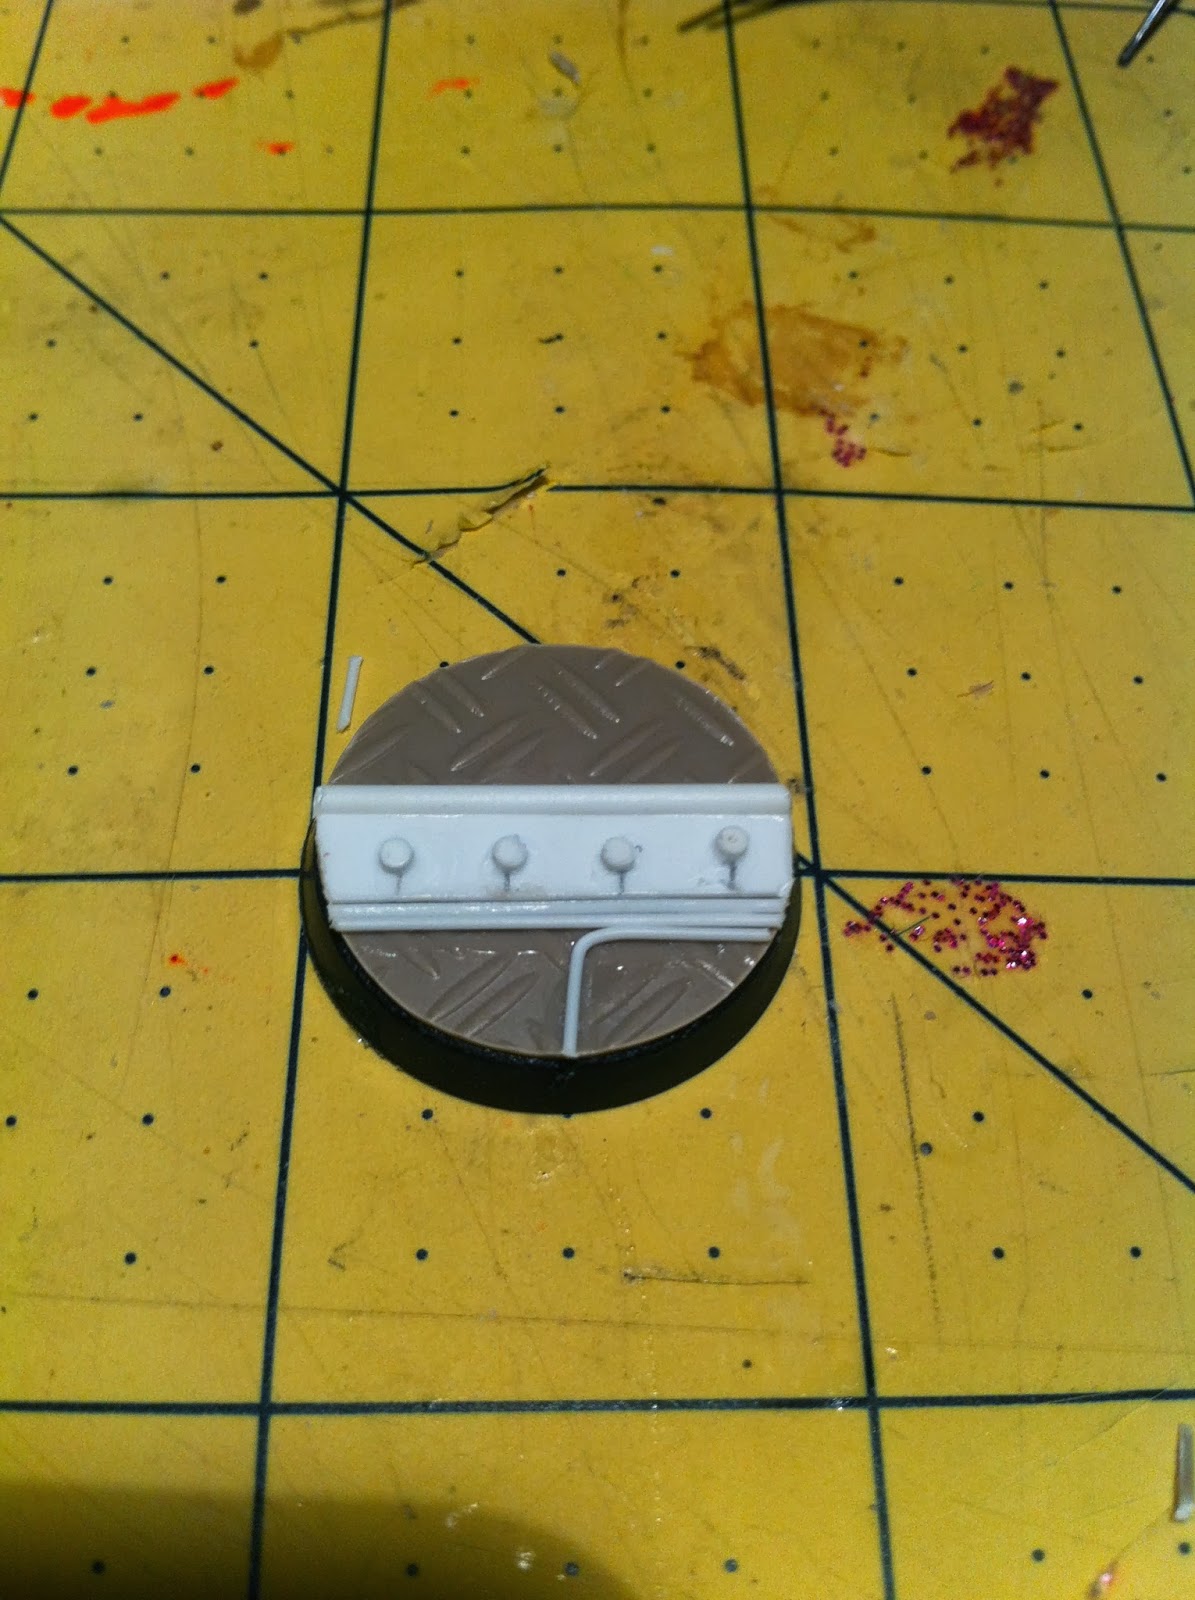
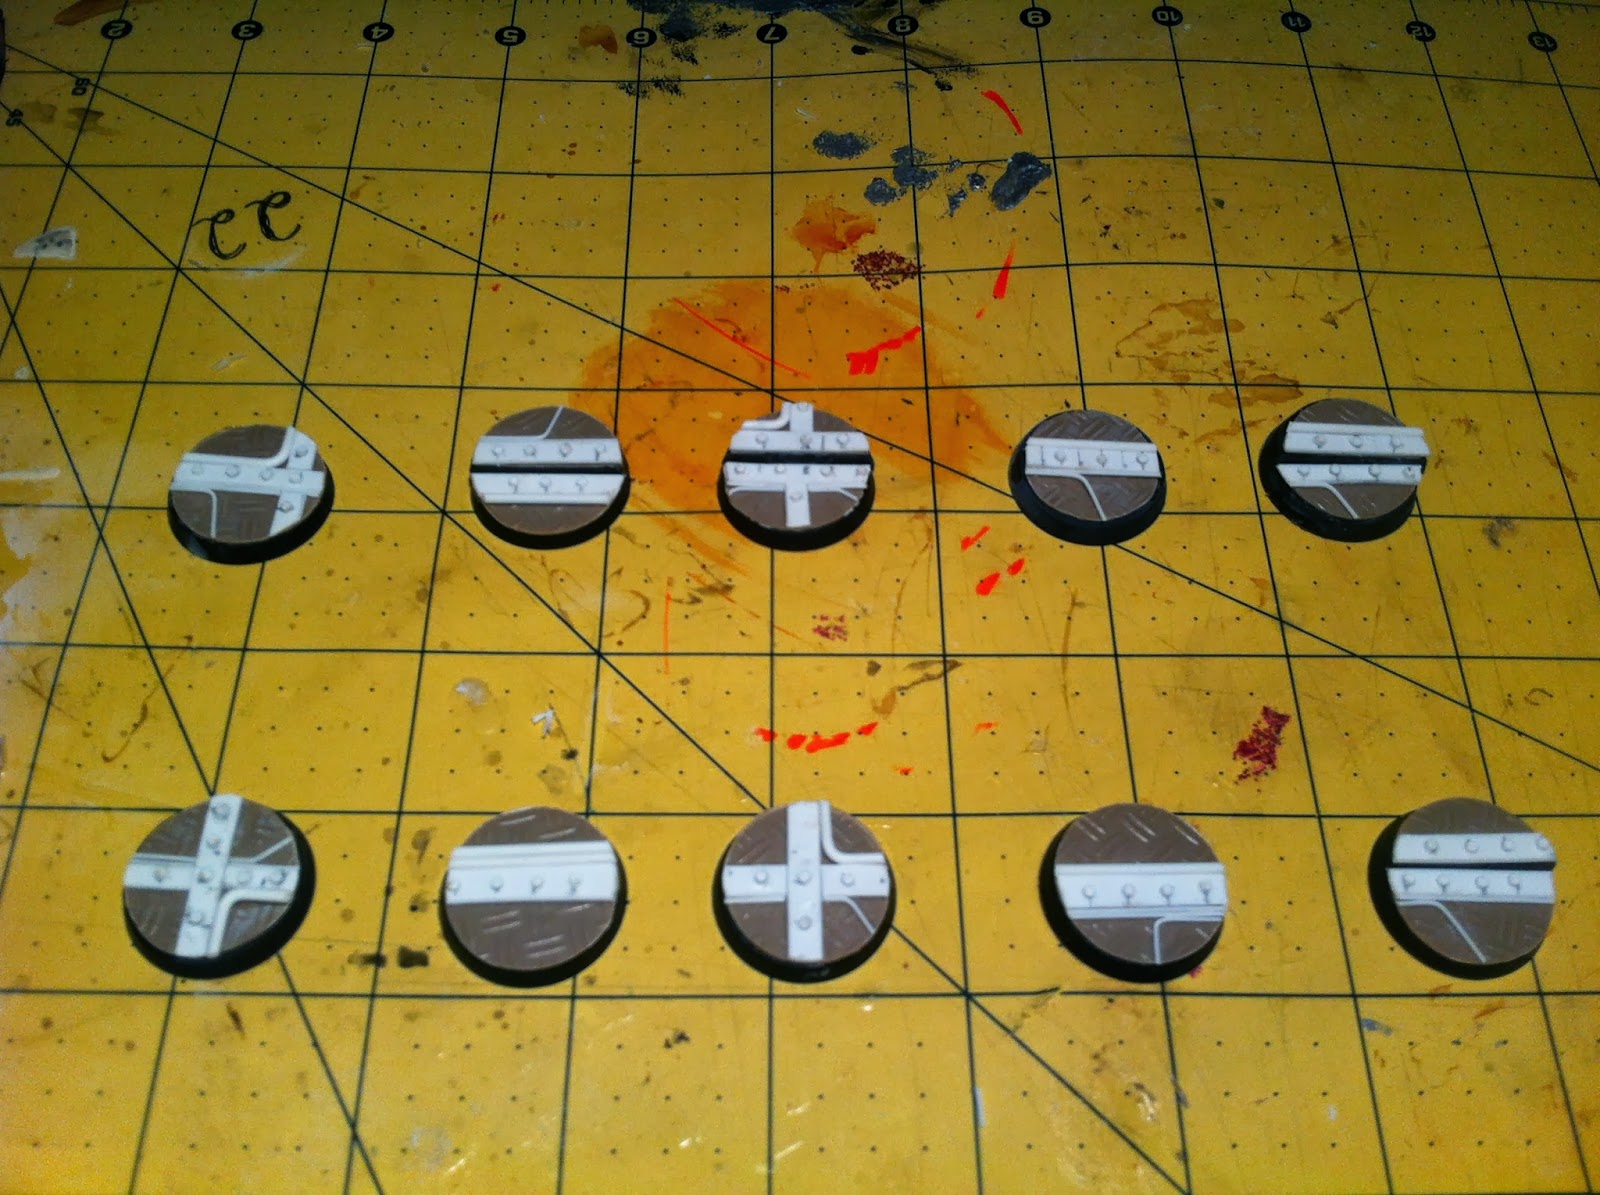
Above is the finished base. As said throughout this tutorial you can keep this really simple or make it more complicated with crazy cabling or stepped bases.


Now my bases are ready for casting. Next week keep an eye out for the casting tutorial in this series.

- Martok


Made in us
Squishy Oil Squig


How did you end up painting these? They look really simple but I really like the look and idea. I will be trying some out once I get more plastic card.
   
Made in gr
Basecoated Black


Athens, Greece

Very nice idea.
Nice photo tutorial. Well done

You can always visit my blog - http://greekminiatures.blogspot.com - Epic miniatures, terrain, tutorials
Also Youtube Channel : https://www.youtube.com/user/TheKostasiii 
   
Made in gb
Human Auxiliary to the Empire


nice, simple bases. I'll be using this methinks. Thanks for the tutorial.

“Appear weak when you are strong, and strong when you are weak.”

“Victorious warriors win first and then go to war, while defeated warriors go to war first and then seek to win”

“Let your plans be dark and impenetrable as night, and when you move, fall like a thunderbolt.”
Sun Tzu, the art of war.


Made in us
Huge Hierodule


United States

Very cool tutorial. Would be great for a Tyranid army.

Hydra Dominatus: My Alpha Legion Blog

Liber Daemonicum: My Daemons of Chaos Blog


Alpharius wrote:Darth Bob's is borderline psychotic and probably means... something...


Made in au
Spawn of Chaos


I think this is great and honestly suitable for any army.

I'm bane and that's all you need to know. And the last that you will ever know. 
   
 
Forum Index » Painting & Modeling Tutorials
Go to: