38750
Post by: philmorgan75
I've been away too long and thought now would be a good time to start a blog - to keep track of what I'm making/painting/converting at the moment and plans for the future. Without further ado, Here's some large SM I've made over the past few weeks/months:
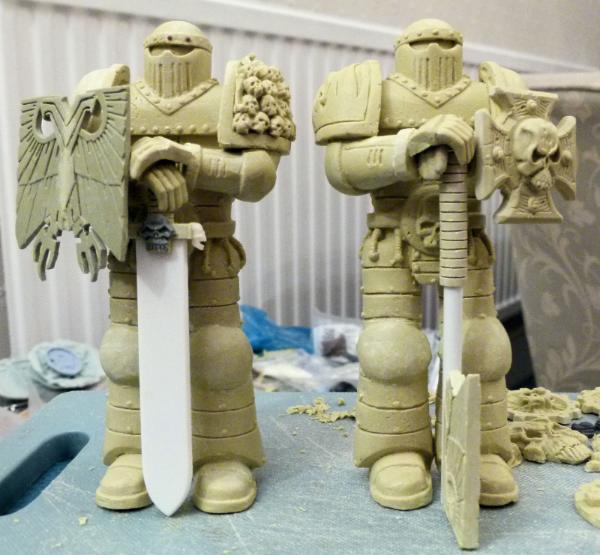
These are my two 15cm+ SM Mk2 statues that will stand either side of my SM Fortress. They were sculpted over many nights out of milliput and then silicon putty moulds were taken to speed up the process of making the second one.
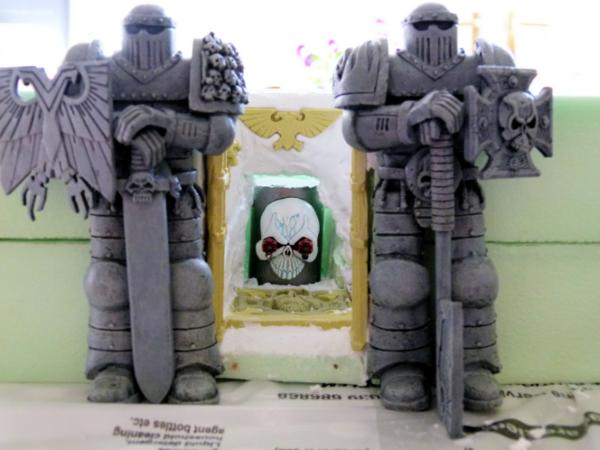
This shot shows them painted and in position. There's a warm welcome for any unwanted visitors - Twin Assault Cannons!!
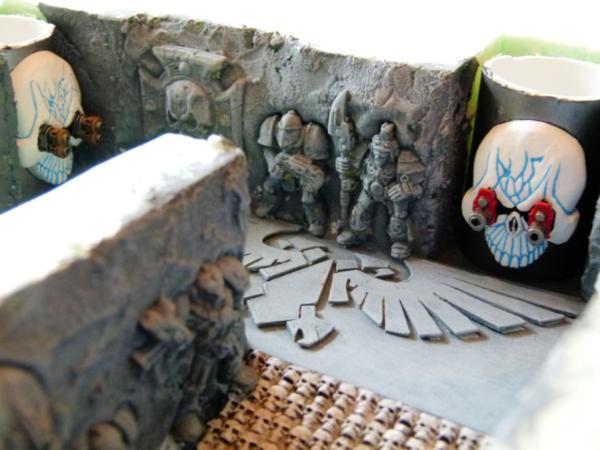
This shows a sot of the almost finished first floor landing. Older Mk armour variants were sunk into polyfilla and once dry, painted to look like they were carved out of rock. The ramps were made from lots of skulls embedded into milliput. I also placed 2 weapon turrets to cover the approaches, a Twin Heavy Bolter and Twin Heavy Flamer. The Imperial Eagle on the floor was carved out of plasticard.
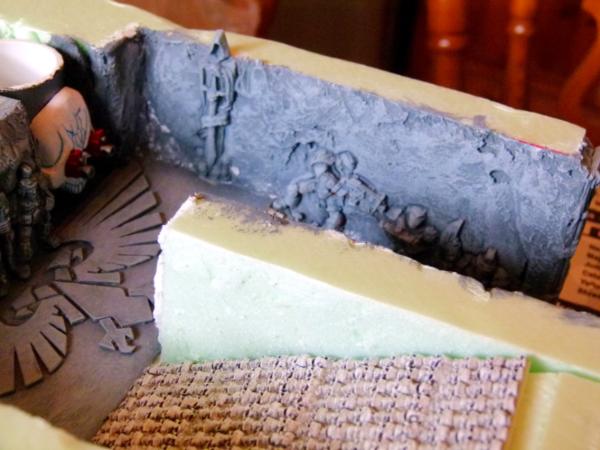
This shows the second ramp and more SM different Mk armour can be seen on the furthest wall.
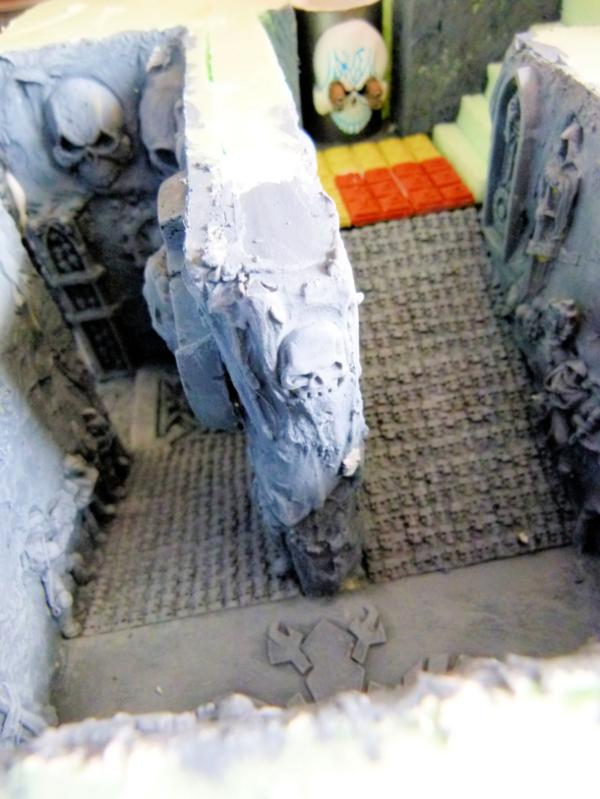
This shows both ramps. The final weapons turret is a Twin Multi Melta.
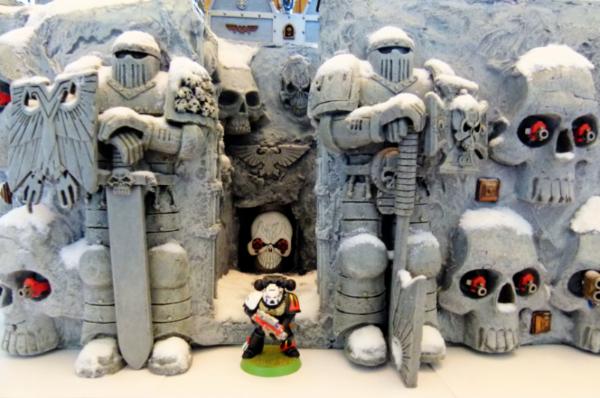
After many months, here are some shots of the final Imperial Space Marine Outpost. As this fortress is only guarded by 1 Tactical squad, I thought they would have lots of auto weapons to ensure any unwelcome visitors would be stopped before they can get to the Fortress perched on top of the cliff. I added snow as I thought it would improve the look of the terrain piece. You can see in the top right hand corner the quad assault cannon AA turret that would defend the outpost from aerial assault.
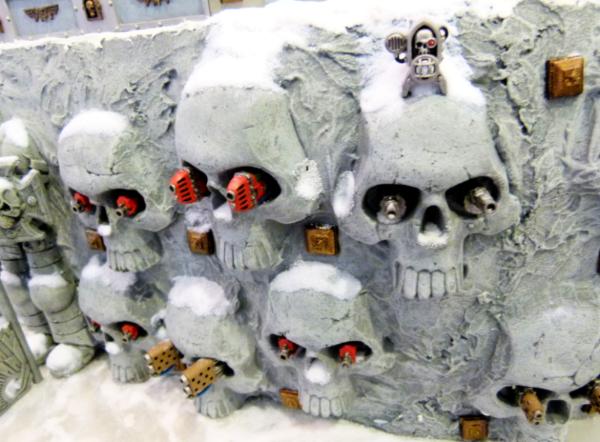
Heres what a few of the weapon skulls have been armed with.

This shows one of the sides of the outpost. I've used a large scale 10cm+ SM to ensure any visitors know who owns this outpost. He was sculpted out of milliput. I like making these and I'll show you some more in future entries.
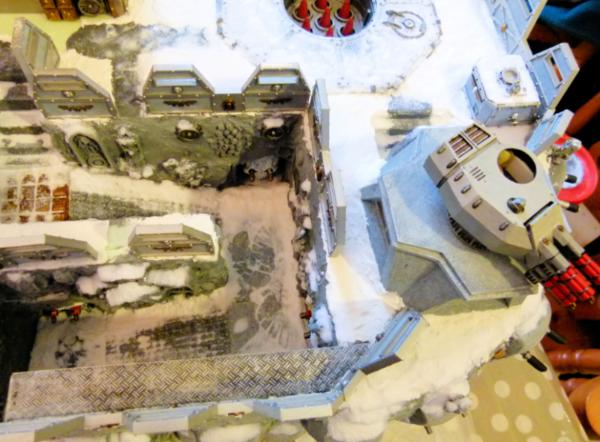
This shows the almost completed plan shot. Just neede to cover the quad assault cannons with snow.
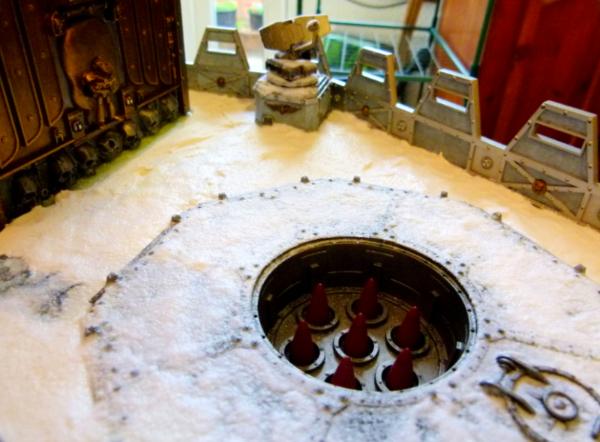
The missile silo with FW Radar in the background.
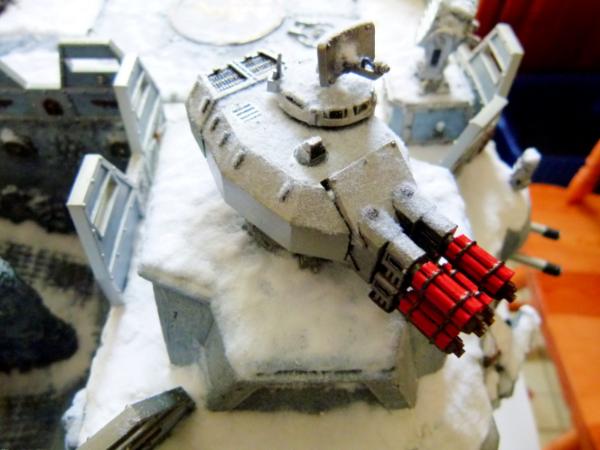
Completed radar assisted quad assault cannons.
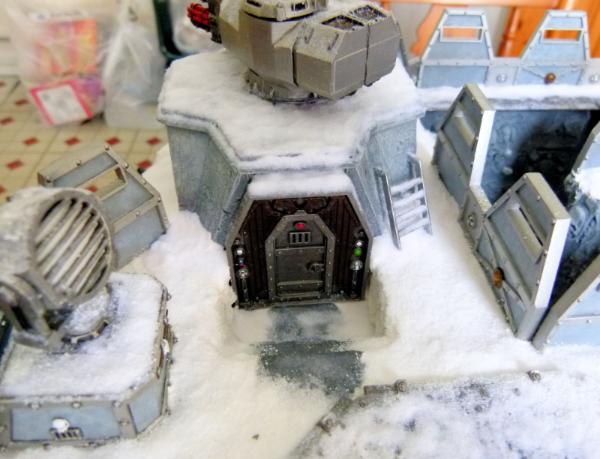
Rear entrance to the quad assault cannon bunker. Also a FW Searchlight can be seen in the left hand side of the picture to illuminate visitors.
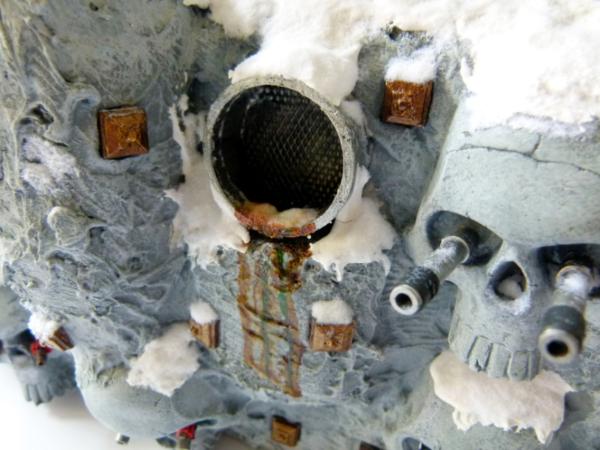
Heres a shot of the waste pipe. I wanted to give the attackers a would be entrance point (genestealers anyone!). But not to make it to easy, there are lots of weapons around and frag mines as well!
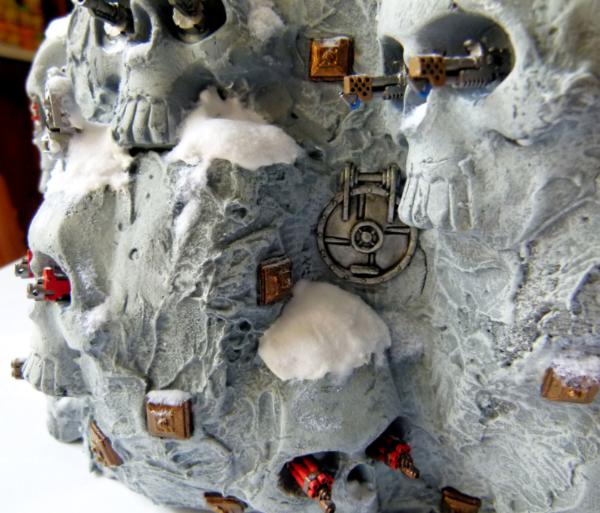
All fortress needs secret escape hatches, so here's mine!
I'll put some more pictures up after I get home from work tonight. Any thoughts/comments/critiques are welcome.
Regards, Phil
9892
Post by: Flashman
Shouldn't the secret escape hatch lead to a nice secure platform or set of stairs rather than a sheer drop?
Just kidding  Awesome work anyway Statues in particular are very well made.
38750
Post by: philmorgan75
Back from work! Some more shots of my Fortress.
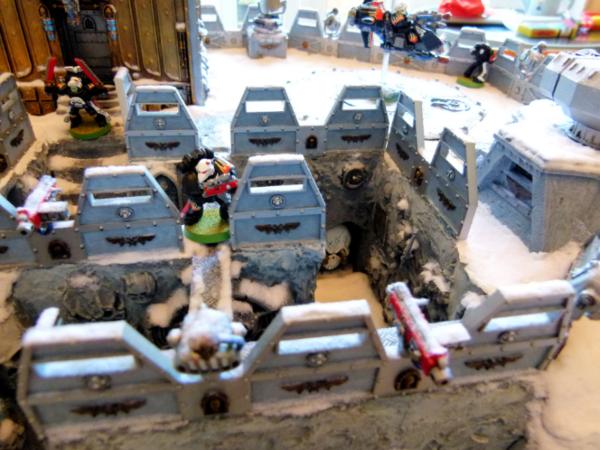
I added some Fortress of Redemption searchlights and Heavy Bolters around the Skyshield turret emplacements around the perimeter. This would help sentries have heavy weaponary to ward off any intruders. I added a walkway to allow troops to quickly get from the Fortress to the front lines.
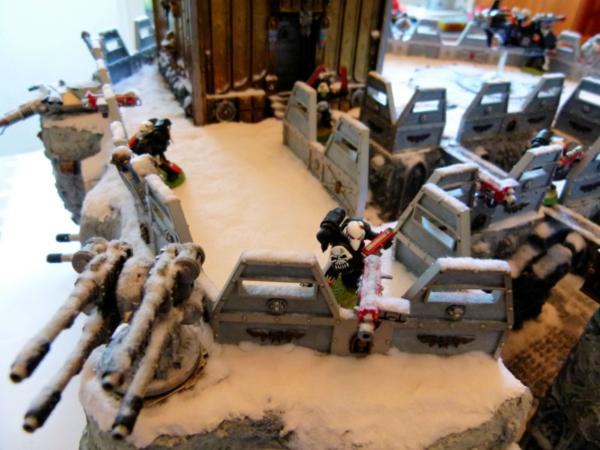
Here's another shot of the perimeter barricades. The Quad Autocannons can be used for both Aerial and Frontal assault.
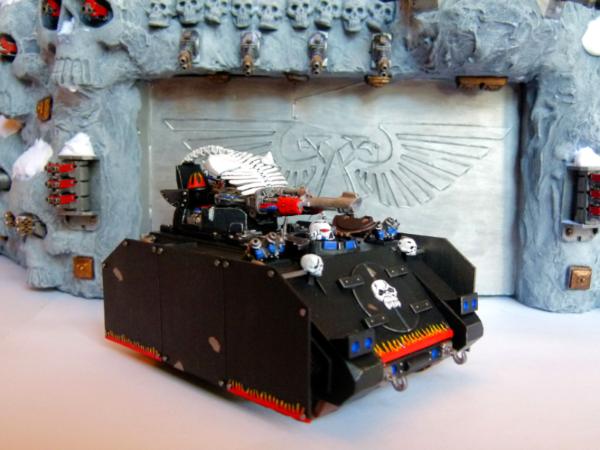
Shot of the garage entrance and a patrolling razorback. Heavy flamers, frag mines and twin hurricane bolters all guard the entrance to the garage.
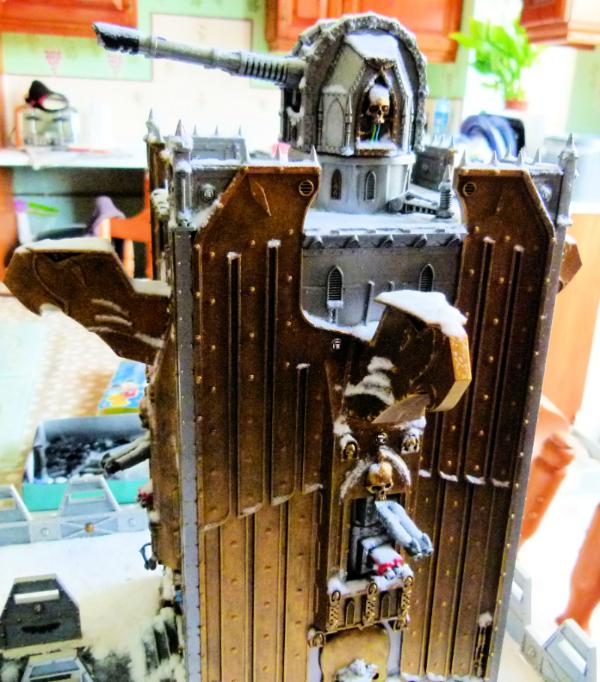
Here's a shot of the completed Fortress - Shrine of Aquilla on all 4 fronts. The head was converted to be horizontal rather than the usual "look to the stars".
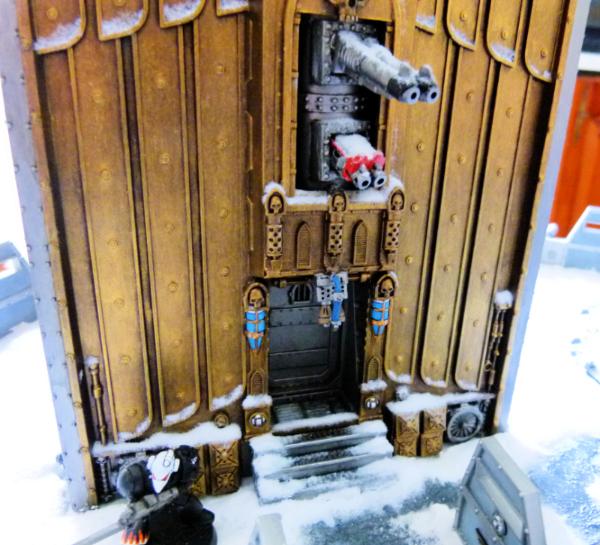
The entrance to the Fortress. If they get through all of the cliff face weaponary, there's a final heavy flamer to stop anybody from gaining access.
For more shots of the completed Space Marine Fortress, go to my Gallery.
Here's what is currently on my work tray:
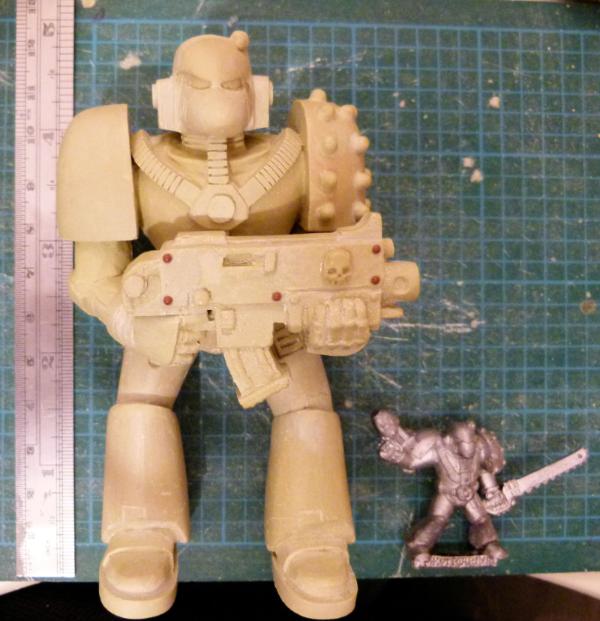
A large 10cm+ Mk6 Space Marine almost completed. Just need to complete his backpack and it's done. More to follow!
38750
Post by: philmorgan75
On the Mk6 above, I decided to remove some of the ribbing joining the chest to his helmet eventhough the artwork depicts this, it just doesn't look right. I'm slowly making an older back pack to go with this one and then take a mould to speed up the process in the future. I'm also going to make an earlier mark Bolt Gun and may consider replacing the modern Bolt Gun on the Mk6 with the "older" version - we'll see!
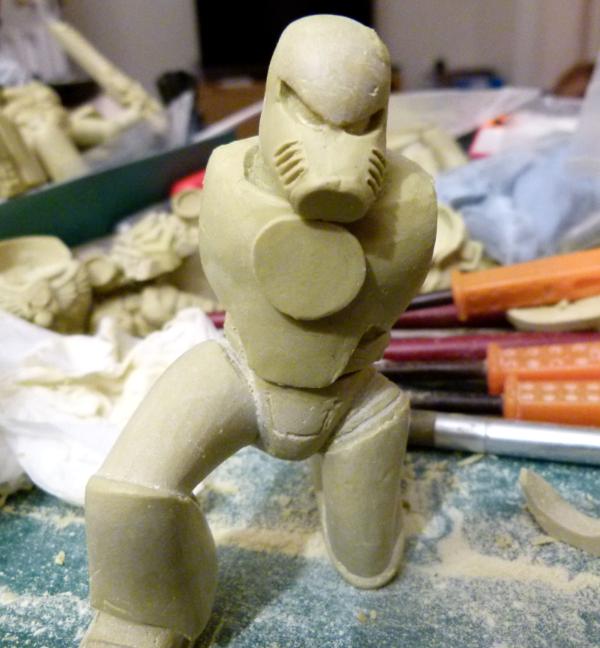
I've started a Mk4 variant also, but I'm going to have to go back to the drawing board on his helmet - it just doesn't look right. Since this photo has been taken, I've added his chest ribbing, making the large circle of milliput into the respirator type thing and the little skull for his belly button. I'm 90% finished on the chest and will go back to this once I've finished this......
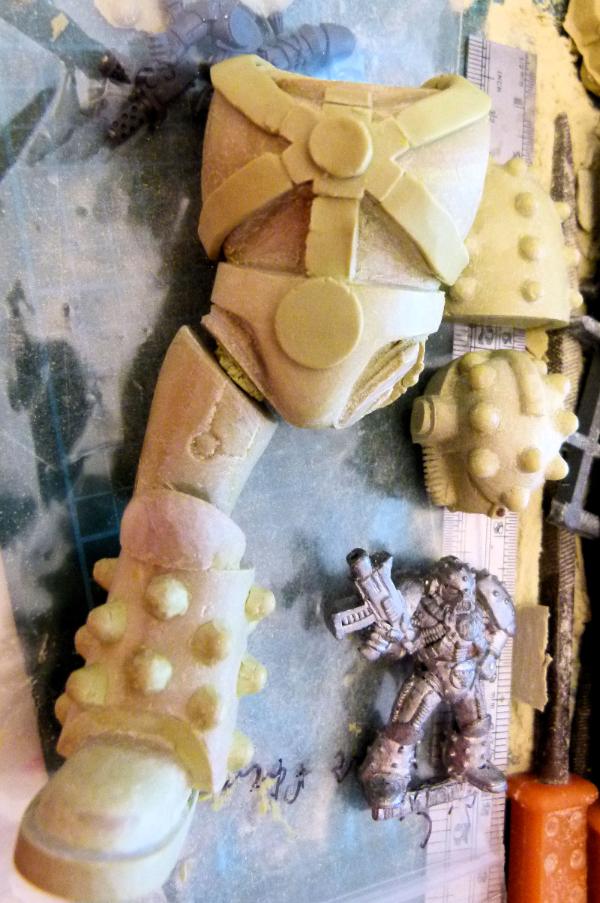
After the milliput dries, I'll use a razorsaw to mark the chest ribbing and use a scalpel to sharpen the edges of the ribbings. I've had some fun making the right leg! When the millipt dries, I'll sand around the studs to blend them in better and I'll then make a mould to save having to make another for his left leg!! I want to pose my Mk5 similar to the GW metal version in the bottom of the picture. I'm not sold on the "I'm a little teapot" pose of his left arm - Any suggestions? I'm trying to replicate and upscale the Bolt Gun of the GW version.
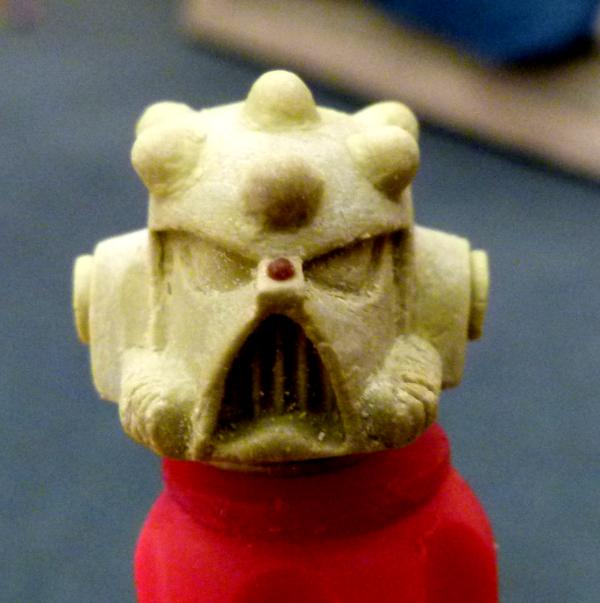
Here's a close up of the Mk5 Heresy Helmet I've converted/sculpted. I think the Mk5 armour is going to look brilliant in this scale!!!!
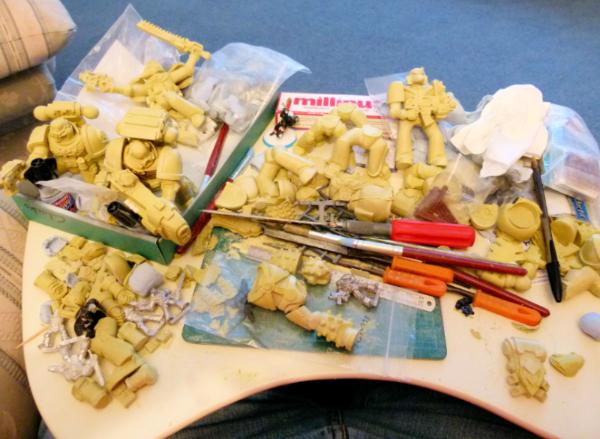
Thought you'd like to see my little laptop tray with what I'm working on at the moment - eventhough it looks messy, I know where everything lives!! You should be able to see the different GW metal Mk armour dotted around the place. I want to make a Mk2, Mk3, Mk4, Mk5 and Mk6 versions before I go back to either a) completing my LR Spartan, b) Start making a "Plasma" Fellblade and/or c) make another Fortress of Redemption like building (I've got 4 missile silo/Lascannon weapons and 24 "Imperial Eagles" that will be fitted around the octogon edges. The 4 Large Lascannons will be dotted on each corner of a square and the Fortress itself will be placed in the centre. I really want to make this, but I don't know if I have the storage space!)
Any comments/critiques welcome.
Regards, Phil
44290
Post by: LoneLictor
Damn, those sculpts are nice.
57468
Post by: Bruticus
Cool, it's like Skeletor got fed up of annoying visitors and decided to weaponise Castle Greyskull. I think the skulls are maybe a little excessive but I really like the layout - the entry ramp is cool. And all the details like the drainage pipe are really nicely done. Oh and I like the snow.
The statues are looking good. Are you planning to use them all as statues or are you trying to one-up the current truescale trend? My only criticism is that if they are statues they ought to look more like they have been hewn from a single block.
38750
Post by: philmorgan75
 Bruticus wrote: Bruticus wrote:Cool, it's like Skeletor got fed up of annoying visitors and decided to weaponise Castle Greyskull. I think the skulls are maybe a little excessive but I really like the layout - the entry ramp is cool. And all the details like the drainage pipe are really nicely done. Oh and I like the snow.
The statues are looking good. Are you planning to use them all as statues or are you trying to one-up the current truescale trend? My only criticism is that if they are statues they ought to look more like they have been hewn from a single block.
Well SM's are supposed to be He-man like Bruticus!!!
In answer to your question, I would love to make a full Tactical and Assault Large Scale Squad but each SM takes a number of weeks to construct so progress will be slow. I have so many things I want to do, but working fulltime and having a 6 and 4 year old boys with busy social lives, I normally only get 45 minutes in my lunch break and around another 2 hours in the evenings to do my beloved hobby!!
Here are some shots of the updates on the Mk5 Heresy Armour:
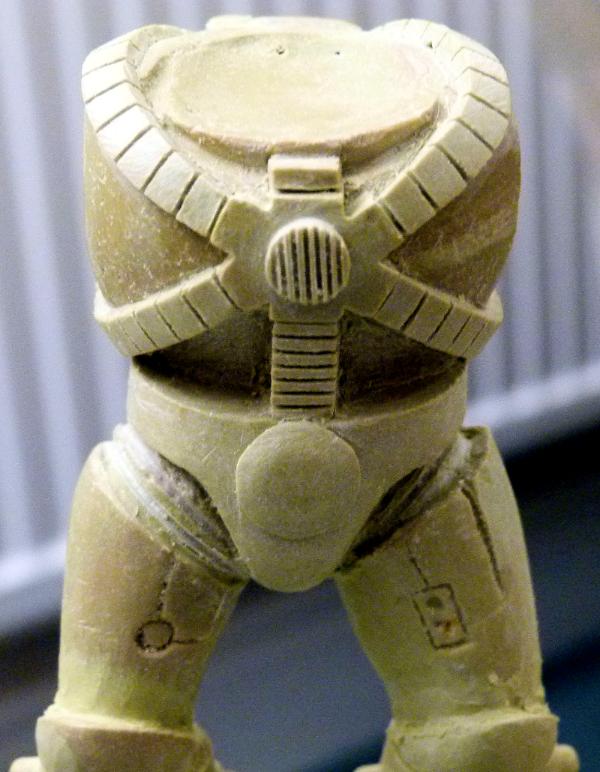
The harness has been finished. Just need to add a FW Brass Etch Imperial Eagle to his belt buckle to finish his chest.
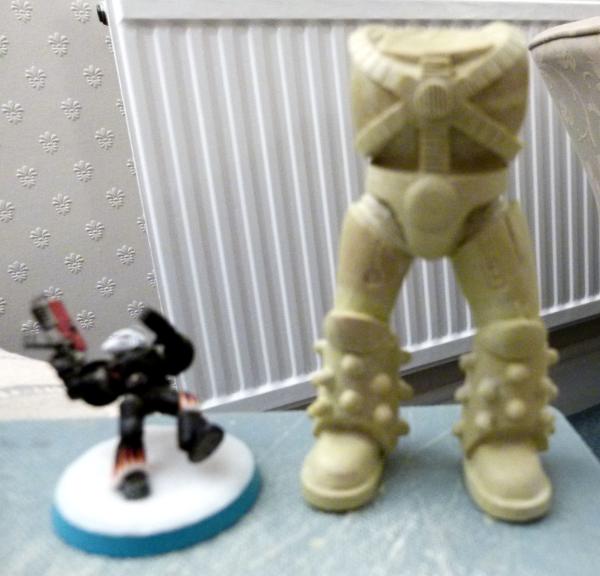
Apologies for the bluriness of this photo but it shows the scale compared to a normal SM. I'm still sorting out the legs, which will need to be filed and sanded to look the part.
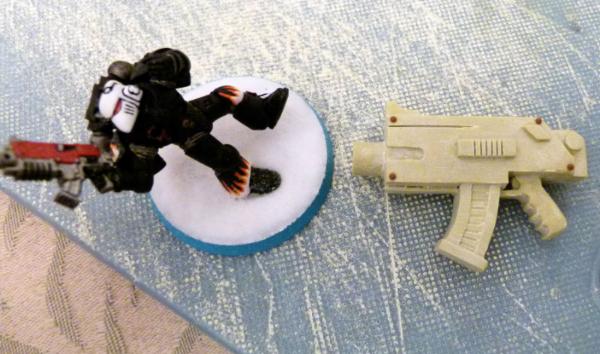
Here's what I've done with the Bolt Gun. I wanted to make an old school Bolt Gun and used the original SM Mk5 Heresy Armour variant I showed in an earlier post.
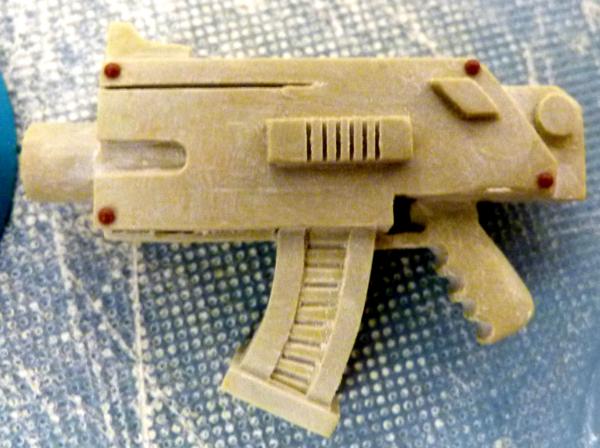
Here's a close up.
Whilst I'm waiting for the milliput to dry, I'm moving onto what to do with his left arm. I'm planning on having his arm down by his side and then sticking a Frag grenade in his hand, so will involve sculpting a clenched fist - something I haven't done before.
Off to work time.
Any comments/critiques welcome. Regards, Phil.
31627
Post by: FantasyBob
It looks a real good work.....can you add a photo where is visible the whole structure!?
38750
Post by: philmorgan75
Update time:
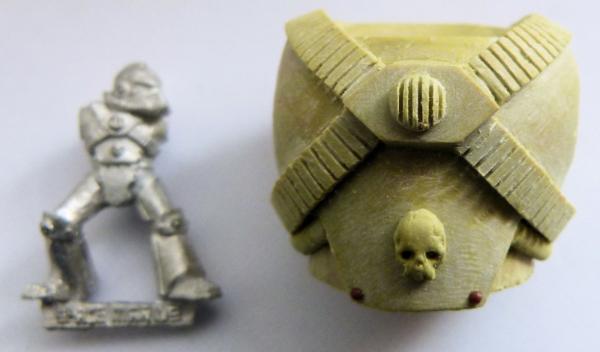
This is the finished Mk4 Chest piece with the (blurred!!) GW RT version to the side of it. I've added a ribbed pipe under each "harness" which I've seen on the new FW versions - These aren't on the GW RT variety but I thought they added something extra. Need to work on the Helmet, legs and "gauntlets" to finish this Mk4 trooper.
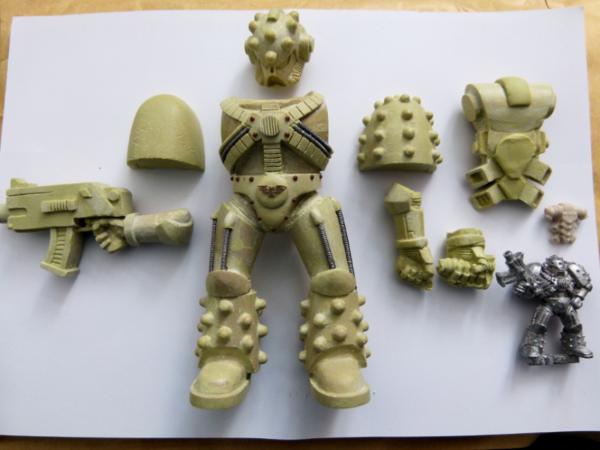
Here's the progress on the Mk5 Heresy version. I've made a press mould of my Bolt gun, so the one I've added to his right hand needs a small bit of milliput to hide the imperfections and a few rivets and this will be done. His left arm is in the process of being converted - I want to swop his left "shooting" hand with the clenched hand and am thinking of adding a World Eater like Chain Axe with a chain wrapped around his wrist and the chain axe handle. I've gone back to the drawing board on the backpack. I'm now trying to go back and use the original RT version - a lot of work is needed here.
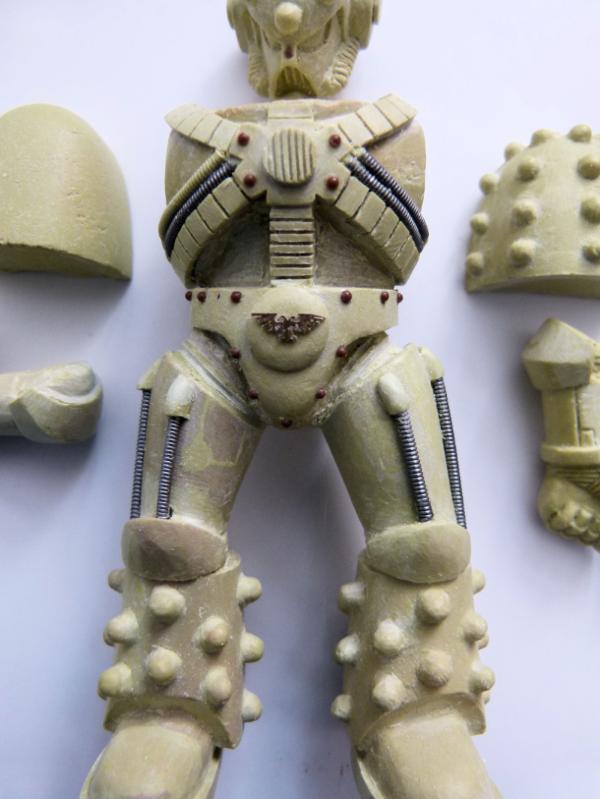
I've done a lot of work on his chest and legs. I've added rivets from Tichytraingroup, power cables from Zinge Industries and a FW Brass Etch Imperial Eagle on his belt buckle.
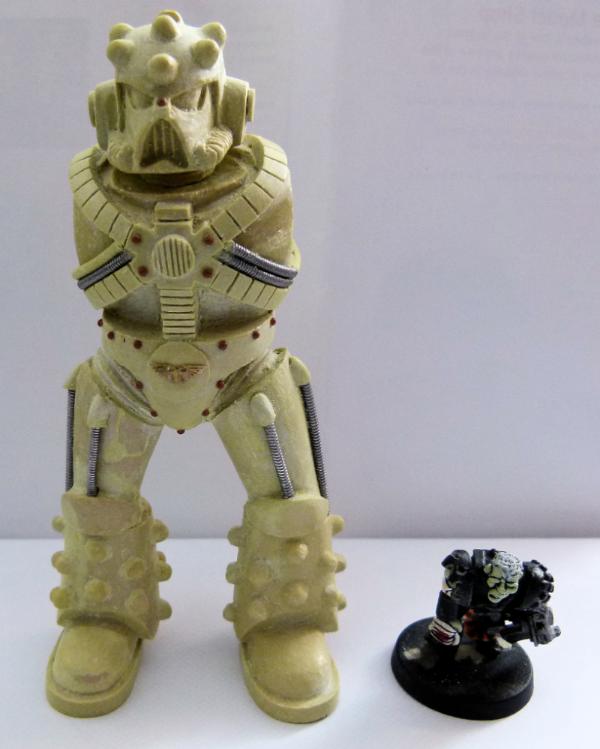
I'm really hapy with how this has turned out. I'm not going to be able to do much more with him until I get some more silicon putty so I can make some moulds and be able to make more versions in the future.
Comments and critiques always welcome.
Regards, Phil
33955
Post by: crimsonfist832
Oh my god this is amazing! It looks gigantic from what I can gather, any chance of an aerial view of the entire thing?
38750
Post by: philmorgan75
My silicon putty has arrived so I could make a mould of the Mk5 Heresy Armour and progress the model further.
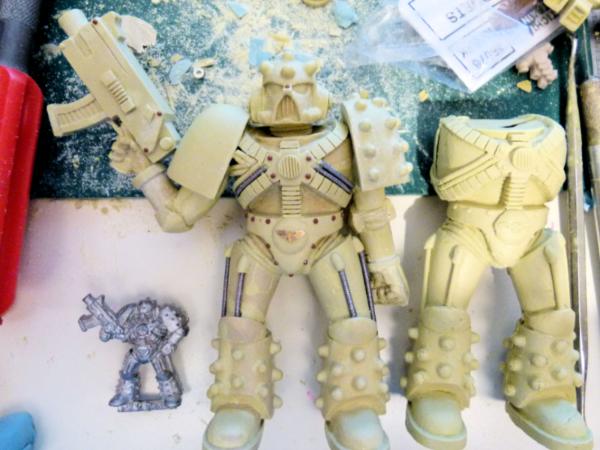
The model on the left is slowly coming along. Things left to do:
Sand his right tricep and add some more ribbing joining the back of his right arm to the shoulder pad
Use razor saw to help make fingers on left hand
Make Chain Axe to be held in his left hand
Make Chain to wrap around left arm, hand and Chain Axe
Add some more ribbing to left chest area joining arm to shoulder pad
The model on the right is the first cast from the mould. It will still take a lot of work - BUT it will still be a lot quicker than making a new one from scratch. I plan on adapting the legs to make the Mk4 version. The Knee pads need to be changed/heightened slightly, I need to remove the vertical ribbing and instead add a vertical line all the way down the inside and outside of each leg and finally, add lots of grooves to the toe area. I've gone back to basics on the Mk4 helmet and need to do some more work before I add another picture.
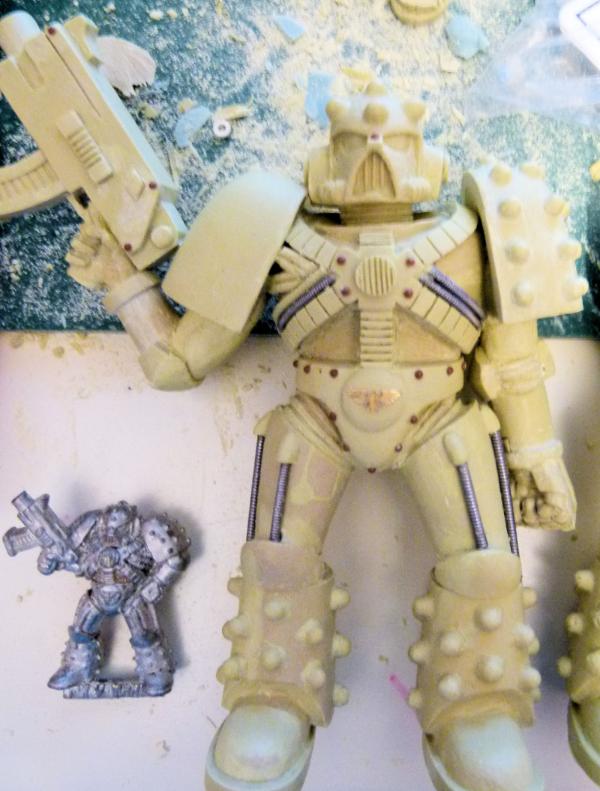
Another shot of the WIP Mk5 Heresy Armour. Another couple of days and this model should be finished.
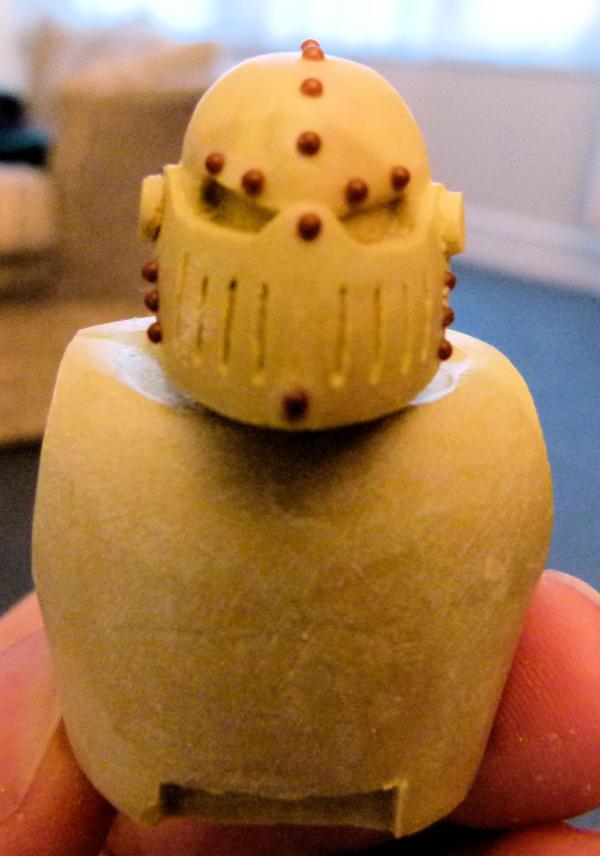
Here's a Mk3 Iron Armour helmet I've just about finished. The body is slowly taking shape. A few rivets, an imperial eagle on the front of the chest and (in my version) some ribbing around the sides.
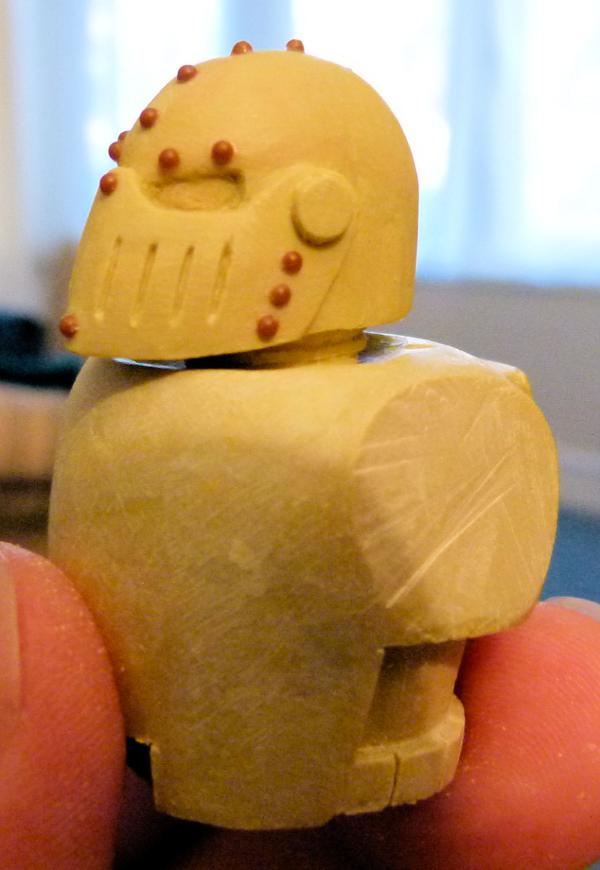
Side view of helmet.
I've started on the Mk3 legs. The front will be Mk7 legs, but the back will have to be sculpted from scratch, so I can see this taking a while to complete.
The good thing about milliput is that it takes a long time to dry rock hard, so it gives me time to flit between lots of different projects/Mk Armour.
Critiques welcome as always!
Regards, Phil.
38750
Post by: philmorgan75
Almost finished my Mk5 Heresy Armour:
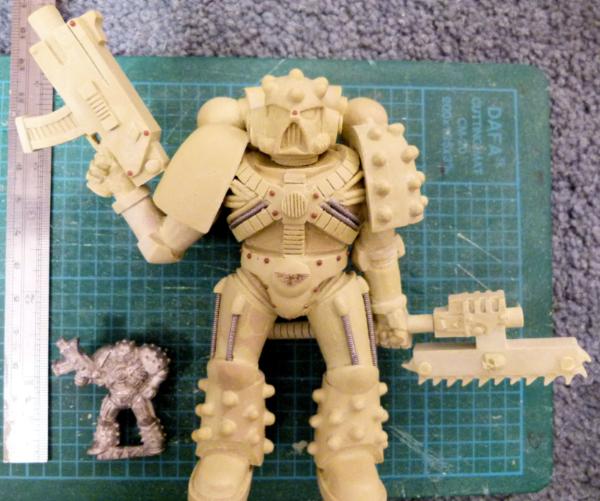
I've only got a small amount of work to do on the Chain Axe and this model will be done.
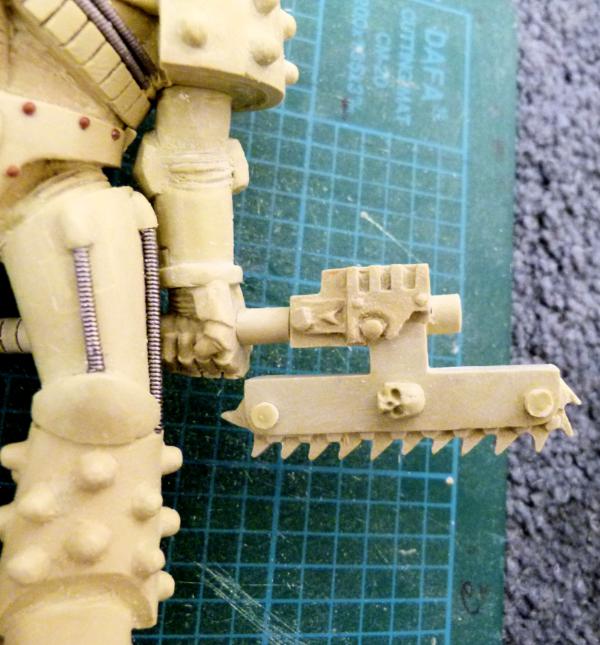
I need to file the 2 round bits smooth of milliput and add a small thin wire connecting the skull to the Chain Axe engine for the whole of this model to be finished.
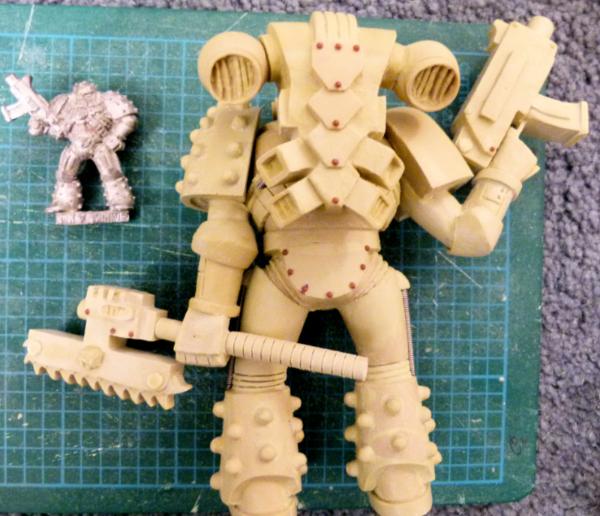
Here's a shot of the Mk5's rear with the old school backpack.
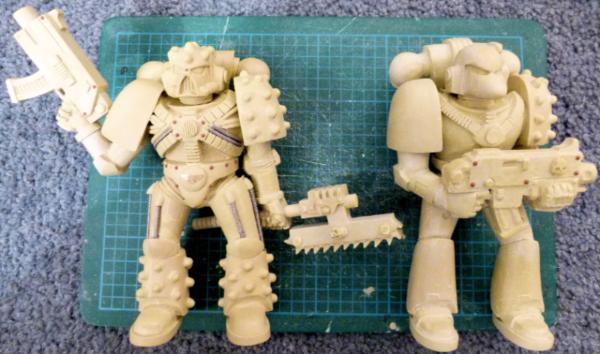
Shot of the Mk5 and Mk6 together.
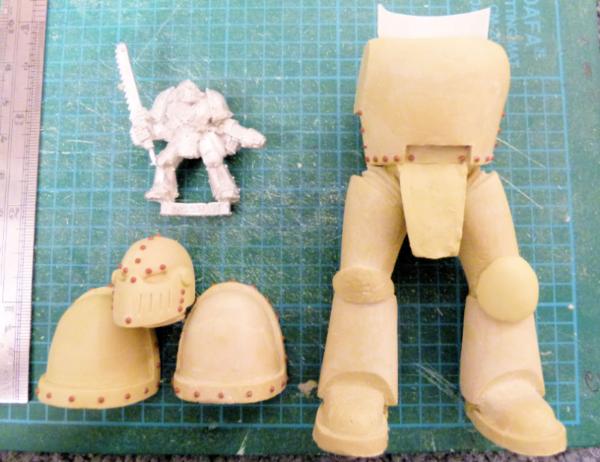
Making some progress on the Mk3 Iron Armour. I used the Mk5 legs and have sanded all the bumps and power cables off. I am in the process of making the much larger and rounder knee pad on the left. Once I'm happy with the completed knee pad, I'll make a quick mould to make an exact copy for the other leg. The crotch armour still needs a bit of work to match the GW version. The neck armour has just had plasticard added to it. I'll add some milliput around it to thicken it. I've also started converting the back of the legs. I'm going to give it a few more hours on the radiator to completely set rock hard before I begin the laborius task of sanding and shaping. I'll post a shot soon to show what I've done.
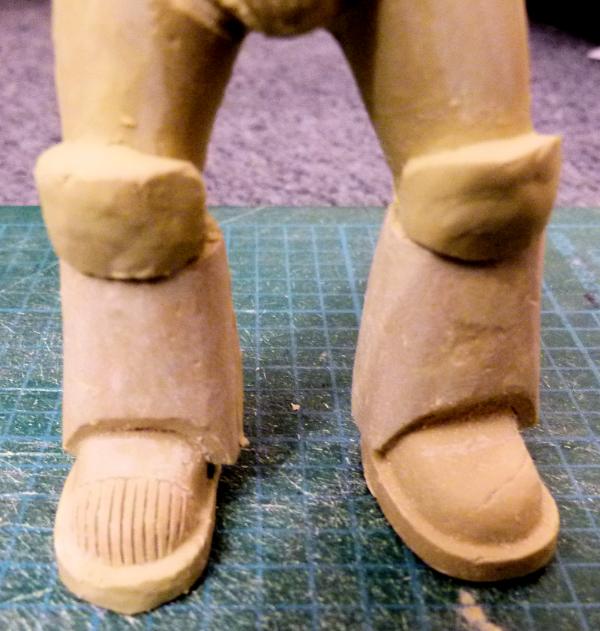
Finally, I've started making a Mk4 pair of legs (again using the Mk5 which I have denobbled!!). This is very early in the process as the milliput hasn't been sanded and shaped yet on the knee pads. You can see the progress I have made on his right foot (like the GW version). To save time, I will probably take a cast of the right foot and use a copy on his left.
As always, feel free to ask questions.
Regards, Phil.
38750
Post by: philmorgan75
I've made some progress on the Large Scale Mk3 Iron Armour Space Marine:
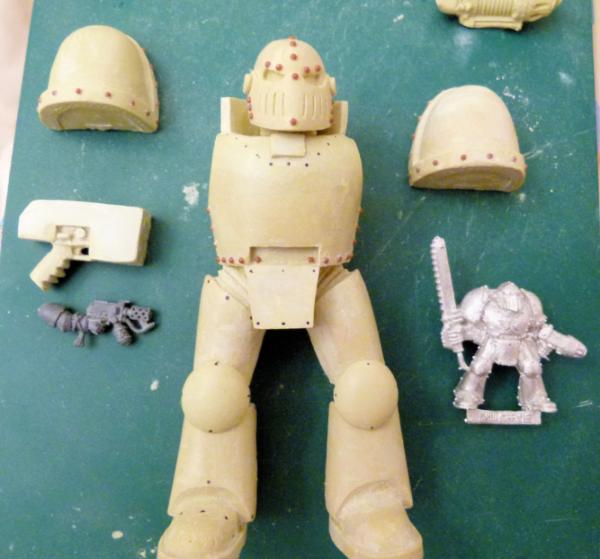
All the black dots are where I'll add some 0.050" rivets when I can get some new super glue. I don't know what's happened to the brush on my current super glue, but it now resembles a kids paint brush!!!!
I need to add some power cables to attach the top of the chest to the bottom of the helmet. You can see to the left of the photo the progress I've made on the Hand Flamer. I've just got the basic box shape - I'll start adding more detail when a new batch of milliput arrives in the post!!
You can just see in the top right hand corner the start of an old variant of the Plasma Pistol to be used on the next sculpt.
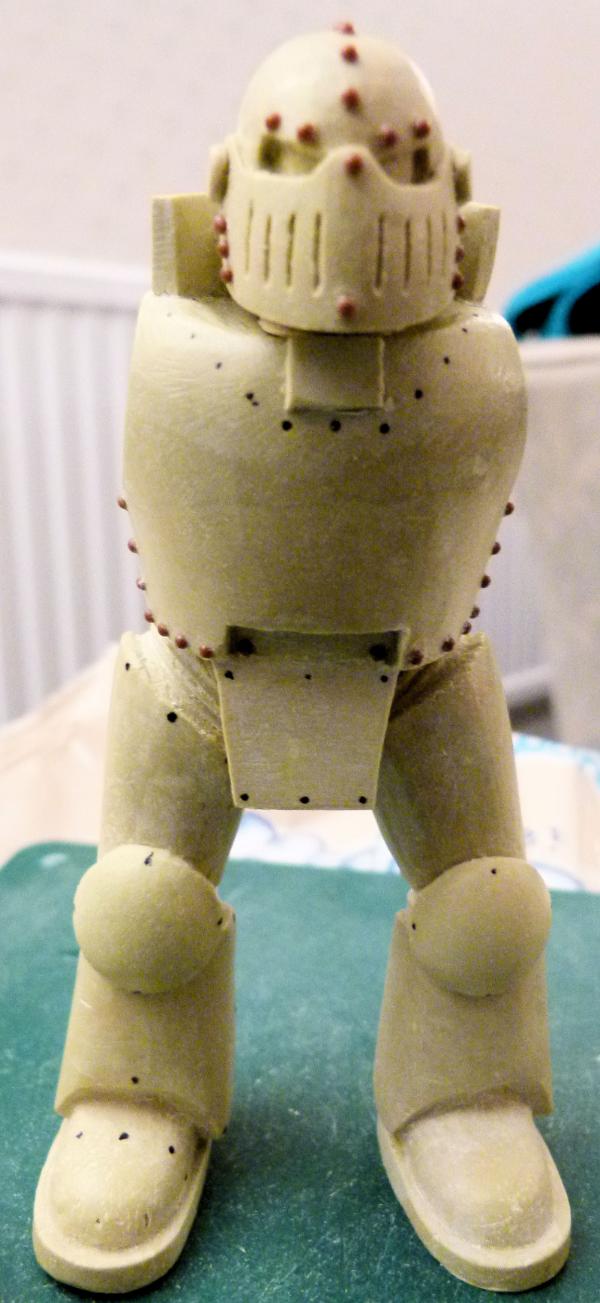
Here's a close up of the front view.
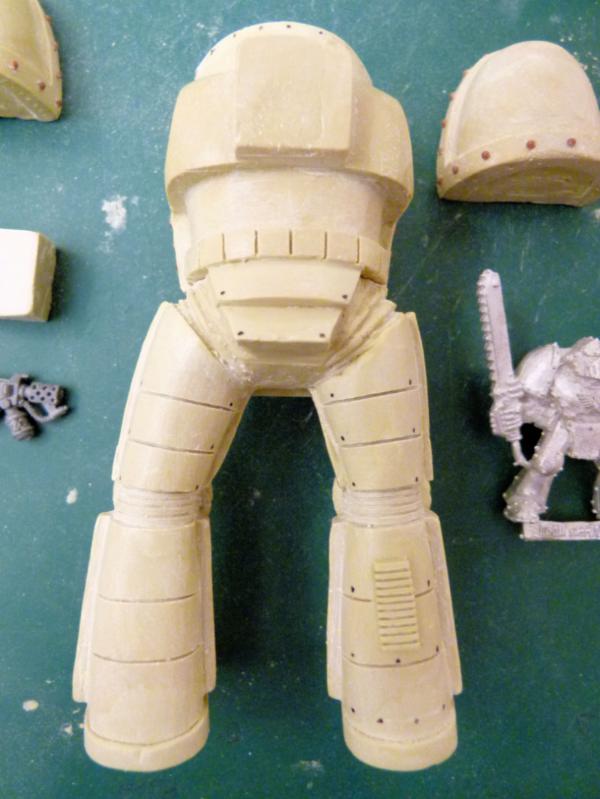
This shows what I've done with his back. Again, lots of rivets will need to be added here. I've just created a mini mould of the right power cable on his right calf to have an exact copy on his left. I'll add some Zinge Industries power cables to join the front armour to his backpack.
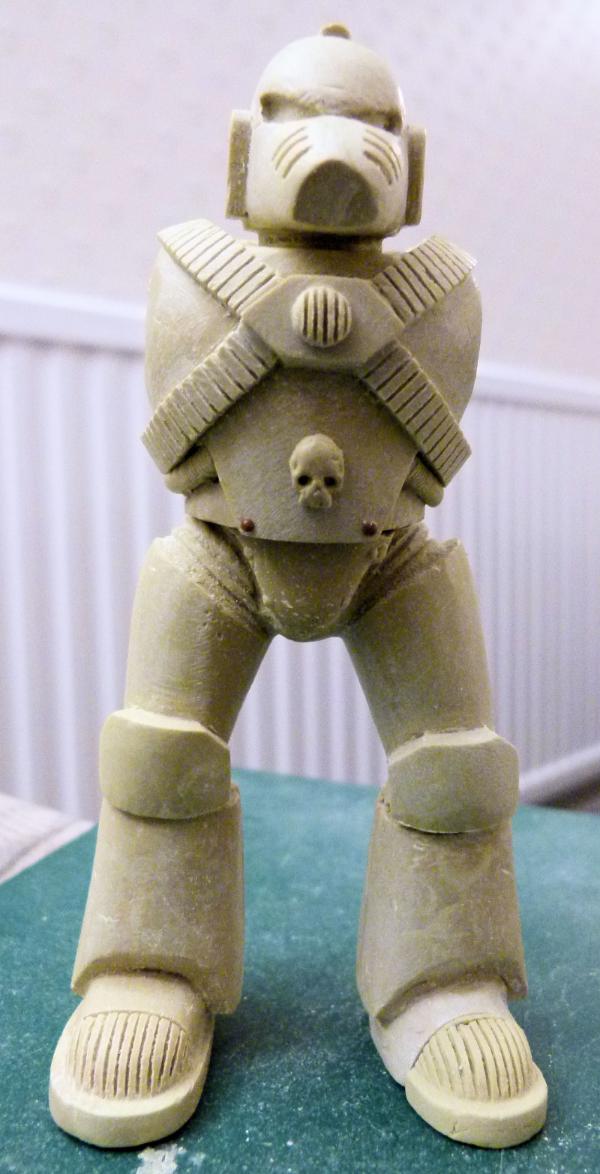
Here's the progress I've made on the Mk4 Maximus Armour Large Scale Space Marine. The chest has been completed. The helmet needs to have the power cables attached to the sides and the "breathing" grooves on the left hand side need to be worked on.
I need to add a "crotch" plate, smooth and blend some milliput onto his left foot and add a few rivets to the knee pads for his legs to be finished.
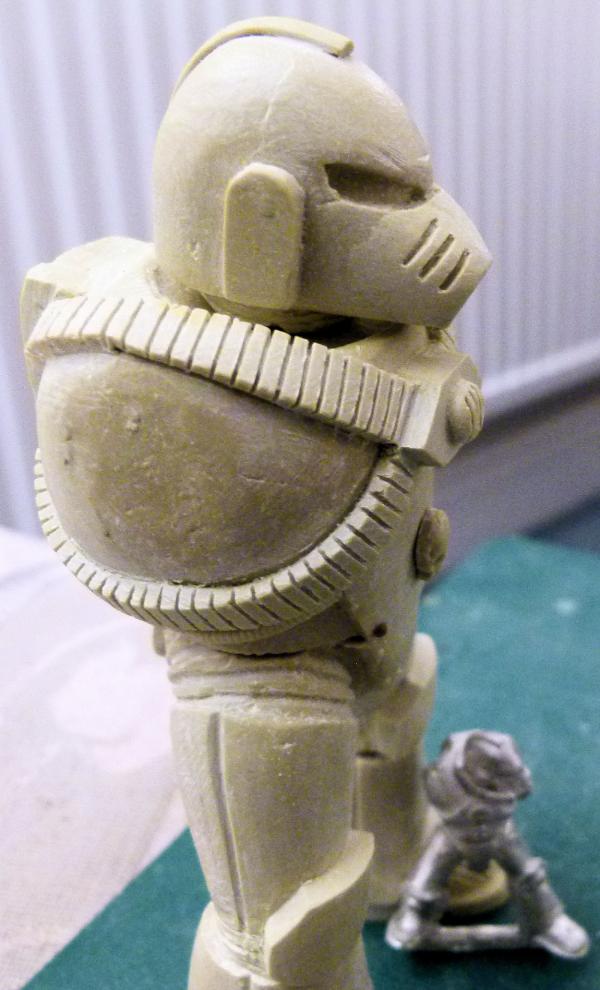
Here's a shot from the side. As stated above, I need to add a power cable to the side of the helmet and a very small bot of milliput needs to be added to the very end of the snout.
I'm off to Legoland Windsor for the next few days, so I don't expect to be updating this blog for a couple of days.
Any comments/critiques welcome.
Regards, Phil.
38750
Post by: philmorgan75
Progress on my Mk3 Iron Armour Large Scale Space Marine:
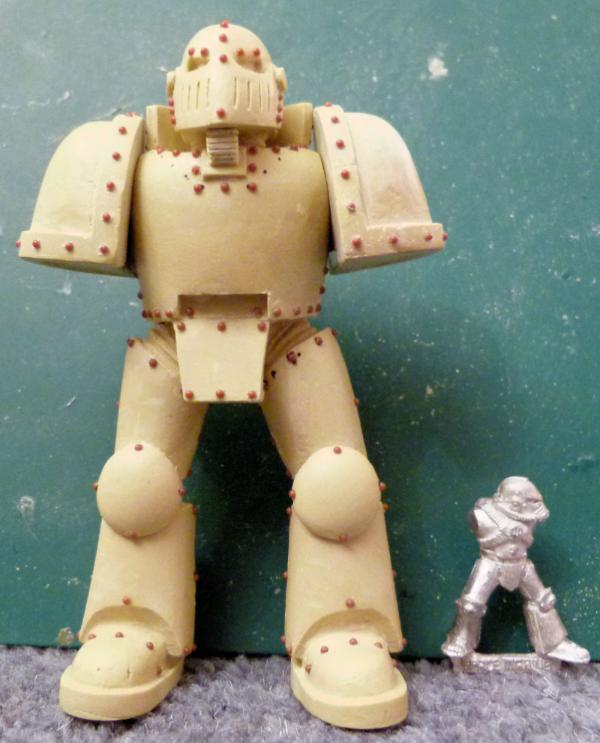
As you can see, I've added all the rivets (front and back) on the helmet, body, legs and shoulder pads. I'm still in the process of making his arms and weapons - I'll take some shots when I've made a bit more progress. Please excuse the Mk4 GW SM to the right of this shot - It's purely to show scale.
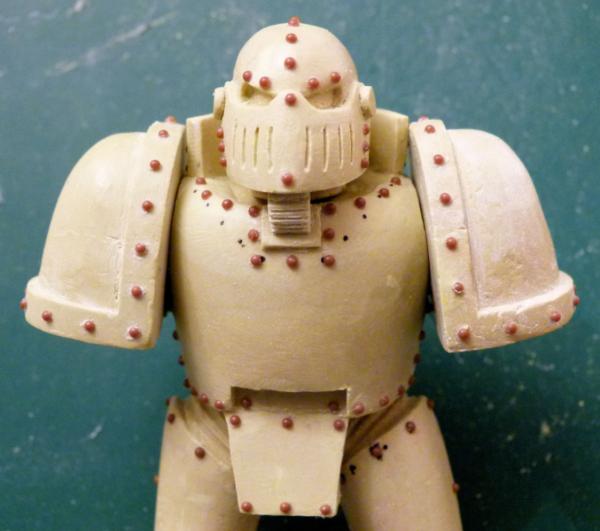
Here's a close up of the helmet and chest. I've decided not to add a large Imperial Eagle on his chest as per the original GW model. As far as I can remember, only 1 Legion was allowed (Emperor's Children?) to display an Imperial Eagle before the Horus Heresy and as I don't know what era I will be painting this model in, I'll refrain from modelling this icon!
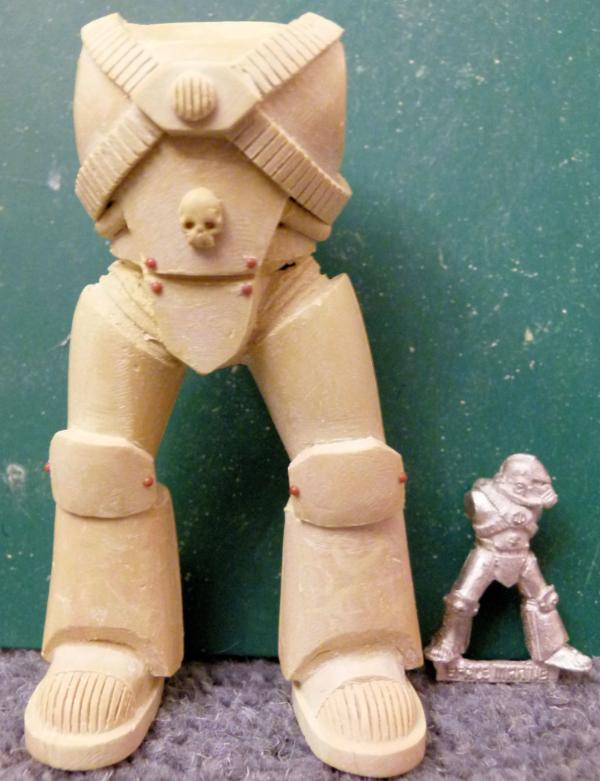
I thought I'd show you the WIP on a Mk4 Maximus Armour. I just need to smooth the join between the chest and groin area and to add 2 small skulls onto the Knee pads and this part will be finished for me to take a mould for future builds.
Till next time, Regards Phil.
38750
Post by: philmorgan75
Another update:
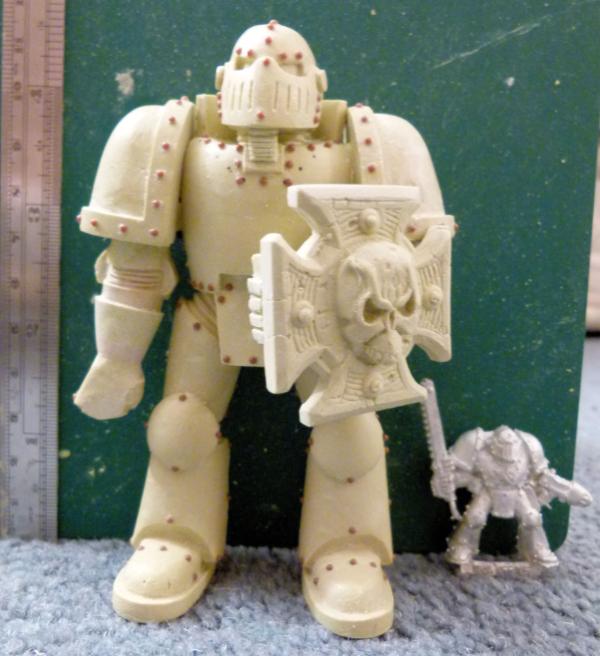
I've decided to change the weapons he will be carrying - I'm keeping the Boarding/Storm Shield, but am going to go with a Power Mace in his right hand. The mace will be based on the GW Black Templar. I think it has a very medieval feel to it!
I've just received a FW Mk3 Backpack and want to copy it as best I can in this scale. This will probably take a number of days as I have lots of things going on in my "real life" - Son's football training, Boss's leaving party, School Governors meeting and a Manager job interview. I probably won't have any spare time till next weekend to complete this model.
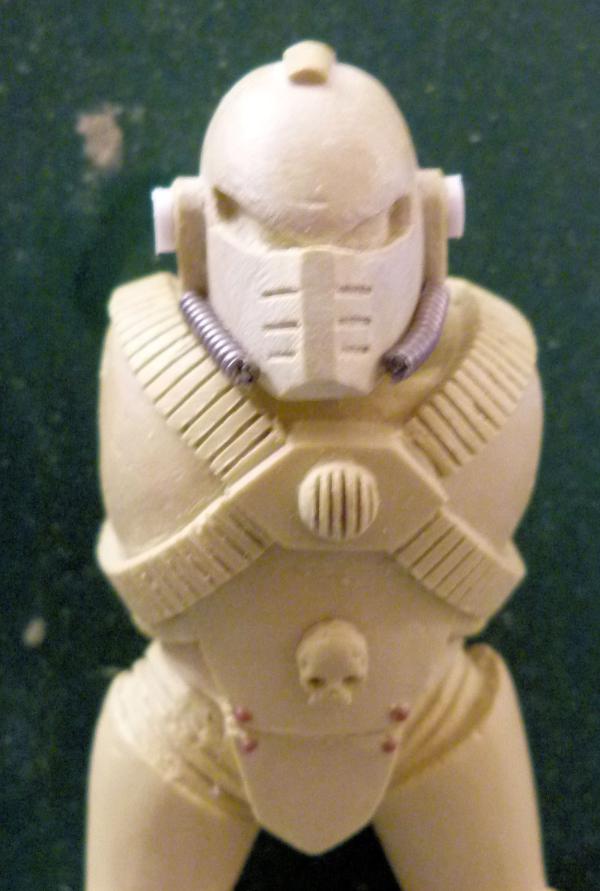
Here's the progress on the Mk4 Maximus Armour. I have rebuilt the helmet and have got to this shape. I need to add a small amount of milliput to blend the power cable onto the helmet, a couple of rivets and I need to finish his ears off. I then need to add arms and weapons. Any suggestions for what this Mk4 should be equipped with?
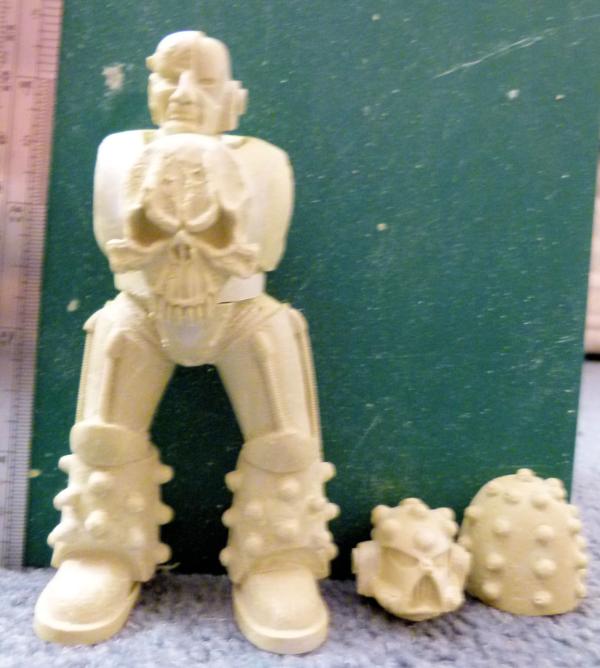
Here's a quick shot of another Large Scale I'm in the process of making - A Chaplain! He will be encased in Mk5 Heresy Armour. His helmet will be attached to his belt.
Things I want to do:
Add large skulls to cover his knee pads.
Make a Rosarius which will dangle around his neck
Make a Crozius Arcanum to be held in his left hand. I want to make it a double faced Imperial Eagle resting on a Skull.
Use a modern Plasma Pistol in his right hand.
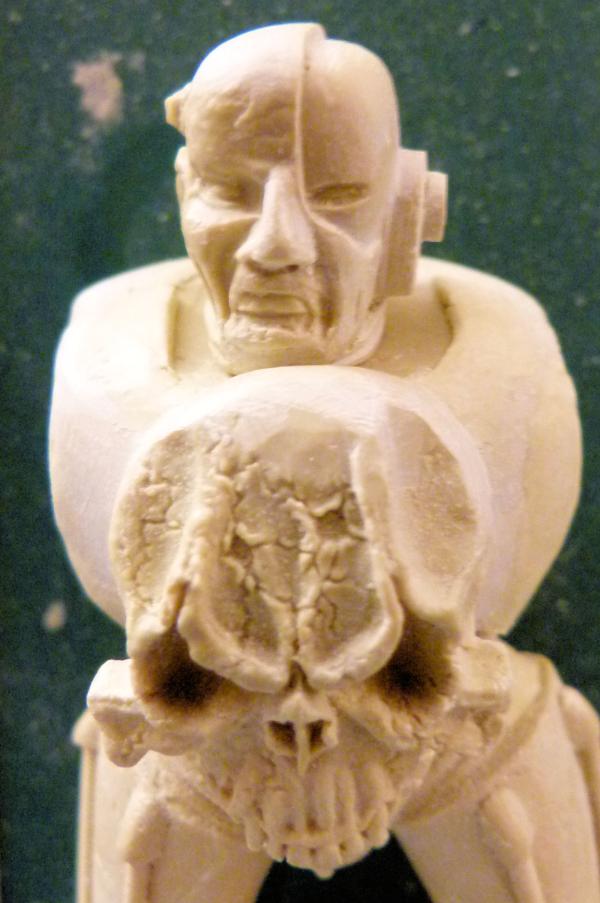
A close up showing his partially rebuilt skull from a previous war!
Any critiques welcome.
Regards, Phil.
38750
Post by: philmorgan75
Update time:
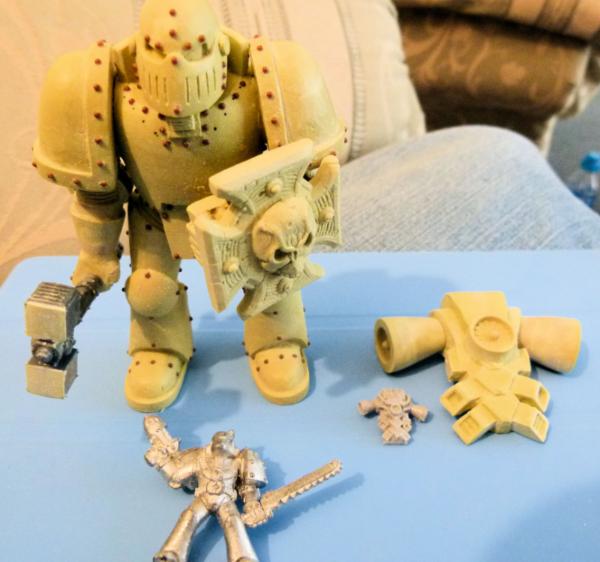
I decided after spending many hours making a maul that using a converted GK Dreadknight Hammer looked really cool. My WIP Mk3 Backpack can be seen in the top right hand corner.

Here's a side shot. I used 2 GK Dreadknight hammers to make this.
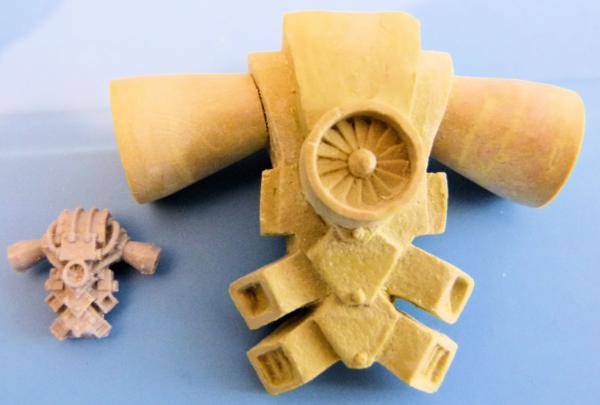
Here's a shot of the WIP backpack with the FW version I'm using as a template. I used a mould of a Lego cone to make the exhaust vents!
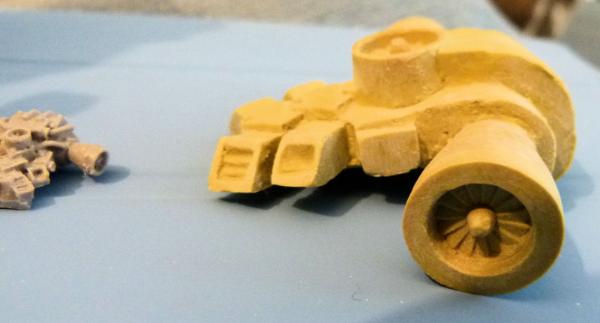
Here's a shot to show the inside of the vents.
Just to show an update of the Chaplain I posted last time:
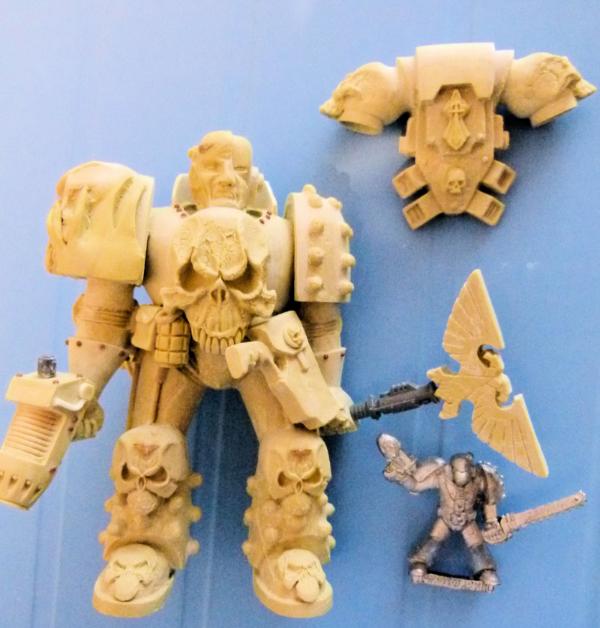
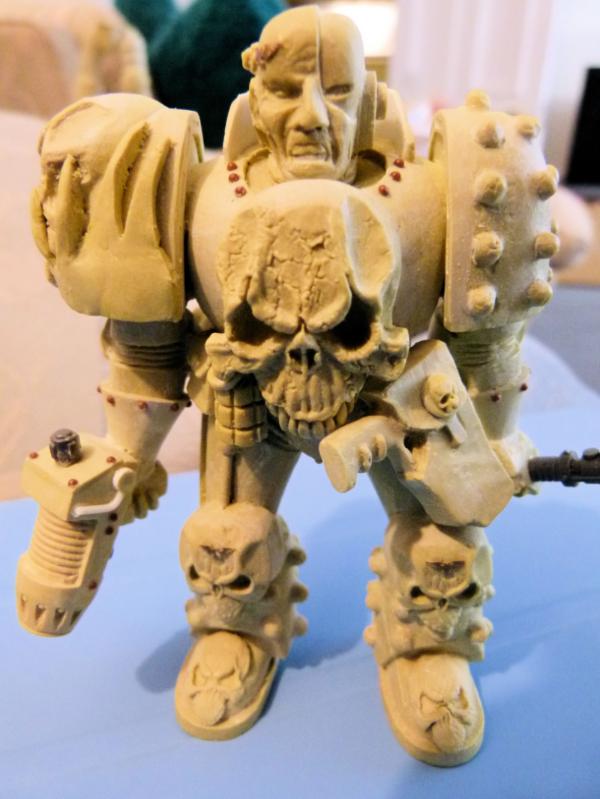
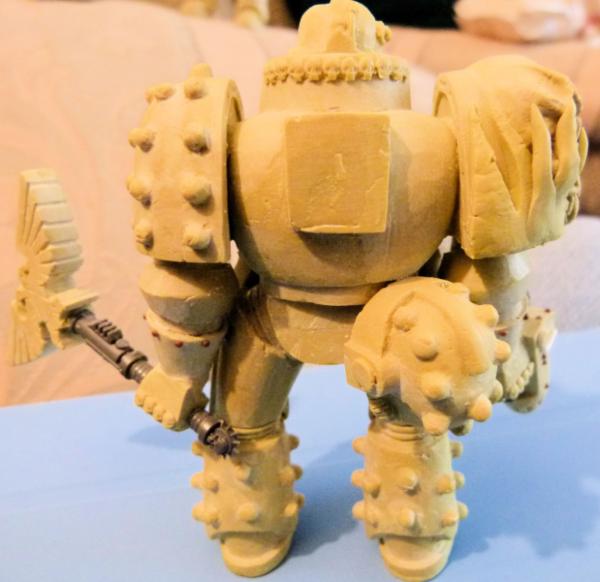
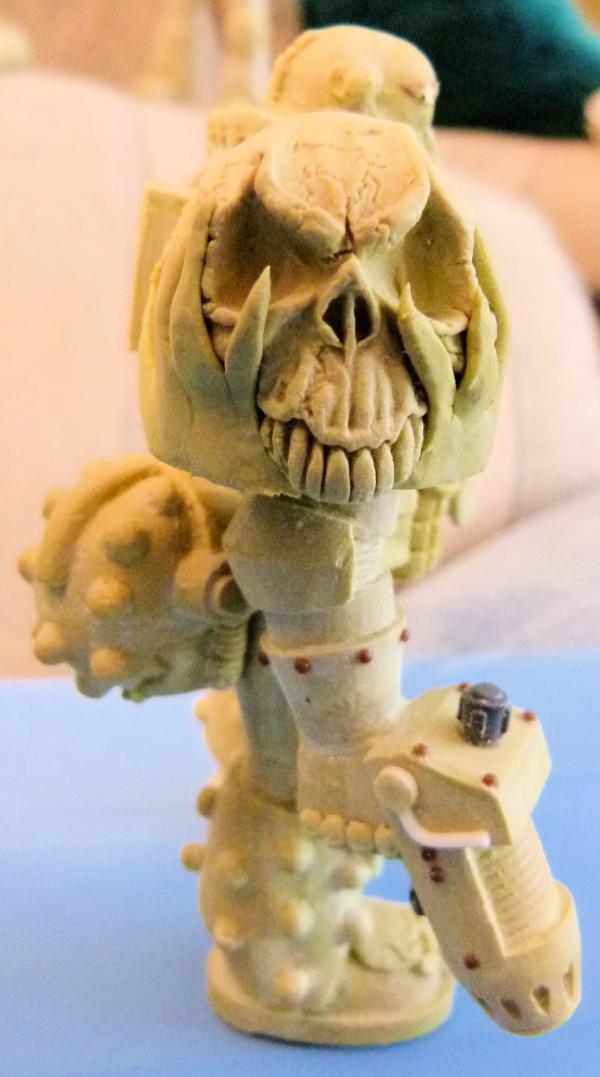
I'm really happy with how this has turned out (lots of skulls!!!). I think the Old School Plasma Pistol turned out really cool! I need to sand and smooth out the flames on his right shoulder pad and need to add a rosarius around his neck (attached by a chain) for this to be Large Scale model to be finished.
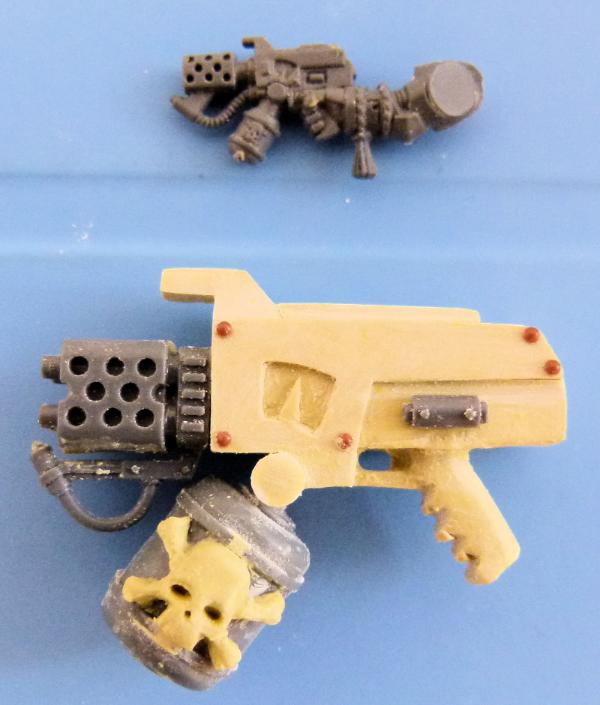
Here's one of the weapons I've made for the Large Scale Maximus Armour - A Hand Flamer!! The nozzle was taken from the GK Dreadknight incinerator and the fuel cannister was taken from the Baal Predator with an added skull and cross bones
And finally, the next Large Scale I'm moving onto:
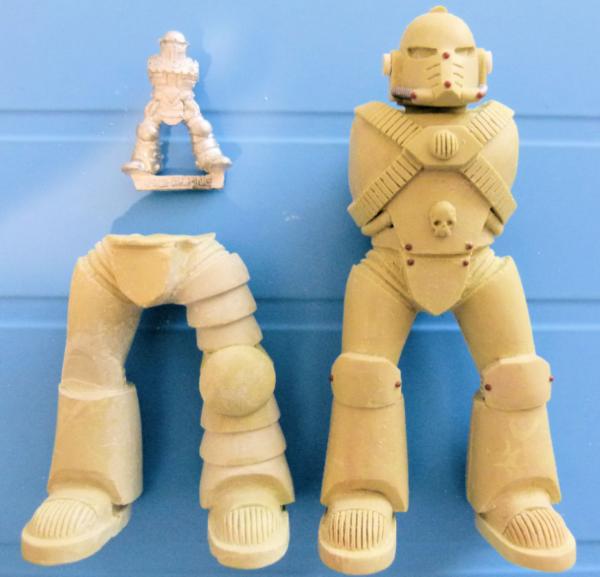
I used a mould of Mk4 Maximus Armour legs and started to make Mk2 Crusade Armour. The left leg is partially finished (need to add rivets and power cables). It's involved a LOT of sanding to cut the armour plates to get to this stage!
Any questions welcomed. Regards, Phil.
38750
Post by: philmorgan75
Update time!
Finally finished the Mk3 Iron Armour Large Scale Space Marine:
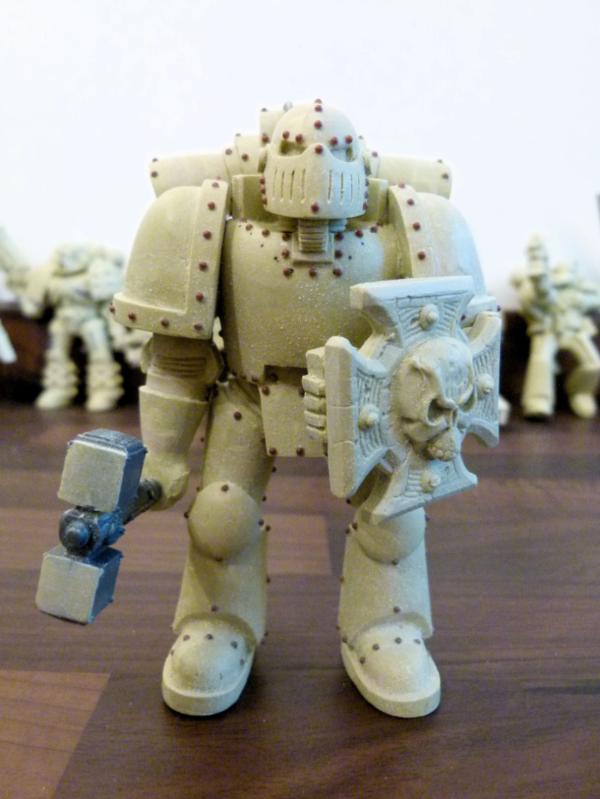
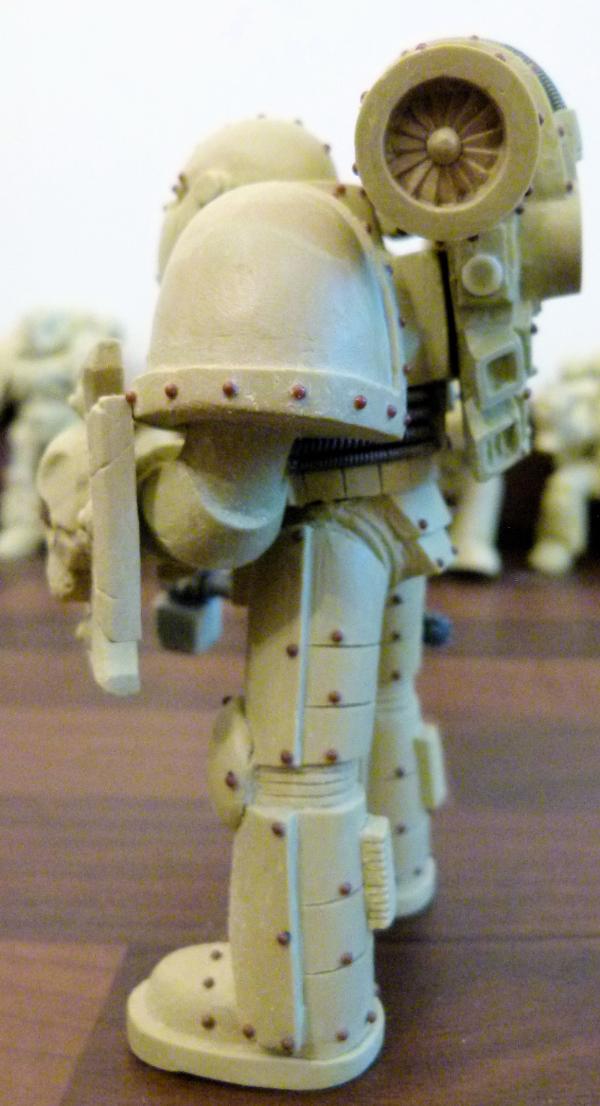
This shot shows what I did to the side of the back pack.
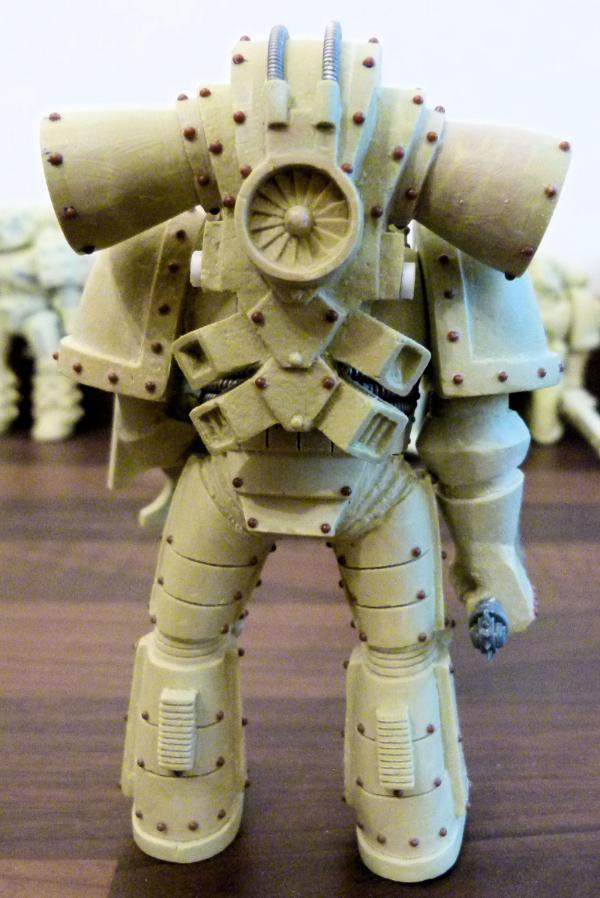
This shows the whole of his back pack. I seem to be keeping tichytrain group in business with all these rivets!!
I thought I'd post a few shots of all of my completed Large Scale Space Marines:

Almost made a full squad! I am toying with retro fitting jump packs to all of the Assault weapon armed troops -we'll see!!!
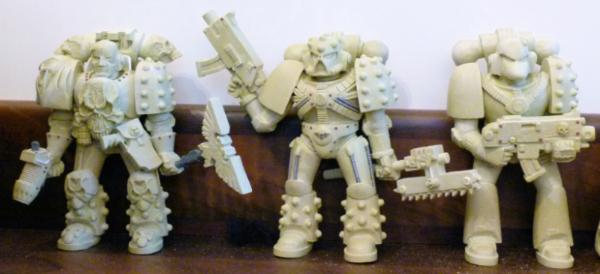
Chaplain, Mk5 and Mk6.
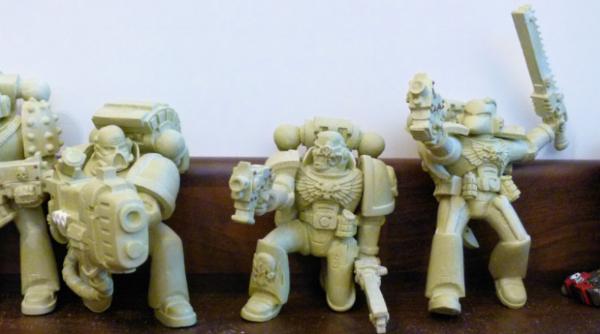
Plasma Cannon, Mk6 Sergeant and another Mk6.
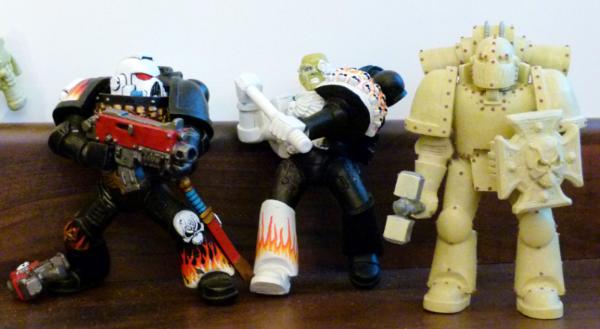
Mk8, Mk6 and Mk3.
I thought I'd show you my current WIP - a Mk2 Crusade Armour Space Marine:
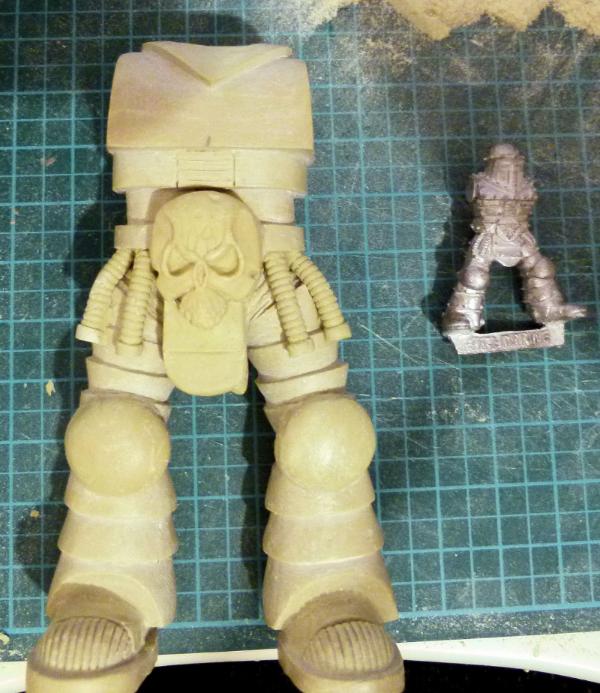
I need to sort out his crotch plate and add LOTS of rivets!!!!!
This is the backpack I'm going to use - A Mk2 Crusade Armour Jump Pack:
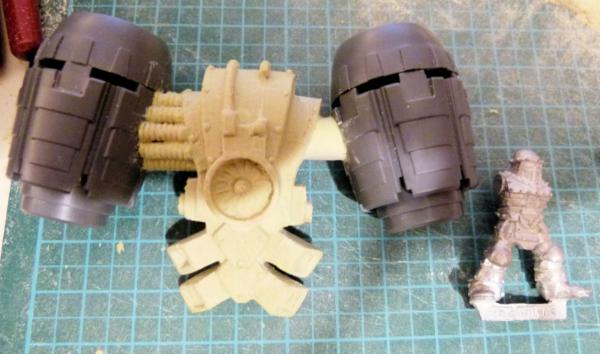
I need to add some more flexible cables joining the backpack to the Storm Raven "Jet Packs" and a small vertical cable at the top to finish this. I was toying with sculpting all of this from milliput, but I saw the Storm Raven engines and thought I could save a lot of time AND effort by using them!
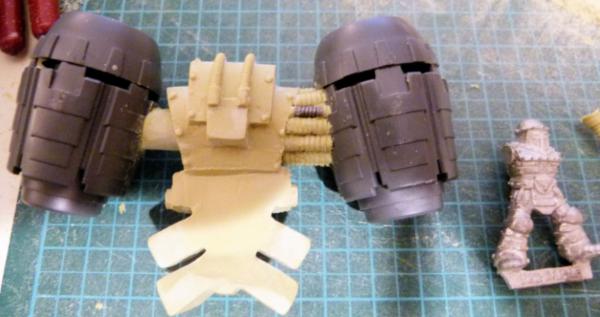
Here's a shot from the other side.
I've almost finished my Mk4 Large Scale and have also decided to make a Mk4 Jump Pack. This is as far as I have got:
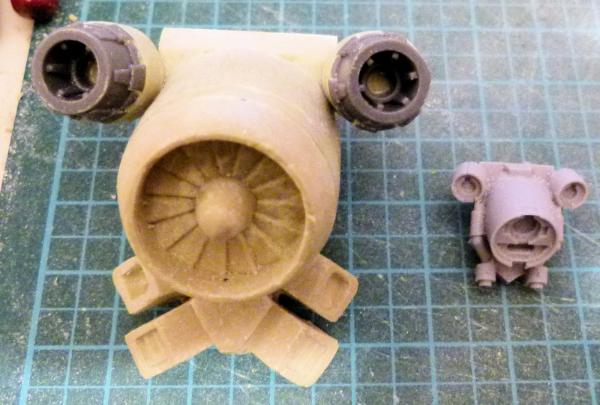
I haven't copied it exactly. I think the large fan turbine looks cool!! I need to add a few things (the vertical side pipes - I'm still undecided on how to make these) to finish this.
Here's the side shot.
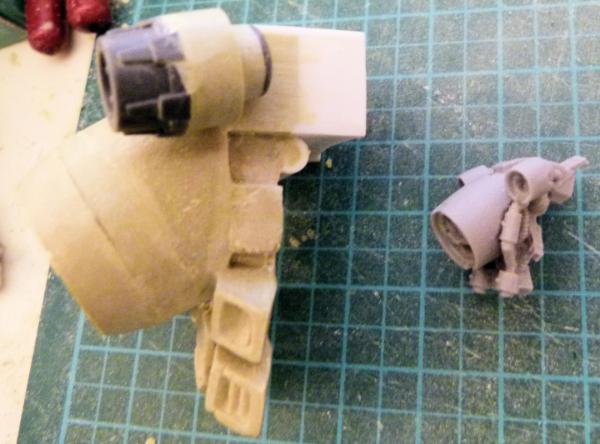
Back to adding rivets to the Mk2. Critiques welcome/expected.
Regards, Phil.
38750
Post by: philmorgan75
Another almost completed project - The "Fort"ress of the Damned:
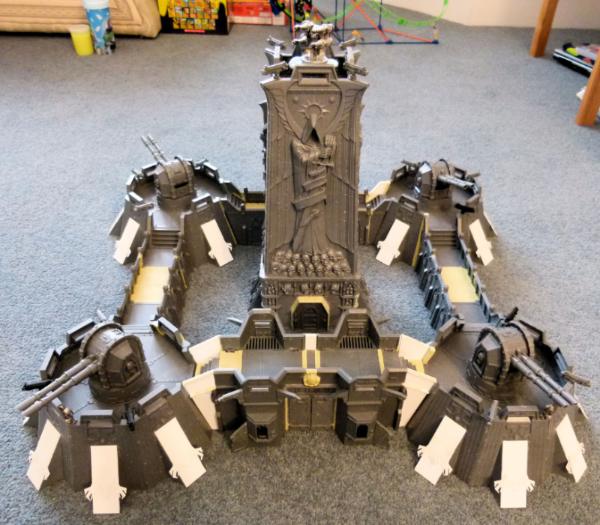
This front shot shows the size of the Fortress. The only things missing are the Heavy Bolter for the Bastions. I'm still trying to aquire 4 of them.
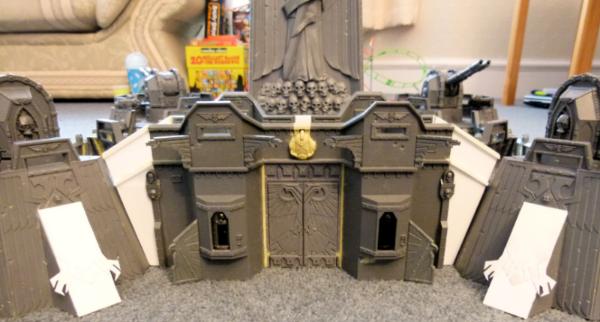
This shows the 99% completed Front Gate. I've added some Cities of Death Imperial Eagles to the top and bottom parts of the Bastion to increase the eagle count!
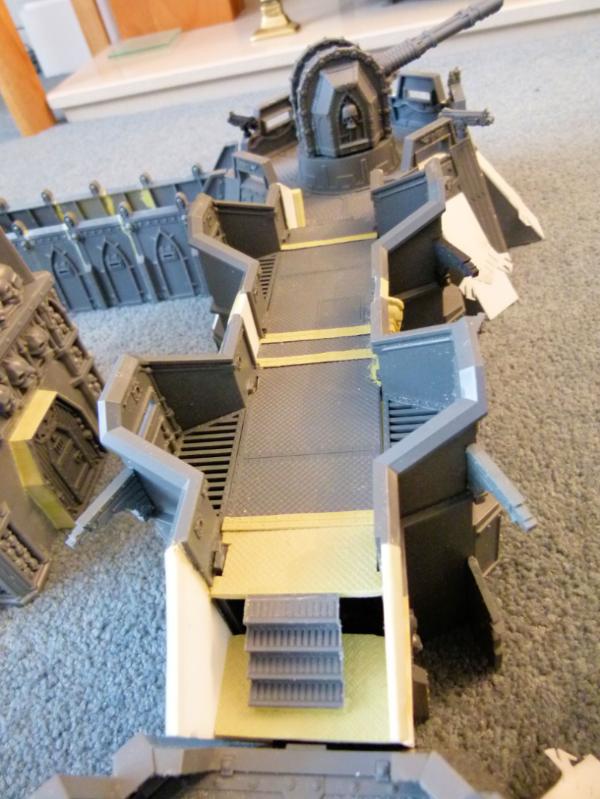
This plan shot shows the walkway above the Front Gate and the front right bunker. You can see the extra Heavy Bolters on each Bunker. I plan on adding mini 2mm magnets to the bottom of each weapon to aid in the storage.
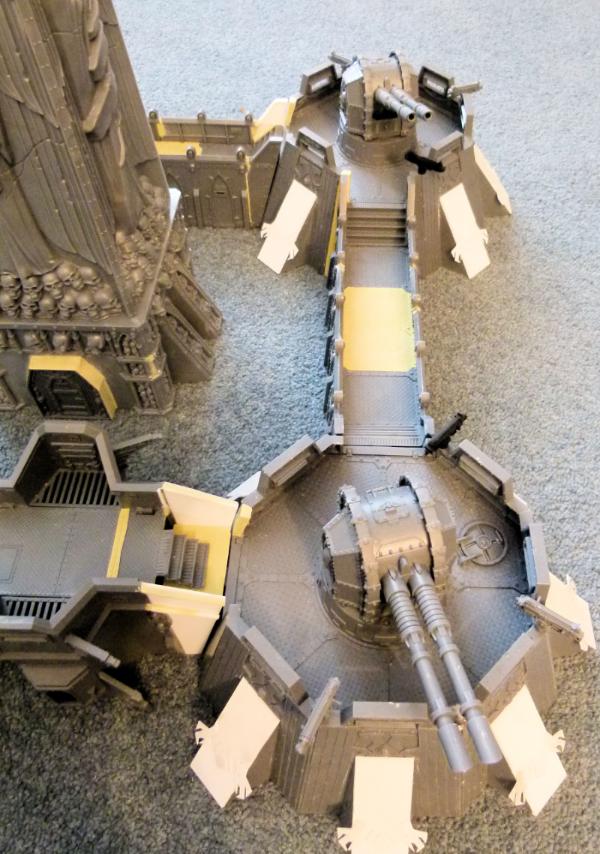
This shows the whole of the right hand side, two bunkers and the corridor.
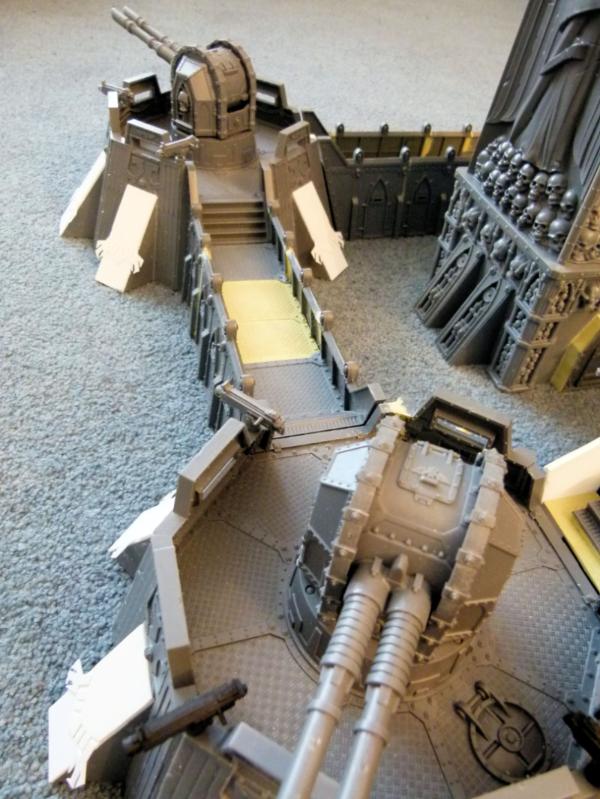
This shows the whole of the left hand side.
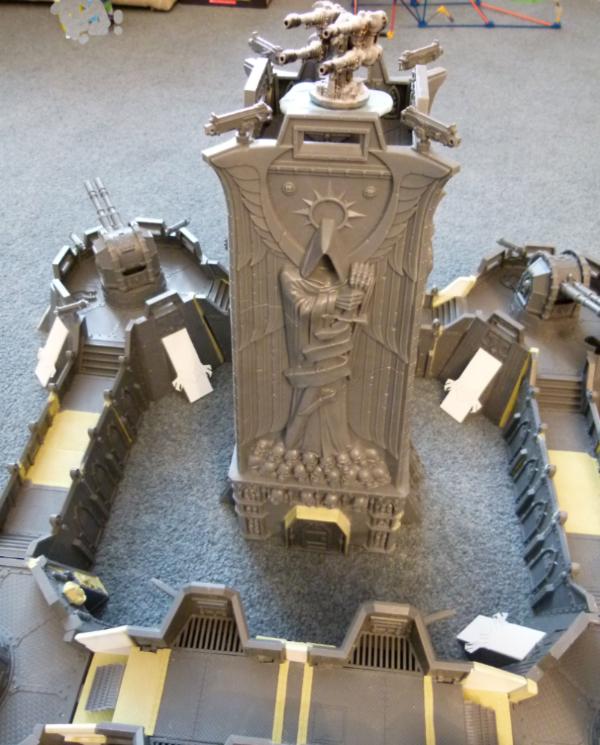
This shows the near complete Tower. I have added an aerial defense weapon - The Aegis Autocannon. I need to remove the blue silicon mould underneath the temporary Aegis Autocannons which I have borrowed from the other outpost I have already completed. Aegis Autocannons go for ridiculous sums on ebay! I still need to purchase another one of these to finish the Tower.
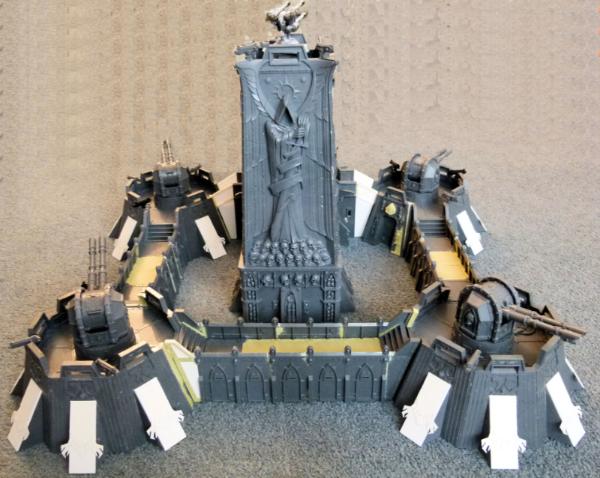
This shot shows the whole of the rear section. I have spent more time constructing the rear corridor and Front Gate section than the whole of the rest of the Fortress!
I have decided to paint the Fortress like this:
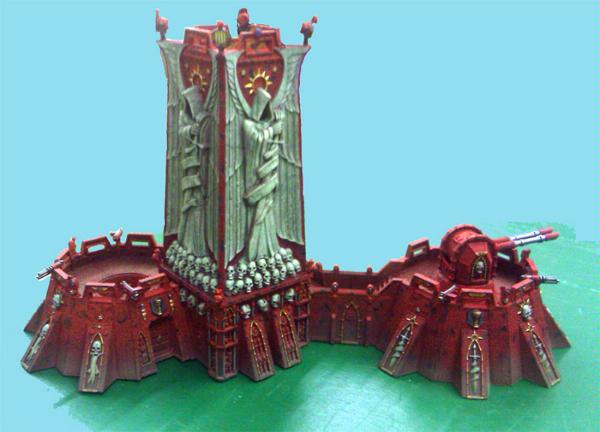
Gunzhard has done a fab paint job on his Fortress above and I can see me wanting to do a similar paint job. Any suggestions on what he has used to get the dark red colour? I want the weather to improve before I undercoat and start painting mine.
Until I get a new Aegis Autocannon and 4 Bastion Heavy Bolters and 17 2mm magnets, this project will be put away and I now want to start my next project, a Plasma Fellblade. Check out my Blog for more details.
Comments and critiques welcome as always.
Regards, Phil.
38750
Post by: philmorgan75
I have always loved the Fellblade models by Machinator and over the last few years, I have slowly bought enough parts to build one. I want to make this topic picture heavy to show what I've done. With no further avail:
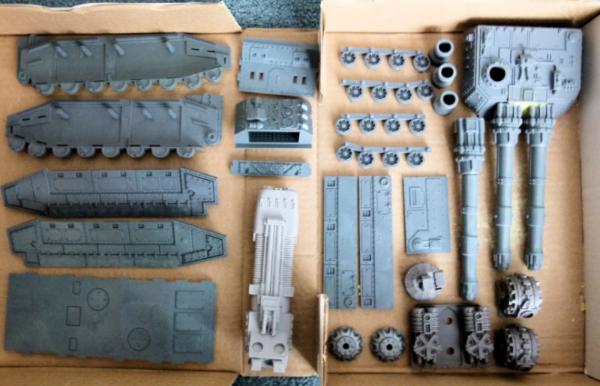
This shot shows the main components to be used in the build. I want to make a Fellblade which will be the fore runner to the Storm Blade. In the centre, you can see a Warhound Plasma Cannon that I managed to get off of ebay for half the price of a new one and will use this as the starting point of my fellblade. I received a couple of weeks ago some parts from Machinator and want to trick the Fellblade out with as much Plasma weaponary as possible. You can also see some Pegasus Chemical Plant parts that I will make Plasma Reactors with (stealing Machinator's DA idea here!)
To get as much bang for my buck as I could, I decided to use the chassis for the Fellblade and through use of magnets, be able to convert it into all of the sword and blade variants - Storm Blade, Storm Lord, Bane Sword, Bane Hammer and Twin Shadowsword.
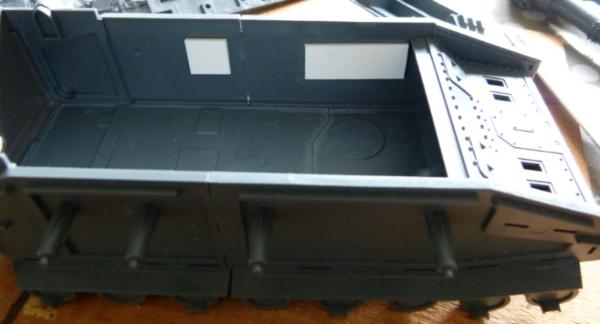
I constructed the bottom, front, rear and the internal parts of the sides as per the instructions. I then added some white plasticard on the inside to assist with future conversions. These ledges will assist in the conversion from fellblade to Shadowsword etc.
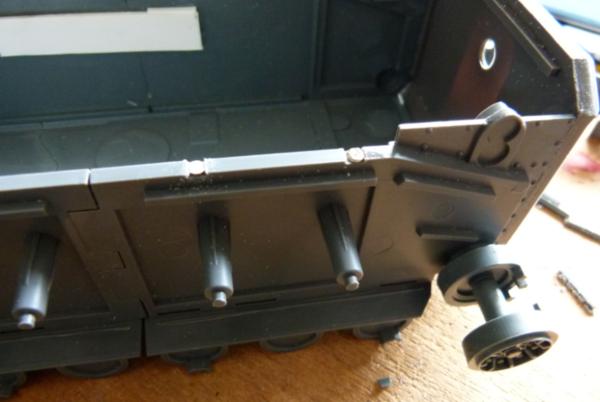
I added 2 little 2mm by 1 mm magnets on both sides, towards the back of the chassis. This will be used to hold the Heavy Stubbers when I want to field a Storm Lord. You can also see one of the rear wheels that has been attached.
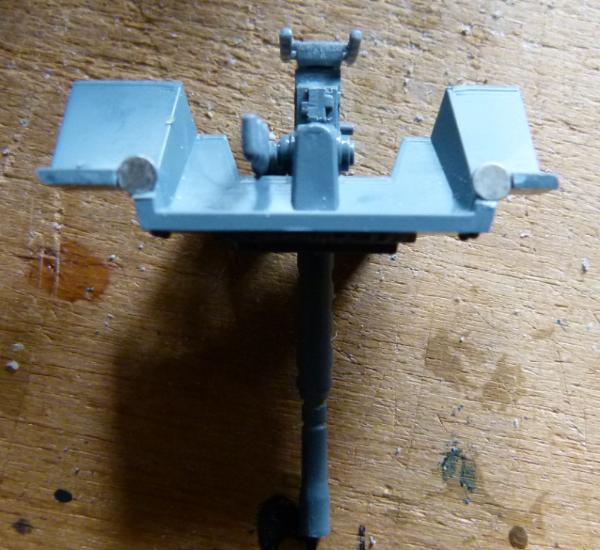
I added two more magnets under the Heavy Stubber as well.
Track Section
I didn't want to use the standard Baneblade treads, so I decided to make my own:
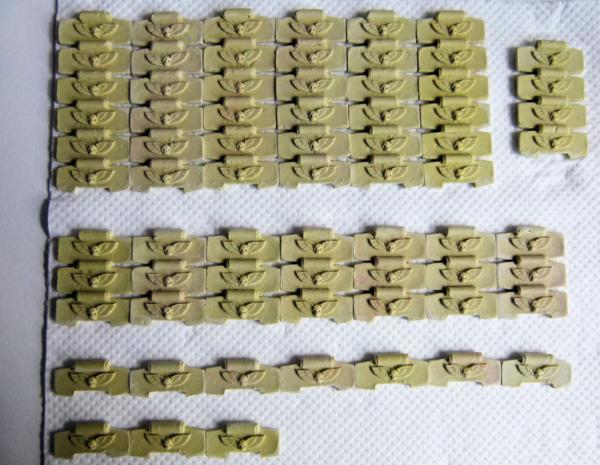
I thought this would be enough, but as I found out later, I needed another 3 single tank treads - oh well, back to my mould and my milliput!
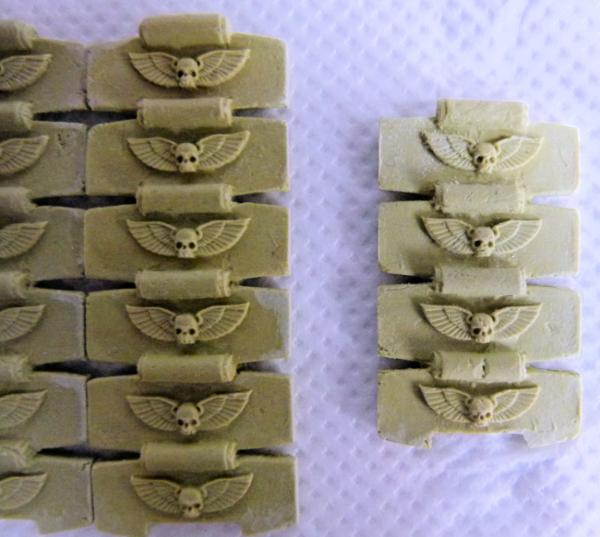
This shows a close up of the Tank Tread. Not perfectly cast, but good enough for the ones underneath the tank.
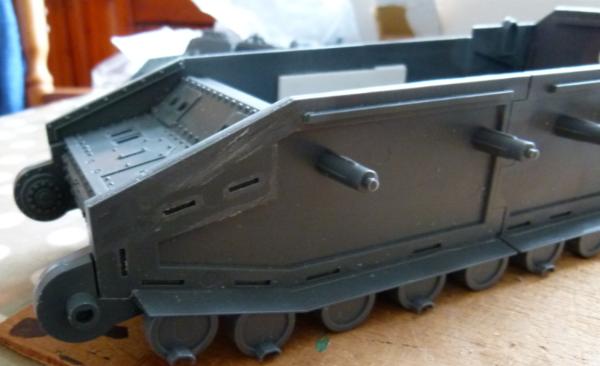
To fit the new tracks, I had to remove all of the ledges that would have been used for the original tracks and mudguard.
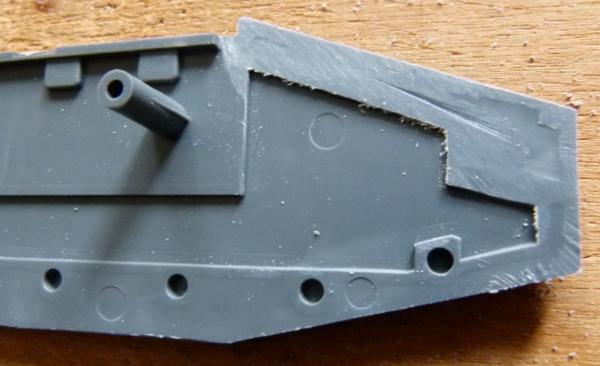
I also had to remove the ledges on the outside parts.
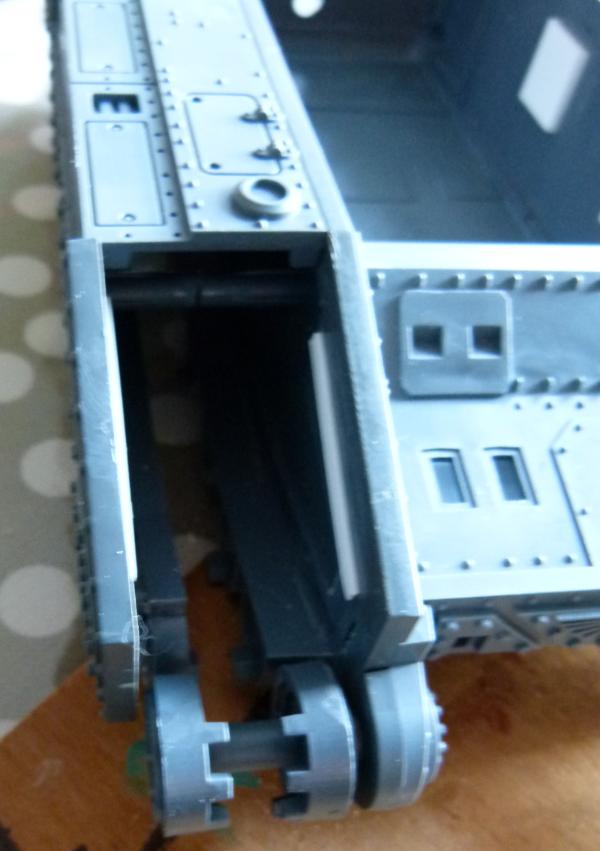
I then glued the inside and outside track section together, as well as the top part. I then used a small piece of white plasticard on both sides of the track section to use as a ledge for the new tracks to rest on.
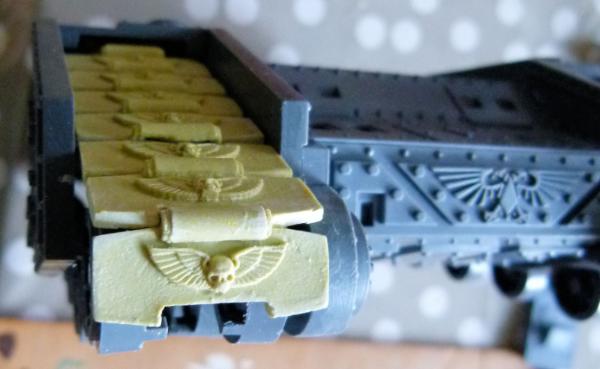
I added a 6 Tank Tread section onto the diagonal part and then added a single Tank Tread to start wrapping around the front wheel. I want the Tracks to be as close as possible, but I'm not afraid of using a bit of milliput to fill the gaps.
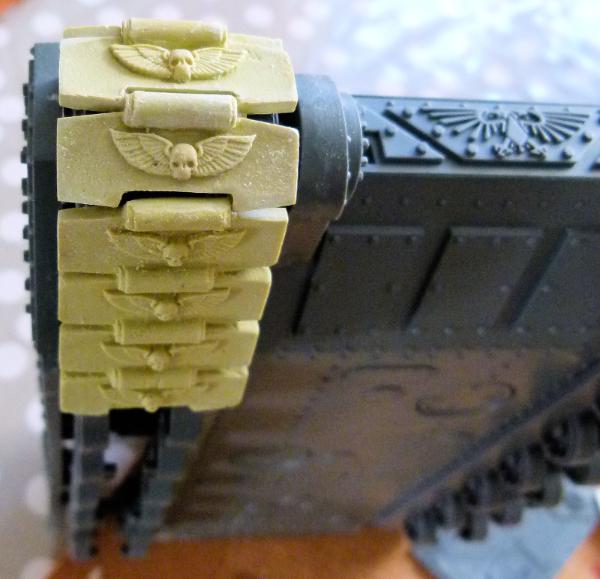
I then added a 4 Tank Tread section diagonally to get to the ground.
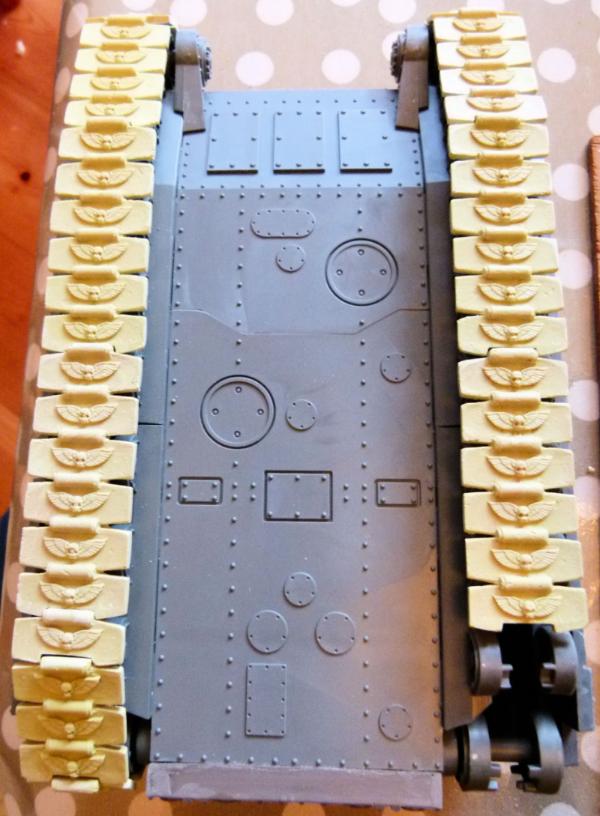
I then slowly wrapped the rest of the tracks around the rest of the wheels.
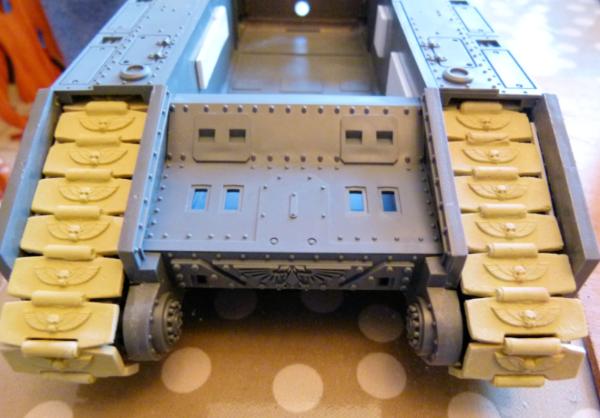
This is what it currently looks like until I make some more tracks.
Fuel/Power Source
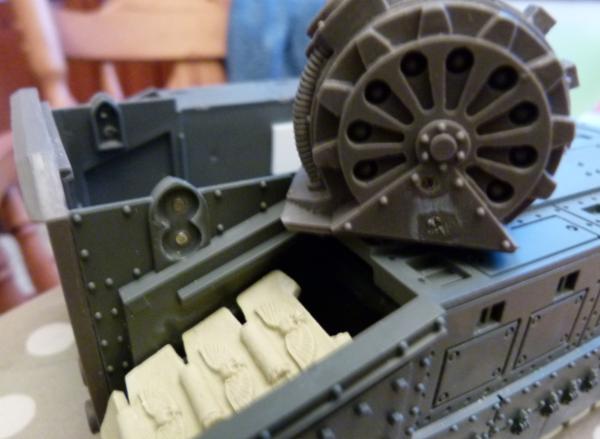
To swop between Pre and Post Heresy vehicles, I added some more magnets into the fuel hose housing and then some more to Machinators Plasma field generator.
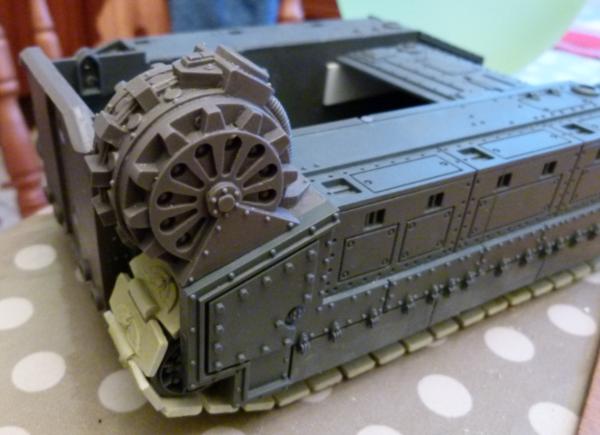
Eventhough the magnets are small, they hold the resin perfectly.
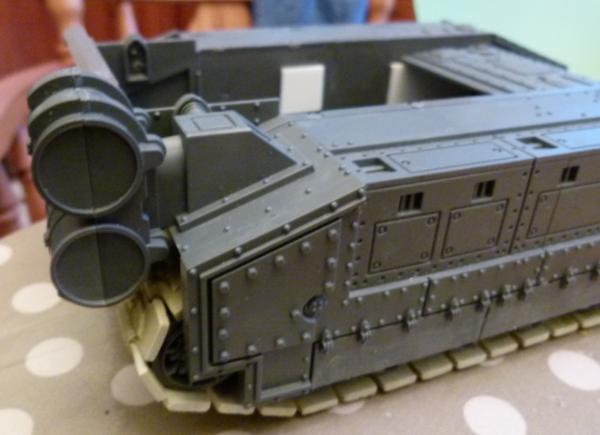
The original fuel drums fit without the need for glue nor magnets.
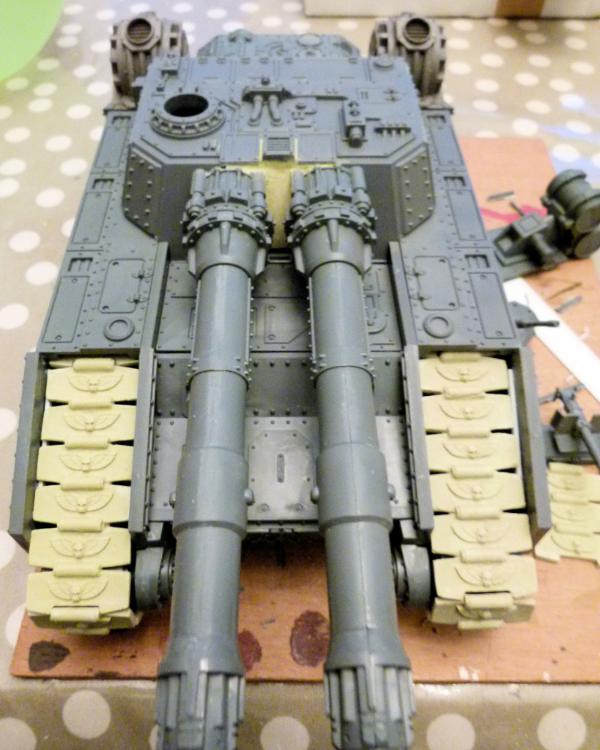
And finally, here's a final shot of the progress I've made today.
I hope to have some progress to show to you tomorrow.
Comments/Critiques welcome as usual.
Regards, Phil.
38750
Post by: philmorgan75
Small amount of progress today:
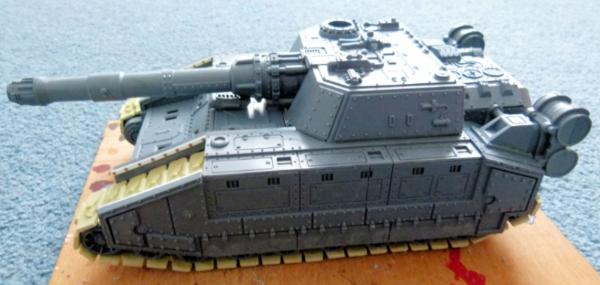
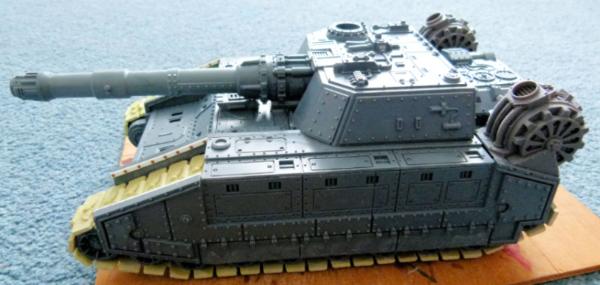
I added some rivets in the front where the front mudguard should be (you can just make out the white plasticard and brown rivets (from Tichytraingroup). I've seen this on Machinator's versions, so I thought I'd follow suit. This shot shows the chassis laid out as a Shadowsword with the correct fuel cells/drums.
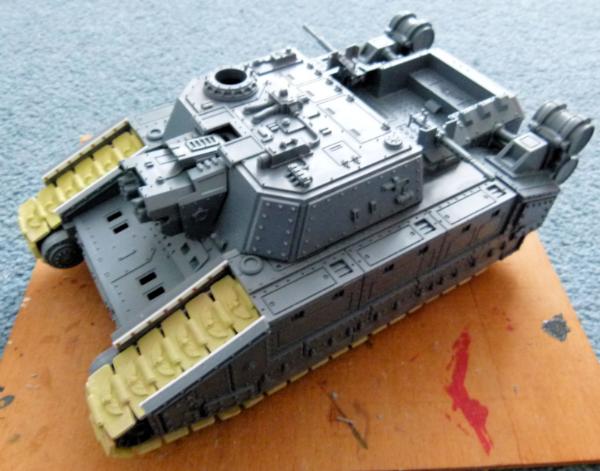
This one shows a Shadowsword with Machinator's Tank Dynamo replacing the fuel cell/drum. I think this looks better myself. What do you think?
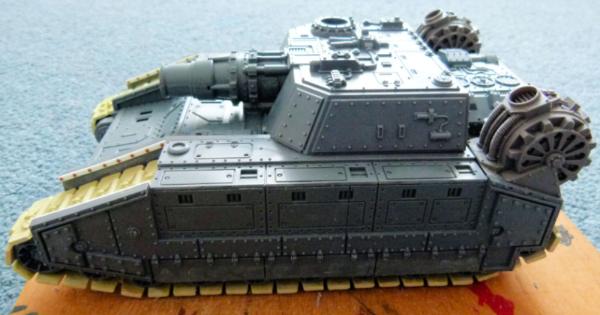
This shot shows the chassis in the Storm Lord version.
This shot shows the Bane Hammer. I only realised after taking the shot that I hadn't converted this properly. The main turret ?!? should be further forward than it is (like the Storm Lord) but I'll remember that for the future. I'm unable to make the Bane Sword as I have stuck all of the ends of the 3 Volcano Cannons that I have. Ah well!
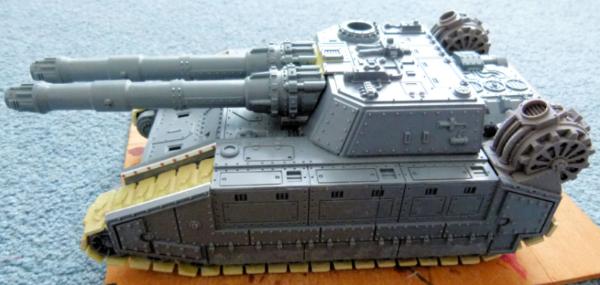
This varient is armed with Twin Volcano cannons. I've got some Pegasus Chemical Plant parts that I purchased through Hoard o Bits a while ago after seeing Machinator's Dark Angel Fellblade. I want to add 2 Plasma Reactors to replace the existing engine parts for the Twin Volcano, Storm Blade and Fellblade variants.
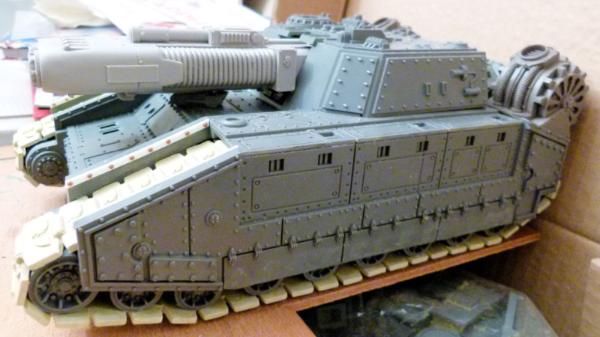
This shows the progress I've made on the Storm Blade. I wasn't happy cutting up the FW Warhound Plasma Cannon, but sacrifices have to be made! This is only a mock up. I have just purchased some strong magnets on ebay and when I get them, I can finish the armament properly on this varient.
The plan for the side of the tracks (where the sponson goes) is to make a large Imperial Eagle out of plasticard to cover the majority of the armour. My only problem is that it will be difficult to move the sponson around depending on which variant I am using. What I'm thinking of doing is making 2 different versions of the side armour, 1 with the sponson in the middle, and another with the sponson at the back. It's almost impossible to get my hands on a sponson without buying a very expensive full GW Baneblade kit, so I'll need to think about making my own out of plasticard, plastic tubing and lots of rivets!! I want to start making the sides over the coming weekend. More shots to follow!!
Till next time, Phil.
68667
Post by: Squidbot
Holy crap, I love this. Amazing work on your fortress. My Ork Warband would love to storm it.
38750
Post by: philmorgan75
Progress shots:
Family life and lack of interest has slowed the progress on this project. I would have expected to have finished this (apart from all the rivets) and moved onto the second Fellblade but life throws bricks at you sometimes.
Here's what I'm currently working on - Imperial Eagle Side Armour:
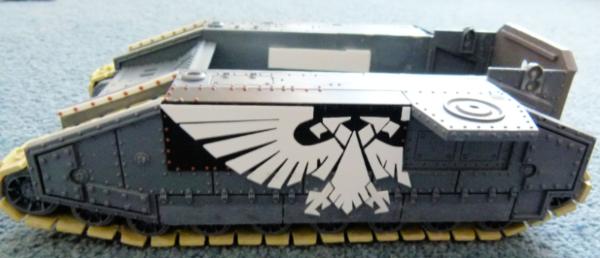
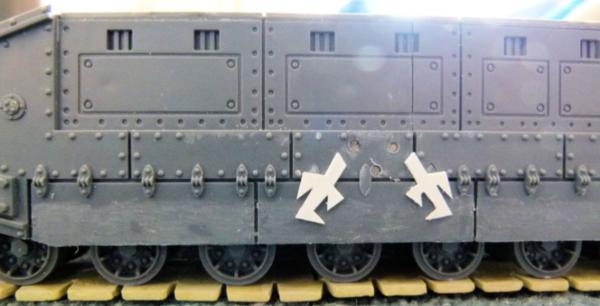
I used 1mm black plasticard to form an inverted 'L' shape base armour. 0.75mm white plasticard was then used to create a large Imperial Eagle. A number of rivets and hinges had to be shaved off to accomodate the eagle. I can't finish this piece until 5 packets of rivets come from Tichytraingroup that I ordered this morning.
Apart from enemies using the eagle as an aiming point for shooting at (a la Shermans in WW2), I think this will look cool when painted.The main colour of the Fellblade will be black and I aim to have a background of flames surrounding the Eagle. I'm unsure what colour to paint the Eagle - any ideas??
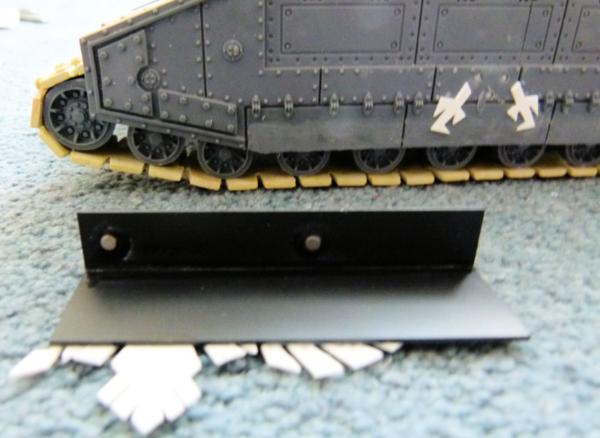
Here's how the armour is fixed - 2 magnets.
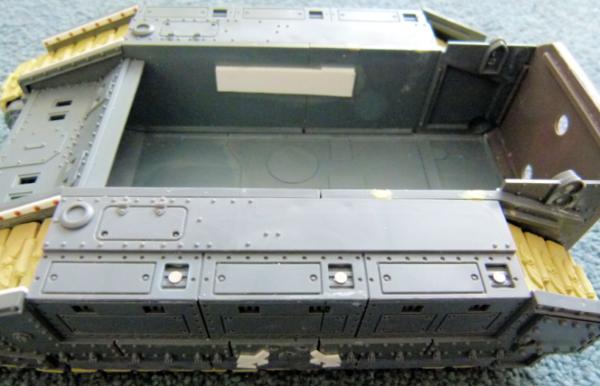
Here's the corresponding magnets on the Fellblade to attach the side armour to.
The Eagle's claws have been permanently attached to the side. You can see 3 recessed magnets where the body should be.
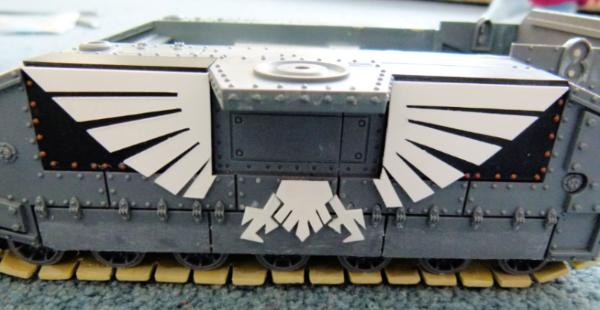
This allows the sponson to move from the rear to the middle position.
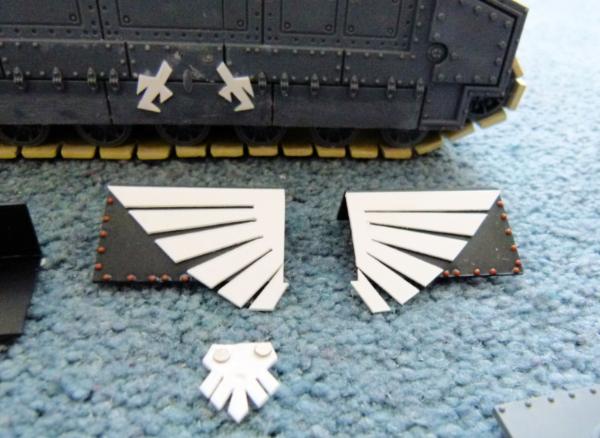
These are the 2 pieces of side armour with rivets added onto the front. The rear of the tail feathers have small magnets attached to allow the quick change from rear to middle sponsons.
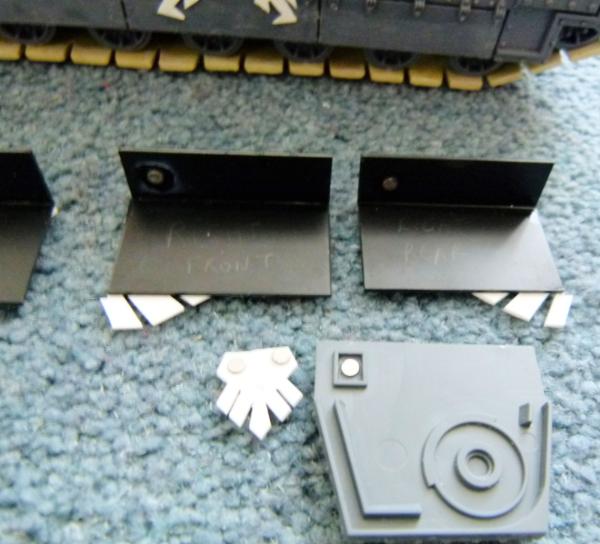
This shot shows the rear of the side armour pieces and the top of the sponson with their magnets.
Apart from rivets, the right hand side is completed. I have spent a couple of hours this afternoon making the left hand side and they are around 90% finished as I write this.
I have been looking at a lot of tutorials on Youtube recently, showing how to weather a vehicle realistically. Mig Jiminez is amazing!!! With that in mind, I have just spent around £50 buying AK Interactive streaking and chipping effects, rust pigment and various other products through mail order and hope to get them in the next couple of days. I really want to get an air brush and air compressor to start the mammoth task of painting the many Land Raider variants I have constructed over the past few years, Imperial outpost and all of my Fellblades.
Can anyone give me advice on a cheap airbrush and compressor? I have seen a couple on Amazon, but don't want to take the plunge and cost in case it turns out to be a waste of money. Any advice would be appreciated.
Till next time, Phil.
57159
Post by: Yellowbeard
Nice work, Phil. Thhat's a great idea for using extra armor, and I especially like the idea of using platicard for the Eagle. May have to try that on a couple of my vehicles... when I get around to building them.
38750
Post by: philmorgan75
 Yellowbeard wrote: Yellowbeard wrote:Nice work, Phil. That's a great idea for using extra armor, and I especially like the idea of using plasticard for the Eagle. May have to try that on a couple of my vehicles... when I get around to building them.
Please feel to try Yellowbeard. It's a simple trick of getting an Imperial Eagle and then use a photocopier to blow/shrink the size until it fits what ever vehicle you wish to use. Others use some form of low tack to stick the paper to the plasticard, but I just press my scalpel straight through the paper at the corners and using my scalpel to trace the round edges creating little grooves in the plasticard and try not to move the paper on the plasticard too much. To make these scratches stand out more, I use a pencil to rub over the lines to make it easier to see. Using a new scalpel and a metal ruler I then cut out the parts. Use a bit of plastic glue to reassemble on your chosen site of placement.
I've used this technique on a number of occasions and it works out sweet!
Regards, Phil.
38750
Post by: philmorgan75
March Update time:
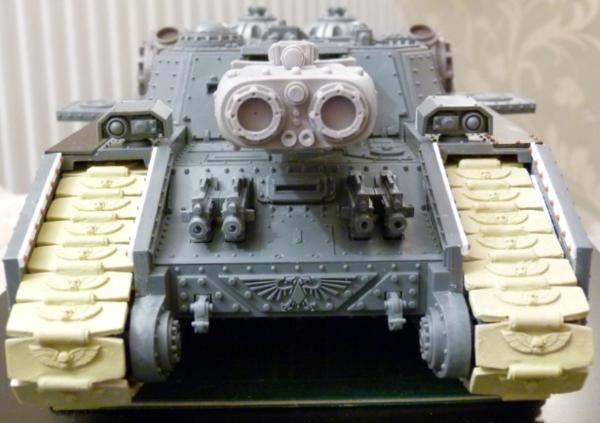
Looking down the business end of a Storm/Fell Blade. I've added 2 Twin Heavy Bolters to the front and the Drivers slit in the middle. 2 Valkyrie Targetters have been added, 1 to each side ( a small conversion was required on the left hand side one looking from the front - the whole targetter was turned 180 degrees and with a bit of chopping and some milliput to be added, no one should be able to tell it's been converted). I've added magnets so the targetters can be removed for ease of painting and to allow them to swivel.
I've also added some small magnets to the back of the extra armour at the front of the turret. This will allow me to swop them depending on which weapons will be used.
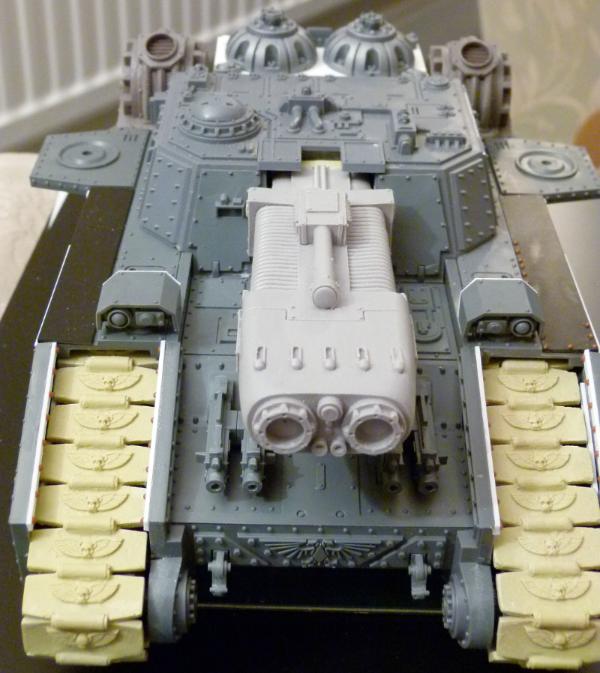
This gives a higher view of the front. The partially completed Plasma Reactors can be seen at the back. I think the top of the Large Plasma Cannon where it joins the turret is looking a bit empty. I'm going to add something like the targetter from the Vulcan Mega Bolter to fill the gap.
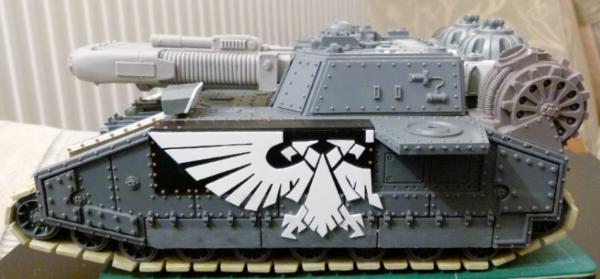
This side view shows the progress I've made. I haven't finished building the sponson yet. I'm waiting for magnets from ebay to allow me to swop the weapons depending on which variant I want to field before glueing the sponson parts together. I'm also waiting for rivets to come from America to add to all of the converted pieces to make them look like they came on the original tank.
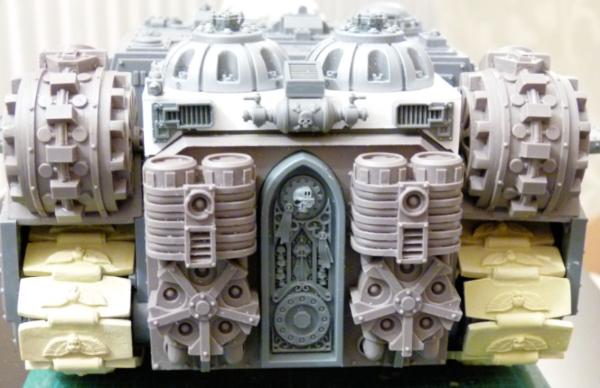
This shows the rear of the tank. Machinators engines and dynamo have been added and also following Machinators Plasma Fellblade I saw on his Fellblades of Reknown blog, I've created (from parts from the Pegasus Chemical Plant) some Plasma Reactors. All in all, I used plasticard, magna grapples from the Storm Raven kit, engine exhausts from a Land Speeder Typhoon missile launchers, the Heavy Flamer fuel cannister from the SoB Immolator kit, air intake from the Land Raider and 2 skulls from the Cities of Death sprues.
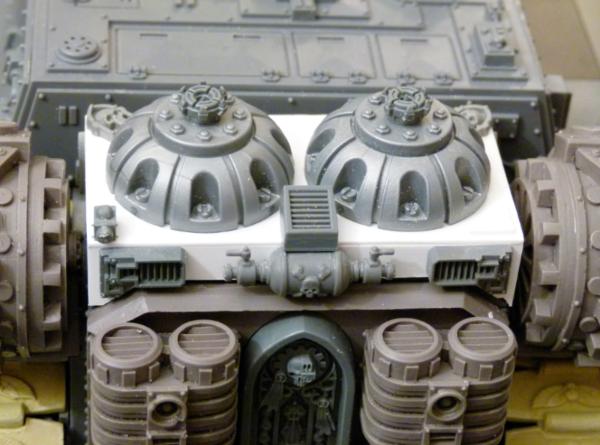
I just need to add a few rivets and this section will be completed. I plan on a) getting an airbrush and compressor and b) use the airbrush to use OSL like plasma colouring to the top of the reactors. I've seen Marneus on Youtube do this and it looks quite effective. We'll see how easy it is in the future!!!!
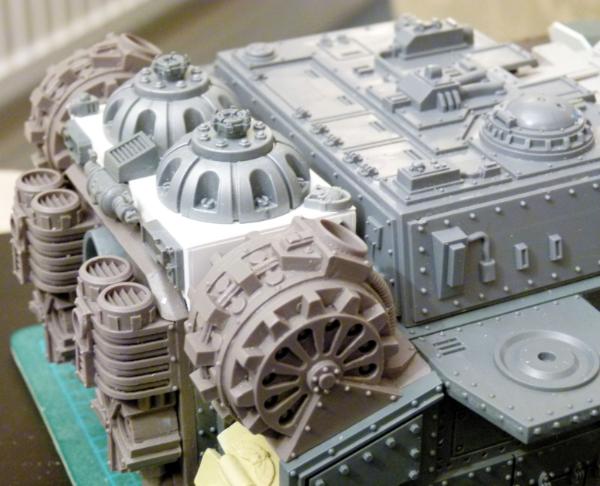
With reactors ........
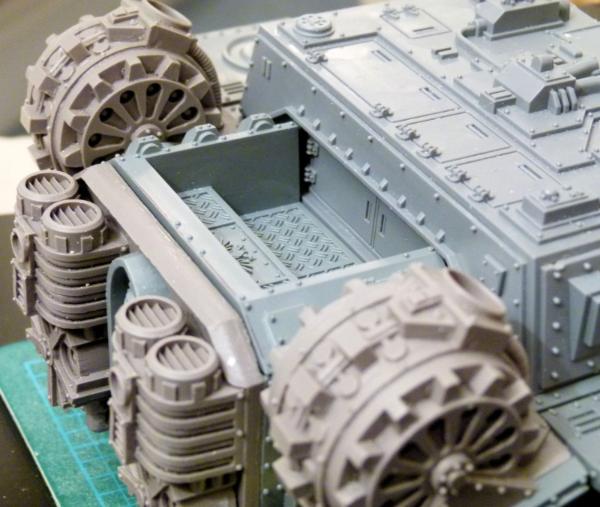
.... and without - ready for the usual Shadowsword engine piece.
So, what's left to do:
1) Wait for rivets to arrive and then sprinkle liberally over the whole of the tank!
2) Wait for magnets to arrive from ebay. Mount the magnets to allow the sponson weapons and the turret weapons to be interchangeable.
3) Make from white plasticard parts of an Imperial Eagle and through use of magnets allow me to add to the side of the sponson. One part of the Eagle will need to be made when the sponson is in the rear position, and another Eagle part if the sponson is in the middle position.
Not much left to do for this little beauty to be finished!!
Comments and critiques welcome as usual. Regards, Phil.
38750
Post by: philmorgan75
Finally taken the plunge and bought an Airbrush and Compressor! I opted for a package that Marneus from Youtube recommended and this will hopefully be here before the weekend. I know it's going to be a steep learning curve but I've been watching a lot of Youtube clips on how to use an Airbrush and have read Imperial Masterclass Book 1. I'm purchasing lots of different AK Interactive paint effects and Vallejo Model Air paints and can't wait to try them out.
All of this should help push me to finish the construction of this Fellblade.
Looking forward to playing with my new toys!!
Regards, Phil.
67165
Post by: Novelist47
those statues are bloody spectacular
very good
38750
Post by: philmorgan75
Capamaru wrote:Awesome work Phil  .
I would suggest that this isn't the first model you try your airbrush on thought... Run some tests around first on both large and small minis to get a good grip of how the airbrush behaves and then give a go on this wonderful tank  .
If you have any questions regarding airbrush operation give as a post and always remember with the airbrush applying less paint than intended can be fixed by adding some more... more paint than intended , well you can't really go back.
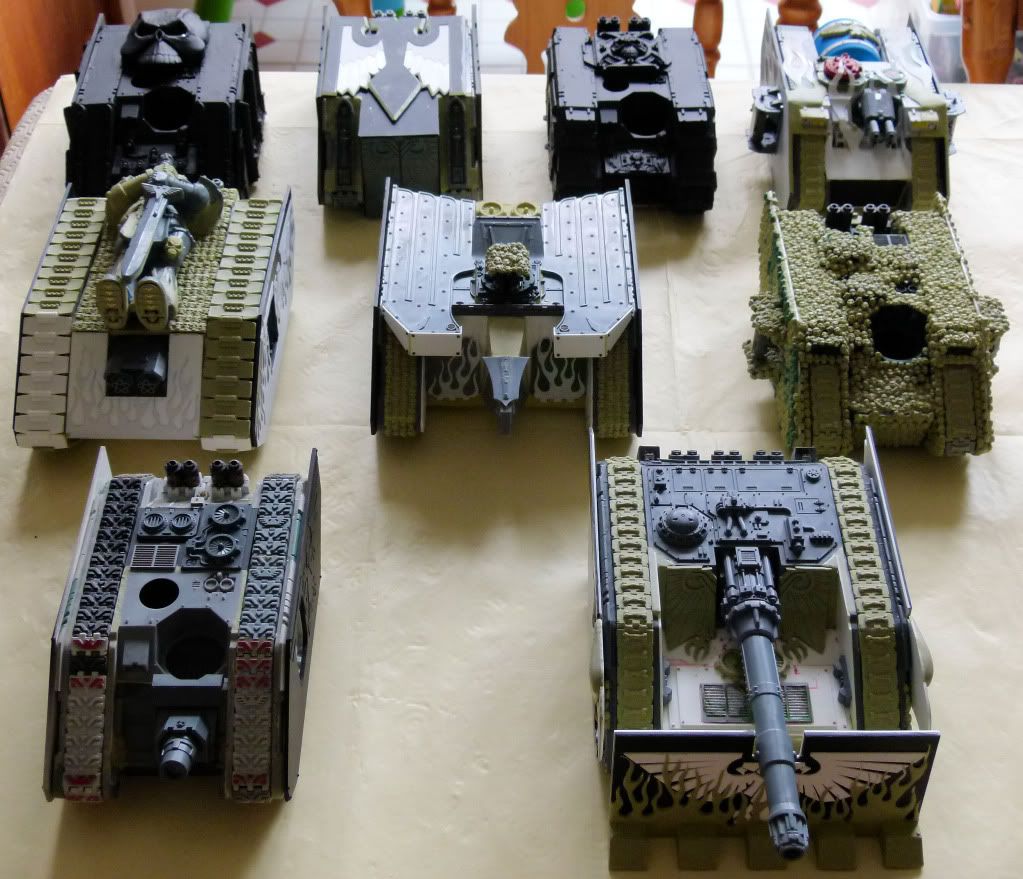
Thats very kind of you Capamaru! I haven't taken it out of the box yet to have a play - work, bad weather, family time and Wales winning the Six Nations in rugby hasn't allowed much time for my hobby !! I plan on practising a lot before I go past undercoating any of my vehicles let alone use the airbrush to its full potential - Here's a group shot of some of my Land Raiders I still have to paint as well:
Orinoco wrote:nice work with the rear reactors.
Thank you Orinoco, I'm also happy with how they turned out. I really want to use the airbrush and spray directly down using a tutorial I saw on youtube to give a blue plasma glow to the reactors.
Small amount of progress:
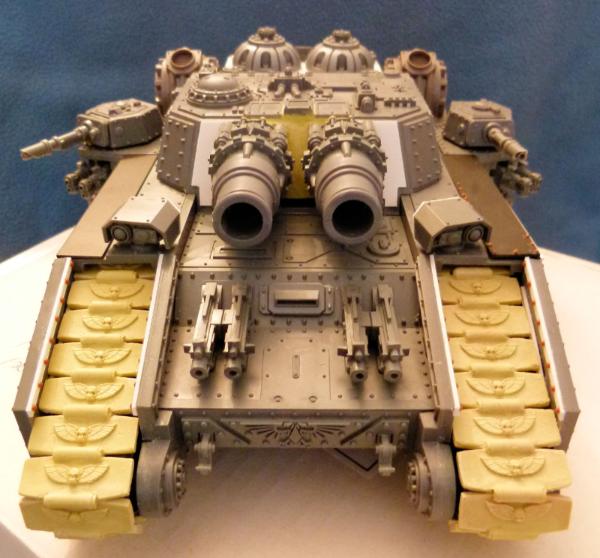
Magnetised the Stormsword Twin weapon mounts. Just need to add some milliput on the white plasticard surrounding the weapon mount to hide the small gap and I also need to add some rivets (still waiting for delivery from the USA).
The Lascannon turrets are magnetised. The weapon and mount can come off and be substituted for a variety of weapons - See below!!!!!!!!
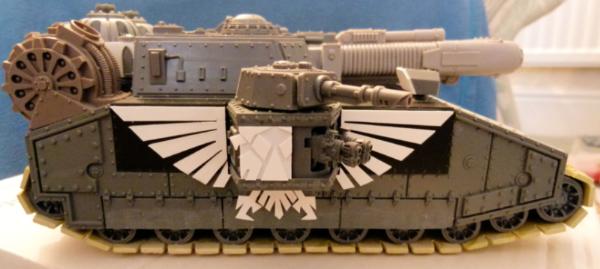
This shot shows the sponson placed in the middle. I have magnetised the Heavy Flamers and can swop them out for a number of other weapons depending on which variant I want to field. I've added a magnetised white plasticard Imperial Eagle on the side of the sponson so if you look directly at the tank from the side, it gives a better impression of the Aquila. Just need to add rivets again!
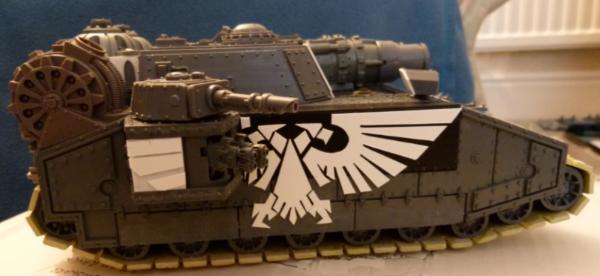
Not the best shot but this shows the sponson in the rear position. The white plasticard wing tips look better in real life than what you can see here.
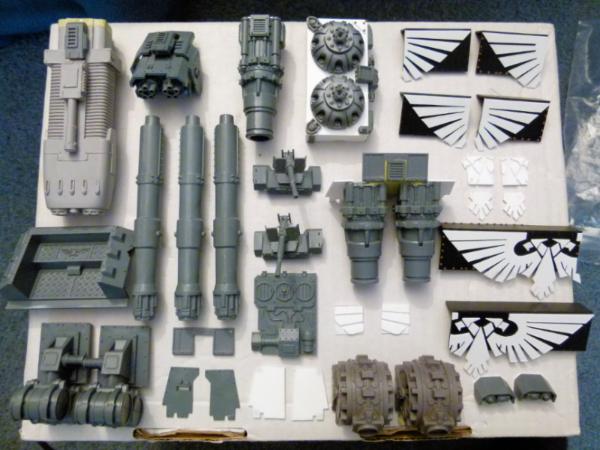
Here are all the parts to make all the Fellblade/Shadowsword variants.
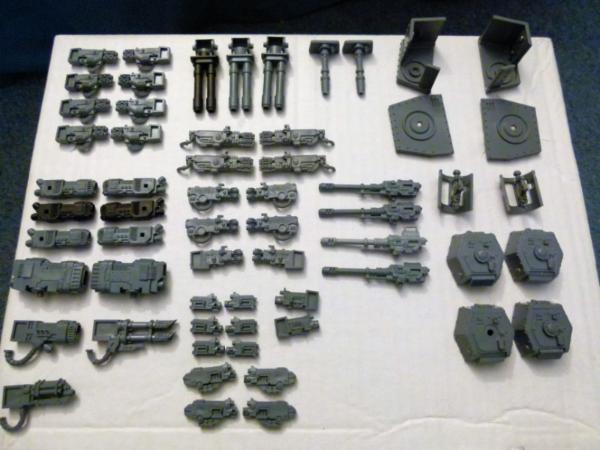
Here's the different weapon bits I've got for this and other Fellblades I plan on building:
8 Multi Melta for the Iron Breaker Fellblade I want to make next
6 Storm Raven Plasma Cannon's - Use 4 in a sponson
2 Landspeeder Vengeance Plasma Cannon - Use in a sponson?
1 Venerable Plasma Cannon - 1 on order - Use in a sponson?
1 Venerable Lascannon - Get 3 others to make into quad sponsons
1 Venerable Assault cannon - Get 3 others to make into a sponson
3 Twin autocannon - Get 1 more - make into a Quad sponson
4 SoB Heavy Flamer
4 Baneblade Heavy Flamers (already magnetised)
2 Leman Russ Heavy Flamer
6 Baneblade front turret Heavy Bolters - Use 4 for turrets
2 Leman Russ Heavy Bolters
4 Baneblade Heavy Bolters (already magnetised)
2 Lascannon (already magnetised)
4 Autocannon
What weapons would be used for sponson and turrets on a Fellblade?
Regards, Phil
38750
Post by: philmorgan75
Update time:
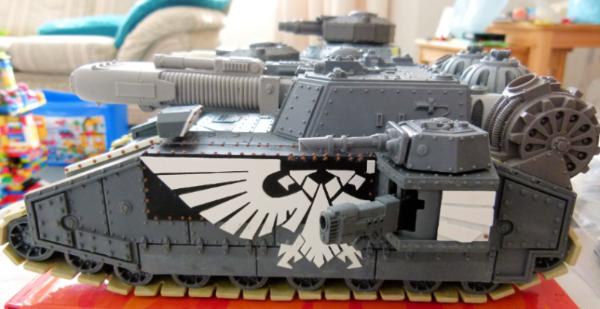
Here's the completed Plasma fellblade after all the rivets have been added. I'm slowly purchasing from bitz providers lots of different weapons and once magnetised, I should be able to field any sponson/turret weapons that I want to field.
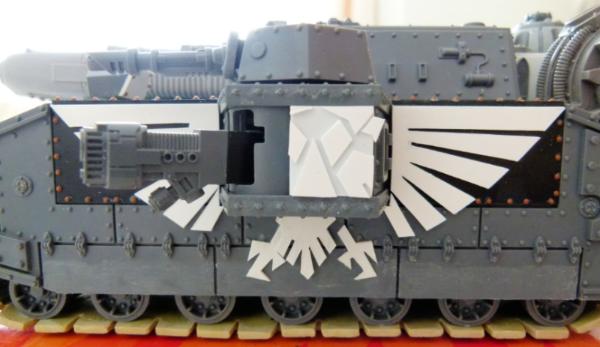
This shows the completed sponson in the middle position. The sponson weapon here is the Venerable Dreadnought Plasma Cannon that I have magnetised.
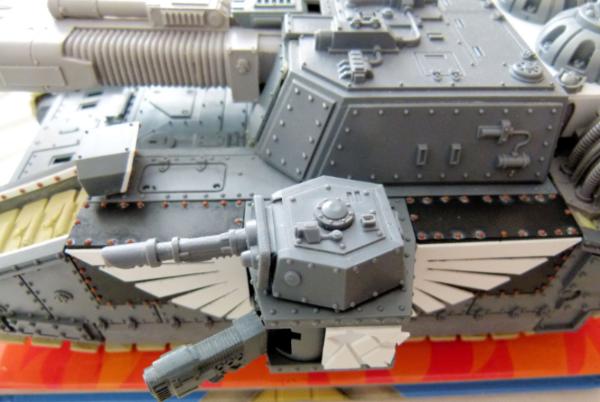
This shows the top view of the side.
When I get used to the Airbrush, I'll start to paint this beauty.
In the meantime.......
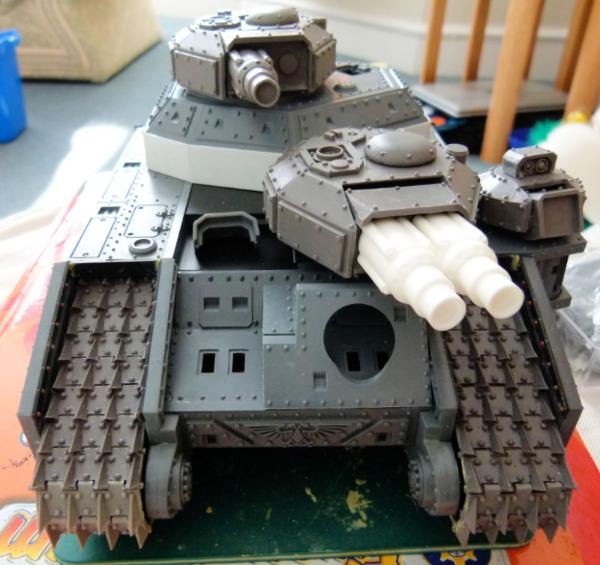
Here's my second Fellblade, a Warmaul! I'm really liking Machinator's resin parts and cannot recommend him highly enough - Excellent customer service, fair pricing and quick delivery.
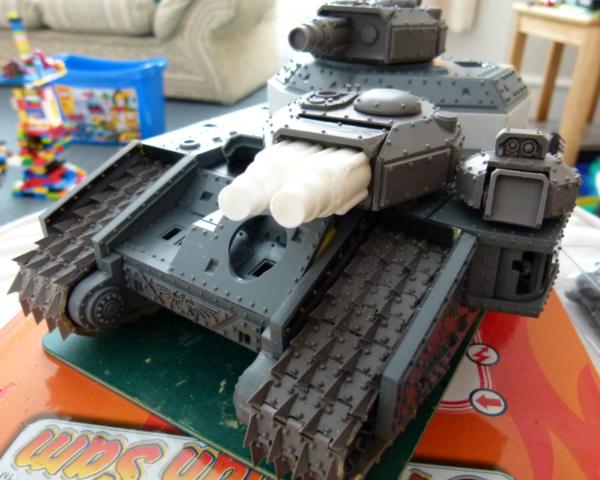
Another shot from the front/side. I love these tracks, they are so vicious!!
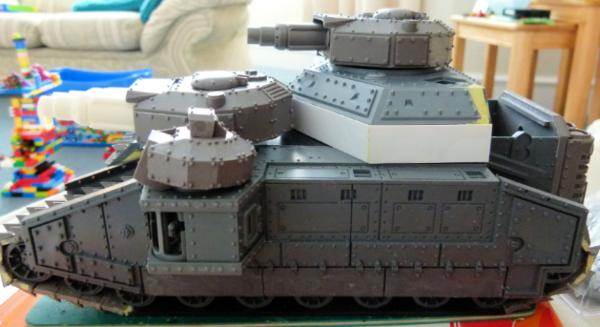
I didn't add the tracks at the bottom where they touch the ground as I thought it would be a waste as in reality, the spike would have dug into the ground and you would not be able to see them. I've used plasticard that I have scribed to look like the rest of the tracks. I'm waiting for 1.5mm plasticard rod to arrive to completely finish off the track sections. I've just place another order with Machinator and will shortly be getting fuel tanks and 3 Sponson turrets. The only thing I have left to get is another set of sponsons from GW. I'll probably wait until after next pay day before I get these as I have spent a small fortune this month buying lots of parts and equipment for the airbrush.
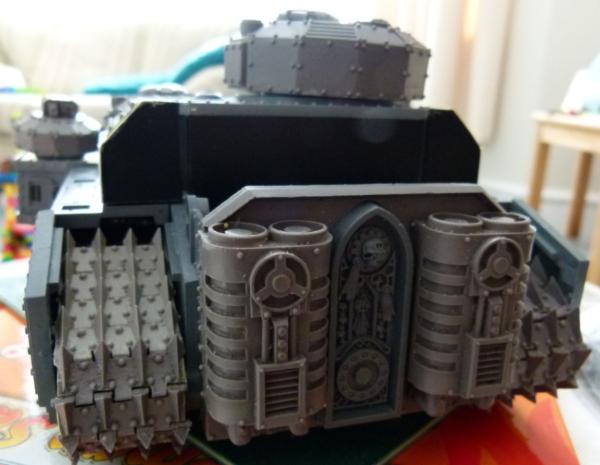
Just need to add the 4 exhausts to the engines for this section to be completed. I'll wait until I finish the top of the engine section before I do this.
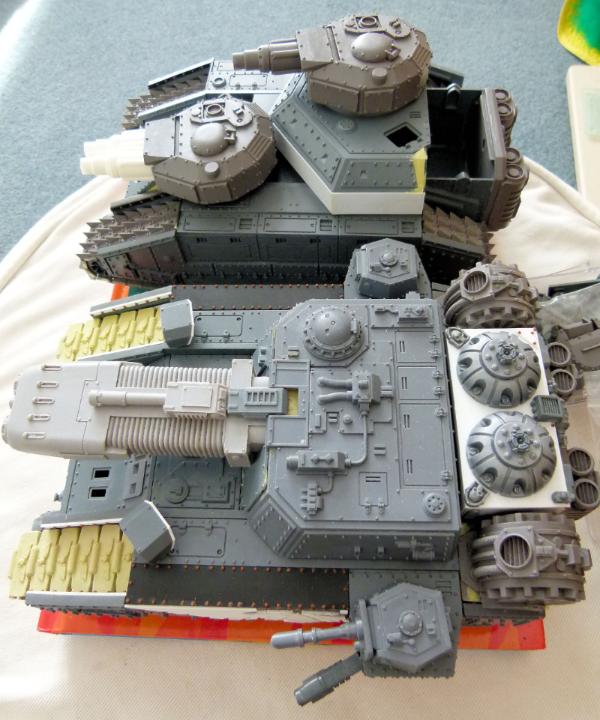
Here's a shot of both of my beauties!!
I really want to make sure I do a good job on the painting of these models so I want to be fairly proficient with the airbrush before I do much work on these. I have quite a few converted Land Raiders that I think I will start first, to get used to the airbrush and to practise on.
As always, please feel free to ask any questions.
Regards, Phil.
15884
Post by: ghosty
Is there... is there a landraider there covered in skulls?
Love the battering ram Eagle tank!
38750
Post by: philmorgan75
 ghosty wrote: ghosty wrote:Is there... is there a landraider there covered in skulls?
Love the battering ram Eagle tank!
Almost lost the will when covering the "Skull" raider with skulls ghosty!? I much prefer the converting side to painting but when I have finished this Fellblade, I want to start painting all of my vehicles.
I have read imperial armour master class and watched lots of weathering clips on YouTube and am itching to see what I can do paint wise.
With regards to the battering ram, I've tried to make as many variants as I could think of. This LR was great fun putting together.
Regards, Phil.
38750
Post by: philmorgan75
I haven't updated this thread in a while:
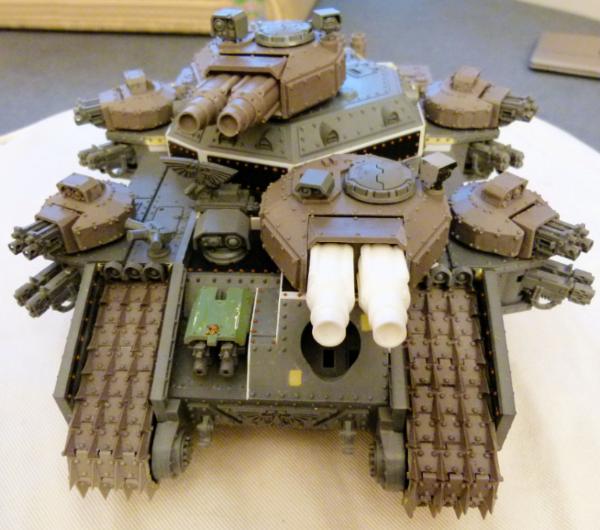
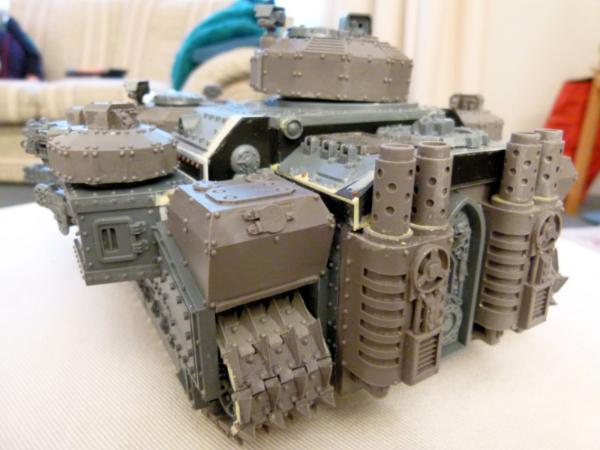
I've almost finished the Fellblade Warmaul. Machinator's parts have arrived and they look fab on the old girl! The only thing to finish is to think of something to go over the large hole (where the demolisher cannon normally goes on the baneblade). Any suggestions in keeping with my army would be appreciated.
I have tried to magnetise the majority of parts on this project: All the turrets, smoke launchers, imperial eagle radar, large sensors, sensors and searchlights. This will help with storage and on the gaming table, allow things to swivel and not break off if they were glued down. The cupola's are not glued as I want to make a variety of different ones to fit different roles e.g. SM firing the storm bolter and also using a Multi melta from the LR Crusader kit.
I think it looks intimidating to any opponent - All hail the mighty Emperor!!!
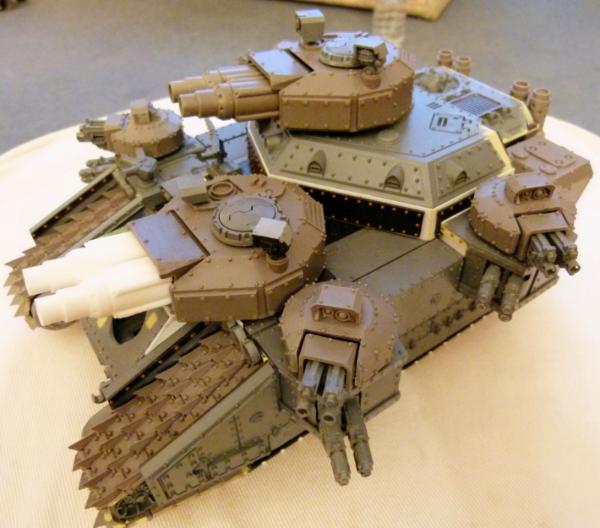
Looking at all of those rivets really makes me want to do a good paint job on this model. I started to use the airbrush for the first time, undercoating some Large SM I've made previously and another LR conversion (the one with the huge Skull cannon). It really is difficult getting the right consistency, air pressure, distance from the model etc - I suppose with practise it will get easier!
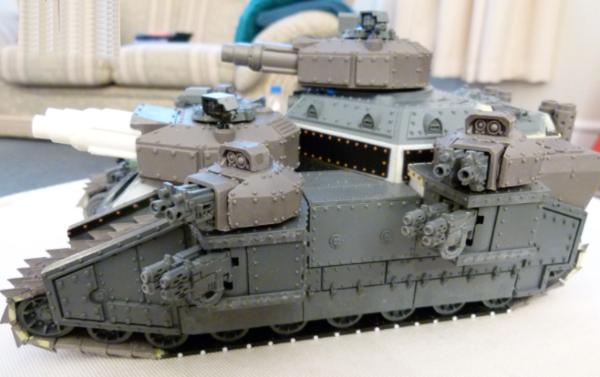
I'm not sure about adding something in between the front and rear sponsons (to break up the large flat area)? I have some large Imperial Eagles from Bulldog Battlegear or some of the Imperial Eagle Weapon Emplacement covers from the Wall of Martyrs kit also fit. What do you think - should I add them (and if so, which one) or leave it alone?
The lovely fuel tanks from Blood and Skulls Industries. I really don't want my wife to know how much this model has cost to build!!!!
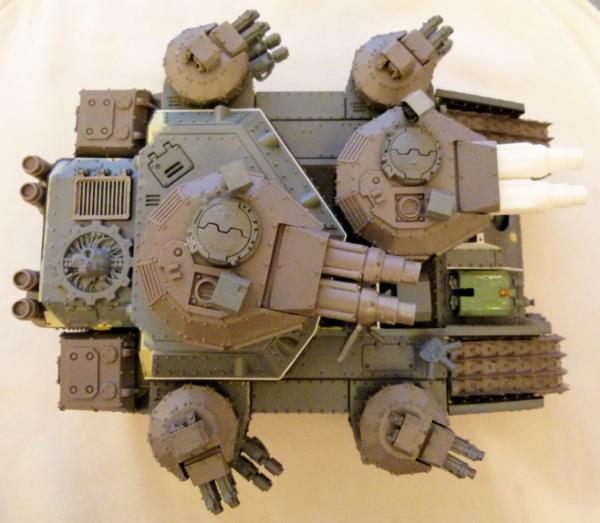
Just look at all the fire power: 4 Siege Cannons, 10 Heavy Bolters, 8 Multi Meltas and a partridge in a pear tree!
I've added the Adeptus Mechanicus logo from the COD sprue to the rear engine cover. This ties in with other LR conversions I have made previously and for fluff purposes, my Legion has close ties with Mars and the Adeptus Mechanicus, ensuring they have access to all manner of goodies!
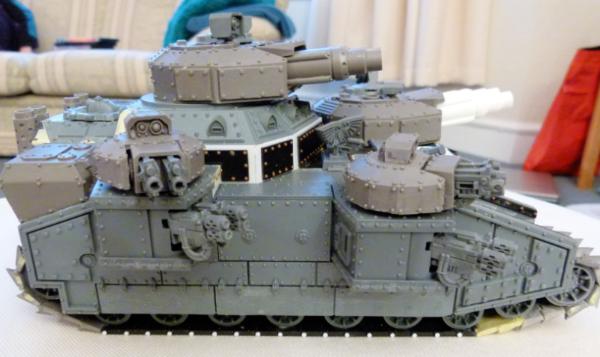
This is the usual Sponson/turret weapons load: Twin Multi Melta sponsons and Twin Heavy Bolter turrets. But as these are magnetised ........
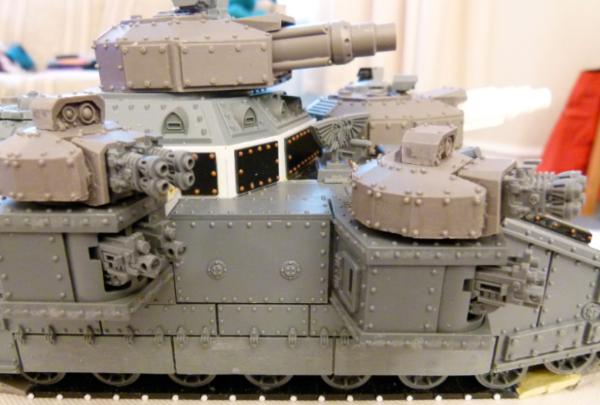
I can change them to Twin Heavy Bolter sponsons and Twin Heavy Flamer turrets or ......
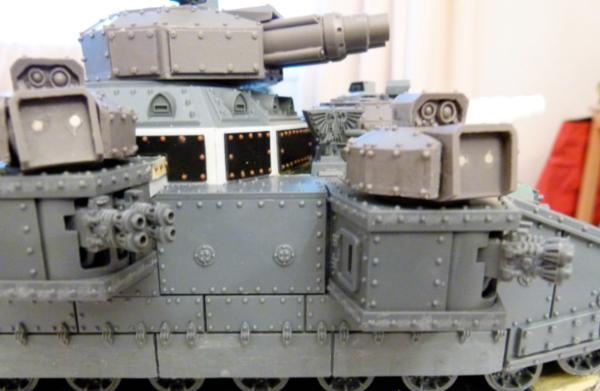
Twin Heavy Flamer sponsons. You can see the magnets in the turrets in this shot.
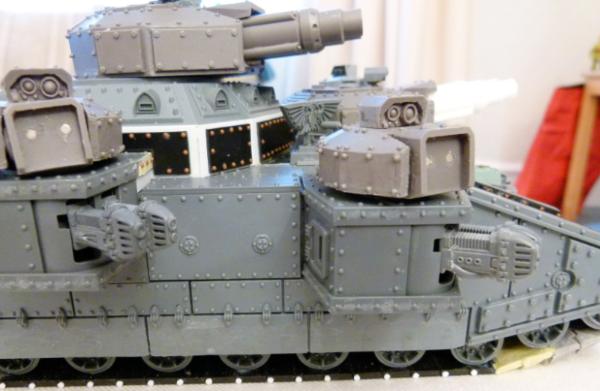
Twin Heavy Plasma Cannon sponsons.
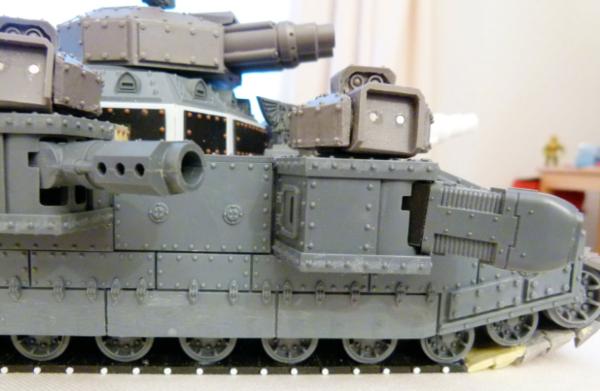
Or even a Hellhammer nova cannon and a Plasma Executioner cannon.
I'm slowly converting a lot of different weapons to fit this fellblade and the previous variant as well. I want to start painting this as soon as I can BUT I want to make sure my airbrushing skills improve first.
Any comments/critiques welcome as always. Regards, Phil.
38750
Post by: philmorgan75
Having finished the construction of my second fellbIade and having bought up lots of bits over the past number of months (enough to build 3 Storm Raven, 1 Storm Talon, 1 Dark Talon (and am in the process of getting enough parts for a second Dark Talon)), I've decided to build some SM Aircraft:
Dark Talon:

This kit was a real pleasure to put together and it only took a few hours to get to this undercoat stage. I added some magnets to the under slung weapons pod. This will allow me to swop between Hurricane Bolters and missiles as the mission dictates. I am not sticking the main weapon to again allow me to swop between Twin Las Cannons, Rift cannon and Mega Bolter variants.
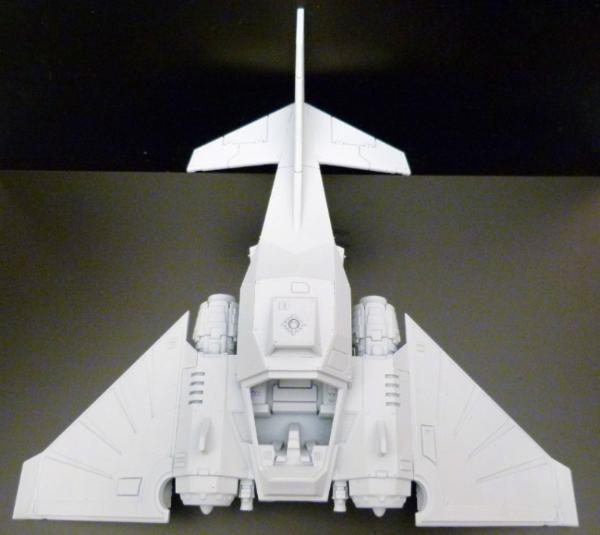
I've seen fire4effekt's Dark Talon painted in red and liked his paint scheme. I want to do something similar, paint the main body Vallejo Model Air Fire Red but I want to then paint the Imperial Eagle black with grey highlights. I think this will be visually striking. My sticking point is the colour of the cockpit. I'm thinking of painting the interior with a cream colour that I've seen lots of others do on their Land Raiders etc. What do you others think?

Through scalpels and files, I removed all trace of Dark Angels iconography from the under slung weapon pods .........
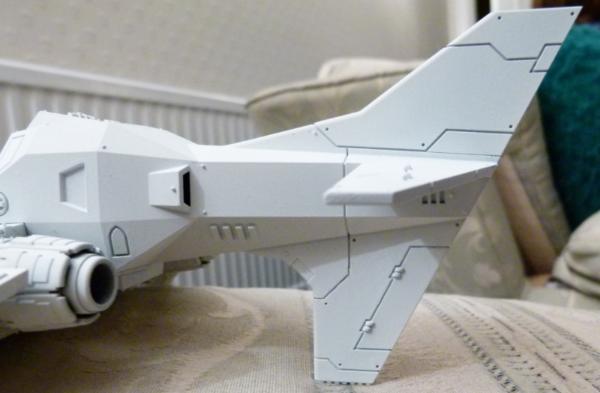
.... and from the front of the bottom tail fin. This will look fab if the picture in my head can be transferred on to actual model!
Storm Raven
I've never liked the original Storm Raven - far to short and stubby. I've seen others "stretch" out the body and have seen Chapterhouse conversion kit and thought I would give it a go....
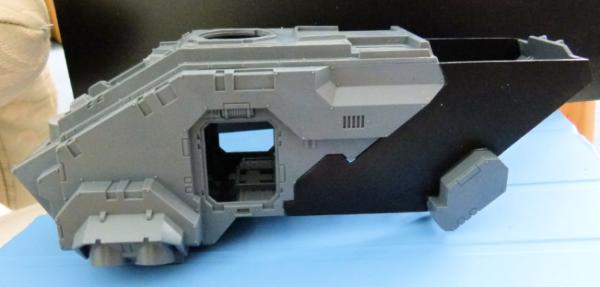
I traced the outline of the rear section and added an extra 2 inches (5cm) of plasticard. I felt this was large enough to accommodate the supposed amount of SM's that a Storm Raven is supposed to carry.
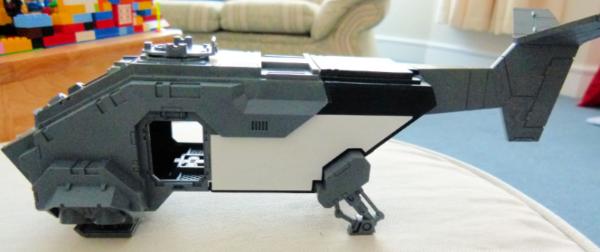
To hide the joins between the plasticard and the original model, I added another layer of plasticard (the white parts). Only after taking this shot did I realise I had glued the top tail fin the wrong way around.. DOH!!!!!
It looks plain at the moment, but I plan on adding Hurricane Bolter sponsons not on the door as per normal, but just to the right of this doorway. This will allow me to use chapter specific doors and will also allow exit by front, rear and from the side.
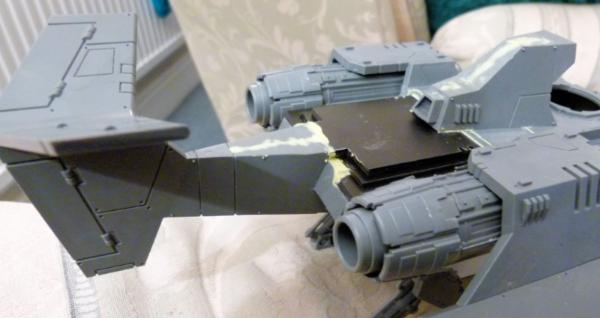
This shot shows the rear section. Milliput has been added to hide small gaps and after curing, will be sanded smooth. I need to add some small rivets and the gap between the air intake/cowl and tail will be filled by a large Adeptus Mechanicus Logo from Cities of Death. This will reinforce the close bond between my Chapter and the men from Mars!
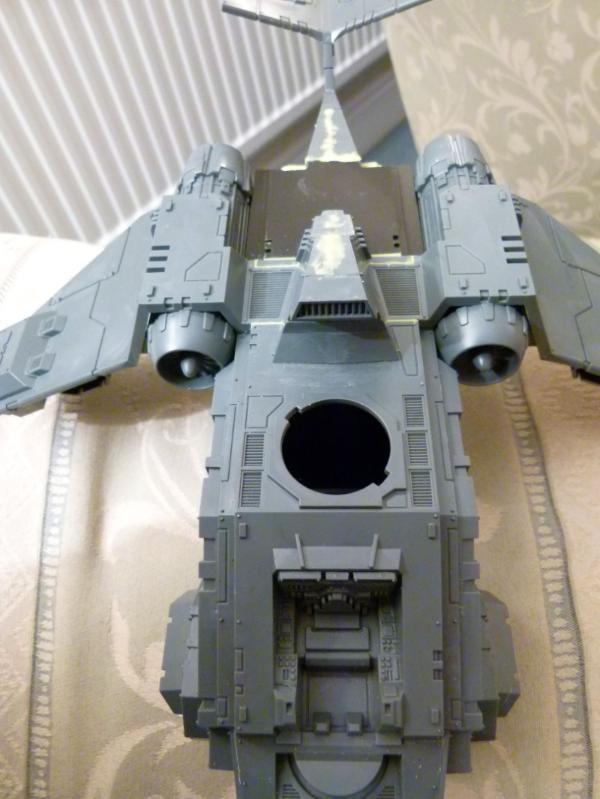
This plan shot shows the extra length that has been added. I have made some templates for the plasticard to decrease the build time of the next 2 Storm Ravens.
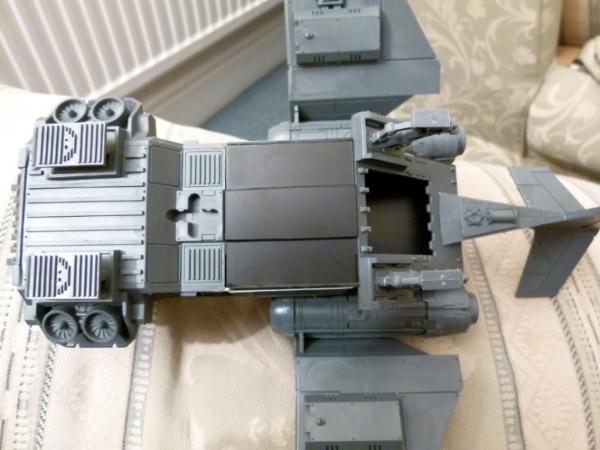
A final shot of the underside. I don't have any plans to add extra detail on anything on this view.
I'm writing this as I wait for the milliput to cure. Time for bed I think.
Regards, Phil.
38750
Post by: philmorgan75
Fellblade update time:
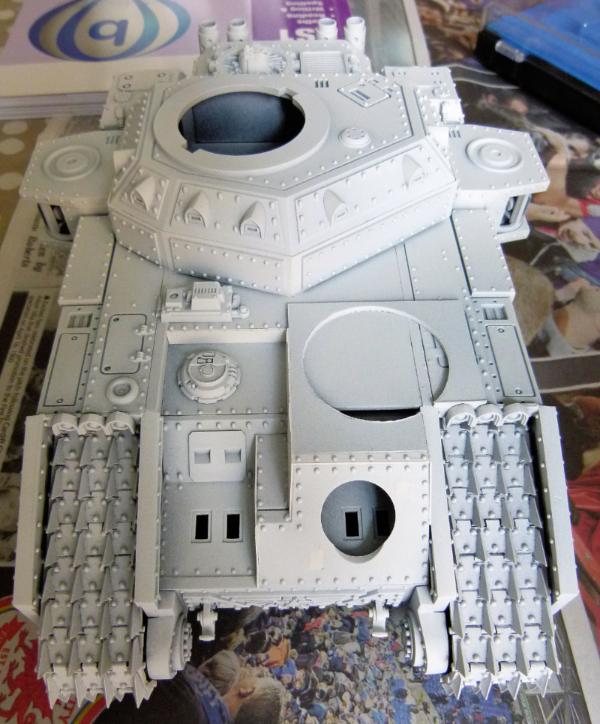
I finally plucked up the courage and started to paint my fellblade. When I say paint, I mean undercoat!!!!! I haven't had much joy with my airbrush - I'm spending more time cleaning the brush than actually painting! I used Halfords White Primer rather than an airbrush on this as I got so frustrated with my airbrush. After getting headaches/feeling unwell later in the evening after using the airbrush (even though the windows and outside door were open continually), my wife has insisted I use a face mask. Face mask and glasses that get fogged up quickly is no fun!!
I used Vallejo Model Air black this morning and sprayed the whole model (after 2 cleans!). Pictures to follow soon...........
Started to paint my Fortress:
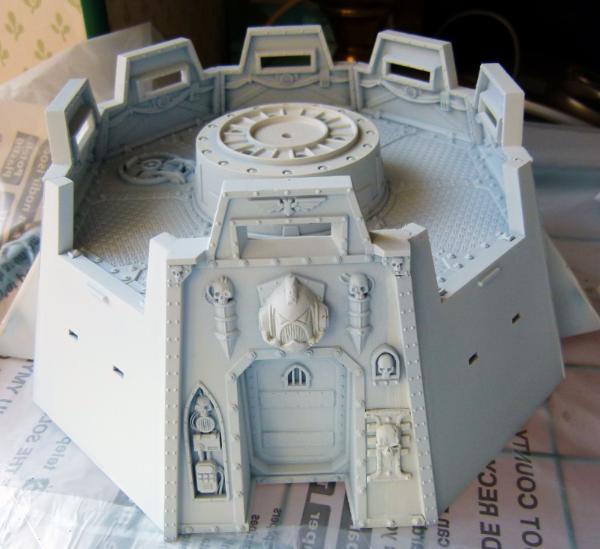
I'm still toying with my airbrush. The primer in my airbrush kept on clogging up the tip. I tried reducing/increasing pressure, thinning the mix to no avail. After much frustration, I used Halfords White Primer to spray the 4 octagon emplacements and 3 of the corridors.
I switched to Vallejo Model Air Fire Red and this worked a breeze through the airbrush:
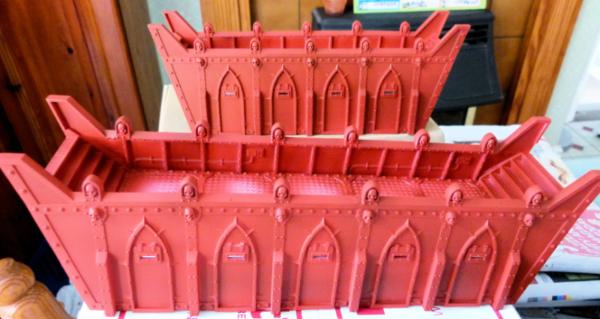
This shows the colour I've gone for. After viewing and reading lots on weathering, I sprayed a thinned down Vallejo Acrylic Gloss Varnish all over to assist in the wash stage.
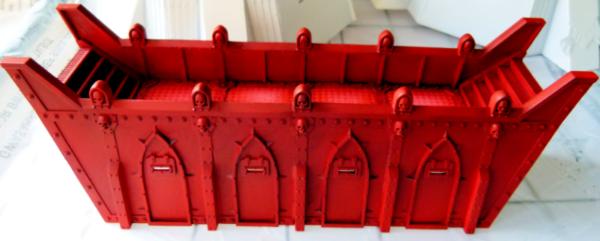
I used GW Baal red wash all over. It darkened the red, but it left streaks and pools in places. I'm not happy with the result and am toying with respraying with Fire Red and starting again. I've started painting a Dark Talon in the same Fire Red colour and with this, I used a black wash from oil paint and thinner and I was really happy with the results. I currently have too many painting projects on the go at the same time!!!!!!!!!!!!!!!!
Updates on my Extended Storm Raven and Dark Talon:
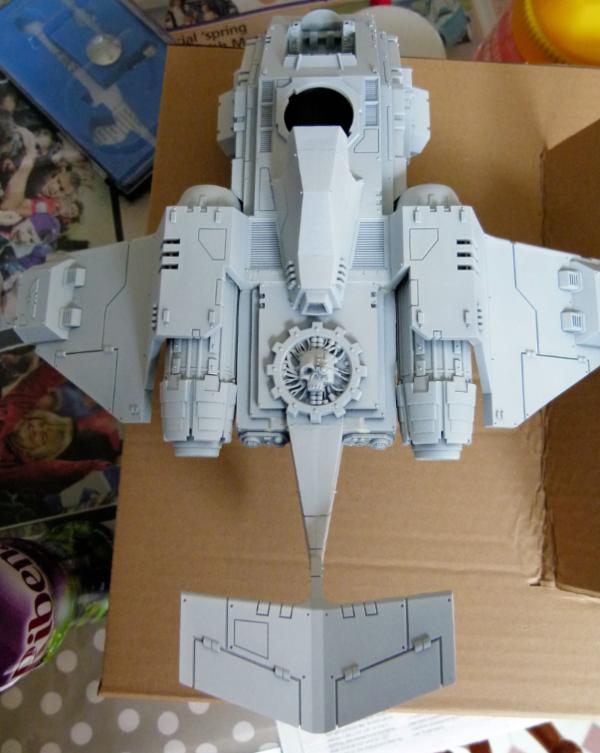
This shows the plan view of my Extended Storm Raven after I undercoated it. After much cutting, sawing and filing, I added the Cities of Death Adeptus Mechanicus Logo to the top to show the close links my Chapter has with the planet Mars. I had great fun building this and plan on building another 2 Storm Ravens to this extended pattern.
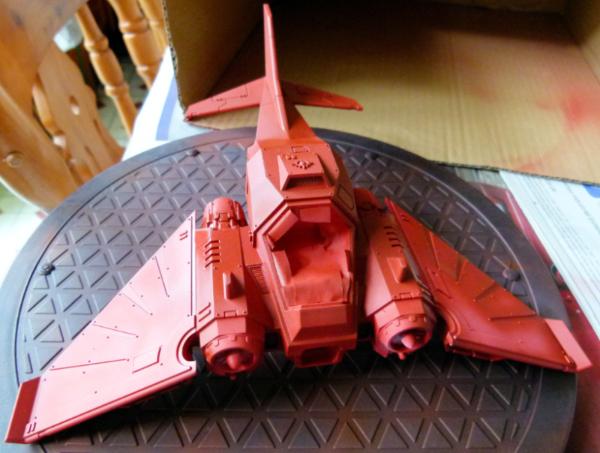
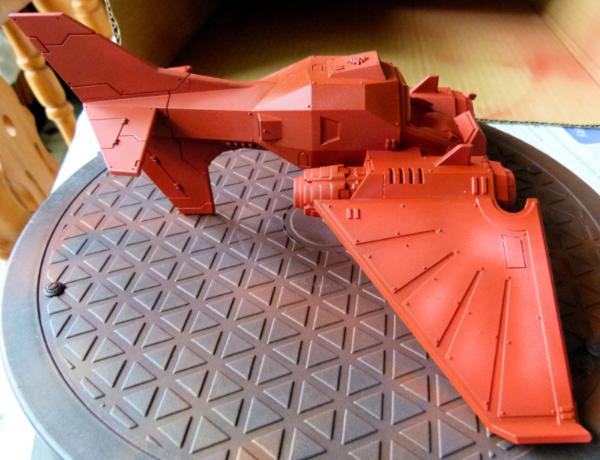
This shows a WIP of my Dark Talon. I used Vallejo's Fire Red Model Air to basecoat the model after using some Tamiya masking tape to cover the cockpit.
I then used watered down Vallejo Gloss Varnish Acrylic to cover all of the model to assist in the wash process.
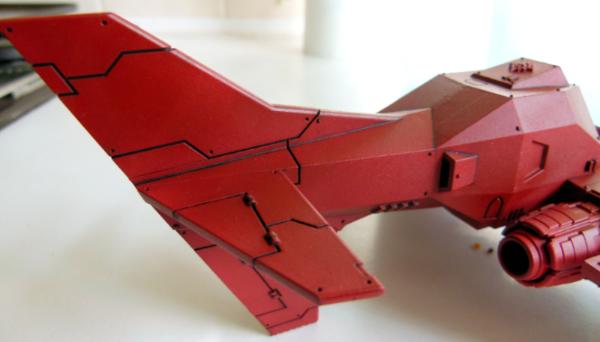
I used some black smoke oil paint from AK Interactive mixed with some thinner to create a wash and as carefully as I could, added the wash into all the cracks. After a few minutes, using thinner and a clean brush, I then proceeded to clean up any spillages.
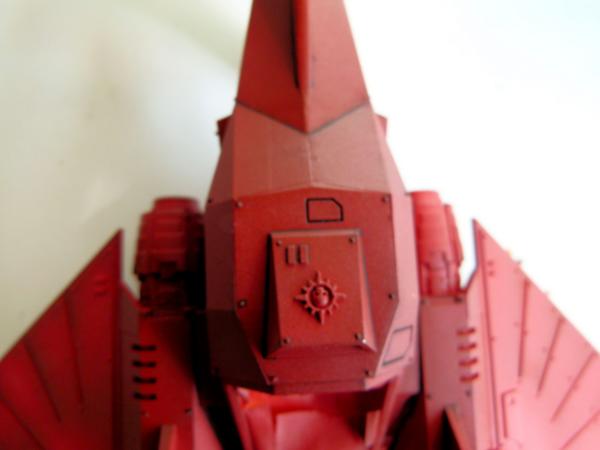
This shows a top view of the WIP black lining process. As oil paint takes ages to dry, I put this aside for 2 days to give the paint time to dry. To ensure no impact on other weathering processes, I used another layer of watered down Gloss Varnish.
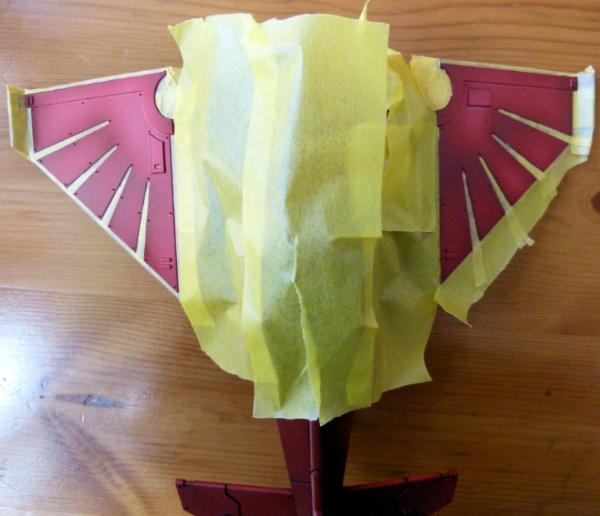
As I wanted the Aquila on the wings to stand out, I used some Tamiya Masking tape to mask the areas around the Aquila ready for some airbrushing! This process took ages!!
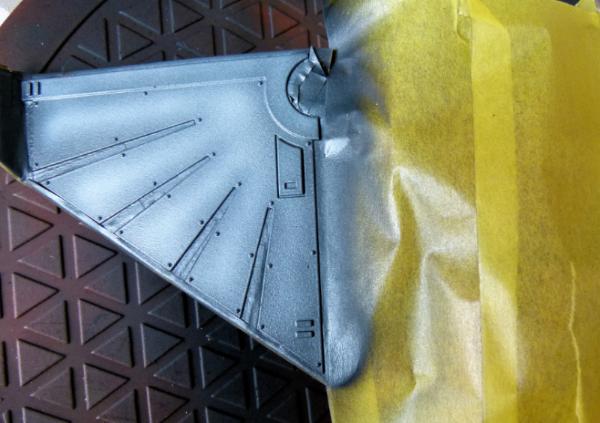
I started off spraying the Aquila Vallejo Model Air Black as an undercoat. I would have liked to have kept the Aquila darker, but due to issues with my airbrush clogging up and lack of fine control, the Aquila came out a lot greyer than I would have liked.
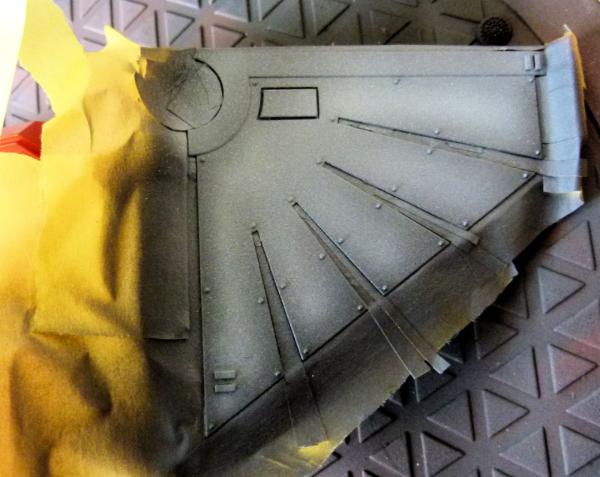
Never mind, Rome wasn't built in a day and an airbrush is a difficult tool to learn.
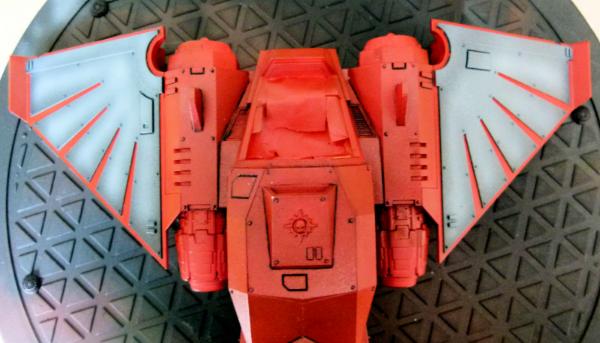
I think overall, it turned out well.
There is a small amount of leakage and a small amount of edges missed by the airbrush, but I sprayed the whole area with watered down Gloss Varnish again to protect my work.
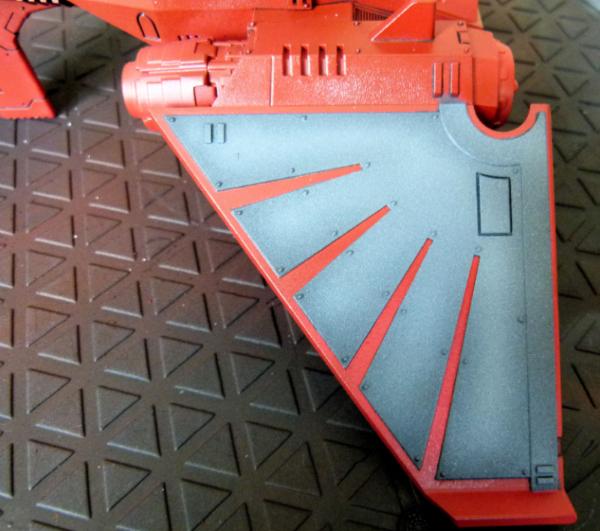
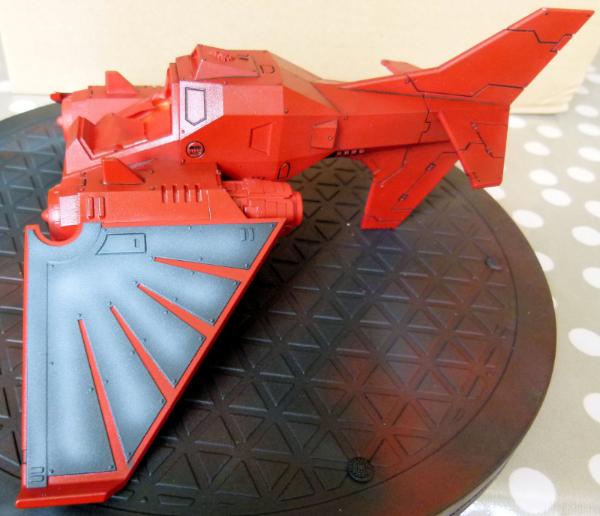
I have been purchasing a lot of AK Interactive weathering products recently and want to try out a few of them on the Dark Talon, namely streaking grime from all of the rivets and rain marks for Nato to be applied from the rivets on the Aquila.
Before I do this though, I wish to try out some "sponge" chipping effects on some parts of the fuselage. I want the Dark Talon to be the start of my "Weathering" journey. I have tonnes of non painted vehicles that will look cool with all of the things Mig Jiminez does on a regular basis with his vehicles. If I can get my models to be just half as good as his, I'll be a happy man!
Over the next couple of days, I want to paint all the metal parts and the cockpit then weather these as well.
More updates to follow.
Regards, Phil.
38750
Post by: philmorgan75
Update time:
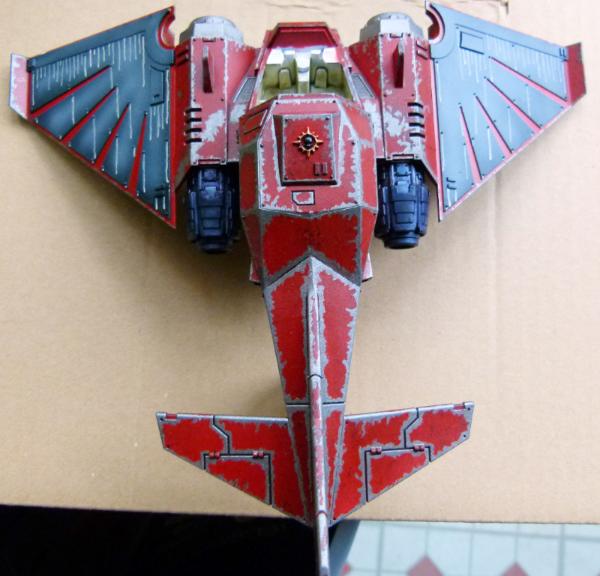
I started weathering the Dark Talon with some black paint using the sponge technique. I found this incredibly messy and I just didn't like the effect. I ended up using a brush and using a GW Silver base colour and have probably gone over board with the exposed metal but it's a learning curve!! I'll explain the extreme weathering with some fluff e.g. The Legion of the Dead Chapter are in the middle of a sweeping crusade and have reached planet X - A planet under constant acidic rain etc...
The White Lines running vertically down the wings are AK Interactives Nato Rain Marks before they are merged into the wing. You'll see the results later. I added more exposed metal across the engine covers either side of the cockpit - This is pathway the Techmarine would take to get in and out of the cockpit.
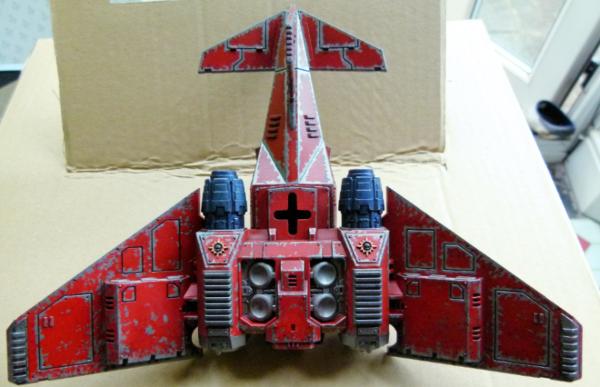
This shows the bottom view. This has taken hours to get to this position!! I'm really happy with how this has turned out.
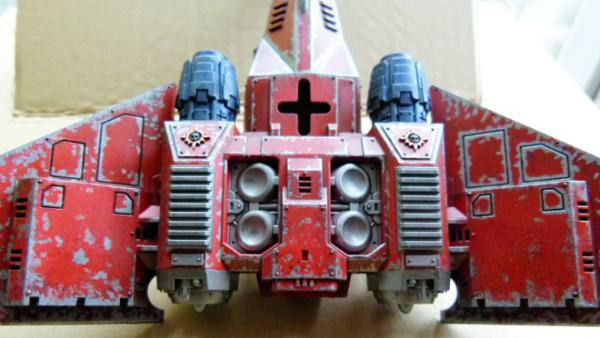
Here's a closer look at the bottom. Next time, I'll try AK Interactives Chipping Effects and see how it goes.
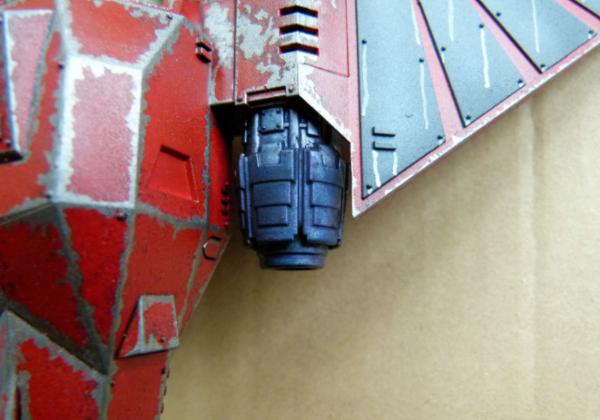
Here's the WIP shot of an engine. After giving it a base coat of GW iron base colour, I then shaded it with Vallejo Black Shade. I wanted to give a used, hot metal look, so I gave it a purple game colour wash and once dry, added Burnt Steel Blue pigment from Vallejo. I plan on finishing the engines off by giving a light drybrush of silver and then lastly, some Black Smoke pigment.
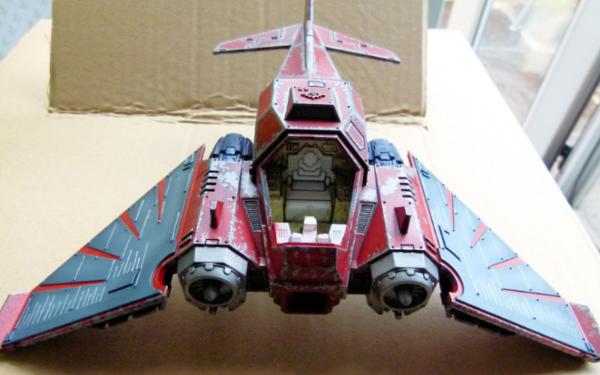
Here's a shot of the front. I've used some cremeweiss as the cockpit colour. After using some Gloss Varnish, I then used the enamel interior wash from AK which turned out quite well. After another Gloss Varnish coat, the next job is to add some Interior Grime Streaks. That will finish the interior walls before I then finish off the instruments. I want to use an emerald colour for the seat, with lots of gloss coats to give a new leather like impression. I think it will look really "Deathwing" like. I've ordered 3 Techmarine pilots from a Bits site in the USA (to finish the 3 Dark Talons I'm in the process of making), so I won't be able to button up the cockpit for a few more weeks yet.
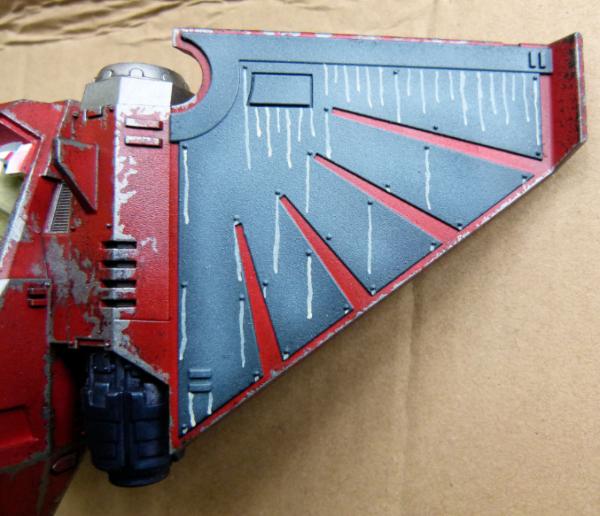
This shows how bright the Nato Rain Marks are when straight out of the bottle.
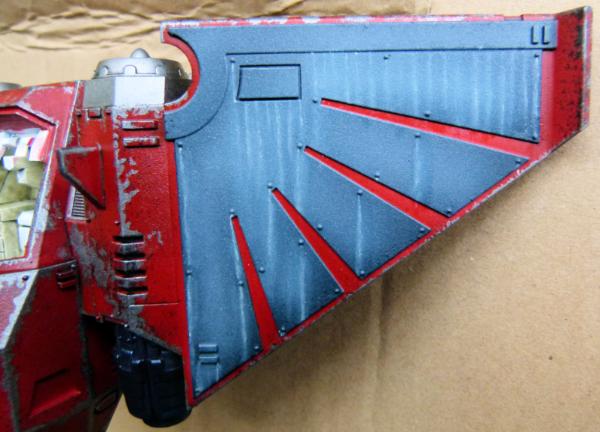
After 5 mins of drying time, white spirit is used to soften and merge/draw out the colour. I think it turned out rather well!!
To do:
Finish off the exterior - Exterior Streaking Grime to be added to all the rivets
- Add antennae, front armour and weapon systems
Finish off the Interior - Interior Streaking Grime, instruments and Techmarine
Critiques welcome as always.
Regards, Phil.
38750
Post by: philmorgan75
Finally finished my Dark Talon:
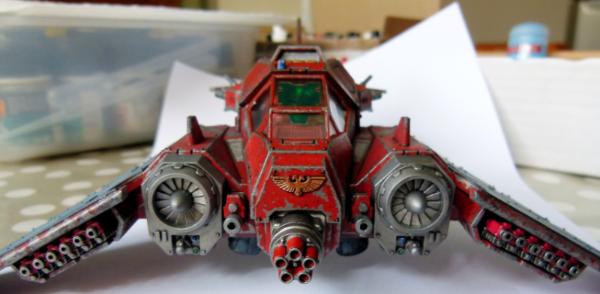
Here's what she looks like!
Armed with Assault Cannon, Twin Heavy Bolters and Hurricane Bolters.
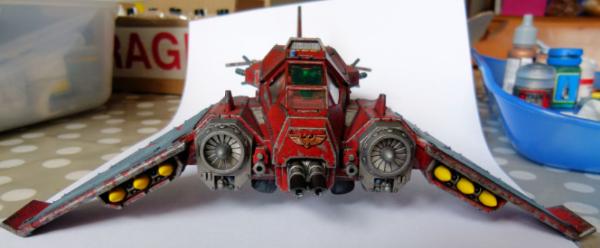
Armed with Twin Lascannons, Twin Heavy Bolters and Missile Launchers
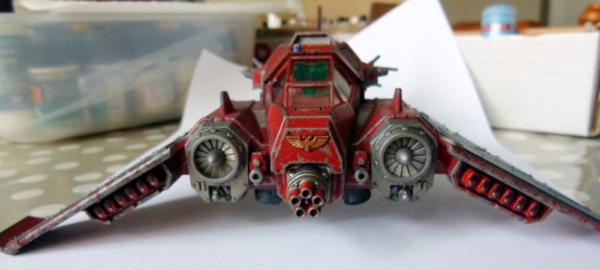
Armed with Assault Cannon, Twin Heavy Bolters and Hurricane Plasma Guns
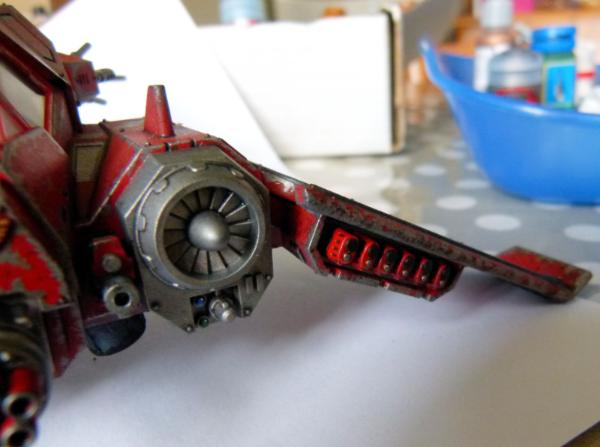
Here's a close up of the Hurricane Plasma Guns.
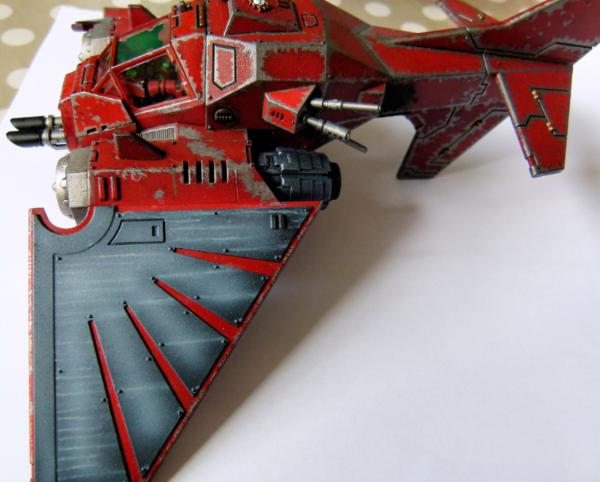
This shows the side view.
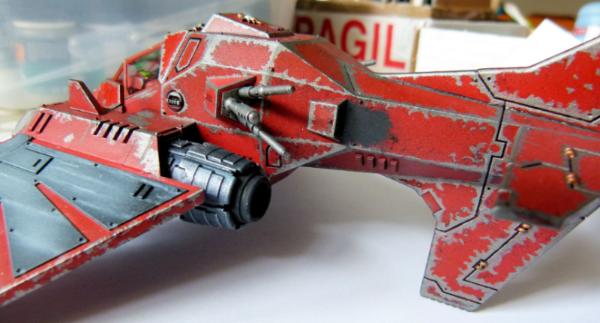
I've tried some black smoke pigment for the first time on the exhausts and engines. I don't know if I am 100% happy or not, but I did use this model as a test for lots of different paint techniques and I can only get better!!
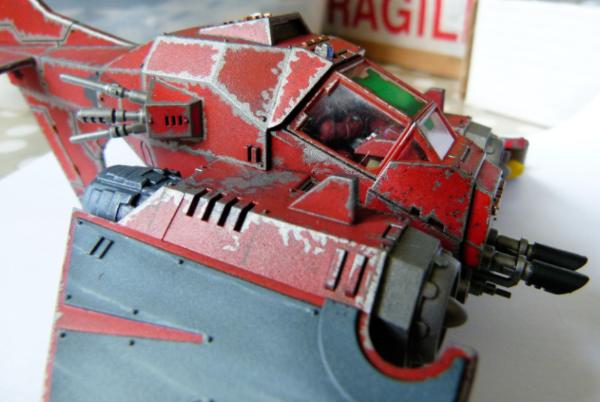
This shows the HUD. I was toying with adding characters and symbols to the HUD, but in the end, I chickened out.
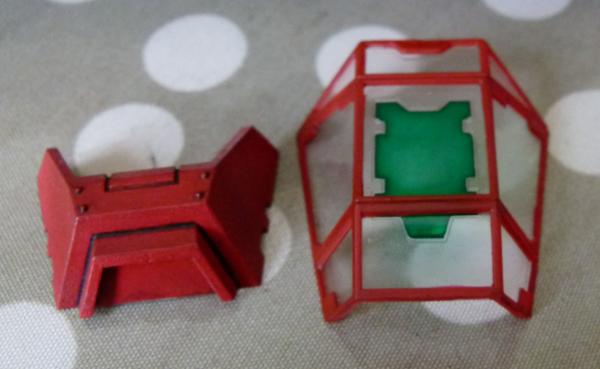
I used a very old GW Green Ink mixed with some Vallejo Gloss Varnish and ended up with this. I'm happy with how this turned out.
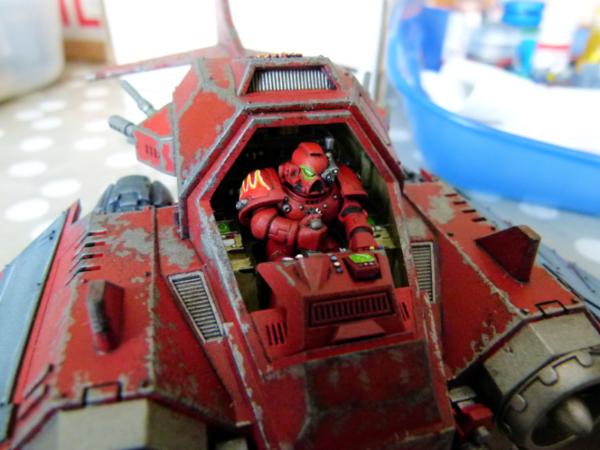
I've tried for the first time to paint a "glowing" effect for the eye. I added my Chapter's flames on his right shoulder pad.....
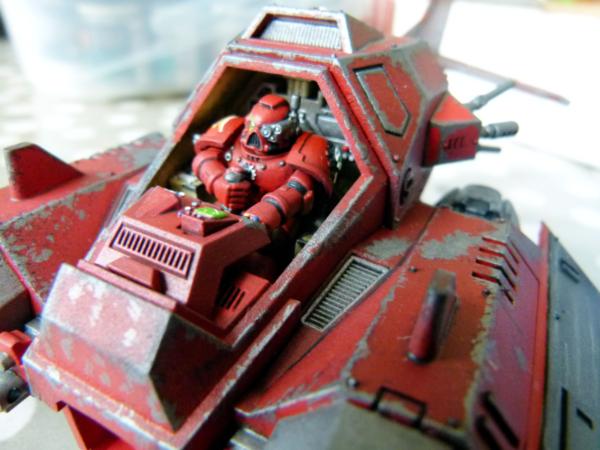
.... and the Adeptus Mechanicus logo on his left shoulder pad.
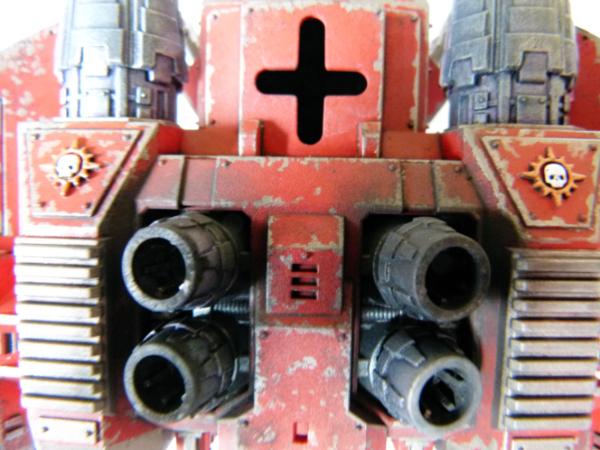
More Black Smoke pigment added to the thrusters.
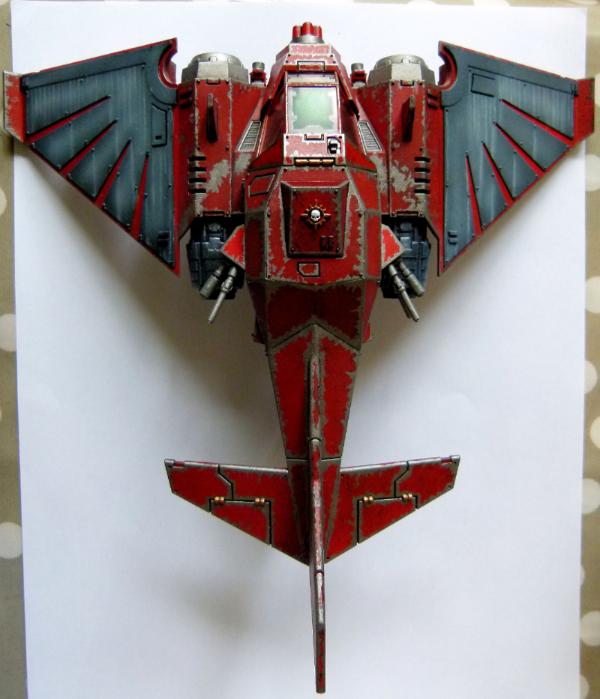
And finally, a plan shot.
I really enjoyed this little project, trying out my airbrush, weathering effects and pigments and I hope with each project to improve.
I plan on painting my Fellblade next. Here's a shot of one of the Heavy Plasma Executioner sponson weapons:
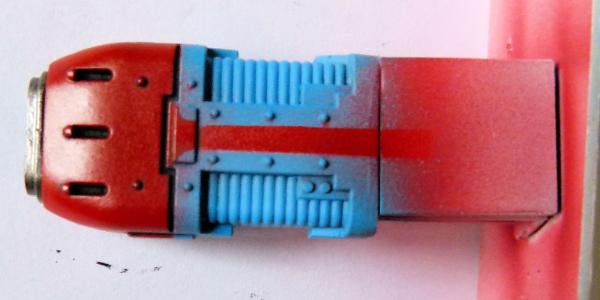
More to come in the near future ........
38750
Post by: philmorgan75
For some unknown reason, rather than paint my first extended Storm Raven, I started another:
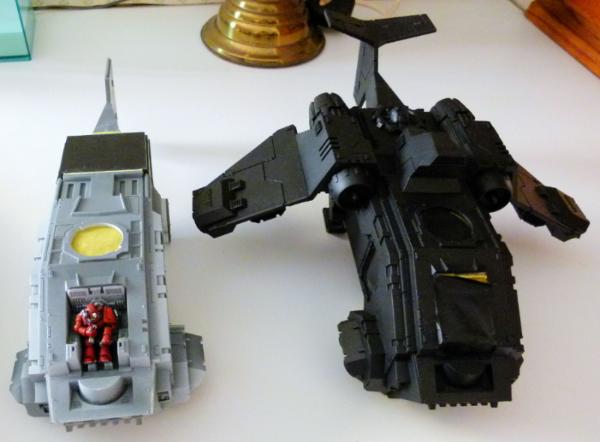
As you can see, the first Storm Raven on the right has been undercoated and then airbrushed black. I've bought a flame airbrush stencil and after trying it on my second Dark Talon first, I want to add a number of flames over the wings and body. The Storm Raven on the left is around 80% completed. I have a 45 minute lunch break and use this time to paint little projects - The pilot is one of them. I'll show some close up's later on. The yellow you can see is Tamiya masking tape to prevent exterior paint from getting into the interior.
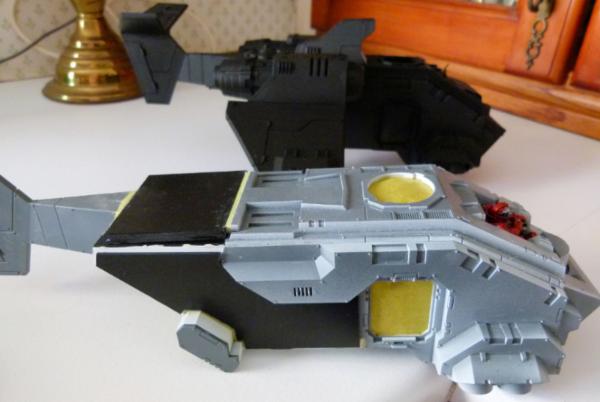
I've added some milliput this afternoon to some gaps and cracks, so I won't be able to sand/file the edges until tomorrow.
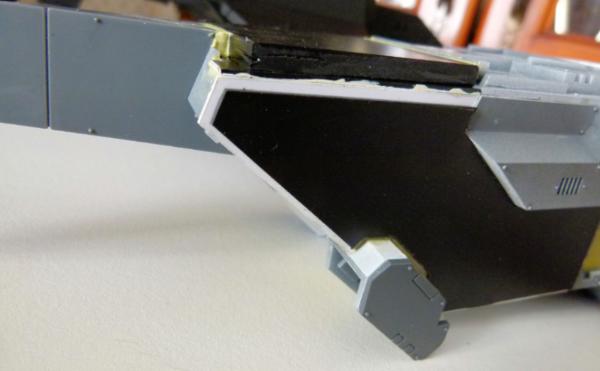
Add some rivets and the exterior construction will be completed. I want this Storm Raven to be in flight, so the landing gear will be stowed. The extension means the existing flight stand holder is in the incorrect place from the existing kit. Once I finish the construction, I can work out the correct place to put a replacement flight stand holder.
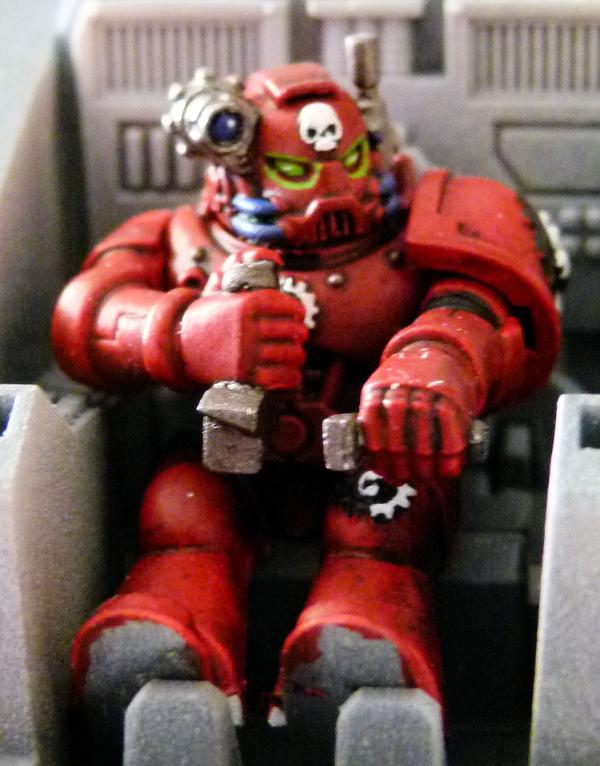
My Techmarine pilot almost finished. Just his right shoulder pad to paint and he's done. I've learnt from my first Dark Talon not to spend too much time on the pilot as most of him can't be seen when you button up the canopy. The "glow" effect around the eyes isn't perfect, but I don't have time to correct it.
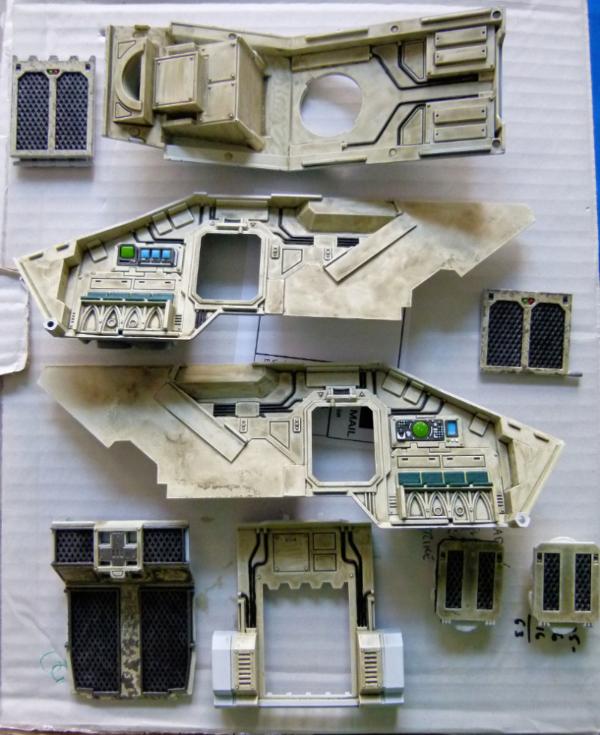
Here's the almost completed interior of the second Storm Raven. AK Interactive products were used (cremeweiss and Interior enamel wash) to weather the interior. You can see the plain parts of the plasticard that I used for the extension. In this shot, I still had the rear floor and top rear to construct out of plasticard.
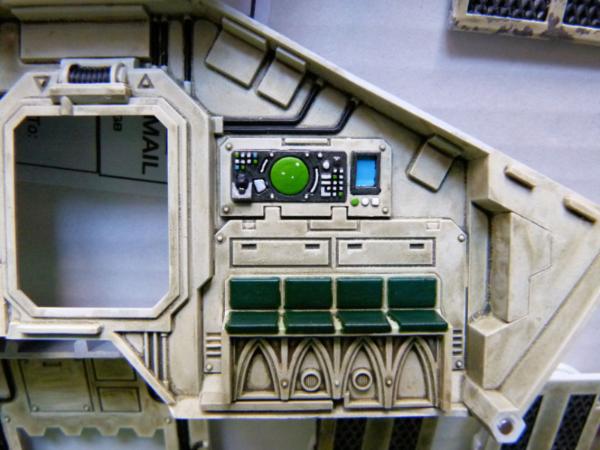
A rough and ready paint job was given to the interior as for 99% of the time, you won't see any of this and even if the doors/hatches are open on the completed Storm Raven, at least 70% of the paint job won't be seen.
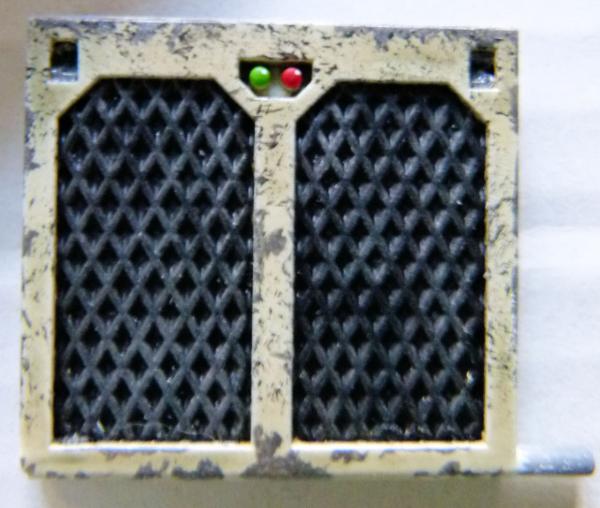
This is the interior of the front hatch. I've tried to give some realistic weathering to the edges of the hatch, sponged on black paint and then some silver paint to represent flaking paint from Space Marines' boots. I attempted to dry fit this part to the body, only for the left hand peg to snap off!!!!! I've used a magnet instead as it would be impossible to stick a replacement peg onto the hatch.
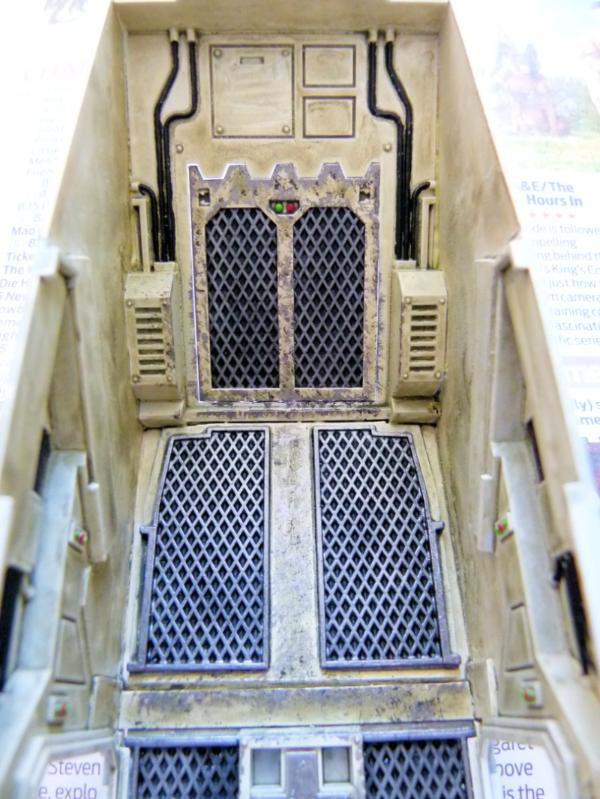
Here's a shot of the rear hatch and also what I did for the rear floor - I bought a spare front floor, chopping off the raised part (using the flight stand receiver elsewhere) and sticking it to a piece of plasticard.
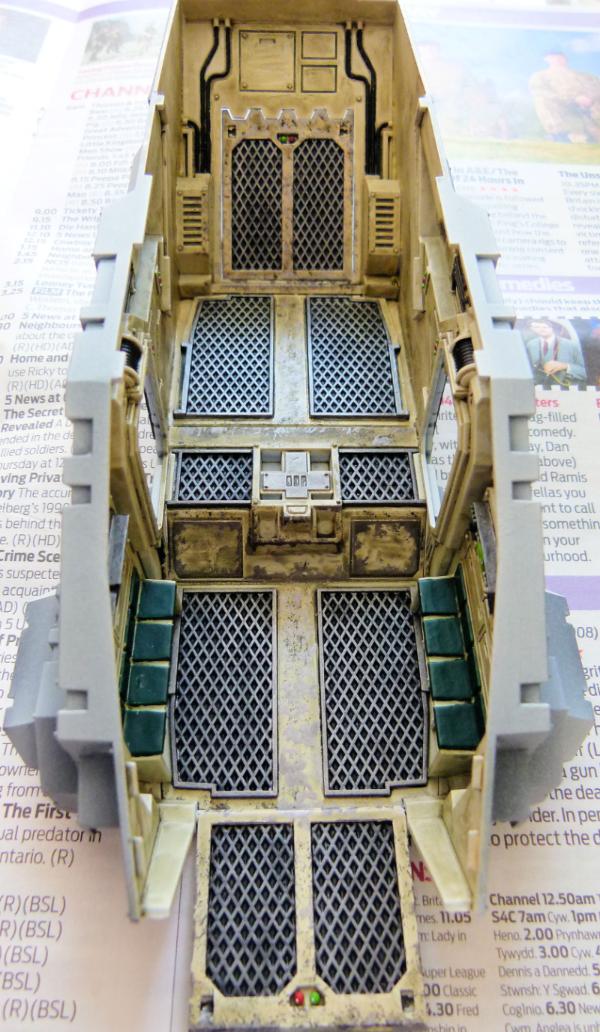
This shows the completed interior before I glue on the top pieces. I added some Tamiya Tape on all of the interior doorways to prevent any paint intrusion when I airbrush the exterior. I hope the tape will come off easily when I finish the paint job!!!!
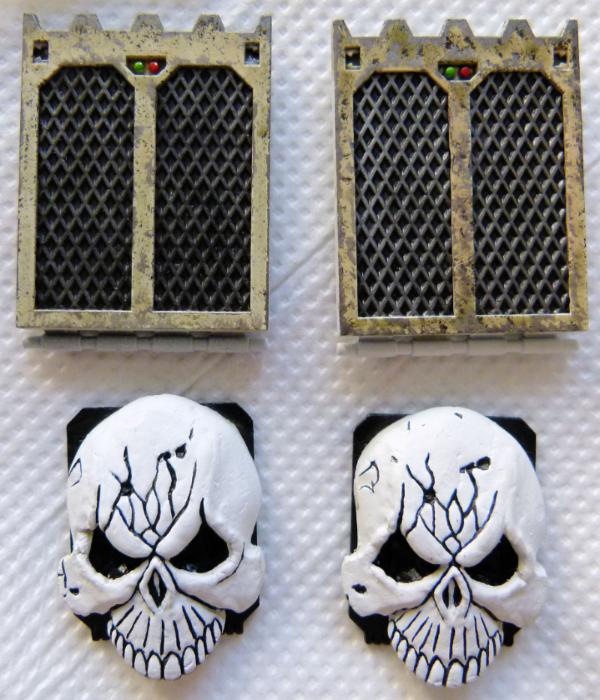
Here's another shot of the Hatches for one of the Storm Raven.
Once the milliput is dry tomorrow, I'll file and sand the edges and add some rivets. This will allow me to undercoat the Storm Raven and hopefully start the paint job asap.
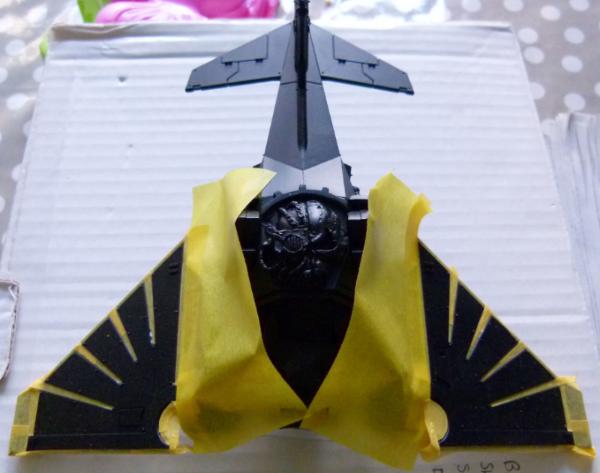
Why have 1 project on the go, when you can have two!!!! Here's a shot of my second Dark Talon. I want this one to be plasma heavy - I've constructed a Plasma reactor to replace the 4 thrusters underneath and I have already made and painted some "Hurricane" plasma guns for the weapon pods underneath the wings. I want to add a Plasma Executioner as it's primary weapon (I just need to find one on ebay/bits sites).
To show how close my Legion of the Dead are with the Adeptus Mechanicus who created this "Plasma Talon", I added an Adeptus Mechanicus Skull and Cog logo on the very top of the aircraft. The yellow tape is Tamiya Masking tape to ensure there will be no overspray when I start using the airbrush on the wings.
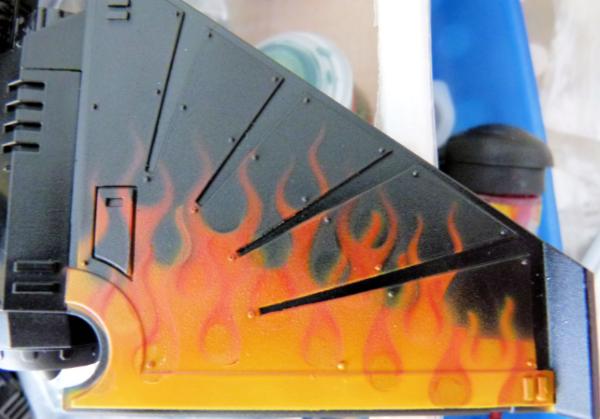
Here's what I've done with the wings. I used a flame airbrush template I got from ebay and after a lot of trial and error, I've got to this stage. I'm not exactly happy with how it turned out, but to protect what I have done already, I gave it a coat of gloss varnish. I plan on using the template again and to use some orange paint to define some of the round "hollow" bits. I'll need to use some black paint as well to cover up some overspray.
Lots to do as usual. Comments welcome as always.
Regards, Phil.
38750
Post by: philmorgan75
Slowly making progress on my SM Flyers:
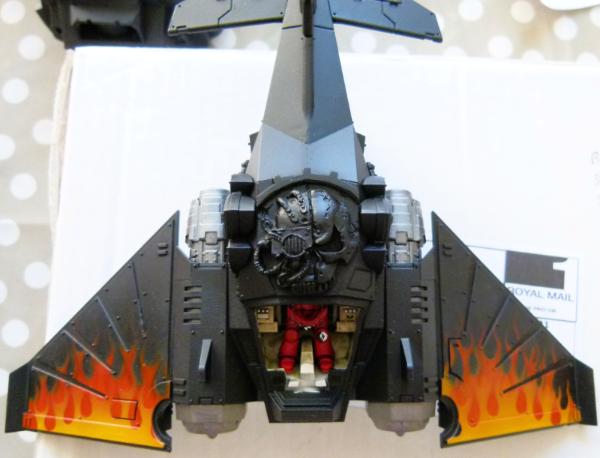
This shows my first attempt of painting flames with an airbrush. I used a template I got from ebay and with lots of patience, got to this point. I'm 80% happy with how the flames turned out and will use the template in future vehicle paint jobs. This shot shows the Adeptus Mechanicus logo I'm using on the top. Unfortunately, the white part of the skull is the part that has bionics on. I don't think leaving the right hand side of the skull black will provide much of a contrast with the rest of the Talon, so I plan to paint the right hand side white and the left black. Is this blasphemy or not?????
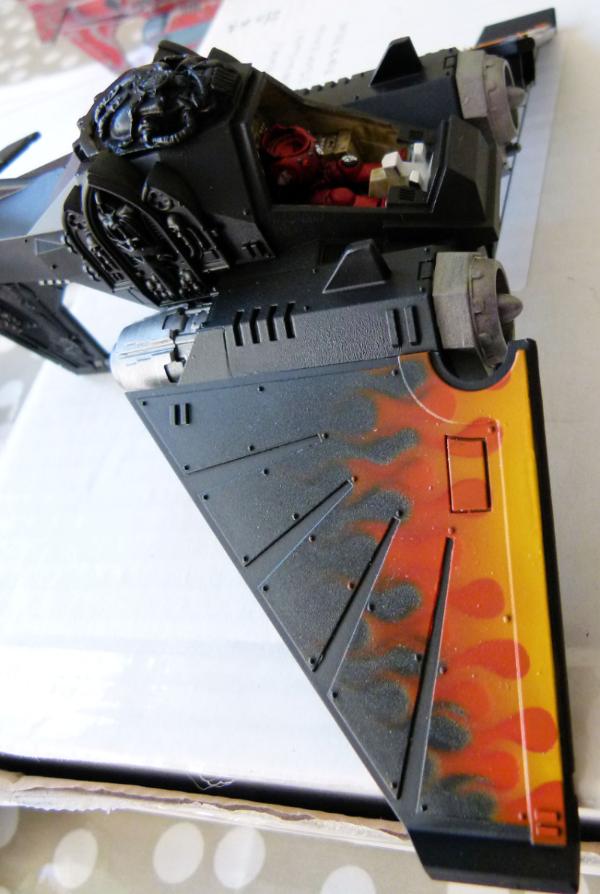
I didn't move the template as much on this side of the wings when painting the flames nearest the front, so I don't think It turned out as well as the other wing, but as with my previous Red Talon, I am happy to learn and improve with every vehicle I attempt.
I want to add a few weathering bits to the flames. I want to mask some of the dust that seems to have dried in between the layers of varnish and coats of paint.
You can just about make out the pilot in this shot. I'm painting his helmet less head separately and only have the bionic bits on the skull and the flames on 1 shoulder pad to finish off the Techmarine. I've painted the buttons and screens in the cockpit white and will paint them with red/blues/greens etc before buttoning the cockpit down. I've bought the Dark Talons from bits suppliers over the past few months but can't seem to get the clear Perspex canopy. I now need 2 more of these so that I can finish off this model and start on the next variant.
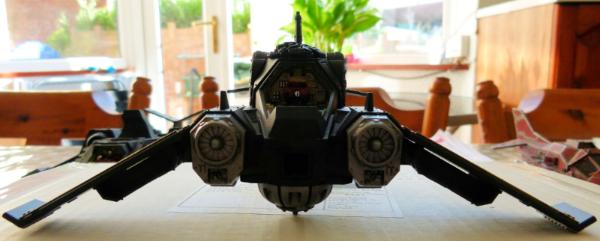
Apologies for the darkness in this shot, but I just want to show what I have done with this conversion. I've added a Plasma Reactor dangling from where the thrusters are normally located - hardly safe in real life but this is 40K
The reactor was made from some plasticard (to cover the thruster parts) and a part from the Pegasus Chemical Plant that I had left over after completing my plasma engines for my first fellblade. I added the central hub of the Attack Bikes third wheel to finish it off. I plan on using the airbrush to spray dark blue to light blue to white in the very centre, to hopefully give a little "plasma" like paint job. I've just ordered a Plasma cannon off a Leman Russ to replace another I painted for my first fellblade's sponson:

This is what the front weapon will be rather than the usual Mega Bolter or Twin Las Cannon. I plan on sticking it horizontally rather than vertically. Added to the Hurricane Plasma Guns, this Talon pumps out lots of hot stuff!!!!
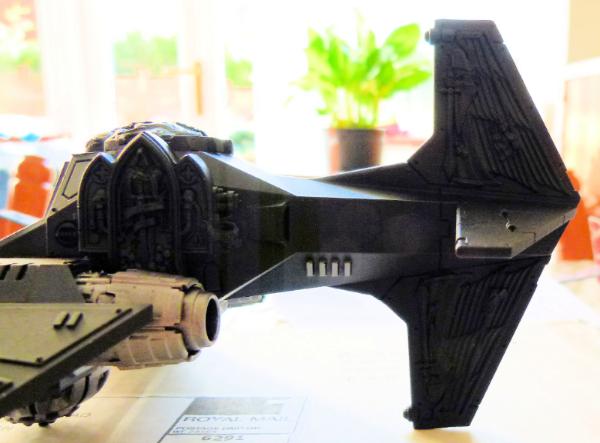
This shows what I decided to do with the tail fin. As this would be my most venerable Talon, I decided to use as many of the bling bits from the original Nephilum model. As I hadn't used the winged DA holding the sword on the Red Talon, I thought it would be cool to actually use 2 on this variant. The engines will have washes of blue and purple ink and a small amount of black smoke pigment added to the very end.
I normally have 2 or 3 things on the go at the same time, so when I get bored with one vehicle, I move onto another. Here's the progress I've made on the second extended Storm Raven (the one with the fully painted interior:
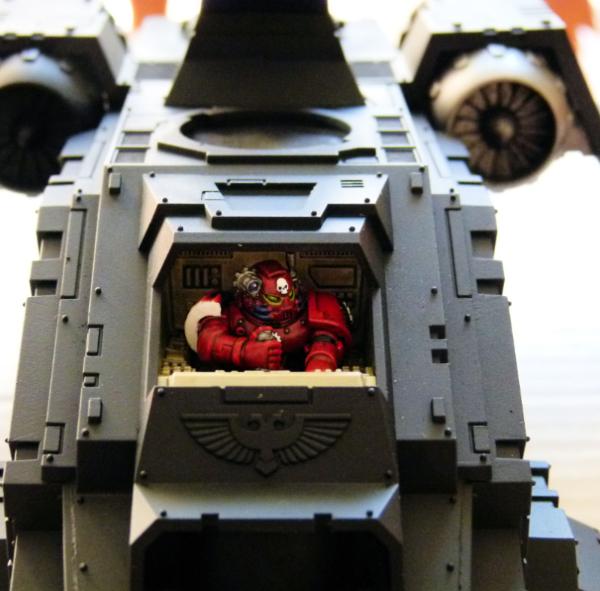
Just need to paint a few buttons and screens and the cockpit will be complete. With both flyers, I plan on using a medium grey along all of the edges to give an edge highlight (breaking up the black monochrome landscape) and then add a few areas of weathering and rust to certain edges and rivets.
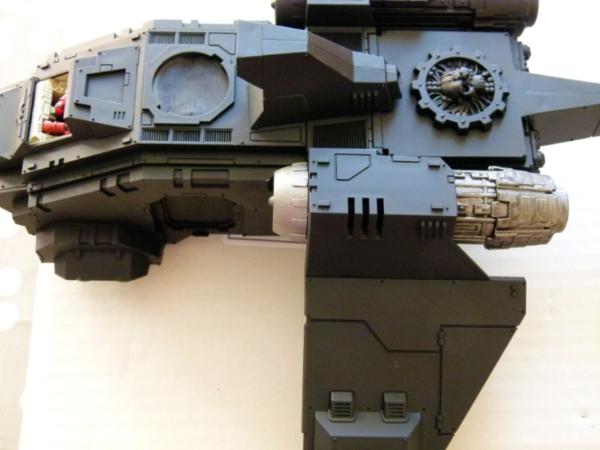
I've left all the masking tape in place to (hopefully!!) ensure the painted interior gets overspray whilst finishing off the rest of the model. I've painted one of the engines GW Leadbelcher silver base layer and added some Vallejo Black wash to the rear part. Tomorrow, I'll add some more black wash to the front and once dry, a light drybrush of Leadbelcher alone the edges and flat parts.
To keep in with my Legion of the Dead Chapter, I'm leaning towards adding airbrush flames on the front and top of the wings (similar to the Plasma Talon) and a few more flames along the bottom part of the sides of the Storm Raven (where the side doors are located).
Comment and critiques welcome as always.
Regards, Phil.
42470
Post by: SickSix
Don't know why you don't have more comments, your stuff is fantastic!
Love the fellblade conversions. I can also say the Machinator's stuff is fantastic. (Blood and Skull industries on ebay)
The fortress is just plain awesome.
I chose to with the chapterhouse kit for my Stormraven. You did a fantastic job on the conversions.
38750
Post by: philmorgan75
 SickSix wrote: SickSix wrote: Don't know why you don't have more comments, your stuff is fantastic!
Love the fellblade conversions. I can also say the Machinator's stuff is fantastic. (Blood and Skull industries on ebay)
The fortress is just plain awesome.
I chose to with the chapterhouse kit for my Stormraven. You did a fantastic job on the conversions.
Thanks for your comments SickSix. I probably would have had more comments if I started a separate link for each mini project I started, but I thought a blog would be the best way of keeping everything under one roof.
I was umming and ahhing over getting the Chapterhouse Storm Raven Extension kit but 2 things put me off, 1) I purchased their Land Raider sponson kit a few years back and due to it costing more than £15.00, I was walloped with an import duty and a Royal Mail handling charge of almost the same amount as the kit (ie I paid double what I thought I was going to pay) and 2) The cost of the CH Storm Raven Extension kit. I have lots of plasticard and was happy to muck about until I got something I was happy with. I have now made plasticard templates so future extensions should be completed really quickly (got enough parts to make another 1.5 Storm Ravens).
Today's progress:
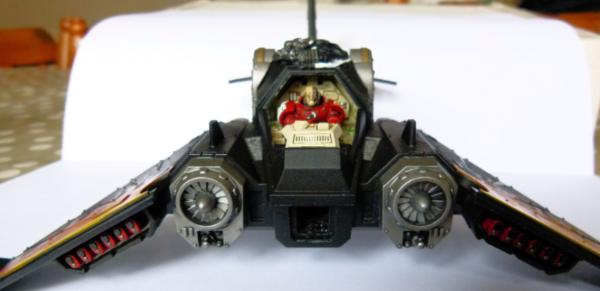
Apologies for the slightly out of focus shot. This shows the front view of the Plasma Dark Talon. I've finished all of the cockpit and have almost finished the metal parts. To finish this view, I need to paint the scope lenses underneath the turbine fans and to add some magnets to the already painted Plasma Executioner (to be added where the Twin Lascannon/Assault Cannon normally goes).
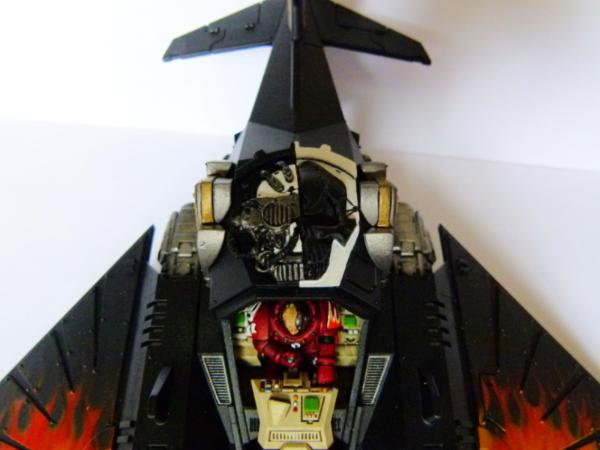
This shows the plan view. I decided to paint the Adeptus Mechanicus logo correctly (leaving the right hand side black). To finish this view, I need to paint all of the pipes around the mechanics on the skull.
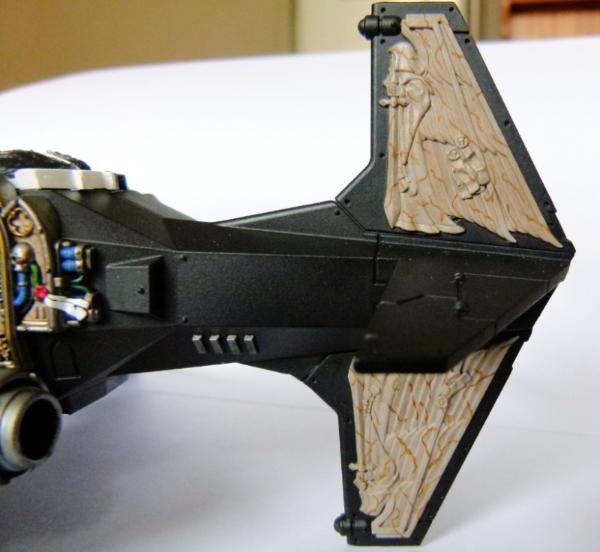
I opted to go with a "Marble" effect on the Hooded Winged DA emblems on the tail. I attempted to copy the paint effect I saw in WD a few months back when they painted a Fortress of Redemption and painted the large DA Hooded Man with this paint effect. I think it turned out well. I did originally paint it dark grey and had finished the first layer of lighter grey (leaving a small amount of dark grey in the recesses). Unfortunately, I didn't have a steady hand and there were too many places that I would need to touch up. I then went for the marble look. To finish this view, I need to paint the scope lenses at the top edge of each vertical tail piece.
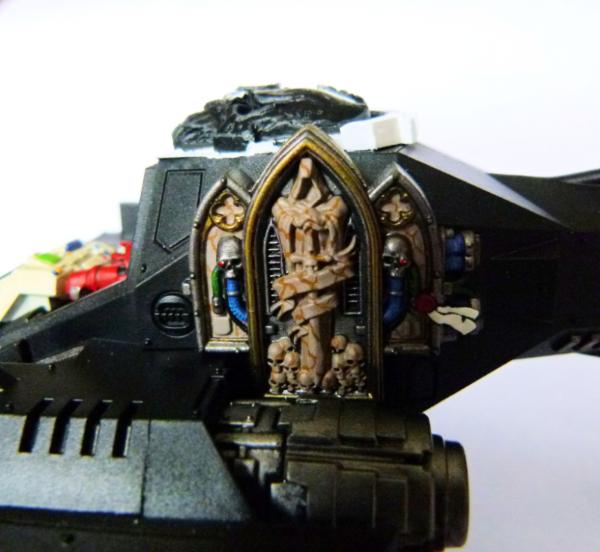
This is the complete Relic part of the kit painted with a complimenting marble effect to the tail decoration. To finish this view, I need to add purple ink to the engine exhaust, followed by a dusting of blue steel pigment to give a suitably weathered look. The canopy handle needs to be painted metal and weathered.
In all shots, I still plan to edge highlight all of the armour with Dark Grey to help break up the vast areas of black. Once done and varnished, I plan on adding a small amount of weathering to the edges (but not as much as my Red Dark Talon!). I still need to buy the clear canopy - no one seems to have any in stock at the moment ahhhhhhhhhh!!!!!!!!!
As with every project I start, I move onto the next project......
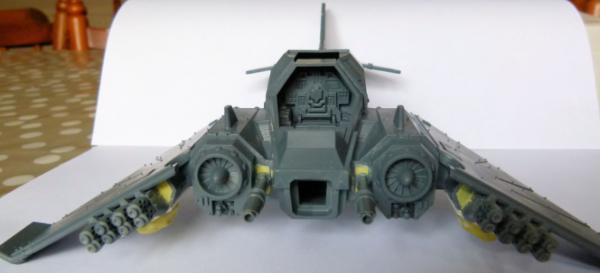
a Tank busting Multimelta/Lascannon killing machine!!! I added Twin Lascannons to where Heavy Bolters are normally located. I thought this gave it a very Thunderbolt like appearance. There will a large skull going on the front covering the usual location of the Assault Cannon.
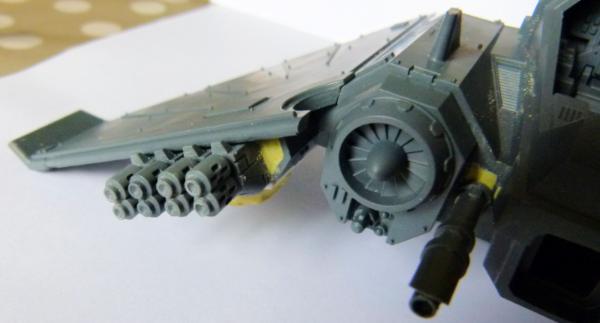
Here's a close up of the Quad Multi Meltas under each wing.
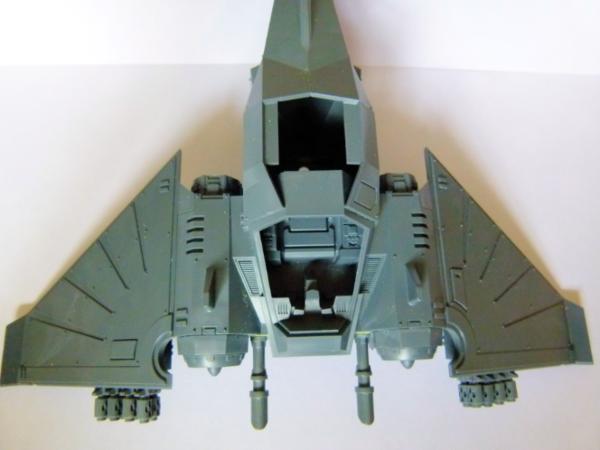
Plan shot.
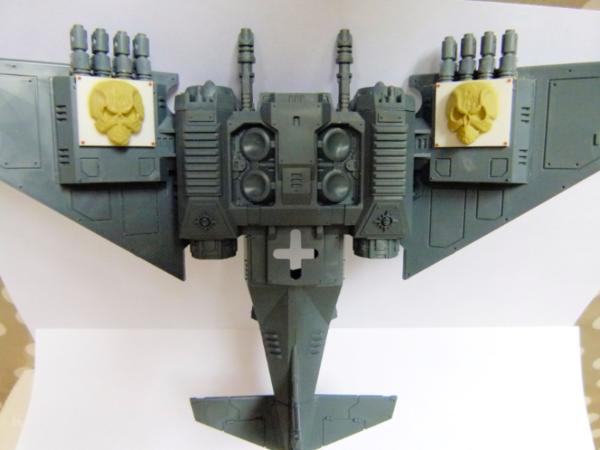
and finally, a shot from below.
Comments and critiques welcome.
Regards, Phil.
38750
Post by: philmorgan75
Finally finished my Plasma Dark Talon (minus the clear plastic windshield that I still haven't managed to buy yet):
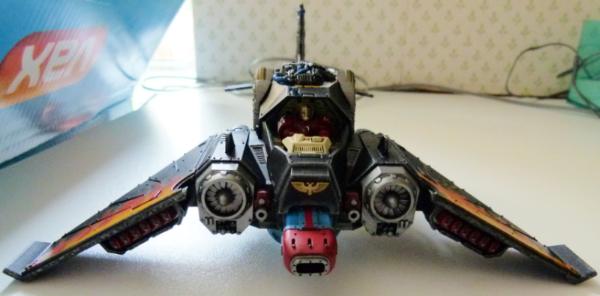
I added some magnets to the Plasma Executioner this afternoon to assist weapon swops and to aid in storage. The Heavy Bolters are also attached by magnets as well.
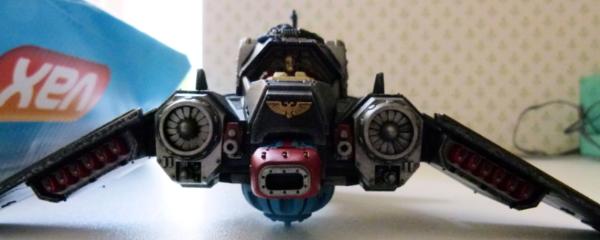
If in real life you saw this view, you would be moments from being fried!!!!! You can just about make out the Plasma Generator I airbrushed underneath the Dark Talon. I have "sponged" some light weathering onto the lead edges of the wings and tail fins.
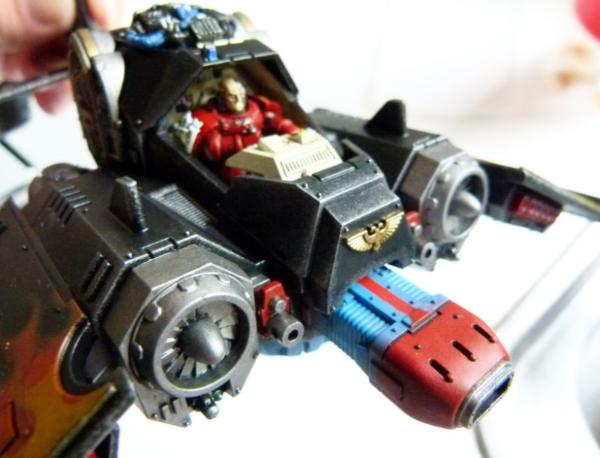
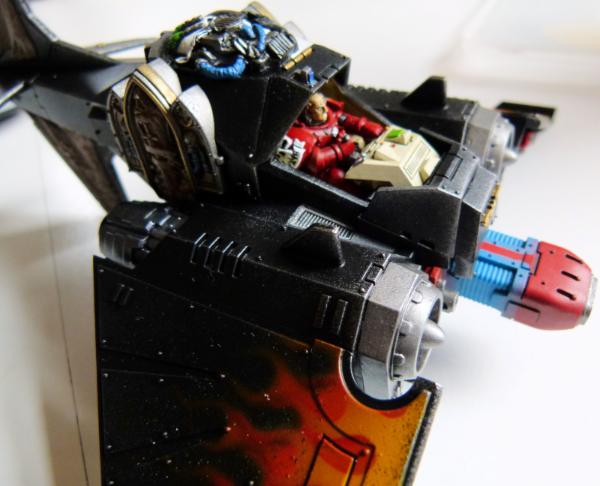
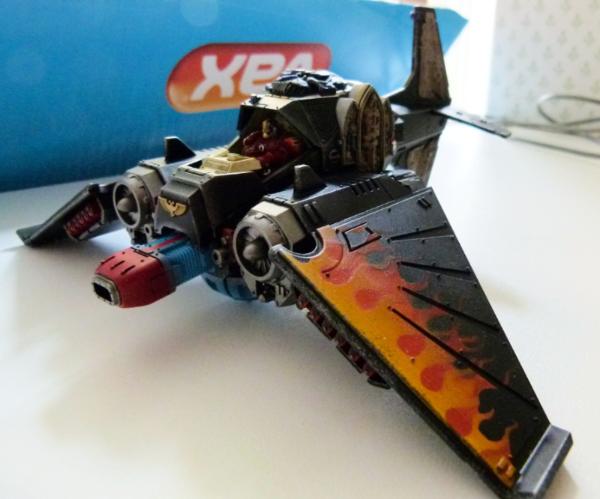
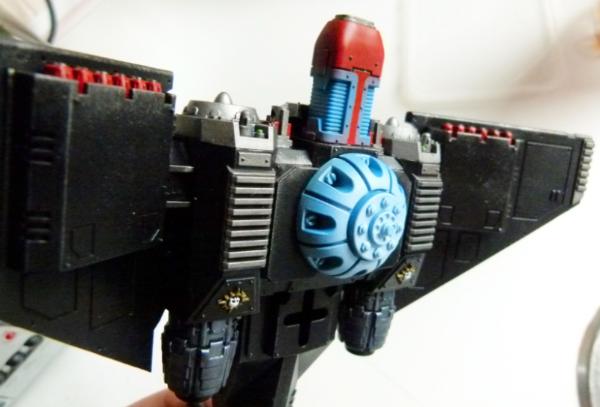
Here's a close up of the Plasma Generator. I airbrushed the different shades of blue going to white to avoid any tell tale lines. The whole part is magnetised, so I can field this Dark Talon with a normal payload if required.
I have continued to paint one of my Storm Raven. The cockpit is finished and I'll show some progress shots later.
Regards, Phil.
38750
Post by: philmorgan75
Almost finished the Extended Storm Raven:
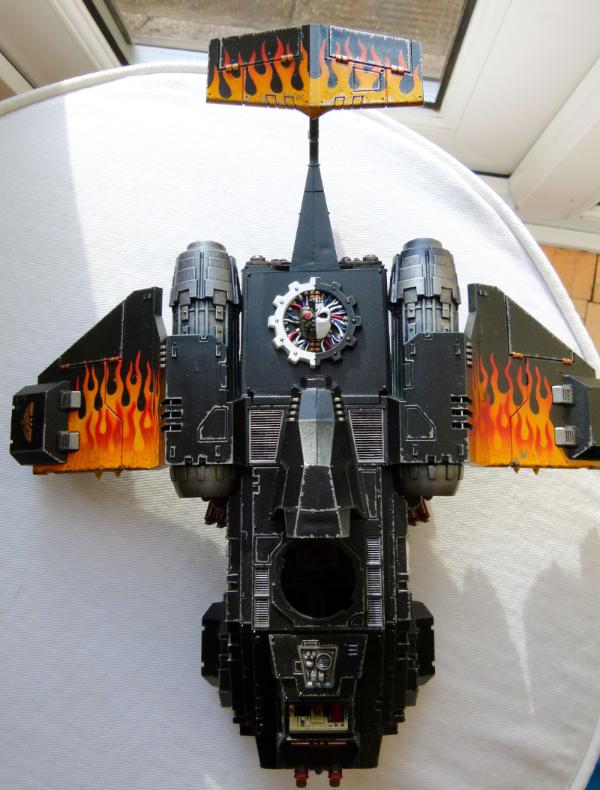
I made some flame templates out of thin plasticard and through lots of masking tape and blu-tack, used my airbrush to paint the flames. Overall, I'm happy with how this has turned out (apart from the length of time for the painting process).
I have some small things to complete before I can say this model is finished. These will be listed/shown later.
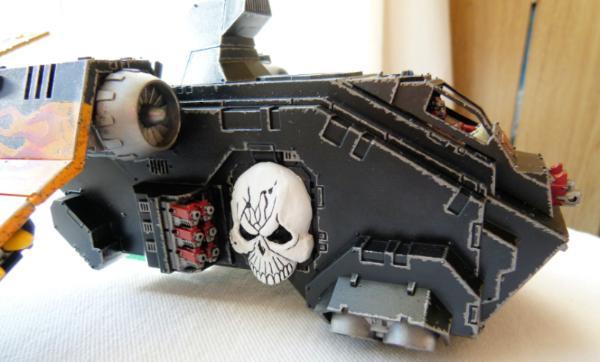
I've gone for some "light" weathering around the leading edges of the armour. The large skulls cover the side hatches and I've moved the hurricane bolters back to lay down covering fire for when the troops disembark.
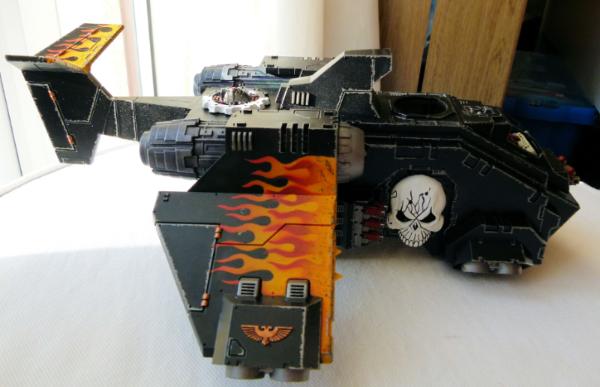
This shows the whole right hand side of the extended Storm Raven. To finish this view, I need to add a "Razorback" weapon turret into the hole at the front and to add some black exhaust smoke around each thruster.
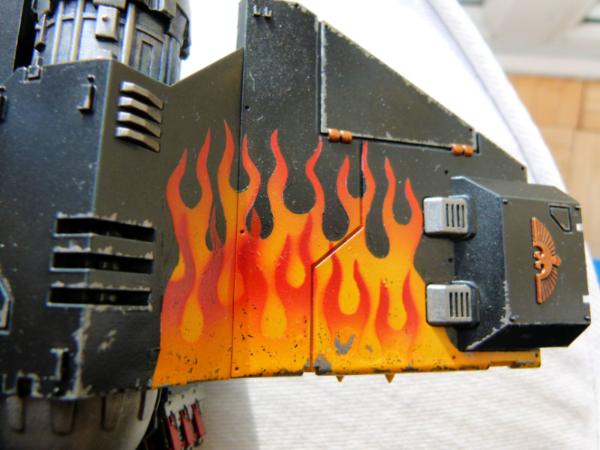
A close up of the left wing.....
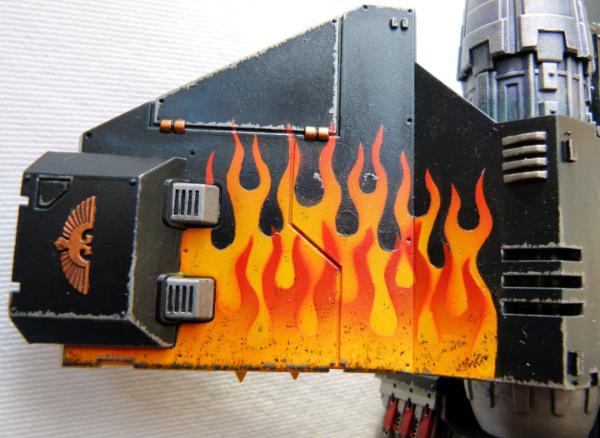
...and a close up of the right wing. I'm not 100% happy with how this turned out. If you look closely, you can see the remains of the blu-tack that I used to mask the black areas in the black sections between the flames. I couldn't face stripping and starting again, so it will have to do!!
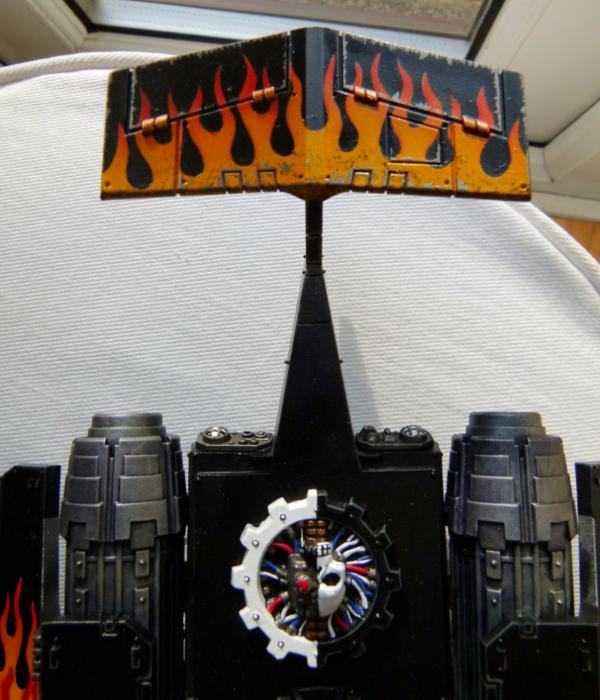
This shows a close up of the tail. I'm really happy with how this turned out.
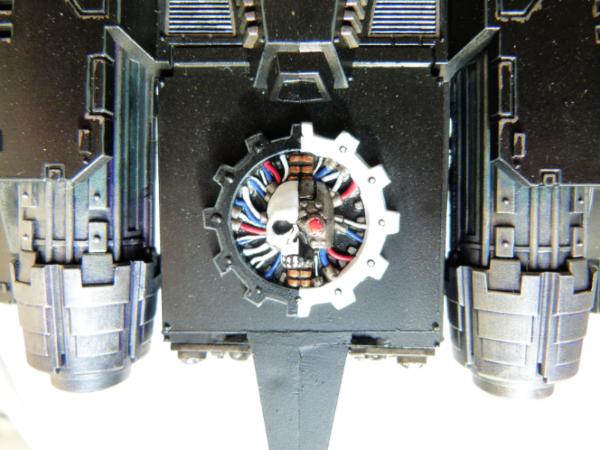
This shows the Adeptus Mechanicus logo. As said before, my Chapter has close ties with the Adeptus Mechanicus and it is displayed prominently.
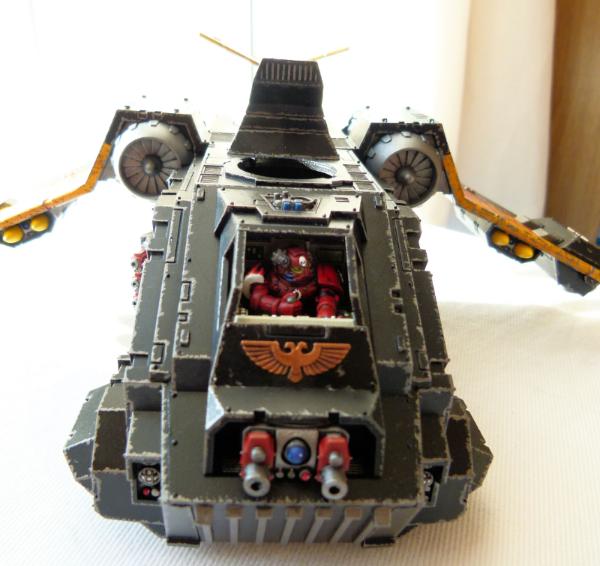
To finish the front, I need to add the clear Perspex after I have given the whole model an airbrush of Matt Varnish to dull the previous Gloss Varnish used to protect the progress of the painting.
The Heavy Bolters at the front are not glued and can be swopped for the Multi Melta or Missile Launcher variants.
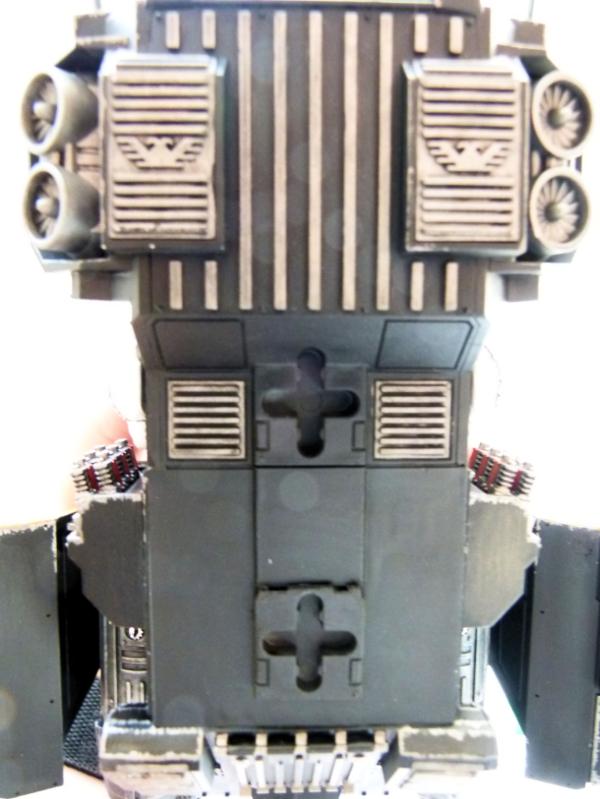
You can see that I've added another mount further back. After the extension at the rear, the balance was all wrong. Now, depending on what angle I want the Storm Raven at, I can use either of the mounts.
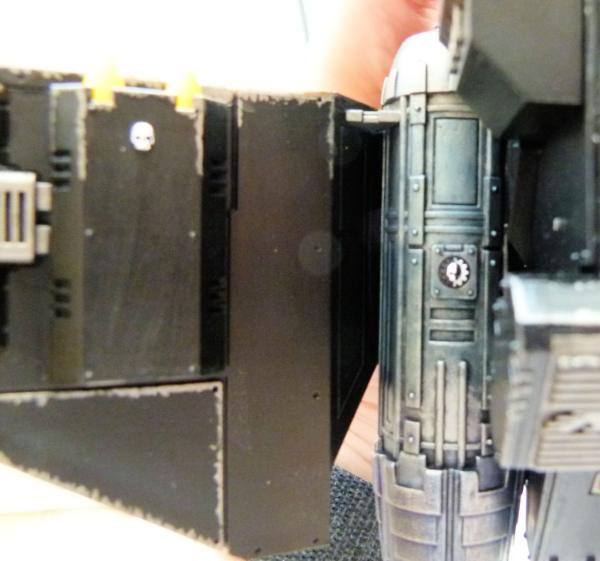
I added blue and purple ink washes to the engines to (hopefully) give a real life finish. I also painted the Adeptus Mechanicus logo in the correct paint scheme as well.
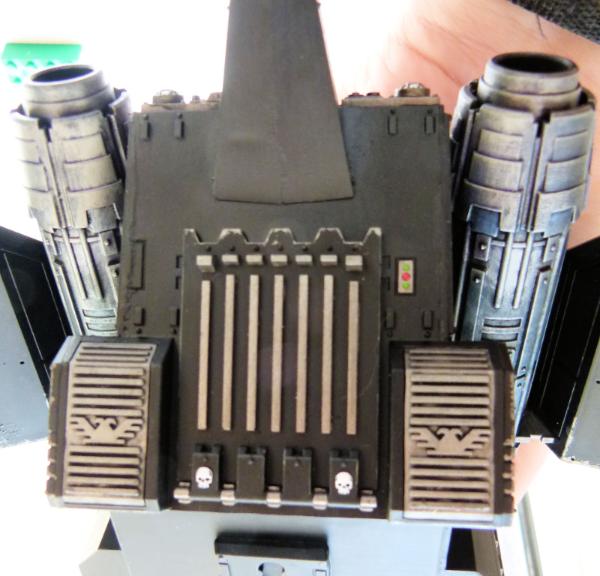
And finally, the rear hatch.
So, a quick spray of Matt Varnish, add the clear Perspex window in the cockpit and the clear lenses on the wing edges, some soot around the thruster exhausts and finally, to add the Razorback weapon mount and this beast will at last be finished!!
I now need to decide which model is next in the painting line, a fellblade or another Dark Talon. What do you think I should do?
38750
Post by: philmorgan75
Finally finished off my extended Storm Raven:
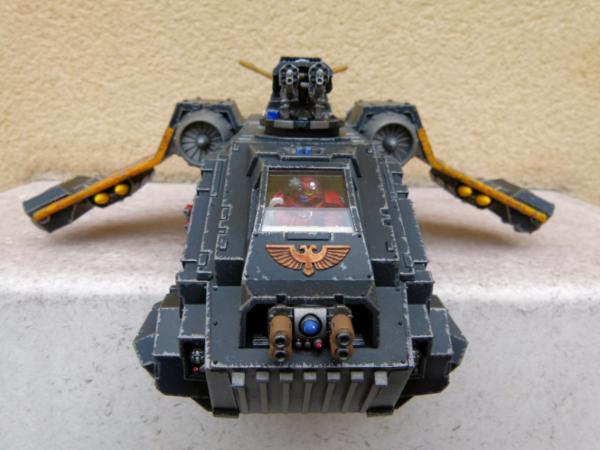
I gave the whole model a blast of Vallejo Matt Varnish. This really dulled the black to an almost dark grey colour. Has anyone else had this problem? I had something similar with Vallejo Satin Varnish and thought it was a duff pot of paint but both Matt and Satin??? WTF?
The cockpit perspex has been added. I chose not to add the clear plastic on the wings as I have multiple layers of paint to make the flames on the wings and didn't want to wreck the paint job.
I've added one of my twin linked assault cannons from my Razorback collection. I thought it would fit perfectly, but the hole for the Servitor turret is slightly smaller than the Razorback. I'll need to make a few modifications but it won't take too long to do.
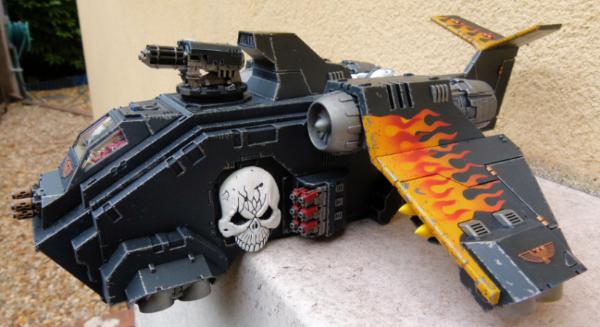
Here's the side view. As you can see, the turret stands slightly proud.
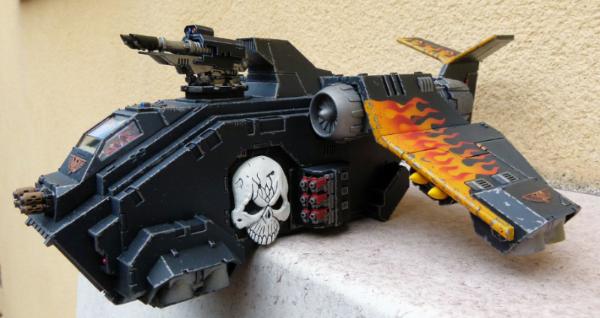
Here's the twin linked lascannons turret.
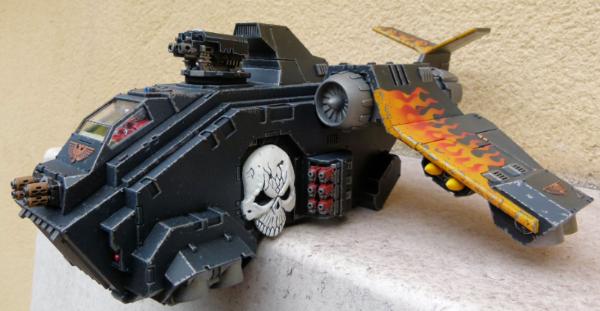
Here's the twin linked heavy bolters.
I enjoyed this paint job on the Storm Raven and have another one base coated black ready to go BUT I fancy something different - A fellblade!!!!
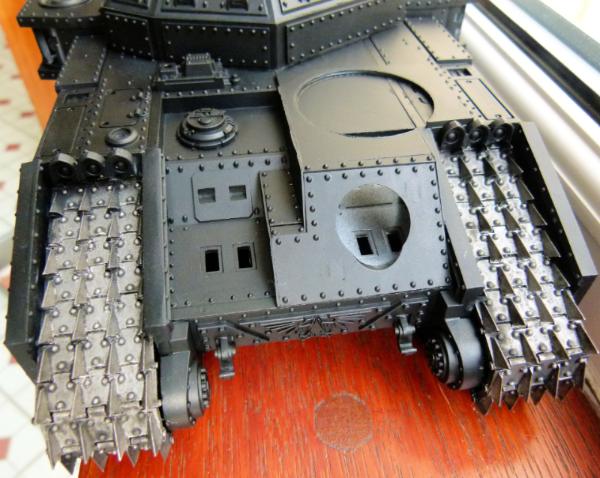
I airbrushed Vallejo Model Air Black all over, but had to go over again with a brush to ensure everything was covered in black. I added some GW Ironbelcher (Leadbelcher?) to the tracks followed by some Vallejo Black Shade. I'll add some more rust, mud etc towards the end of the paint job. I plan on adding some flames to the front glacis plate with the airbrush.
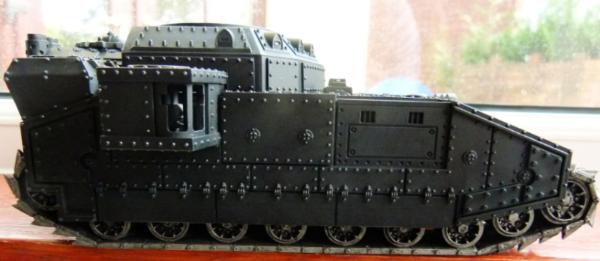
Here's a side view. I plan to add some flames all along the sides as well. I'll start masking the tracks and then add the flame templates tomorrow and then I'll start airbrushing the flames. More updates to follow.
Regards, Phil.
38750
Post by: philmorgan75
I thought I'd show everyone how I make my flames on my vehicles:
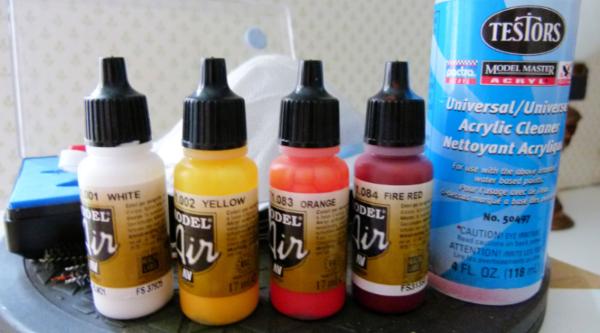
These are the paints I use in my airbrush: Vallejo Model Air White, Yellow, Orange and Fire Red
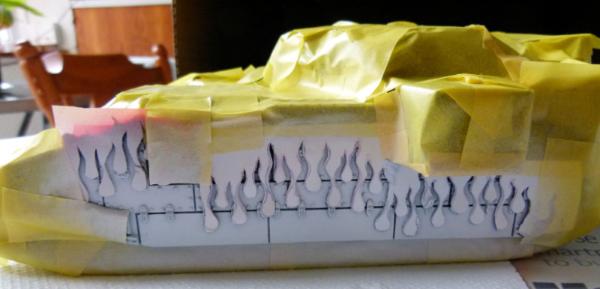
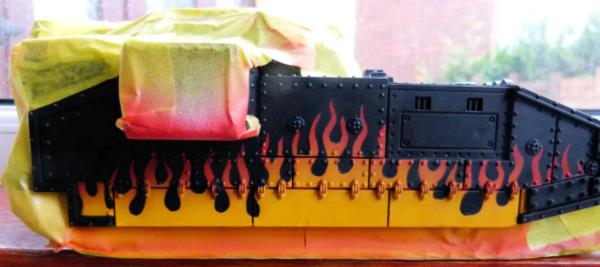
After cutting out a flame template from very thin plasticard, I attached this carefully to my fellblade using blu-tack. I use blu-tack to ensure minimal paint seepage over uneven surfaces (the amount of rivets and hinges on the fellblade is unbelievable!). It doesn't matter how carefully I spray using the airbrush I always gets paint flecks over parts I don't want, so I use Tamiya Masking Tape and cover all exposed parts. I then airbrushed some white paint to allow the flame colours to shine brighter.
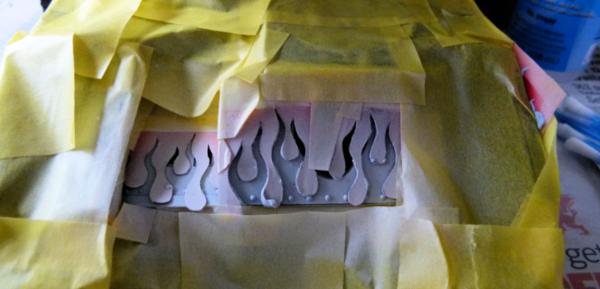
I did the same for the front...
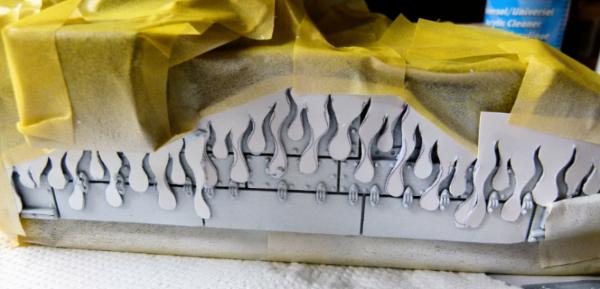
.... and the other side.
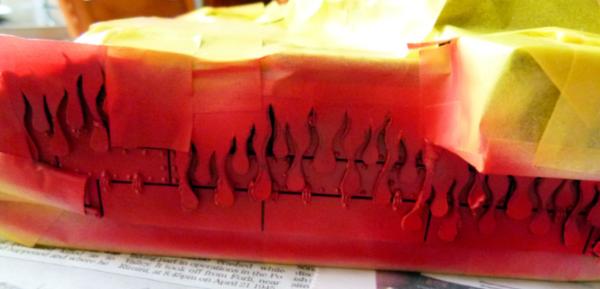
A coat (or two) of Fire Red was then airbrushed over the template.
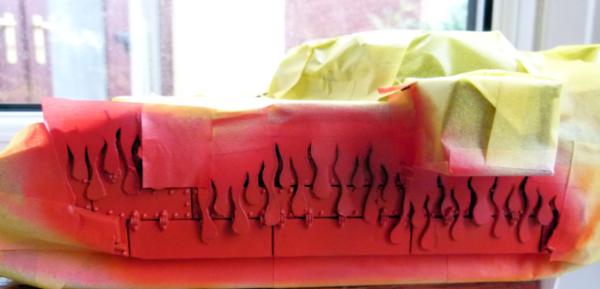
Though it is difficult to see, I airbrushed a number of Orange coats towards the bottom of the flames. I tried to leave some of the Fire Red at the top of the flames.
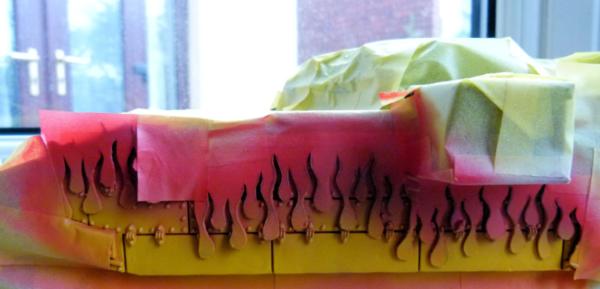
I then airbrushed a number of coats (using a hair dryer in between each coat to help speed up the drying process) of yellow to the bottom of the flames.
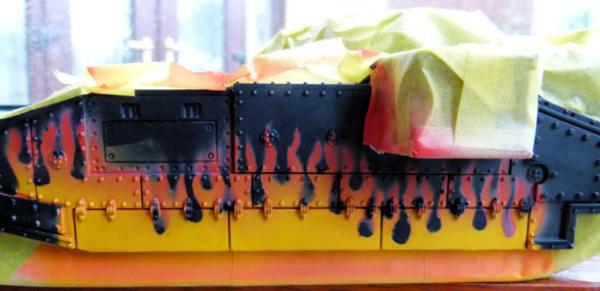
Once the paint was dry, I removed the masking tape and flame templates. A spare bit of blu-tack was used to "pat" and remove the blu-tack bits still stuck to the tank. As can be seen, there was a small amount of seepage from the airbrush.
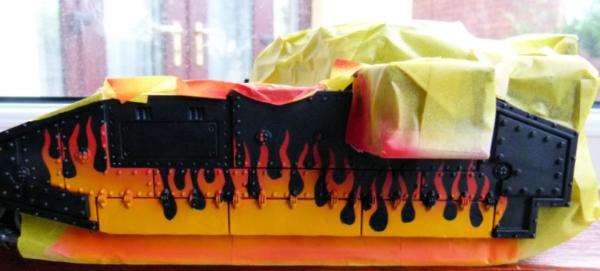
After some touch up with Vallejo Model Air Black with a paint brush, I got to this stage.
Here's the other side...
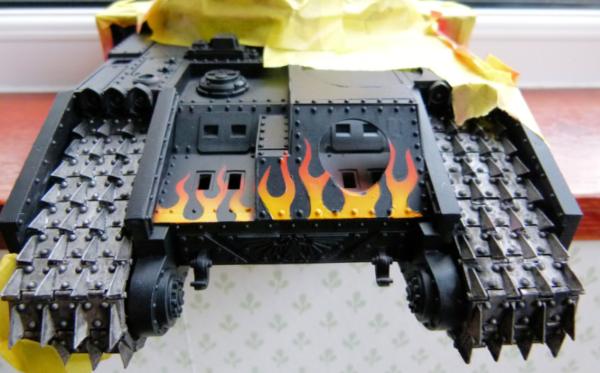
... and the front. I plan on adding a large skull over the large hole left where the demolisher cannon normally goes.
I plan on spraying a coat of Vallejo Gloss Varnish over the flames and the rest of the bodywork tomorrow morning to protect the paint work and to also allow me to start the weathering process.
To do:
1) Use a black oil paint/white spirit wash over the rivets, hinges and joints in the armour that have been painted flames. More white spirit will then be used to clean up any excess black wash.
2) Add some "rain" marks vertically from every rivet.
3) Add some weathering to the bottom parts of the armour, exposed metal etc.
4) Add some mud and dirt to the bottom parts of the armour and tracks.
Lots to do -Updates to follow.
Regards, Phil.
38750
Post by: philmorgan75
I gloss varnished the whole of the Fellblade yesterday, and once dry, I mixed up some Black Oil paint and white spirit and painted this wash around all the rivets and hinges that were within the flames:
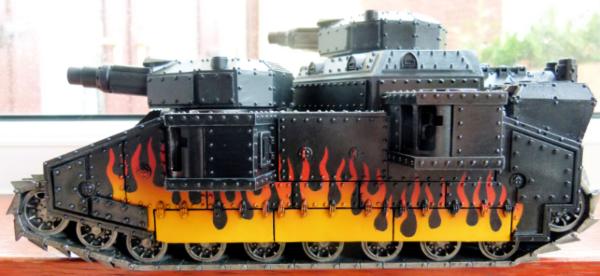
I started to edge paint in Dark Grey but I'm not sure if I'm going to do this. With the weathering I want to do, I don't think it will look natural. What do others think?
You can see the effect after cleaning up the excess wash in the next picture:
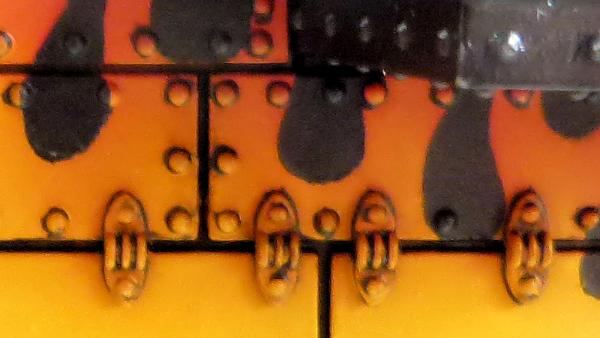
I've got my hands on "The Weathering Magazine" from AK Interactive (Rust, Dust, Chipping and Mud episodes) and really want to have a go on this model. Time will show how good a job I will do.
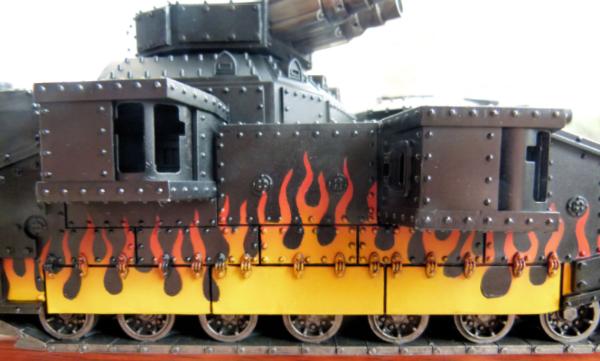
This shows the other side....
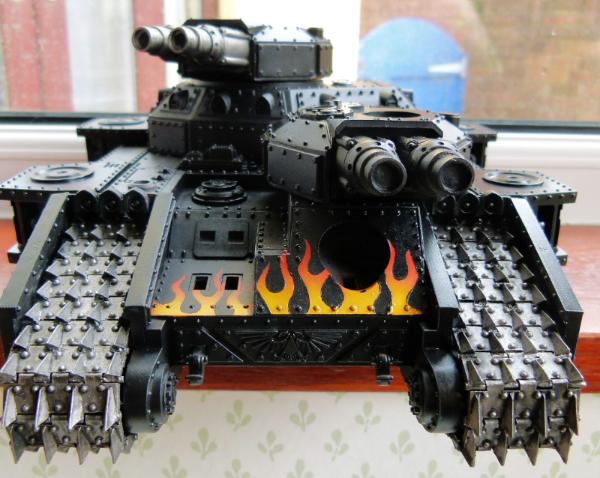
.... and the front.
I'm going to add some small skulls onto the sponson sides and some more airbrushed flames onto the mantle of the battlecannons further down the line.
After the Black Oil wash dries, I'll varnish it again before I move onto the next process. I'll varnish after adding Streaking Grime, Rain effects, Rust effects, Dust effects and Mud.
Updates soon,
Phil.
43921
Post by: ColeFournier
All I have to say is...
My God.
This is some beautiful EVERYTHING.
38750
Post by: philmorgan75
I aim to please!!!!
Update time:
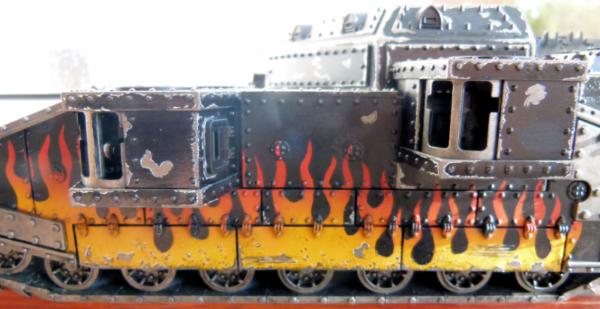
I've concentrated on the left hand side of the fellblade, adding chips and scratches. I've read about and tried to give more of a 3D effect to the scratches by adding a thin cream layer around the scratches/chips. I think it looks quite effective on the flames.
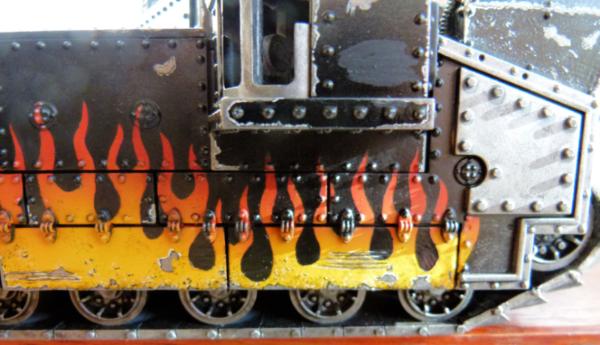
Here's a shot of the rear. I saw in the Weathering Magazine "Chips" edition a JCB with scratches along the rear of the cabin and I wanted to give it a try on this model. I'm quite happy with how this turned out. The different shade of black on the sponson will disappear when I give it a coat of gloss varnish before I move onto the next weathering stage.
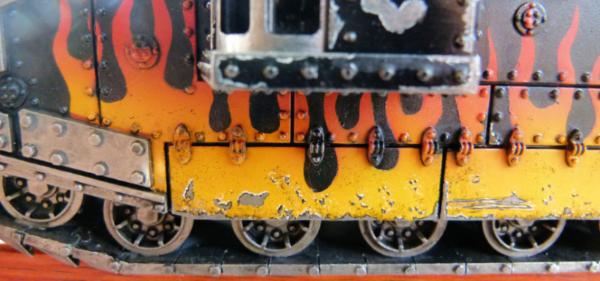
On all of the bare metal sections, I plan on attempting to add some form of rust effects.
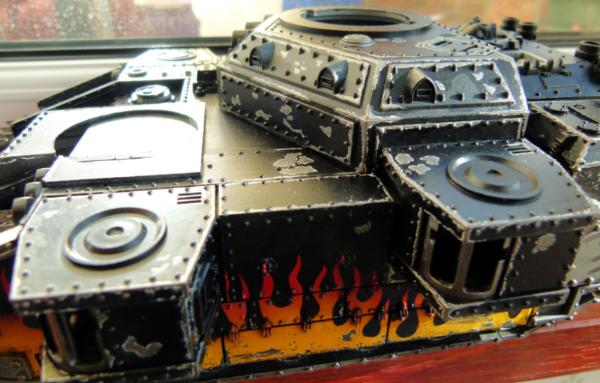
I'm slowly moving my way over the top as well.
To do:
1) Spray Gloss Varnish over whole model after chips have been finished.
2) Use AK Interactive Rain Marks for Nato Vehicles on all rivets. Spray Gloss Varnish over whole model.
3) Add Rust effects to certain rivets and some exposed metal parts. Spray Gloss Varnish over whole model.
4) Add track wash.
5) Use Dust effects on bottom sections of side armour, wheels and tracks.
6) Use dry, dark and wet mud effects and pigments on bottom of side armour, wheels and tracks. Spray Gloss Varnish over whole of model.
7) Spray Matt Varnish over whole of model.
Quite a few weathering steps to do!!!
Updates to follow.
Regards, Phil.
38750
Post by: philmorgan75
Monthly update time:
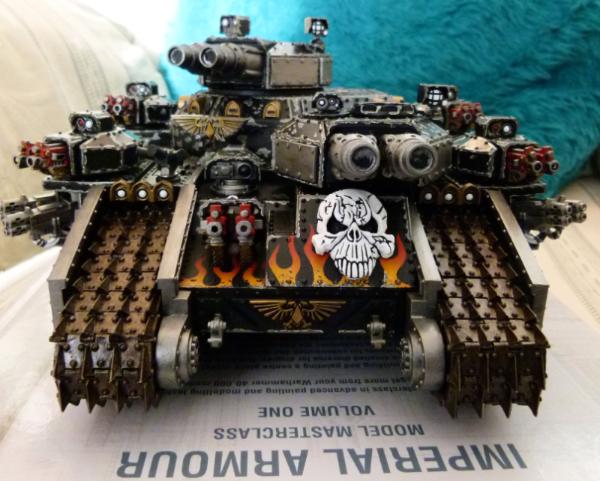
I've blocked in the main colours and "chipped" the hull and turrets. This beast is taking ages to paint!!
I need to lay down another coat of gloss varnish before I start adding a black oil wash over most of the tank. I'll use some white spirit to clean up and smooth out the wash.
I've got FW's Imperial Armour Masterclass Part 1 - A very good read with brilliant models. I hope my fellblade will turnout as good as one of theirs!
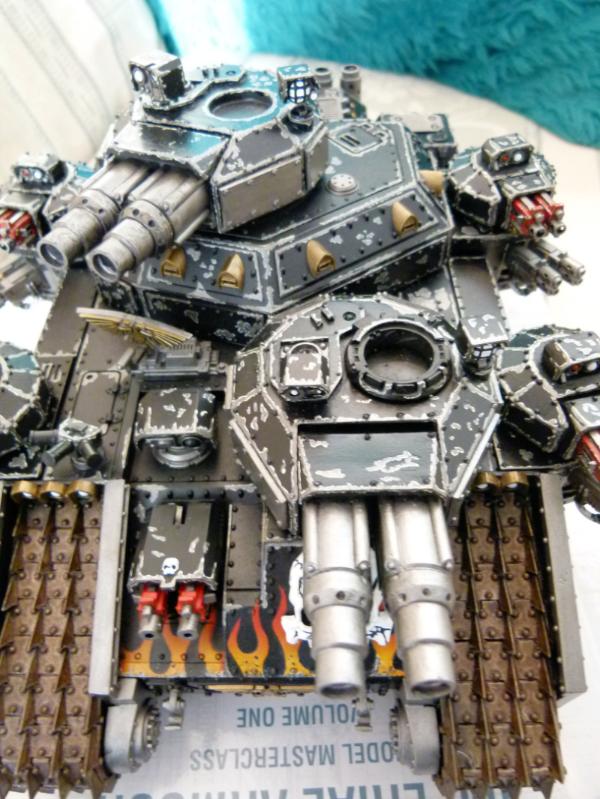
This shows the front from the top. The turret hatches are being painted separately and it can be either modelled open or closed. I've just got Chronus from ebay and think he will look cool looking out of the top turret!
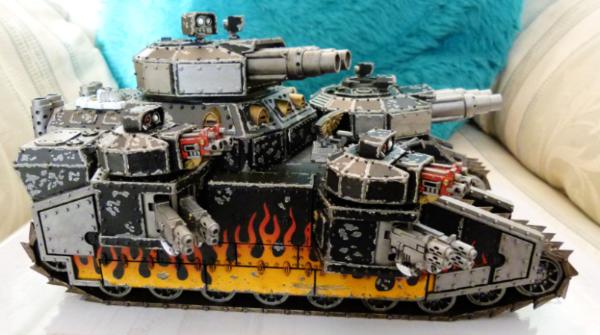
This side shot shows the progress on the sponsons and weapons. The heavy bolters have been "chipped" and with the mutli meltas, need a gloss varnish before I weather with a black oil wash.
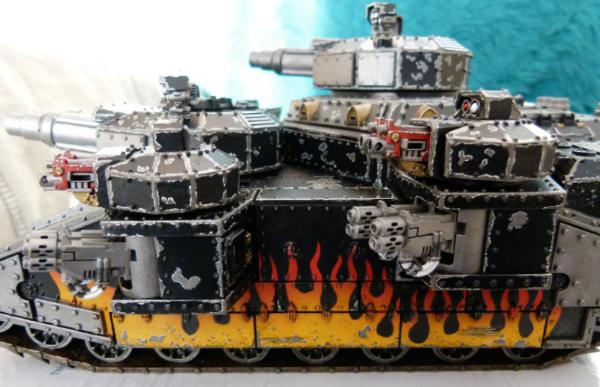
This shot shows I still have to paint the power cables on the multi meltas (something I'll do after the oil wash has been finished).
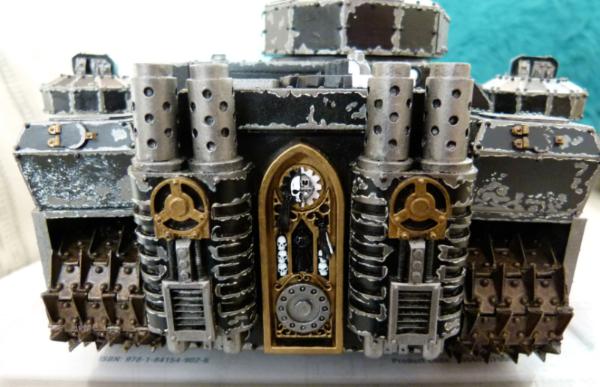
A shot of the engines and exhausts before I "rust" them up a bit!!!!!
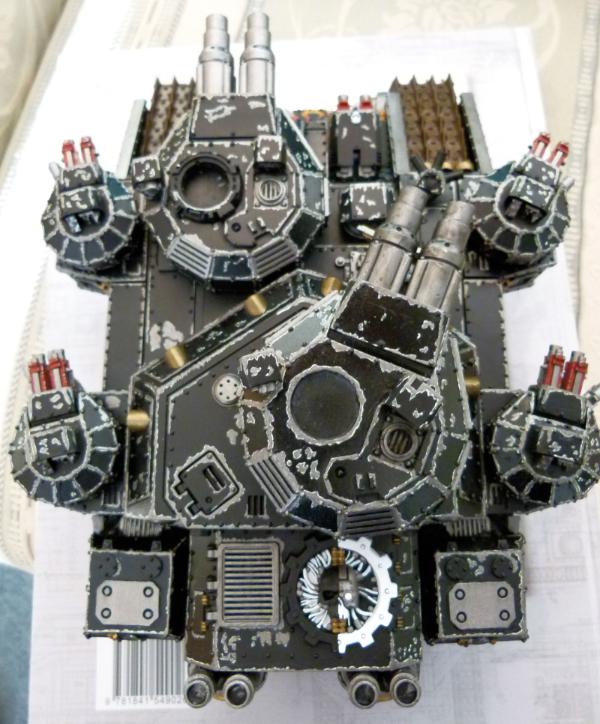
Finally, a shot from above. The Adeptus Mechanicus logo is still a WIP.
I hope to gloss varnish the beast this week and start the washes this weekend. More shots to follow (hopefully) soon.
Regards, Phil.
38750
Post by: philmorgan75
Another month has come and gone. Here's what I've been up to:
Fellblade
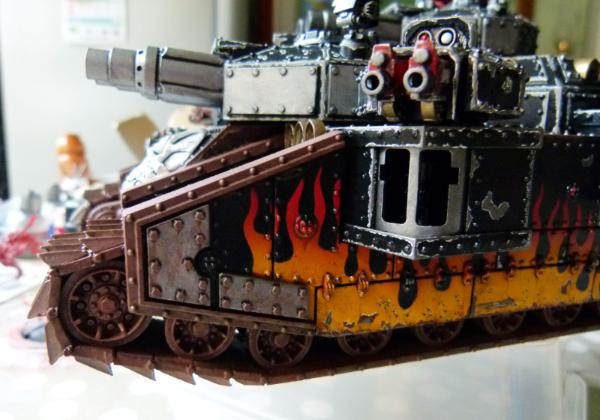
I've started to sponge some rust streaks from AK Interactive and rust pigment over the tracks, wheels and exposed metal. I'm not 100% sure I'm happy with the effect and may sponge some more gun metal back over the rust to make it less "brown"!!
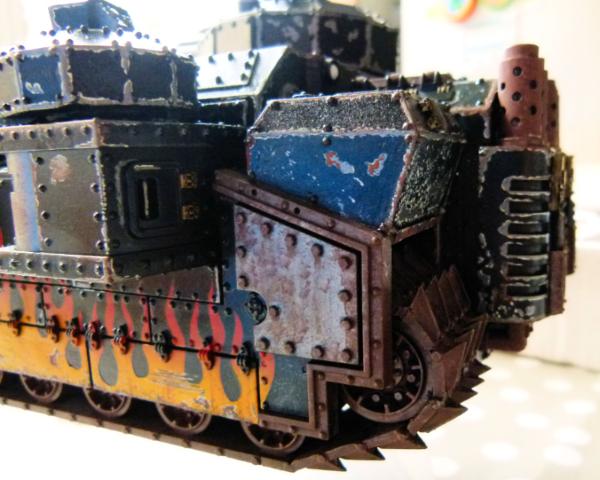
Here's the rear left quadrant. Again, I'll sponge some more gun metal onto the rusted areas and I still need to add dust and mud effects.
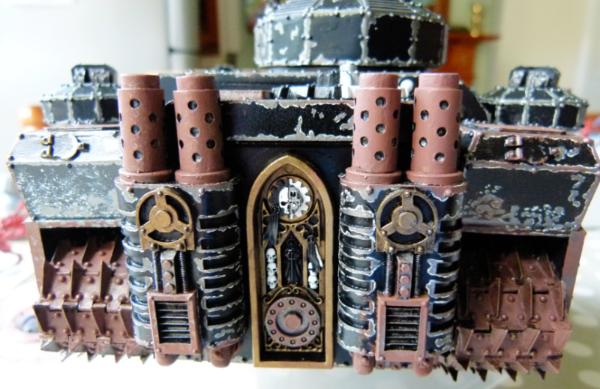
I need to spray some black soot to the top of the exhaust stacks to finish off those.
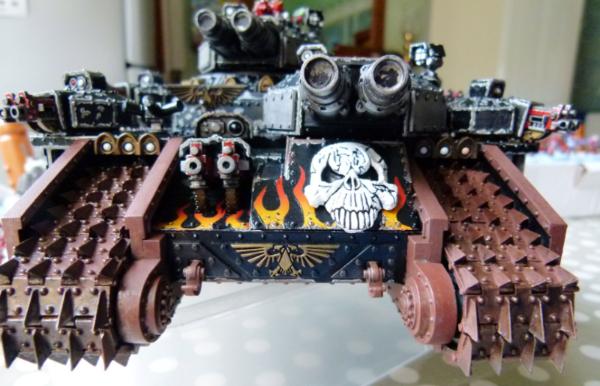
Compulsory front shot. Again, gun metal to be added. I need to remember to paint the inside of the gun barrels black.
Space Hulk
I've lost my drive to finish off this project. My 7 year old and 5 year old sons have started to get interested into 40k now and we have played a couple of games of Space Hulk together. As a result, I started to paint a number of Genestealers.......
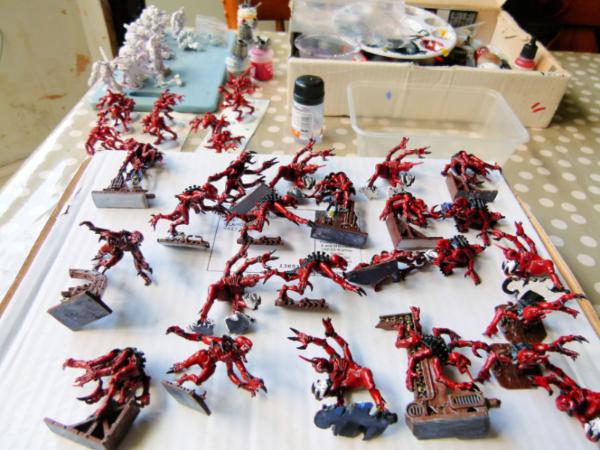
Here's a group shot of what I have completed so far. I've gone for a fairly simple (but effective) paint job of Fire Red and Black. After painting a few coats of Vallejo Model Air Fire Red, I used matt varnish to protect them. I then made a mix of black oil paint and odourless thinner to darken all of the recesses. The claws and ribbed areas were then painted black. Their teeth were painted white and all of the "metal" areas were aged with rust paint and pigment being sponged and painted on. Lots of matt varnish was used to try and stop the paint from coming off in the hands of my boys!!!!!!!!!
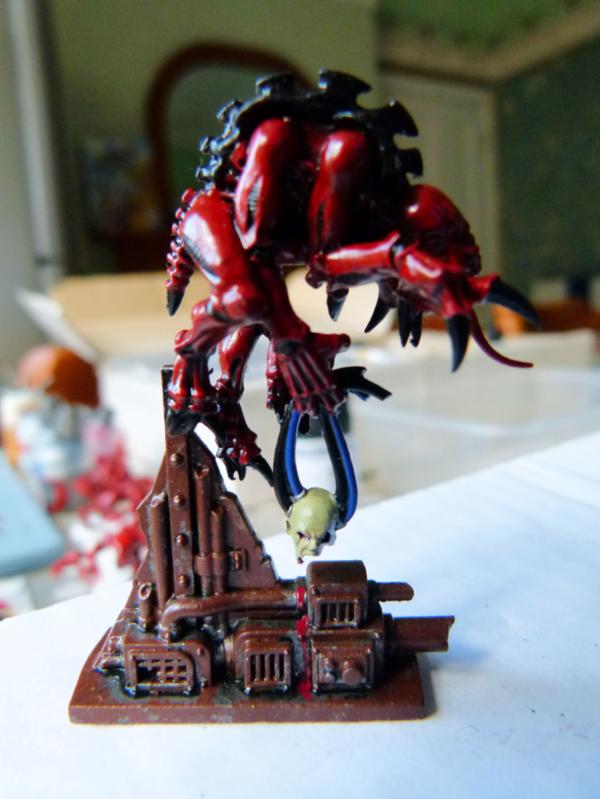
I think the models are brilliant to paint and are brilliantly sculpted. Lots of character has been put into every model. I have quickly realised though that only the running ones can be used in the Space Hulk game as some are too unwieldy to use.
I enjoyed painting the freshly ripped off head!!
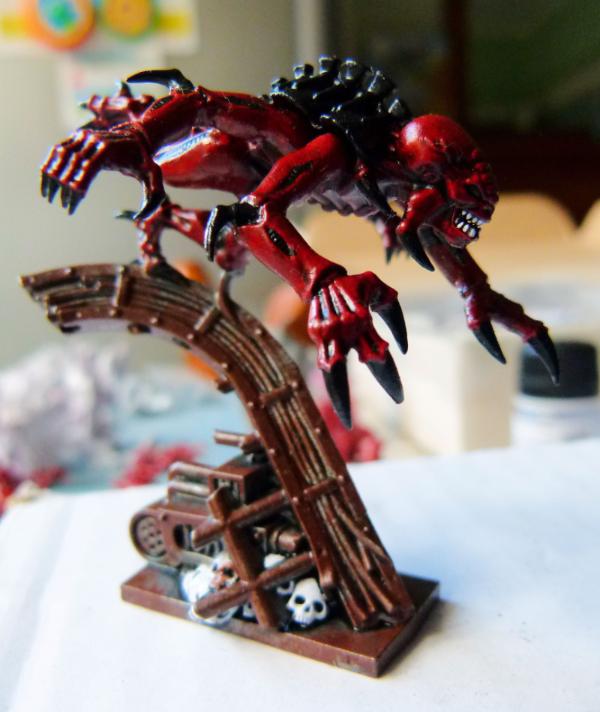
This is a cool model! Just a pain in the bum to keep upright when playing!
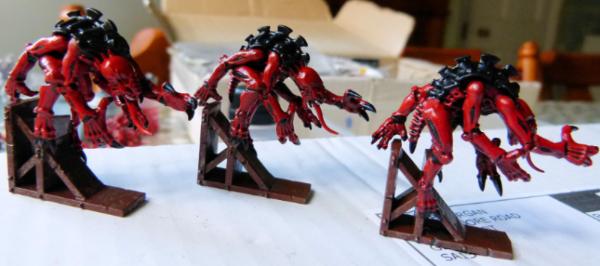
Here are 3 of the same pose. Very Praying Mantis like!
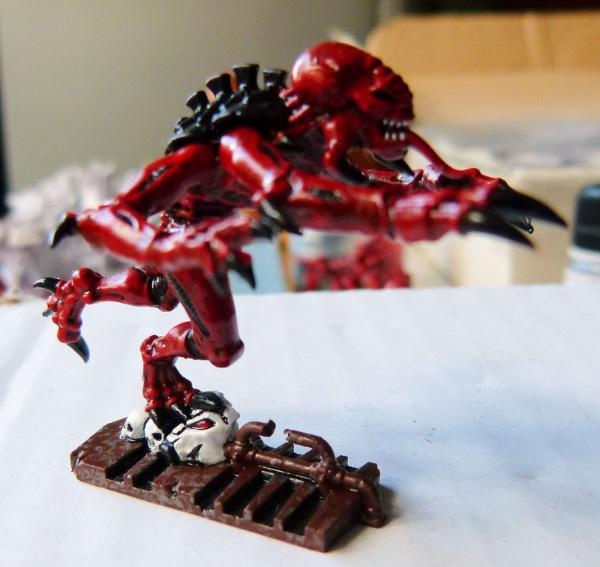
I thought the base on this one was cool. The half exposed head in the helmet is class!
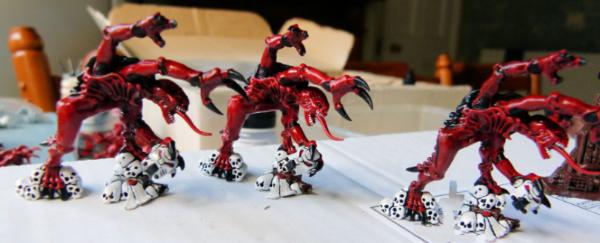
I had great fun painting these! The piles of skulls are really gothic like!!
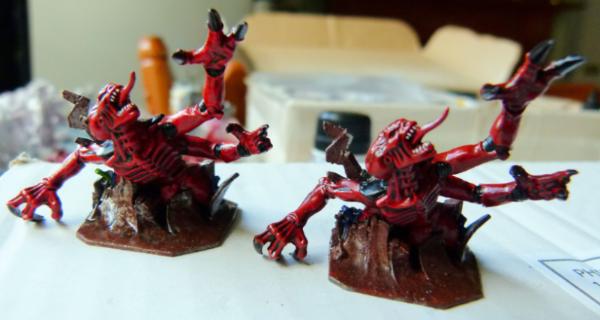
HUDSON!!!!!!!!!!!!!!!!!!!!!!!!!!!!!!!!!
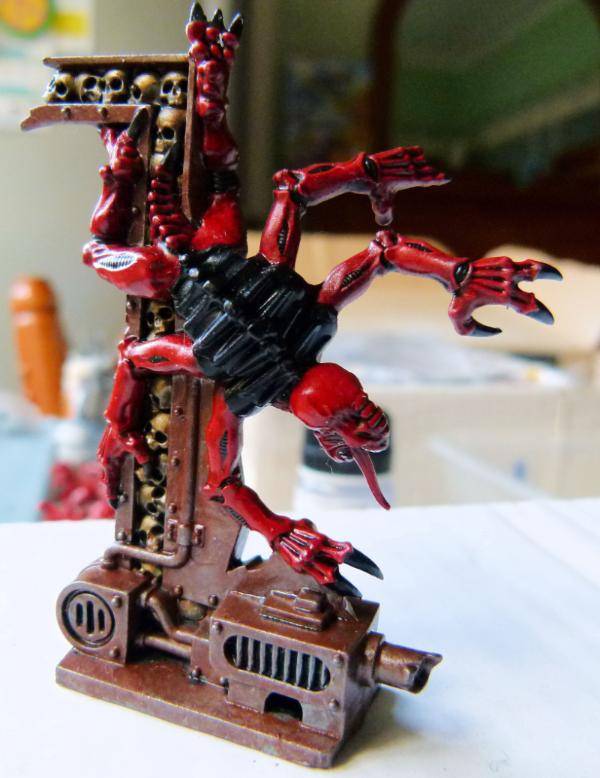
I think is possibly the best sculpt. This pose really depicts what a genestealer is all about.
To have a few more running Genestealers, I've started to paint up some Space Hulk Mk 1 Genestealers I had from 20 years ago when the first version of Space Hulk originally came out. Rather than have all the same static pose, I chopped each arm off and super glued them back on in different poses. These have just been black oil washed and oce dry, some matt varnish will be used to protect them.
The undercoated Space Hulk Terminators can be seen in the background, as well as some metallic bits for my next Dark Talon (the multi melta version).
Dark Vengeance
I plan on giving the boys my unopened copy of the Limited Edition Dark Vengeance for Christmas. To get a head start on the painting of all the models, I have been picking up some of the models on ebay and plan on letting them be used. Here's what I've done so far:

I've finished 28 so far and will add some more over the next couple of weeks.
My youngest son wanted to see snow covered bases, so my back story is these chaos cultists come from an ice world (hence their blue skin).
I tried to make sure the models that came with the kits with the same poses were converted (head and weapon swops) to give different looks. Rust effects were added to all exposed metal bits as well.
A House Cawdor from Necromunda was used from ebay.....
.... as well as a Redemptionist from Necromunda and "Mad Larkin" from Gaunts Ghosts.....
... and a zealot.....
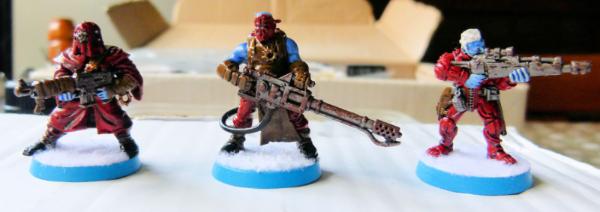
....a Van Saar.....
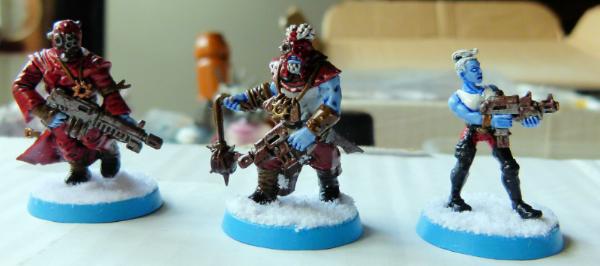
..... Clan Escher...
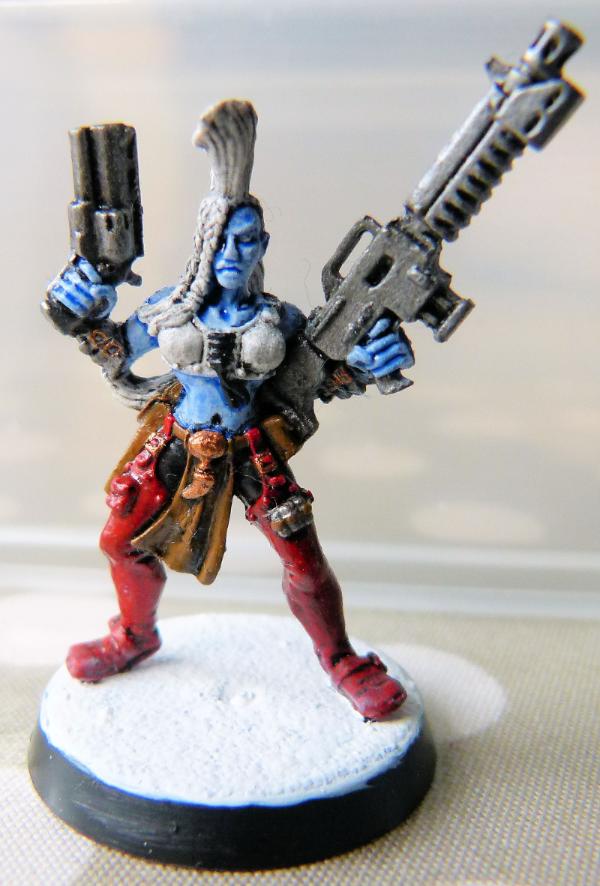
and finally, a WIP Escher warrior.
Storm Raven
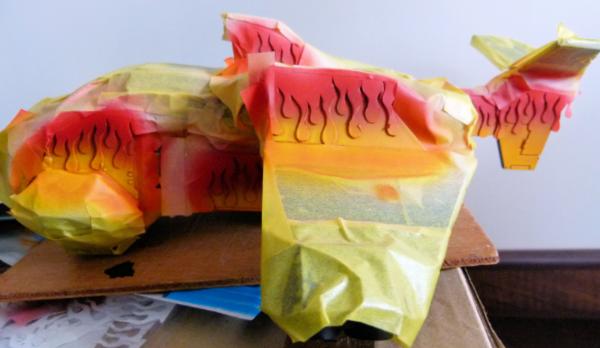
I masked out some flames using Tamiya masking tape, plasticard templates and blu- tac and then used the airbrush to get to this stage.
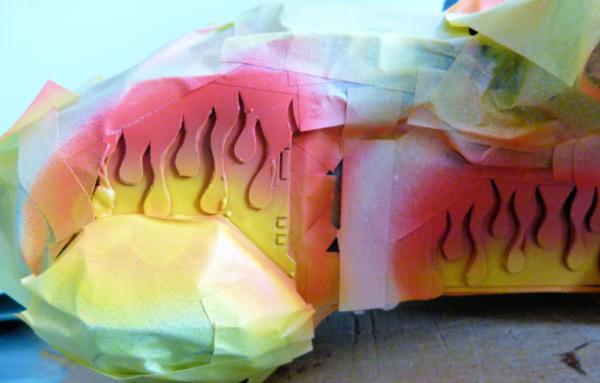
Here's a close up of the flames. I have to admit that I was a bit careless and didn't mask the other side and as a result, there is quite a bit of over spray. So I'll need to give the other side a quick coat of black before I mask off that side and spray some more flames.
PS to myself - remember to cover the flames I've already done to stop over spray from wrecking them!!!
And finally..
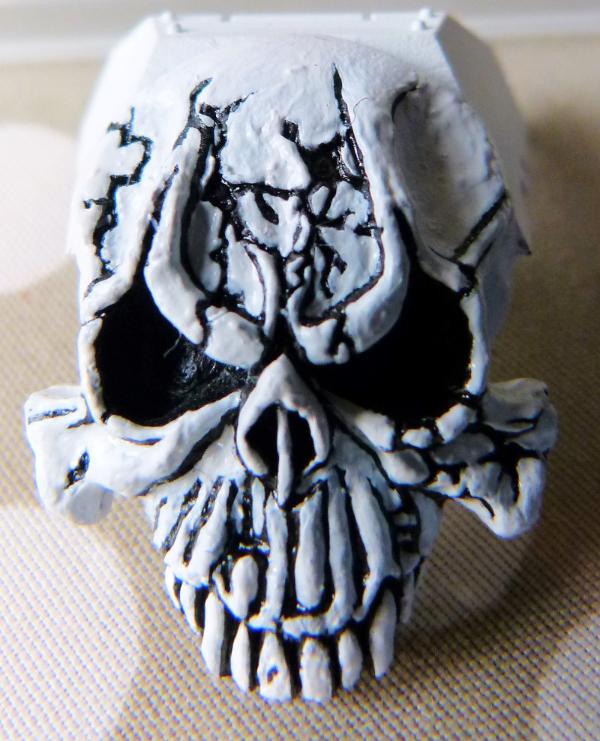
Here's what I've decided to use on the front of my Multi Melta Dark Talon.
Too many projects, not enough time!
I hope you like! Any comments would be appreciated.
Regards, Phil
38750
Post by: philmorgan75
Apologies for the delay in posting any updates. I haven't been slacking - honest!!!
Storm Talon/Dark Talon:
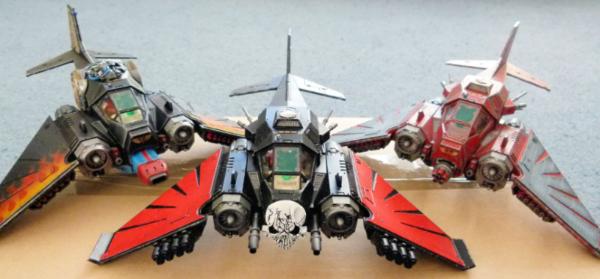
Finally finished my Dark Talon Squad. Each of them are armed for specific roles on the battlefield/in the air. I had fun painting these in different colour schemes and testing out different paint effects.
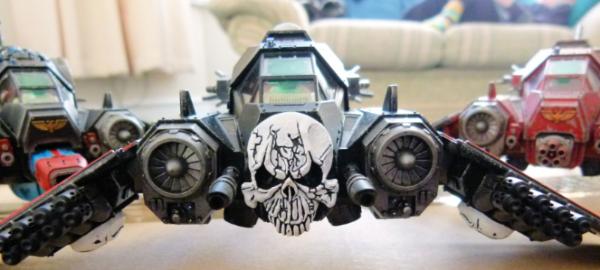
Here's the business end of my tank destroyer!!! 8 Multi Meltas and Twin Las Cannons. As my Legion likes flames and skulls, I thought I'd add one to the front.
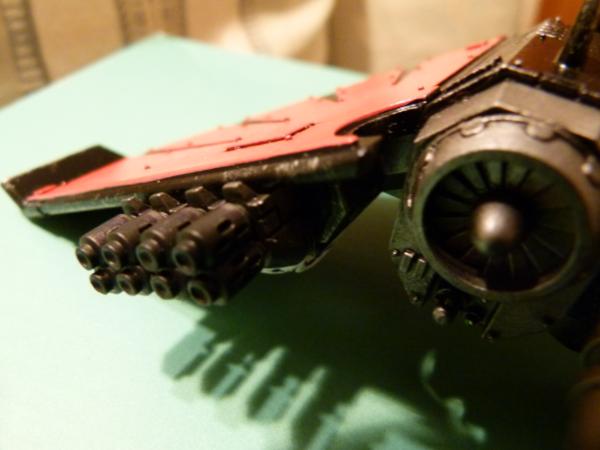
After adding a purple and then a blue wash (to imitate metal surfaces exposed to heat), I used an airbrush and sprayed some black on the end of the multi melta barrels to give a burnt look.
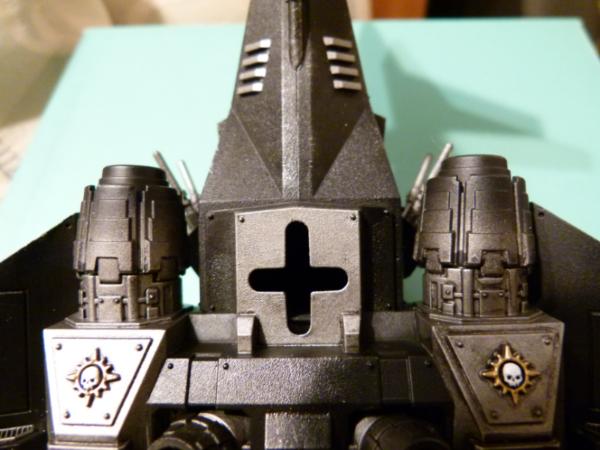
I also used the airbrush again and sprayed some black on the end of the exhaust to give a burnt look.
I have enough parts to make a complete Storm Talon and 80% of another Dark Talon. I'll put these on the back burner whilst I try and start/finish the plethora of other projects I wish to do.
Extended Storm Raven No.2
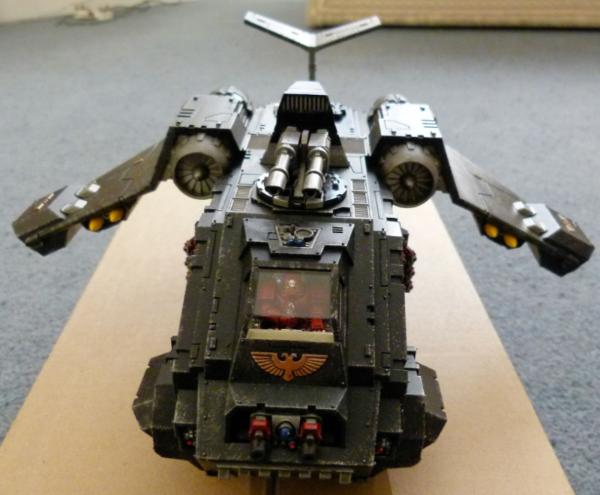
I didn't go for heavily weathered look on this one - just a light sponging of gun metal on leading edges. I spent a bit of time filing the inner edge of a Razorback/Land Raider Turret to ensure it would fit in the top Storm Raven turret hole. I think this looks far better than the servitor one that comes with the kit.
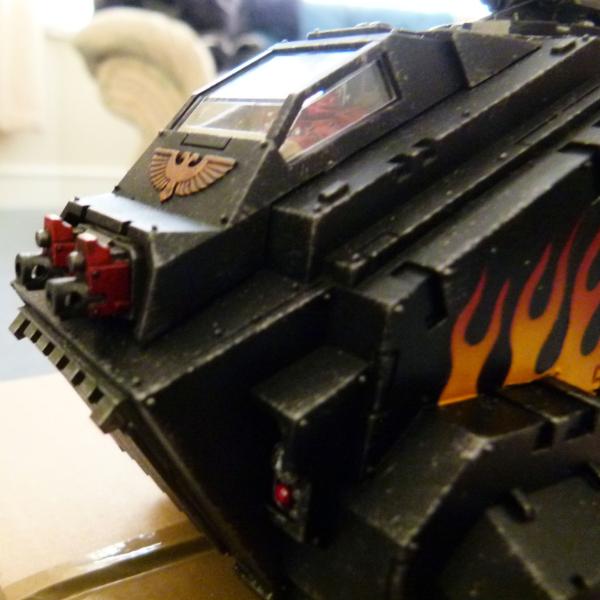
The Heavy Bolters are not glued, so can be swopped for Multi Meltas or missiles depending on the enemy/mission. I airbrushed some black to the end of the barrels to show some carbon scorching.
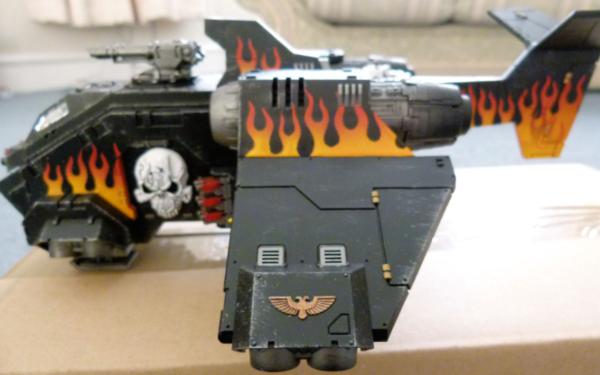
This shows the completed left hand side. I deliberately chose to paint the flames differently on each of the Storm Ravens.
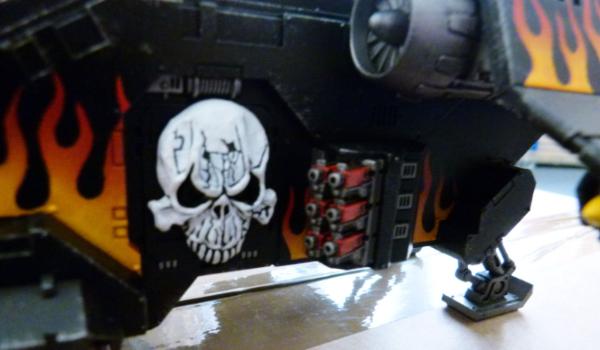
This is a close up of the Side hatch and the Hurricane Bolter sponson. As previously discussed, I think placing the Hurricane Bolters in the side doorways seems a bit silly from a practical leaving the aircraft asap, so I did some cutting and filing and then moved them back an inch. A skull was then added to the door to tie in with the paint scheme of my Legion.
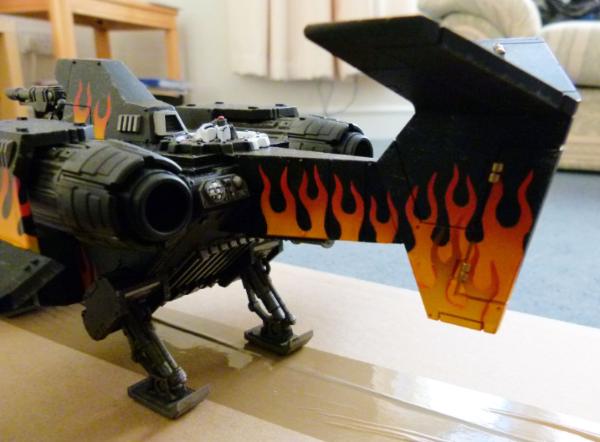
The tail has some compulsory flames. The exhausts also have some carbon scorching added.
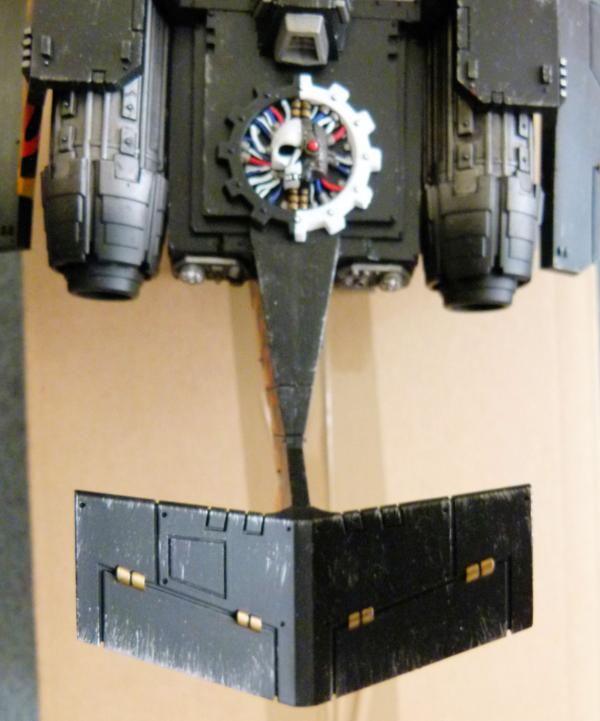
The Adeptus Mechanicus logo has been added to show my Legion's close ties with the men from Mars.
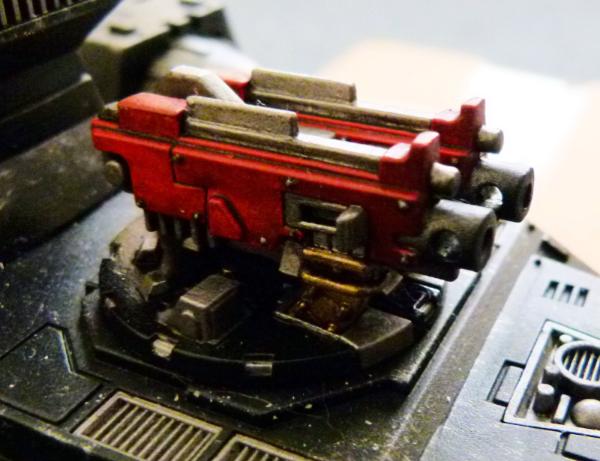
As I magnetised the turret, I can swop the Lascannon to a Twin Heavy Bolter or ....................
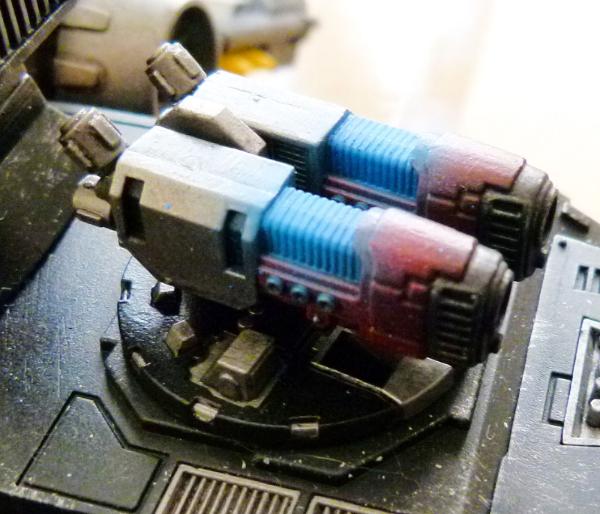
..... a Twin Plasma Cannon. I airbrushed the "plasma" glow. The Twin Assault Cannon can be seen on my first Storm Raven.
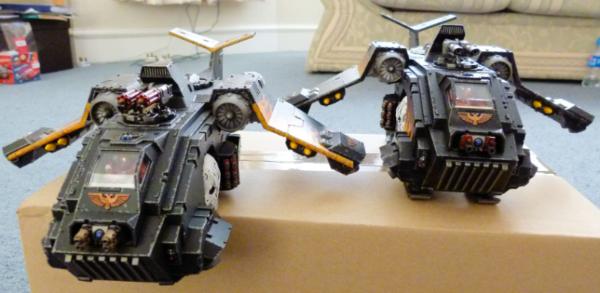
Here's my Storm Raven Squadron so far ...... (I've got another one to build in the future).
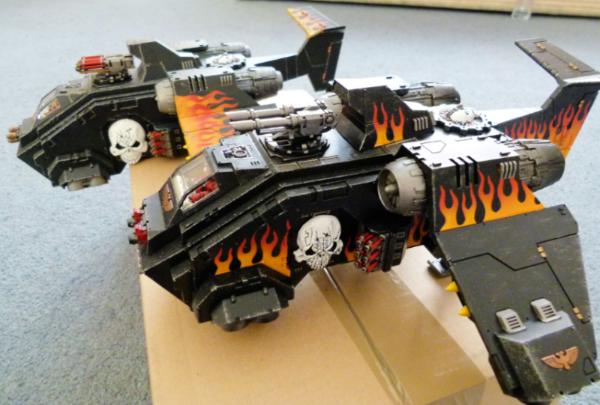
This shows their left sides.......
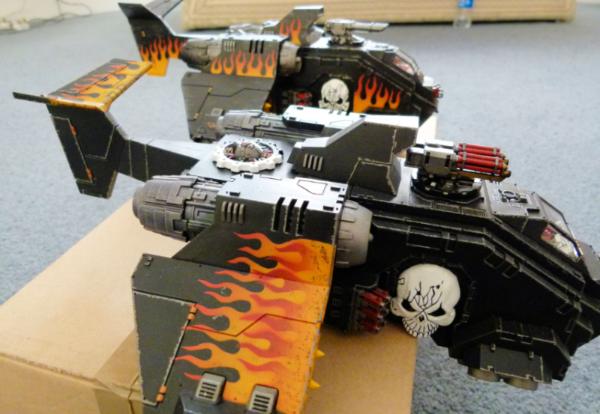
.... and their right.
I thought I'd try another form of Space Marine delivery.....
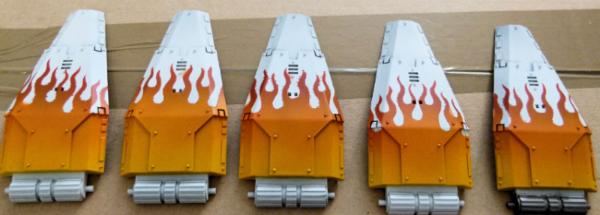
... My first drop pod. I tried a different way of masking on these doors (I cut the flames out of the masking tape and then attached it to the door). I'm not 100% happy with final version BUT it was so quicker than cutting a template out of plastic and using lots of blu- tac to ensure no bleed from the template. This and my second fellblade are currently on the painting table to be completed. More to follow.......
--------------------------------------------------------------------------------------------------------------------------------------------------------------------------------------------------------------------------------------------------------
Fellblades
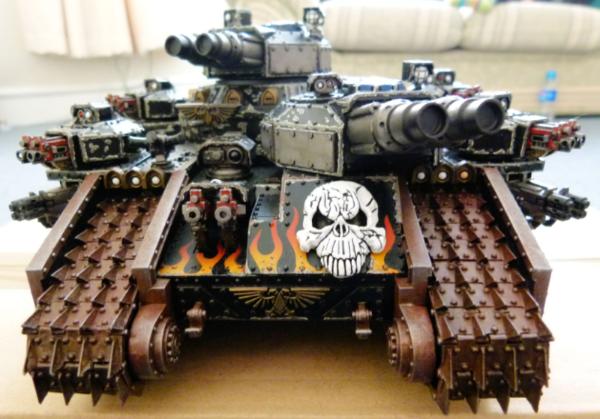
I decided enough was enough on this Glaive and put my paint brush down. This shot shows the "normal" weapon payload. But .......
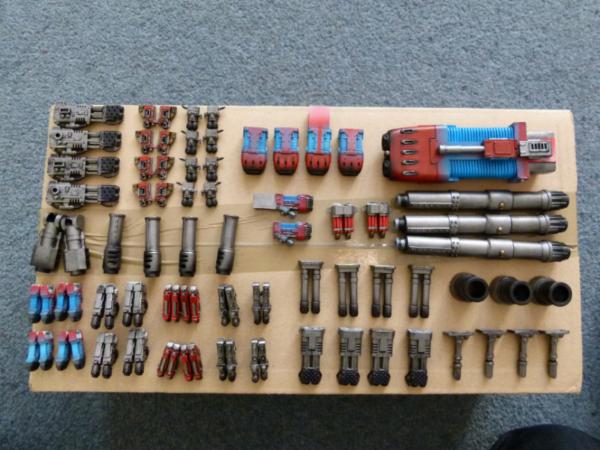
..... these are the alternatives I've painted for this and my second fellblade that I've recently started to base coat paint.
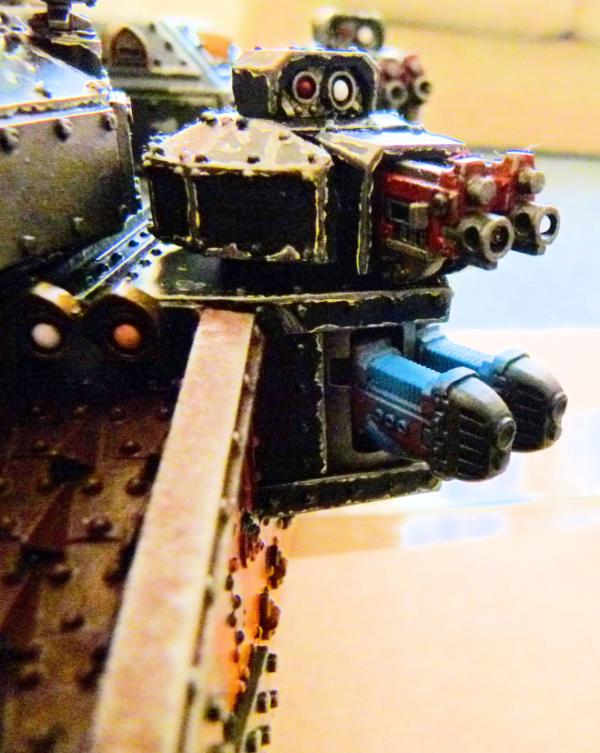
This shows the sponsons loaded with plasma cannons and the turret with heavy bolter.
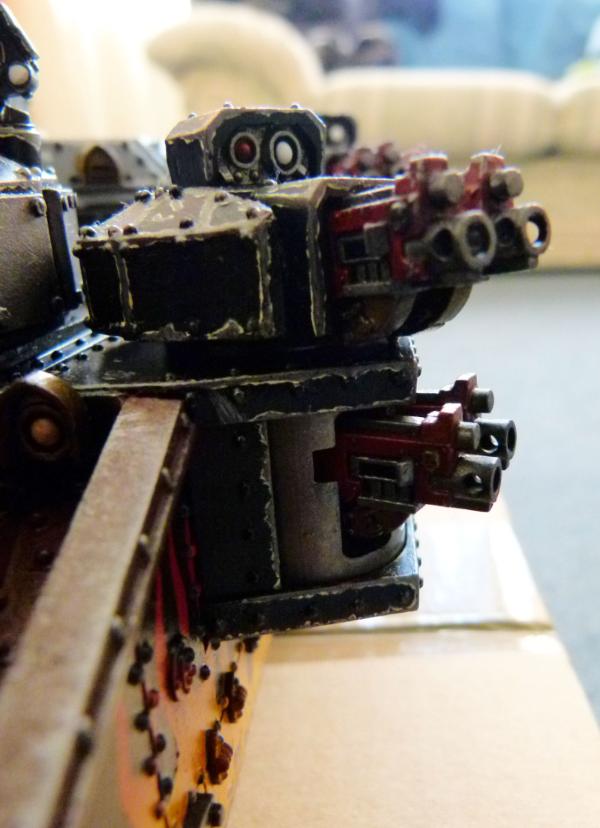
This shows the sponsons and turret loaded with heavy bolters.
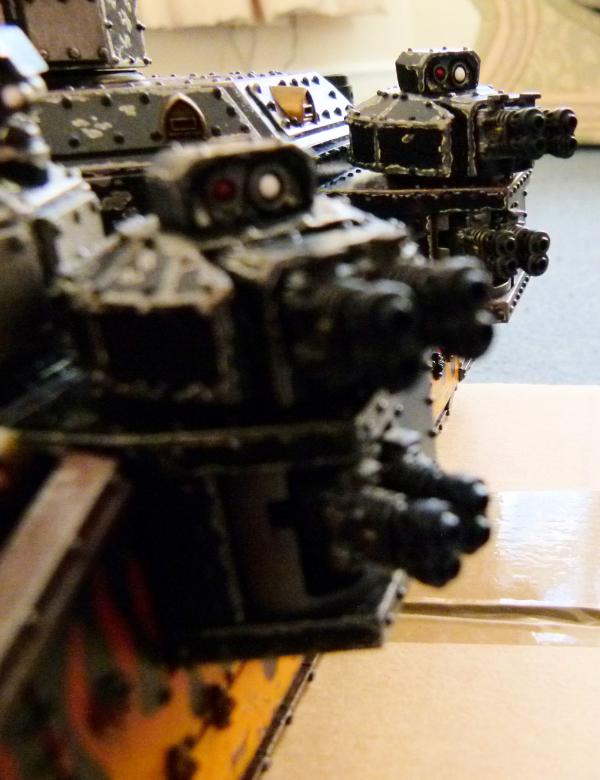
This shows the sponsons and turrets loaded with heavy flamers.
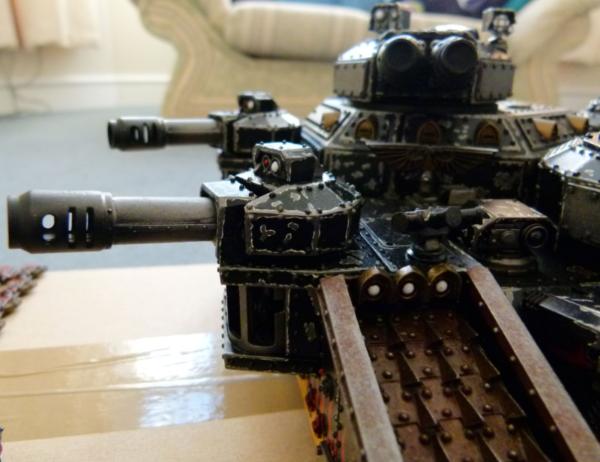
Turrets loaded with battle cannon.
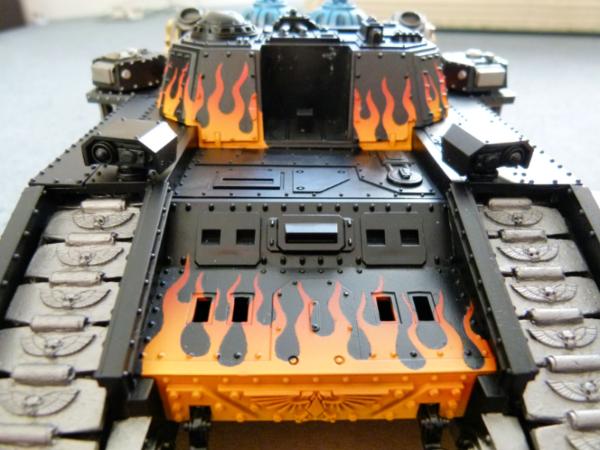
I've started my second fellblade/shadowsword/etc.....
There are still a lot of processes to be finished on this one. Since taking these photo's, I've black oil washed all the rivets and added a wash to the tracks. I am writing this blog as I await the matt varnish coat to dry before I can move onto the next process.
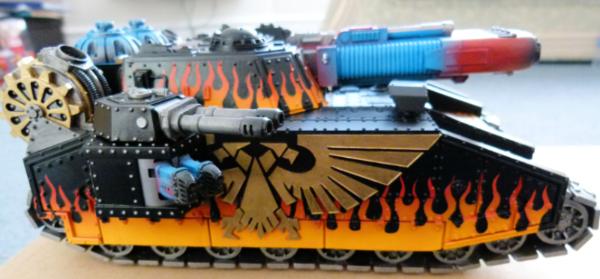
This shows the right hand side with just the base coats of paint (apart from the weapons that are finished). I loved painting the titan plasma cannon!
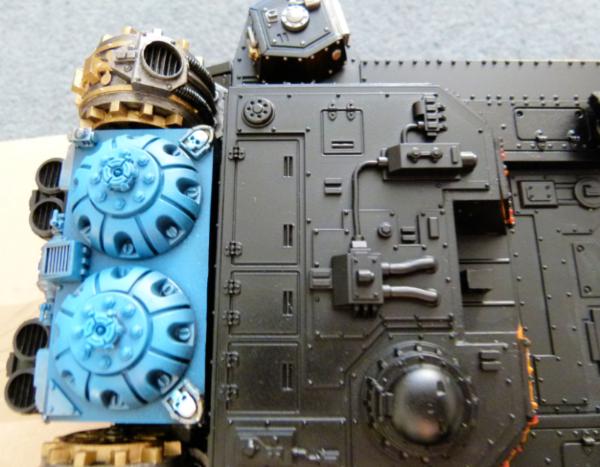
This shows the plasma reactors in a finished state. I used the airbrush to (hopefully) give a plasma glow.
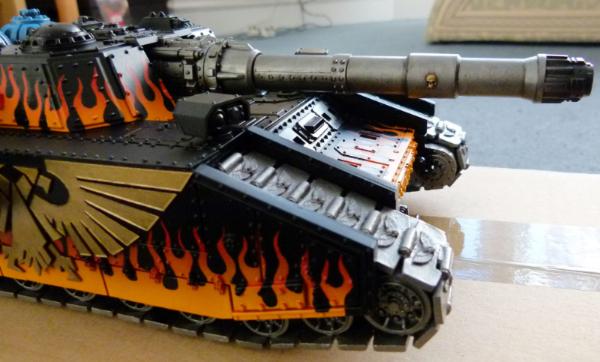
As everything is magnetised, I can make the fellblade into a Shadowsword or ......
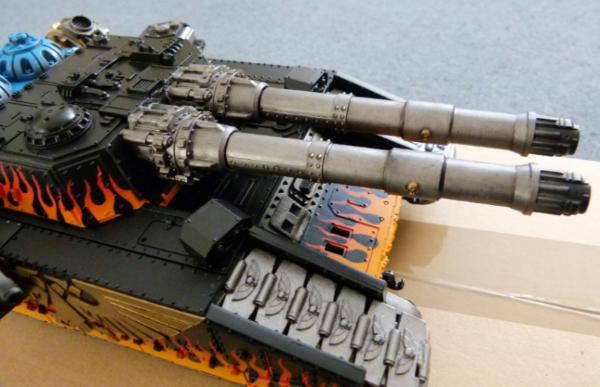
.....Twin Shadowsword .....
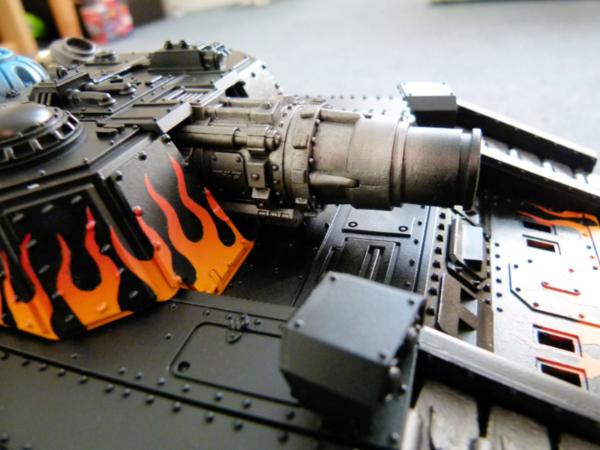
...Stormsword........
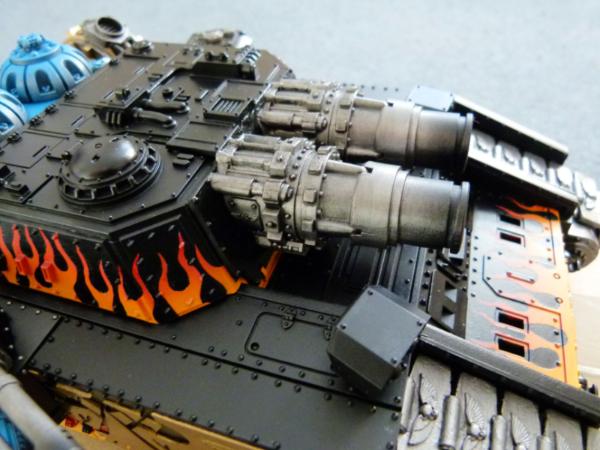
....Twin Stormsword.....
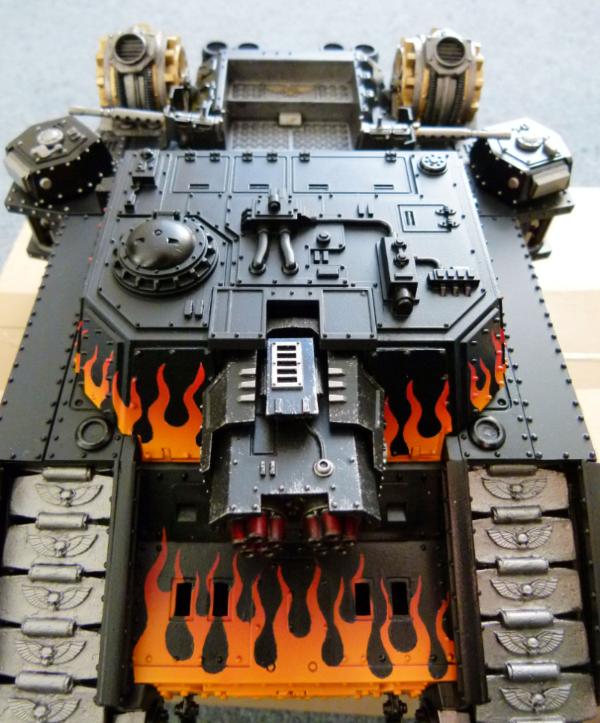
..... and Storm Lord.
I'm off for the next 9 days over the Christmas period, so I hope to get as many of my projects finished.
Here's a sneak peak of another project I've just started....
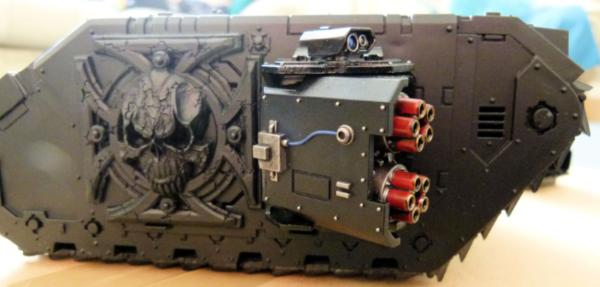
An Assault Land Raider!! The Vulcan Mega Bolter sponson's are finished - just the rest to finish now!!!
Comments/critiques welcome as always.
Regards, Phil.
57811
Post by: Jehan-reznor
Awesome stuff! great job
79719
Post by: Krucho1986
Needs more guns imo
38750
Post by: philmorgan75
99.99% Completed my Storm Blade/Sword etc.
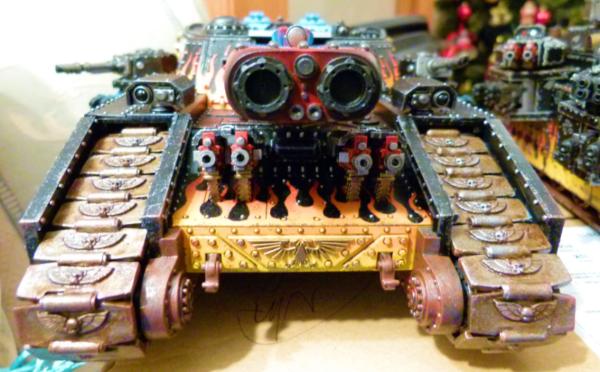
I refrained from weathering this fellblade as much as my first. I only added a small amount of rust to the front and tracks and used the sponging technique to add the exposed metal areas around the edges. The only thing I need to do to complete this behemoth is to airbrush some VMA black over the front of the Twin Twin Heavy Bolters to give them some Carbon weathering.
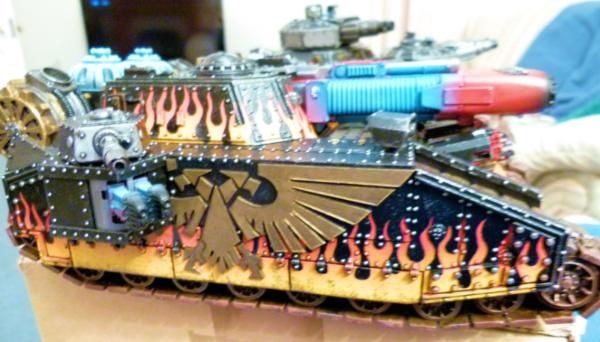
This shows the right hand side, with Lascannon turret and Twin Heavy Plasma Gun Sponsons. Boy, did I have fun painting those rivets!!!!!!!
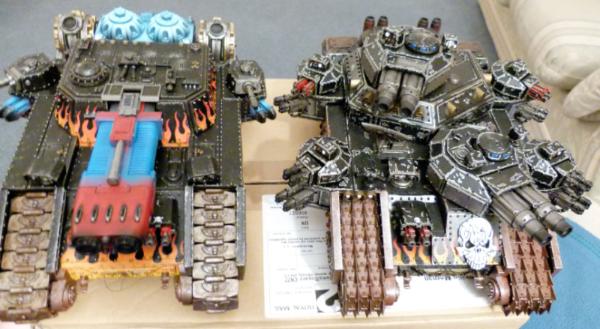
Here's a shot of my 2 fellblades together. I've had a lot of fun painting these. I've managed to practise a lot of painting and weathering techniques on these and will continue to learn with each model I work on.
I can now box these boys up and finally take them out of my living room (my wife will be happy LOL!!). I have enough Baneblade bits to make another fellblade in the future, but I need to slowly buy parts from Machinator over the next couple of months. In the meantime, I'm going to start painting some of my many Land Raider Variants.
Assault Land Raider
The construction of this back to front (WW1 style) Assault Land Raider was completed a number of years ago - I just never got round to painting it. I want to paint larger flames than I have been currently doing on my fellblades, so after cutting out some templates out of Tamiya masking tape, I spent a lot of time adding them over the top and the sides, ensuring the flames flowed over the sponson weapons as well .
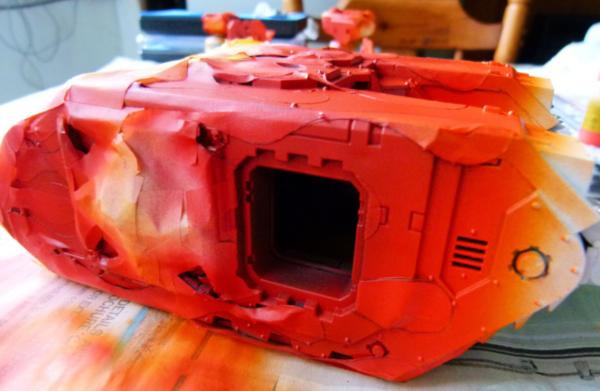
This shot was taken after some VMA Fire Red was airbrushed over the top parts of the flames and then some VMA Orange over the middle parts of the flames. Only some VMA Yellow needed to be added at the bottom of the flames to complete the effect.
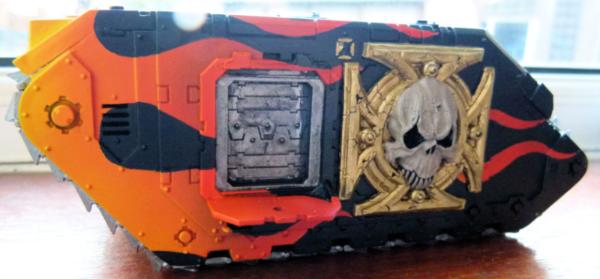
This shows the flames on the left hand side of the LR after the template was removed (and a bit of VMA black painted with a brush to remove any over spray). Before I started adding any weathering washes, I blocked in the basecoat colours on the Crux Terminator logo and the other parts of the LR not covered in flames.
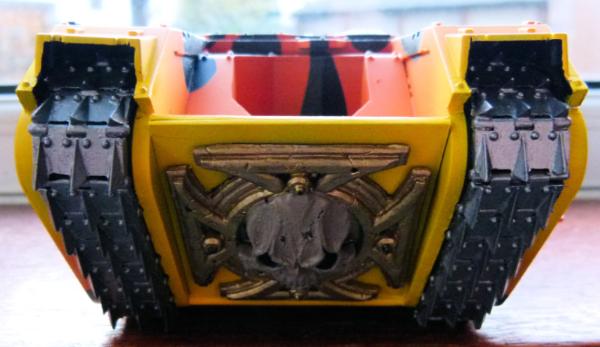
This shows the base coated front view. It looks a bit yellow at this point, but with a bit of weathering, this will tone down.
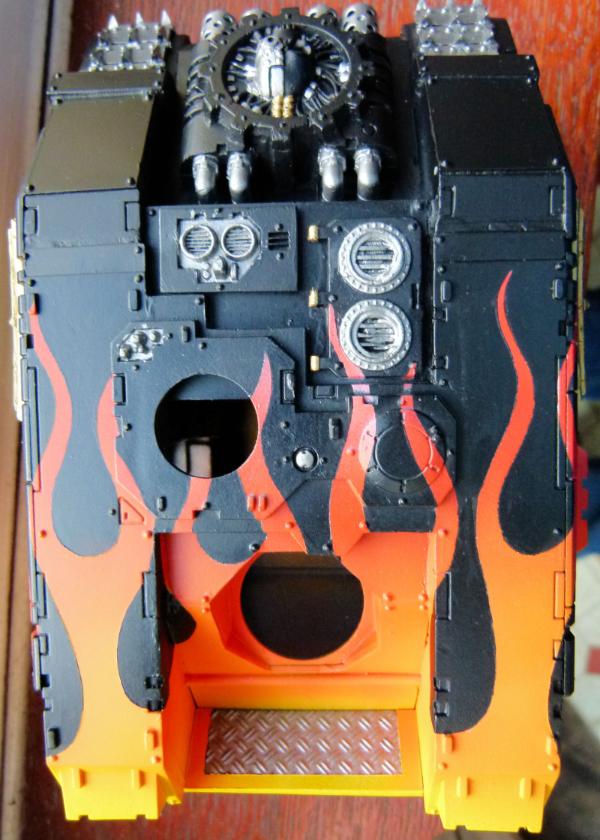
This shows the plan view. I think the flames look great flowing over the LR in this shot. In an ideal world, I would do another set of flames closer to the front to give a more realistic look, but with the inevitable over spray from the airbrush, I thought best not too.
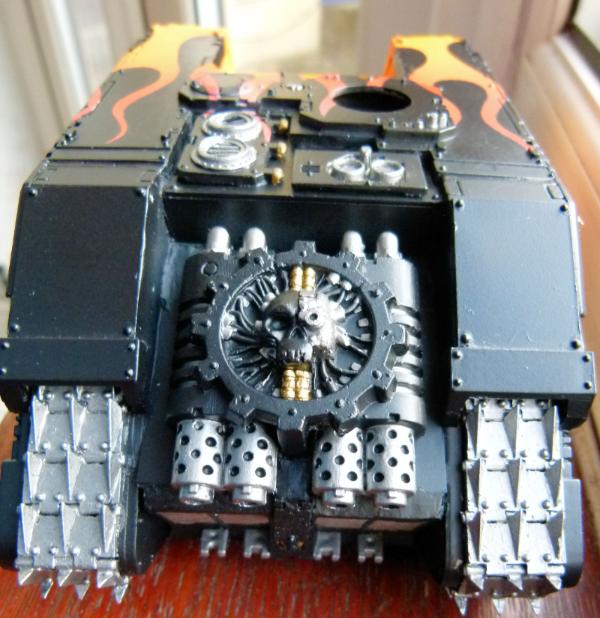
The rear of the LR. I want to add some purple and blue wash to the exhaust stacks (to show heat on metal), followed by some rust and then an airbrush on VMA Black to give the effect of Carbon on the end of the exhausts.
Before adding a black oil wash over the rivets and Crux Terminator logo, I gave the whole LR a coat of Matt Varnish through the airbrush to assist the next stage in the painting process. After the black oil wash was added and another track wash from AK Interactive, I cleaned the excess oil with some white spirit. This wash was allowed this to dry and then I gave it another coat of matt varnish to protect the paint work. Then I moved onto the weathering................
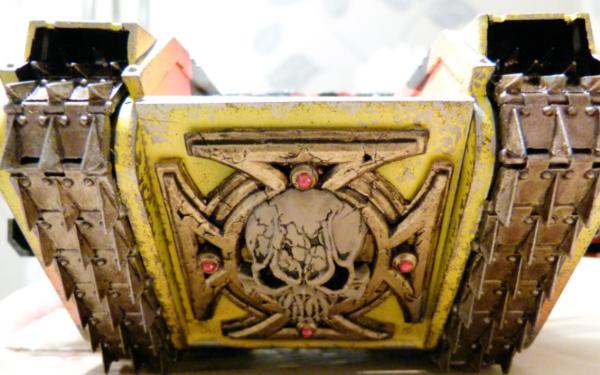
This shows the front view after VMA Black and Army Painter Gun Metal was sponged along the edges. I highlighted the skull on the Crux logo and added some red to the "jewels". I just need to add a small amount of rust to finish this view.
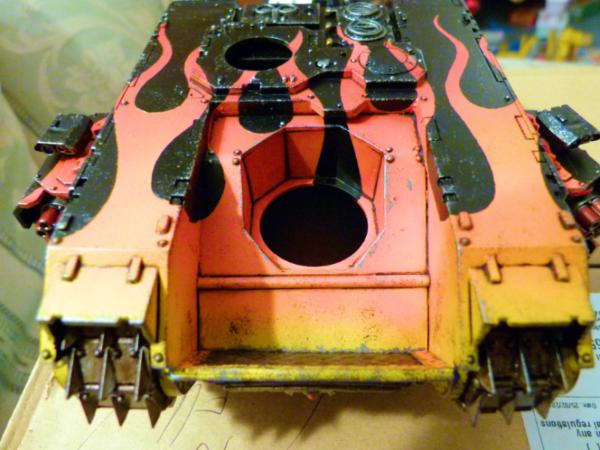
This gives a slightly higher front view. I'm awaiting parts for the weapon mount before I can finish the construction and painting of this view. The cupola and hatch will have the flame painted to ensure it matches the rest of the painted flames.
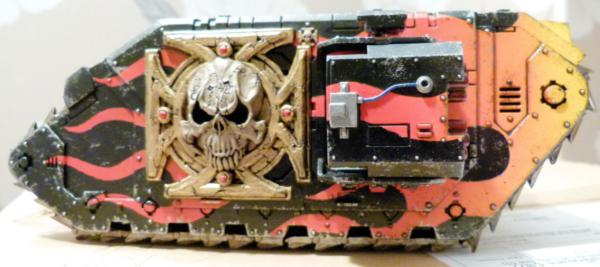
This shows the right hand side after weathering. I tried to match the flames across the sponson weapon
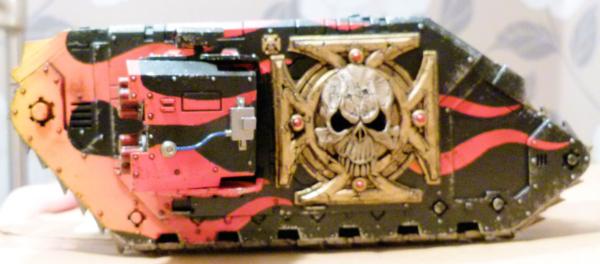
... and this shows the left hand side.
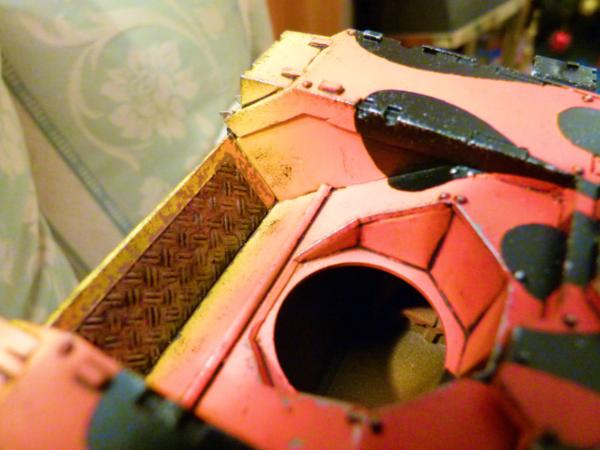
You can see the front assault ramp in this shot. I just need to sponge a small amount of rust over the exposed metal tread to finish this view.
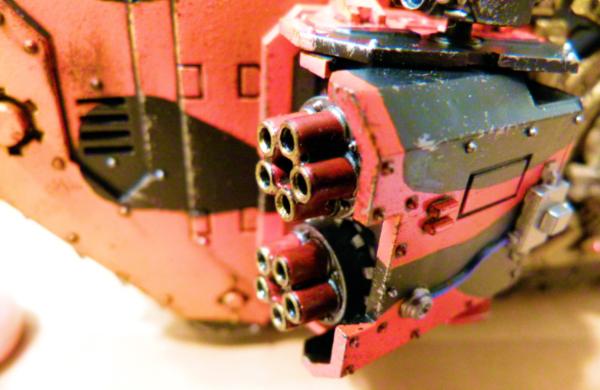
A close up of the Vulcan Mega Bolter Sponson after it was weathered.
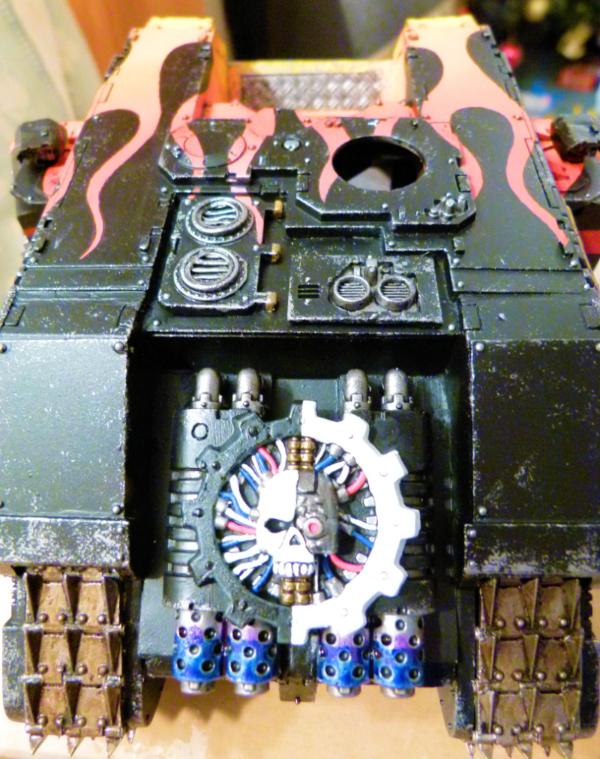
The completed Adeptus Mechanicus logo on the exhausts. You can see the purple and blue wash I have added to the exhaust stacks in this shot. Once dry, I'll add some rust and then airbrush some soot out of the end of the exhaust stacks.
I'll add some more shots after the new parts arrive and this project is completed.
Here's a sneak peak of another Land Raider project I've started......
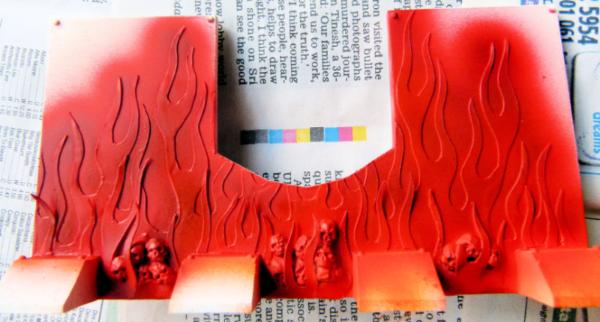
This is the Storm Shield of my Hell Cannon Land Raider. There are lots of skulls and flames on this LR - my legion's favourite icons!!!!!
Drop Pod
Finally, Here are some shots of my completed Drop Pod.......
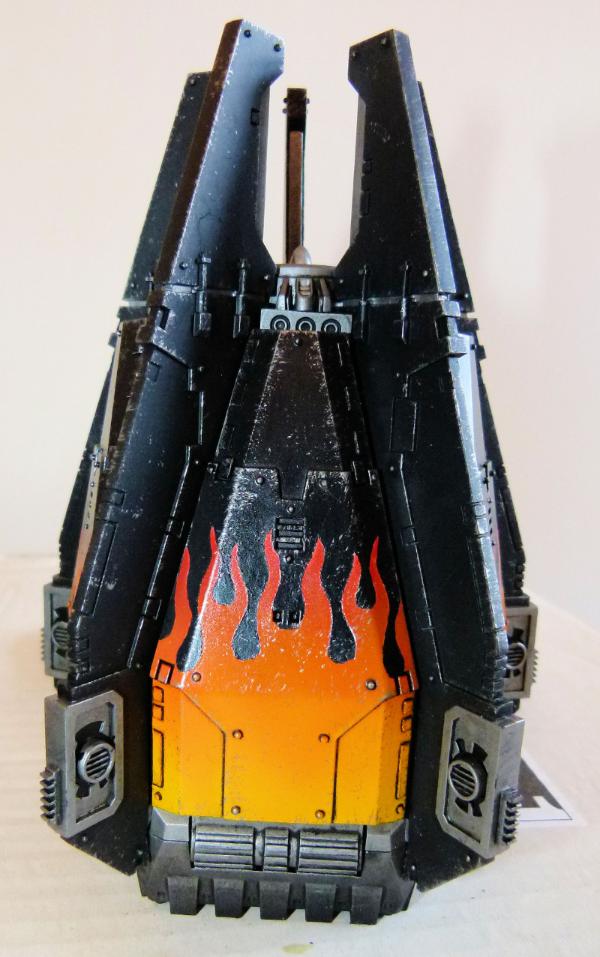
The flash has made this look a lot more shiny than what you can see on the actual Drop Pod. When I eventually break out the VMA black through my airbrush, I want to add some soot deposits going up the sides of the Drop Pod to give the impression of how hot the outside has been during atmospheric entry.
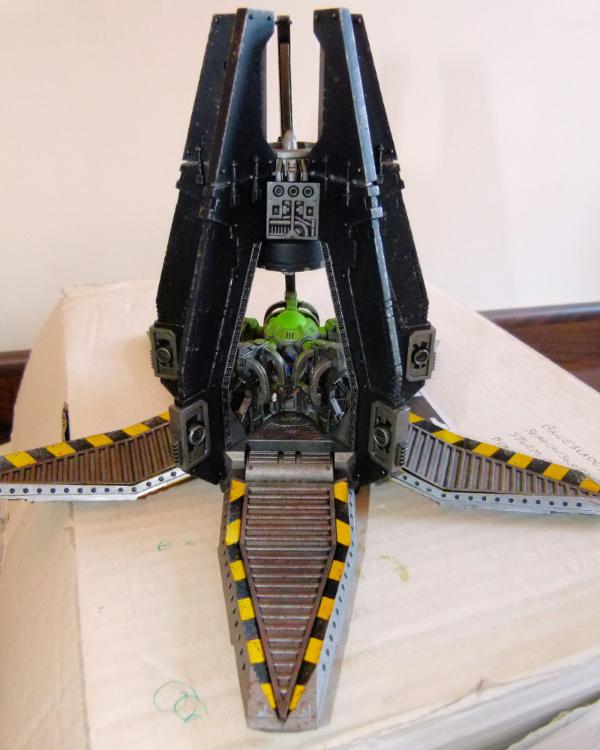
I airbrushed VMA Yellow onto the edges of the hatches. Once dry and then varnished, I used Tamiya Masking Tape and then airbrushed VMA Black to make the hazard strips. Some sponged on Gun Metal and rust finished this view.
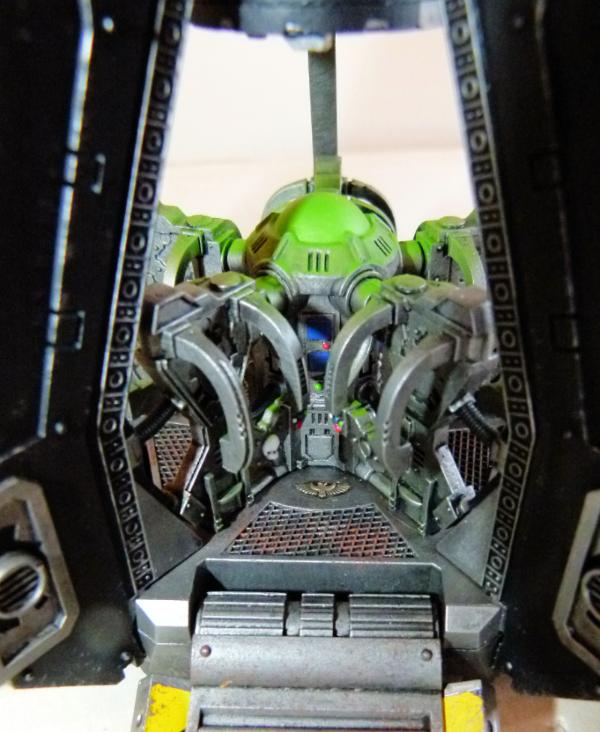
I wanted to give the impression that there was a "glowing" green radar display at the centre of the Drop Pod that the marines inside would look at. I constructed the harnesses and after painting, I airbrushed some light green directly overhead, ensuring there was a small amount of overspray to mimic the glow creeping within the Drop Pod. I'm really happy how this turned out.
Since this photo was taken, I have added the Storm Bolter weapons and finished this project. This has got me thinking about building out of plasticard a Dreadnought Drop Pod. Too many projects, not enough time!!!!!!
As always, any comments/critiques welcome.
Regards, Phil.
38750
Post by: philmorgan75
Assault Land Raider
Finished it at last:
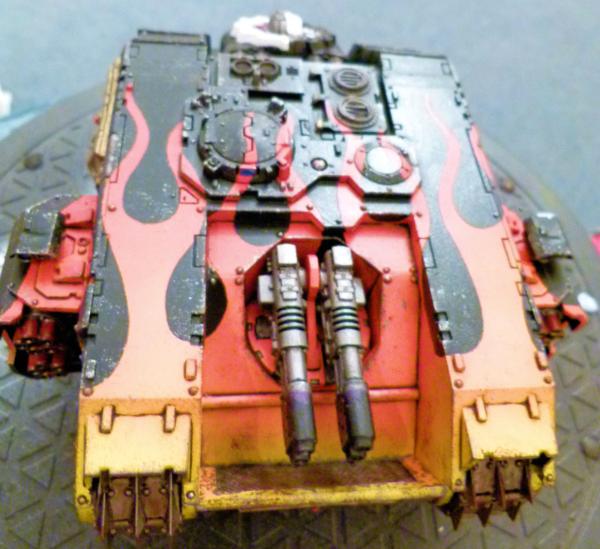
I airbrushed the front turret to match the flame colours of the rest of the front.
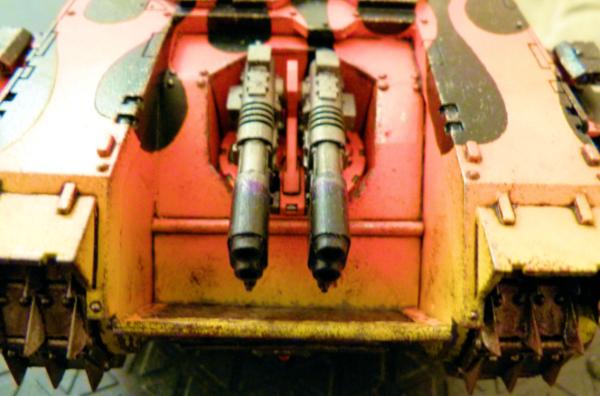
This gives a close up of the Twin Redeemer Cannons. I have added some magnets to the turret and cannons so the weapons can be swopped if needs be in the future.
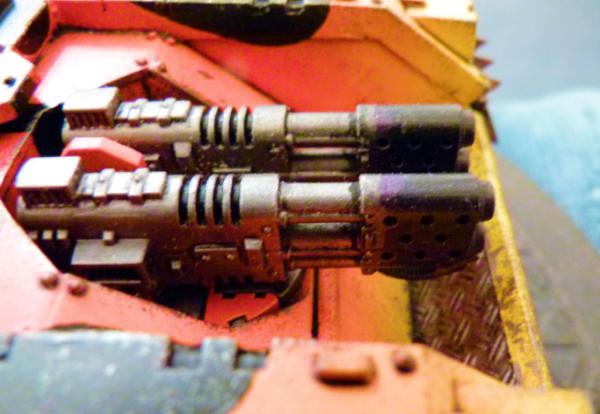
You can just make out the purple wash on the end of barrels to mimic hot metal. I probably went overboard with the airbrush spraying black to mimic carbon scorching on the end of the barrels.
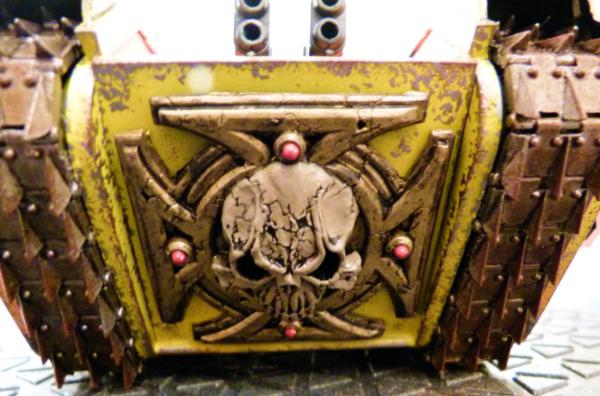
This shows the front ramp after weathering and rust had been added. I deliberately didn't add to much weathering to this Land Raider. Sponging is so quick and effective. When I finish all my projects, I intend going back over my 1987-2010 Space Marine collection and giving all the vehicles a small amount of weathering.
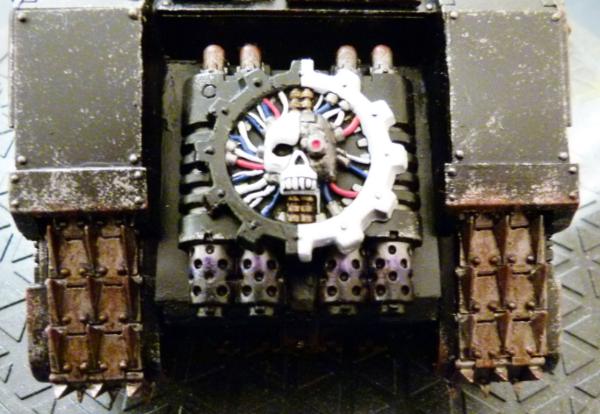
The engine after rust, weathering and carbon scorching on the end of the exhausts had been added.
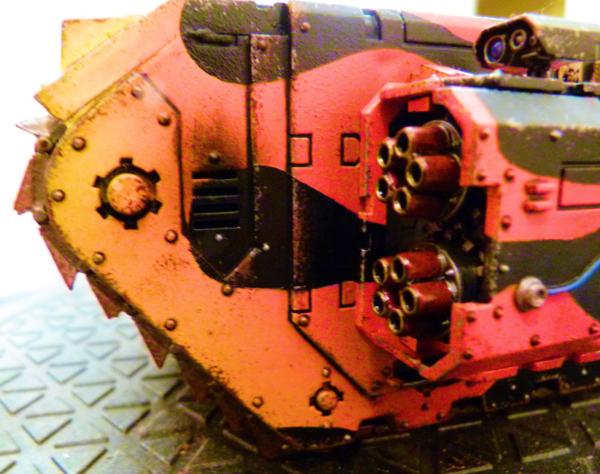
I sprayed a small amount of black above the vents at the front to mimic smoke damage. The black oil/turps wash around the rivets really works well. I was considering "dribbling" rust vertically from some rivets, but a) I didn't have the nerve and b) I didn't have the time. I have plenty more to get one with.
New projects........
Land Raider Hellhound
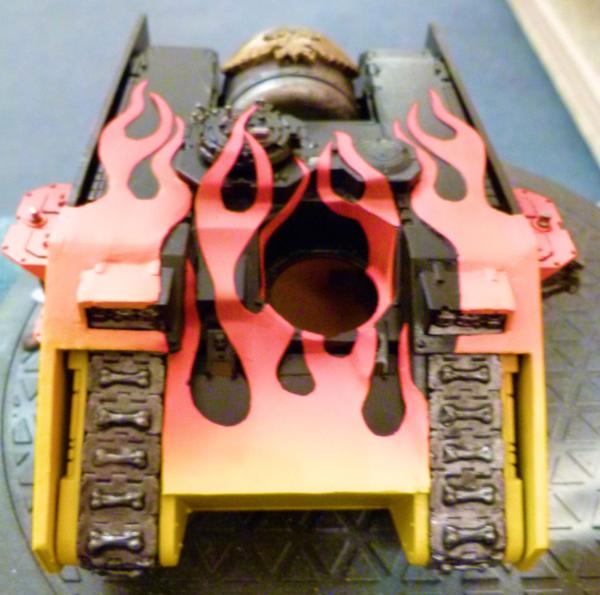
I made this a couple of years ago after seeing the FW Hellhound when it first came out. Rather than masking the flames, I used thin plasticard and milliput to make the flames (to give a more 3D impact). It was easier to airbrush the flames from a white undercoat on this project BUT I have now had to spend a lot of time painting the rest of the armour black. Normally, I undercoat in black and then using templates and masking tape, airbrush white over the area I wish to put a flame. I don't know which is quicker!!
This front shot shows the main colours, with a black oil/turps wash over rivets etc. I'm waiting for this to dry a bit before I remove any excess black oil with a clean brush and turps.
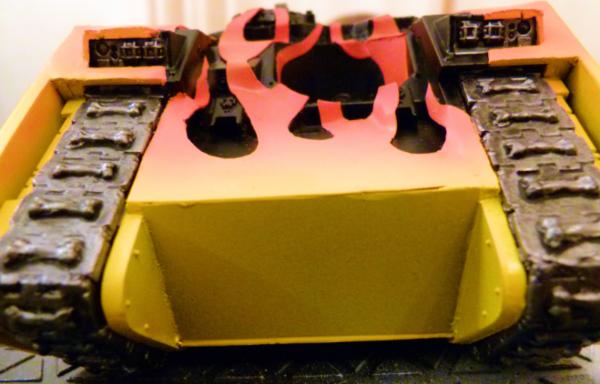
This give an enemy view of the front of the LR. I can see I missed a few rivets with the black oil wash and will need to remedy this. Weathering and the lights still need to be painted on this view.
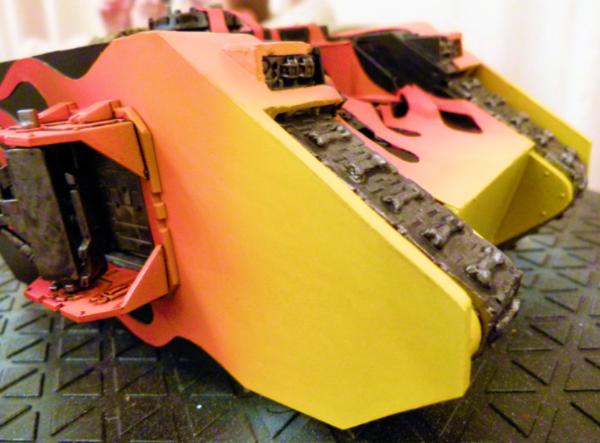
This shows the front right quadrant of the LR. I can't wait for black oil wash to dry, be cleaned up and then varnished before I start the weathering process. I think this LR is going to turn out fab!!!! The sponson has had a rectangle magnet added to it. I have made plenty of different sponson weapons (with a washer added to ensure the weapons all stick to the magnet - don't have to worry about polarity issues then  ) that I have started to paint. This LR will have Twin Redeemer Flame throwers in the sponsons and front turret.
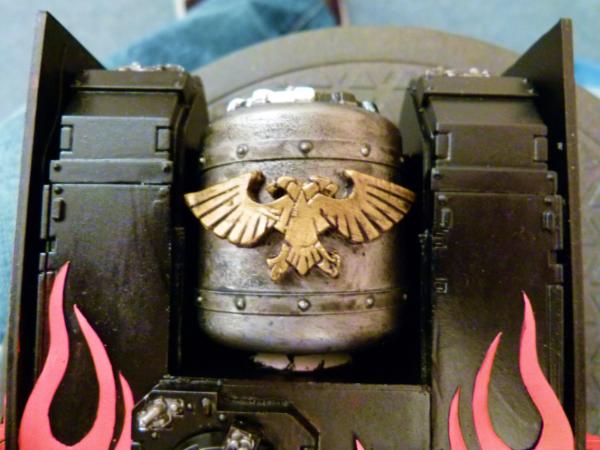
This shows the converted fuel tank at the rear (taking up the passenger compartment). It started live as a kids pencil sharpener and I added a few embellishments to 40k it!
The black oil wash needs to be cleaned up and after varnishing, I plan on adding some rust and streaking to give a more weathered look than I have tried before. This will be fun!
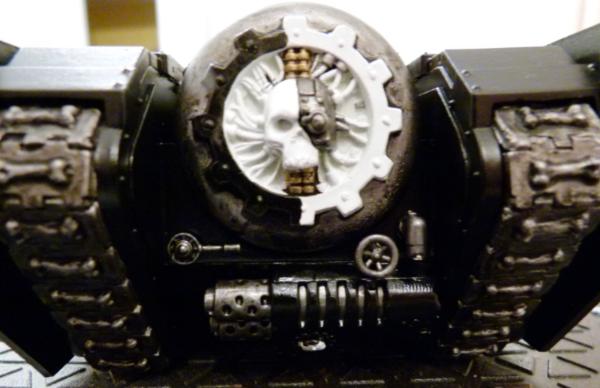
This is the rear of the LR. The large Adeptus Mechanicus logo covers the hole of the pencil sharpener. I added some pipes and wheels to give it a bit more realism. Again, all of these will be rusted in the future. The track will have my usual tread wash from AK Interactive added, varnished and then rust and metal weathering to finish it off.
Honoured Imperium LR
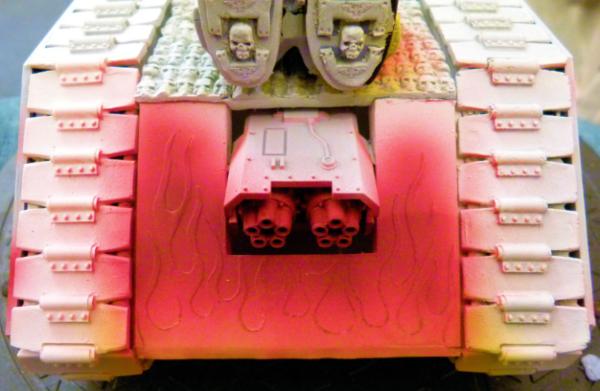
As I had my airbrush out painting the hellhound LR, I thought I may as well start painting a second project at the same time. This is my Honoured Imperium LR. I converted one of the Honoured Imperium statues, extended the width of the LR to accommodate the statue on top, added plasticard flames over the front and sides and then used Machinators treads "wrapped" around. Totally impractical in real life BUT 40k is not real life!!!
I ran out of Vallejo Model Air Yellow in the process of spraying the flames, so I have ordered some more and am waiting for it to arrive in the post. Once it does, I'll give the rest of the flames on the front and sides a quick blast to finish the flames. A Vulcan Mega Bolter has been recessed into the front turret.
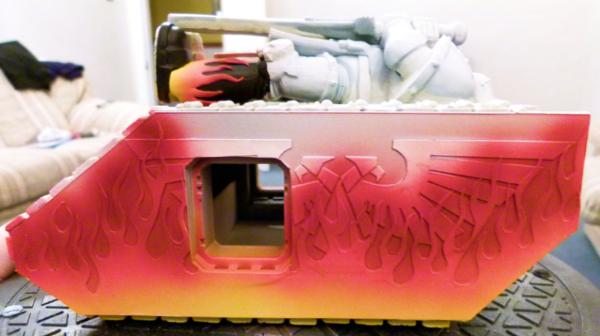
A bit more yellow at the bottom and the flames will be finished. The Imperial Eagle was cut out of thin plasticard and carefully glued to the side of another shaped piece of plasticard. I'm in two minds on what colour to paint the Imperial Eagle - either weathered gold (like on my second fellblade) or a white marbled effect. The gold will be quicker but I think the white marble will be more striking. What do others think?
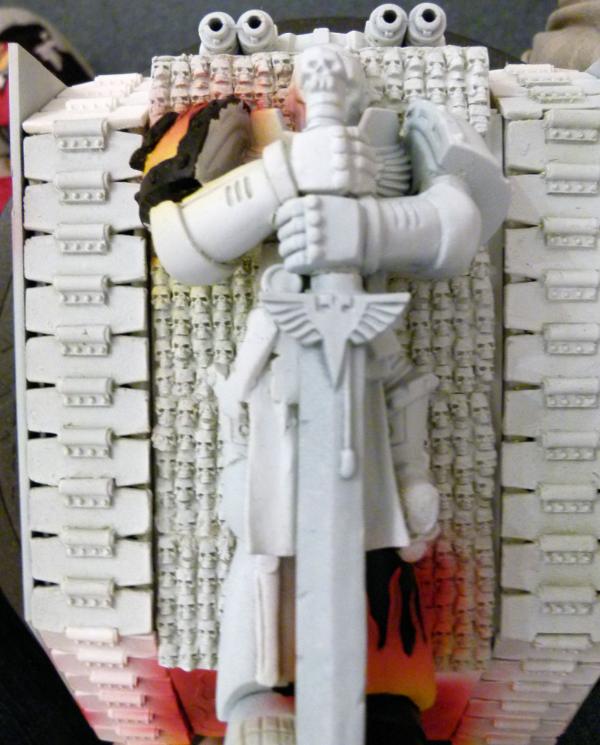
This is the statue in the process of being painted. For storage sake, the whole statue and bed of skulls comes off. I had to remove the shield from the original kit and then using milliput, sculpted another arm and hand. I wanted the statue to be holding a double handed sword. I decided to paint it up in my normal colours rather than a gold statue. I still don't know mind????
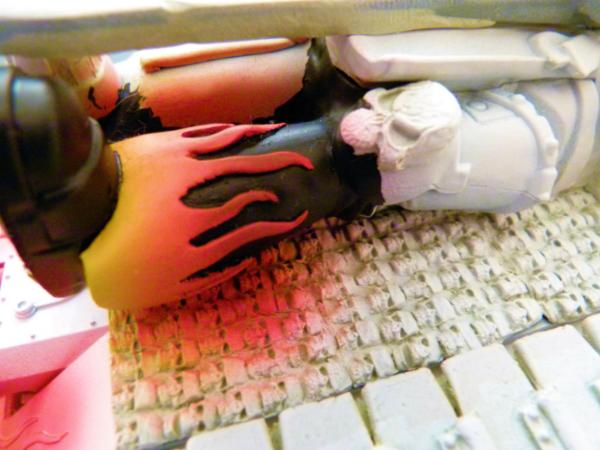
This shows the finished flames on the statues left leg....
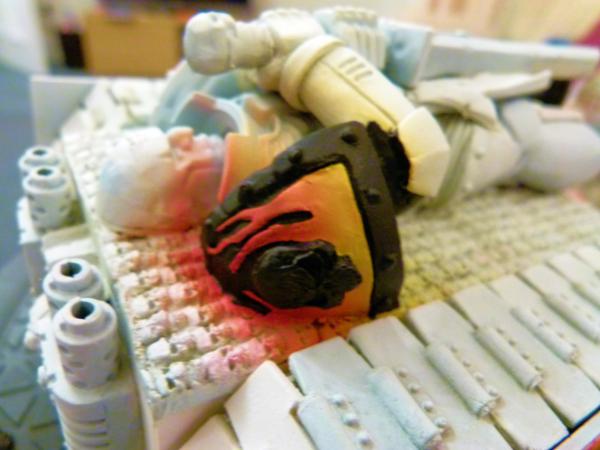
...... and his right shoulder pad.
Any comments/critiques welcome as always.
Regards, Phil
38750
Post by: philmorgan75
Update time:
Land Raider Hellhound:
I just finished my LR Hellhound:
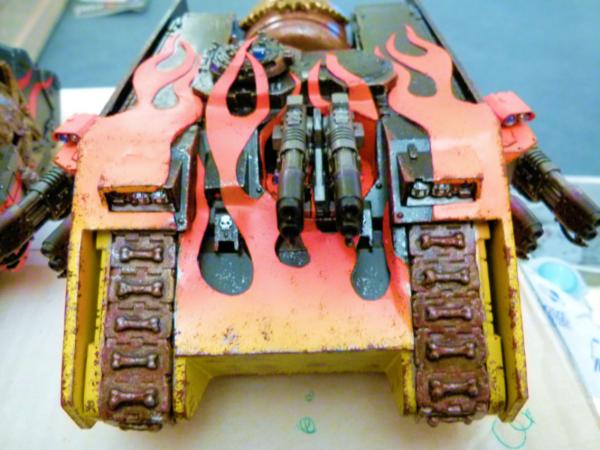
I armed the LR with 6 Redeemer Flame Cannons (3 Twin variants).
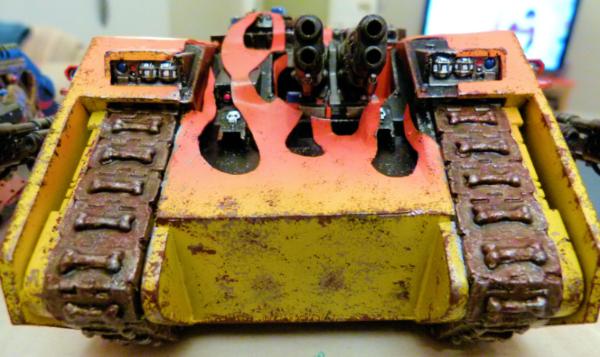
Here's a close up of the front. I used sponges to add weathering and rust effects to the front. If any enemies saw this view, they would be moments away from being turned into burnt toast!!!
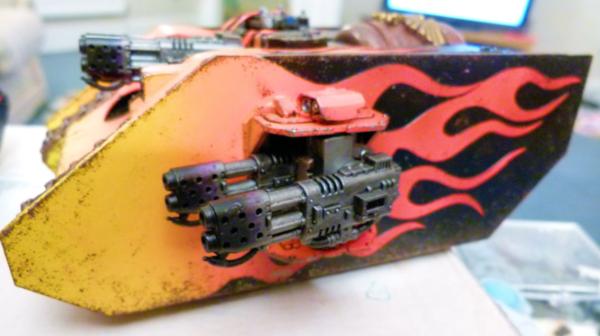
This shows the completed left side. Purple ink can be seen on the end of the Flame Cannon to give the illusion of heated metal.
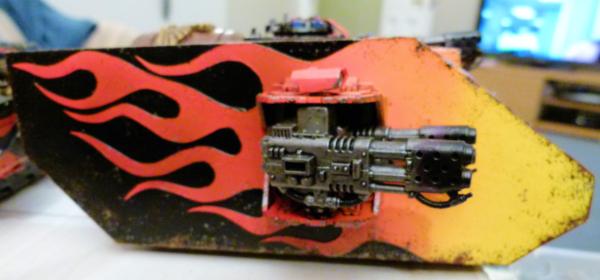
This shows the right.
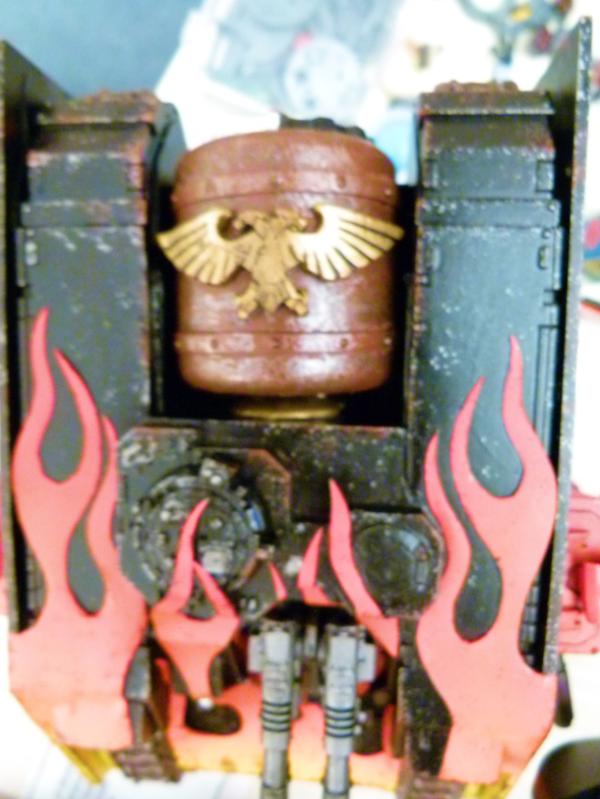
This blurry photo shows the plan. I may have gone overboard on the rust effect on the fuel tank but, what the hell!
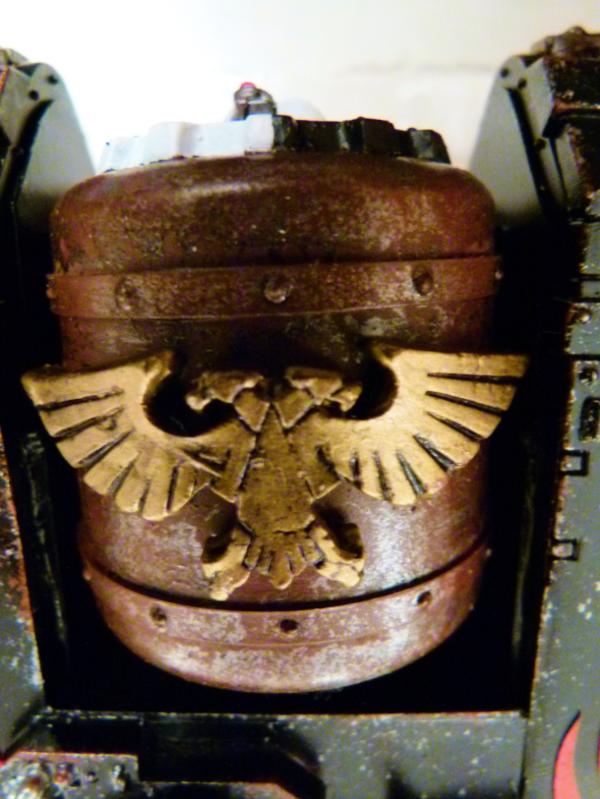
A close up of the fuel tank.
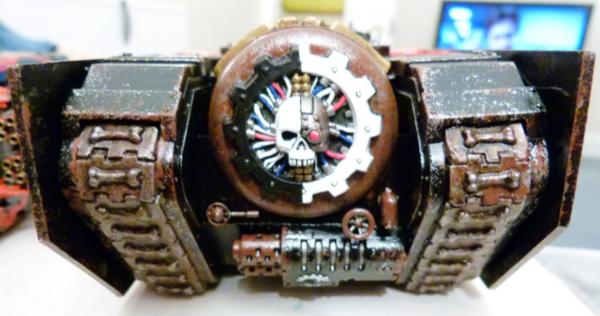
The completed rear. I really enjoyed adding little extras here (lever, wheel and tap).
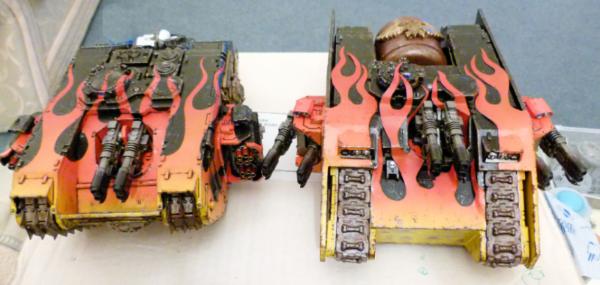
Both my little flame Land Raiders together. I can now pack these up and put in my completed model cupboard.
I deliberately magnetise the sponsons so that I can change the sponspon weapons.......
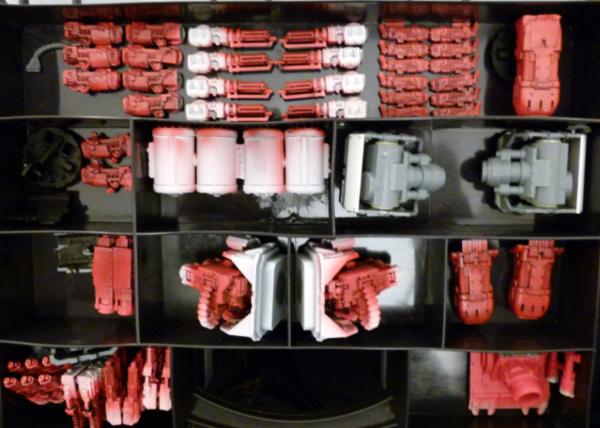
Some of the weapons that have been airbrushed VMA Fire Red, black oil washed and then matt varnished. I just need to paint the metal, black oil wash the metal, matt varnish them and then airbrush some blue "plasma glow".
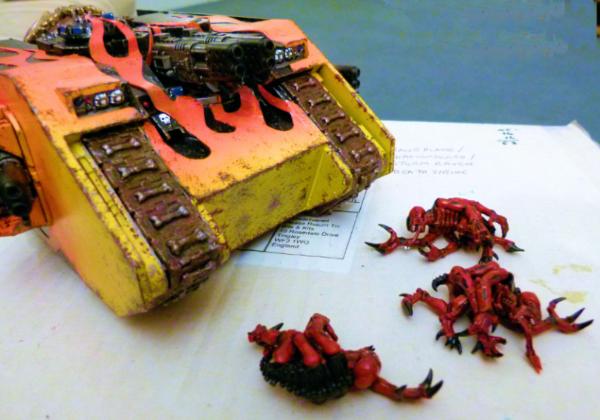
Just a final shot of the Hellhound with some road kill!!!!!!
Honoured Imperium
As the painting process is done in lots of different stages (lots of waiting for varnish and oil washes to dry), I have a number of projects on the go. One of these is my Honoured Imperium Land Raider:
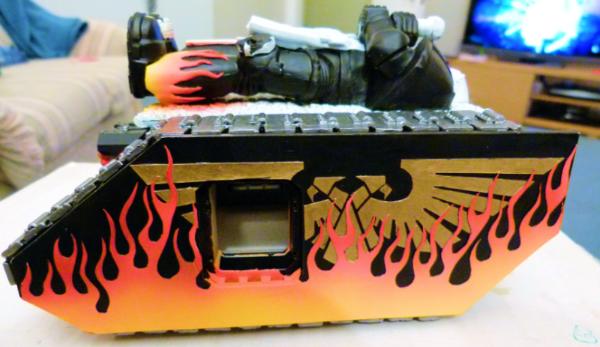
This shows a WIP Left side shot. I need to add a black oil wash followed by a matt varnish coat to the imperial eagle before I start adding some weathering and rust.
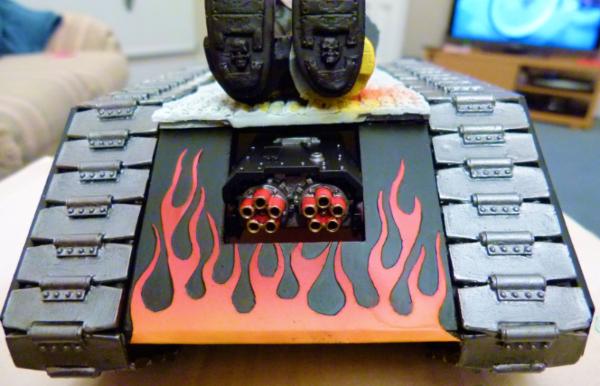
Here's a WIP shot of the front. The tracks need to have some AK Track effects added and once dry, I'll varnish the tracks (the track effects has a tendency to rub off and cover everything!) and start weathering.
and finally......
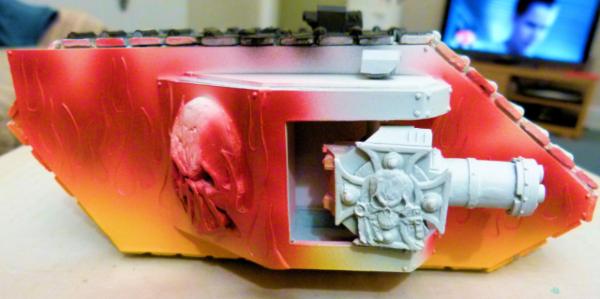
Another Land Raider project .... Thunder fire Cannon sponsons.
Comments/Critiques welcome.
Regards, Phil.
26416
Post by: Young_Logan
Some awesome work here :O I'm not sure if that fellblade has enough guns though  looking forward to seeing some more scenery as well at some point
Young Logan
38750
Post by: philmorgan75
 Young_Logan wrote: Young_Logan wrote:Some awesome work here :O I'm not sure if that fellblade has enough guns though  looking forward to seeing some more scenery as well at some point
Young Logan
Cheers Young Logan! I started to undercoat my "Fort"ress of Redemption and have airbrushed most parts with VMA Fire Red but that's as far as I've gone. It has been placed on the back burner whilst I have my "tread head" on and get some more LR variants finished.
My problem is I have too many projects and not enough time to start/finish any of them. Perhaps after finishing my next 2 LRs, I'll think about finishing the "Fort"ress off.
Regards, Phil
38750
Post by: philmorgan75
Update time:
Finding it hard to motivate myself at the moment to get the 2 Land Raiders finished. It's to dark and I'm too tired after work to get make much progress. The weekends are also getting lost to my boys football games and other family matters. The weather has also been terrible, making it difficult to use the airbrush as well. Never mind! I didn't set myself a time scale, so get it done in little steps.
Thunderfire Land Raider
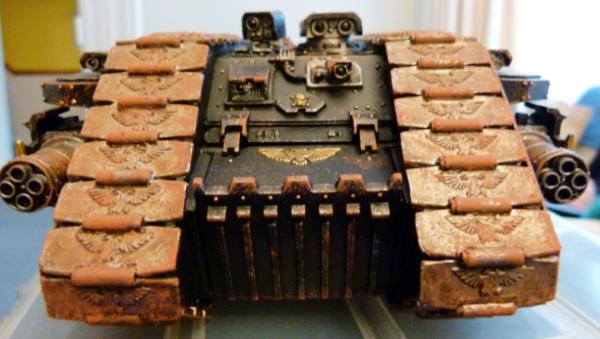
This shows the front. I've sponged on some Gun Metal to the edges and then sponged some rust on as well. The tracks had a wash of AK Interactive Track Wash and once dry, a sponging of rust. To finish this view, I need to matt varnish the whole LR and then dry brush some Gun Metal on the raised parts of the tracks where they would touch the ground.
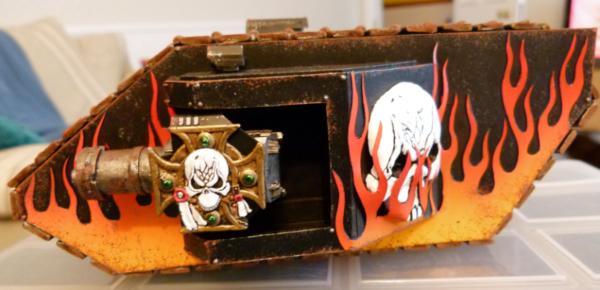
This shows the completed Left Side. The skulls where painted White Scar white and then a sponging of VMA Black, Army Painter Gun Metal and AK Interactive Medium Rust pigment (added to some white spirit) was added. The purity seals were finished as were the jewels on the Crux Terminus. Just the matt varnish coat to finish this view.
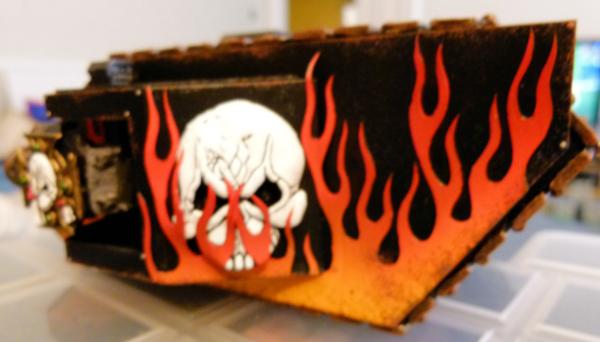
Apologies for the blurry photo. This is the rear of the left hand side. I'm really happy with how the plasticard "3D" flames worked out. The white skull really pops in contrast to the flames.
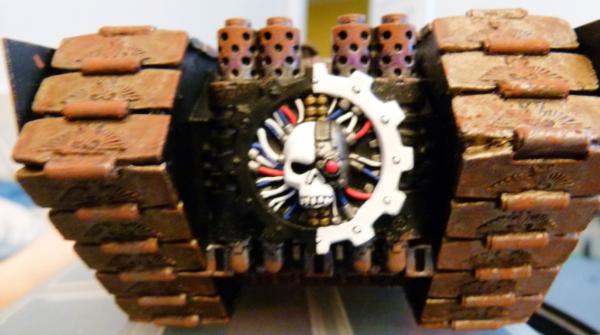
Again, apologies for the blurry shot. The Adeptus Mechanicus logo was painted as per my usual paint scheme. A purple wash was added to the top of the exhaust stacks and once dry, the usual rust sponging was added. I just need to airbrush a touch of black at the top of the exhaust stacks to complete this shot.
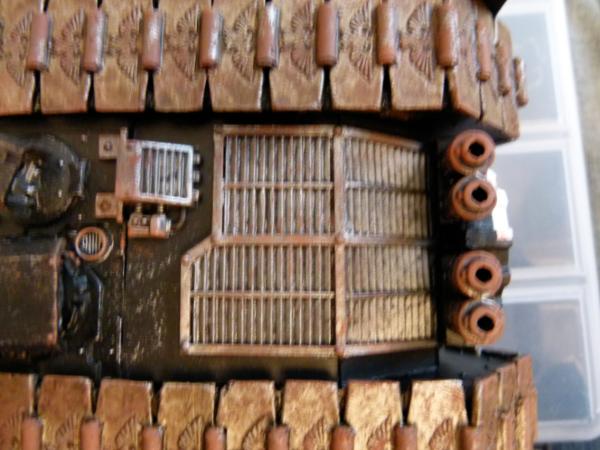
3 shots in a row blurred!!!! I added extra radiator/vents at the top to assist in removing the extra fumes/heat from the inside of the Land Raider. A light rust sponging has been added. Just need to spray a small amount of black "soot" from the airbrush to finish this view.
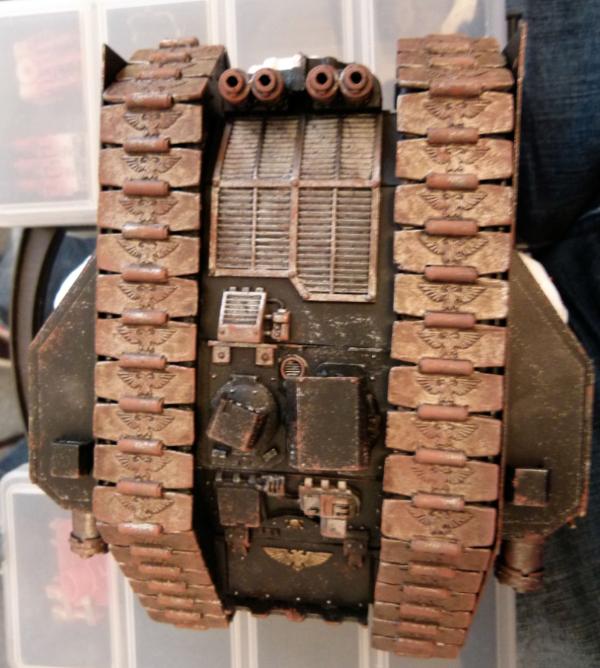
This shows the plan view. I wish I had kept a note of the sponson plasticard measurements so I could quickly mass produce them for future conversions. I think the FW LR MK IIB sponson looks by far the best on a LR. It makes it very WW1 like! In real life, the 2 tracks are equally spaced out unlike this photo.
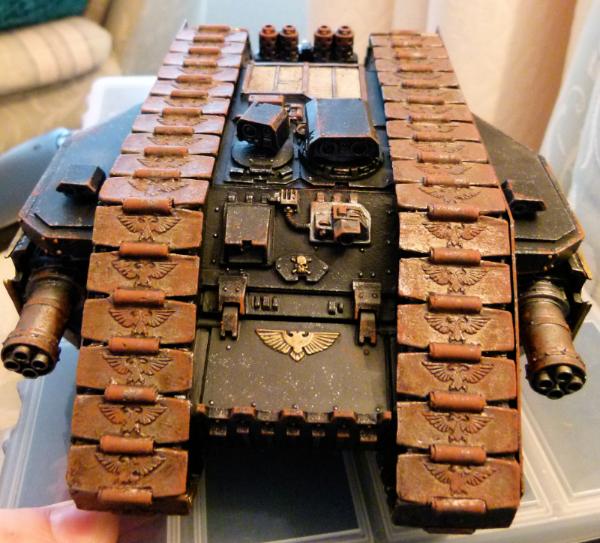
Finally, this shows a top view of the front. As I thought the Thunderfire Cannon Sponsons needed extra help to ensure a 100% accuracy, I added the FW LR Prometheus front and an extra targetter from a Vindicator. This was a fun build. Not much left to finish off this one......
Honoured Imperium Land Raider
My tracked tribute to a fallen Space Marine Hero....
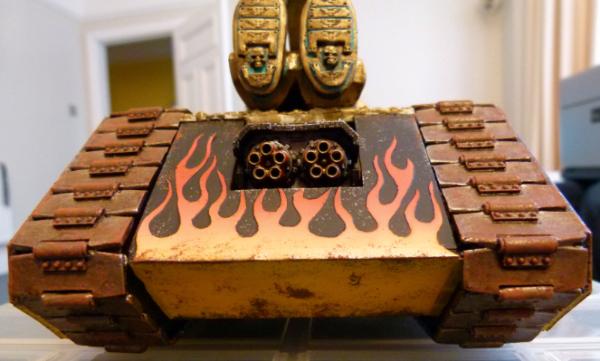
I just need to paint some black where the "skull bed" joins the top front of the LR to finish this view. The usual sponging was done. A Matt Varnish finish, a dry brush of gun metal over the raised parts of the track and a light black airbrush on the Vulcan Mega Bolter to simulate soot deposits is needed to finish this view.
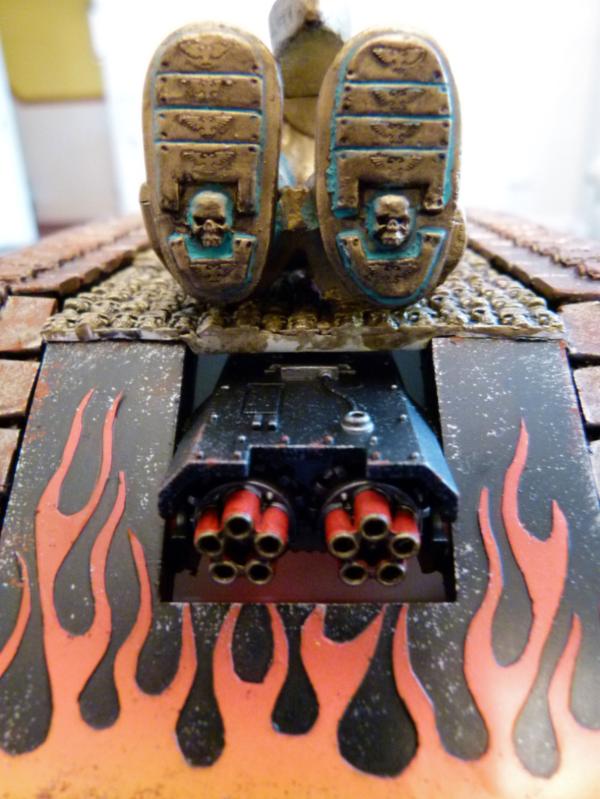
A close up of the statues feet and Vulcan Mega Bolter. I went to GW Swansea this morning to pick up some Nihilakh Oxide to try out on aging the bronze statue.
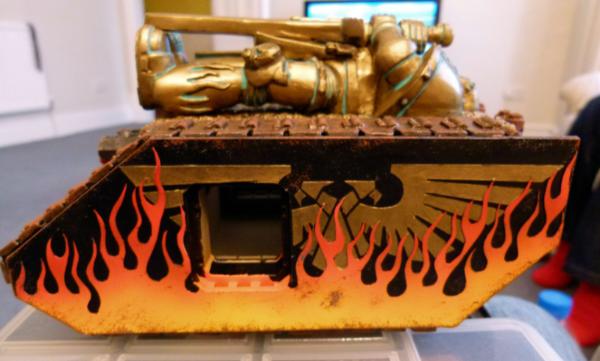
This shows the completed Left Side. I'm not 100% happy with how the verdigree turned out. I'll dry brush some Gold VMA over the statue to see if it improves it.
Rather than sticking a sponson into the hatch hole, I plan on adding some magnets to allow sponsons to be swopped.
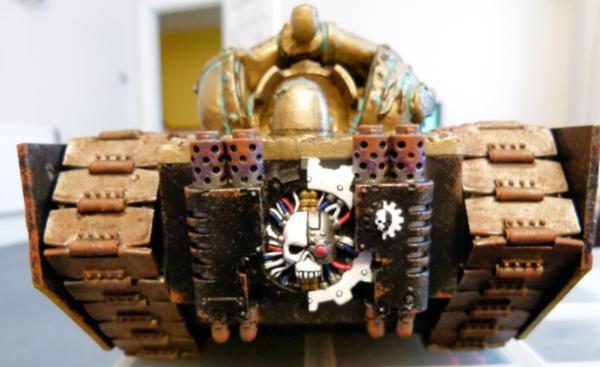
This shows the finished rear .....
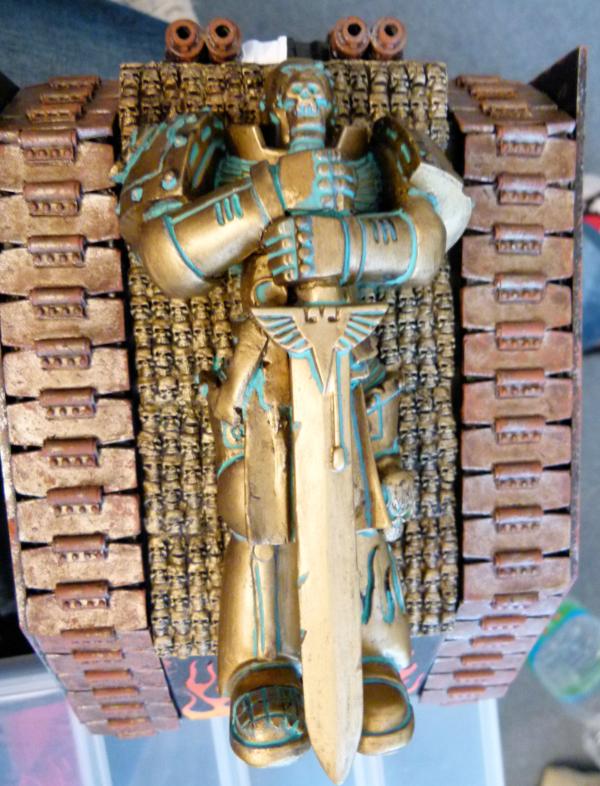
.... and the top.
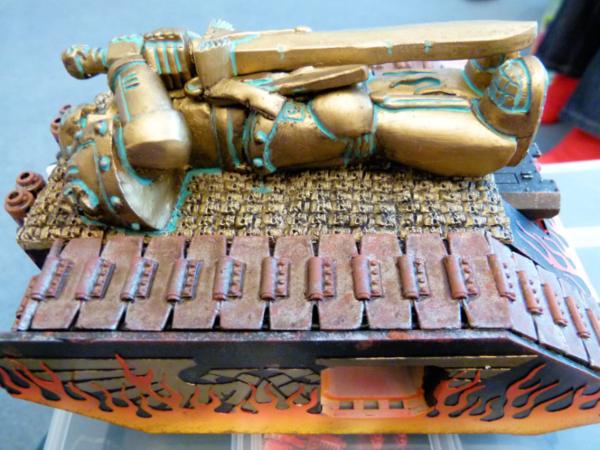
A final shot of Statue.
Land Raider weapons
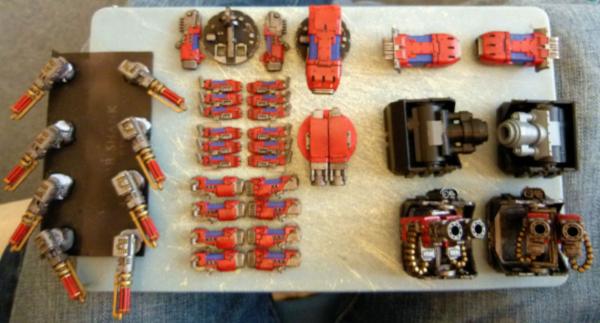
Here's a WIP on the Plasma and Frag Cannon turret/sponson weapons for my LR's. All of the Plasma weapons need an airbrush of black VMA on the muzzle (for soot deposits) and a light blue airbrush to give my usual "plasma glow".
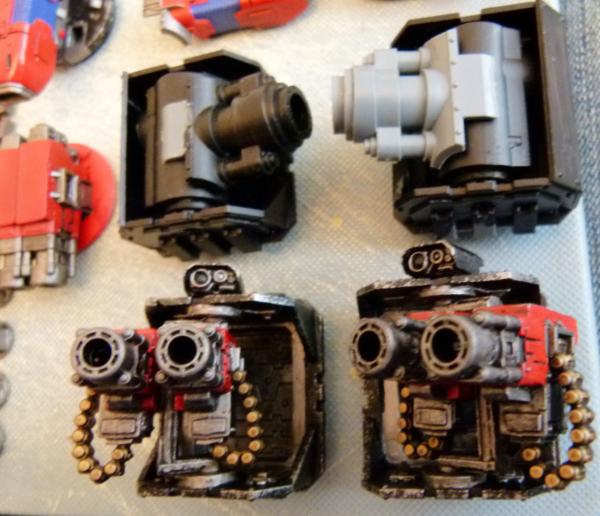
Here are my Demolisher sponsons and Twin Frag Cannon sponsons. The Demolisher sponson are magnetised to allow me to swop with a Plasma Executioner should I need to. The Twin Frag Cannon sponsons are almost finished - just a brief sponging of rust on the exposed metal framework of the sponson frame and it's done!
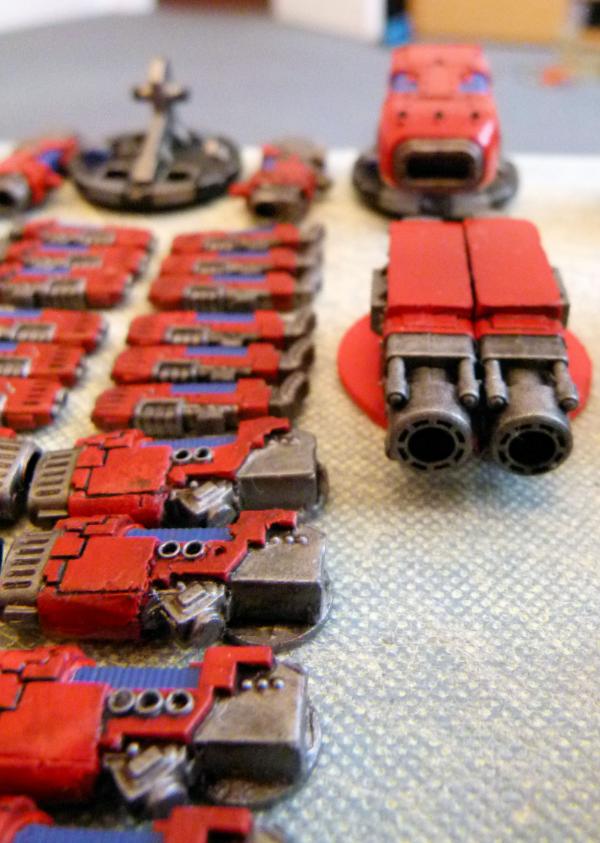
Here's a close up of my Plasma "Hurricane" guns, quad Heavy Plasma guns, Heavy Plasma gun Turret, Plasma Executioner Turret and Twin Frag Cannon Turret. Apart from the soot and plasma glow, the only thing extra will be a light sponging of gun metal (to show some weathering) and to paint the turret part of the Twin Frag Cannons.
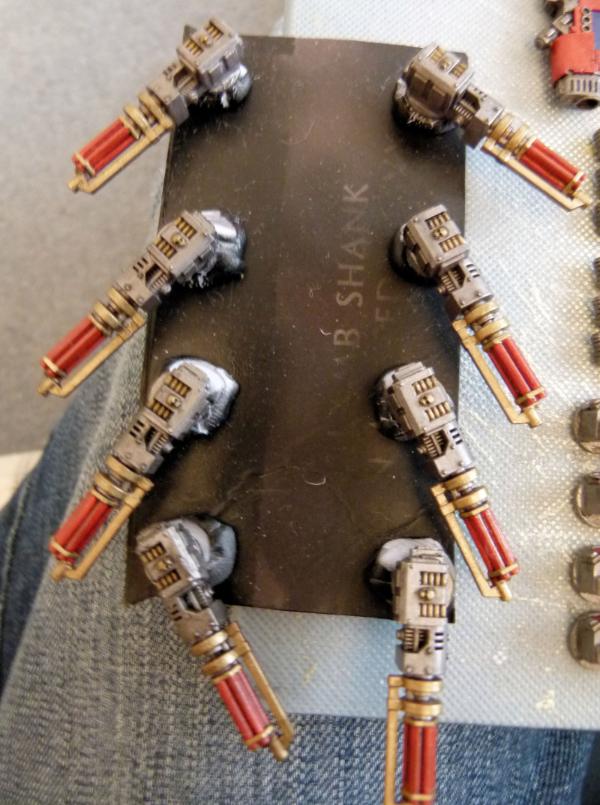
Finally, quad Assault Cannon's.
Till next time ..... Phil.
8745
Post by: Llamahead
Good grief lots of great vehicles done well. Have to admit I'm glad you went with the obvious skull option to cover the Demolisher mount on the Fellblade. I'll also admit your about the only person I now who looks at 40k and thinks this scenery needs mooooorrrreee ssskkkkuullllllllssssssss
38750
Post by: philmorgan75
 Llamahead wrote: Llamahead wrote:Good grief lots of great vehicles done well. Have to admit I'm glad you went with the obvious skull option to cover the Demolisher mount on the Fellblade. I'll also admit your about the only person I now who looks at 40k and thinks this scenery needs mooooorrrreee ssskkkkuullllllllssssssss
Ha Ha Ha Llamahead!
I feel I have a bit of Khorne in me!!!!!!!
Regards, Phil.
38750
Post by: philmorgan75
An update on a piece of terrain I started a few years ago now - My Fortress of the Damned.........
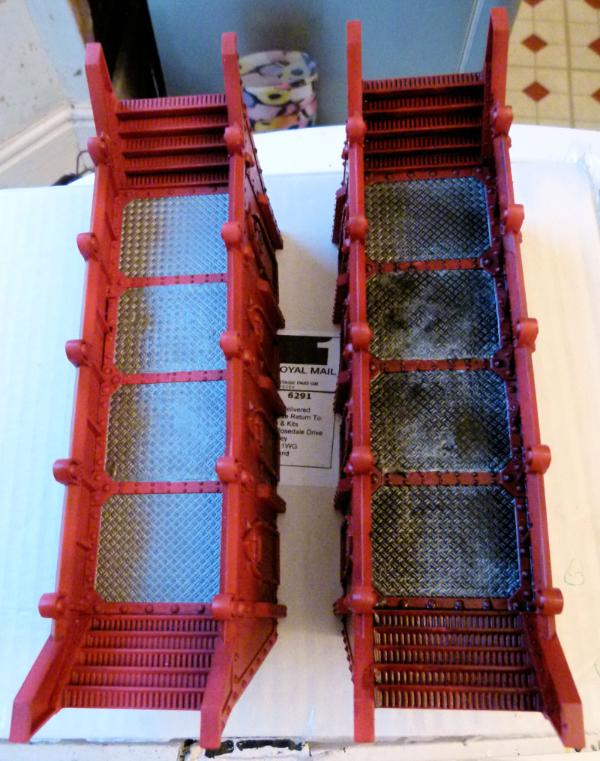
I base coated the side walkways with some VMA Fire Red and painted the tread part of the walkways with Army Painter Gun Metal. The one on the right has had a black oil wash added. I need to dry brush some more gun metal over the treads and then start some weathering of sponged gun metal and rust.
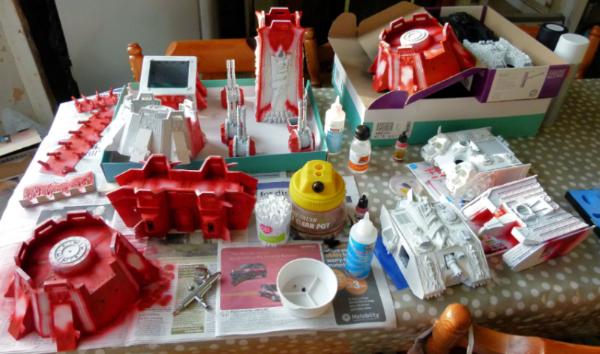
A shot of my kitchen table this afternoon!! As I was using my airbrush, I tried to paint as many things as I could with the same VMA Fire Red.
You can see on the left all of the Heavy Bolters that need to be painted. You can see 2 of the corner sections undercoated red, with the last one still needing to be completed. The fourth one has already be done and can be seen shortly. Some of my Land Raider conversions can also be seen in the bottom right and top right in the box.
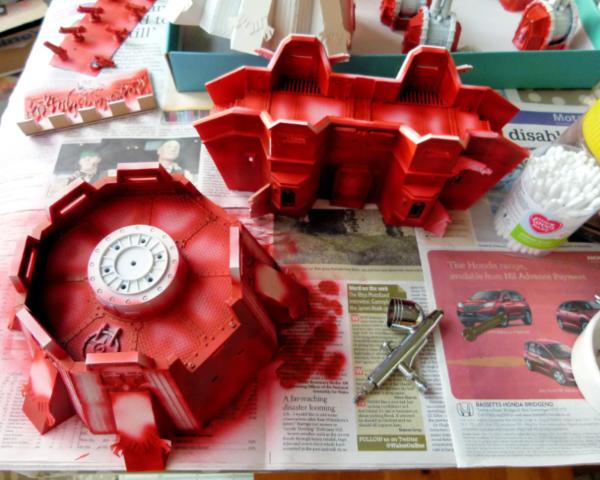
Here's a close up of the base coated corner section and front gate section.
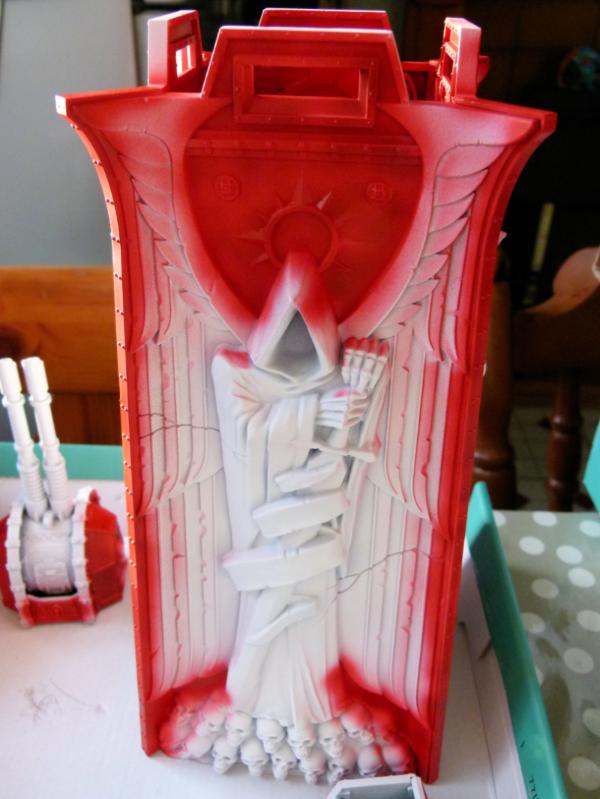
The base coated tower. I want to paint the winged Dark Angel similar to Gunzhard I showed earlier in this thread - a cream marble like paint job.
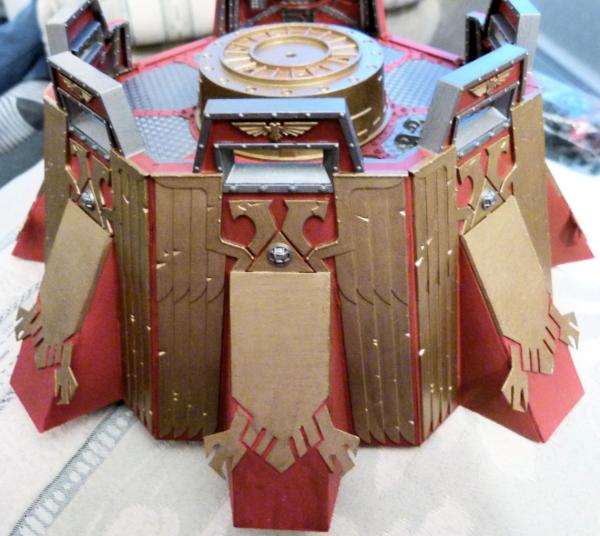
This is the completed base coated corner section. I need to airbrush some matt varnish over it and then add a black oil wash over the whole of the model. Once dry, a sponging of gun metal and rust (and maybe a small amount of dust along the bottom with some pigments). The light on the eagles chest will have an airbrush blob of light blue to simulate a "plasma" glow, which I think will contrast nicely with the other colours.
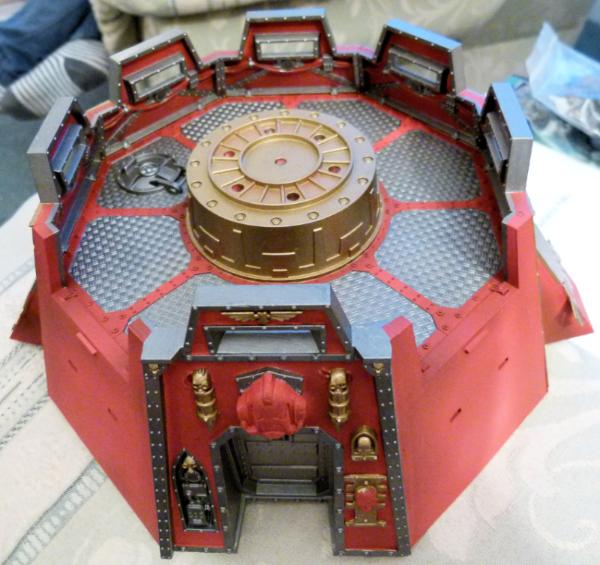
This corner section is the only one with a doorway entrance to get into the interior of the fortress corridors. The Inquisition logo and large SM Helmet will also need to be completed on this corner section.
Land Raider Conversions
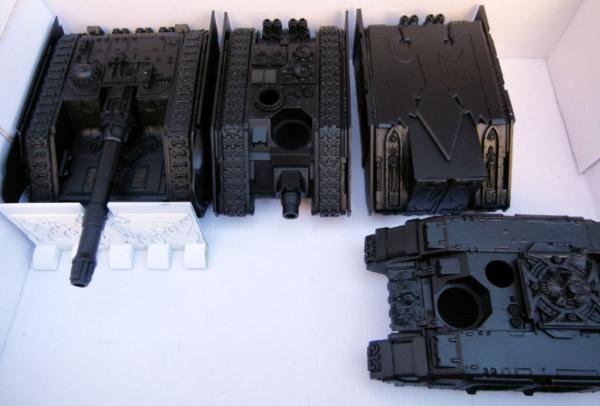
I bought some undercoat from Halfords today, so I thought I'd finally start painting some of my Land Raider Conversions. From the left:
Land Raider Tank Destroyer, Ares, Prometheus and at the front, a normal Land Raider.
As I start painting them, I'll add some more views.
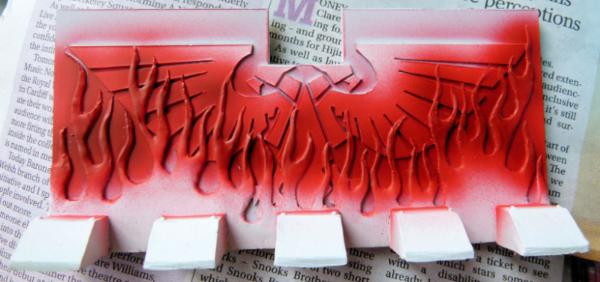
Here's a WIP of the Tank Destroyers shield. This was made from plasticard, milliput for the flames and a lego part for the teeth. The flames have had an airbrush of VMA Fire Red. I normally try and paint a number of flames at the same time, so I haven't progressed this any further yet.
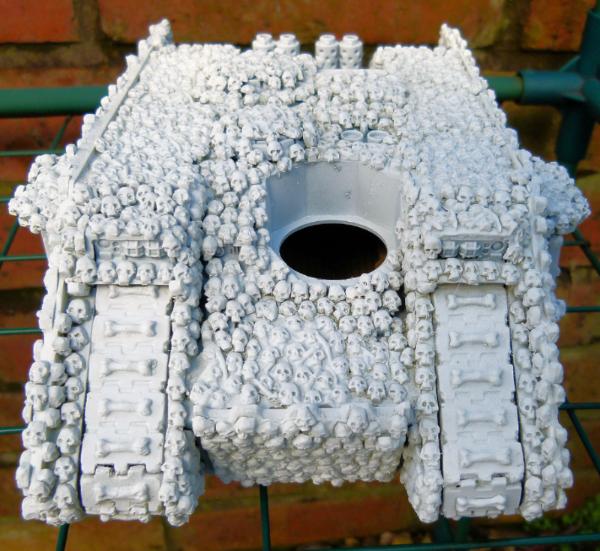
This is my "Skull" Land Raider. Does any one have a good recipe for painting skulls?
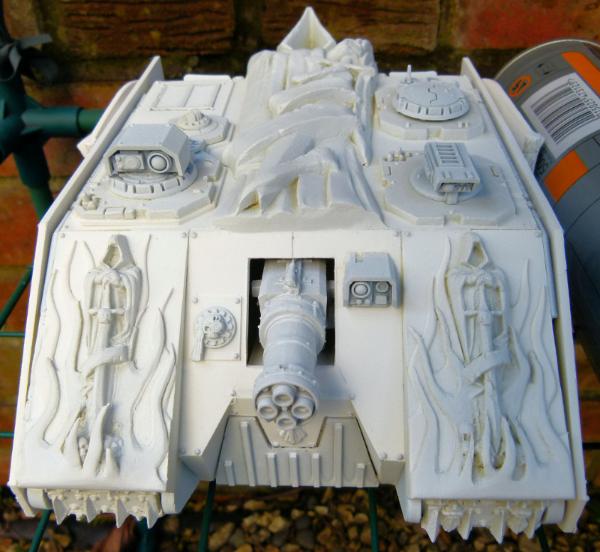
Here's my take of a Land Raider Achilles....
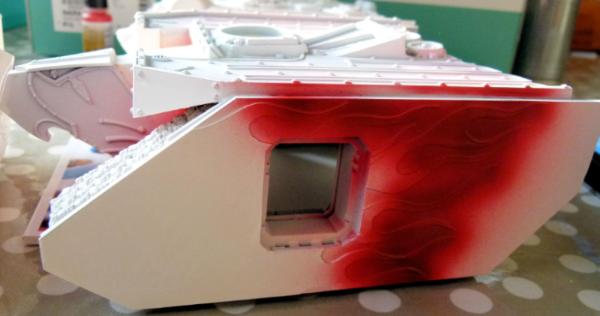
...and finally, my Land Raider Ram.
So many projects, not enough time!
Comments and crits welcome.
Regards, Phil.
38750
Post by: philmorgan75
I've made some progress on a couple of projects:
Land Raider Achilles
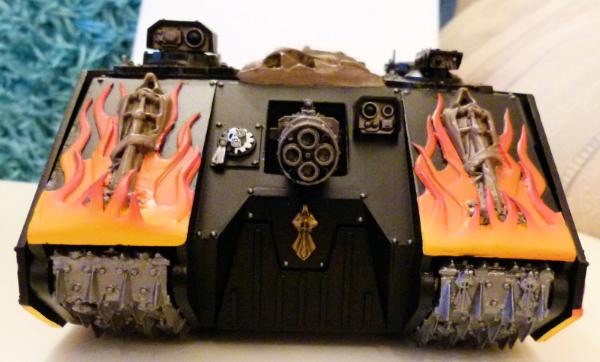
I've laid down all the base layers. The flames were airbrushed on as per my usual mix of VMA paints. The Angels on the mudguard will be painted to resemble (hopefully!!!) marble.
I need to sponge some "metal" and "rust" weathering over the edges and then some AK Interactive Track wash over the treads to finish this view.

This is a slightly higher view of the front.
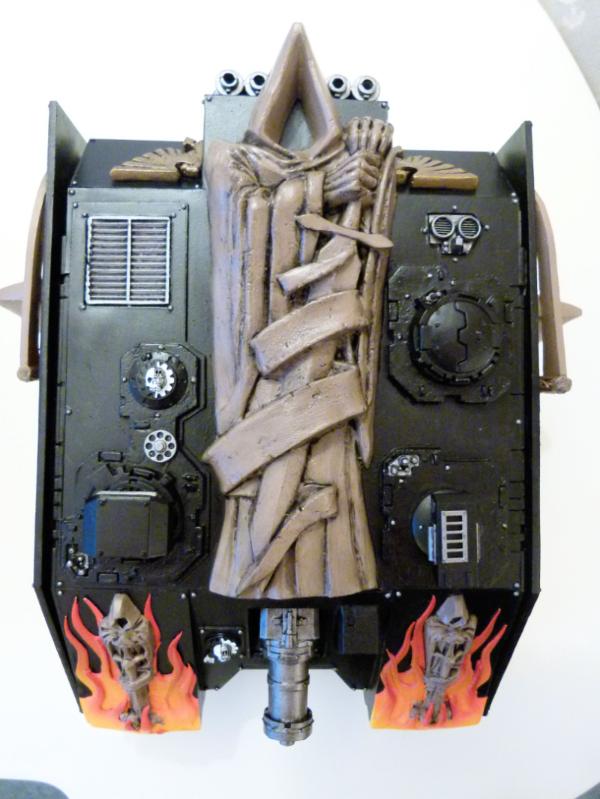
This shows the plan view. Again, the large Angel will be painted "marble" like and the normal weathering effects.
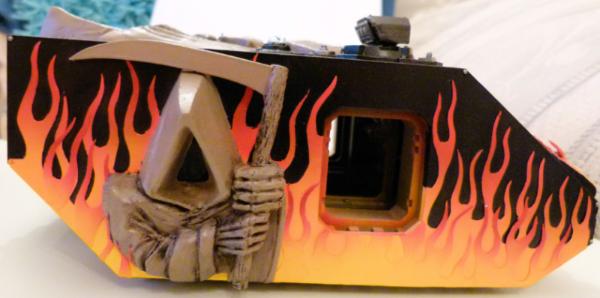
This is the right side. The flames were quite time consuming. After spraying the flames at the rear, I varnished everything. Once dry, I used blu- tac to mask the rear flames and then went onto complete the flames in the front. After removing the blu- tac, I gave it another coat of varnish. I really like how this has turned out.
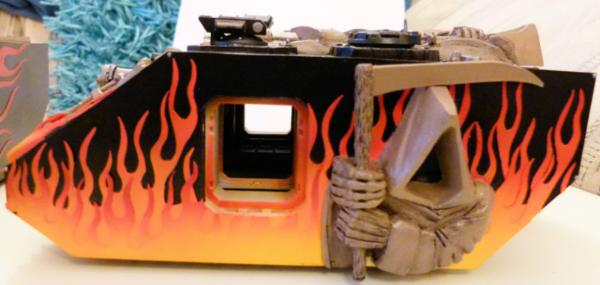
This is the left side.......
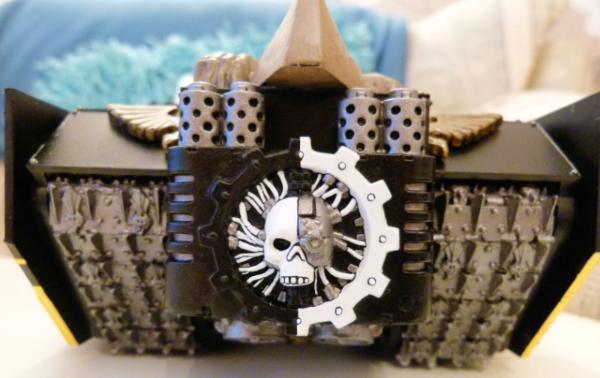
... and finally, the rear. The Adeptus Mechanicus logo needs a couple of wires painted red and blue for this to be finished. The exhausts will have a layer of purple and blue inks to mimic heat. Metal and rust weathering and the tracks need to be completed on this view.
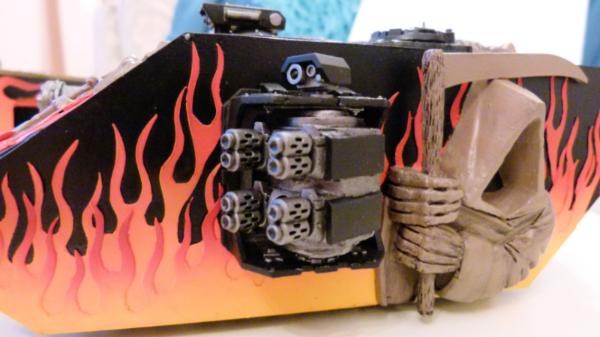
Here's the quad multi melta sponson almost finished. I used 2 lots of Storm Raven nose weapons, some plasticard and milliput to make these. I just need to paint some blue and purple ink on the exhausts and then airbrush some black to imitate smoke deposits. Metal weathering will be added to finish this sponson.
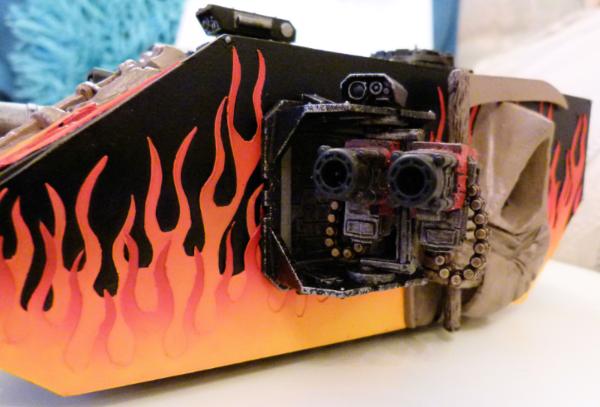
...and if I want a different sponson, here's my completed Twin Frag Cannon's. 2 Dreadnought Frag Cannons were chopped and shaped to fit onto an old metal hurricane bolter frame and a bit of milliput to tidy up some of the gaps to make this.
Assault Ram Land Raider
When I get the airbrush out, I like to start a number of projects so when I get bored of one or am waiting for ink/washes to dry, I can move onto another project. This is how far I have got on my Assault Ram Land Raider.
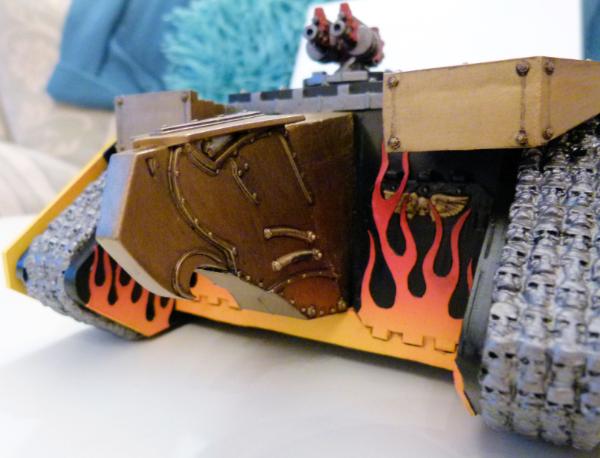
I imagine the reinforced eagles head would be used to ram into fortifications and once a breach has been made, a small reverse by the Land Raider and both front ramps would be dropped and a squad of Space Marines would disembark to take the objective.
The usual weathering needs to be done as well as the track wash. I also want to airbrush some VMA green to give the eagle's eye a bit of a glow!!!
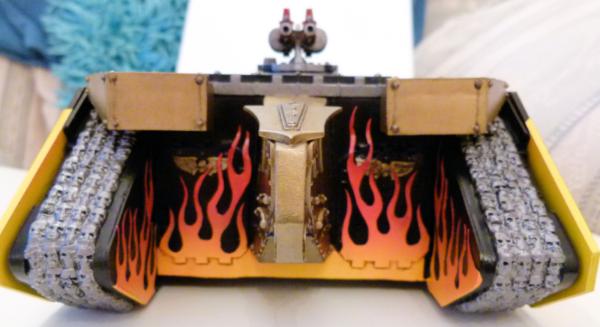
Here's a shot of the front......
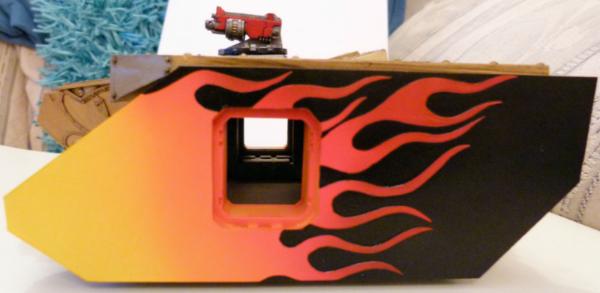
... and because I didn't think there was enough flames on the front, I did some up the sides as well!!!!
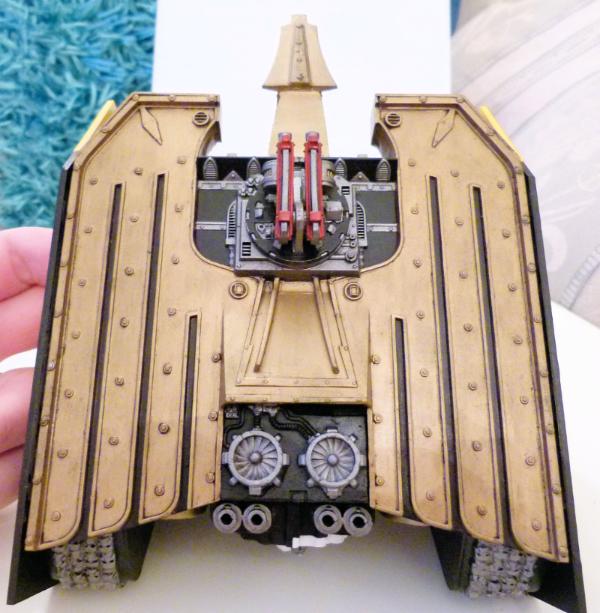
This shows the almost completed top view .....
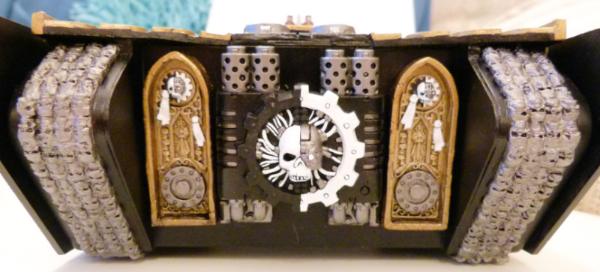
... and finally, the rear. Again, the Adeptus Mechanicus logo needs a couple of wires painted red and blue for this to be finished. I need to finish the purity seals and the exhausts will have a layer of purple and blue inks to mimic heat. Metal and rust weathering and the tracks need to be completed on this view.
I'll post more shots of these completed Land Raider's when I finish them.
Finally, a WIP shot of a Land Raider shield I'm working on....
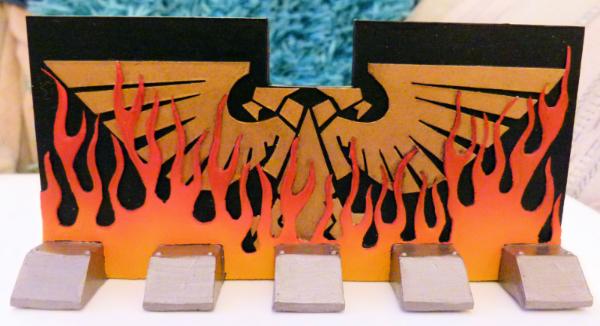
Comments and critiques as always welcome... I don't bite!!
Phil.
38750
Post by: philmorgan75
Big update time!!!
My birthday money has been wisely spent on lots of models!!! So without further ado, update time ....
Achilles Land Raider
My 2 Land Raiders are approx. 95% completed. These would have been finished by now, but I got side-tracked by birthday goodies (more to follow!).
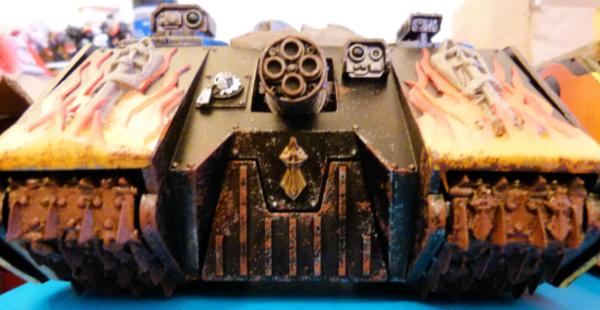
I've sponged on some metal and then some rust on the edges for the weathering. I'm waiting for the varnish to dry before I give a final drybrush of metal over the raised parts of the track treads. The purity seal will need to be finished and then some gloss varnish on the lenses of the sensors and this view will be finished.
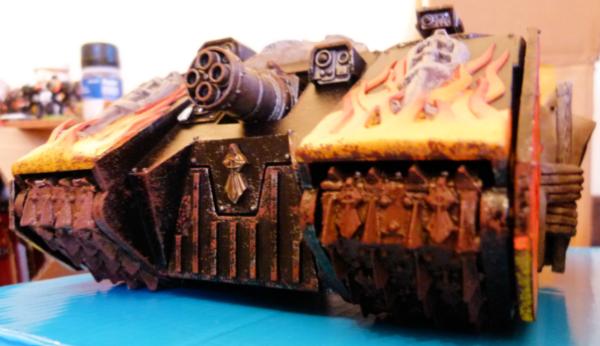
Another view.
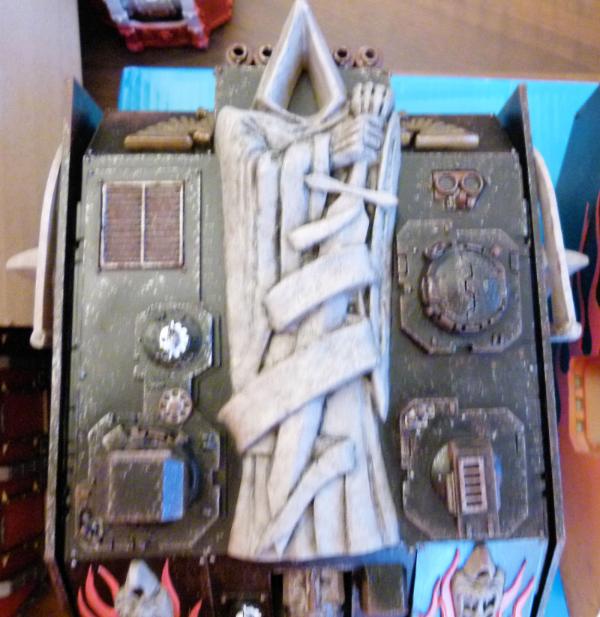
Apologies for the slightly blurred picture. Here's the top. Just need to paint the periscopes on the turret and this view will be finished.
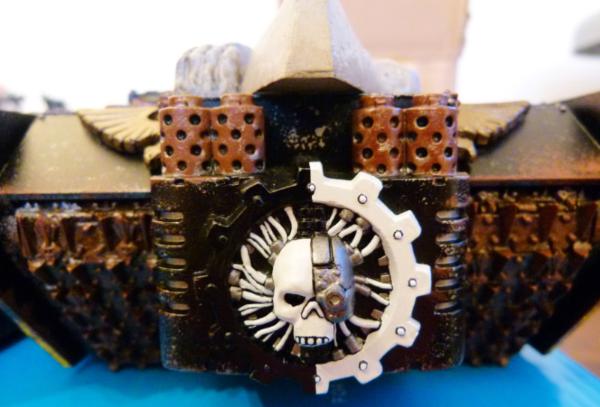
The exhausts need a light airbrush of black to represent soot and exhaust fumes. The tracks need a light metal drybrushing and the Adeptus Mechanicus symbol need a few of the wires painted red and blue for this view to be finished.
And finally for my birthday, I got a FW version of the Achilles!!
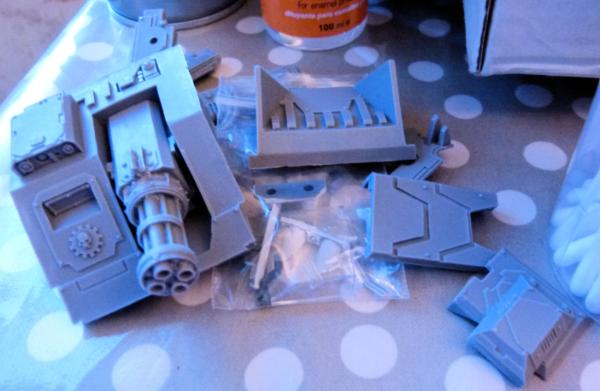
I've washed the resin and cleaned up all the parts. Just need to find some time to build another Achilles!
Assault Ram Land Raider
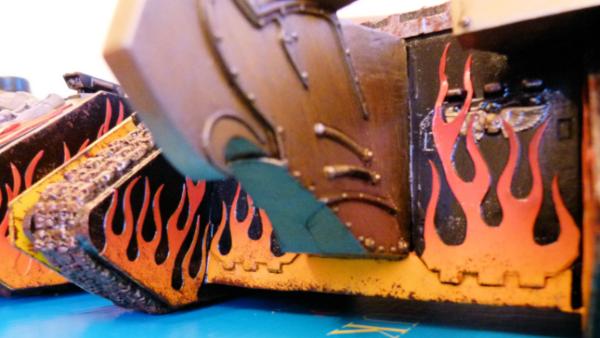
Again, metal and rust have been sponged on and the varnish is slowly drying. I need to airbrush some light green to give the Eagle's eyes a glow and a light metal drybrushing of the tank treads and this view will be finished.
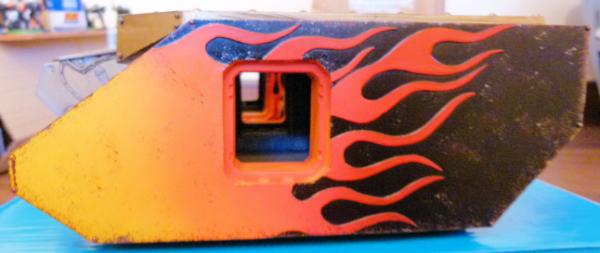
This shows the left hand side after weathering. I tried to add a rust streak from a few rivets as an experiment - Not 100% happy, but I feel without experimenting, you cannot push and improve your painting technique. This is the finished view.
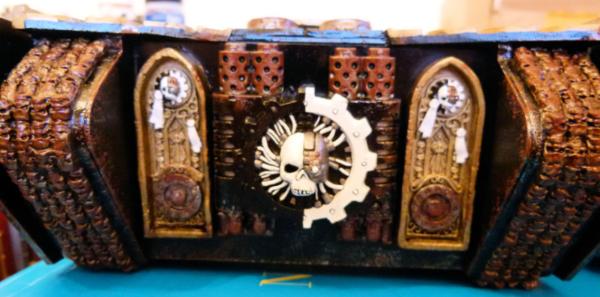
The rear is at the same stage as the Achilles - again the exhausts need a light airbrush of black to represent soot and exhaust fumes. The tracks need a light metal drybrushing, the purity seals need to have the was painted red and the Adeptus Mechanicus symbol need a few of the wires painted red and blue for this view to be finished.
Fortress of the Damned
I keep on putting off this project, but I have made a small amount of progress:
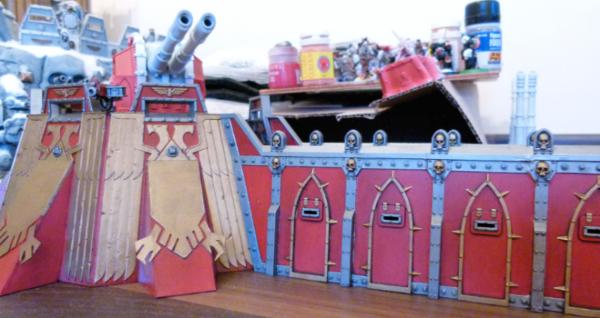
This shows one of the bunkers and one of the corridors. All the base layers have been painted and then black oil washed. I now need metal and rust to be sponged on for weathering, a few wires need to be painted on the inside of the bunker, the exterior lights need a light green blast from the airbrush to give a "glow"as well as the large lascannon on top for these to be completed. Only 3 more corridors and bunkers to go and then the tower!!!!!!!!!!!!!
Fire Raptor
Here's another of my birthday pressies - a Fire Raptor:
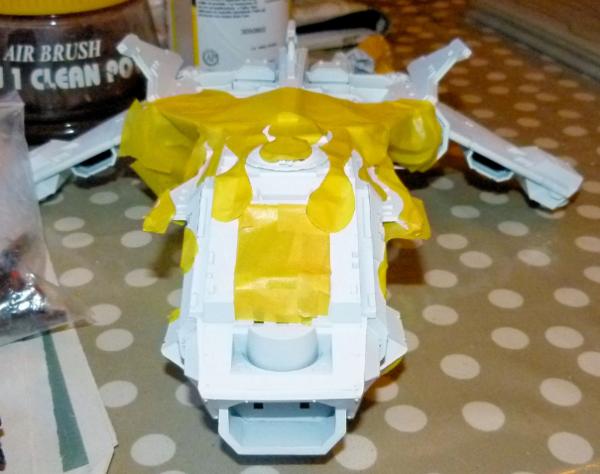
I had great fun building this. There was lots of resin that needed to have mould lines removed, even more filing to ensure all the bits fitted and then a lot of superglue and a small amount of milliput to make sure the gaps were filled. I undercoated this beast this morning (before taking my boys to play football for the local team) and once back in my house, I made out of Tamiya masking tape a flame template. As it was getting late (and dark) I thought I'd update my blog instead of breaking out the airbrush (that's tomorrow's bit of fun!).
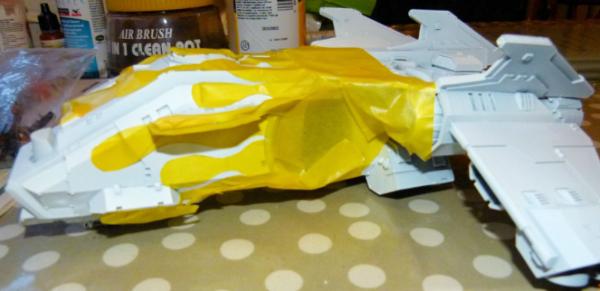
I plan on airbrushing flames over the front third of the Fire Raptor. Once dry, I may run another line of flames at the front to give a more 3D realistic effect.
I have a Storm Eagle on order and can't wait to get the Fire Raptor finished before the Storm Eagle arrives. No pressure then....!!!!
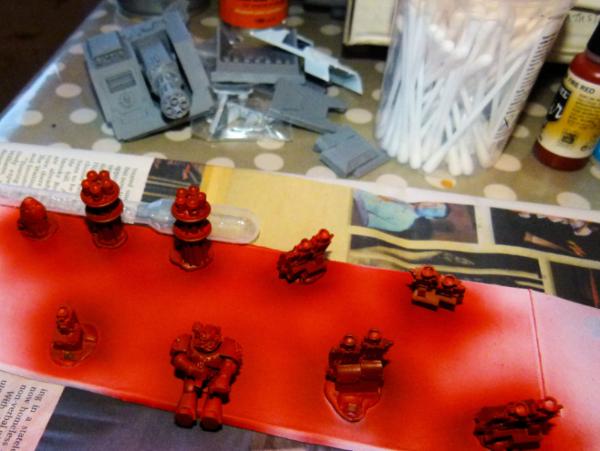
I did manage to use the airbrush this morning as well. All the things that needed to be painted red have had their basecoat. Everything will have a black oil wash to darken and to black line the details.
Scimatar Jetbike
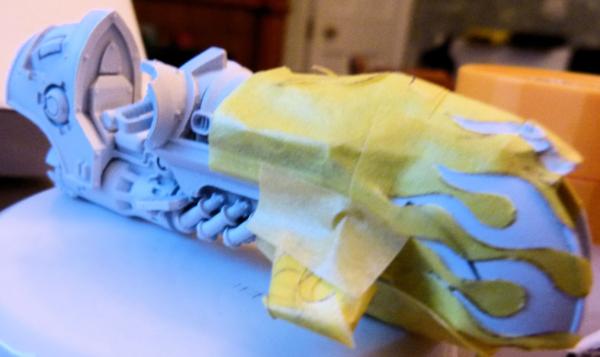
Another little pressie I had fun making. I thought that a small amount of flames on the front would look cool. I'll post some updates hopefully tomorrow.
Finally, my last birthday present:
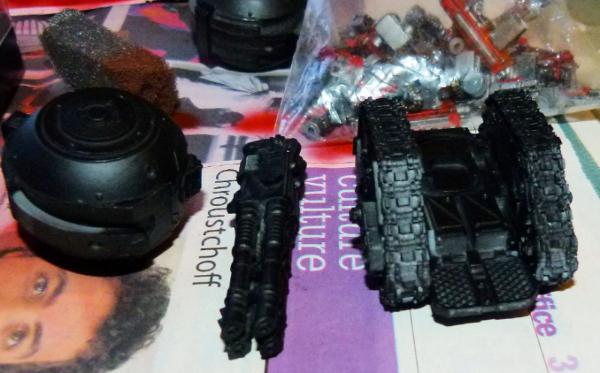
A FW Laser Destroyer Rapier.
Too many projects, so little time!!
Till next time, Phil.
38750
Post by: philmorgan75
I finished another 2 Land Raider Variants:
Achilles Land Raider
When FW released their LR Achilles, I liked the payload and decided to convert and make my own. Without further ado....
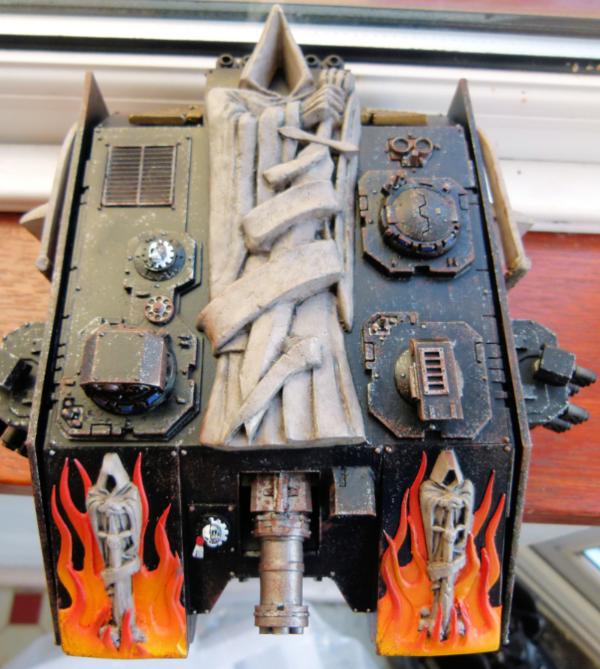
I chopped up a Fortress of Redemption to make the statue and then decided to run with this theme all over the Land Raider. I was going to give the statue a "marble" paint job, but in the end, I painted it to resemble stone. I used 2 of the inserts from the Fortress of Redemption as front trackguards and then sculpted some flames out of milliput. I used an airbrush to paint the rear flames. Once dry, I used blutac to mask off the rear flames and then airbrushed the front flames.
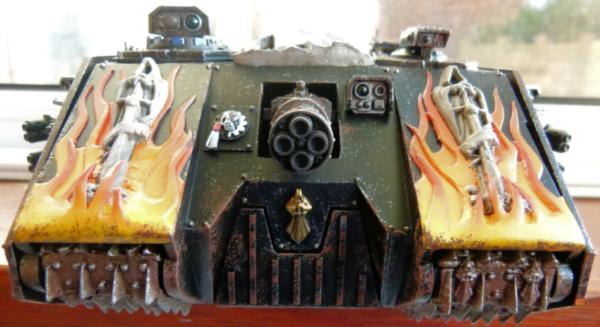
I got the Thunderfire Cannon from a bits site and then made the front armour out of plasticard and a cut down front ramp from the Land Raider. Apocalypse Command sprue, Storm Lord Mega Bolter and Valkyrie sensors were added as well as some tichytrain rivets to add a bit more realism. Dark Angel icons were added on every other track tread (from Machinator at Blood and Skulls Industry). I added a bit of metal and rust weathering to hopefully look realistic.
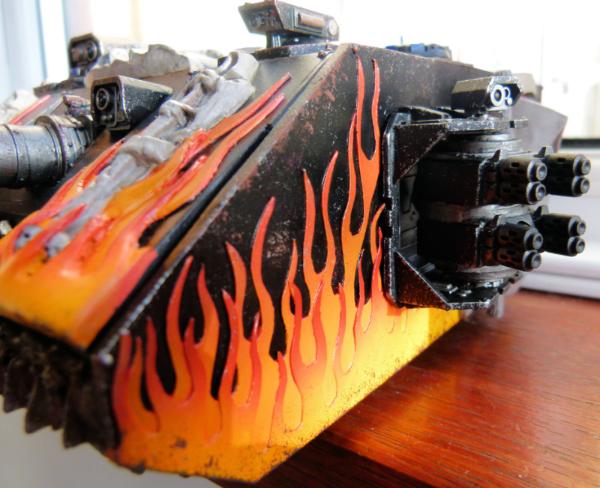
This shows the front left quadrant and the Quad Multi melta sponsons. The sponsons were made from 2 Storm Raven front weapons, some plasticard and milliput. The sensor was from a Vindicator. The flames were originally cut out of and made from thin plasticard. After airbrushing the rear flames, I again masked the rear flames with blutac and then airbrushed the front flames.
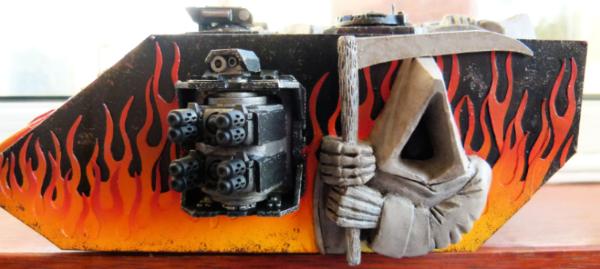
Here's a shot of the whole of the left side. The Dark Angel was sculpted from milliput with a plasticard scythe.
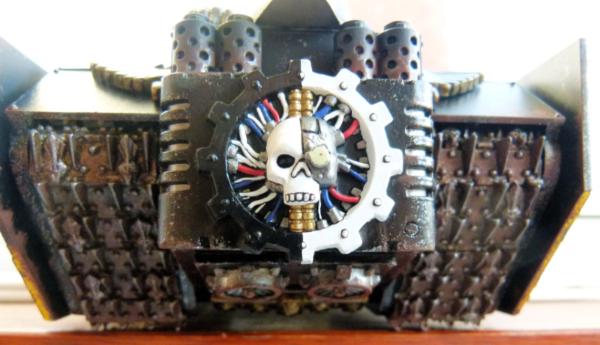
Parts from the Cities of Death (Adeptus Mechanicus logo) and vindicator fans were used here.
I made this model around 4 years ago and I am glad to have finally finished it!
Assault Ram
When the Caestus Ram was released, I liked the idea of it crashing into vessels and allowing the Space Marines within to be released unharmed directly into the space ship. With that in mind, I wanted to try and make something similar using the Land Raider and the Shrine of Aquilla as a base. Without any further ado, I give you the "Assault Ram".....
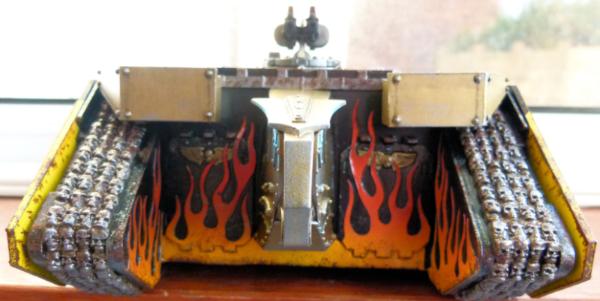
I widened the LR by using plasticard. I spaced the LR hatches either side of the Eagles head. Thin plasticard was used to make the flames which were then airbrushed. The tracks were made from lots of skulls and was a pain to make!! The Twin Heavy Bolter was converted from the Sisters of Battle Immolator.
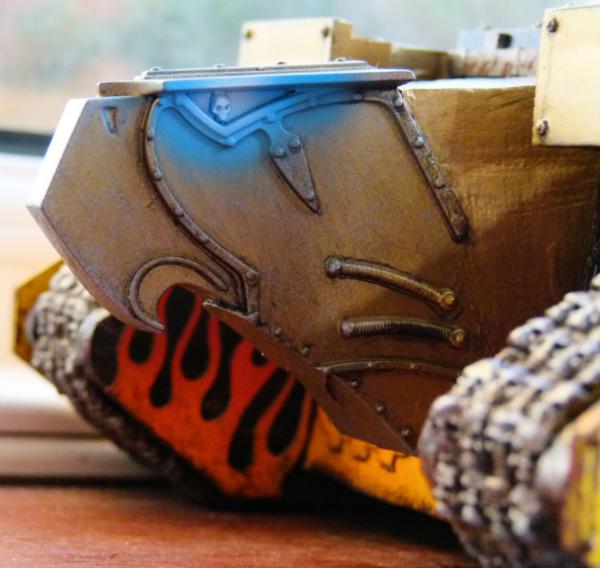
I decided to give the Eagle a plasma glow effect to the eyes. The head was converted to look forward, rather than the usual "look to the skies" with milliput.
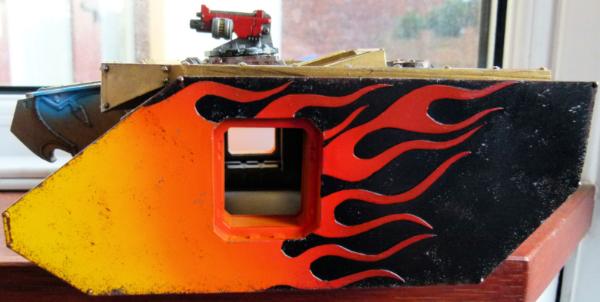
I made the side armour out of thick plasticard and then made the flames out of thin plasticard. The flames were airbrushed as usual. The only thing I haven't decided upon is the sponsons. Peoples thoughts?
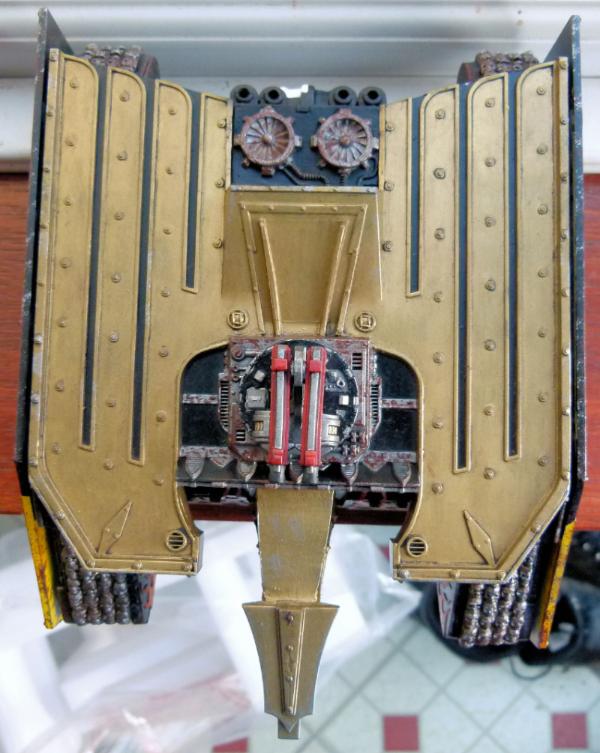
This shows the Shrine of Aquilla that I had to convert to fit. The vindicator fans were added at the rear.
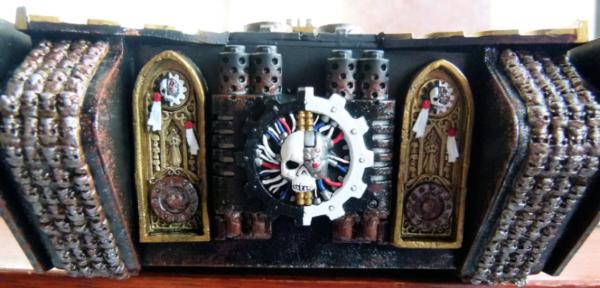
And finally, the rear. The engine was made from the usual Adeptus Mechanicus logo and 2 Baneblade engine pieces.
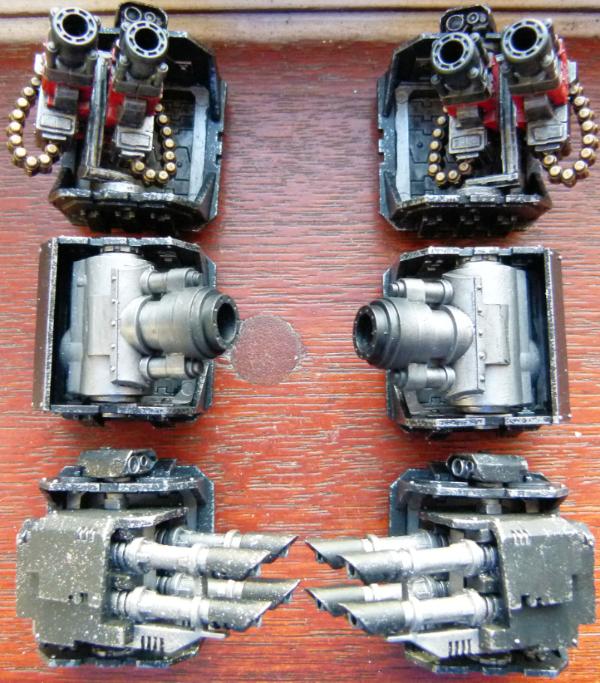
These are the sponsons I have made so far:
Twin Frag Cannons, Demolisher Cannon and Quad Las Cannon sponsons.
Fire Raptor
Broke out my airbrush today...........
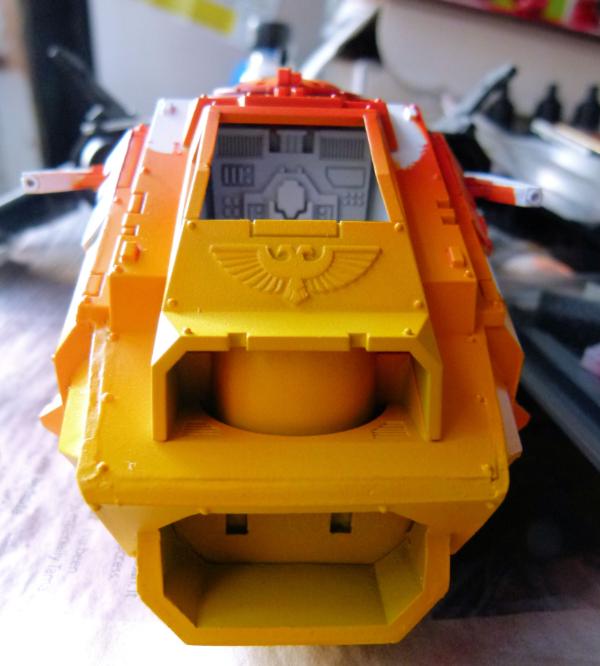
A very yellow looking Fire Raptor!! I've given it a coat of varnish and once dry, I'll black oil wash the recesses and rivets. Once dry, I'll clean up the excess and then varnish it again. A bit of metallic weathering and she'll be done.
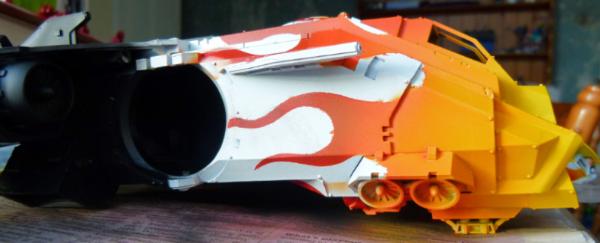
This shows the right side after I removed the masking tape. As you can see, there was a small amount of paint bleed under the masking tape which can easily be remedied with a bit of black paint. I've decided not to do another layer of flames as the risk of paint bleed will ruin the effect I want.
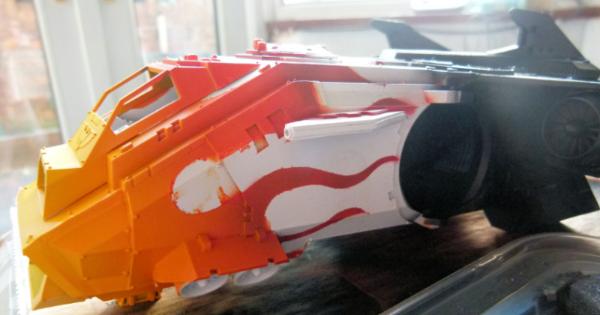
This shows the left side. I painted the rear quickly with the airbrush. The rest of the bird (currently white) will need to be painted by hand.
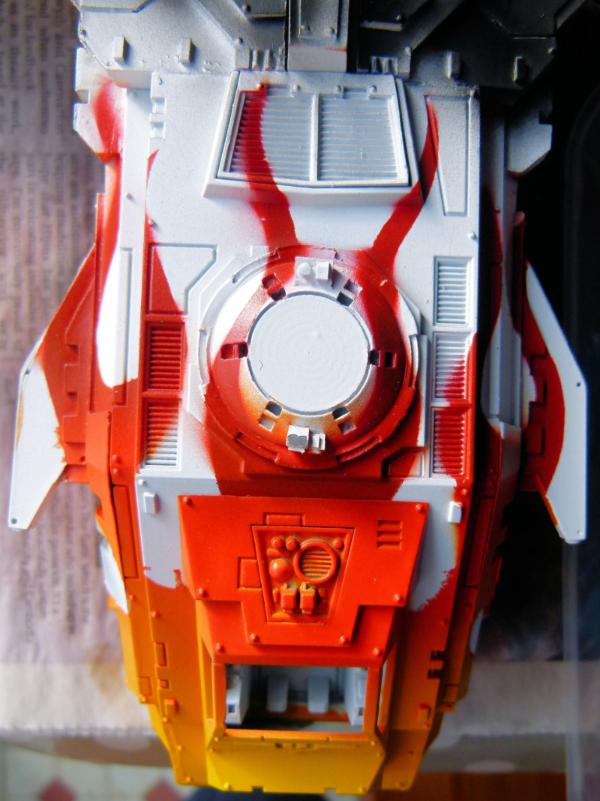
This shows the top view. Once the varnish is dry tomorrow, I'll paint the black around the flames and this will make a huge difference to the look of the Fire Raptor. I'm getting excited about how she's going to turn out!!!
Scimater Jetbike
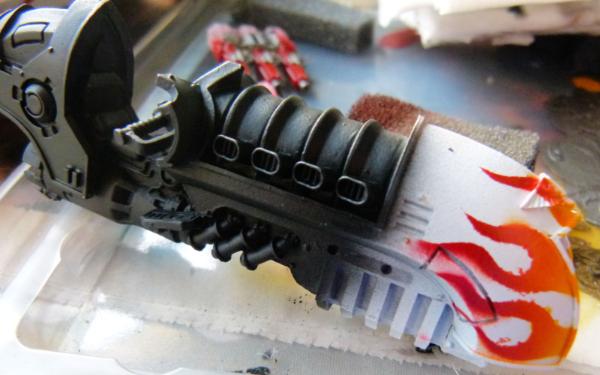
Bit of paint bleed, but again, a bit of black paint and this will look cool!
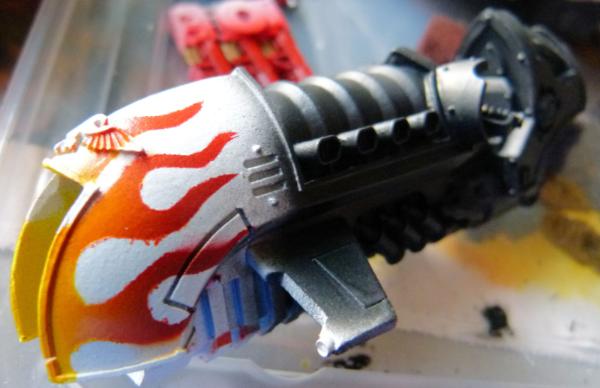
This hot rod is going to turn out brilliant!
Comments and Critiques are always welcome.
Regards, Phil.
38750
Post by: philmorgan75
Update time:
Scimatar Jet Bike
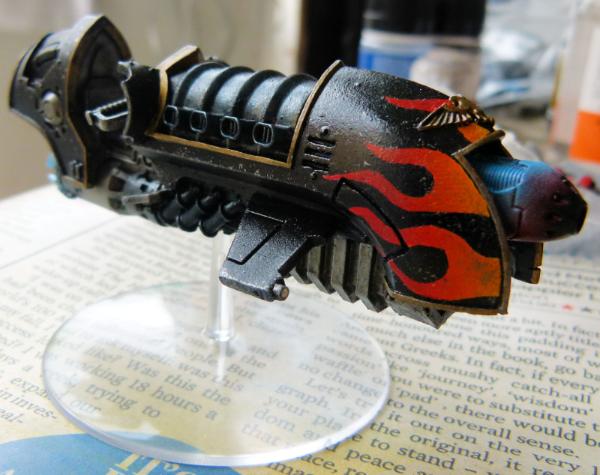
I've done some light weathering and a bit of metallic blue weathering powder over the parts of the metal that would be hot. The Plasma gun has had a quick blast from the airbrush to give the necessary glow.
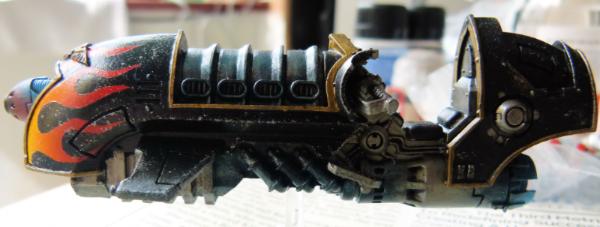
This shows the almost completed left side. Just need to paint the seat and screens as well as the rider and this will be finished.
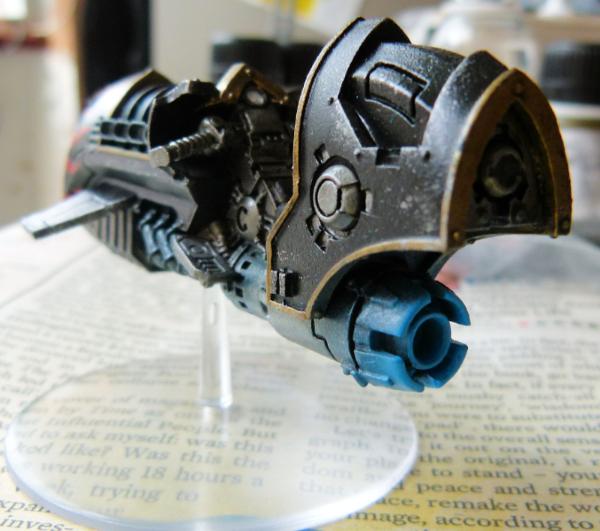
I also added a blast of "Plasma glow" to the after burner as well. I just need to buy another 2 for this squadron to be completed!
Fire Raptor
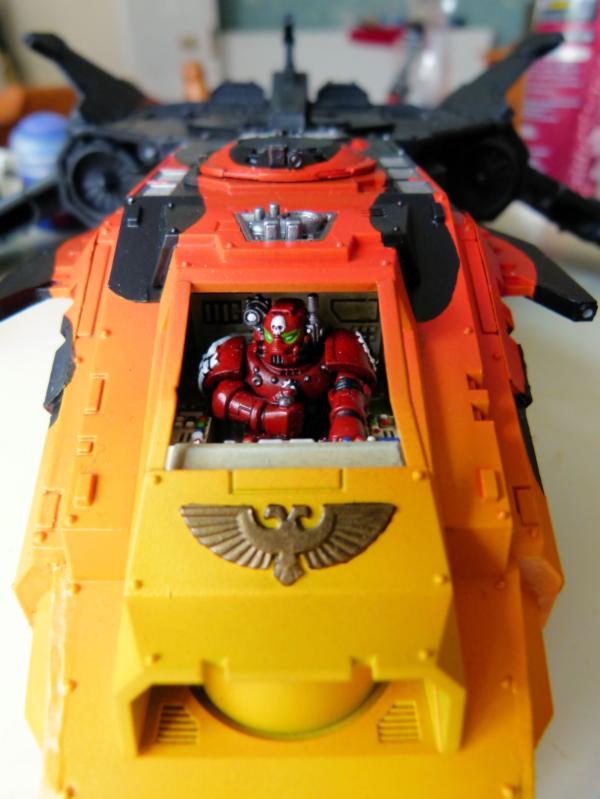
I've made a little progress on my Fire Raptor. Here's what the front currently looks like. I need to paint all the metallic first and I'll then give everything a blast of varnish before I start a bit of black oil wash to dirty up the metals and to make the seams and rivets "pop".
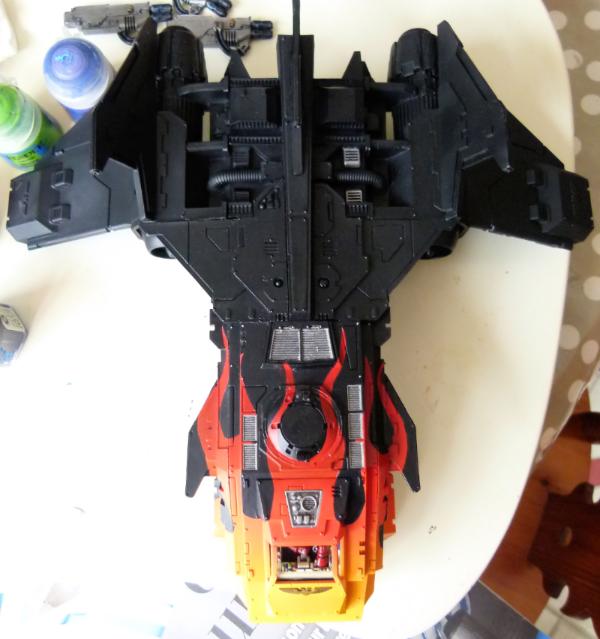
This is what the top view looks like. As you can see, there's a lot of metal that will need to be painted before the varnish and the oil wash gets applied!!
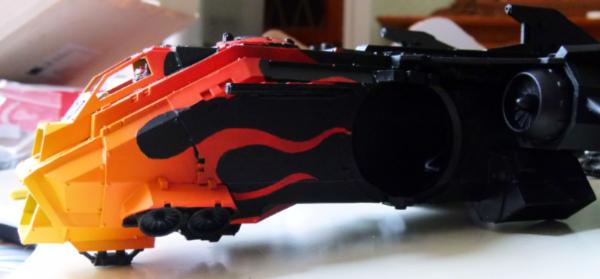
This shows the left side of the Fire Raptor. I varnished the model after painting the flames, which has meant it has taken multiple coats of black before it's got to this stage. Lesson learnt! I hope to finish the metallics over the next couple of days (hopefully before the Storm Eagle arrives and this project grinds to a halt!). I've already finished all the extra parts, so only the fuselage is needed to be finished now!
Large Space Marines
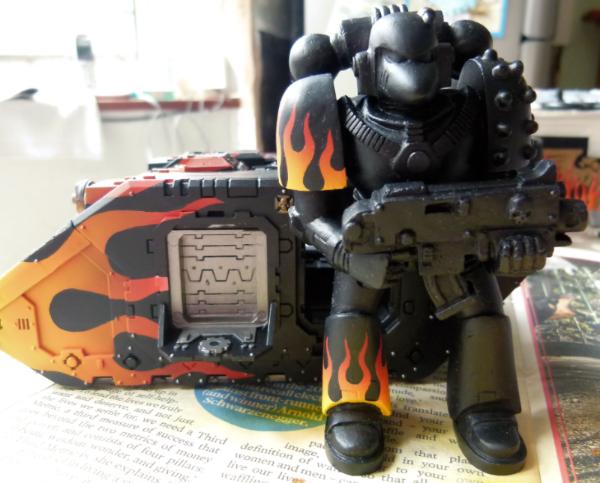
I thought as I had my airbrush out making the flames on the Land Raider Achilles, I may as well start painting some of the Large Space Marines I made a few years ago. This shows the Mark 6 'Corvus' Armour variant. You can see the size of the SM next to my newest FW Land Raider Achilles.
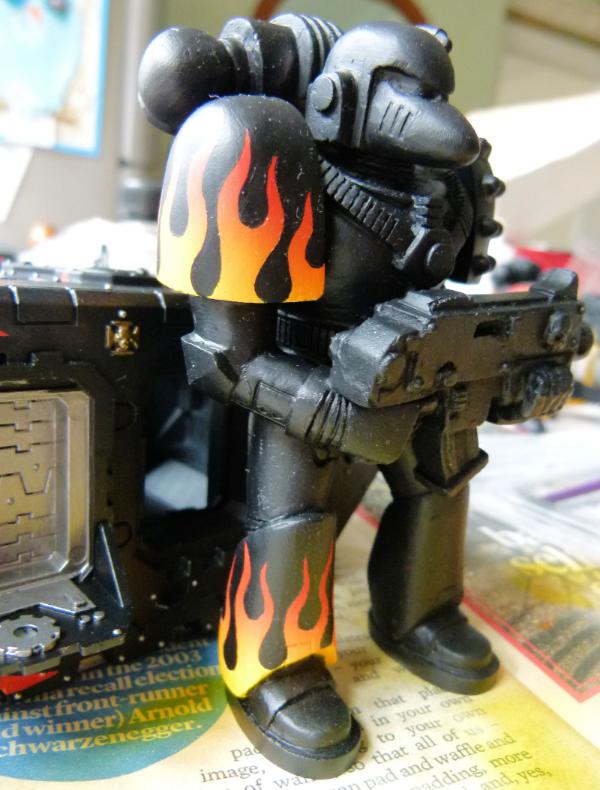
This photo shows that I'll need to dust the shoulder pad before I varnish it! I really like the pose of this SM and I'll probably make another one in the future and make it into a statue.
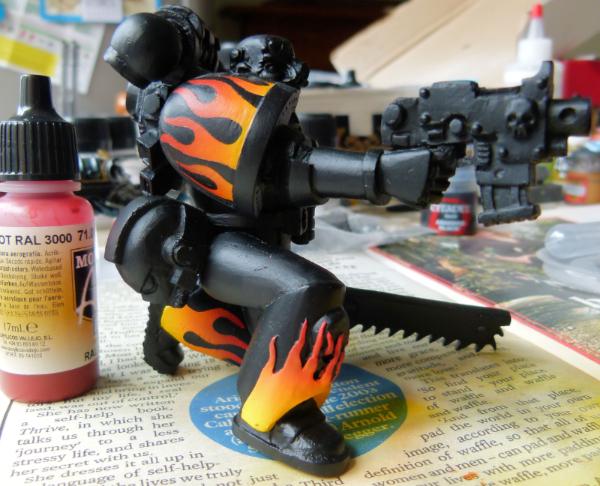
Here's the WIP Sergeant....
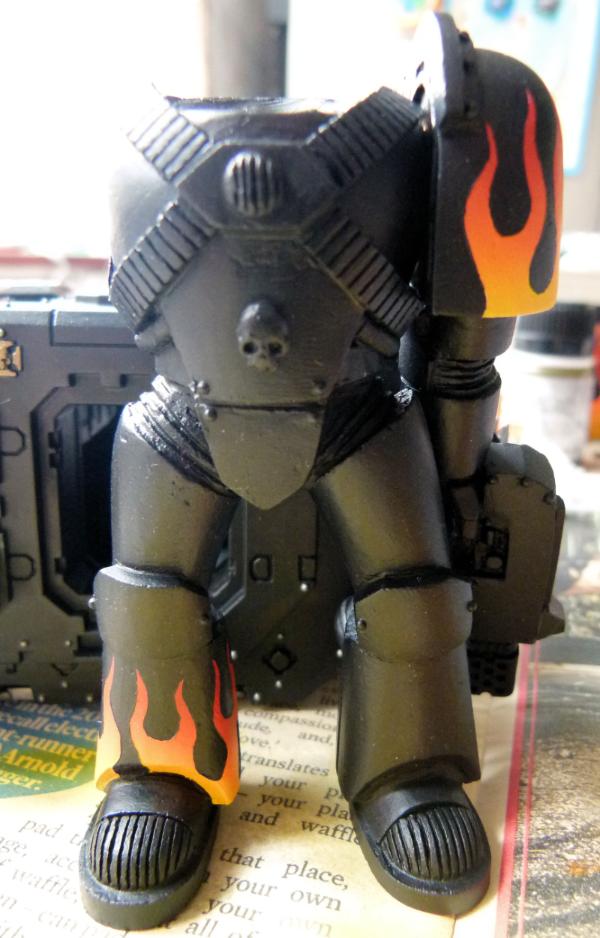
..... and a Mark 4 Assault Marine (with Hand Flamer).
FW Land Raider Achilles
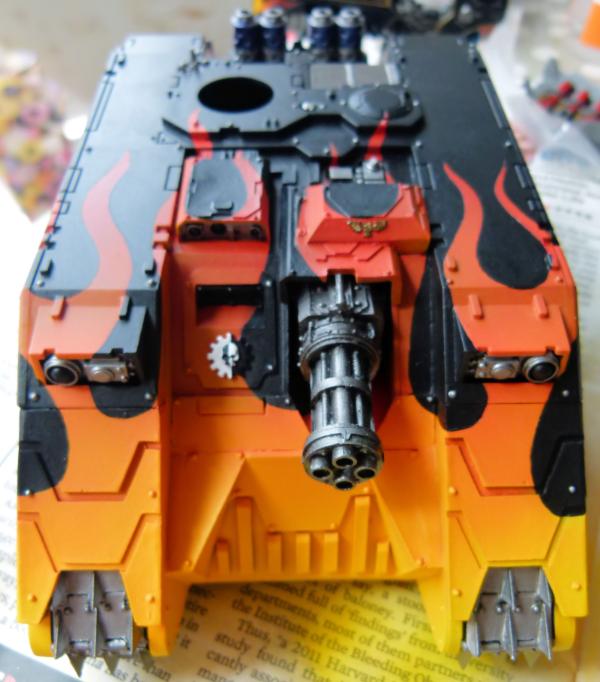
I've made a lot of progress on my second Achilles. All of the main colours have been painted. I'm waiting for the Fire Raptor metals to be finished before I varnish this tank. A quick black oil wash and the rivets and seams will again "pop". The treads will be washed with AK Interactive Track wash and then the usual weathering of sponged metal and rust to finish.
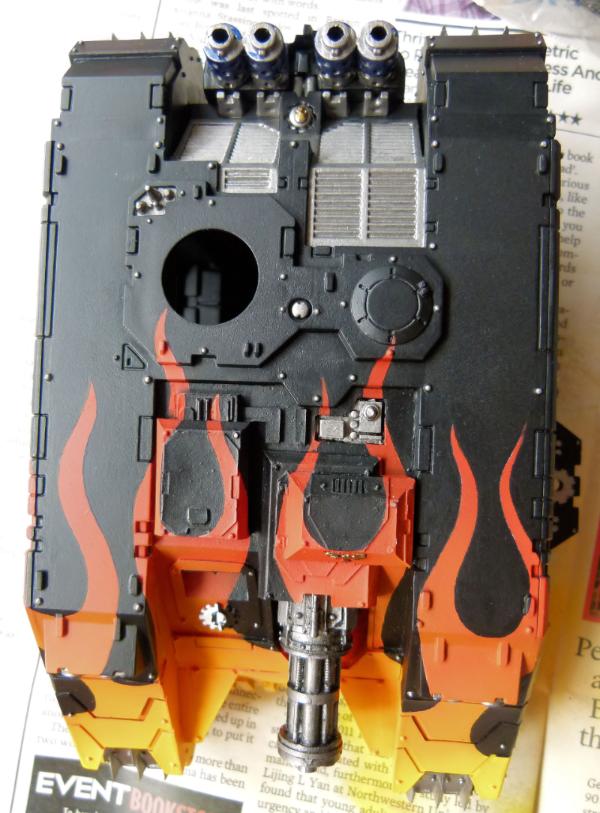
This top view shows how I've tried to wrap the flames around the different parts of the tank.
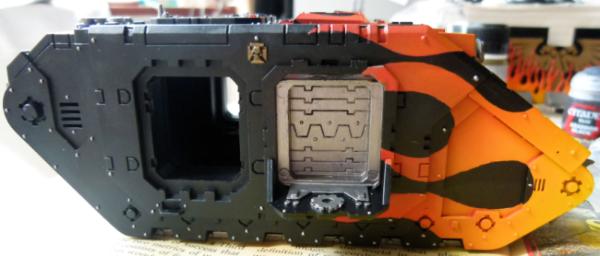
This shows the right side awaiting its varnish and black oil wash.
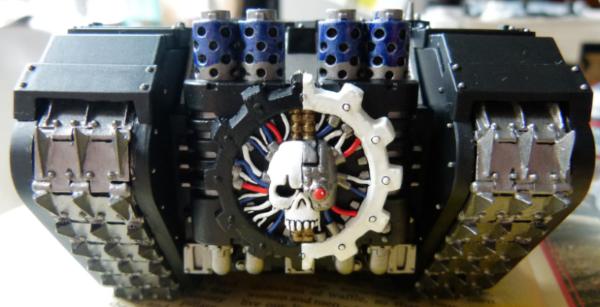
.. and finally, the rear view. The exhausts have had a blue wash added to mimic heat. The exhausts will need to have some rust sponged on and then a quick blast of black from the airbrush to mimic smoke.
Imperial Decimator
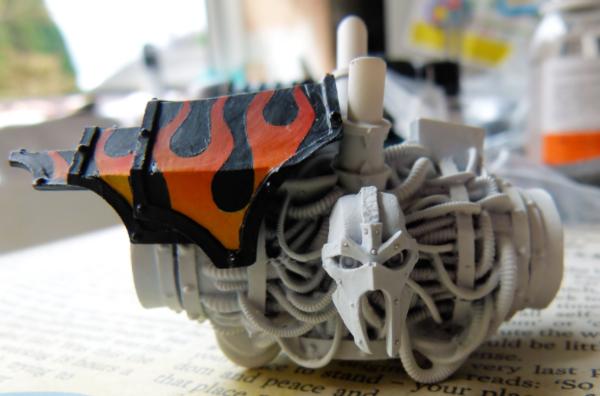
I like to have a lot of projects on the go at the same time and this is another project I've started. I removed all of the chaos iconography using a scalpel and lots of filing and a bit of milliput to cover any holes. I wanted to have a dreadnought that stands out from the rest. The armour plates will have the usual flames airbrushed on them and then gold/bronze frame around them. I'm really looking forward to how this one turns out.
Critiques welcome as always...... Phil.
38750
Post by: philmorgan75
Update time:
Finished another Land Raider Variant today:
FW Land Raider Achilles
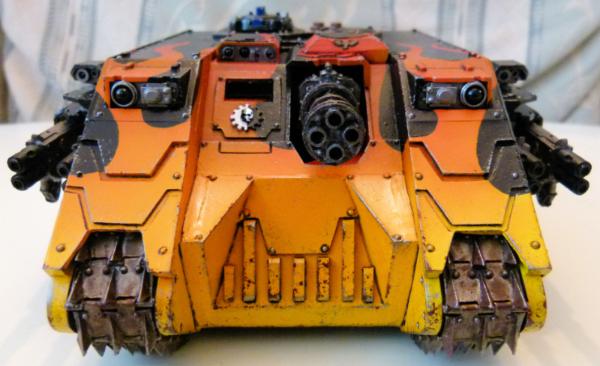
Front showing my usual airbrushed flames and rust and metal sponged weathering.
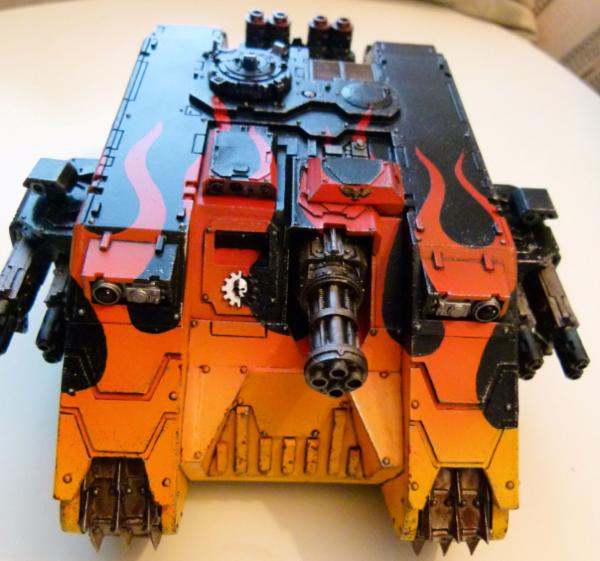
Slightly higher view.
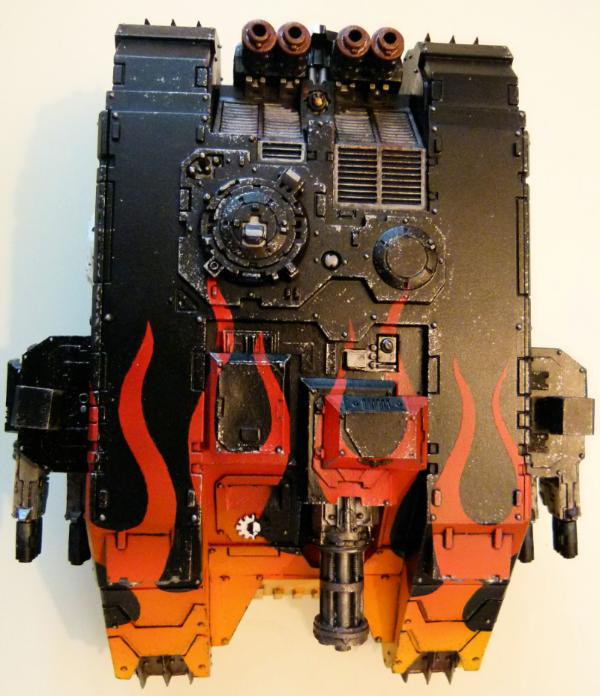
Top plan view.
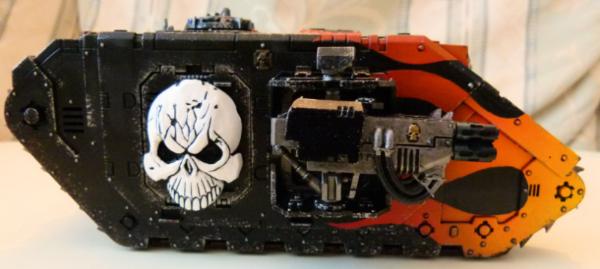
Right side.
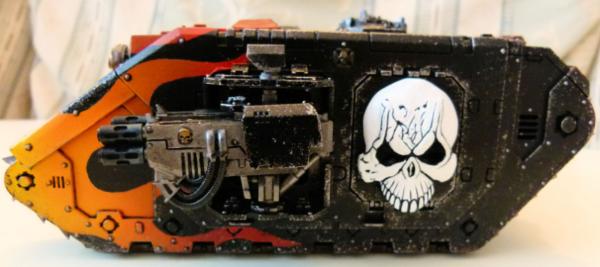
Left side....
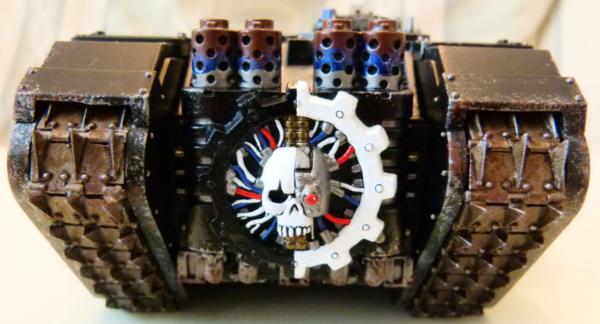
... and finally, the rear. I've since added a small amount of black airbrushed over the top of the exhausts to simulate soot.
10cm Large Scale Mk6 Corvus Armour Space Marine
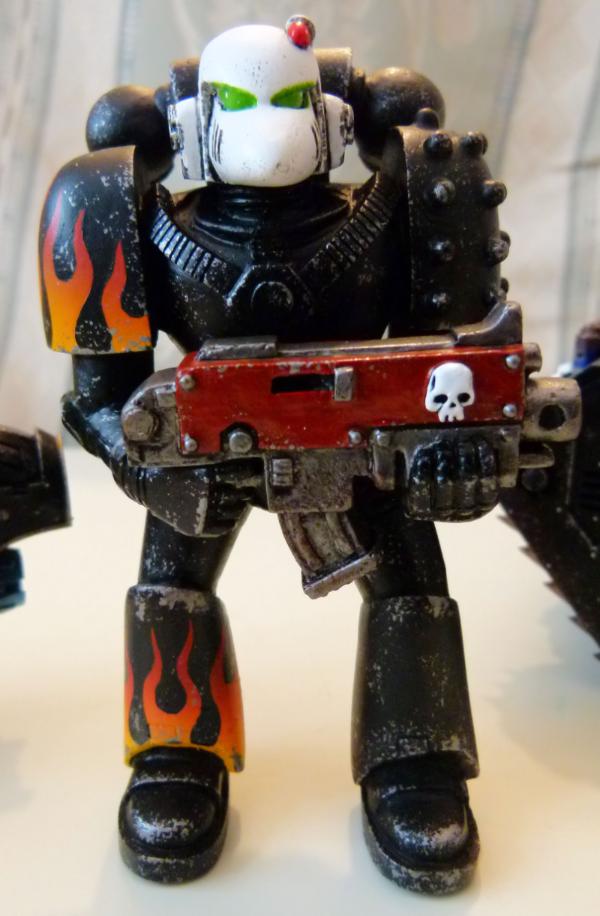
I finished my second Large Scale Space Marine also today. This shows the front view.
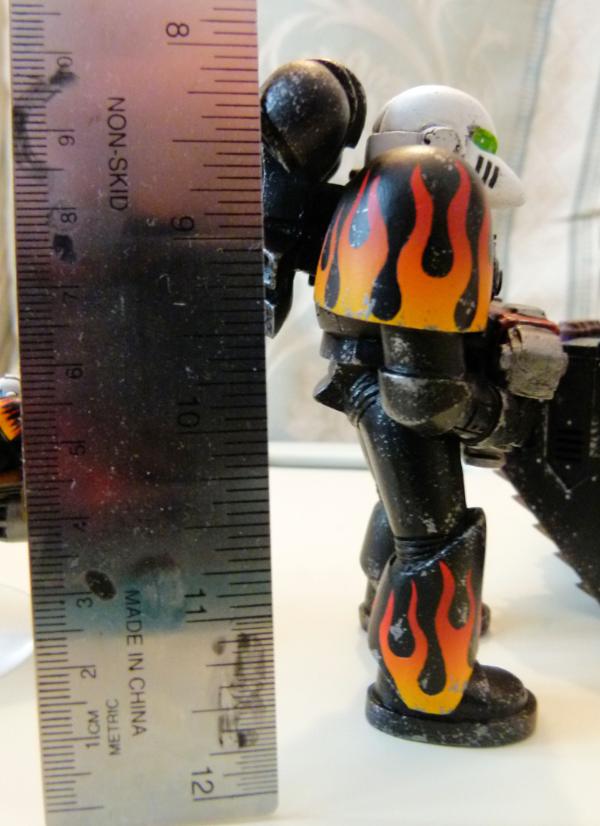
This shows the right side and a ruler to prove size.
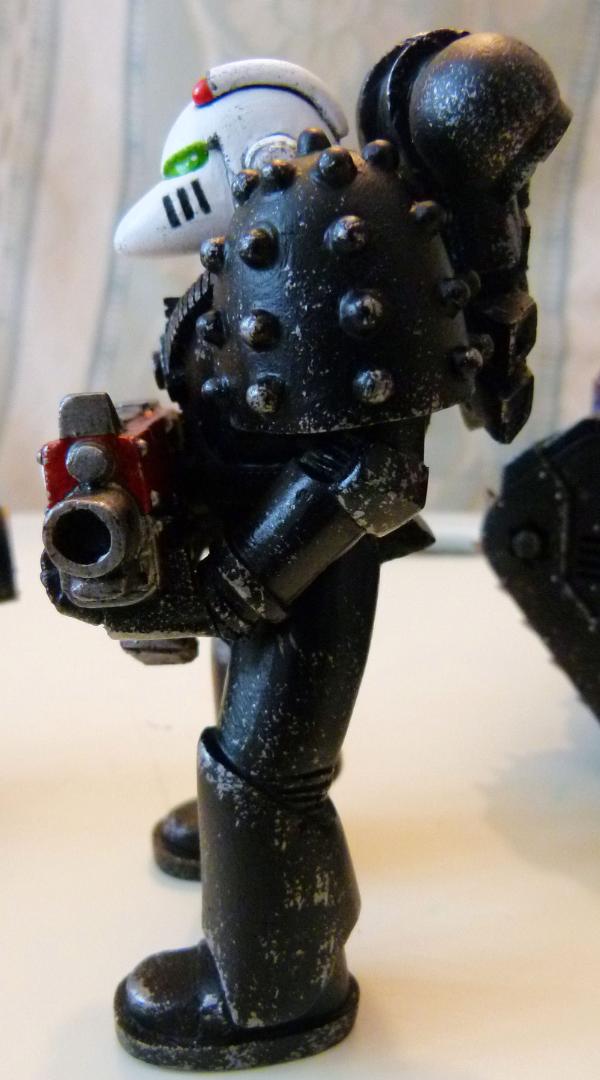
Left side...
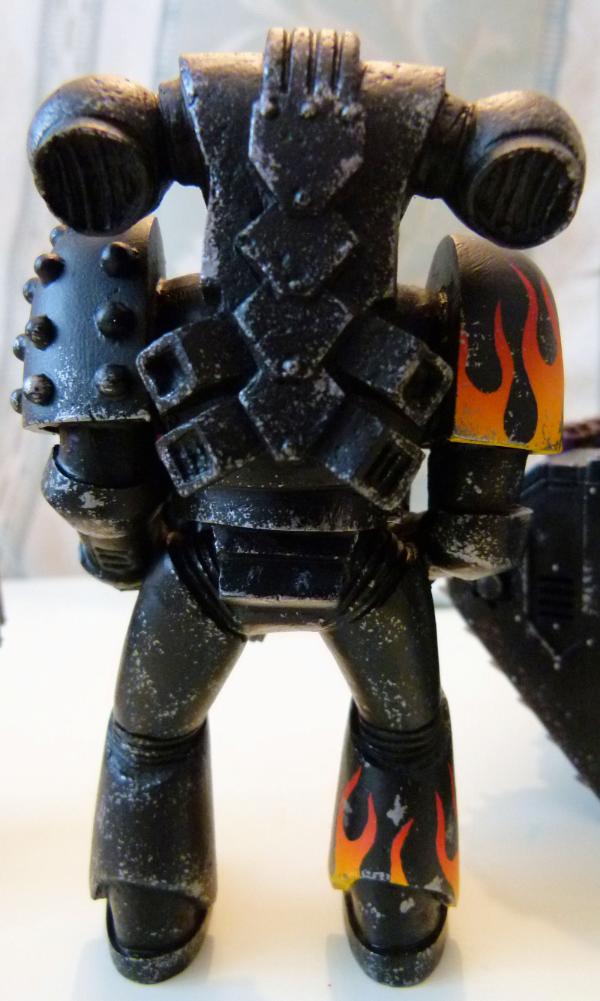
.... and the rear. I have a couple more Large Scale Space Marines in various WIP stages. I'll post some more over the next couple of days.
Scimater Jet Bike
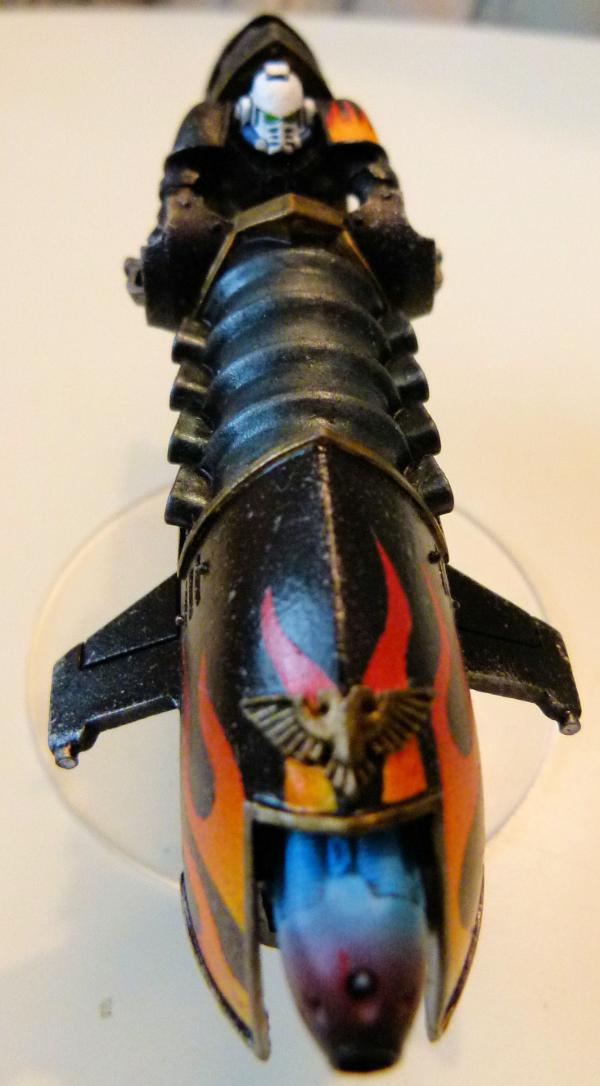
Finally finished painting the SM Rider today.
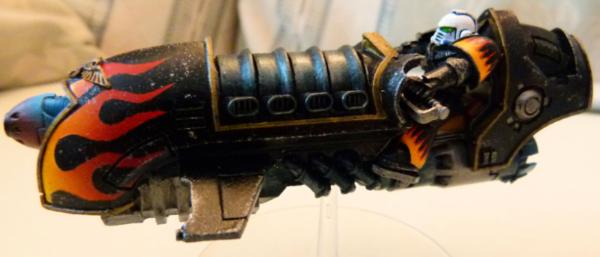
This shows the completed left side.....
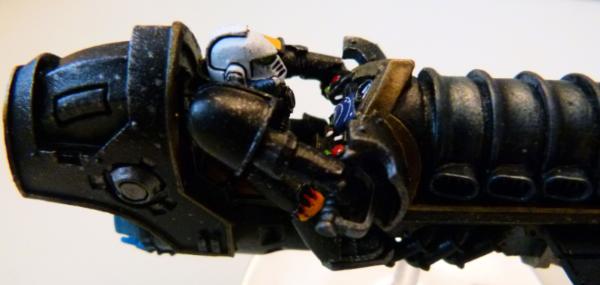
..... and right.
FW Fire Raptor
As planned, my Storm Eagle turned up today in the post, so it was imperative I finished the Fire Raptor. So without further ado.....
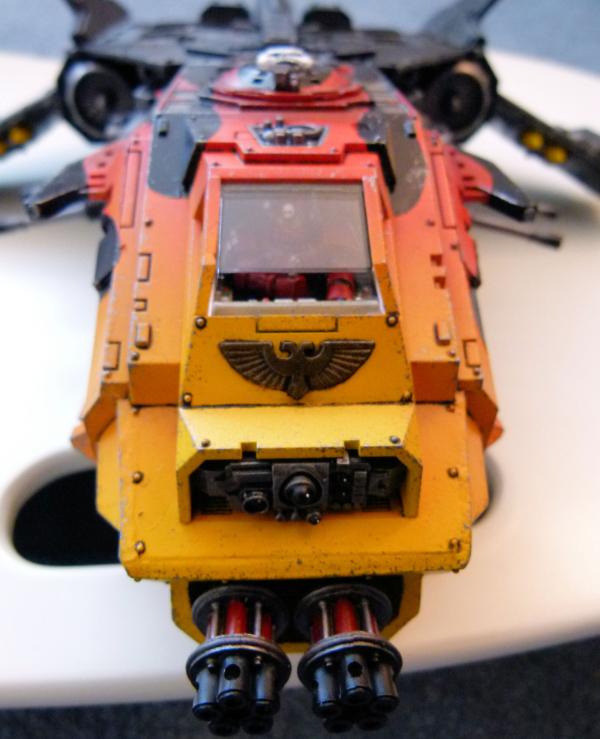
This shows the completed front.
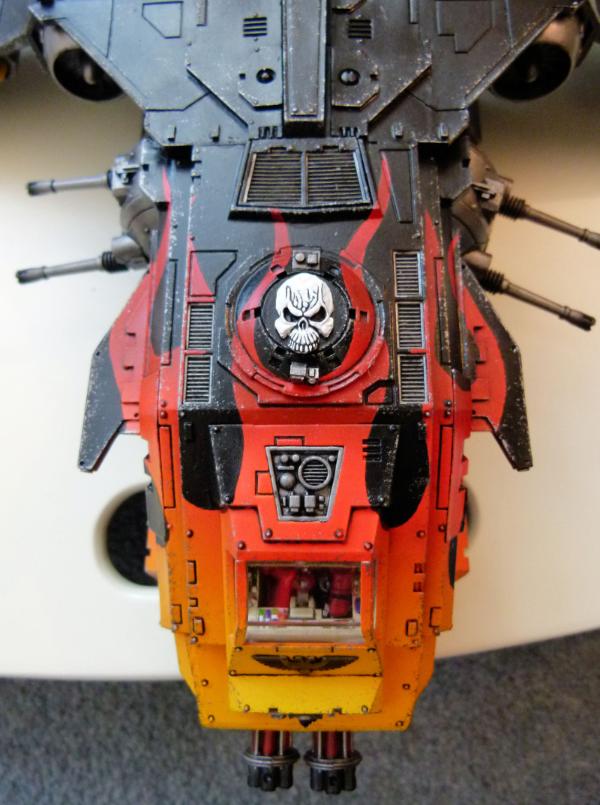
This shows the completed flames over the front of the Fire Raptor. The weapons in the sides are magnetised so I can swop the auto cannons out with twin heavy bolters should I wish to.
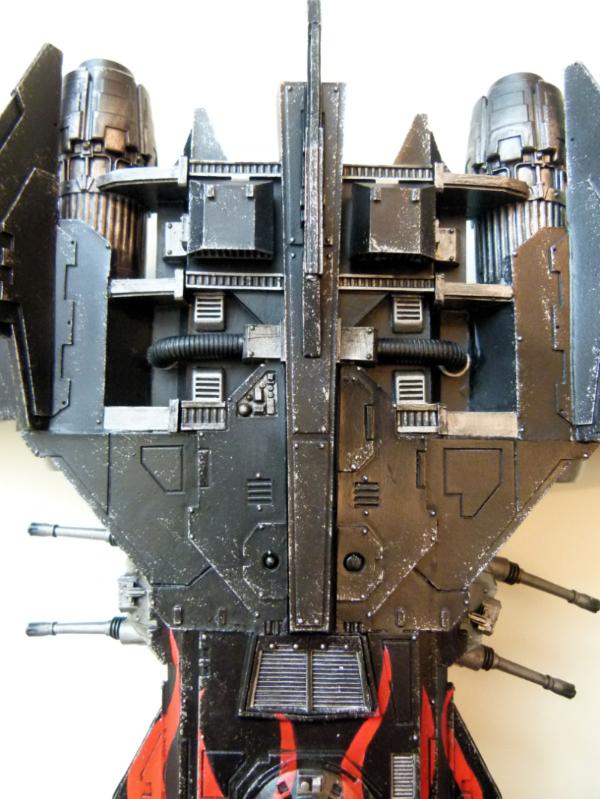
Top rear. The exhausts had a blast of black from the airbrush.
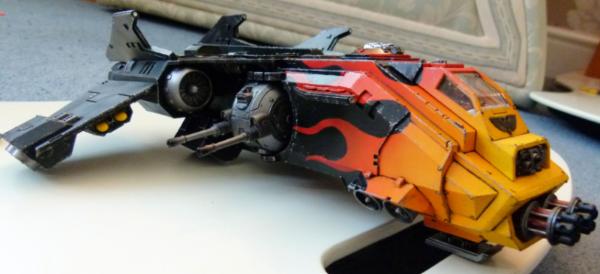
Right Side.
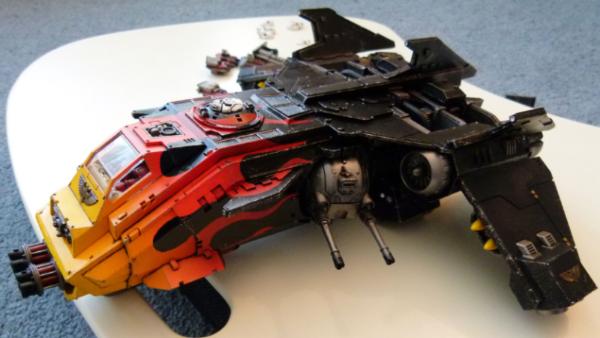
Left Side.....
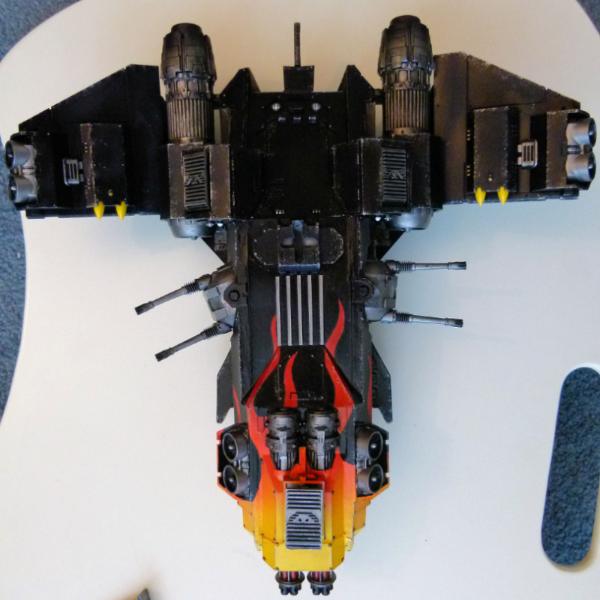
..... and underneath.
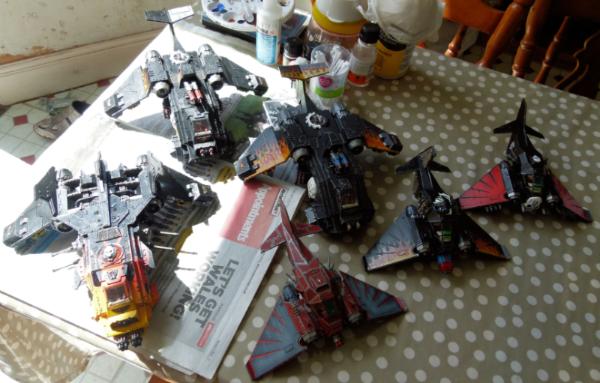
This shows a group shot of all of my completed SM Aircrafts.
Do I carry on painting or do I make my new Storm Eagle? Decisions, decisions!!!!
Till next time, Phil
Till next time, Phil.
38750
Post by: philmorgan75
I decided to make my Storm Eagle!
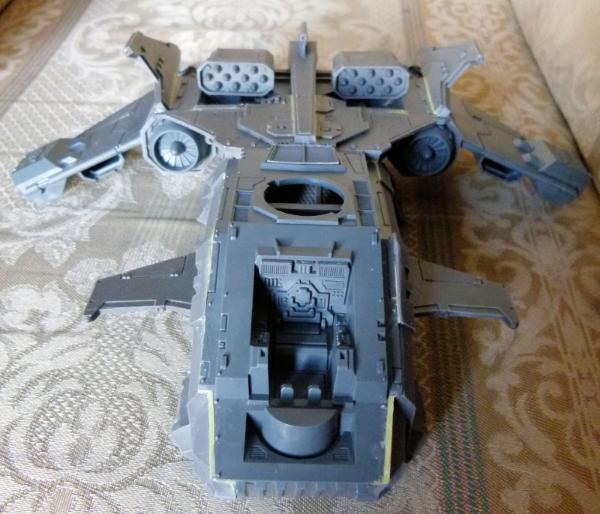
With a bit of hot water and a bit of bending, I managed to get it together quite quickly. All gaps were filled with milliput - a bit of paint and no one will see!!
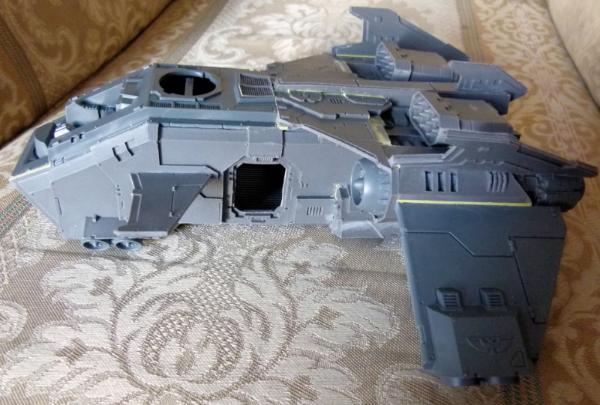
I love the shape of this aircraft compared to the usual brick of the Storm Raven! I've undercoated it since the photo and will take some more progress shots in the future.
Contemptor Dreadnoughts
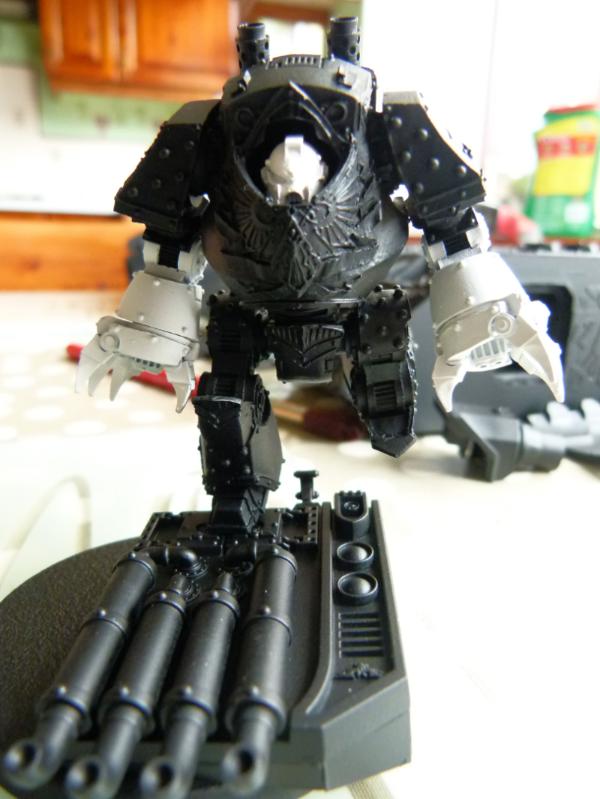
As I didn't know what weapon payload to arm my dreadnoughts with, I added a lot of magnets and can now swop all the FW variants. I removed all the Emperor's Children Iconography before I started to paint in my usual Legion of the Dead livery. The claws were undercoated white to give a brighter flame effect.
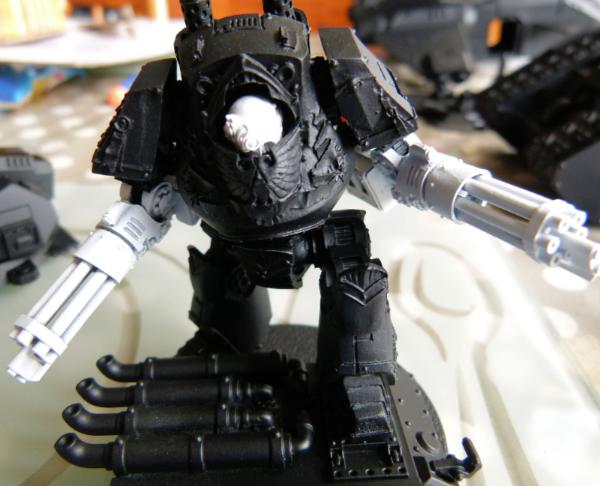
The second dreadnought has a magnetised midriff so I can move the pose around depending on what weapons I want it to have. The helmet can rotate as well as the shoulders, elbows and weapons.
I hope I can do a good paint job on them.
Large Space Marines
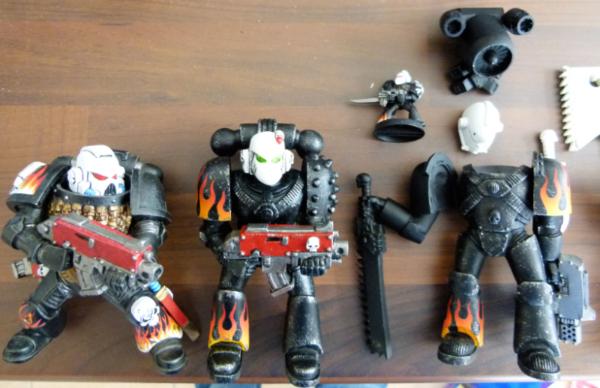
Thought I'd take a couple of shots of the WIP Large Space Marines.
From left to right:
Mk 8 Errant Armour: Thought this was finished but as I have now started to sponge on damage to my models, I'm going to have to go back and revisit this one. I'm also considering repainting the eyes.
Mk 6 Corvus Armour: Finished.
Mk 4 Maximus Armour: Right arm, Helmet and Jetpack undercoated. Need to finish hand flamer.
I threw in a normal Mk6 SM to show scale.
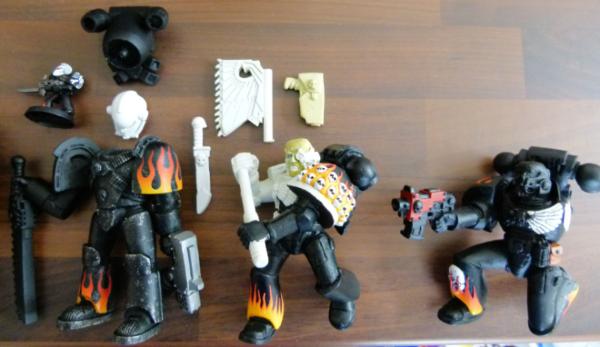
Middle:
Mk 6/7 Hybrid Armour: Chain axe, face, right arm and skulls on left shoulder pad to be completed as well as the usual weathering.
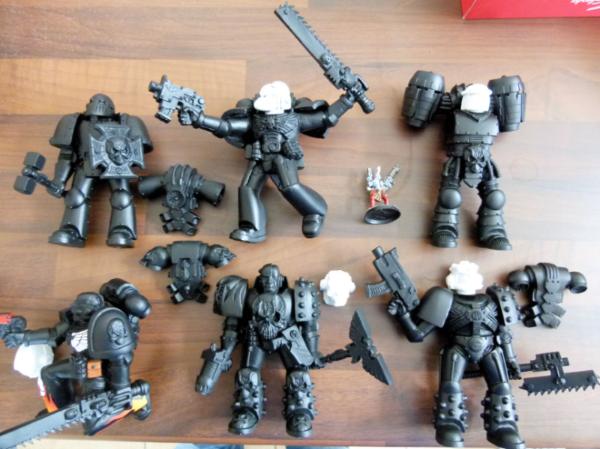
From Top left:
Mk 3 Iron Armour: Only undercoated.
Mk 6 Corvus Armour: Only undercoated.
Mk 2 Crusade Armour: Only undercoated.
Mk 6 Corvus Sergeant: Flames, bolt pistol and half of imperial eagle on chest completed.
Mk 5 Heresy Armour Chaplain: Only undercoated.
Mk 5 Heresy Armour: Only undercoated.
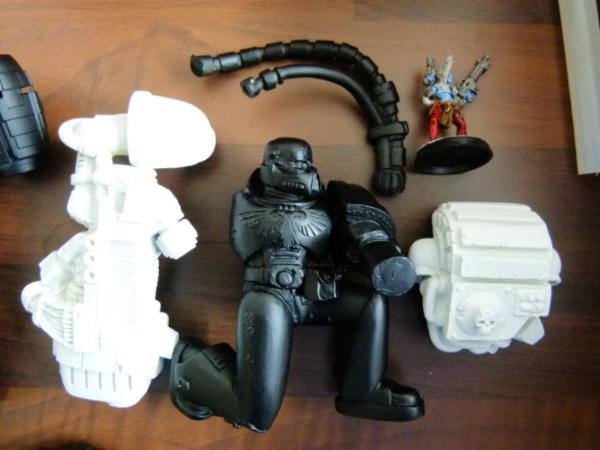
and finally... Mk 6/7 Plasma Cannon: Only undercoated.
I'm now spending time completing the laborious and monotonous task of masking off the templates to allow me to airbrush the flames.
Update soon, Phil.
38750
Post by: philmorgan75
Land Raider Ares
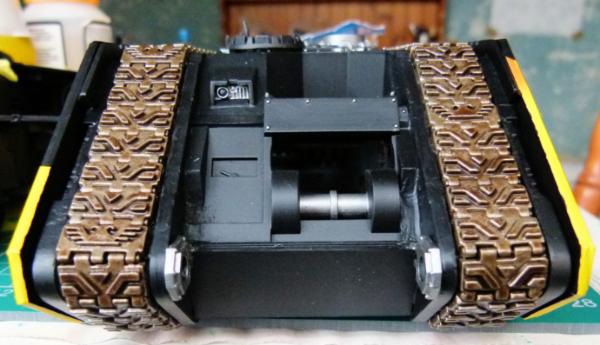
I made this from one of my reclaimed Land Raiders from ebay a number of years ago when the Land Raider Ares first came out. I wanted to try out some wrap around tank treads as well. In this WIP, I've weathered the tracks with some AK Interactive Track Wash. Once dry, I'll give the whole model a blast of matt varnish before I move onto the black oil wash stage.
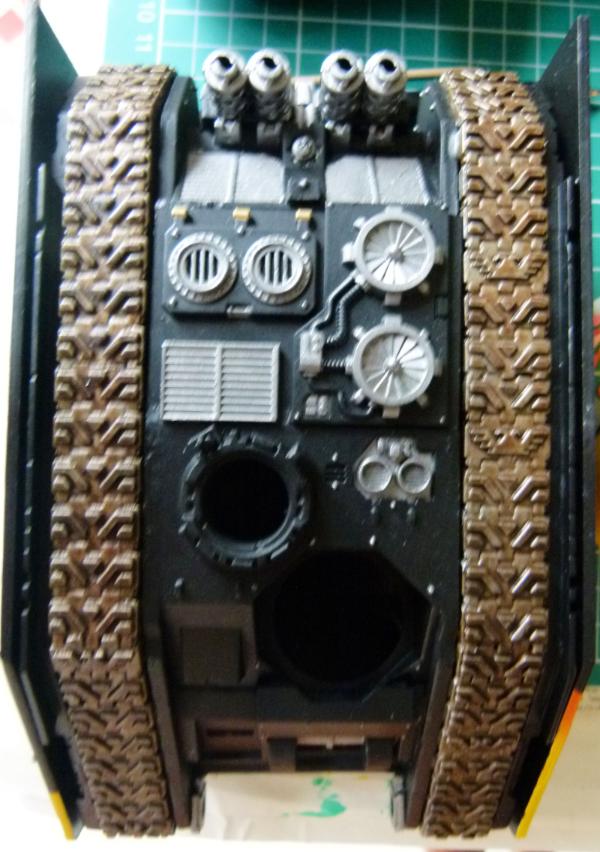
This slightly blurry photo shows the plan view. I added some Vindicator fans, LR vents and Baneblade hatches to assist removing the fumes after firing the Demolisher Cannon.
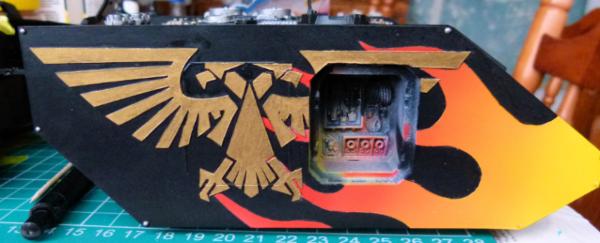
This shows the WIP of the right side. The Imperial Eagle was cut from plasticard. Using a knive, I gave the impression of the rear hatch cut through parts of the Eagle. The flames were done via the airbrush and Tamiya Masking tape. Once varnished, I'll give the Eagle and the rivets a Black Oil wash. Once dry, I'll give it the usual sponged on rust and metal.
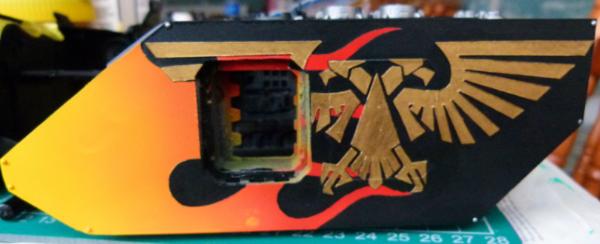
This shows the WIP left side.
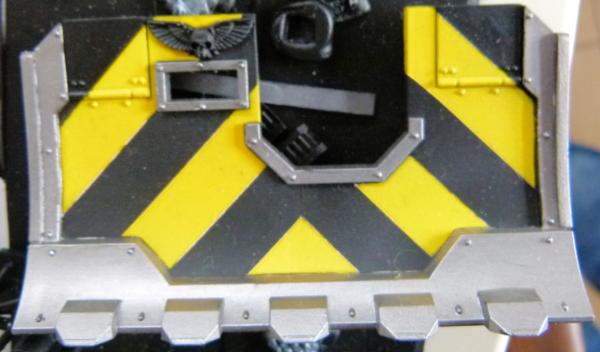
Finally, this is what I've decided to do with the Storm Shield - Hazard chevrons were airbrushed on (I love Tamiya Masking Tape!!). After a varnish, I'll weather the shield a lot harsher than the rest of the tank.
Land Raider Hellcannon
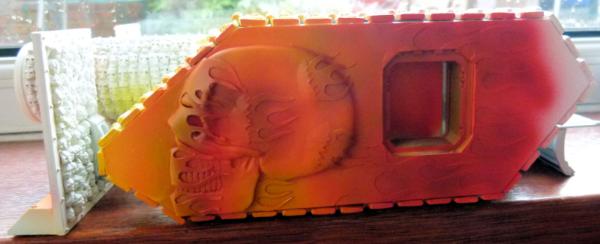
Whilst the airbrush was out, I decided to start on my Hellcannon conversion. Having airbrushed the rear flames, I now need to mask the rear flames off with blu- tac and masking tape to then be able to airbrush the flames at the front. Once this is done, I'll then paint the large skull. I have a lot of normal size skulls to paint on this and I'm still not happy with my previous attempts. Any assistance on the best recipe for painting skulls would be appreciated.
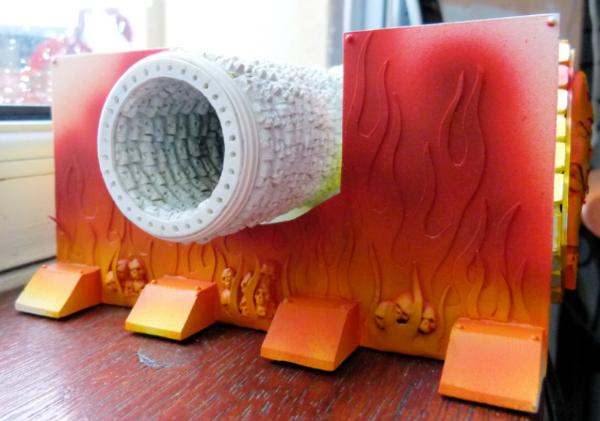
This shows the side front view. As with the side flames, I'm going to have to know mask the rear flames with blu- tac and masking tape and then airbrush the flames at the bottom. Painting the skulls inside the cannon is going to be fun!!!
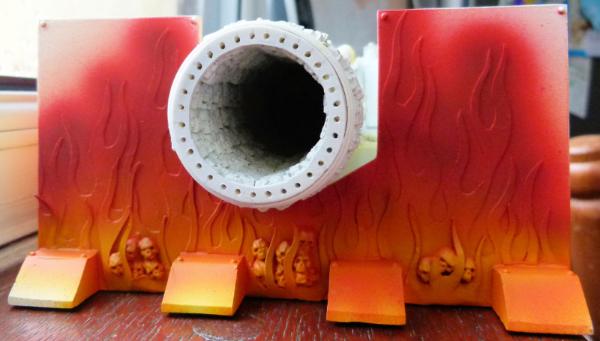
This shows the front view. I really had great fun making this. I hope I can do a decent paint job on it.
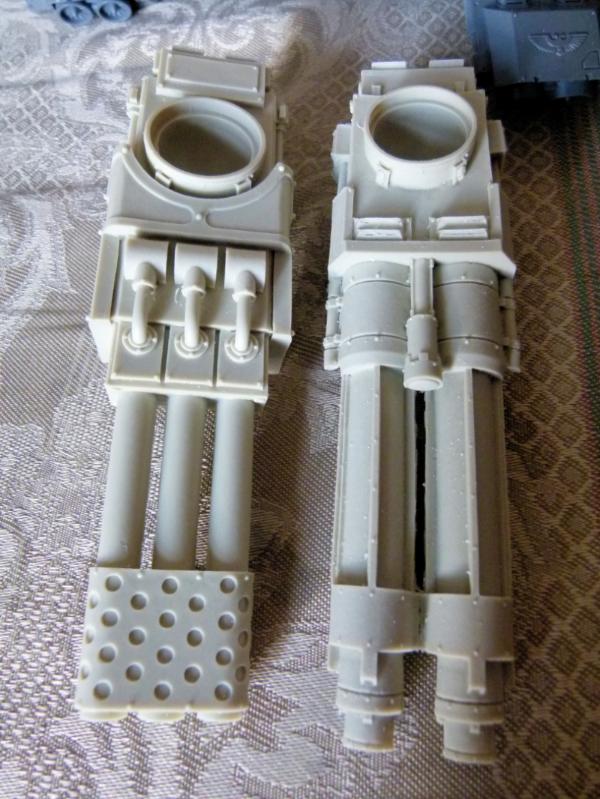
Can you guess what my next Land Raider/Fellblade conversions are going to be armed with?????
Storm Eagle
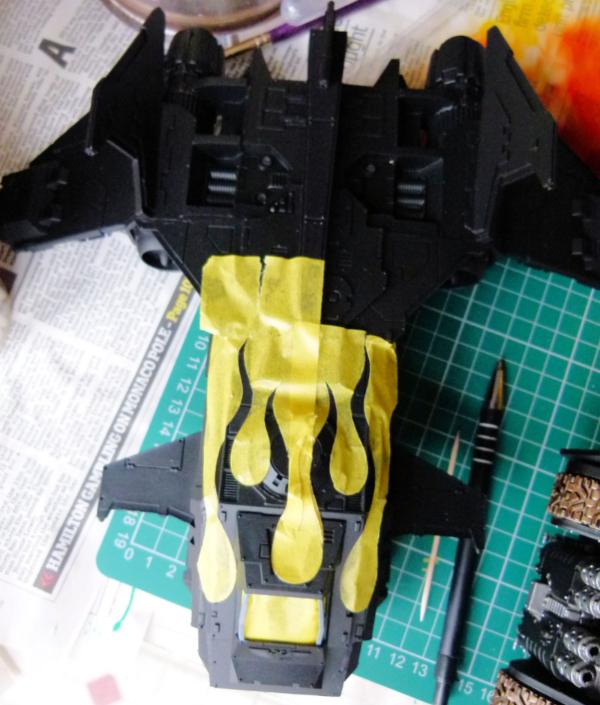
This is as far as I've gone on the Storm Eagle. I've undercoated it and have started to mask off the flames. Once fully masked, I'll use the airbrush to spray white to allow a good bright flame, followed by VMA Fire Red at the top of the flames, moving to VMA Orange in the middle and then finally VMA Medium Yellow at the bottom of the flames. Once cleaned up (using VMA Black), I'll varnish it and then add a black oil wash. After a turps clean up (and another varnish), a bit of weathering and this baby will be finished!!!!!!
Large Scale Space Marine Update
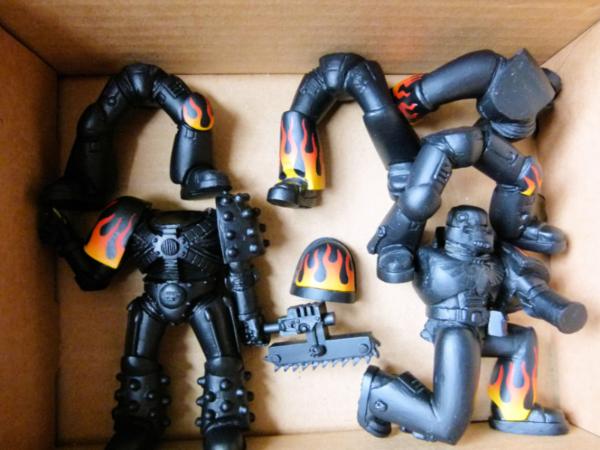
Completed all of the airbrushed flames and then tidied up the overspray with some VMA Black. I now have 4 sets of legs ready (1 running, 2 standing and 1 kneeling) for my next set of models. You can see the Mk5 Heresy Armour in the bottom left and the Plasma Cannon gunner in the bottom right.
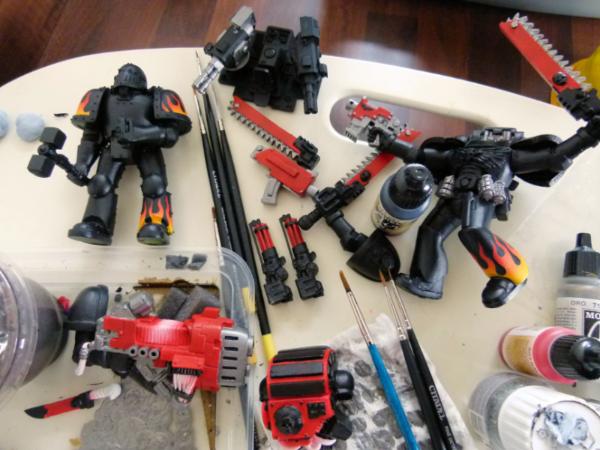
and finally.... my current paint station!!!
As you can see, I like to have a number of projects on the go. Working from the top left and working clockwise:
MK3 Iron Armour Large Scale SM
SM Stalker cannon
Large Scale SM Bolter and Chainswords
Contemptor Dreadnought Assault Cannons
MK6 Corvus Large Scale SM
Plasma Cannon Back Pack for the Large Scale SM
Plasma Cannon
Comments and critiques welcome as usual.
Regards, Phil.
38750
Post by: philmorgan75
Update time:
Storm Eagle
Before I break out my airbrush, I try and get as many projects as I can to the same stage. Having cut out flame templates out of Tamiya Masking tape and then carefully placing them, I spray as many things as I can to stop having to clean the airbrush too often.
Here's what my Storm Eagle currently looks like:
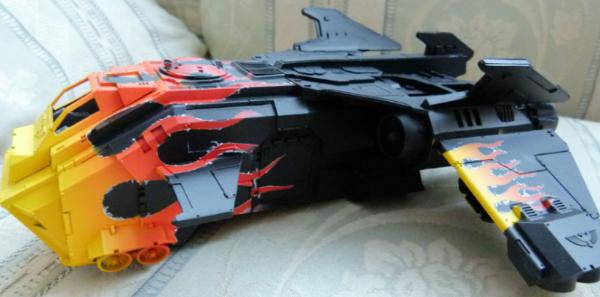
Even when you press the masking tape down, a small amount of the white undercoat for the flames escapes. This is easy to clear up with a brush and some Vallejo Model Air Black. When I paint all the metal area with the Army Painter Gun Metal, I'll then varnish the whole model. This aids the oil black wash I put on the metal parts and to outline all the recess and rivets on the flames at the front and on the wings. I wanted this model's paint scheme to look slightly different from my Fire Raptor but to still look like it was built and painted at the same time. I added some smaller flames on the rear wings as well.
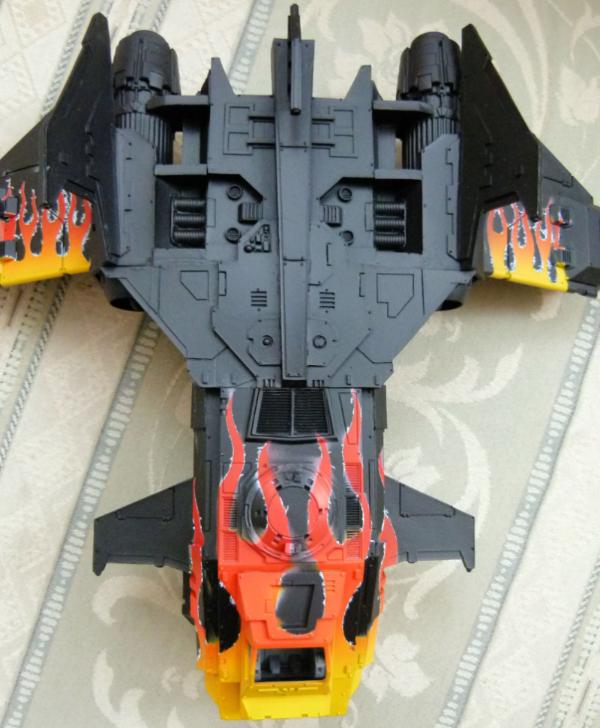
This shows the top view. I haven't gotten any further than this over the past week as I have been also working on other projects.........
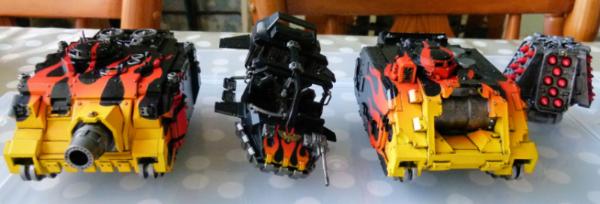
I have slowly been painting up some of my older kits that I bought on different bits sites over a number of years and also some newer additions as well. You can see from left to right a mk2 Vindicator, a Land speeder Storm, a FW Legion Deimos Vindicator and a Deathstorm Drop Pod Missile Launchers.
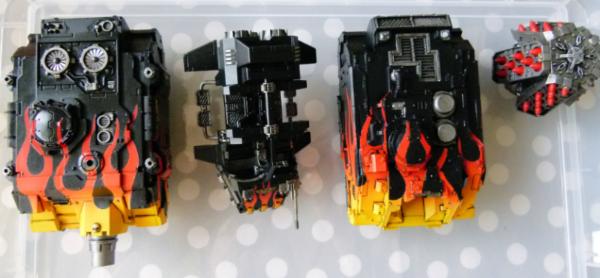
This shows a top view of the WIP vehicles.
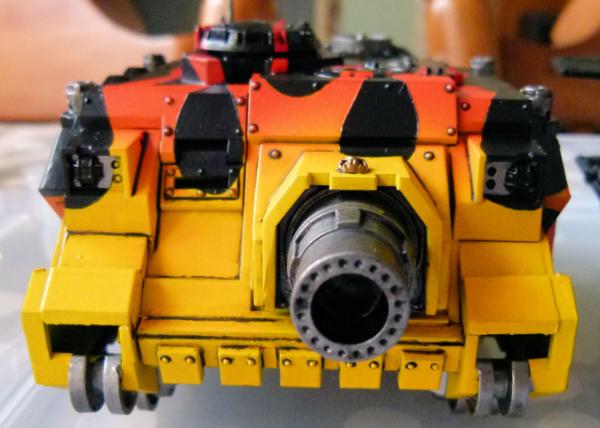
This shows the front of the GW mk2 Vindicator after a black oil wash and then cleaned up with odourless white spirit. You wouldn't want to be this close if it was firing!!!!
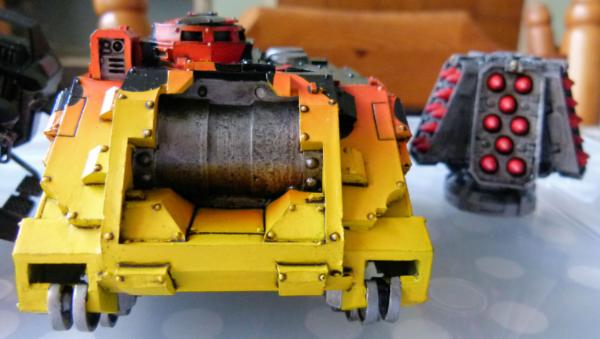
This FW Legion Deimos Vindicator was a lot of fun to put together. I've kept the Demolisher cannon, Storm Bolter, ram and gun mantle as sub assemblies to assist in painting. I've kept the tracks off and am in the process of converting them to create a more "loyalist" vehicle. I'll show some pictures in the future.
I want to paint the tips of each missile on the Deathstorm different colours to represent different munitions. What colours do you suggest?
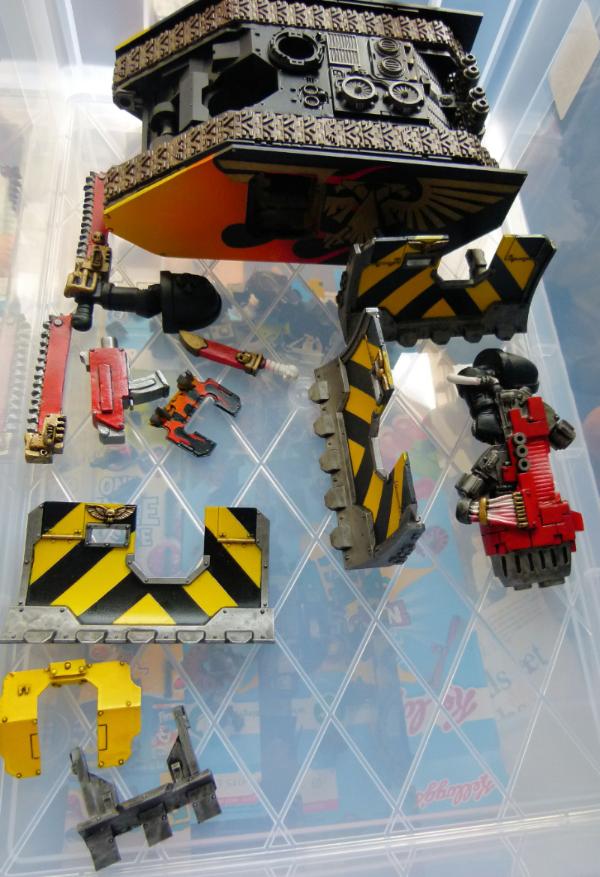
This shows some more WIP shots of parts that have been black oil washed.
Working from the top, left to right:
Land Raider Ares
Large Scale chainswords, Bolter, knive and plasma cannon
Rapier Gun Shield
3 Vindicator Storm Shields with Hazard stripes.
Legion Deimos Gun Shield and ram
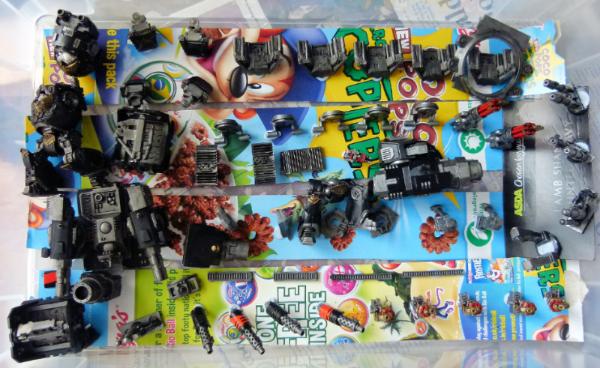
There's a lot of different project bits in this shot. Working from top left to right:
FW Relic Contemptor body, 4 Contemptor shoulder pads, some old Deathstorm drop pod Assault cannon bits.
FW Emperors Children Contemptor, Land Raider Ares sponson, Storm Eagle landing pads, more Deathstorm drop pod Assault cannon bits, SM Hunter cannon, 2 Kheres Contemptor Assault Cannons and 2 Storm Eagle Twin Lascannons.
SM Stalker cannons, LR Ares Demolisher cannon, Relic Contemptor legs, Vindicator Storm Shield bits.
LR Ares sponson, Legion Deimos Vindicator Demolisher cannon, Storm Eagle bits, Legion Deimos Vindicator exhausts and 5 Deathstorm drop pod Assault cannon.
As you can see, lots of projects on the go!!!
I've since cleaned up the black oil wash and have now matt varnished all of the bits. The next process is to begin the weathering process of sponging on silver and rust. The "hot" parts will have purple and blue washes followed by a blast of VMA black to create soot deposits.
A final project I'm working on as well.....
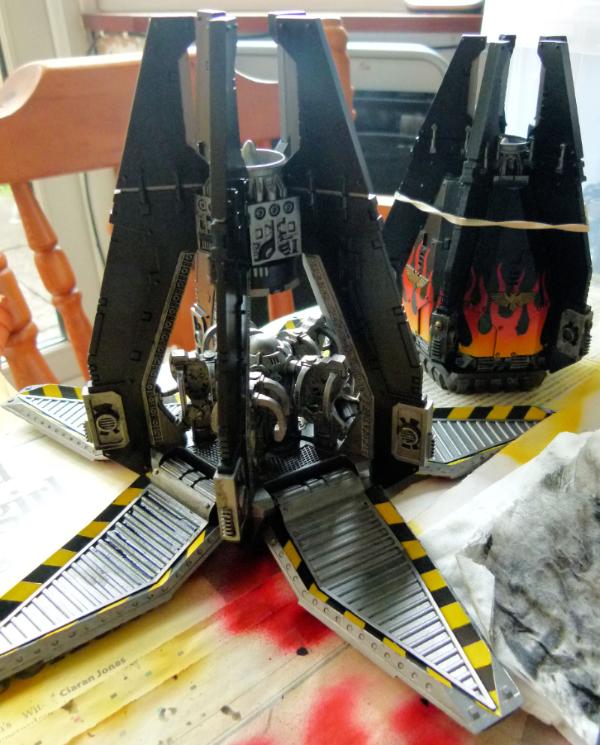
The front is a GW Drop Pod, whilst the one at the rear is a FW one.
I want to get all these models finished before my FW Legion Deimos Predator Executioner, Infernus, Legion Medusa and Anvillus Pattern Dread Claw arrive. Too many things and not enough time!
Regards, Phil
38750
Post by: philmorgan75
Update 5/7/2014:
Thought I'd show you some of the enhancements I've made to the boring old Rhino tracks........
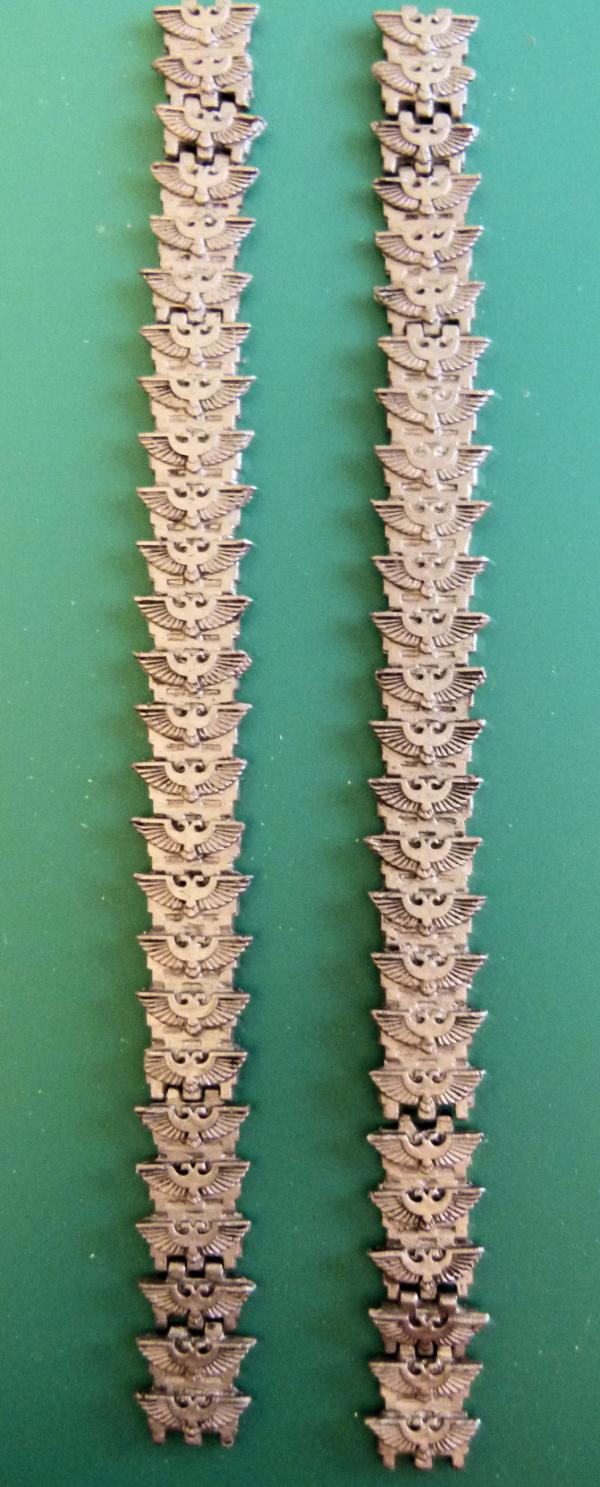
This has involved getting loads of Imperial Eagle Icons from Bitz suppliers from the Drop Pod and Storm Talon sets, filing off the existing tread and then sticking the eagles back on instead. I think they look cool and will really show all the xeno scum who has driven over their planet!!!
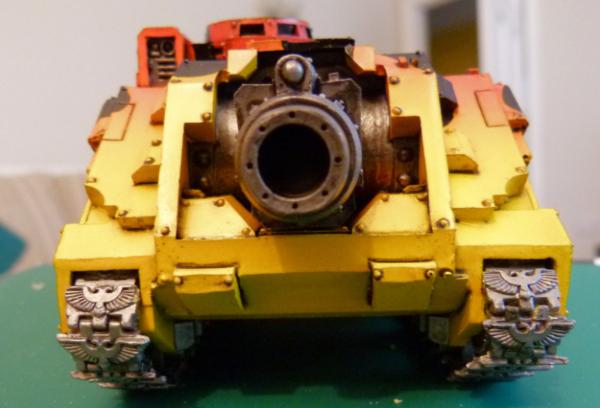
Here's what they look like fitted. I know they are impractical and there is no room for them to go around the wheels with the wings sticking out just a tad, but if you would just suspend your common sense for a moment, I think they look great.
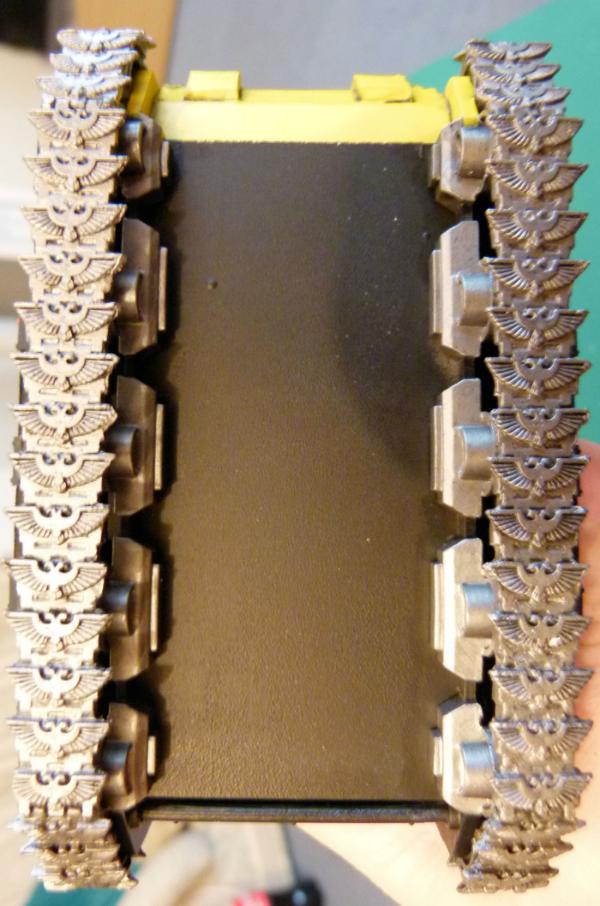
Here's a shot from the bottom. I'll put a Track Wash from AK Interactive over the whole tread, wheel and bogies and once dry, I'll varnish them before weathering them with sponged on gun metal and rust.
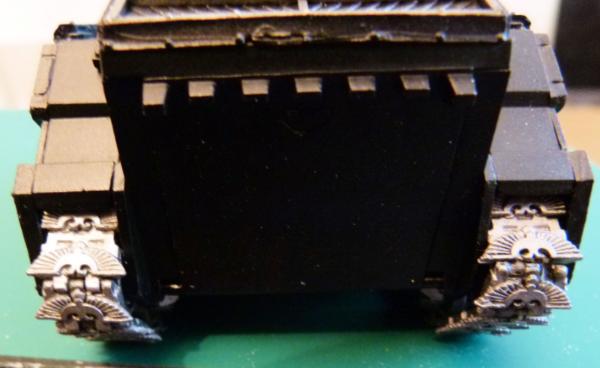
This shows the rear.
And finally........
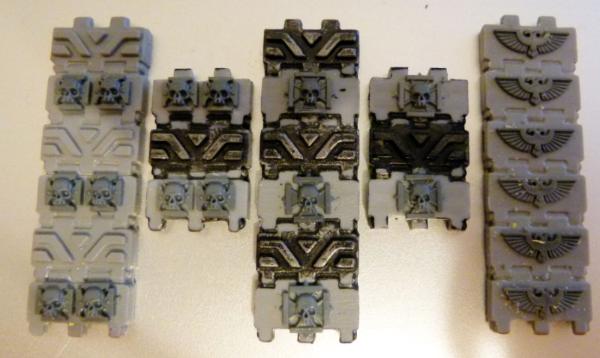
These are being made for my next 3 Land Raider Conversions. I'm just waiting on some more Imperial Eagles from Bitz suppliers to finish off the last couple of treads for the Imperial Eagles. I have some cool ideas for my next lot of conversions, one of which will be a Warhound Heavy Flamer to be fitted onto the Land Raider like the Malcador Infernus!!
Till next time.
Phil.
38750
Post by: philmorgan75
99% Finished my Demolisher Cannon Trio:

This is a group shot of my near completed Demolisher Cannon Trio: A Land Raider Ares, a Vindicator Mk2 and a FW Legion Vindicator. I love days like this. All the painting stages have almost been finished and I can start sticking all the parts together. The weathering was added last night with both rust and exposed metal sponged on. They were varnished this morning and now they are dry, I can take some pictures!
Land Raider Ares
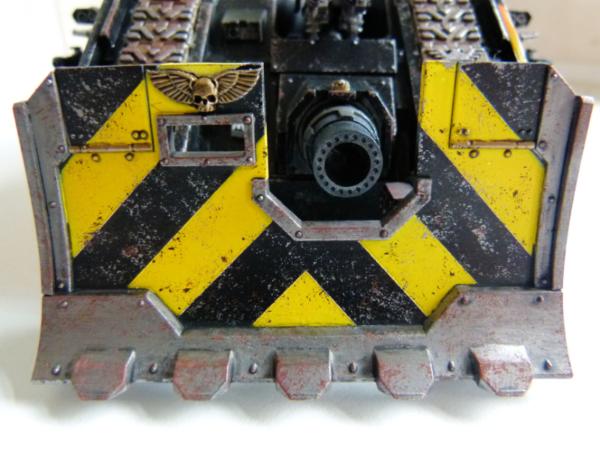
When the Ares conversion was released a number of years ago now, I wanted to build one and rather than copying the design exactly, I wanted to create my own variant. I have always thought that the Land Raider looks very similar to the WW1 tanks and with that in mind, I wanted to see if I could have wrap around tank treads using only the GW version supplied from the box. I was torn between having my usual airbrushed flames over the shield or the Iron Warriors Hazard stripes. Having not tried the Hazard stripes before, I thought I'd give them a try. I think this has turned out really well. The Demolisher Cannon has been magnetised, allowing me to swap out weapons should I wish.
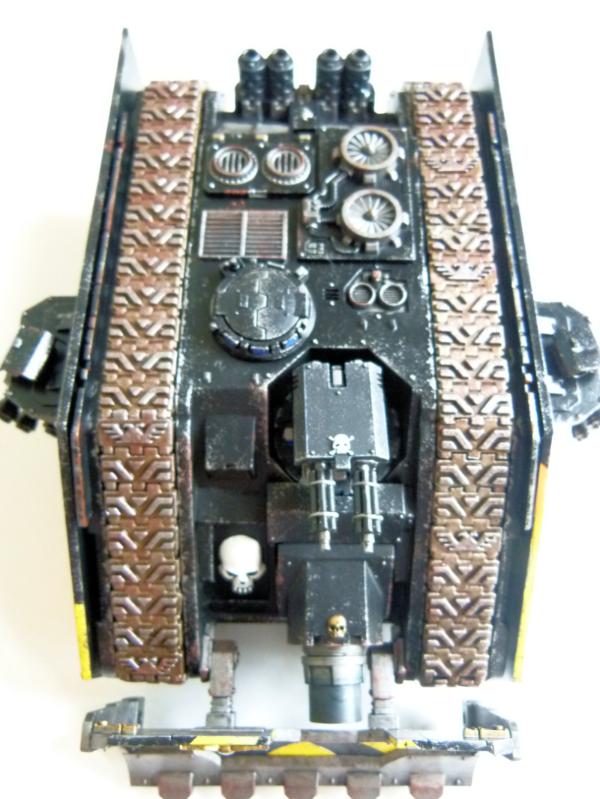
This slightly blurred shot shows the wrap around tracks to full effect. This was such an easy conversion involving minimum filing/sanding or cutting. To fill the top and to make it a bit more realistic, I added Vindicator and Baneblade engine parts/covers. The hatches are not glued as the plan is to get some Mk3 helmets and have a commander poking his head out of this monster! The assault cannons were recycled from another LR I made years ago. I normally have the barrels painted red, so a minor paint job will be done some time in the future.
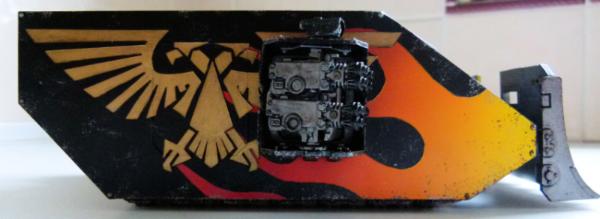
I love the side views on this conversion: Imperial Eagle cloaked in flames!!! The Imperial Eagle was simple to make: find an Imperial Eagle image on the internet. Print off. Photocopy at different sizes e.g. 50% or 200% etc. Find an Imperial Eagle of the right size to fit the side of the Land Raider. Using sellotape, stick the paper on top of sheet of the right thickness plasticard. Using a scalpel, lightly trace the Imperial Eagle on the paper through to the plasticard. Remove the paper and there should be an outline that can then be cut out. Simple technique, but very effective.
The sponson has rectangle magnets mounted on them, which means the sponson weapons can be changed if required.
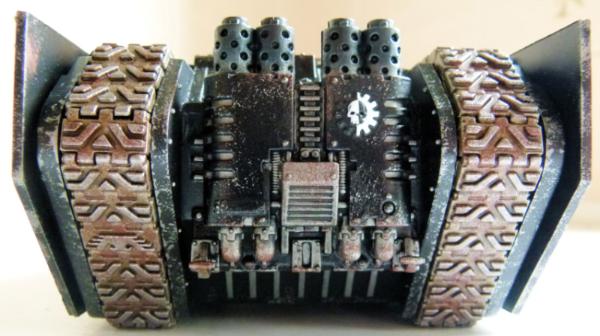
The rear shot. I decided to do both the heat and soot on the exhaust stacks out of pigments - I'm not 100% taken and may revert back to blue/purple ink and a quick blast of black from the airbrush.
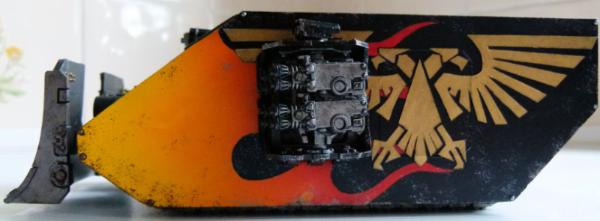
Here's the left side.
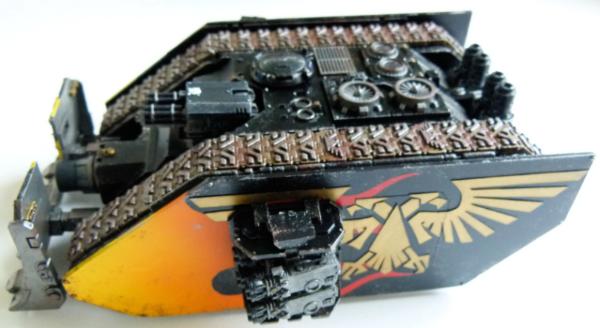
and finally a shot that shows most of the conversion. I built this in 2009 and it took me 5 years to paint it. Not bad eh!!!
Vindicator Mk2
I've had 2 Vindicator Mk2 in their boxes for a couple of years and when I received my new FW Legion Vindicator, I thought it would be fun to make and paint both at the same time. I decided to go with the same Hazard stripes as the Land Raider Ares.
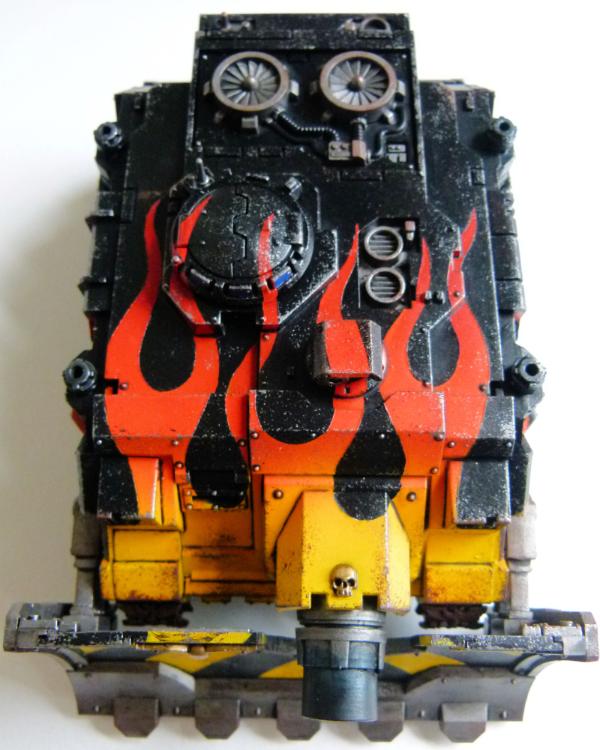
This shows the top view, with the flames covering the front part of the vehicle. I photocopied my airbrush flame template, increasing and decreasing it in size. I have then made a number of plasticard templates so depending on the size of the vehicles, I can have different size flames. Once I have chosen the template, I trace the flames onto some Tamiya Masking tape and once cut out, press onto the necessary parts ready for an airbrushing!!! As with the LR Ares, the Demolisher Cannon was magnetised. I want to be able to convert this into a Sabre Tank Destroyer in the future. I'm watching ebay to see if any FW Tank Hunters come up for sale.
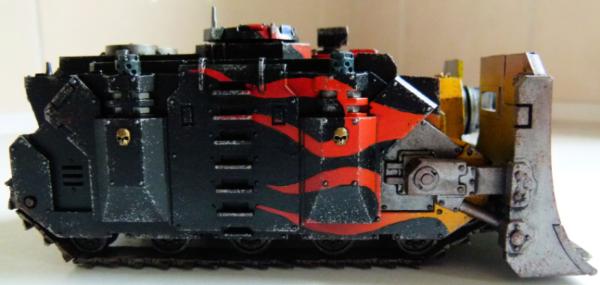
This shows the completed right side. I wish I added the brackets for the Siege Shield before I painted the flames down the side. I only realised this morning when I was gluing the pieces together that the bracket goes right over the painted flames!!
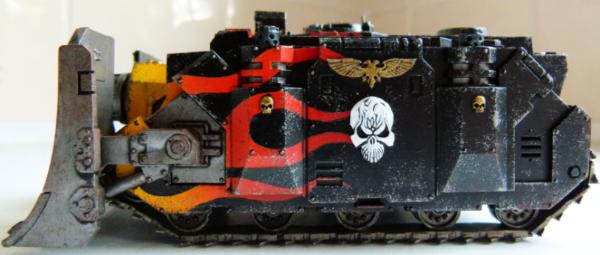
This is the left side. I added a skull to the side. I can't have any vehicles of mine without at least one skull on it!!
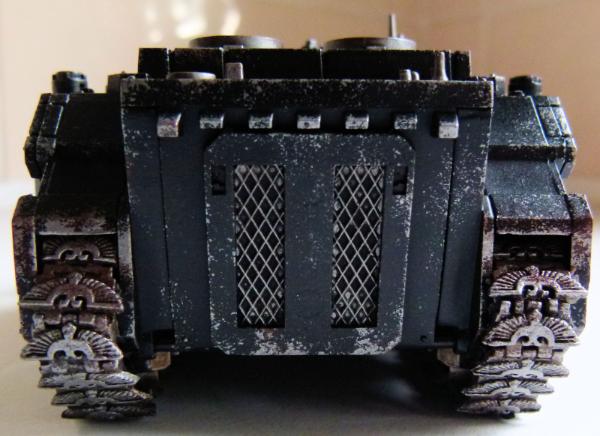
I added a Rhino hatch fitted the wrong way around to the rear hatch. I felt that every time the cannon fired, there would be tonnes of gas that would need to be vented. The inside of the Rhino hatch looks perfect. The completed Imperial Eagles tank treads can also be seen in this shot.
Legion Vindicator
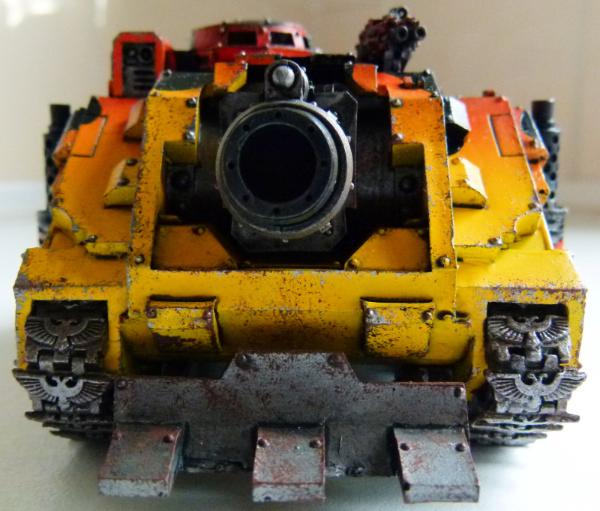
I've almost finished this Vindicator but cannot decide what to do with the Gun Mantle Shield. I currently have it painted all yellow to match the flames BUT I'm torn between leaving it like that or adding some Hazard stripes like on the Mk2 Vindicator and LR Ares.
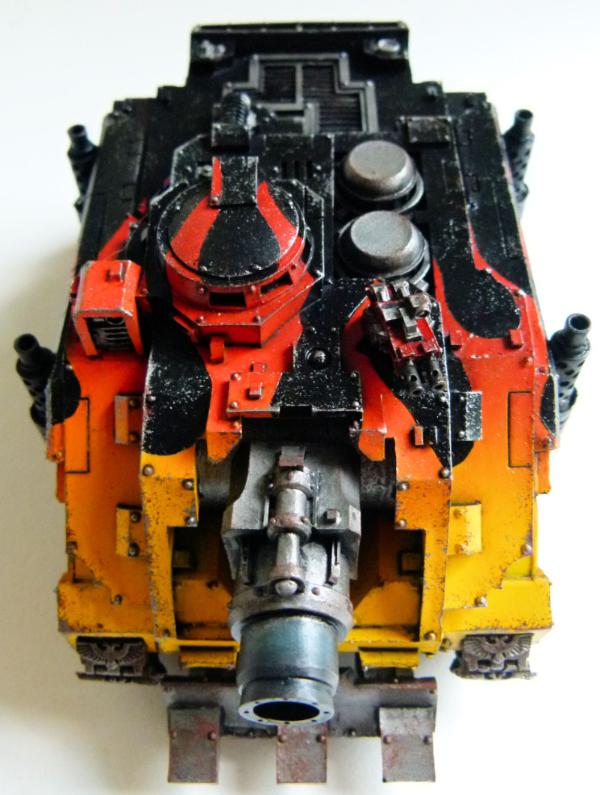
This shows the top front. The top hatch hasn't been glued. Again, a Mk3 SM commander will be added some time in the future.
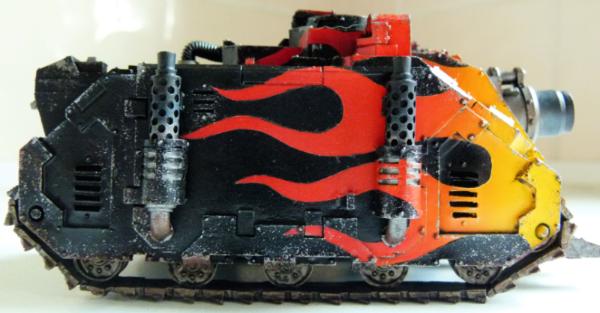
The right side flames were deliberately "flowed" over the exhausts.....
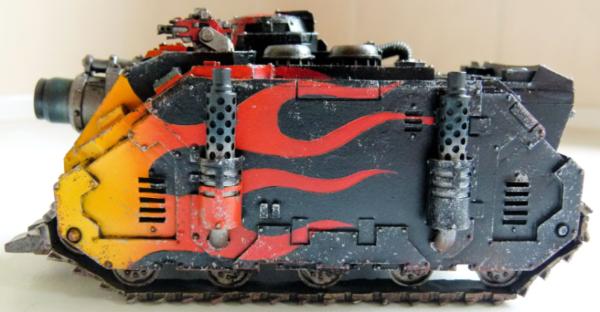
....as were the left.
These three vehicles were fun to put together, but now I can now start thinking about the next group of models I wish to paint.
Till next time, Phil.
38750
Post by: philmorgan75
Quick update time:
I finally got around to converting some dead Terminators from Assault on Black Reach that I had not built to go with the Tactical, Heavy Support, Assault and Scouts I've previously made:
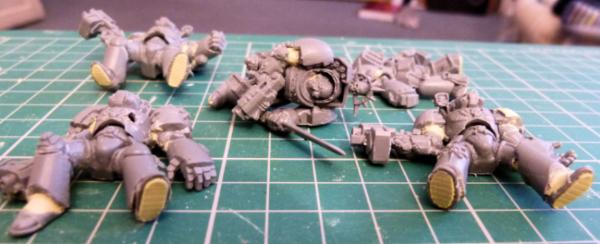
I had some fun chopping the back/front off torso's and moving legs and arms. I used a bit of milliput to hide any obvious cuts. The Terminator in the top left hand corner is supposed to be on the way down after being shot and not laying flat.
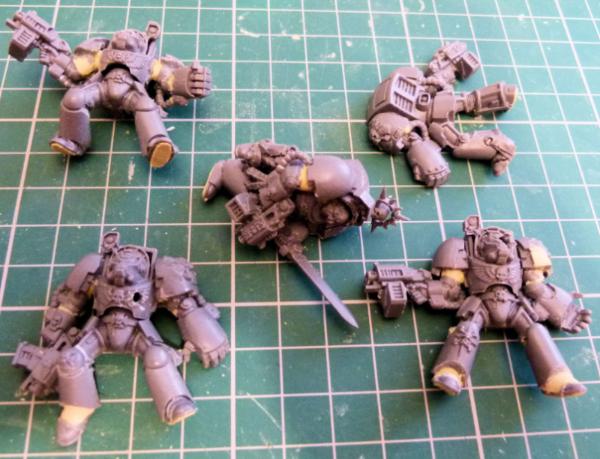
Here's a plan shot.
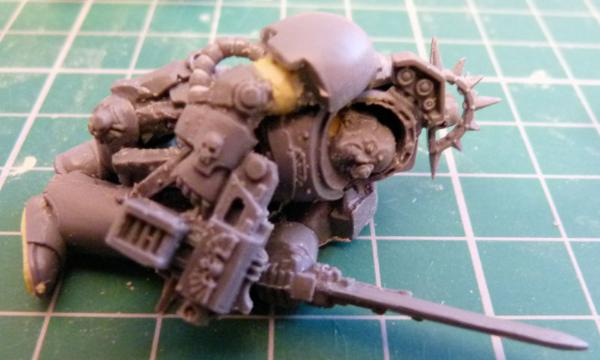
This Sergeant has been psychically killed with no signs of wounds. Bending the leather tassles dangling between his legs were a nightmare!
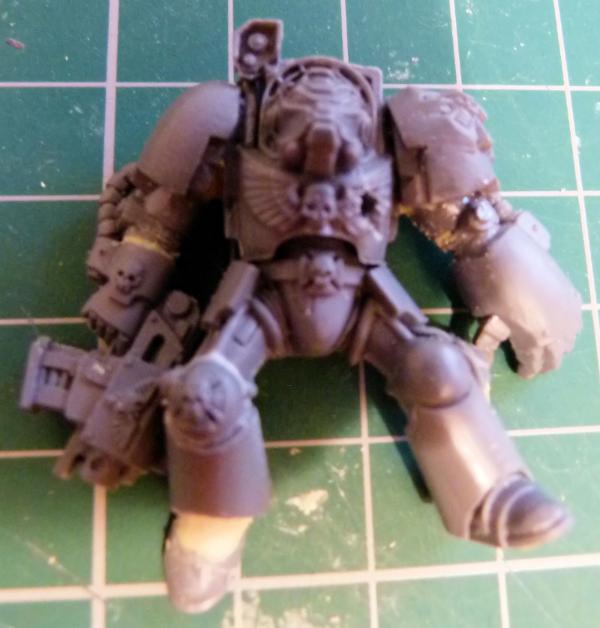
Lascannon shot to the primary heart.
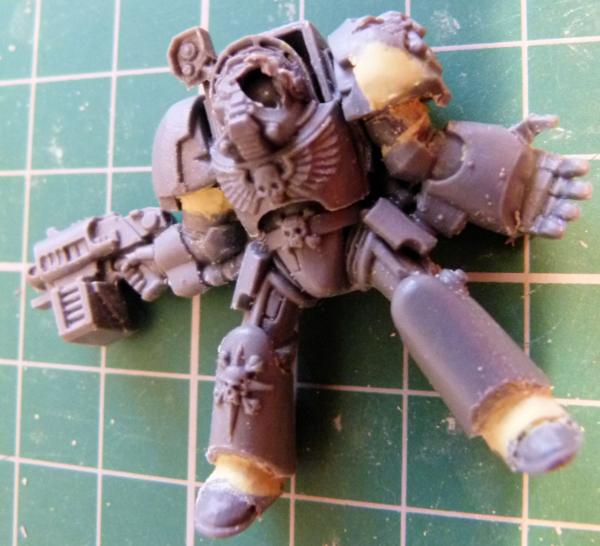
Though it's difficult to see, I added a plastic skull into his mask.
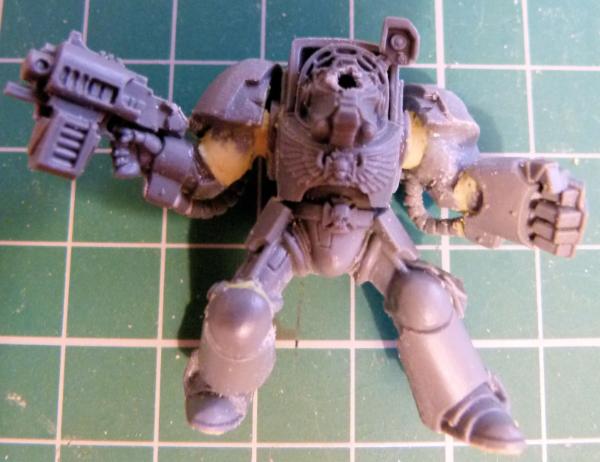
This head shot has just knocked him off his feet.
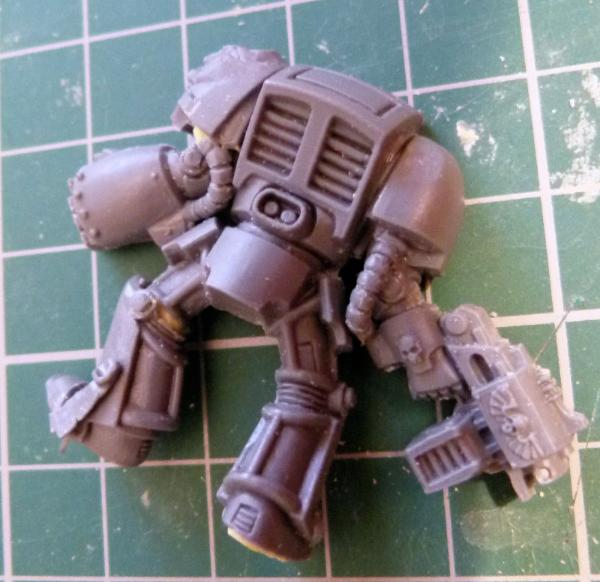
Face down in the dirt!

and finally, a dead biker.
It'll probably be a while before I get some paint on these boys! Till next time, Phil.
38750
Post by: philmorgan75
Couple of updates today........
Trike Attack Bikes
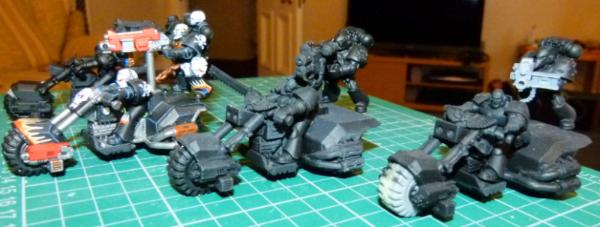
I was never happy with the GW Attack bike! So I thought Trikes were more practical. I made these a number of years ago and when I was tidying up some of my boxes of models, I came across them and thought I'd show them to you. As you can see, I've only painted the one so far. The rest will need to be added to my "to be painted" box!
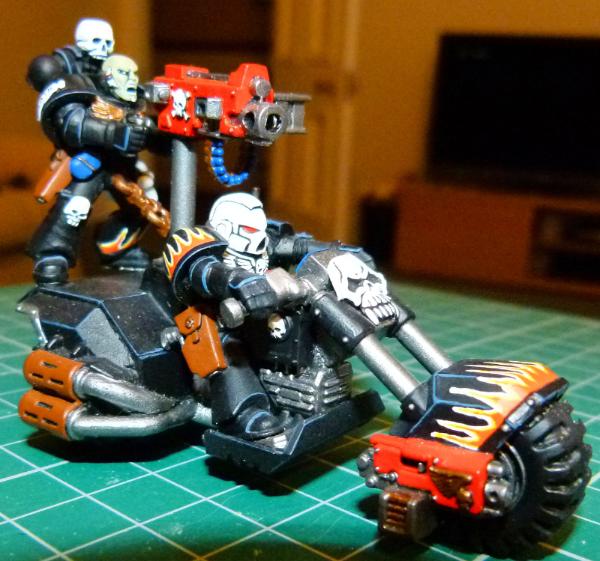
The paint job was done 5 years ago now so I need to add weathering effects and repaint the exhausts with my usual blue and purple ink followed by a light black airbrush for soot effects. All of the heavy bolters/multi melts are magnetised so they can be stopped depending on mission requirements.
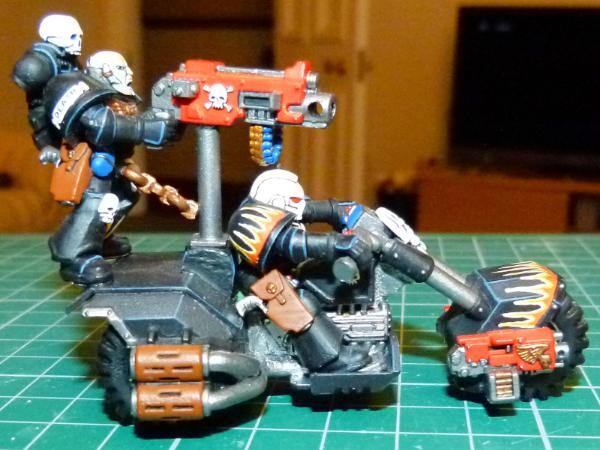
I added a chain to ensure the Heavy Weapon operator doesn't fall off the back of the bike. I like the "Chopper" look and all my bikes have had their fronts lengthened.
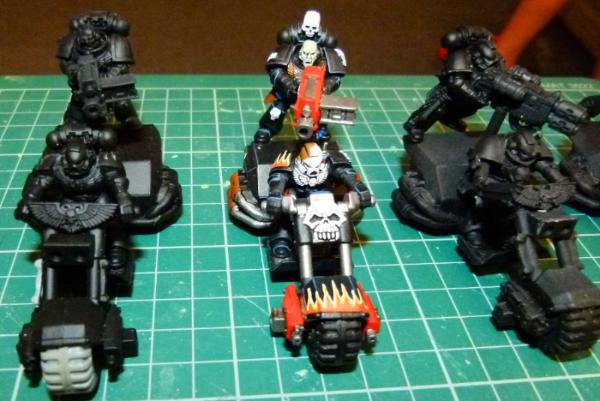
The 3 new ones have Imperial Eagles over the handlebars. I don't know if I will be able to make many more as I'm running out of Rhino Mk 1 headlights that I use on the front handlebar.
Legion Medusa/Basilisk
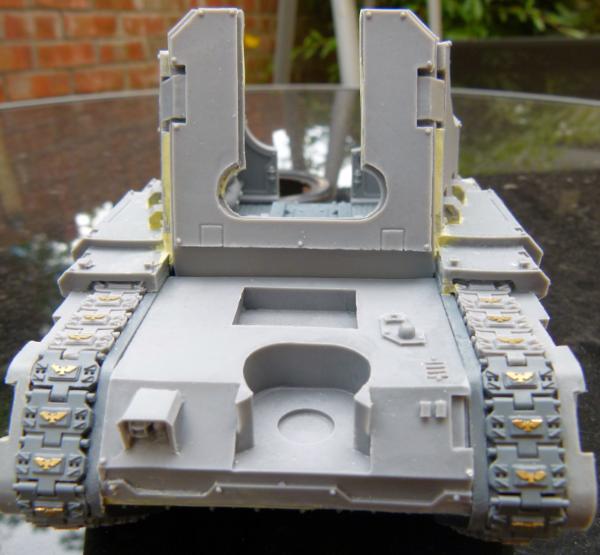
I love this model!!! I had to use a bit of milliput to repair some minor defects and to emphasise that my Space Marines are loyal I added a lot of FW Etched Brass Imperial Eagles to each individual track! Now they have had a layer of black undercoat, I'm not sure how easily you'll be able to see them. I haven't stuck the Siege Cannon at this stage as I want to be able to field it as a Basilisk as well.
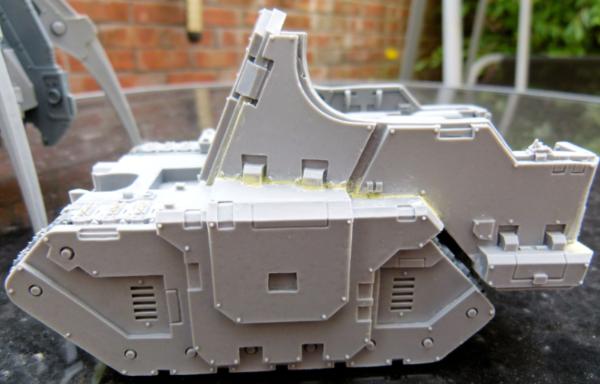
Although the kit had some issues putting it together (some parts needed bending/straightening) and a small amount of milliput I think with the right amount of weathering that this will turn out to be one of my better paint jobs. I like it so much, I've ordered another!!!
Anvillus Pattern Dreadclaw Drop Pod
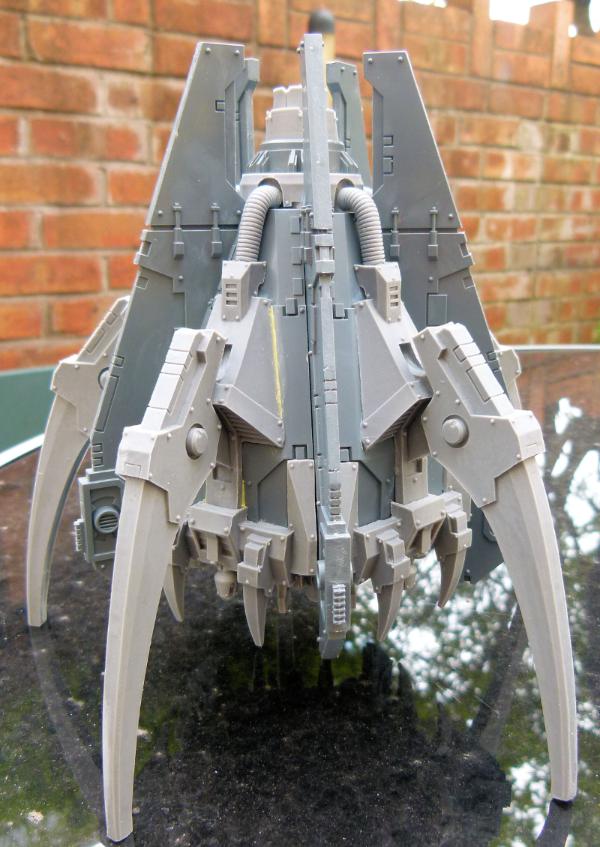
This model had again a small amount of corrective surgery to get it to this point but what a model! I think the model looks far superior to the normal GW version. I've since base coated it black and am now thinking about what paint scheme I'm going to do.
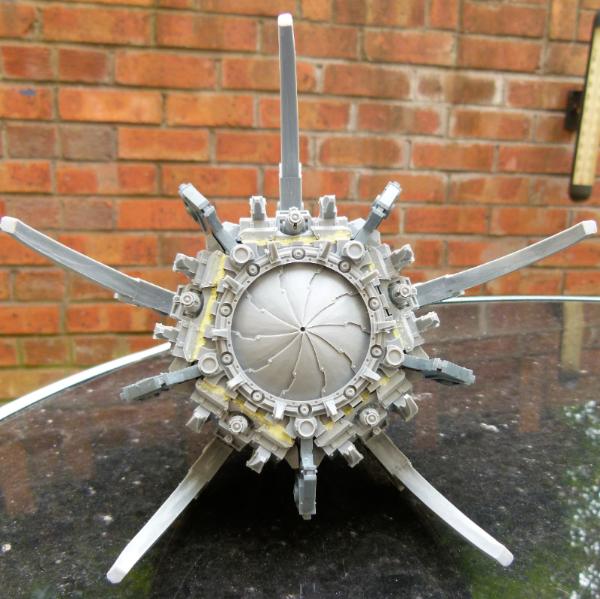
You don't want to see this coming at you! It reminds me of a face hugger from Alien for some reason! Milliput was needed to hide a few gaps between the resin and plastic hatches.
Land a Raider Crux
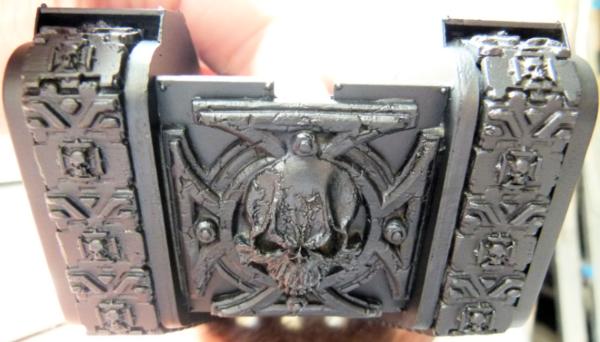
As with previous conversions, I have reversed the normal Land Raider (ie make the front the back and vice versa). Using plasticard, FW bits, titchytraingroup rivets and milliput, I have made this version.
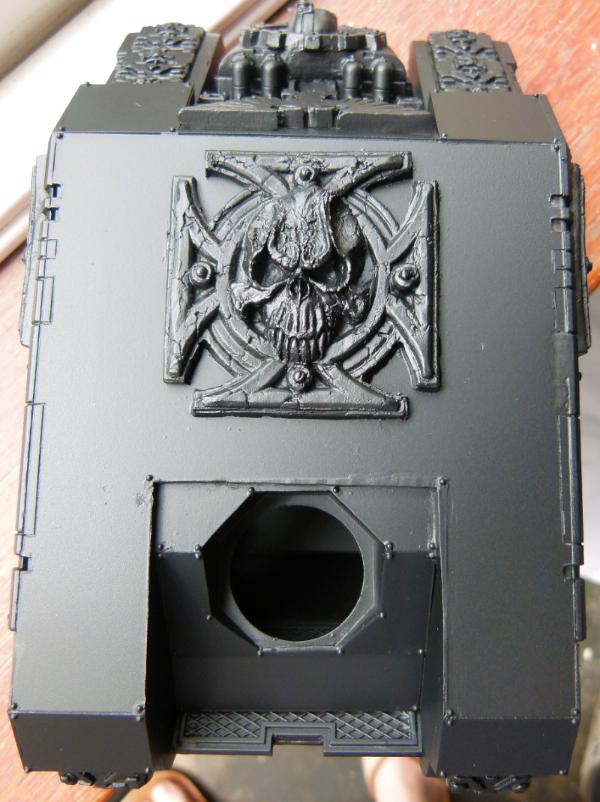
This shows the plan view. I want the usual airbrushed flames to go all over the front and sides before a bit of weathering takes place.
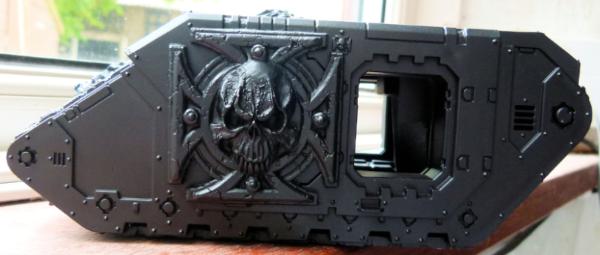
This shows the right side. The front of the LR is on the right, with the rear on the left. I haven't added the sponson yet as I wish to magnetise it to ensure I can swop weapon payloads.
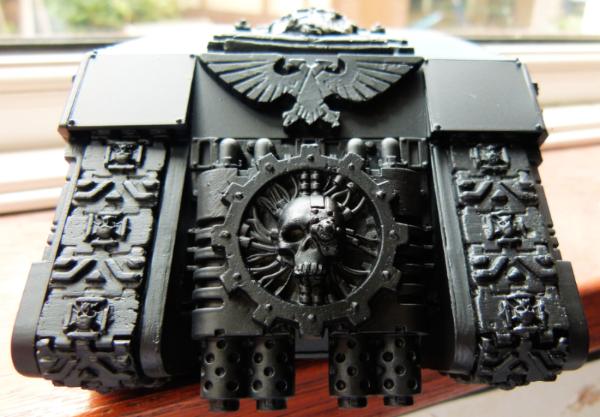
The rear has had the engine reversed with the usual Cities of Death Adeptus Mechanicus logo added. The Imperial Eagle is an old Bulldog Battlegear badge I had bought years ago.

And finally, something for the future - I want to make an Anti Aircraft LR. These Stalker weapons will be mounted on the top (one towards the back and one lowered slightly in the front). I'm also thinking of getting 2 FW Hyperios Whirlwind to use on the side sponsons. We'll see how this idea progresses in the future. I have also just finished undercoating a Lascannon Javelin and a Deimos Predator Executioner. So many projects, so little time!
Till next time, Phil.
38750
Post by: philmorgan75
Update time:
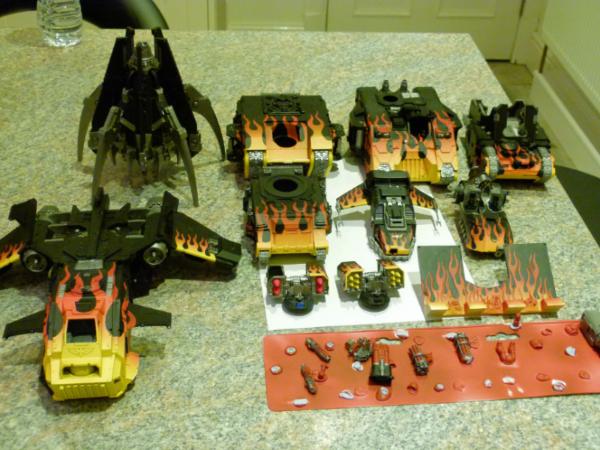
Here's a group shot of what I've been working on over the past few weeks. These are all at the stage now for a blast of matt varnish followed by a coat of black oil wash to start the weathering process.
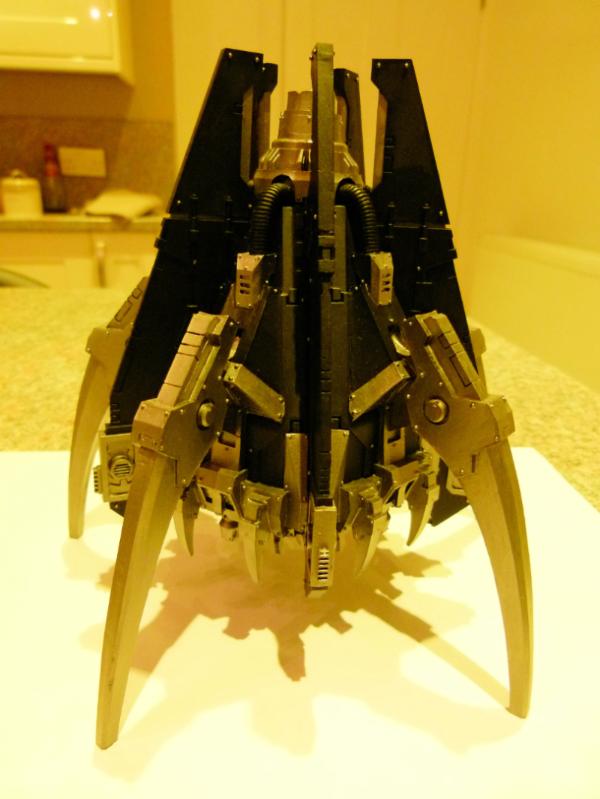
I've decided to go with a plain black paint job on this one. I would prefer to have the usual flames airbrushed going up all of the walls but after the corrective milliput required to fill the gaps, it would be nigh on impossible to use the airbrush on this one. I still think this is a fantastic looking model BUT I'm really not sure where I am going to store this when I'm done as it's so damned HUGE!
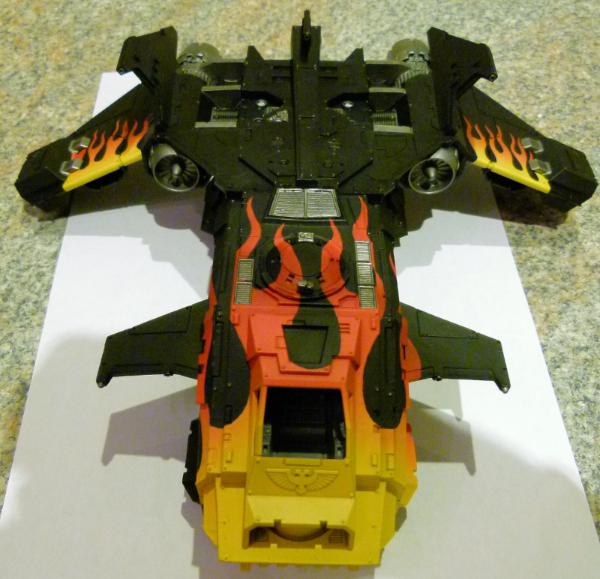
I've finished painting the base colours on the Storm Eagle, painting all the over spray from the airbrush. This bird is going to look so cool when finished!
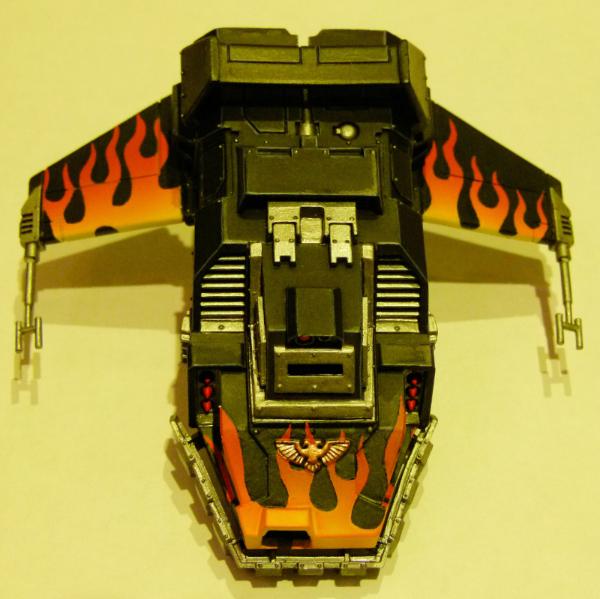
I originally painted this Tempest around 12 years ago. To make it match my current colour scheme, I masked some flames and again used the airbrush. Once its been matt varnished, I'll do a small amount of sponged on weathering and this one will be put to bed.
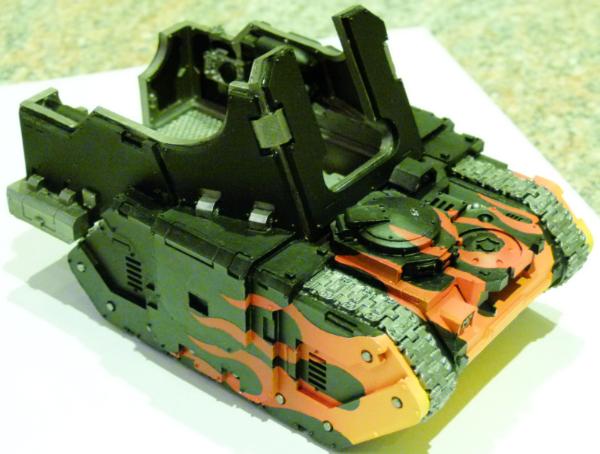
This Legion Medusa is going to look great when done. Airbrushing the flames over the front was a royal pain in the bum! Lots of blu tac was needed to mask the area for the flames over all the lumps and bumps.
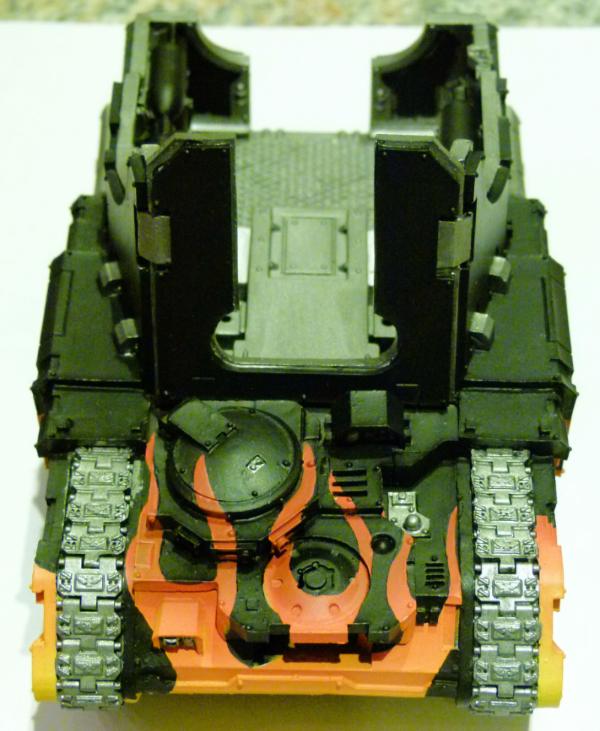
Here's what the front looks like.
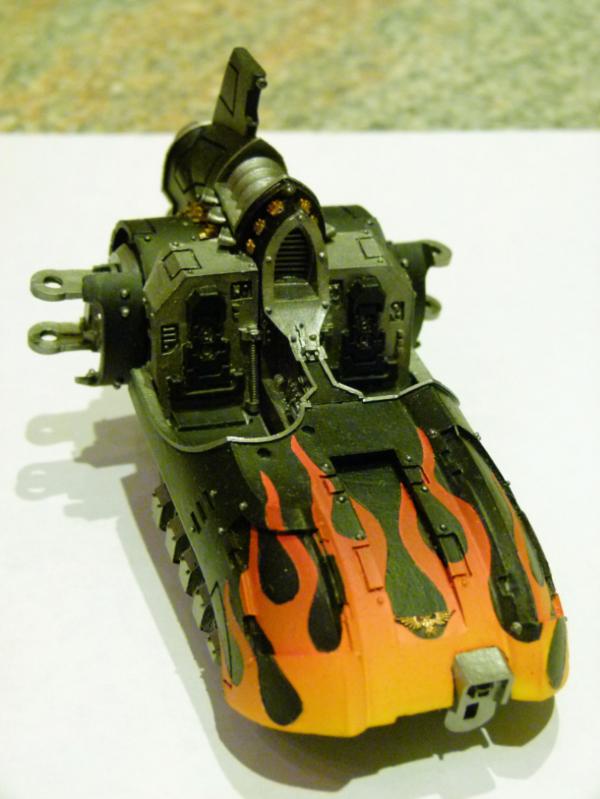
This is the progress I've made on the Legion Javelin.
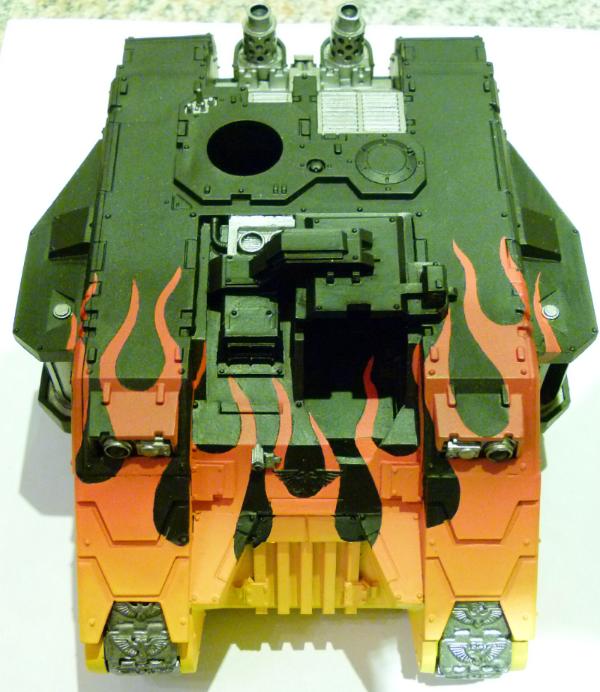
This shows what I've done with Alpha Achilles....
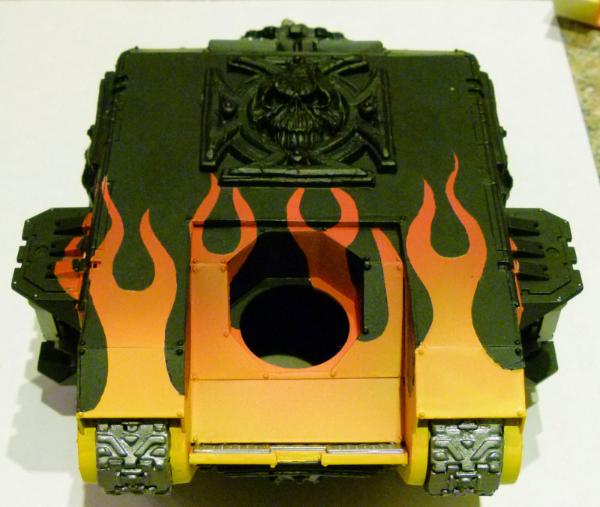
.... and my second Assault Land Raider.
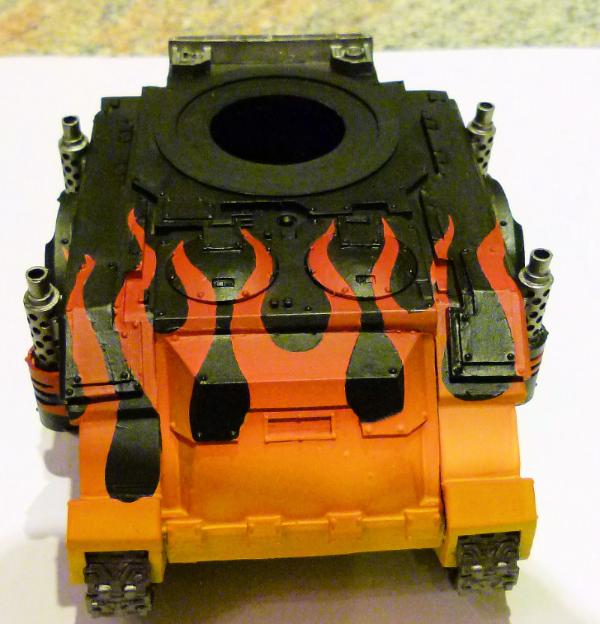
I plan on magnetising all the weapons on this Deimos Predator so all payloads will be available when required.
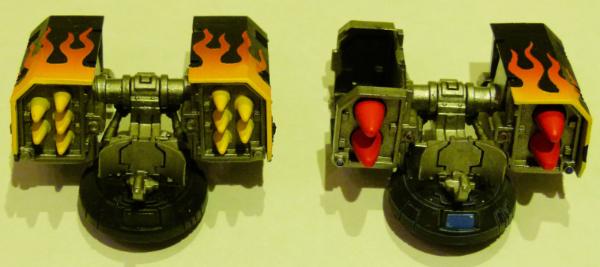
This shows the work I've done on the different Whirlwind weapons. I have the old metal Whirlwind rockets to paint somewhere and plan on getting a Deimos Scorpius in the near future (funds permitting!!!)
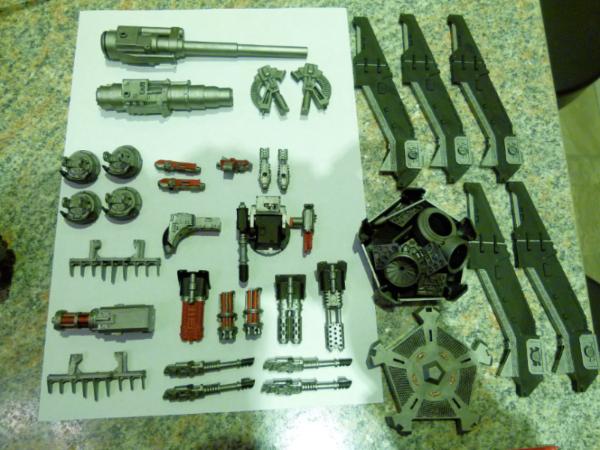
.....and finally, here are all the other bits that have been base coated and awaiting matt varnishing followed by a black oil wash weathering. The drop pod parts will be used to make a Death Storm Missile Launcher Drop Pod.
So many projects to finish BUT as I am doing them all at the same time and they are all at the same stage, it means they all get finished at the same time - a huge reserve of troops for my Legion of the Dead!!!
Till next time, Phil.
38750
Post by: philmorgan75
Progress time:
I've oil washed all of the models in the previous updates, cleaned up the excess and allowed to dry for a number of days. The tanks have all had a track wash painted onto their tracks and again, allowed to dry for a couple of days. Once it stops raining, I'll give everything a coat of matt varnish before I move onto the sponging weathering effects I normally do.
In the meantime, I have joined Bolter and Chainswords Conversion Challenge "Treadheads and Fly boys" and have started work on 2 new Land Raider Variants to be constructed by 2/12/14.
I have a Flak Land Raider and a Land Raider Infernus:
Flak Land Raider
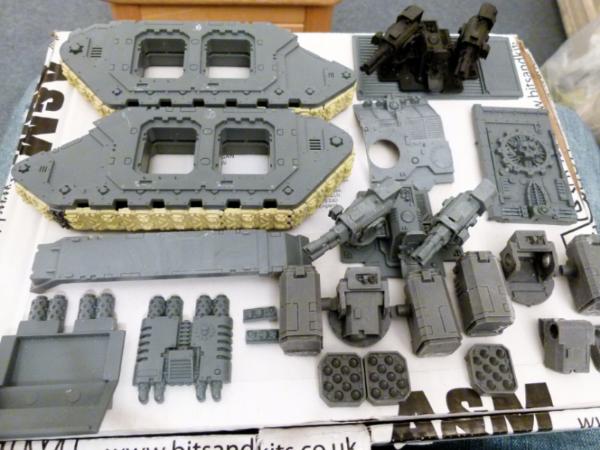
Here's a group shot of most of the parts that will be going onto my Flak Land Raider. I plan on having 2 sets of Stalker weapons on the top, 1 slightly higher than the other and for sponsons, I have 2 sets of Hyperios Missiles and (not in the picture) 2 sets of Razorback Assault Cannons. I'm undecided which to use, so I will magnetise them both! This Land Raider will be the usual shape and not the WW1 look I give some of my other variants.
Land Raider Infernus
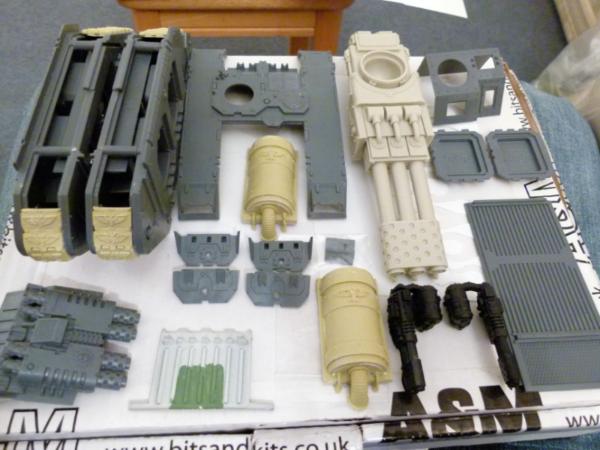
This will be based on the Malcador Infernus. I managed to get a Warhound Inferno cannon on ebay and have been planning this for ages. The Treadhead competition has given me the impetus to start this variant.
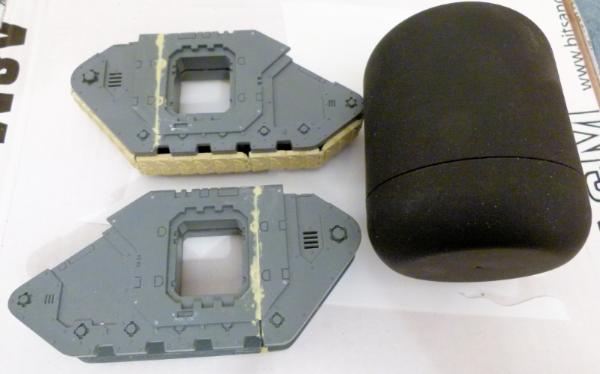
This is the Trailer containing the majority of the fuel. These were left overs of my Spartan conversion (which I still haven't finished!). I think the Tank looks to big, with the trailer being to wide compared to the Land Raider, so I plan on finding something smaller. I have my eye on a Q-Tip container and will pick one up later when I go shopping.
I'm really happy with the progress so far. I have a couple of days holiday for the next few days, so I hope to have both constructed by the end of the week.
Till next time, Phil.
87654
Post by: ayoku
Awesome work on the tanks/vehicles 
Also like the large scale marines..did you built them from scratch?
Keep up the good work!
Grtz
Mark
38750
Post by: philmorgan75
I've made some progress on my Flak Land Raider:
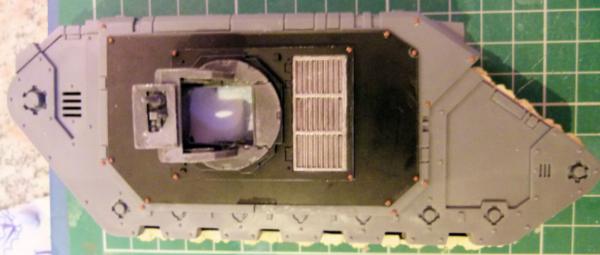
I spent a couple of hours today completing both sides of the Land Raider. I added a rhino/predator/razorback part to allow all different turrets to be used if needed. I added rivets from tichytraingroup to give a more realistic look.
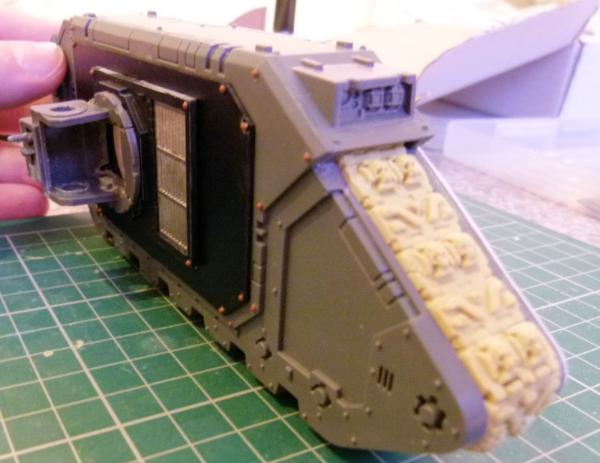
This is what it looks like in the correct upright position.
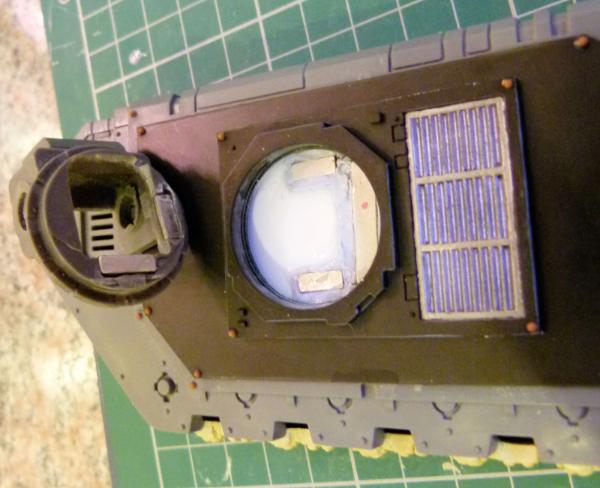
I added 3 neodynium magnets to the inside of the rhino/predator/razorback part to allow all different turrets to be fitted. You can see the 2 neodynium magnets I added to the bottom of the FW Whirlwind Hyperios part which will allow the part to rotate and still remain attached to the side of the Land Raider.
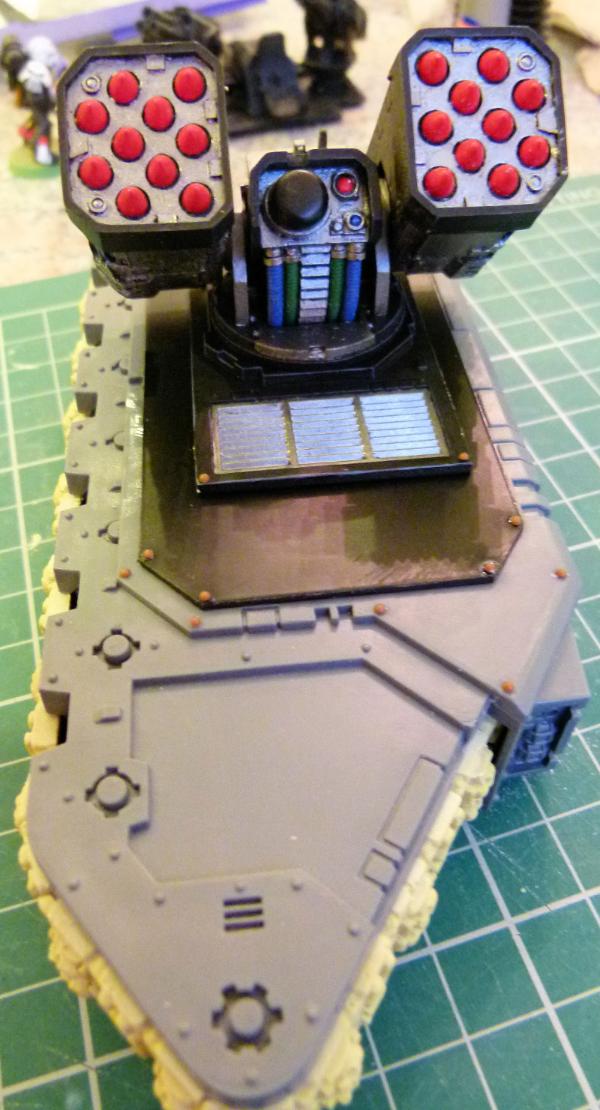
Here's a shot of a finished Whirlwind Hyperios mounted on the sponson.
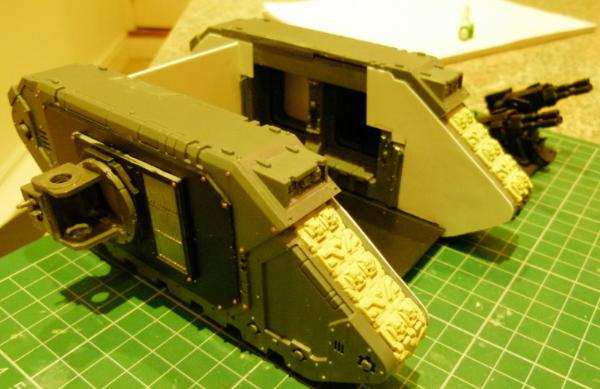
This shows the start of the chassis construction. Plasticard has been used to allow the body to be slightly widened to allow the Stalker weapons to fit. The inside of the sides have had all the moulded on parts removed and a very thin layer of (white) plasticard was attached. At this stage I do not know where all the front armour and what angle they will be attached at, so blank white plasticard is useful to give a finished smooth armour look.
I want to add magnets to the stalker weapon systems so I'll have to give some thought of how to do that. I also am thinking about the direction of the rear stalker weapon systems - Should the radar dish be pointing backwards or like the front stalker weapon systems, pointing forward? What does anybody else think?
I've got the sides of the Land Raider Infernus finished as well, but I have put that on hold until I finish the Flak Land Raider.
Till next time, Phil.
38750
Post by: philmorgan75
Flak Land Raider
I managed to finish my Flak Land Raider yesterday that I'm building for Grotsmasha's Vehicle competition over on Bolterandchainsword.....
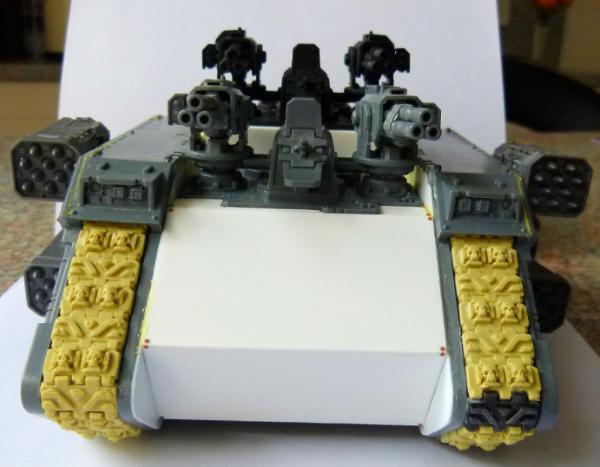 Front
Front
To ensure air supremacy, a SM commander can request for a Flak Land Raider to accompany his troops on any mission (taking up 1 Heavy Support slot).
From the front, you can see the Twin Stalker Weapons mounted on top and the FW Whirlwind Hyperios sponsons to shoot any enemy threat out of the sky. I added magnets to all of the weapons to allow swopping but also to assist in storage.
The front has been left blank to assist with the airbrushed flames that will in the near future be covering it. Milliput has been used sparingly to fill any gaps and to smooth out any bumps/holes.
Left Side
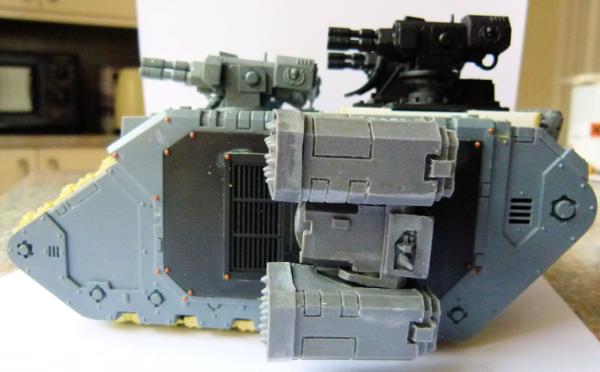
You can see the different heights of the Stalker weapons in this shot. The front Stalker weapons were fitted lower to ensure enough clearance for the rear Stalker weapons to fire directly horizontal to the front. I also ensure enough clearance for the Hyperios Sponson to be able to swivel a full 360 degrees on magnets as well. Rivets were also added for more realism.
Rear
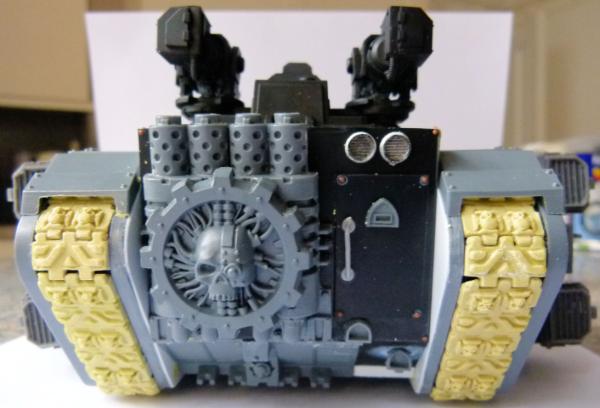
I shortened the width of the engines before sticking a Mechanicus symbol from the Cities of Death kit to show the close ties my "Legion of the Dead" have with their Martian friends. As I could not fit any hatches anywhere else on the model, I added one to the rear to allow crew etc to get into the vehicle. I added some feet holes as well to assist the crew in getting into the vehicle.
Right Side
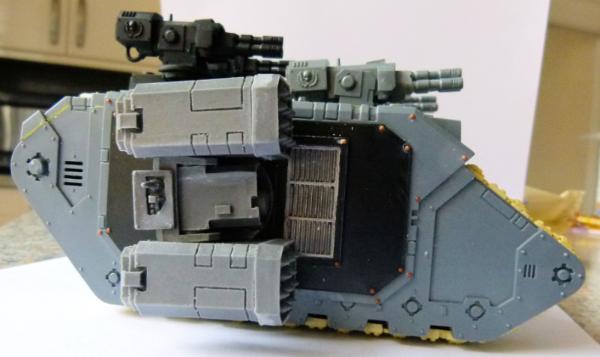 Top
Top
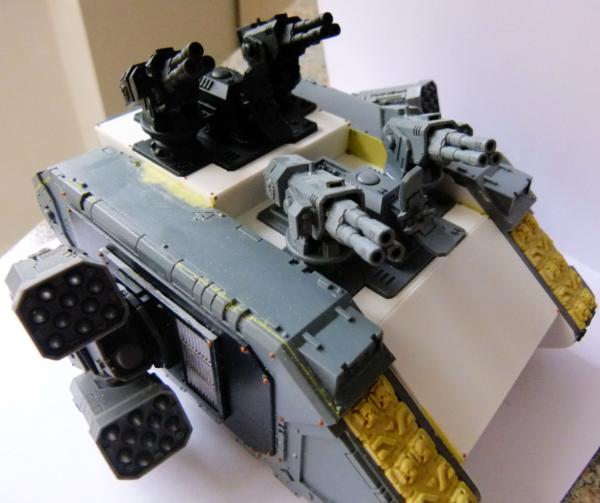
I really enjoyed making this model and it came together really quickly as I had everything I needed ready to go to build it. I keep a record of vehicle conversions I want to make in the future and then keep a record of parts I need to get to achieve it. I regularly keep an eye out for bits on different sites and overtime, buy all the parts for the new projects. Eventually, I can then go ahead and build my variants....
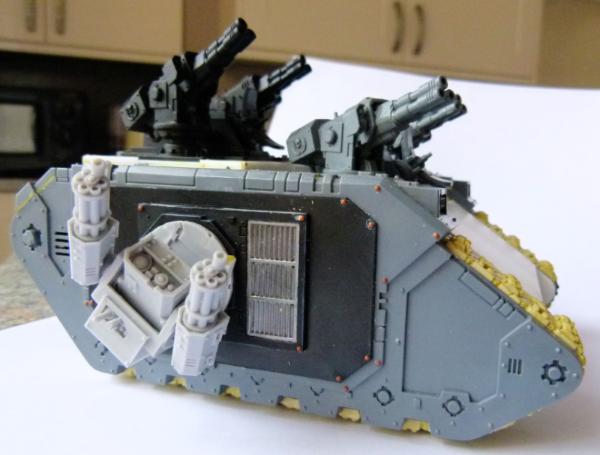
........ and to show another variant, FW Razorback Twin Assault Cannons. Think of the amount of bullets coming out of this vehicle!!!
I've washed all the resin parts and am waiting for some nice weather to be able to go outside and undercoat the whole of the model. I'll show some painted shots (hopefully) in the near future.
Land Raider Infernus
I'm well on the way to finish the structure of this vehicle and will post some pictures later.
Any questions, please feel to ask.
Regards, Phil.
38750
Post by: philmorgan75
Land Raider Infernus
Thought I'd show the progress I've made on my Land Raider Infernus I'm building for the Treadheads and Flyers challenge on Bolterandchainsword:
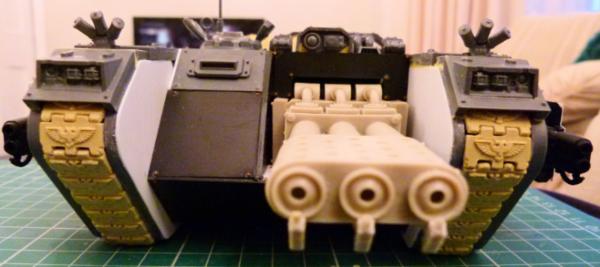
This shows the Top Front view. The tank commander is currently headless (not a carry over from halloween honest!!!) as I always paint my helmets white and when I undercoat the vehicle in black, it takes lots of coats of white to get the required finish I want.
I used bits from the IG Valkyrie, Hellhound and Baneblade on the top and front as well as lots of plasticard to make this look a practical vehicle. I'll add a large milliput skull in the space on the large black plasticard area under the tank commander after I've painted the vehicle.
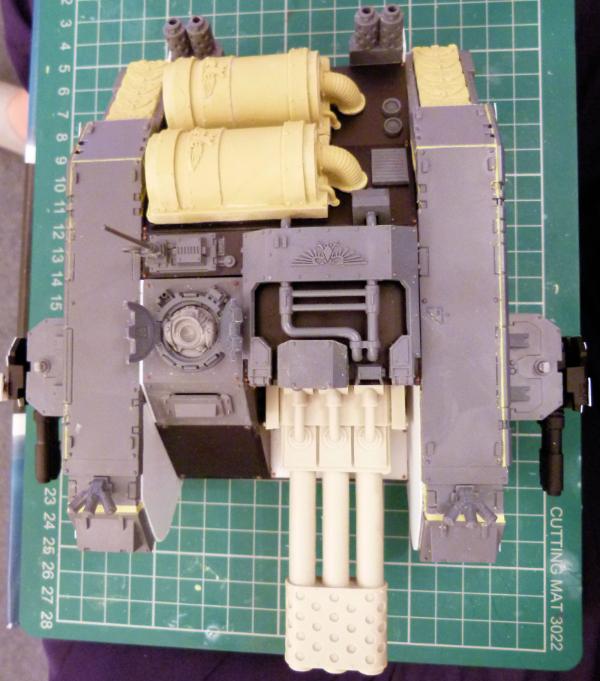
This top view shows the original GW grey parts and the new converted bits. The antennae has been magnetised to aid in storing.
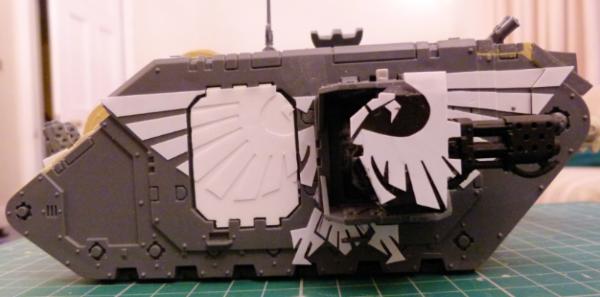
To show my Legion's loyalty, I added large plasticard Imperial Eagles over both sides. These were fun to make but very time consuming to attach to the vehicle. I've tried to carry the eagle over the sponson armour as well.
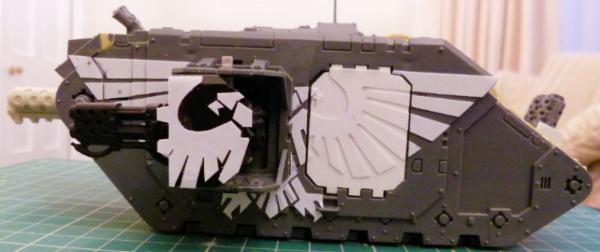
This shows the left side.
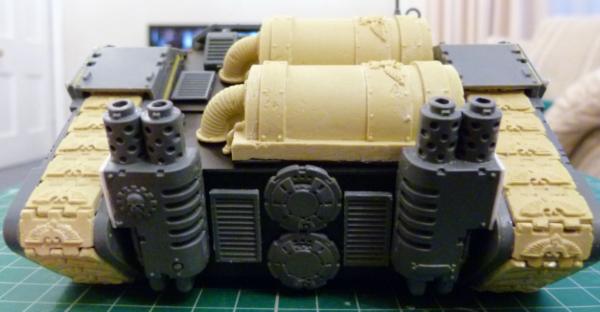
The rear was problematic. There needs to be engines and exhausts to power the vehicle, but I also want a large pipe connecting the large fuel tank trailer to the Infernus as well as another way of attaching the 2 vehicles together. I'll use the 2 converted turret hatches as the connection points for the 2 pipes and the 2 vehicles.
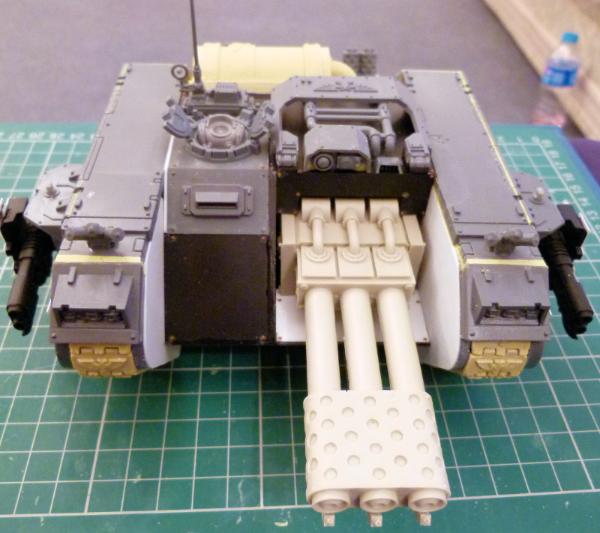
A final view of the top front. I need to add a small amount of milliput to a few gaps and the Infernus will be finished and ready for undercoat. I'll now move onto the Fuel Tank trailer. I plan on getting the Green Stuff Tentacle/pipe maker as well to use on this vehicle, I just hope that it doesn't take that long to arrive from Spain!
Till next time, Phil.
76303
Post by: Warboss_Waaazag
That's quite a stunning conversion.
38750
Post by: philmorgan75
Almost finished my Land Raider Infernus:
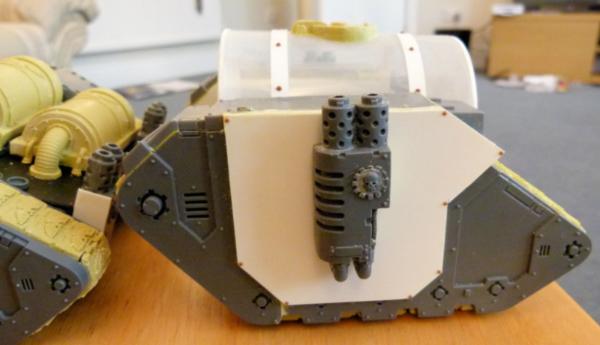
Unlike the Malcador Infernus, I didn't want a wheeled fuel trailer and went for a shortened Land Raider Chassis instead. This was made from the remnants from my Spartan conversion (which I started 2 years ago and still haven't finished!!). The white plasticard was used to hide all the cut marks on the original Land Raider parts. The exhaust isn't stuck on yet as I want to paint yellow and black hazard stripes over the whole white plasticard area and painting around the exhausts would be difficult.
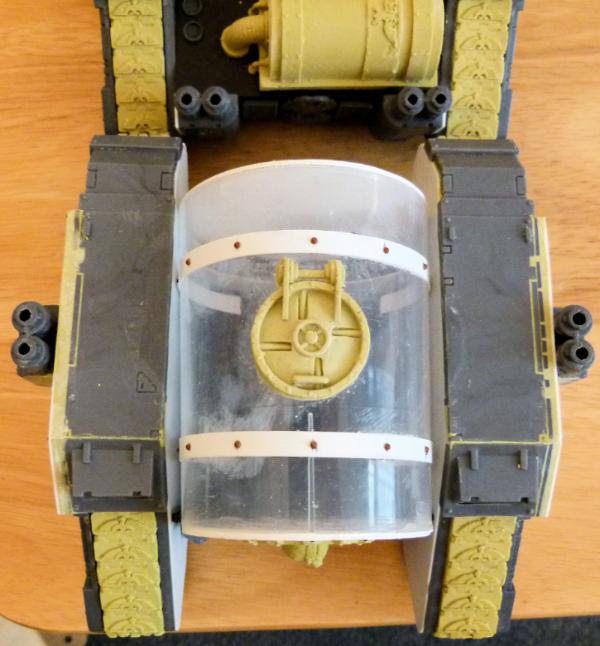
This top view shows what I did with the Q-tip container. I added 2 bands of thin plasticard and some spaced rivets to make it realistic. I also added a top viewing hatch to allow access to the promethium fuel in the tank. You can also see the milliput I used to fill the gaps between the top and sides as there were lots of different holes that needed to be smoothed out.
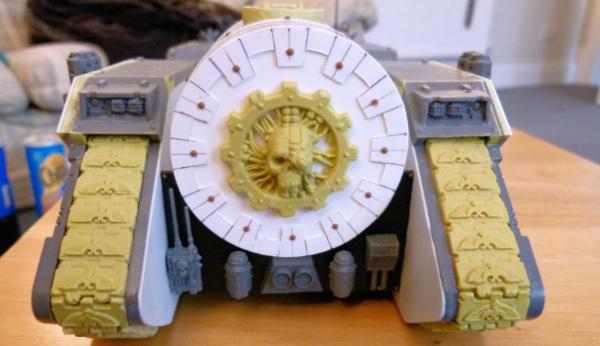
This is the rear. I tried to make some cogs to go around the edge of the tank to emphasise the legions strong links with the Adeptus Mechanicus. A couple of spare parts were added as well to fill some of the plain plasticard chassis. The lights are on the back of this vehicle to prevent anyone driving into the back of it!
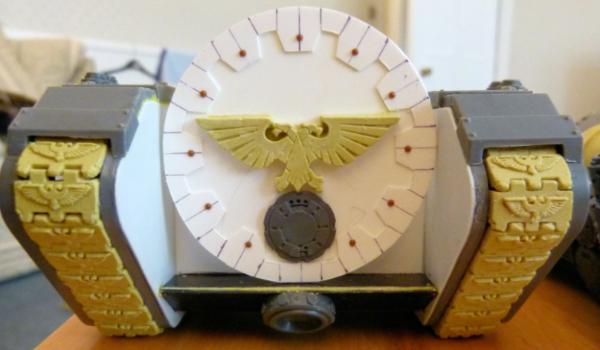
This is the front. Again, I cut some cogs to go around the edge of the tank. Instead of the Adeptus Mechanisus logo, I added an Imperial Eagle instead.

This shows the right side. To finish the building of this vehicle, I'm waiting for a Greenstuff tube maker coming over from Spain to add a large fuel hose, linking the tank to the Land Raider. I also need to make a way of attaching the towed tank to the Land Raider. I've added a magnet into the recess on the connector.
I've undercoated the Flak Land Raider and masked off some flames to go over part of the front of the vehicle. I've managed to spray the flames with an undercoat of white paint but the weather has been terrible recently and I haven't been able to get my airbrush out to spray the usual flame effects. I'm stocking up lots of different projects, painted to differing stages. Once I get painting, I try and get a number of projects to the same stage, so I finish a few at a time, rather than one at a time.
Till my next update, Phil.
38750
Post by: philmorgan75
Land Raider Infernus
Finished my Land Raider Infernus at last. I received my Greenstuff pipe maker from Spain last week and have been playing with it. Here are the results:
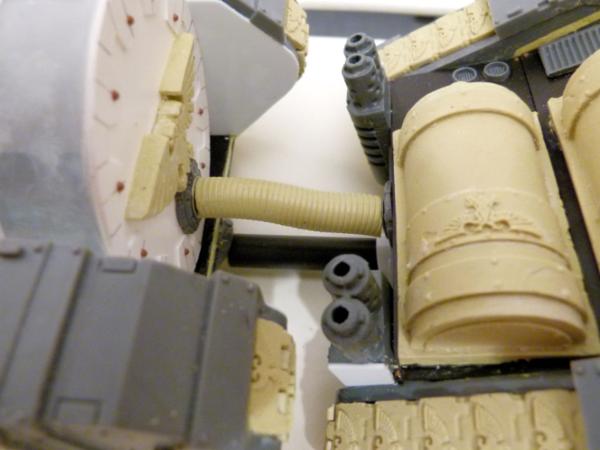
I rolled out a large piece of milliput into a tube and once it had hardened slightly, I used the Greenstuff pipe maker to make a fuel hose. Once it was still flexible enough I bent the hose to fit the tank and the Land Raider. I have added magnets to both ends to aid in storage. The connector between the Land Raider and the fuel trailer was made from a cut down pen and a small ball of milliput to make it look like a tow hitch. Again, this is magnetised. I may add thinner pipes between the 2 vehicles later down the line.
Without further ado, final shots before I undercoat and start painting it:
Front
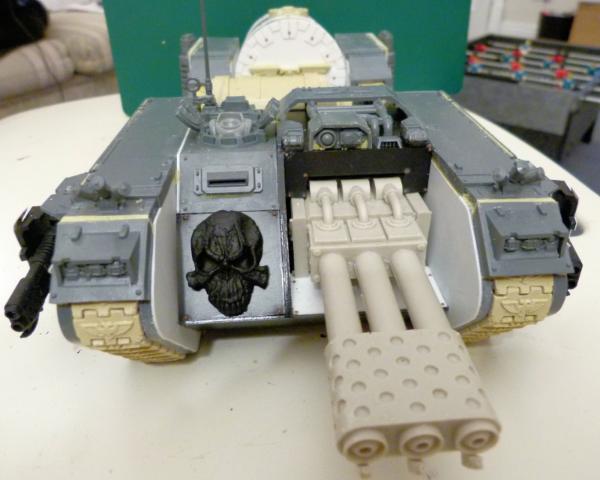
You can see I've added a skull to the front. This is temporarily stuck on with blu tack and will be removed whilst I paint it.
Left
 Rear
Rear
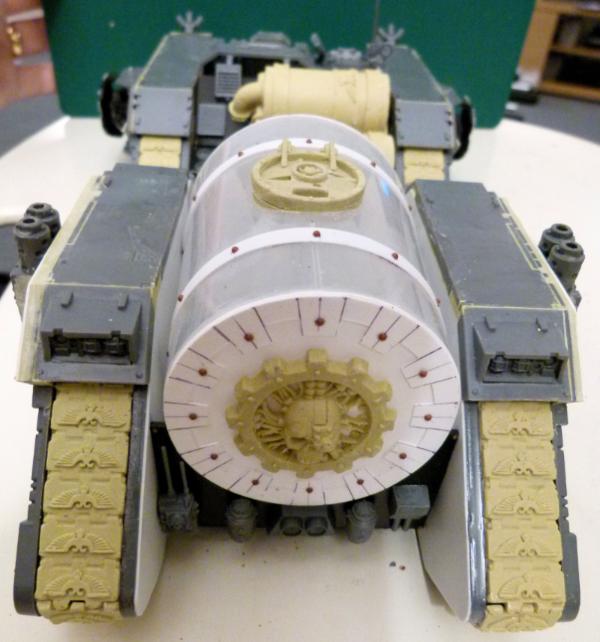 Right
Right
 Top
Top
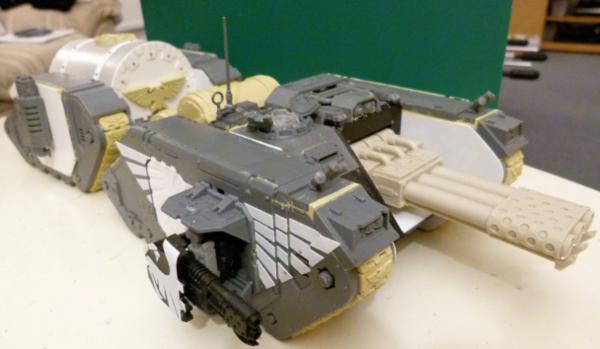
This was fun to make. I'm waiting for a break in the weather and will get this undercoated asap. I'm making good progress on the Flak tank in that the flames have been painted and varnished and when I get the time, I will black oil wash the vehicle before starting to weather it.
Finally, a little taster of my next project.....
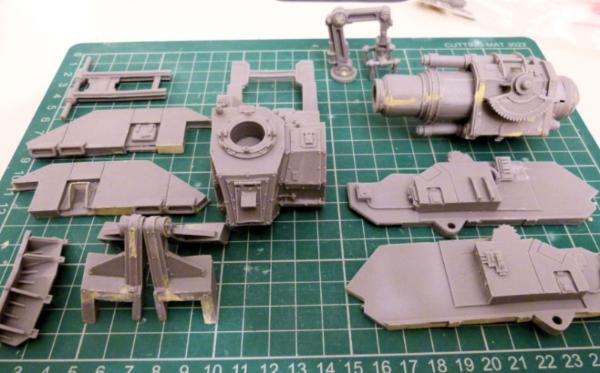
....A Land Raider Bombard!! I've cleaned up all the parts, repairing any mould slippage with milliput. The breech assembly has been completed as has a fully working hoist/crane. I've drilled pins into all of the moving areas of the crane and magnetised the claw parts to allow full articulation. So many projects, I think I need to give up work to have time to get them all done!
Till next time, Phil.
38750
Post by: philmorgan75
Big Update Time!!!
I have lots of projects being worked on at the same time - I spent 3 hours yesterday "sponging" silver over all of the models for some weathering! Without further ado......
Flak Land Raider
Finished my first vehicle for Grotsmasha's Vehicle Conversion Challenge:
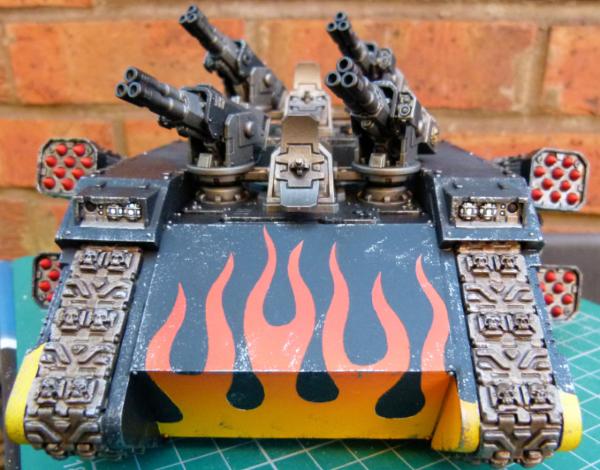
I airbrushed all the flames as usual for my Legion of the Dead vehicles. Gun Metal was sponged on to add some weathering effects. The barrels of the Stalker weapons had an airbrush of black to imitate soot/carbon deposits. I didn't sponge on any rust as I would normally do as I wanted to finish and move on to other projects ( in order to clean the decks for new Christmas pressies!!)
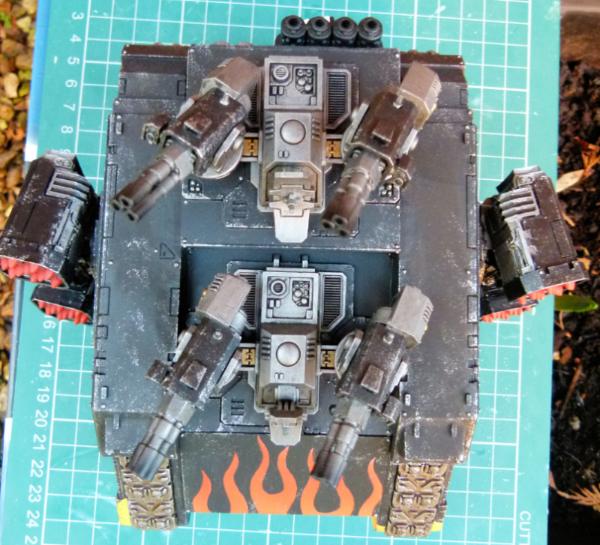
This top view shows all the weapons that can be fired into the air to bring down enemy fliers. This vehicle would ensure no enemy would get air supremacy when this is on the table!
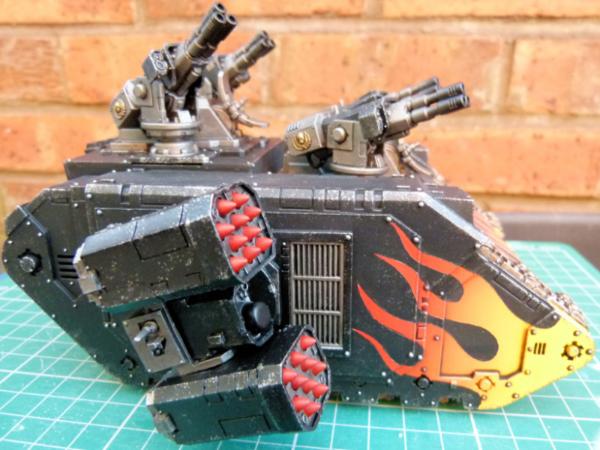
The Hyperios missiles are magnetised and can rotate easily on the side of the Land Raider.
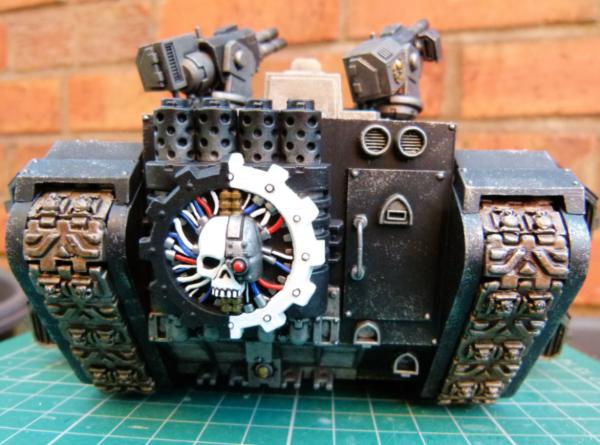
The Adeptus Mechanicus logo was painted as per my normal paint scheme. MIG Blue steel pigment was added to the top of the exhaust stacks and once dry, a quick blast of black from the airbrush to again imitate soot/carbon deposits.
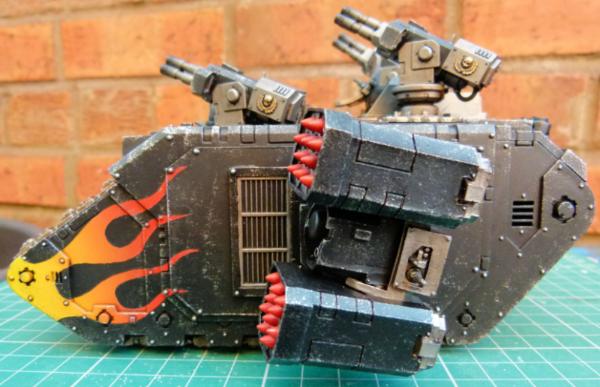
And finally, the left side.
As the Hyperios sponsons were magnetised, I can swop to any other turret weapons. The other variant I could see on the battlefield would have twin Assault Cannons.....
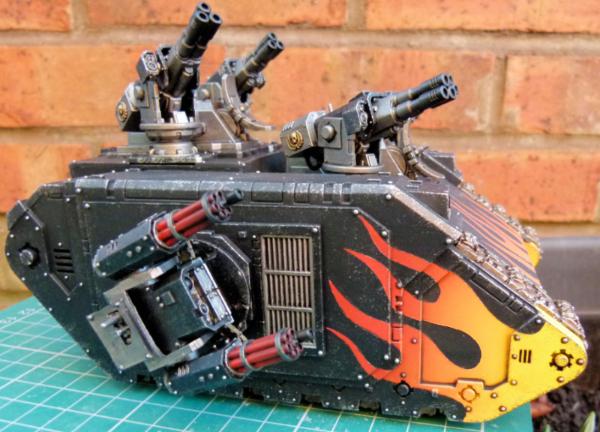
The amount of bullets this thing can fire into the air is phenomenal! Black was again airbrushed onto the end of the barrels to make them more realistic.
My second Grotsmasha Conversion entrant (Land Raider Infernus) has been undercoated black and I have started to mask the flames on the bottom edges. This will be airbrushed in the near future.
Alpha Achilles
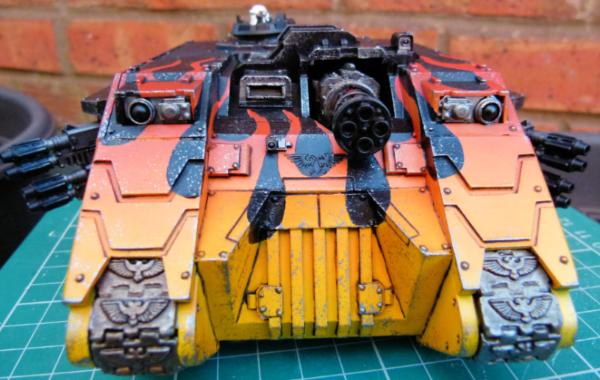
I love Land Raider Achilles and this variant looks brilliant. I just need to paint the Imperial Eagle gold and then put a black oil wash over the eagle to finish this view.
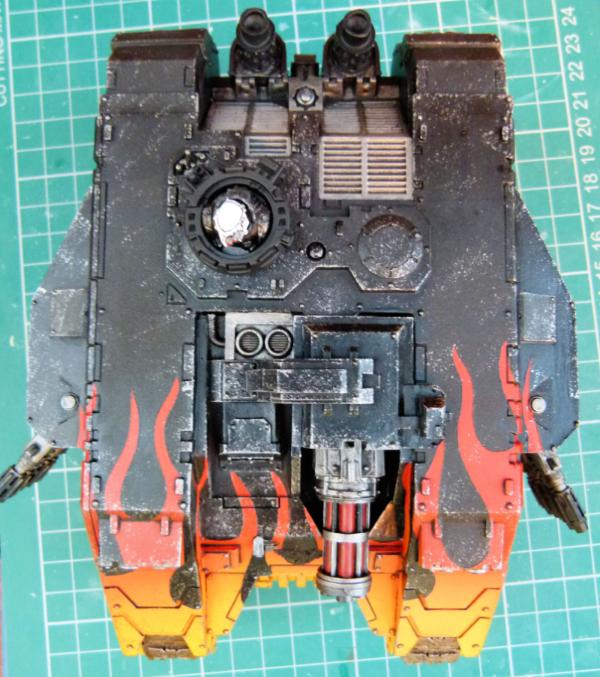
The top view shows the weaponary off. I need to finish the commander's hatch and this view will be finished.
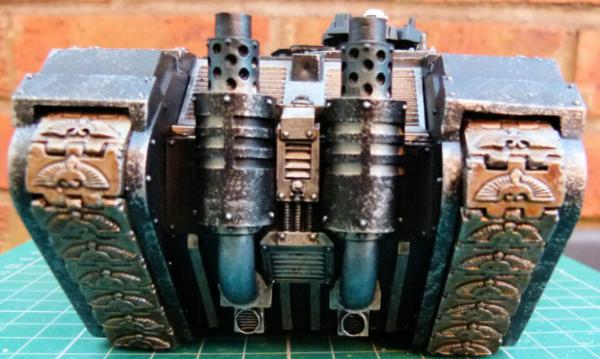
I think these exhausts should be on all of the standard Land Raiders. I tried to paint the exhaust stacks as realistic as possible with pigment and airbrush.
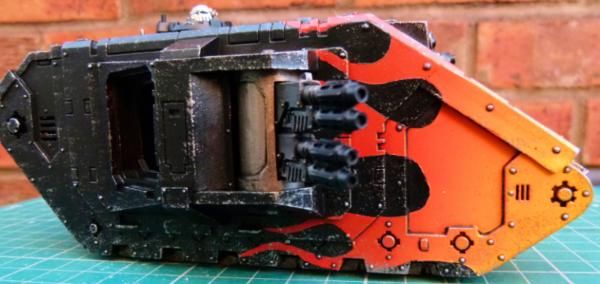
I've finished the Twin Multi Melta's and have almost finished the Twin Plasma Guns. Just the side hatches to be done and this will be finished.
Assault Land Raider Version 2
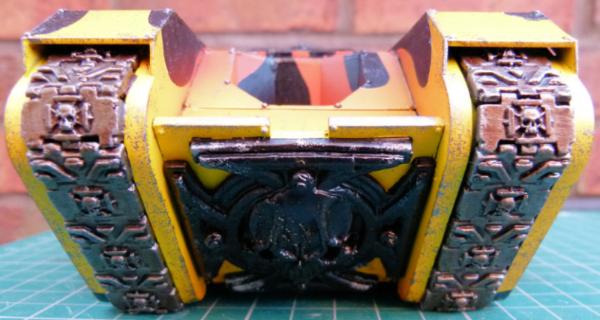
The front has been weathered. I think the tracks really bling out this variant. I just need to paint the large Crux Terminus logo for this view to be finished.
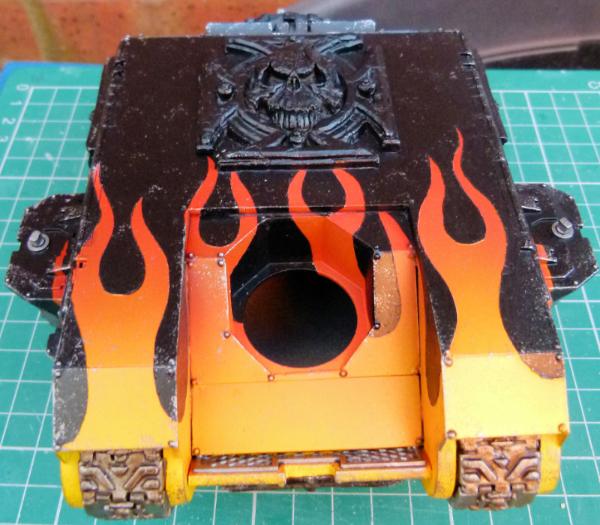
This top view again shows only the Crux logo needs painting for this view to be finished.
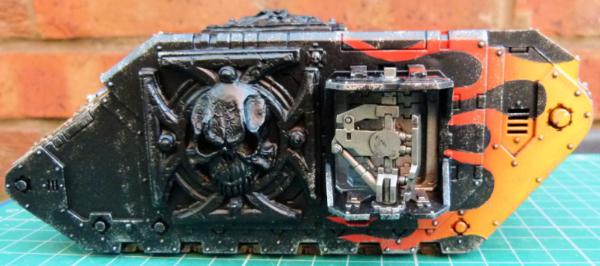
I'm not a 100% sure on the flames on the side, but it's too late to go back now!
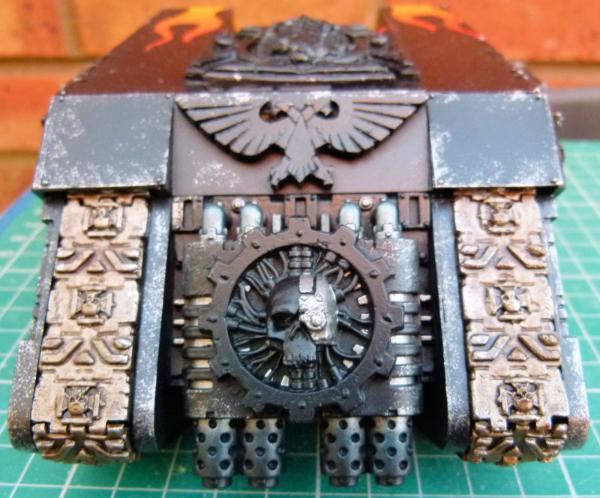
I'm really happy with how the rear on this one turned out. The usual Adeptus Mechanicus logo needs to be finished along with the Imperial Eagle and that will be another variant finished.
Storm Eagle
Finished my Storm Eagle!
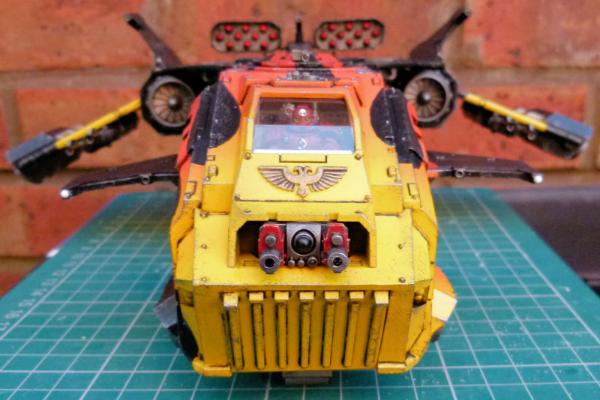
I had great fun making and painting this aircraft. It was a pain to go together and there are a couple of places that are not 100% perfect BUT I'll be the only one that knows where the problems are. Anyway, this bird will look great with my finished Fire Raptor and my second (as yet) unpainted Fire Raptor.
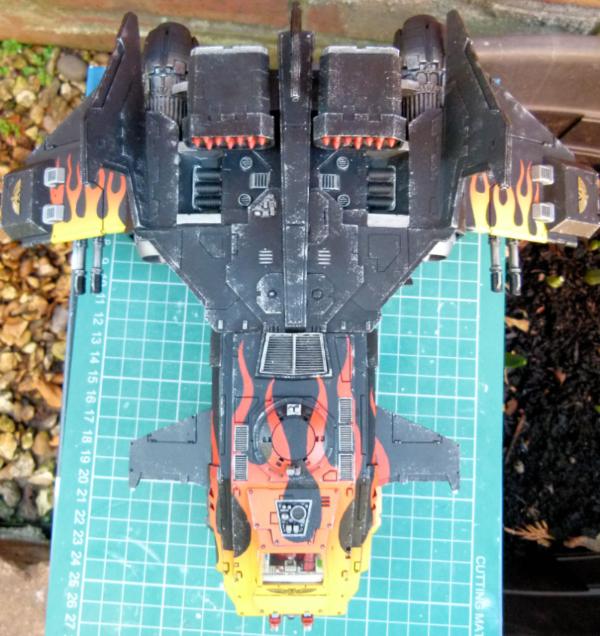
The top view shows the mandatory flames wrapping around the front and over the wings. This has taken weeks to finish, but I'm so happy it turned out the way it has!
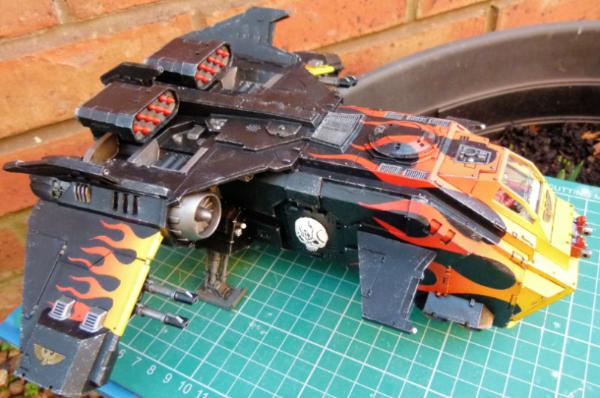
This front 3/4 shot shows the right side. I added a skull to the side hatch to show everyone which Chapter this aircraft was from.
Storm Fang
I know that rules say that only Space pups can have them, but when I saw the new kit, I wanted to have one ( I ended up getting another one as well!).
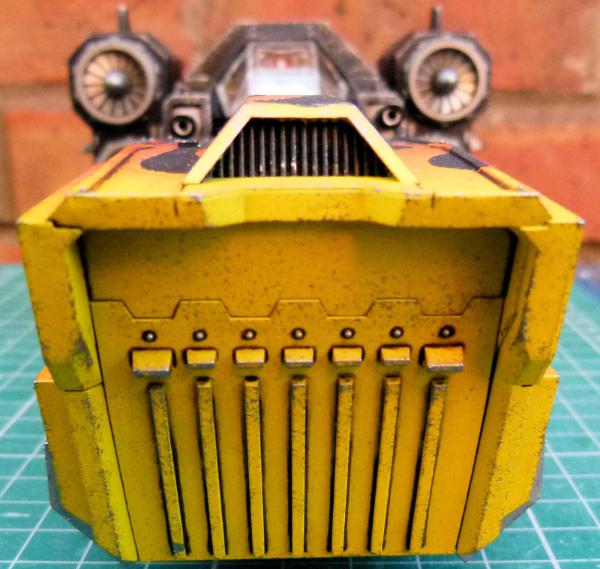
The front hatch has had the obligatory gun metal sponging to the edges to give a realistic worn effect.
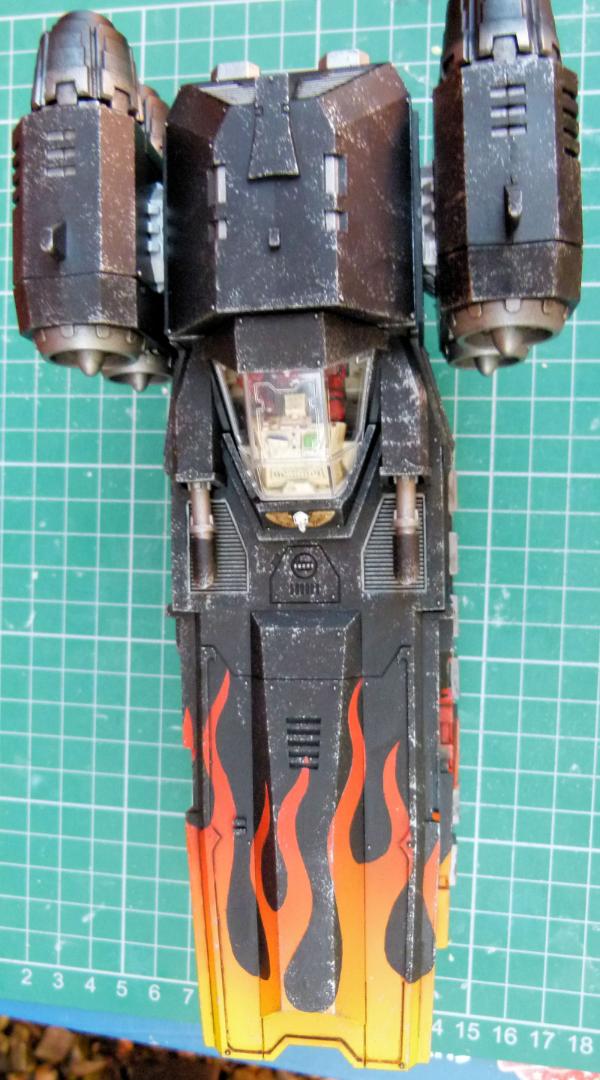
You can see the flames wrapping around the front as normal. I need to paint the edges around the Perspex canopy and this view will be finished.
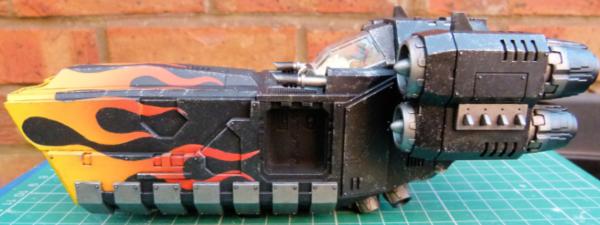
I think this model looks like a Colonial Viper from Battlestar Galactica. I need to magnetise the sponsons and I can then swop between Hurricane Bolters, Twin Heavy Bolters and Twin Multi Melta's.
I've also made some progress on my Javelin, Legion Basilisk/Medusa, Deimos Predators, Land Speeder Tempest and Storm and Whirlwind variants but I'll show you those in my next post.
Till next time, Phil.
38750
Post by: philmorgan75
Update time:
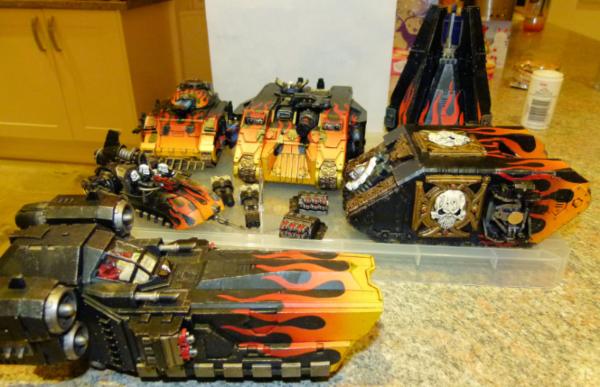
Here's a shot of all of the models I've finished recently.....
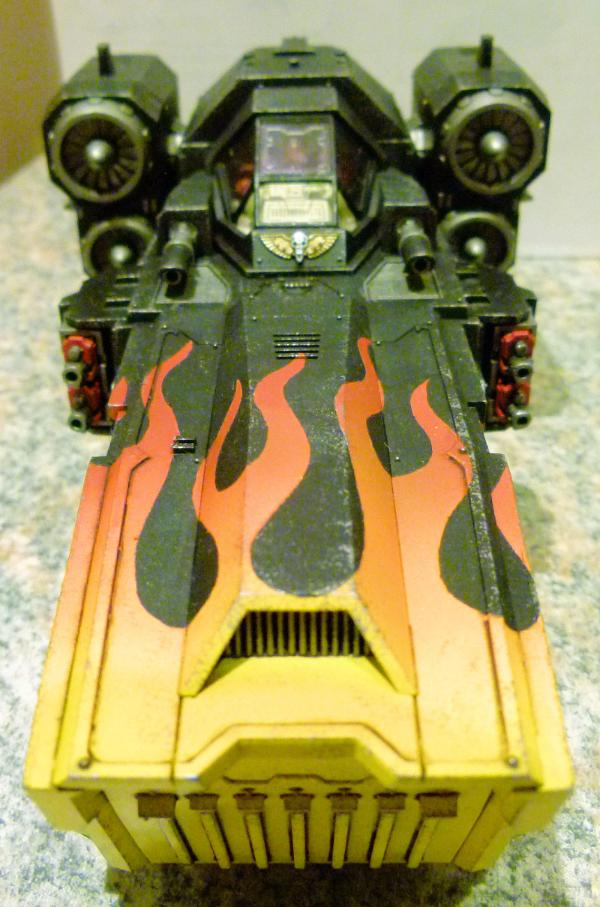
A Storm Fang painted in my Legions paint scheme. I've finished the Heavy Bolters and Hurricane Bolters sponson. The Twin Multi Melta needs a Blue Steel pigment brush and then a blast of black from the airbrush to finish the burnt look. The missiles need to have a few coats of yellow airbrushed and this will be completely finished.
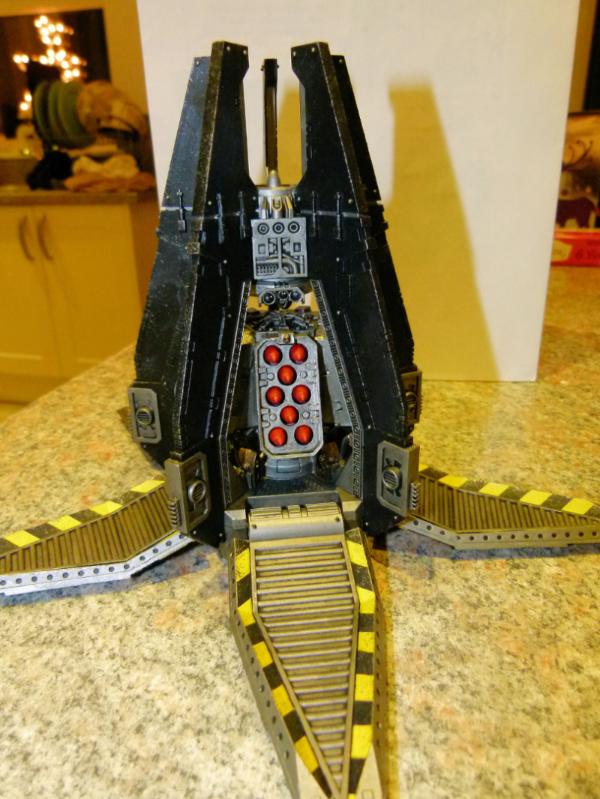
Here's my Deathstorm Drop Pod. I bought the Assault Cannon parts years ago on ebay and painted them up. I tried fitting them on to both a GW and FW version of a drop pod but they didn't fit. I'll put them on to the back burner for now as I have lots of projects I've started and also want to start.
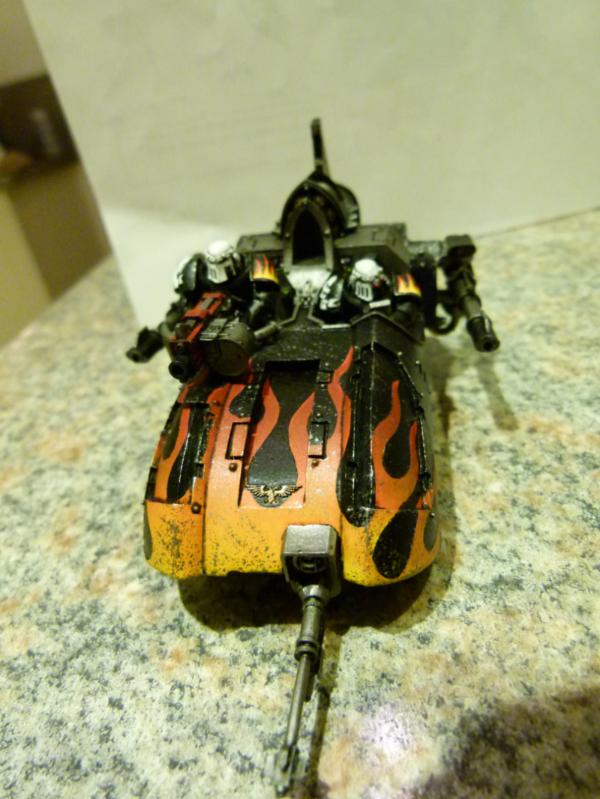
My Legion Javelin with Lascannons. I think this version of the Land Speeder looks much better than the normal GW version. I added some Mk III helmets rather than the usual Mk IV variants.
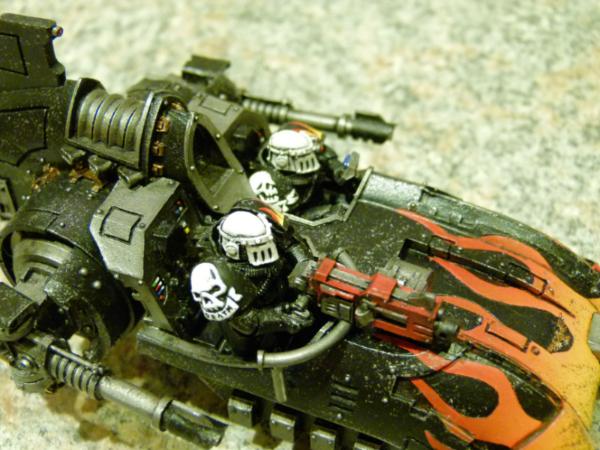
Here's a close up of the crew and their shoulder pads...
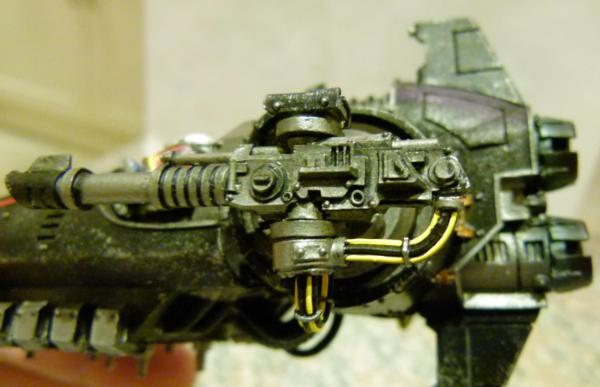
.. and the power cables for the Lascannon's.
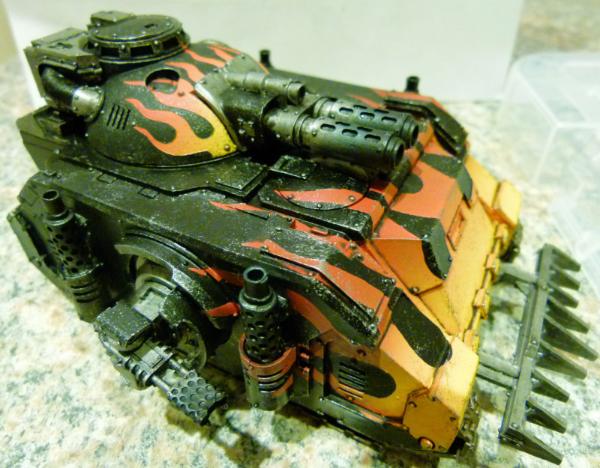
This is the first of my Deimos Predator's. I magnetised the turret weapons, so this is my Magna Melta with Heavy Flamer sponsons....
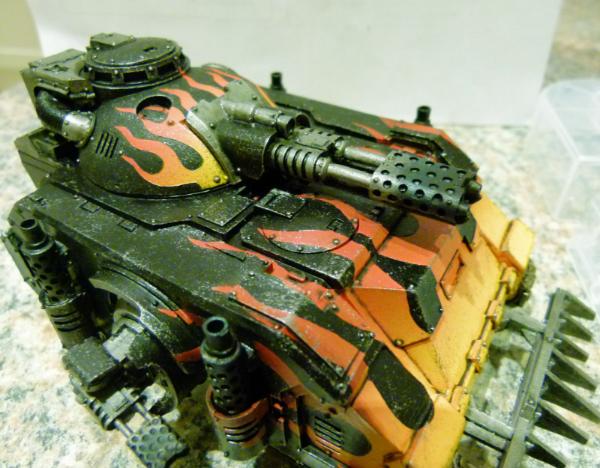
.... Flamestorm Cannon....
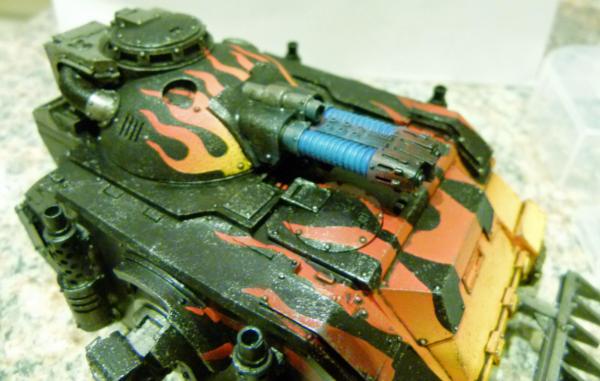
.... and Plasma Executioner.
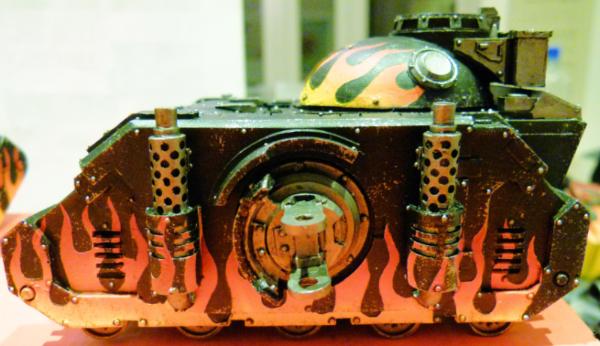
This is a WIP on my second Deimos Predator. I need to paint the tracks and this one will be finished.
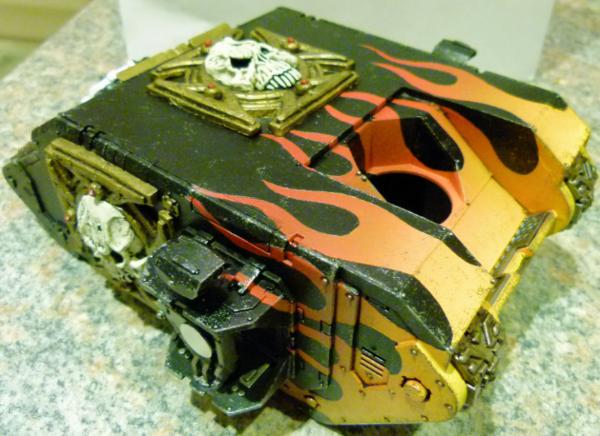
This is my second Assault Land Raider. It has had the sponsons magnetised so different weapons can be used.
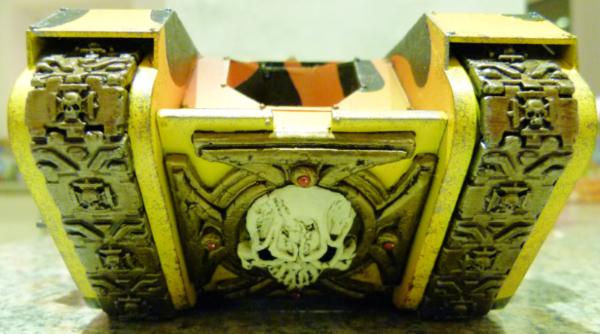
The front ramp shows one of the Crux Terminatus symbols I used.
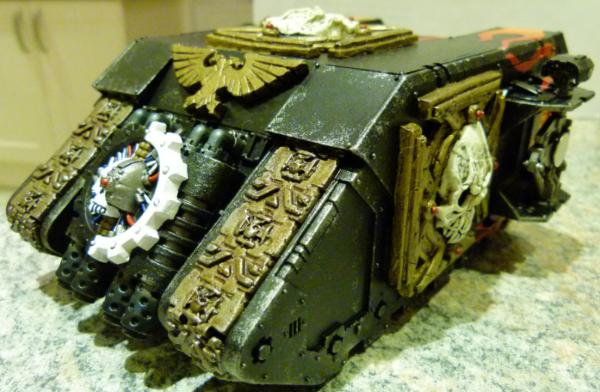
The rear view.
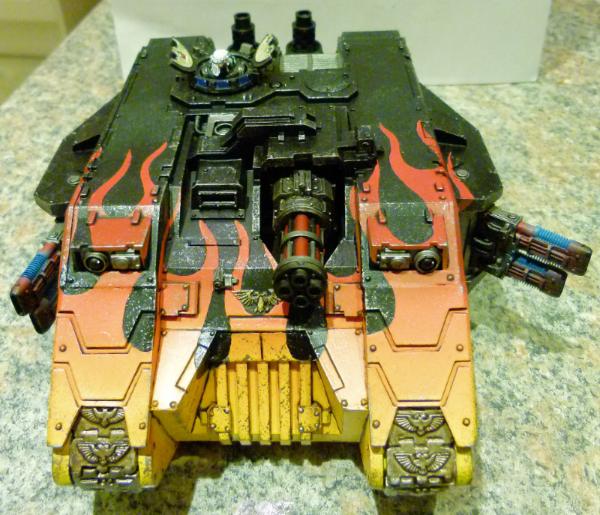
My first completed Achilles Alpha. I've decided that going forward I will use Mk III helmets on vehicle crew as I think they look cool!
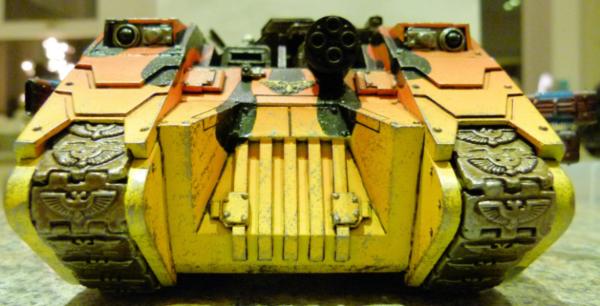
Looking down the business end of a Thunderfire Cannon!
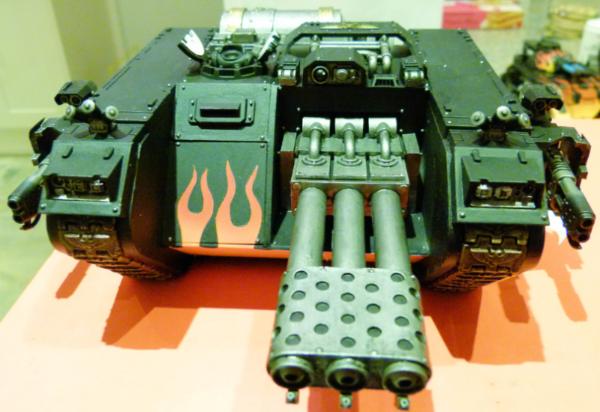
Land Raider Infernus WIP. Apart from the crew turret hatch on top, I have finished the base layers. I am waiting for the black oil wash and track wash to dry before I can start the sponged on weathering effects I normally do. Not much more to do and this variant will be finished.
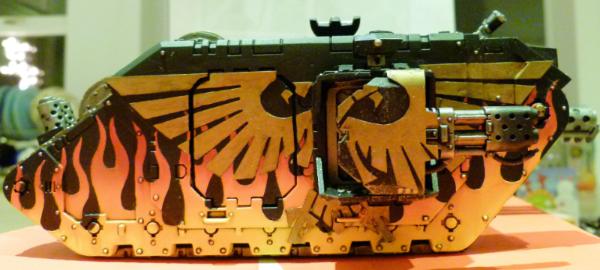
This shows the almost finished right side. Sponged on weathering and this view will be finished.
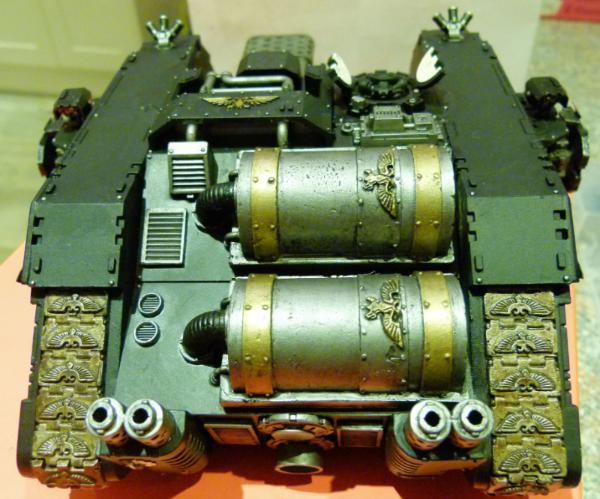
The rear fuel tanks will have a small amount of rust sponged on for added realism!
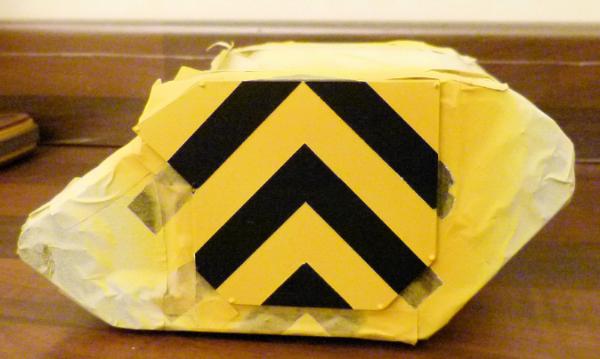
And finally, some hazard stripes I've done on the fuel trailer. I now need to mask flames to match those on the bottom of the sides of the Land Raider Infernus and airbrush those on.
Lots of things done, but still load to do!!
Till next time, Phil.
38750
Post by: philmorgan75
Land Raider Infernus:
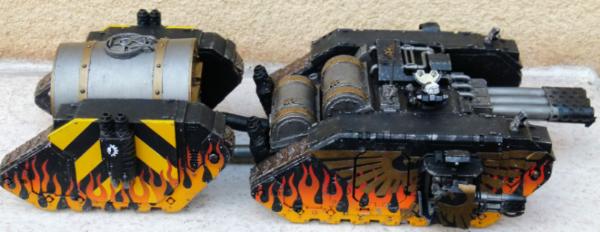
I finally finished my Land Raider Infernus conversion. It's based on the Malcador Infernus from FW which is based on the old WW2 "Crocodile". I got a Warhound Titan Heavy Flamer and built the rest of the armour out of plasticard. I didn't think the wheel based fuel trailer fitted in with my Space Marine Legion that is looked on favourably by the Adeptus Mechanicus, so I used the left overs from my LandRaider Spartan and made a tracked fuel tanker.
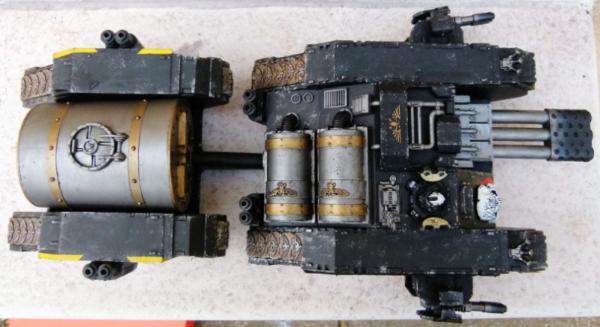
This Top view shows how big this vehicle is. I used the fuel tank that came with the titan Heavy Flamer on the back of the Land Raider as a reserve should the fuel in the trailer run dry. I originally planned to sponge on some rust to the fuel tanks, but I chickened out in the end!!
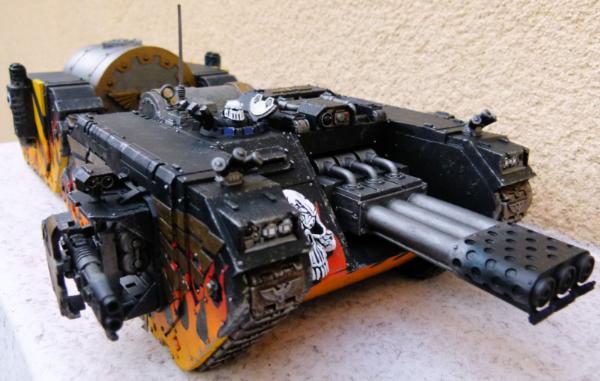
This is a front three quarter view of the Infernus. You can see the Mk III helmet on the Tank Commander in this shot.
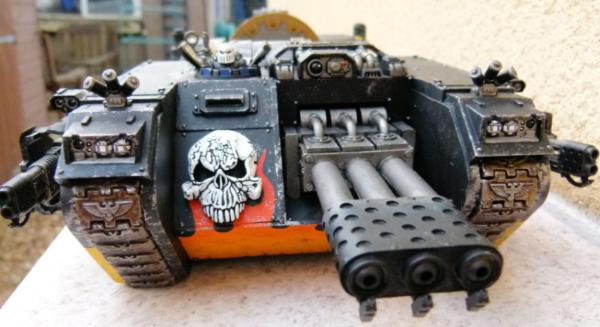
The front tracks each have an Imperial Eagle on - showing my Legion of the Dead follow the Emperor and not one of the other "false" gods!!
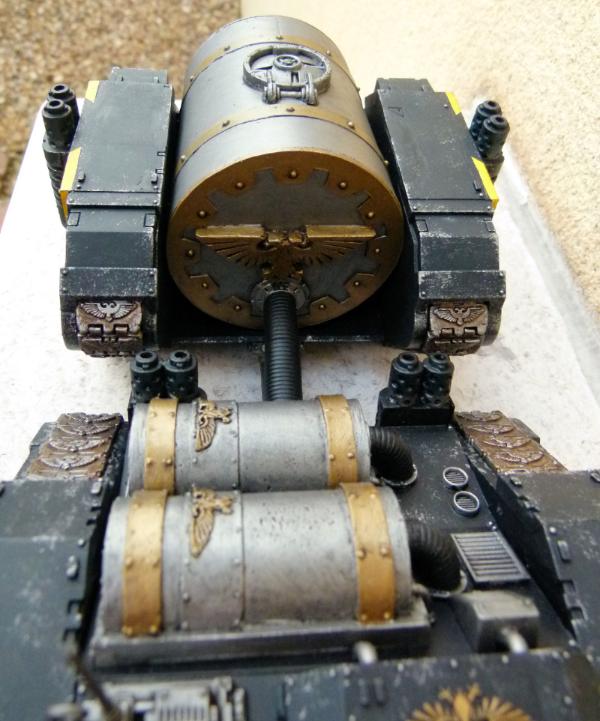
This is the front of the fuel trailer....
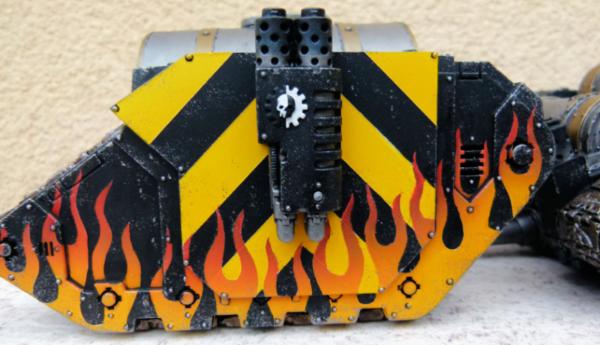
... and this is the side. I decided to add hazard stripes to the sides. The masking of the flames didn't go 100% and I had to do some corrective paintwork over the seepage.
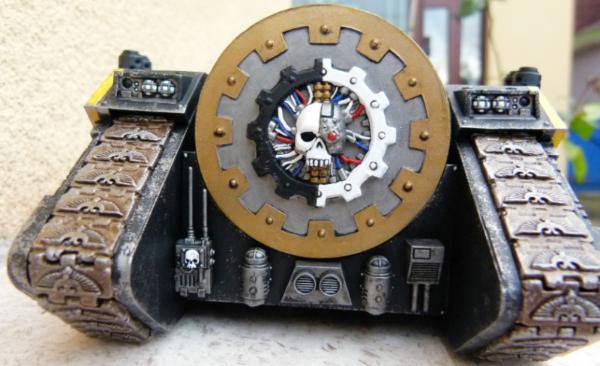
This shows the rear of the fuel trailer.
It was a fun build and I am glad to put this to bed. This has allowed me to move onto other projects......
Land Raider Bombard
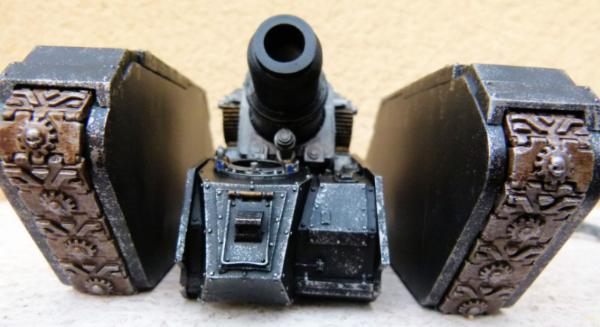
I spent a couple of days building different tank tracks for my next couple of vehicles and this Land Raider has my Adeptus Mechanicus versions. Every other track has an Adeptus Mechanicus logo on them. I decided to paint the parts individually and will glue them at the final stage.
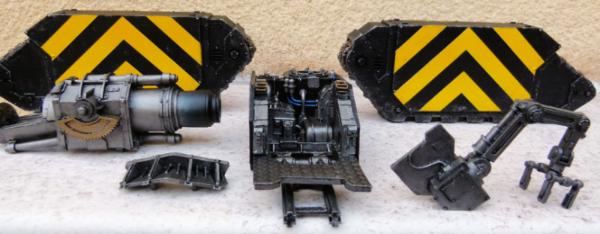
I have again added hazard stripes to the sides of the vehicle to show others that this is heavy ordanance. I have painted some Imperial Eagle wings that will be attached to the hazard stripes and will then attach a large Adeptus Mechanicus logo. The bombard has a moveable breech and the crane has been fully magnetised to allow full movement.
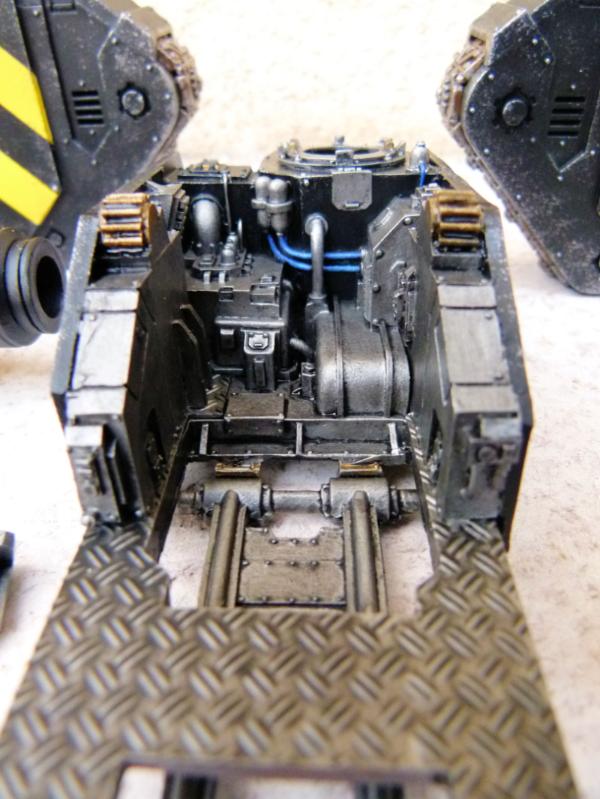
This is the interior. I decided to paint it before adding the Bombard as it obscures so much.....
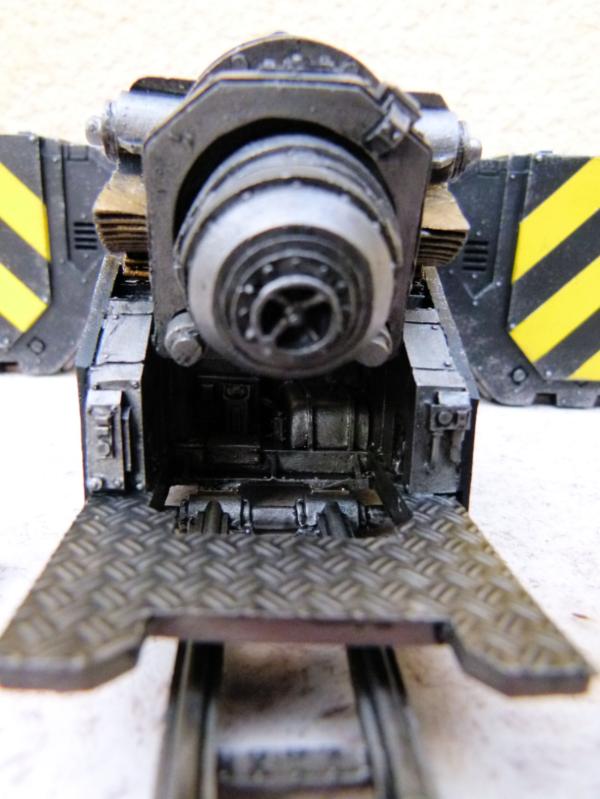
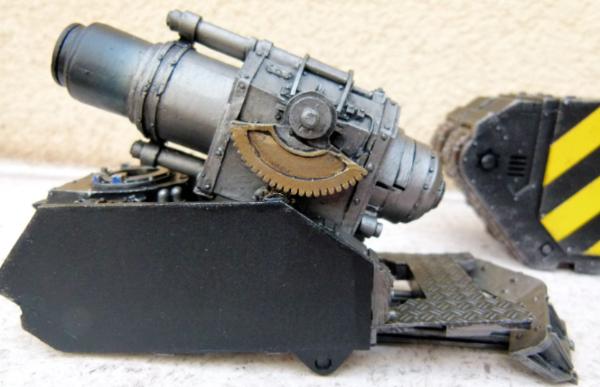
This final shot shows how much the Bombard stands proud. I still need to work out how high I want the Bombard sticking up. I hope to finish this project soon.
Deimos Predator
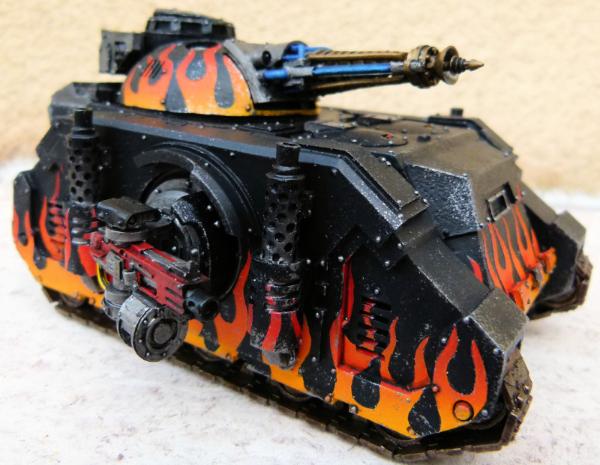
This is my second Deimos Predator. This shows magnetised heavy bolter sponsons and a magnetised conversion beamer. I still need to complete my third Deimos Predator with Autocannon and twin lascannon turret and my Whirlwind Scorpius (things to do in 2015!!).
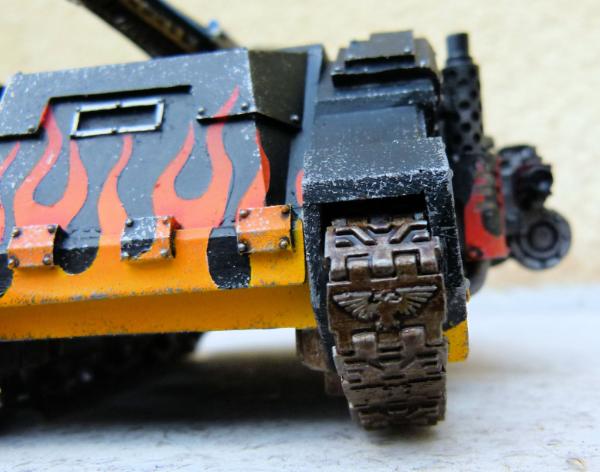
This shows the FW etched brass Imperial Eagle I added to every other tank tread.
Legion Medusa and Basilisk
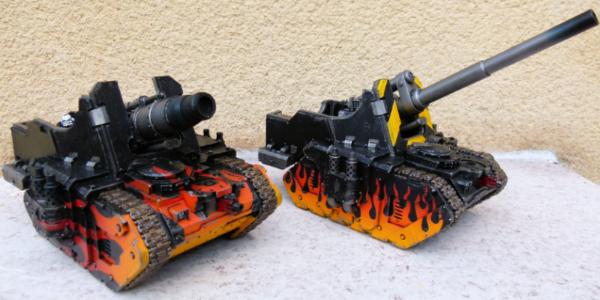
I loved building and painting these vehicles, so much so, I have just ordered the Solar Auxilia equivalents as well. You can never have to much artillery!!!!
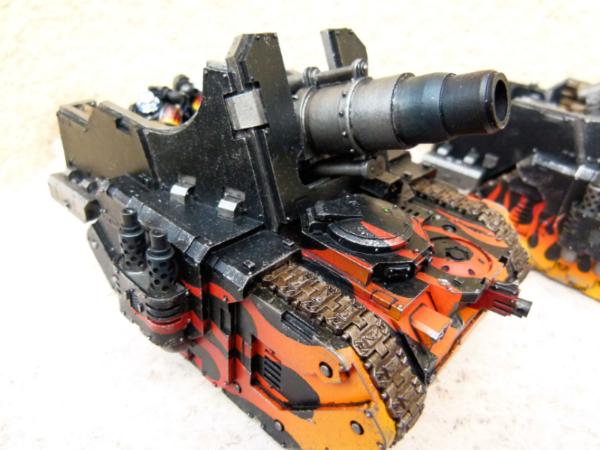
This shows the completed Medusa. I used blue steel pigment and a blast of black from the airbrush to imitate soot/carbon deposits. Small FW etched brass Imperial Eagle were added to every tank tread.
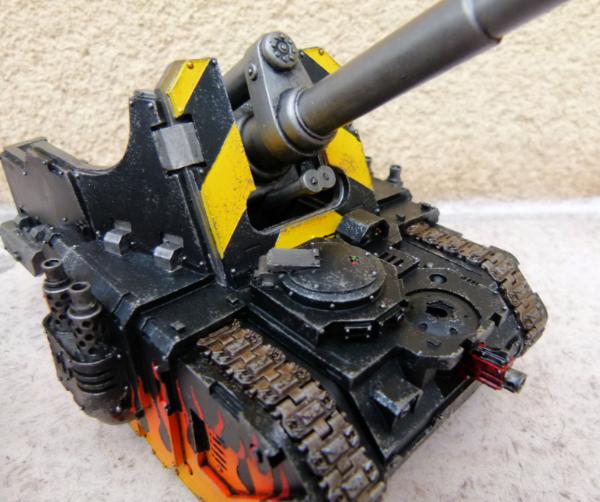
The Basilisk is 99% finished. I just need to add blue steel pigment and airbrush some black onto the exhausts and the heavy bolter at the front to finish the vehicle.
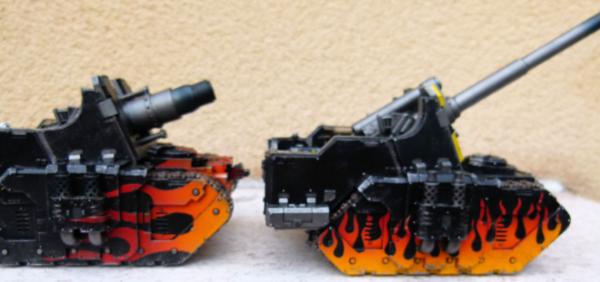
This shows the different flames I did on the different vehicles......
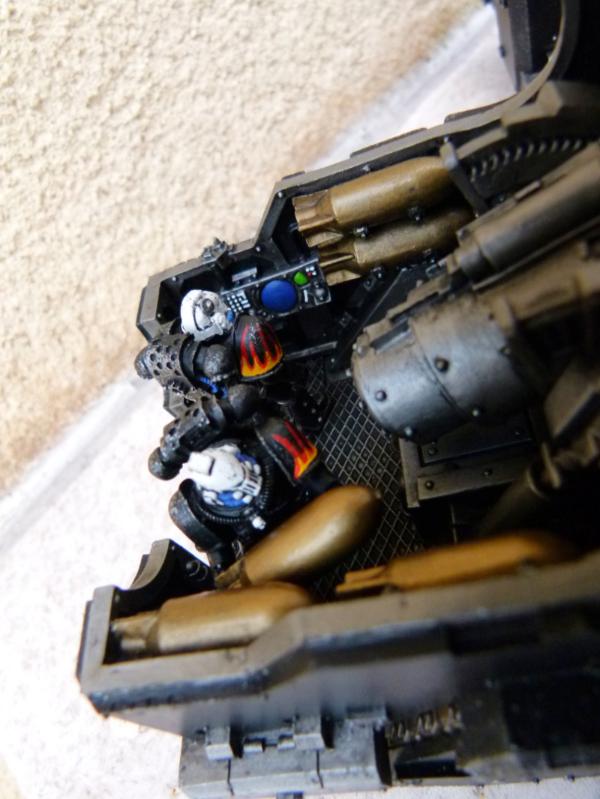
..... and the magnetised crew!!
And finally, a little Christmas present I had....
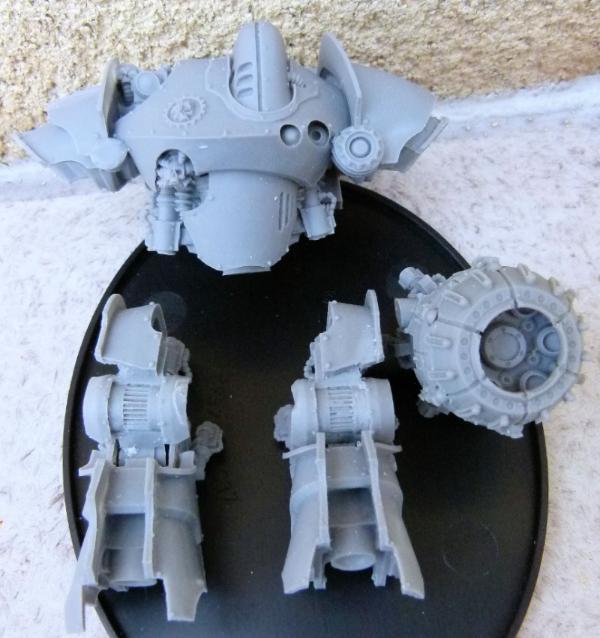
... a Thanatar!! I spent a number of hours cleaning up all the parts yesterday. It is fully poseable and I am struggling to find a pose I'm happy with. I want to have it striding with its left leg forward and the left arm housing the heavy bolters raised and guns a-blazing!!!! Moving the ammo feed will be a challenge but something to look forward to for 2015.
Hope you all have a fab 2015.
Regards, Phil.
38750
Post by: philmorgan75
I managed to finish a couple of Land Raiders today:
Skull Land Raider
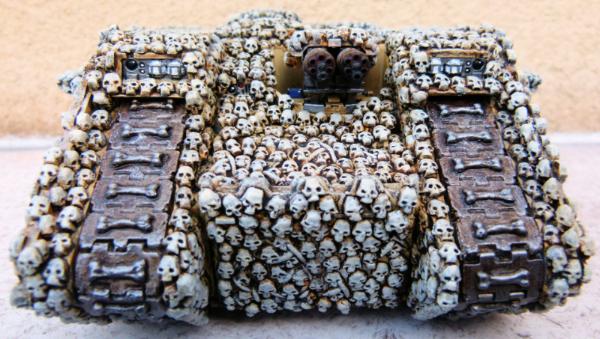
I made this back in 2009 and it has spent the past 5 years under my bed until I felt comfortable in painting skulls. I found a recipe I was happy with when painting my Land Raider Shadowsword variant and thought I'd give it a bash! I'm really happy with how this turned out. I got the airbrush out this morning in a gale force wind (I had a new kitchen fitted this year and ever since, I have had to airbrush out side) as I needed to finish off lots of projects so I can put these models away and move onto new projects. I blasted some black onto the Assault Cannon barrels and the exhausts to finish this off.
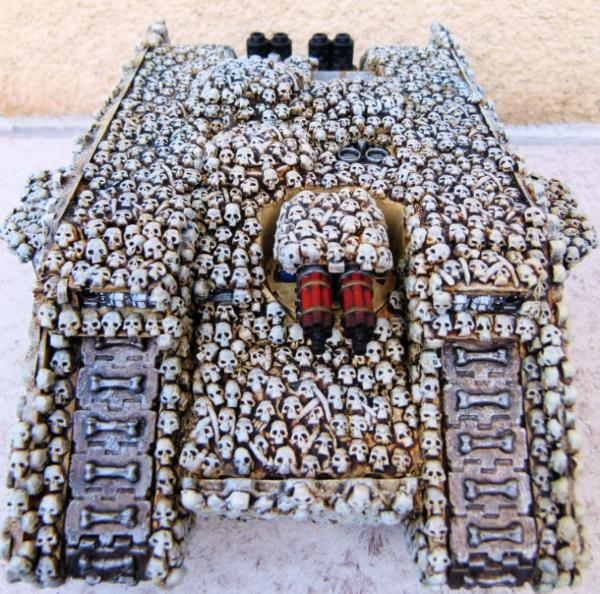
This shows a slightly higher view of the front. I used the old Warhammer Fantasy crossbones that were used on shields and after some chopping and filing, added them onto every track to add some more icons of death!!
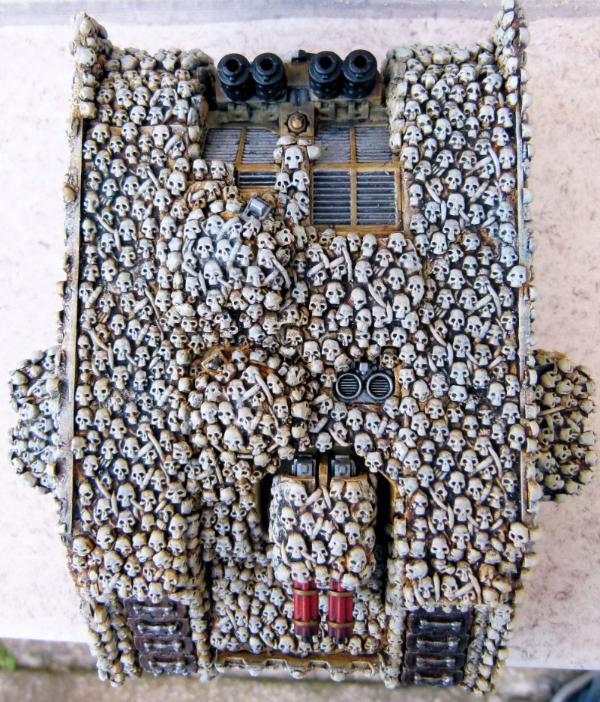
This shows the plan view. I spent hours and hours making the skulls and was glad to finish the construction of this one!
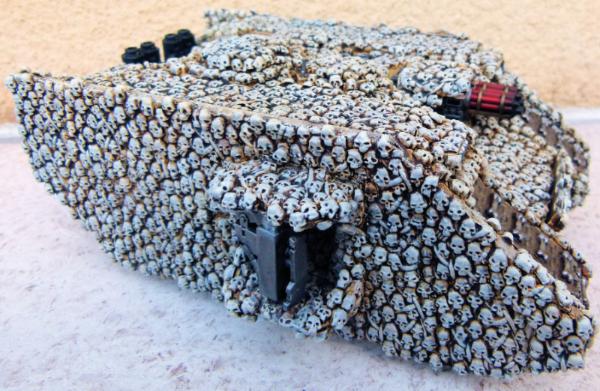
As with all of my Land Raiders, I magnetised the sponsons to allow different weapon payloads.
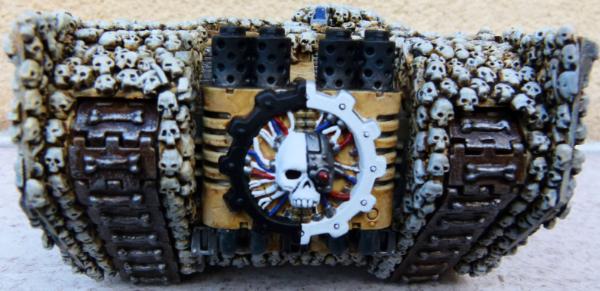
The usual Adeptus Mechanicus logo was added to the engine. In a change from the usual paint scheme, I went with a bone colour instead of the normal black.
Land Raider Shadowsword
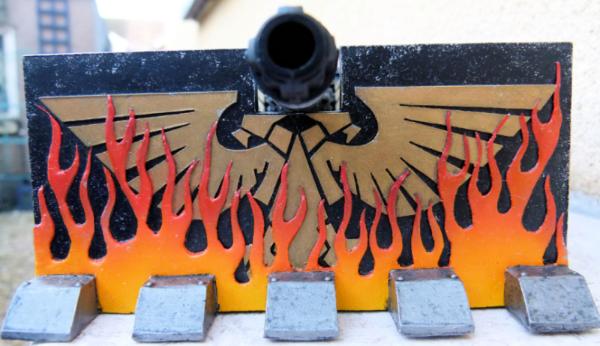
Again, this variant was built years ago and I have been painting it on and off for the past few months. I finally plucked up the courage to try to paint skulls on this one and I was so pleased with the results, I painted the Skull Land Raider above in a couple of days.
This stormshield was made from plasticard, as was the Imperial Eagle. The 3D flames were made from milliput and then airbrushed. The 5 "prongs" at the front were made from lego parts.
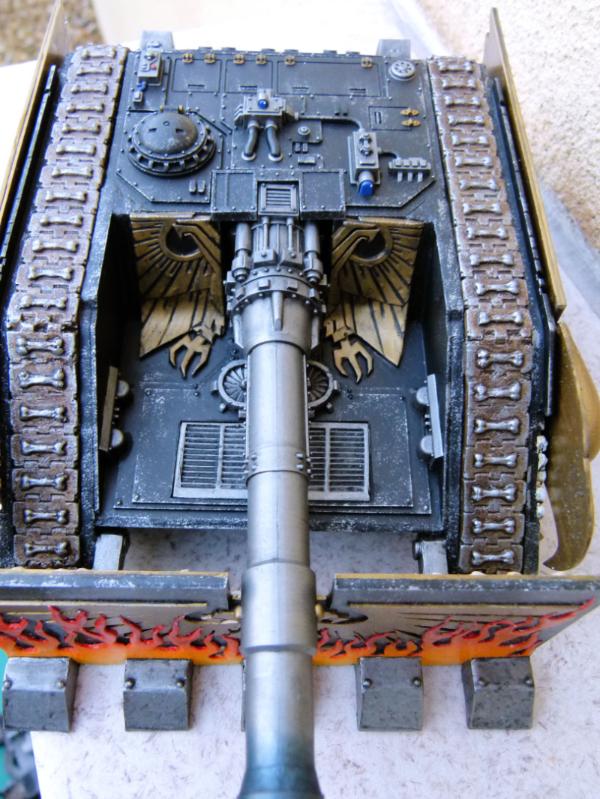
This shot over the storm shield shows the Imperial Eagle taken from the Cities of Death I made to fit. I used the same track design on this one as I did the Skull Land Raider.
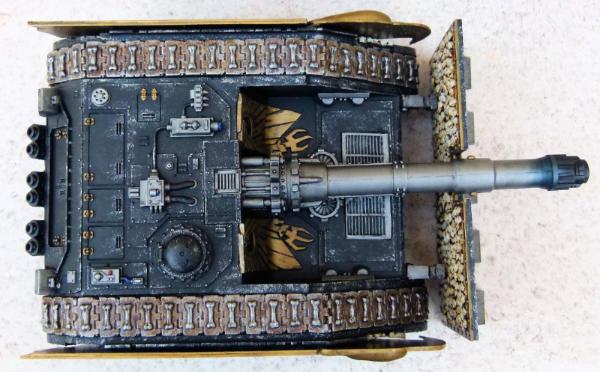
This shows the plan view. The Storm Shield has been magnetised to allow it to be stored easier.
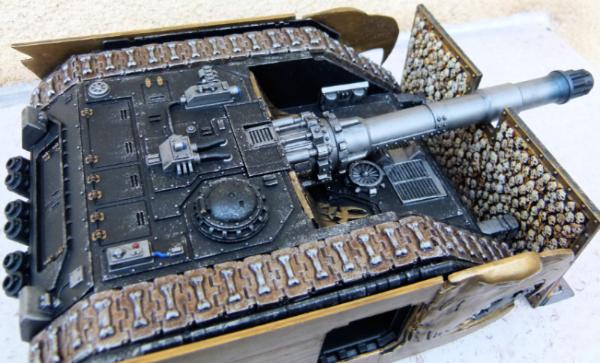
You can see the skulls on the rear of the Storm Shield on this one.
I have decided to stay away from rust at the moment, only weathering my variants with sponged on gun metal. I was finding the rust pigments I was using was making a hell of a mess and not letting me touch the model for a number of days - I dodn't feel comfortable handling the model even after a coat of matt varnish.
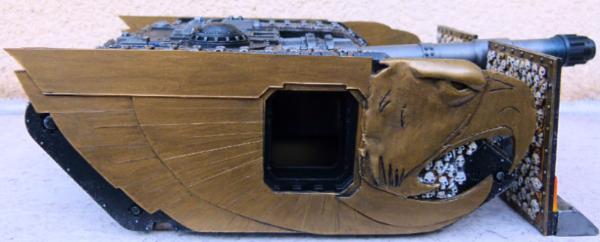
I made this side armour out of plasticard and then used milliput to sculpt an eagle's head. It has been magnetised so I can opt to not have the side armour on should I wish. I haven't decided what sponson to use, so I didn't attach any to the vehicle.
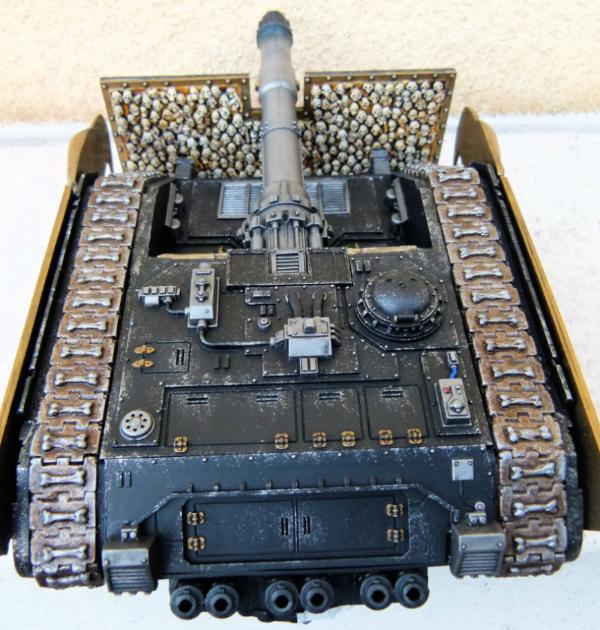
This shows the view from the top rear.
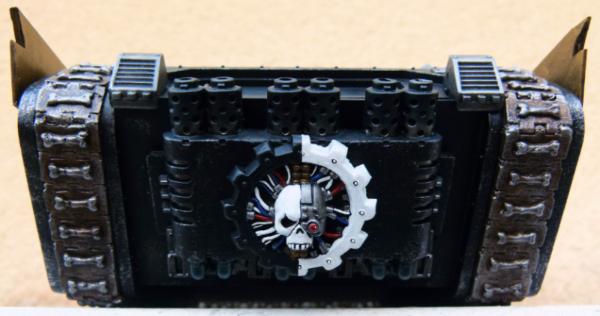
As I had widened the vehicle by adding the Shadowsword parts, I thought I would add an extra engine to cope with the extra weight and size better. I'm glad I painted this vehicle - without it, I would still be unhappy painting lots of skulls and would stick to my usual, pristine skull white.
Land Raider Bombard
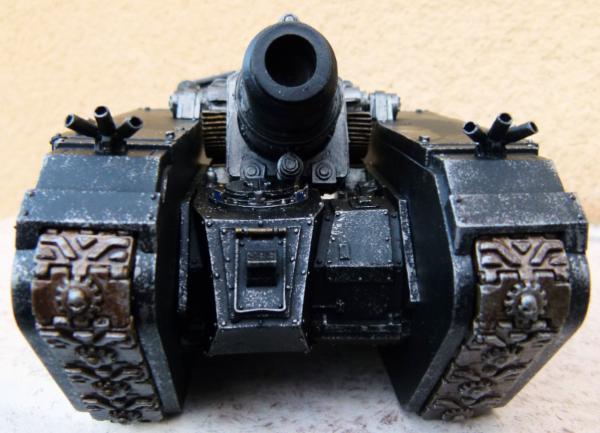
I finished my Land Raider Bombard. This has taken me only 3 weeks to construct and paint - I usually take years between building and painting!! I am toying with getting a FW Minesweeper to attach to the front - we'll see.
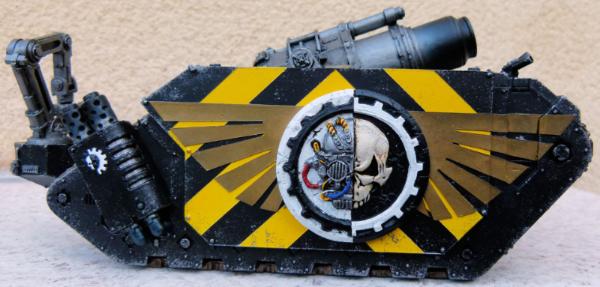
I think the sides on this variant are some of the best I have done - hazard stripes and Imperial Eagle. I was thinking of airbrushing some flames at the bottom, but after it turned out to be a nightmare whilst doing it on the Land Raider Infernus fuel trailer, I decided not to.
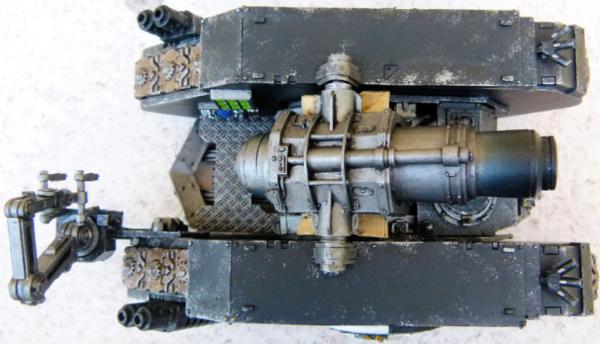
The plan view......
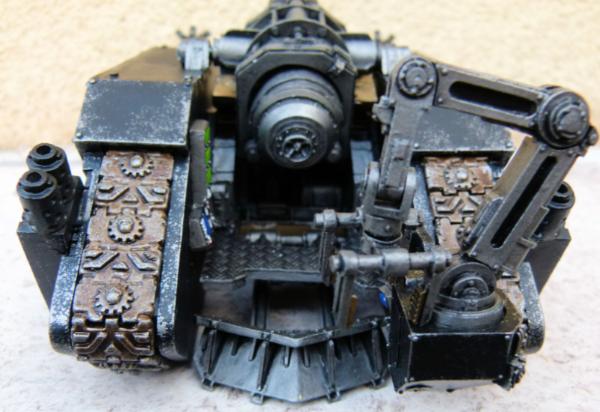
... and the rear.
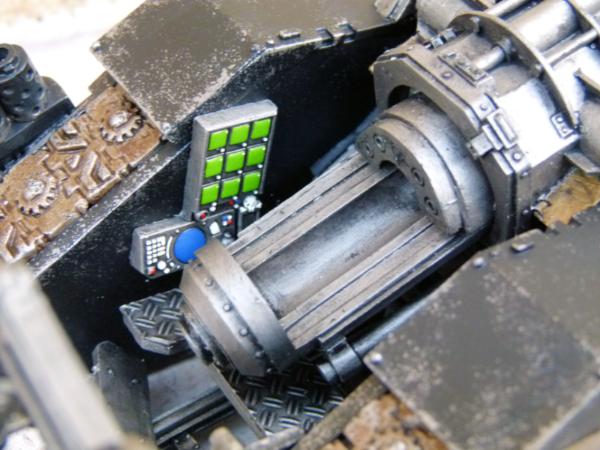
This shot shows the magnetised breech and the control panels I added.
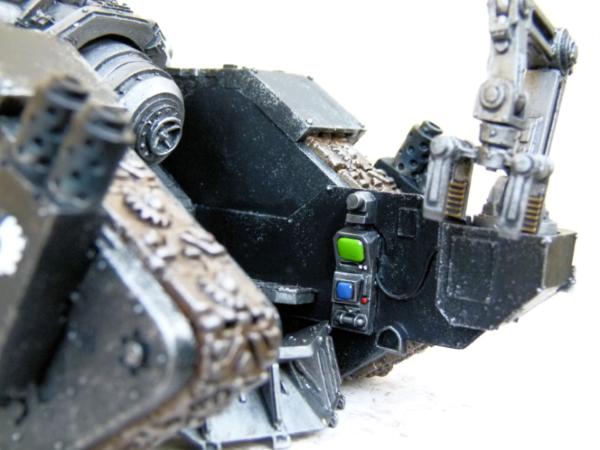
This shows a foot hole to assist the SM crew to be able to get to the computer consoles on the left. I also added some control panels to the right as well.
I've already moved onto my next few painting projects.....
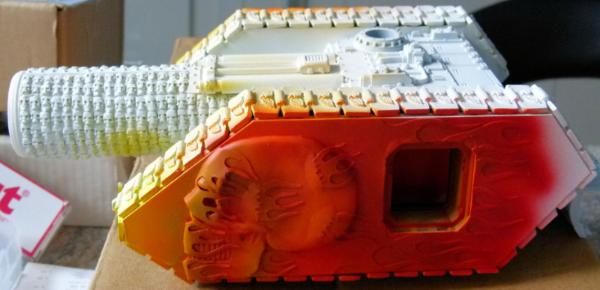
This was made a few years ago and shelved whilst I worked out how to paint skulls. I've airbrushed the flames on the sides, but I now need to mask off the flames to the rear and then airbrush the flames at the front of the Land Raider.
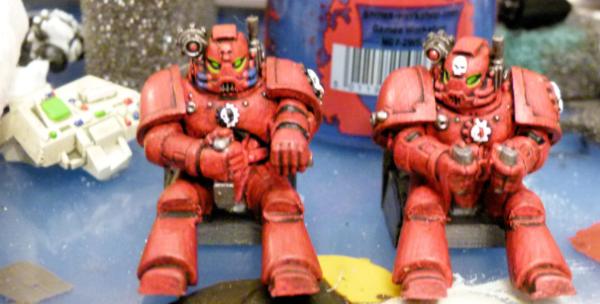
Here's a WIP shot of the 2 Techmarines that control the hellcannon. Small things needed to finish these guys off.
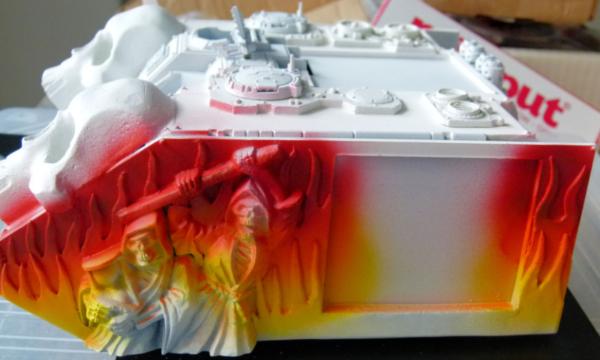
Again, the top set of flames were airbrushed today. I now need to wait to ensure the paint is dry before I then use blu tack to mask the top flames and then airbrush the bottom flames. Lots of time consuming things to do.
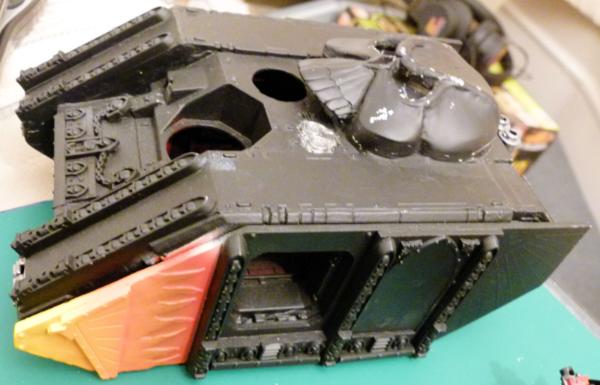
and finally, my first Land Raider variant I made back in 2007. The flames were airbrushed today. I've painted all the gun metal parts and have started to paint the gold parts. Once done, a black oil wash will be used, followed by a black tidy up and then a gun metal sponging to weather it.
For 2015, I have made 3 lists:
1) All the different projects I have completed and need to paint.
2) All the parts I have bought and variants I want to construct.
3) All the pieces/models I want to get in 2015.
I want to paint as many of my old projects as I can this year.
Till next time, Phil.
38750
Post by: philmorgan75
Update time:-
Land Raider Hellcannon
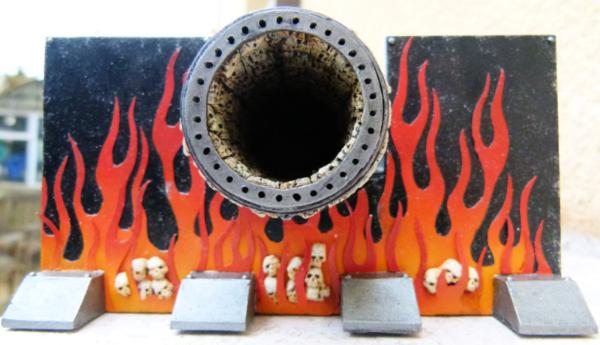
I finished my Hellcannon variant over the weekend (a number of years after building it!). This shows the front view with the large Stormshield. This was made from plasticard, with plasticard flames, a few skulls and some pieces of lego. I should sponge some rust onto it as well and use the airbrush to leave some soot around the mouth of the cannon, but it is to cold and wet to do outside at the moment, so it will have to wait.
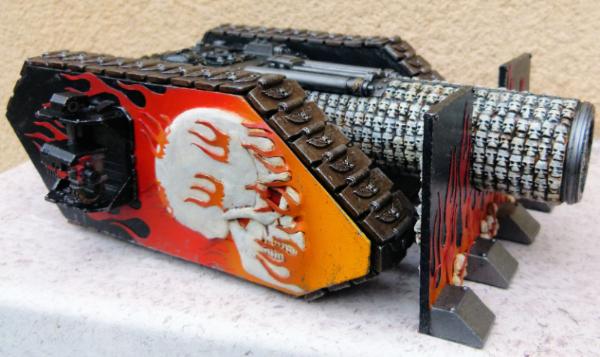
The cannon was made from some cut down plumbing tube and then covered in skulls inside and out. Extra tubing was used to assist with recoil as was some small FW etched Imperial Eagle's.
The large skull was sculpted out of milliput and thin plasticard flames were used to "flow" around the skull. I'm not 100% happy with the large skull, but I'll leave it as it is for now.
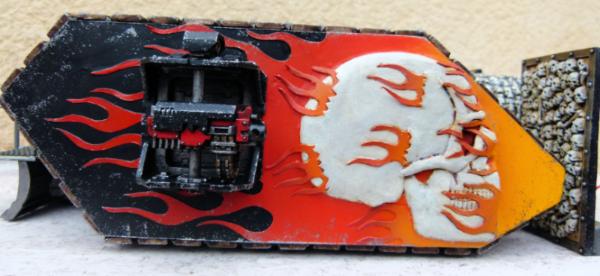
A Razorback Heavy Bolter sponson was used as the basis for the side armaments. In hindsight, some rivets around the edges would have made this look more realistic.
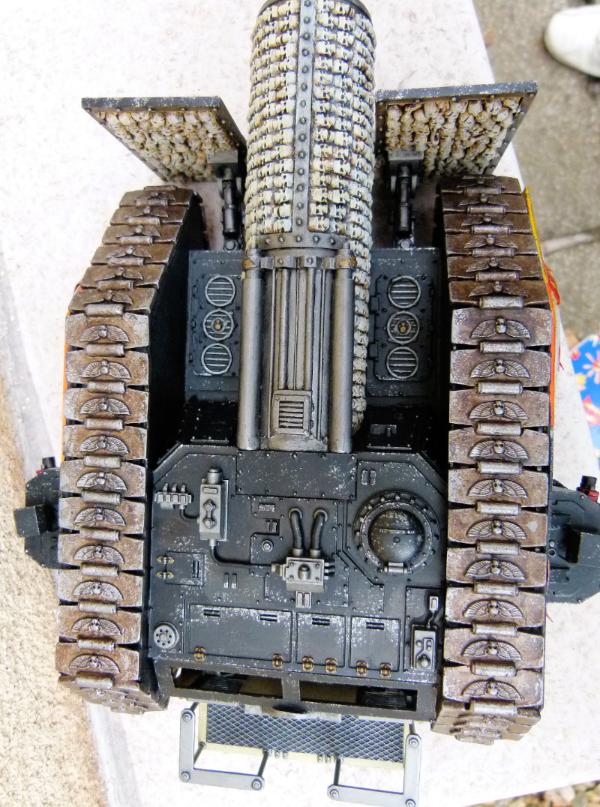
Shadowsword, Baneblade and Basilisk parts were used on this view.
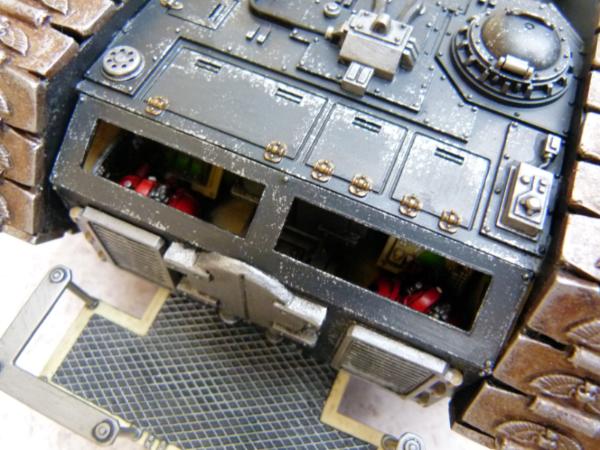
The rear crew compartment needs to have some clear Perspex added to allow the crew some natural light, but also to show off the painted interior as well!! I also added some Baneblade engine grills as doors, to again allow people to see inside.
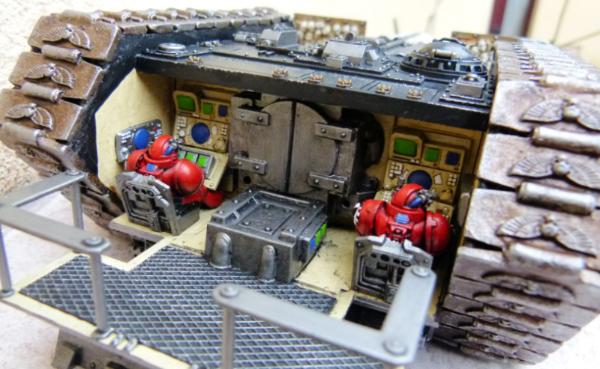
This is what the interior looks like with the rear armour removed. I have deliberately not glued the part to allow easy assess. Some Storm Raven pilots, Rhino Mk1 and Storm Raven computer screens were used here.
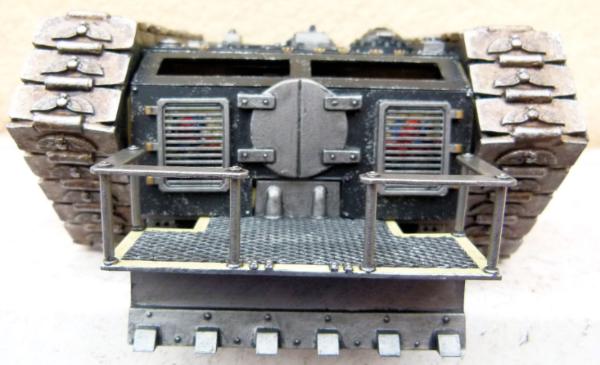
The rear view. An IG dozer was added at the back to prevent the huge recoil from pushing them to far back after each shot. Another Mk1 Rhino side door was used as a means of getting replacement shells into the cannon. I have a heavily converted sentinel that I made to reload the shells, but that will be a painting project in the future.
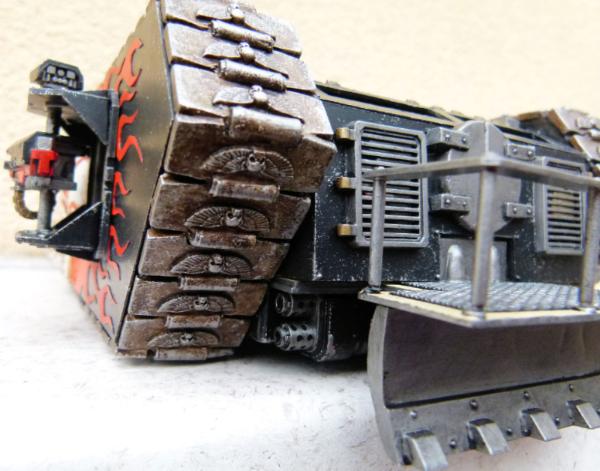
And finally, just to give a small amount of credibility, I added some Dreadnought exhausts to show this vehicle has got some engine in it somewhere!
As I try to paint multiple things at the same time, I have finished 3 other Land Raiders as well:
1) FW Reinforced Armour Land Raider:
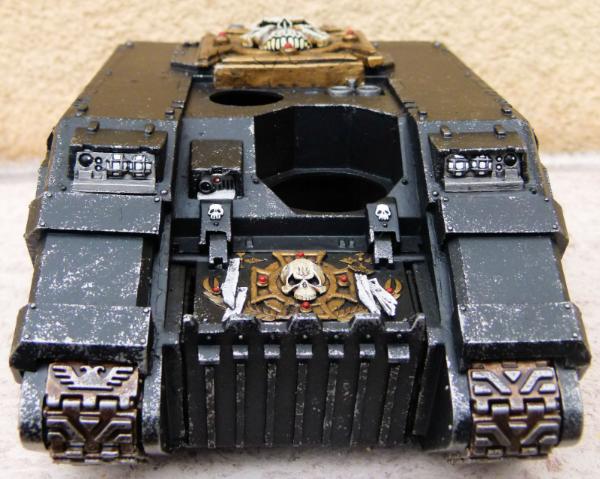
This was the very first LR that I bought on ebay for a few pounds and tried to rescue it from a previous novice builder. I used some FW Imperial Eagle hatches, a FW Crux Terminator logo and Reinforced Armour that I had got. The front hatch has shrunk horribly as well as the previous owner not building the front part properly has left a small gap around the entrance. A minor annoyance, but something I can live with.
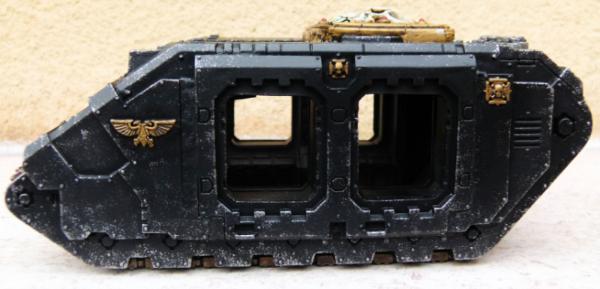
I liked the idea of the reinforced armour, but again, the resin parts had mould shrinkage and there were huges gaps between all the resin parts. I used some milliput to fill these holes but 7 years ago, I was not as competent with milliput as I am now. Again, a minor niggle.
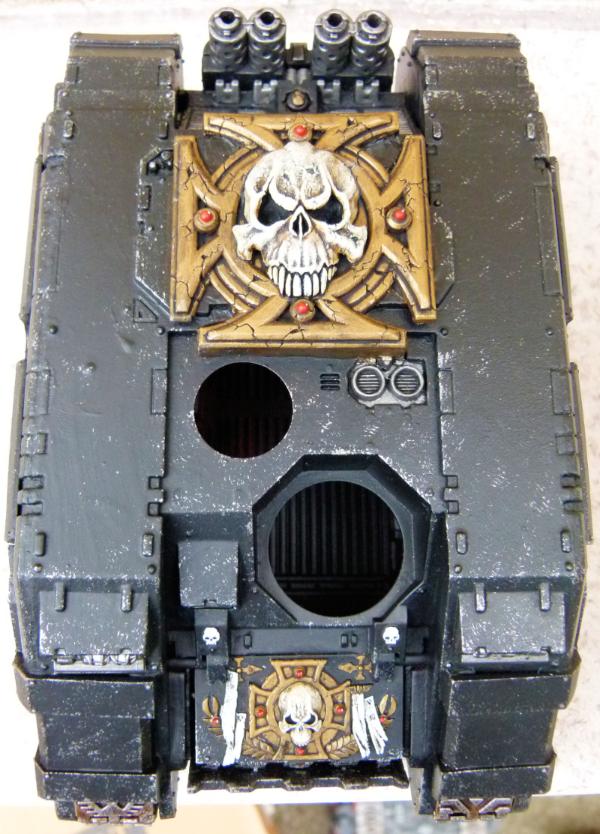
I love the Crux Terminator Logo and have added it to other models since. The gap on the front hatch is more noticeable in this shot. If I hadn't made this variant, I would never have got the creative buzz which allowed me to move onto a lot more variants........
2) Imperial Eagle Land Raider
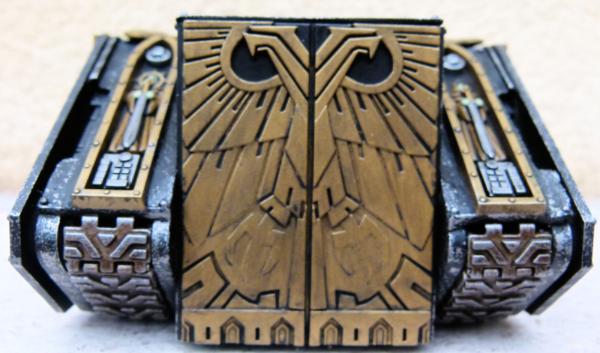
I used some Cities of Death doors on the front of this variant and more COD parts on the front mudguards. I am contemplating using this as a Prometheus as I only need to add the quad Heavy Bolters and this vehicle is good to go.
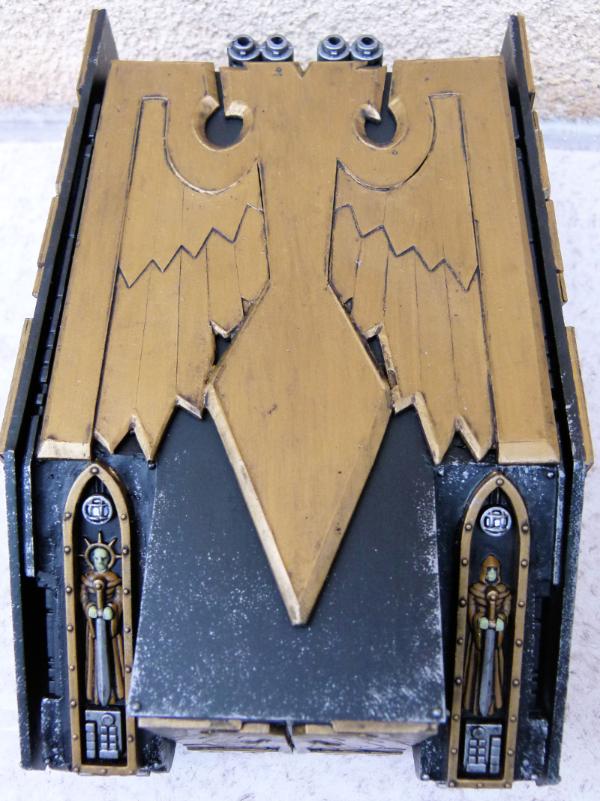
This shows the plan view. I used different thickness of plasticard to make the Imperial Eagle and a small amount of milliput to create a bevelled edge around the perimeter.
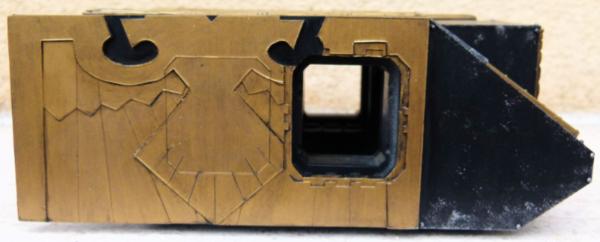
Some more plasticard was used to make the Imperial Eagle on the side armour as well. I'm not sure about the plain black armour at the front and will probably in the future add one of the large skulls I have to it.
3) Gothic Land Raider
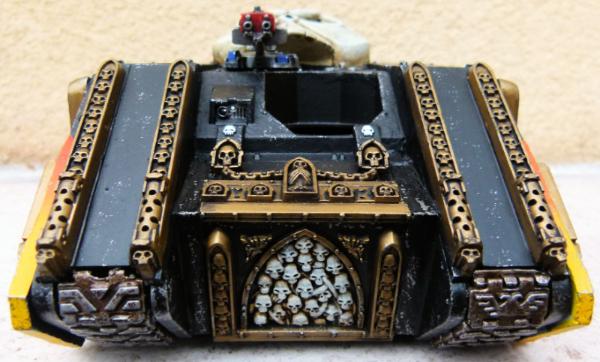
I used lots of Cities of Death parts on this variant.
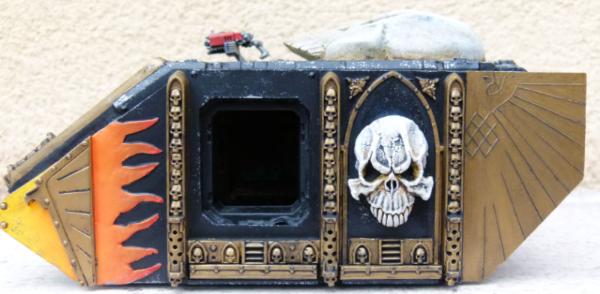
I'm not happy with the look of the milliput sculpted flames at the front of the side armour, but this was made 7 years ago and again, I think if I made this variant again today, I could have made the flames look a lot better. I do remember enjoying making the Imperial Eagle on the rear by cutting the plasticard with a scalpel.
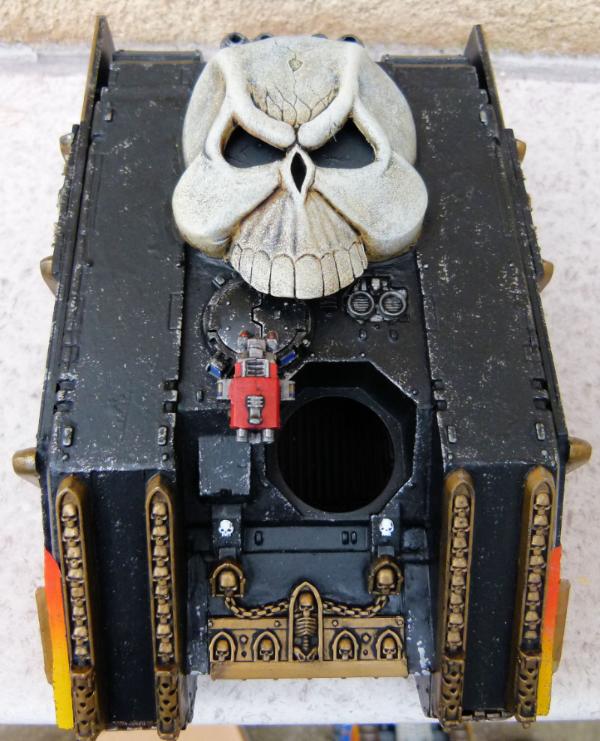
I added a Bulldog Battlegear belt buckle skull on the top of this variant to save me from attempting to sculpt one.
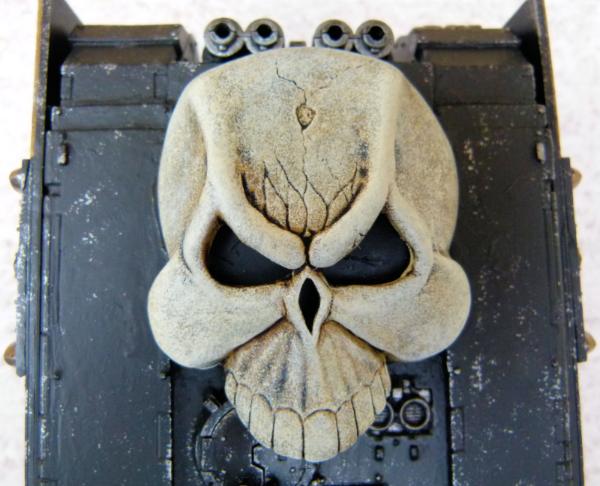
I'm really happy with how this skull turned out 
What's left?
I have one more manticore variant left to complete and that will be all my old variants completed. I have airbrushed all of the flames up the side armour and now need to paint the rest of the model. Pictures will follow soon. Once that is done, I have a lot more projects in different stages of completion that I want to get onto.
Till then, Phil.
PS Here are also some shots of my completed Landspeeder Storm:
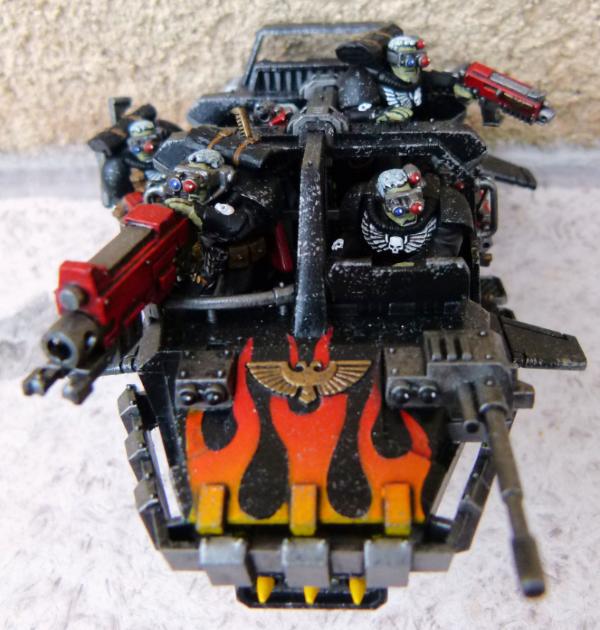
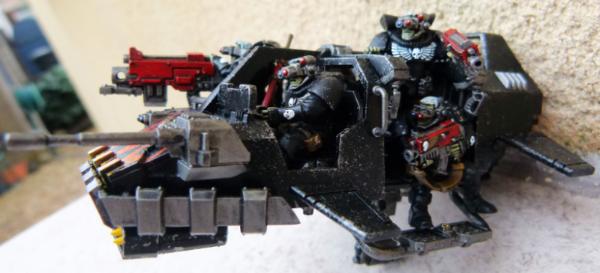
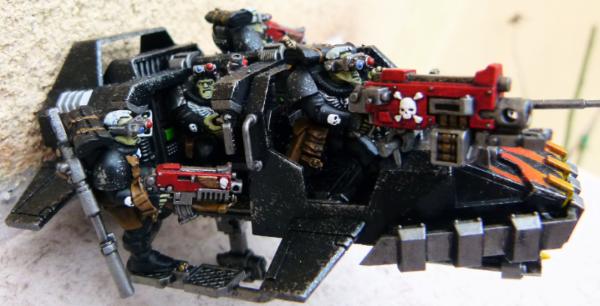
I will make another Landspeeder Storm in the future, but convert the scouts so that they have different poses.
38750
Post by: philmorgan75
And almost a year since my last update - I have been busy, just not blogging about it!
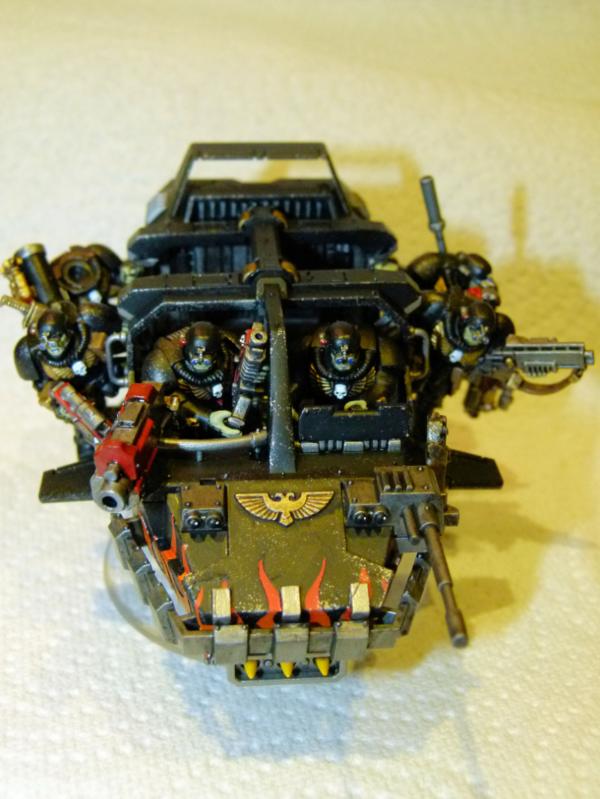
As promised, here's my second Land Speeder Storm. I wanted to go for more of a Special Forces look to the Scouts and purchased some suitable heads from Mad Robot Miniatures. Unfortunately, they only come in packs of 5 and there are 6 scouts on this vehicle! Another pack is on its way from the USA as I write this. Once received, I'll add a head on the Missile Launcher Scout to completely finish this model. I liked the look of the Night Vision Goggles and tried to go with a Blackhawk Down like hanging from the side of the Land Speeder.
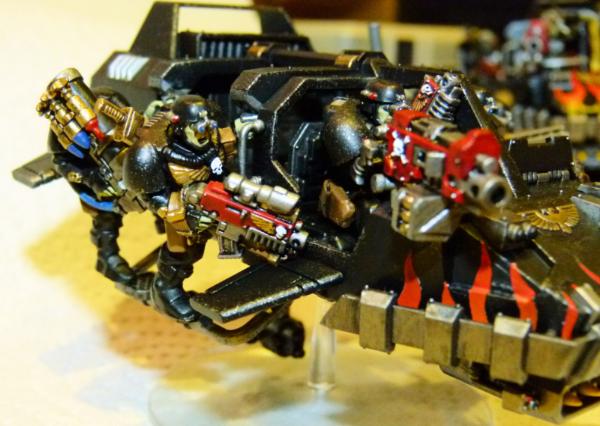
Each of the Scouts were converted to avoid the stock look that every other Land Speeder Storm has.
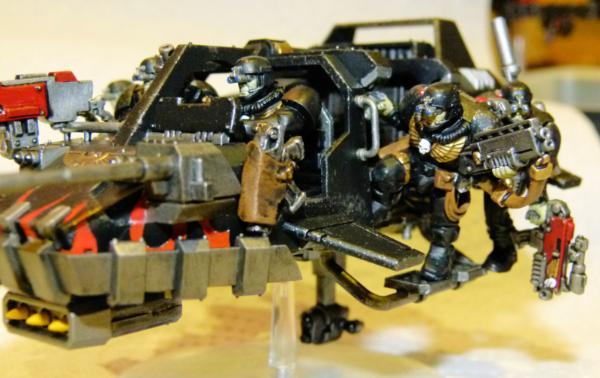
It was a lot of fun converting all of the scouts to have them hanging on and dangling over the skids.
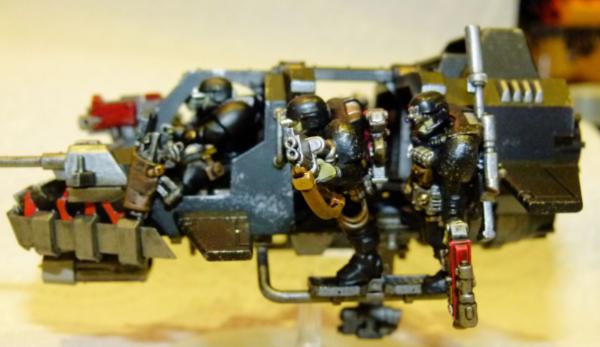
Unlike the first Land Speeder Storm, none of the figures were magnetised as there wasn't any suitable locations to hide the magnets.
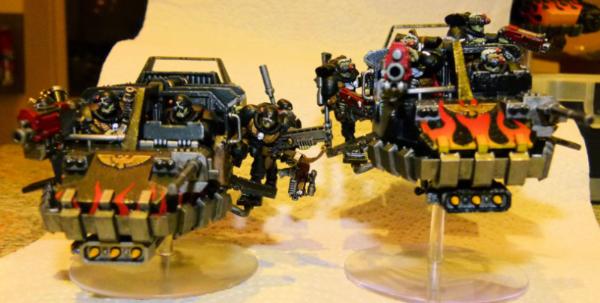
Here are the 2 versions together. I enjoyed the converting of the Scouts and will probably go back to make more Special Forces like Scouts in the future.
Land Speeder Vengeance
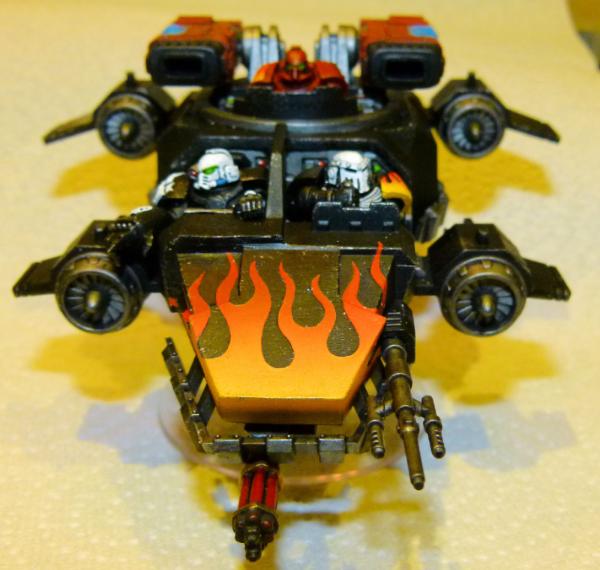
I never liked the DA version of the Vengeance as I felt the Assault Cannon turret at the front looked kind of stupid. After getting all of the bits from various sites, I converted the front with milliput to make it far more stream lined - I added an old under hanging metal Assault Cannon from an older variant of Land Speeder.
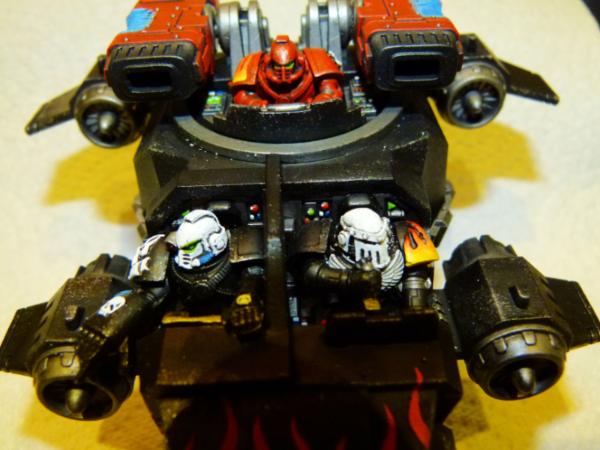
Here's a close up of the different variants of marines I used.
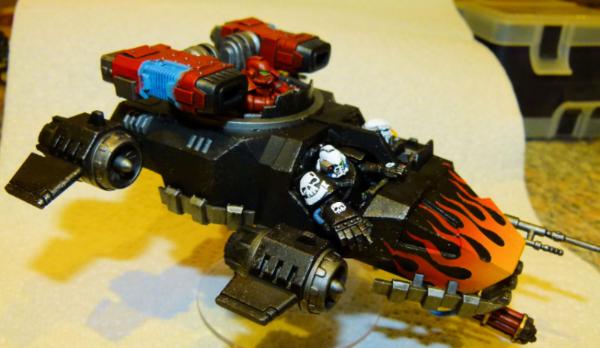
Here's a shot from the right side....
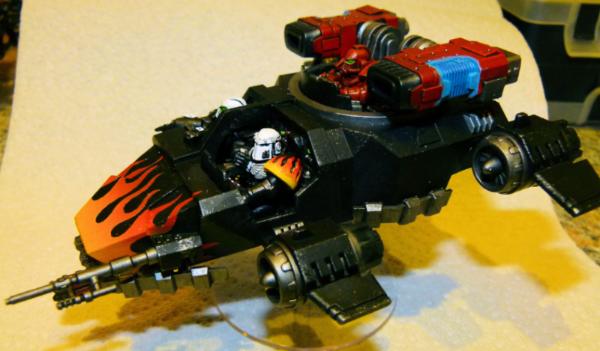
.... left side......
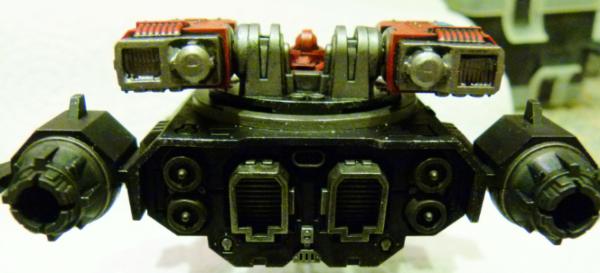
.. and rear.
I have a lot more projects running at the same time and I promise far more frequent updates in the future.
38750
Post by: philmorgan75
Update time. I've been working on numerous projects at the same time:
Dreadnought Drop Pod
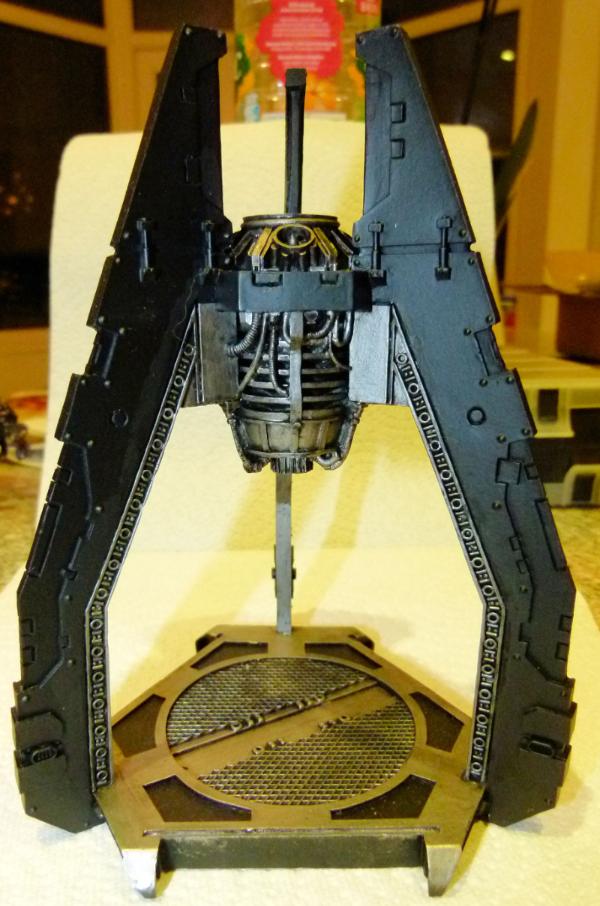
I've blocked the base colours in on my Dreadnought Drop Pod. The power cables need to be done before I move onto the 3 doors. They'll have the usual flames on the outside and hazard stripes on the inside edges. A gun metal sponging for weathering and it'll be finished.
Deimos Whirlwind Scorpius
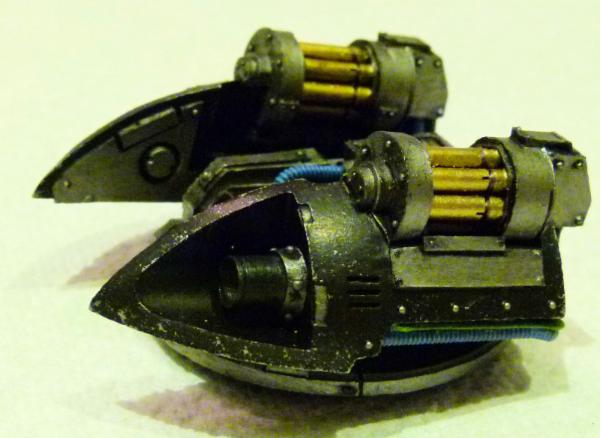
This FW design looks so much cooler than the GW version. The turret is finished, just the rest of the model to do!!!!
Thunderfire Cannons
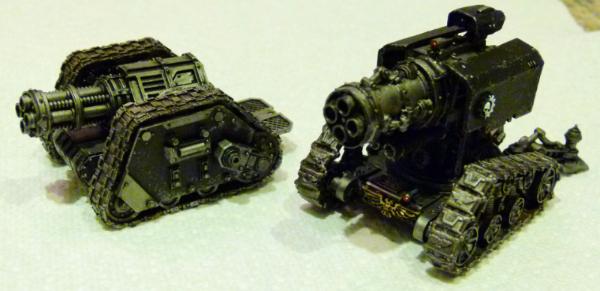
Here are the 2 different versions almost completed. The FW one on the left needs its mantle painted - not sure to go with flames or hazard stripes?
I added some FW etched brass imperial Eagles to the tracks to show how loyal my legion is. Still need to clean up the Techmarine and operators before I can put this one to bed.
Spartan Conversion
I've got the airbrush flames onto my conversion, I just need to clean up the over spray before I move onto the metallics.

Managed to finish my converted sponson weapons though.
Leman Russ Incinerator
I love this model - who doesn't like a large plasma cannon. I know Space Marines can't have these vehicles BUT I follow the mantra that if it looks cool, I want it!
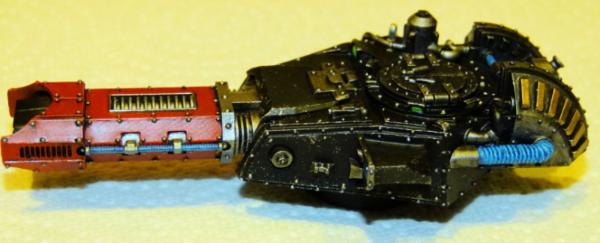 Vehicle weapons
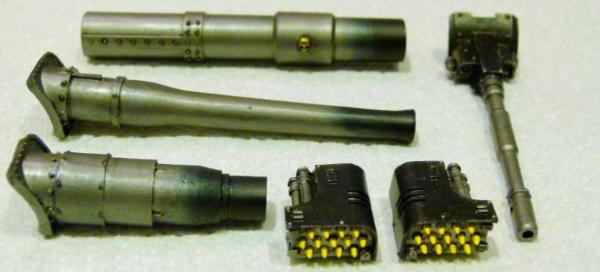
These are finished weapons waiting for the finished vehicles:
Sabre Tank Destroyer conversion
Solar Auxilia Basilisk
Solar Auxilia Medusa
Javelin Missile Launchers
Deimos Autocannon
Over Christmas I decided to mix it up - I tried to do all the little jobs that I normally do after I finished a vehicle (weapons, crew, hatches etc). See some of the things below:
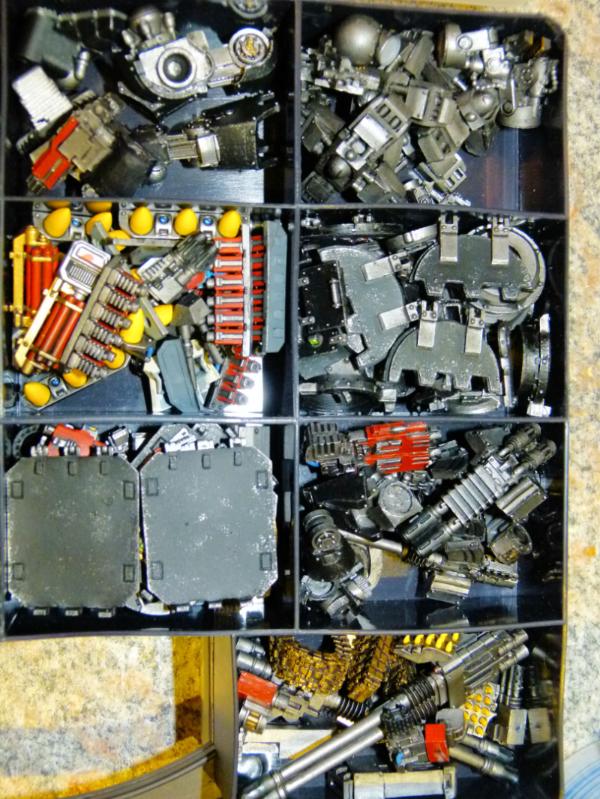
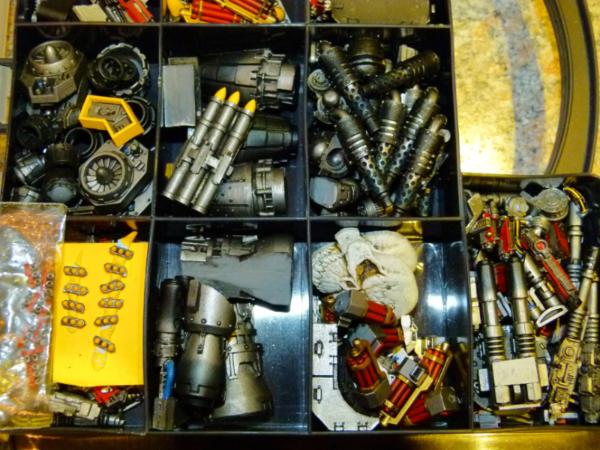
Who can name the most vehicle/model parts in the last 2 photos????
38750
Post by: philmorgan75
Update time:
Dead Space Marine Terminators
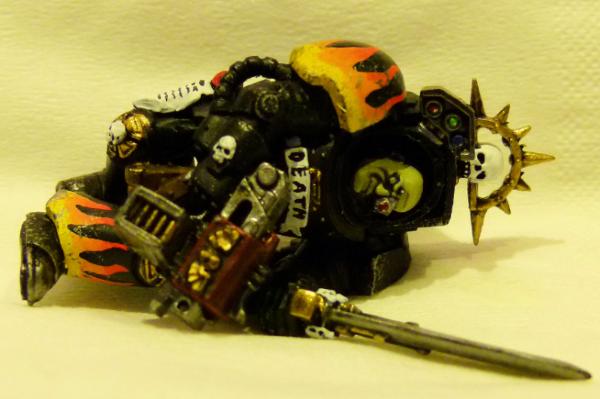
I managed to put the finishing touches to my dead/wounded Terminator Sergeant. I'm not happy with the writing on the chest, but I just wanted to finish this model to move onto other painting projects rather than finding a technical pen in town.
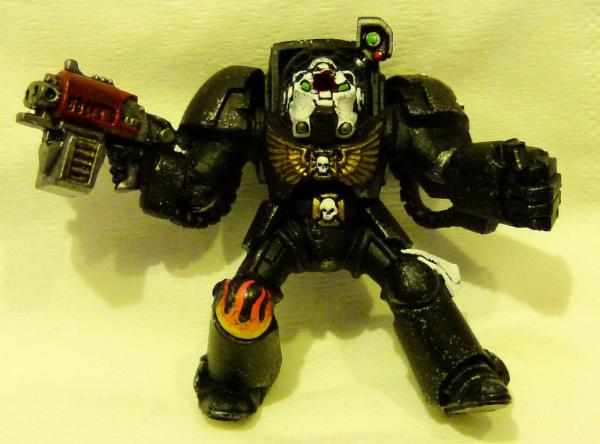
Wanted to try to pose a just been head shot terminator. I haven't decided what base to use at the moment. I've done grass and snow in the past but will probably try something different eventually on this one.
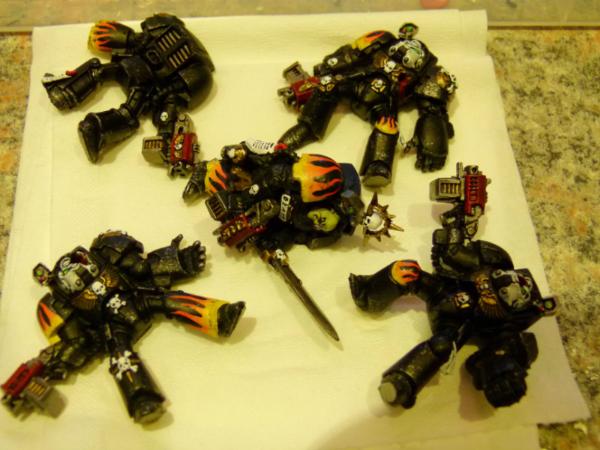
A finished group shot of the destroyed squad.
Legion of the Damned
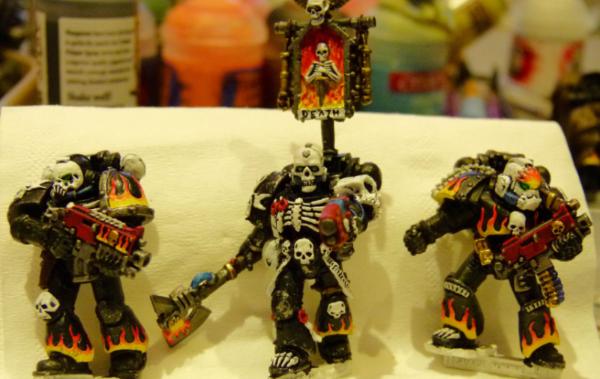
I based my Legion of the Dead off the original Legion of the Damned I saw back in WD99. I picked up a squad recently and have almost finished them - just need to base them (I've got some resin lava bases and am considering using them).
For a bit of variety, I used a FW Nightlord helmet on the trooper on the left and a FW Salamander helmet for the one on the right.
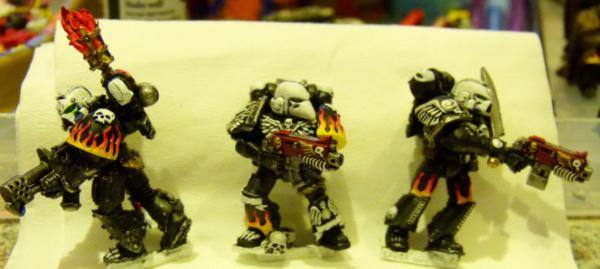
Three more completed troopers....
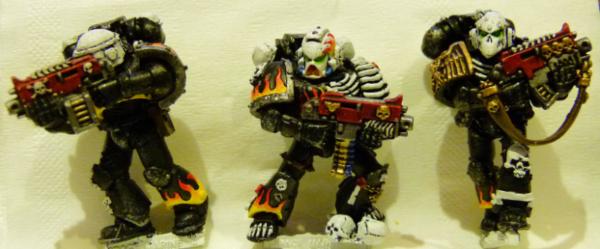
..and the final three.
Limited Edition figures
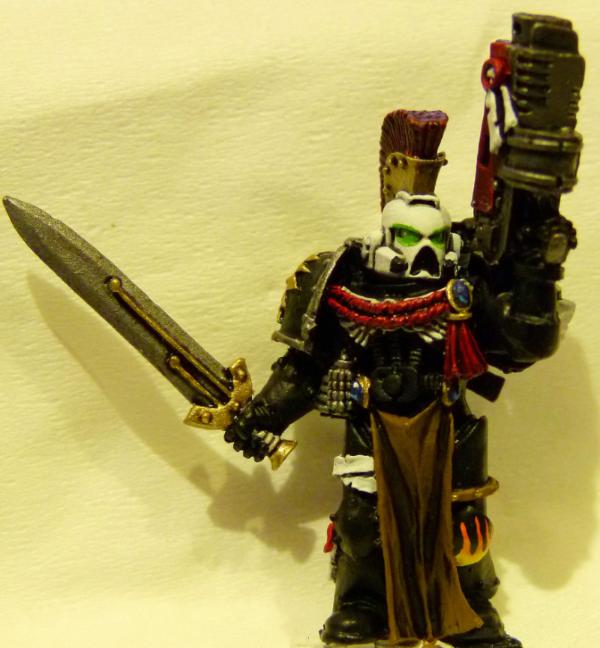
I bought this a few years ago and never plucked up the courage to paint. I came across it a few weeks ago and thought as I was painting lots of flames on other troopers, I may as well have a go. I'm fairly happy with it. I would prefer to use the airbrush to give his eyes a "glow" effect but I haven't got a steady enough hand for such a small area - a paintbrush will have to do!! A base and this figure will be finished.
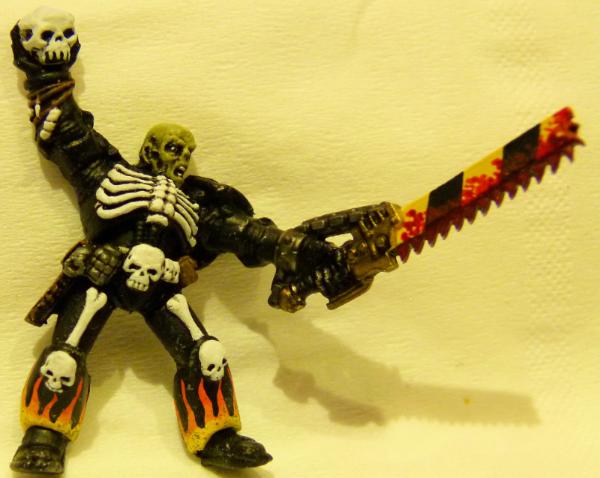
I picked up a Sgt Centurius on ebay a few years ago and wanted to try something different - I plan on sawing a number of models in half and then sticking them to the side armour of a Land Raider to give a 3D effect. I have lots more projects to complete before I get around to it though, so this will go on the back burner. I enjoyed dabbing some blood on the chainsword!
Terminators
I picked up some FW Terminators last year and wanted to magnetise them to allow all different weapons to be carried....

The chests were magnetised to allow different poses. These are completed but I still need to complete all of the chain axes, heavy weapons lightning claws.
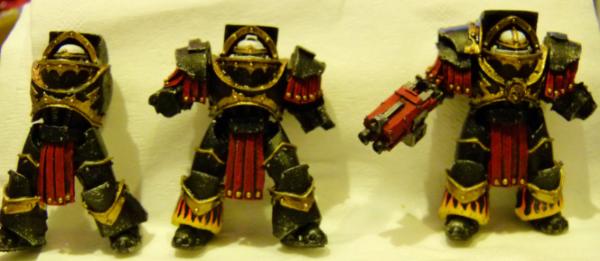
I need to get some top shoulder guard armour from ebay and bits sites to allow all the different arms to be used.
Work in Progress
Here are a couple of things I'm working on....
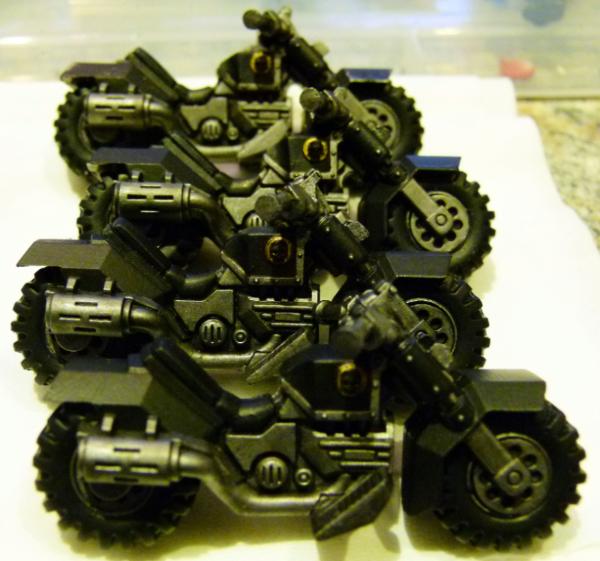
Some scout bikes. I'm still deciding if I'm going to add flames on the front fenders or not.
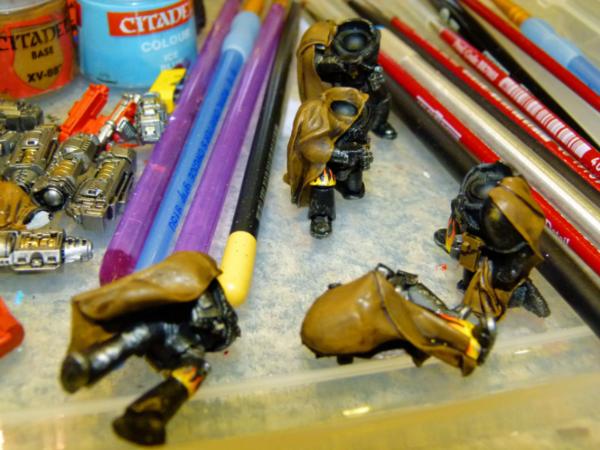 FW
FW Mk4 Recon Squad. These are lovely models but the clean up on the weapons was a nightmare!!
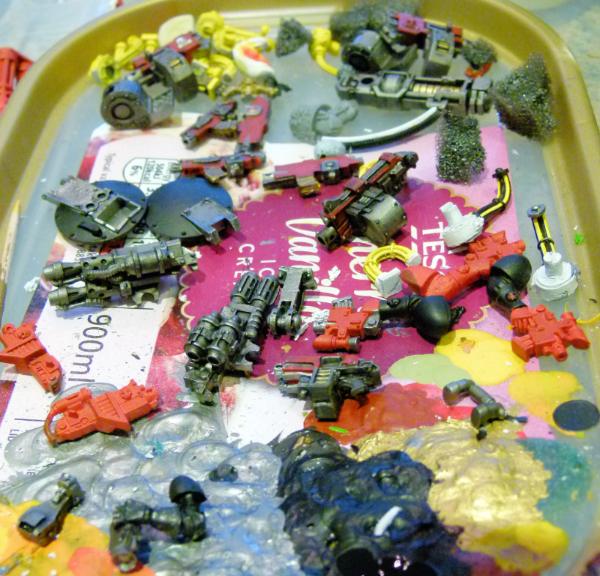
Lots of different small projects that whenever I have a bit of spare paint being used to complete another project, rather than letting it dry and be wasted, I have a lot of little things ready to be completed.
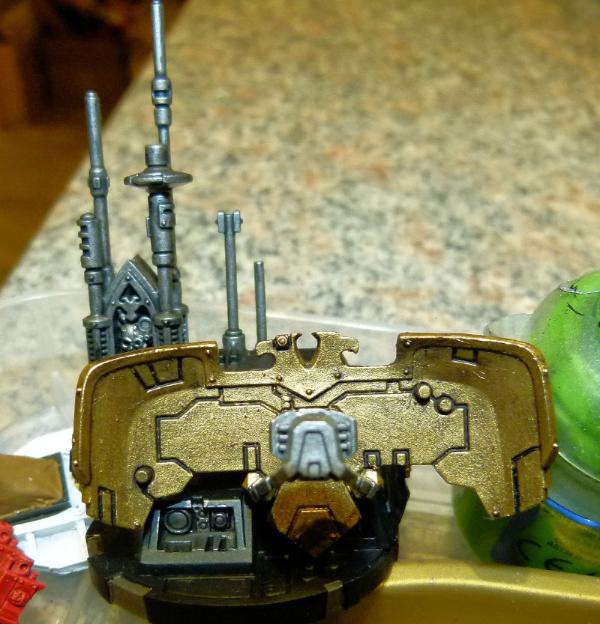
I had the pleasure of visiting Warhammer World last summer and picked up this Rhino Primaris and ...
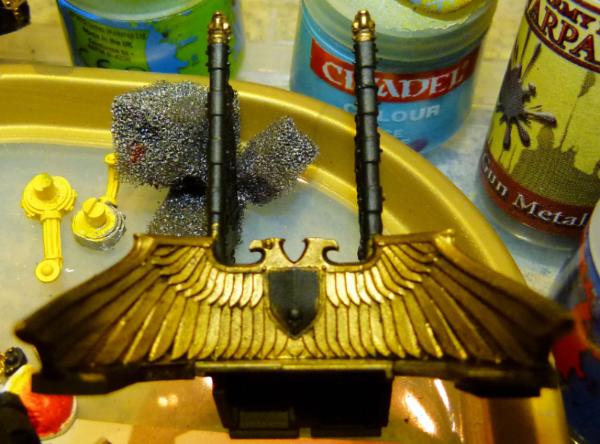
...a Land Raider Excelsior Command Tank. They were lovely kits to build and are on the list of the many vehicles that need to be masked and airbrushed flames over them.
Till next time - Phil.
38750
Post by: philmorgan75
Been away for awhile but I have been busy honest!!
Spent a lot of money over the past few months and I want to show you the progress I've made:
Stormhammer
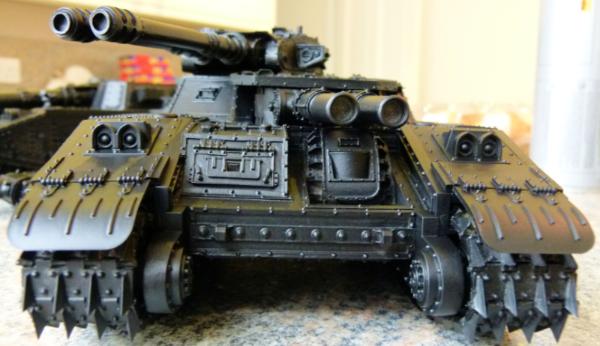
As with all vehicle builds, there has been a lot of different processes to get to this undercoated stage. I planned on having fancy tracks with Imperial Eagles or skulls covering them, but in the end, I went with some Blood and Skulls ones instead. I'm not sure whether Space Marines are allowed to use Stormhammer, but I loved the look of the kit and needed to have one to go with my Legion. With their close ties to the Mechanicum, I'm sure one would be made available to my legion.
The only thing I wasn't happy with was the turret that came with the kit and the fuel tank. The turret looked far too light, so I swopped it with a Macharius Vanquisher one instead - a more fitting twin barrel weapon.
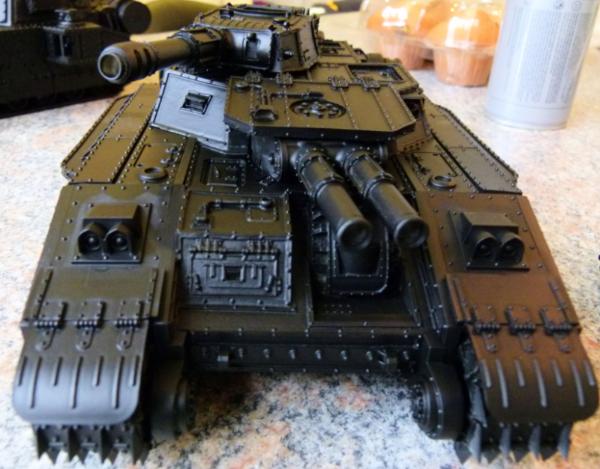
This shows the normal turret that comes with the kit.
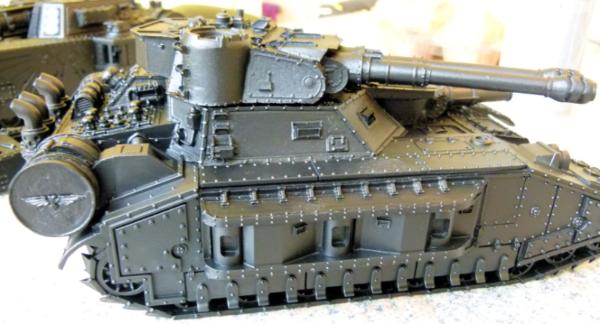
I thought the Arkurian Shadowsword fuel tank was far more fitting and after a small conversion, I got some mounted. The sponsons have been magnetised to allow various different weapons.
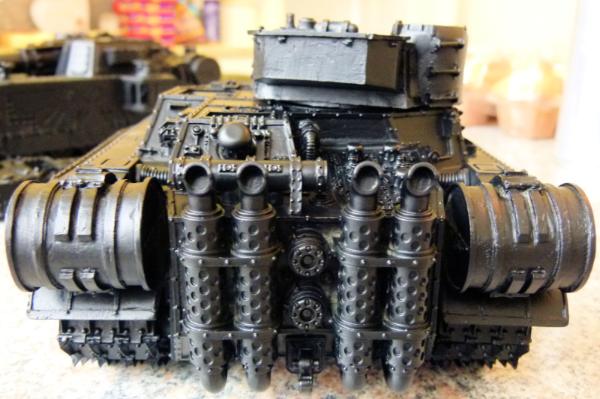
The engine and exhausts are amazing on this vehicle! I hope my painting skills will do them some justice!
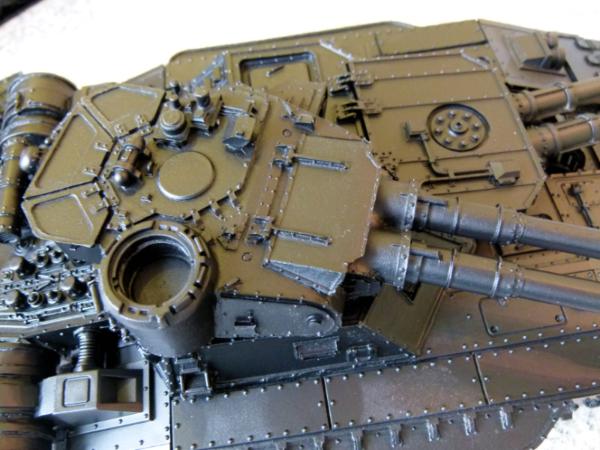
I made a small conversion on the cupola of the Macharius Vanquisher turret, removing the Imperial Guard periscopes with the usual Space Marine one. A mk III Space Marine Tank Commander will be added in the future.
This has now been added to my (very large) "to be airbrushed flames on" box!
Arkurian Shadowsword
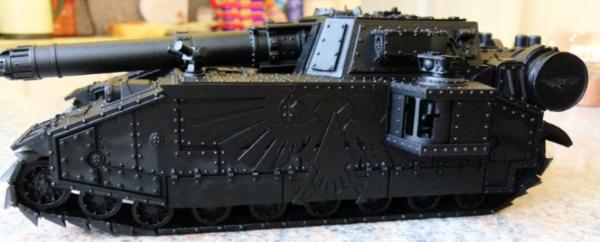
As with the above Stormhammer, I always wanted one of these to get my hands on for their fuel tanks. I think GW should have made these fuel tanks rather than the one's on the plastic baneblade kits. The cannon is a bit wonky as it's not been stuck on, to ease with painting. I added a large plasticard Imperial Eagle on both sides, which combined with the planned airbrushed flames around the bottom will make it stand out,
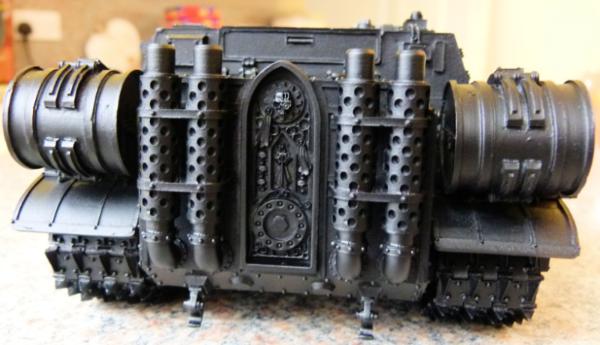
Again, the FW exhausts are so much cooler than the plastic versions!!
Fellblade
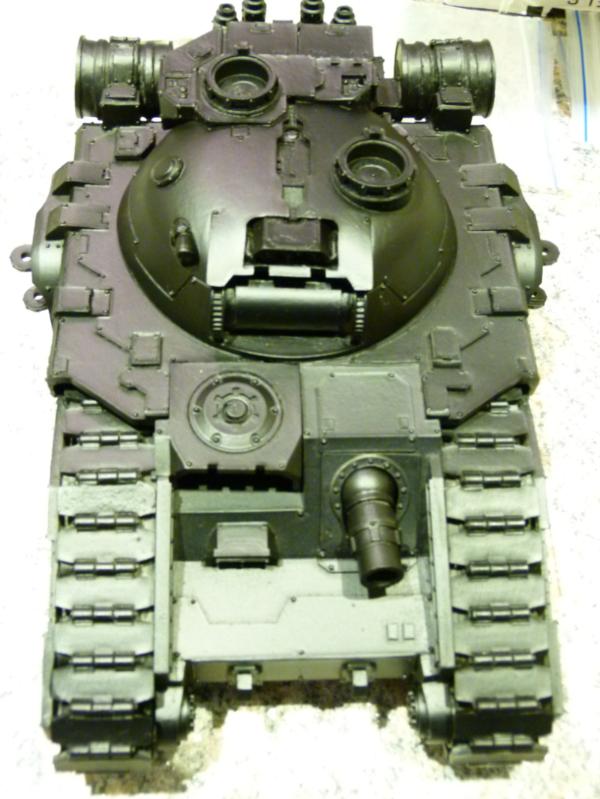
I know I've made my own fellblade versions in the past, but I needed to get an official FW one as well. It wasn't a bad kit to put together. I'm contemplating adding Imperial Eagles to each tank tread to make it stand out from other people's fellblades.
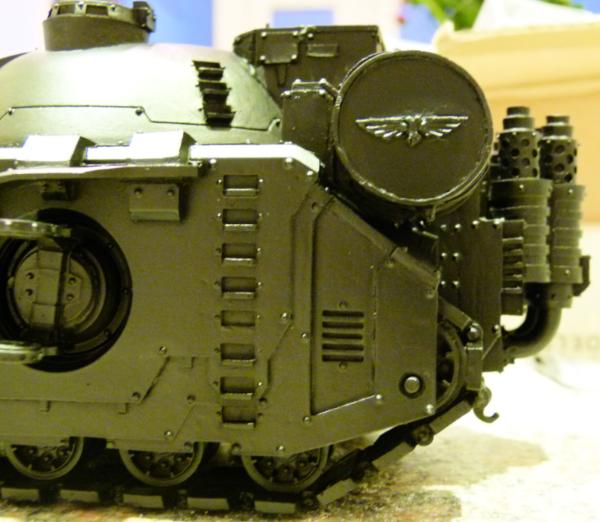
As with my 2 other superheavies, I made a small conversion and added these fuel tanks instead of the plastic ones.
I'm in the process of building a Land Raider Proteus, Cerberus and Sicarian Venator, so I'll be back soon.
Regards, Phil.
38750
Post by: philmorgan75
Made a bit of progress on some vehicles:
Caestus Assault Ram
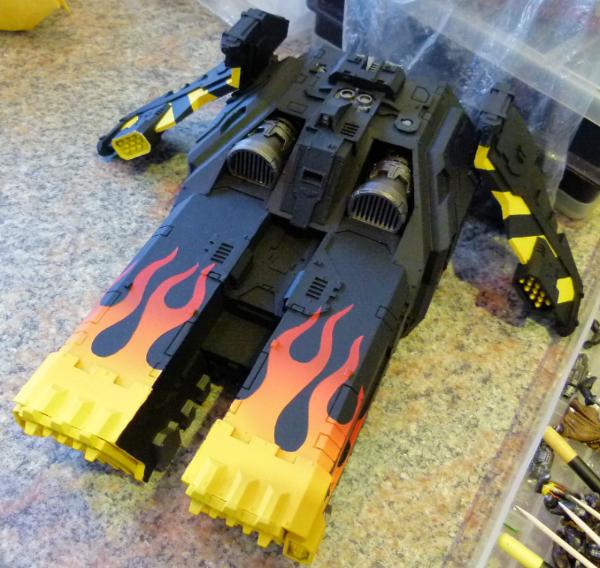
As you all know, I love my flames!! I have so many vehicles on the go at the moment that I have only got this to the base colours. I need to put a black pin oil wash on the vehicle and then a small amount of weathering. The front doors are hinged and I am contemplating adding some hazard stripes around door entrance to stop the Terminators from banging their heads!!!!
Storm Talon
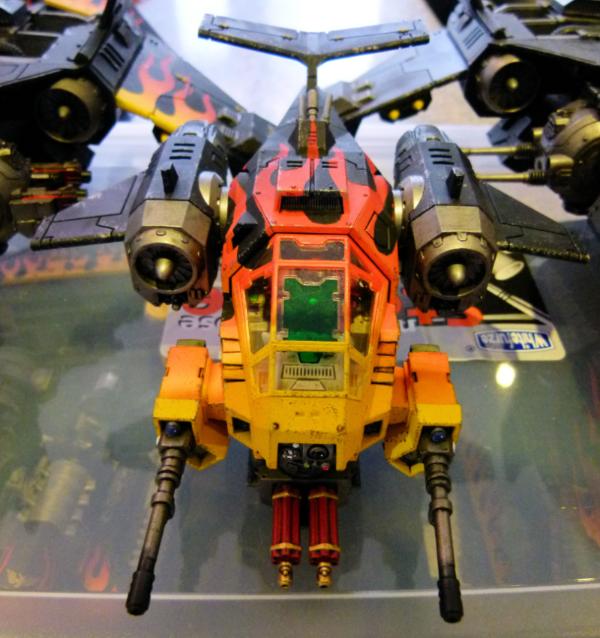
I have made and painted a number of Dark Talons, but this is my first Storm Talon. The canopy was a pain to paint as the rest of the flames were airbrushed but I had to do the canopy by hand and it was difficult to match the colours. This will be rolled out against horde enemies.
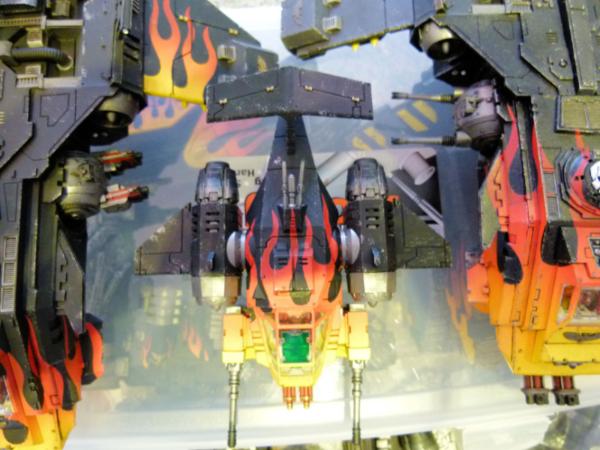
Here's a top view of the flames. The autocannons are magnetised so can be swopped with missiles, heavy bolters and lascannons if required. I have another Storm Talon and 3 other Dark Talons to be painted!!
Fire Raptor Squadron
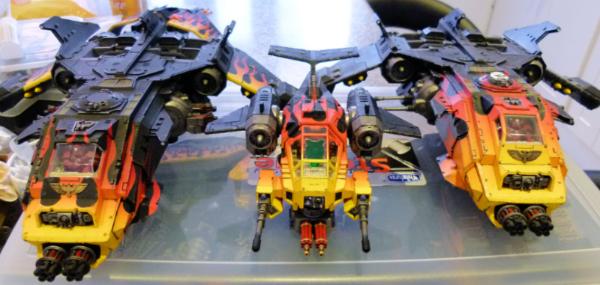
I have been painting the Fire Raptor on the left for best part of a year now. I'm so glad I finally finished it to free up my painting station for all of the other vehicles.
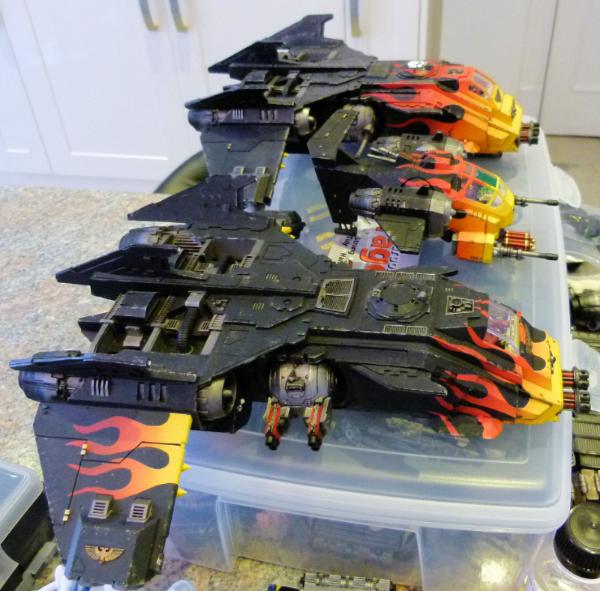
I have magnetised the heavy bolters so I can swop them for the autocannons when needed.
Attack Fighter
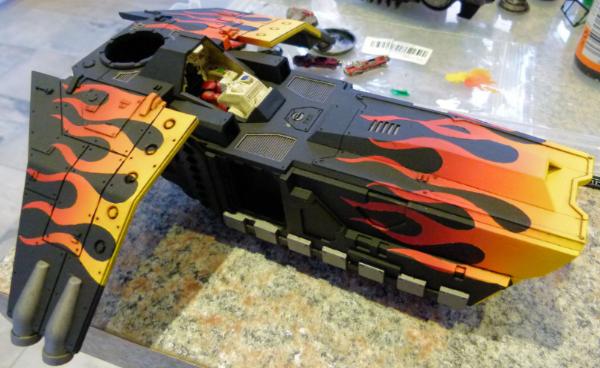
I added the black oil pin wash this morning and just need to sponge some weathering around the edges to finish this conversion. I plan on adding some Storm Raven engines to hang under the Valkyrie wings to make this aircraft a very fast beast.
Javelins
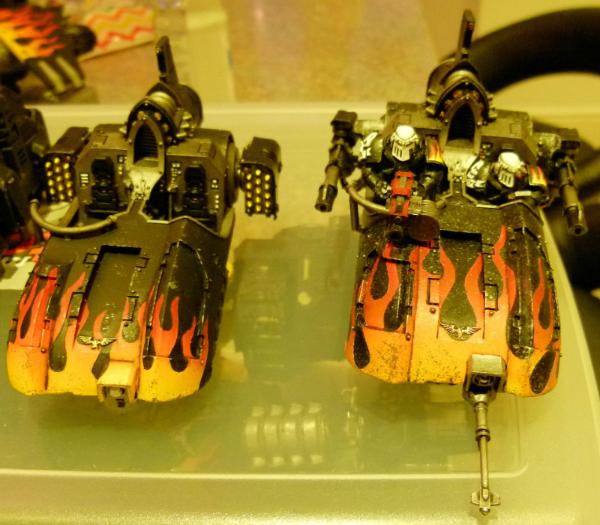
I finished the Lascannons version on the right last year and just need to paint the buttons in the cockpit on the missile launcher version on the left to finish this one. The rest of the parts are all ready painted, just need gluing to finish this one.
Dreadnought Drop Pod
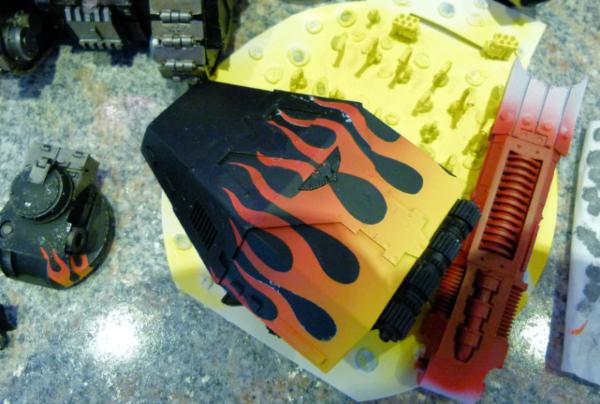
I've airbrushed flames on 2 of the doors and hazard stripes on the inside of 3 of them. Unfortunately, I forgot to airbrush orange and yellow to complete the flames on the third door so it will be added to the list when I break out the airbrush again.
Laser Destroyer
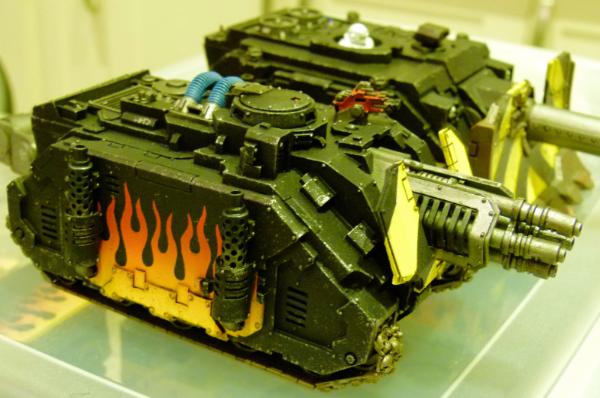
Small amount of work on this to complete my Laser Destroyer. I need to weather the gun shield and that should be it. In hindsight, I should have added the exhausts before airbrushing the flames on the sides BUT I have found this really hard to do and takes a lot of masking to pull it off.
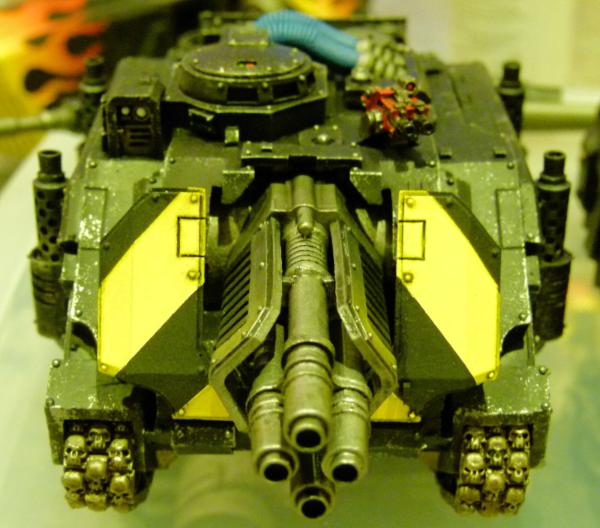
I've made a small mould and going forward, I'll be making more rhino's with these tank treads.

Top view of the Laser Destroyer and my Sabre Tank Destroyer.
Sabre Tank Destroyer
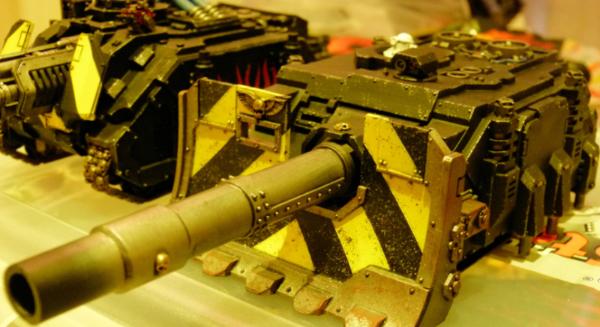
I've been in this hobby since 1987 and always wanted to make the Sabre Tank Destroyer and Land Raider Spartan that were in the early 100 White Dwarf magazines.
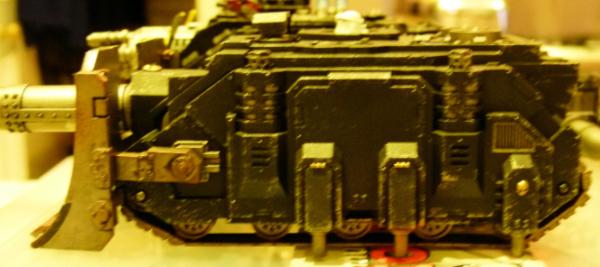
I added the Hunter/Stalker side armour specifically for the braces as I thought the recoil from the main weapon would be immense and although I love 40k, there needs to be a bit of realism!!!
I have made some more progress on my Fellblade, Basilisk, Medusa, Land Raider Proteus and Sicarans - I'll show some pictures tomorrow..
Regards, Phil.
38750
Post by: philmorgan75
Some more progress on my Legion:
Legion of the Dead Sicaran Battle Tank
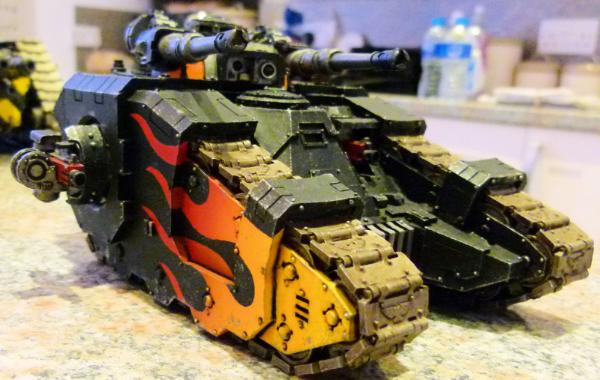
I have always loved the Sicaran Battle Tank since Forgeworld brought them out and I was planning on making a conversion out of plasti card but in the end I decided to throw some money and get one! It's a great kit with chunky bits of resin. The construction was fairly quick and simple. I went with the usual flames at the front with some weathering to knock back the bright colours.
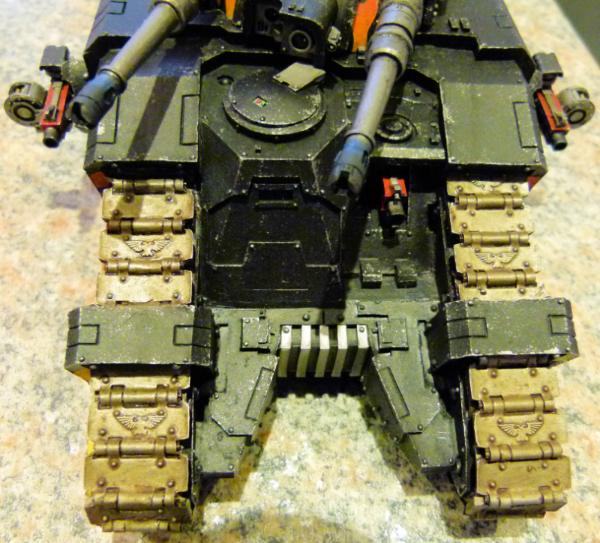
I tried to break up the tank tracks by adding some FW Brass Etch Imperial Eagles on every other track - It would have been every track but the cost was prohibitive!!!
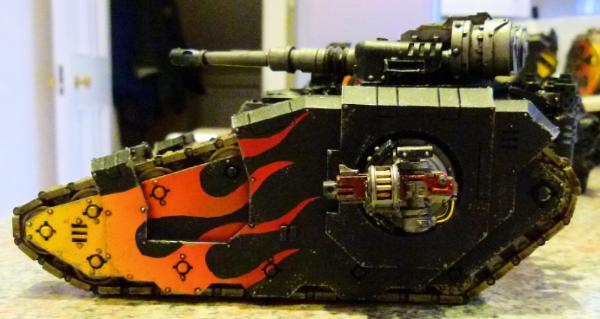
This shows the left side of the tank. I went with Heavy Bolter sponsons for a) the points cost and b) this is a dakka tank and Heavy Bolters fire more bullets than lascannons! The sponsons have been magnetised for swopping in the future.
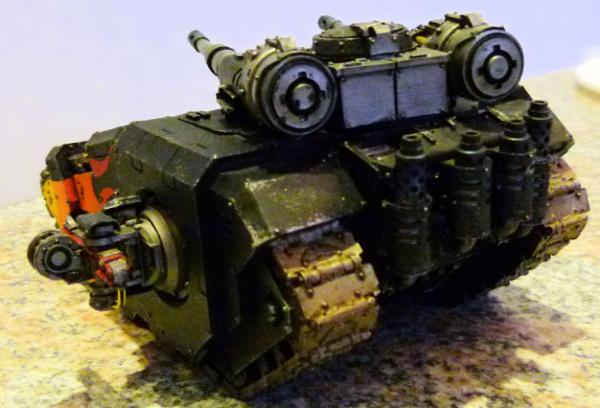
This final shot shows the completed rear. This moves me on to my second Sicaran ........
Legion of the Dead Sicaran Venator
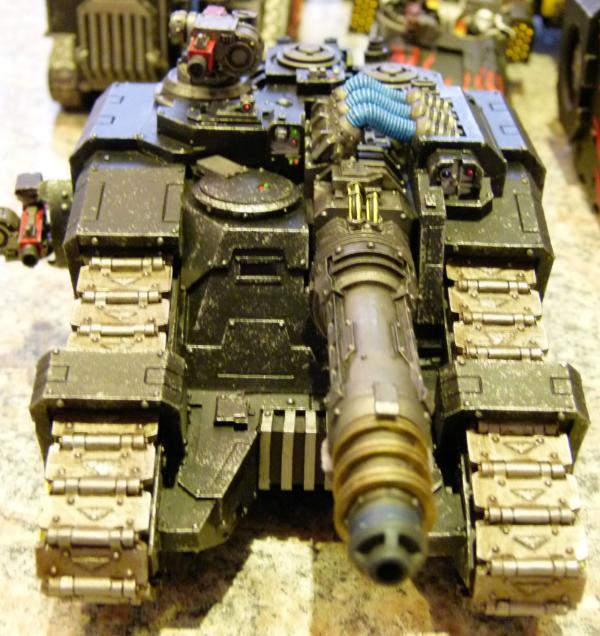
I will add some more shots of this in the future. I go through building splurges followed by months of painting. I batch paint vehicles so although it takes a long time to get to the end, a lot of vehicles get completed at the same time.
This is a beautiful model and I highly recommend it to anyone.
Legion of the Dead Cerberus

This is the business end of the Cerberus! I wanted to go with hazard stripes on this tank and painted everything separately. Unfortunately, there are 2 extra pieces joining the hazard stripe shield to the top of the tank but I couldn't get them to fit after everything was painted so I opted to leave them off. The tracks were a bitch to do and I've used more FW Etched Brass Imperial Eagles to prove where my legions loyalty lies.
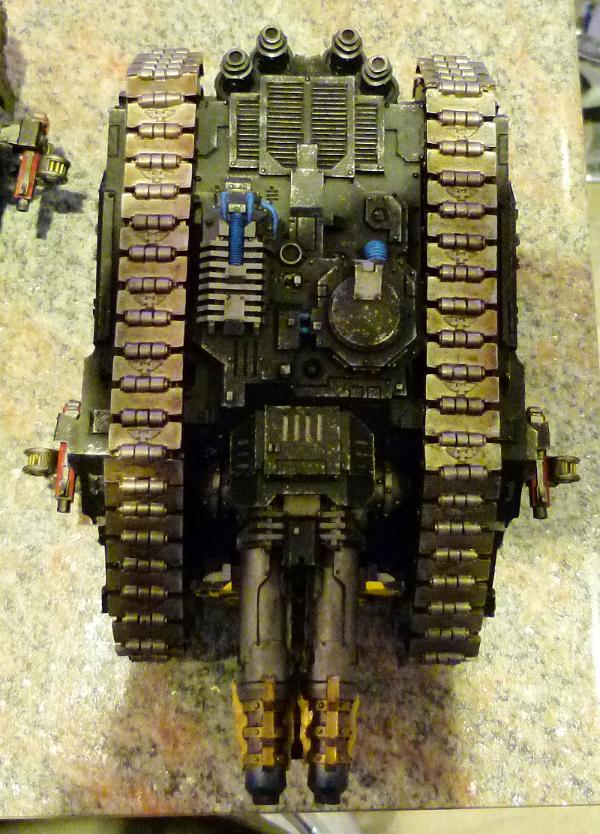
This is the top view. This is a huge chunk of resin and I really don't know where I am going to store all of these finished vehicles!

I need to have flames on my vehicles, but I went with only the hatches on this one.
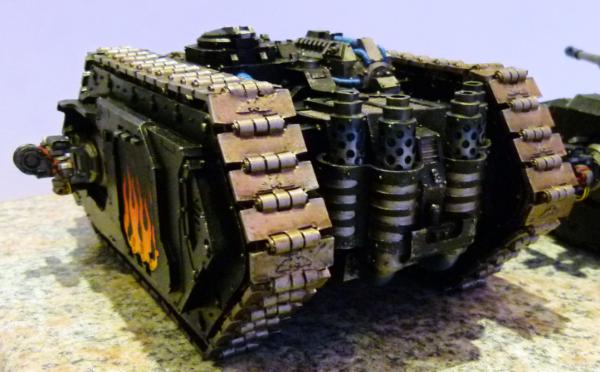
The rear shows my now new way of painting heat on weapons and exhausts, Tamiya burnt blue steel weathering and mig black smoke pigments - messy but quick and easy to do!
Legion of the Dead Basilisk

When I saw these released from FW, I had to have one (even though I have the normal Legion Basilisk)! Masking the flames on this one was a pain BUT I think the results speak for themselves!
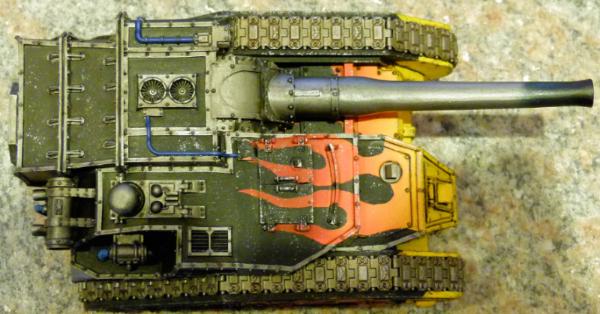
Here's the top view. I've tried to match the flames over the hatches as well. The weapon has been magnetised so I can swop it with a Medusa. I have a second Solar Auxillia Basilisk/Medusa almost completed - I'll post more in the future.

Here's the front view. Although the black oil pin wash is a pain to do, it really makes the vehicles "pop". You can see the small FW Imperial Eagle Brass Etch I've added to every other track as well in this shot.
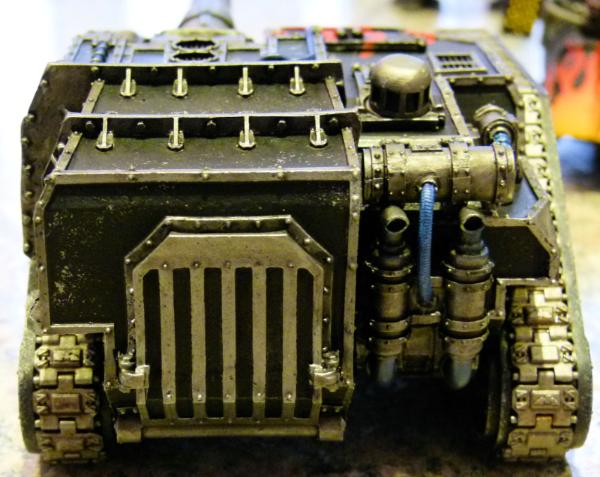
... and the rear!
Legion of the Dead Deredeo
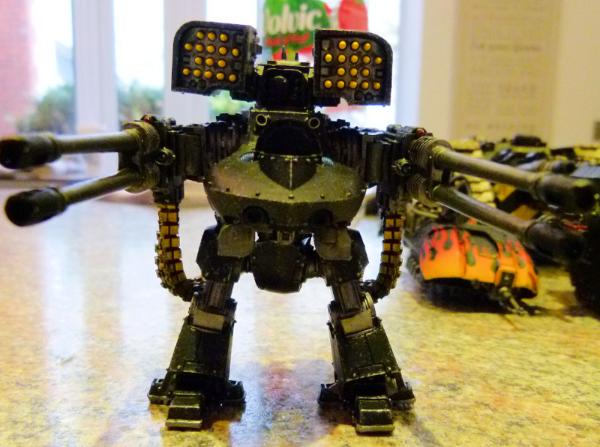
I was toying with having flames going all the way up the legs but after I magnetised everything, I decided to stick to black on this one. I got some Plasma cannonades when I visited Warhammer World last year, so I need to get another Deredeo to use the plasma weapons!

I need to finish the helmet and this model will be finished.

The rear. To get the ammo belts to fit the weapons I had to give up on the magnets. This has made me want to get a Leviathan!
Javelin with Missile Launchers

This is my second Javelin and I much prefer these to the normal Land Speeders.
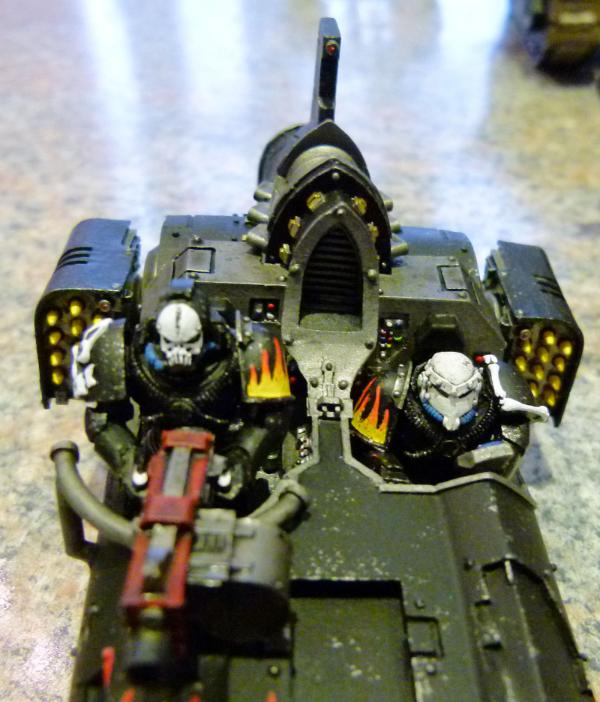
This is a close up of the crew. I had some Night Lord and Iron Hands helmets already painted, so I went with these rather than my usual Mk III versions.

And finally, a side shot.
Work in progress
To finish off this update, I include some WIP's of other vehicles I'm working on:
Fellblade:
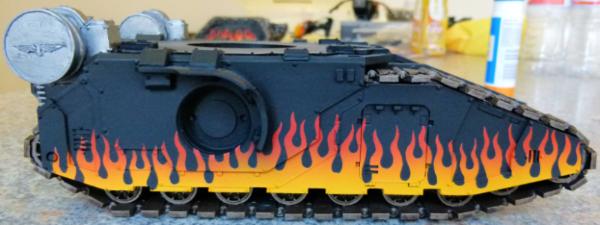
Land Raider Proteus:
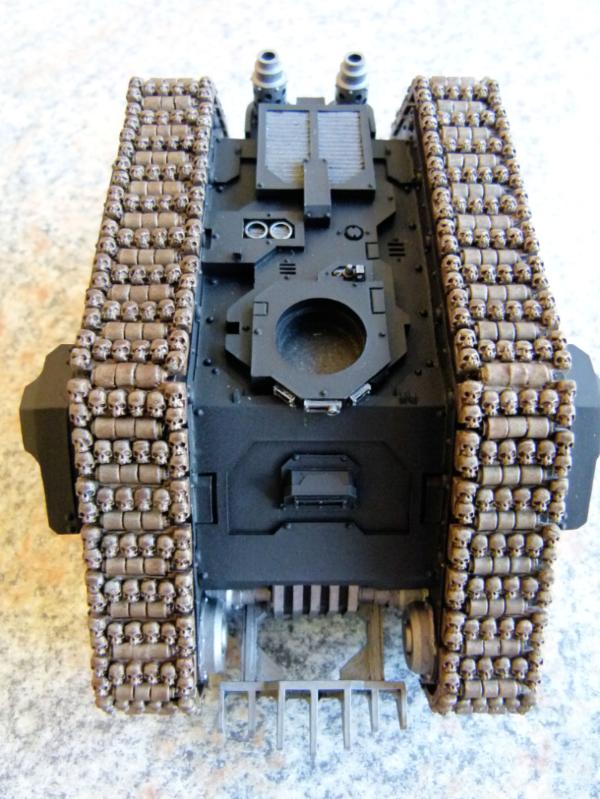
Solar Auxillia Medusa:
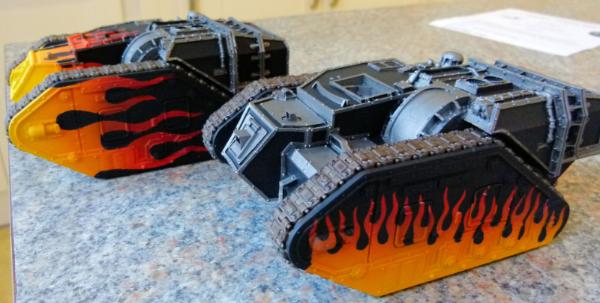
I hope to have some more updates soon.
Regards, Phil.
38750
Post by: philmorgan75
Caestus Assault Ram

Thought I'd show everyone some progress I've been making on my Caestus.
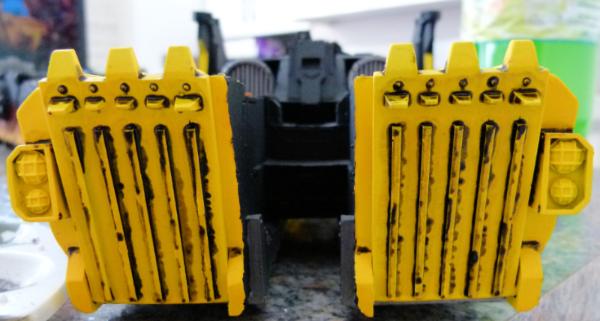
For anyone that wants to know how I black oil pin wash my models, I thought I'd show you. Having laid down the base colours of black, silver and airbrushing the flames, I laid a quick layer of matt varnish over them. I mixed up some black oil paint and odourless white spirit and then added as neatly as possible around all the lines.
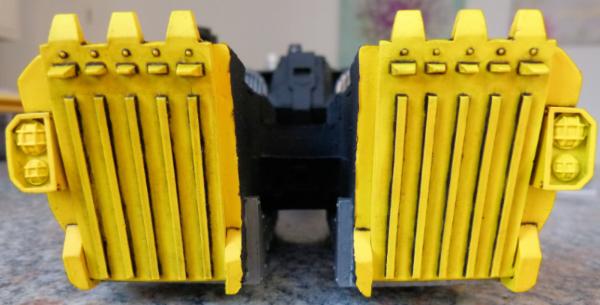
Once the oil is almost dry, a clean brush, a tissue, some elbow grease and some more odourless white spirit and the excess oil is removed leaving perfect black lines.
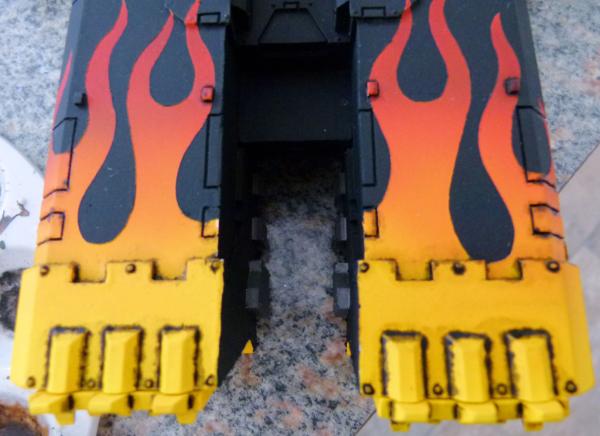
Here's a shot of the top after the oil wash.....
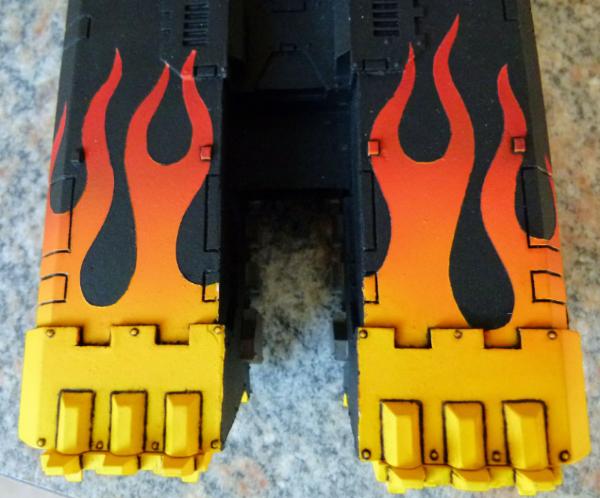
.... and after the excess being cleaned up.
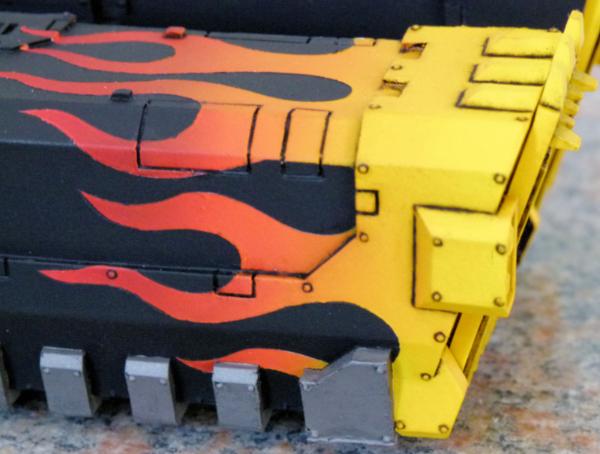
And finally, a shot of the front right side.
The Caestus is currently drying off and I will wash all the metals tomorrow, followed by the missiles and then a small amount of weathering and this model should be finished.
Fellblade

I built a FW Fellblade a couple of months ago. It's a brilliant (but expensive!!) kit but I wanted to personalise it. You can see the Arkurian fuel tank I added to the rear in this shot.
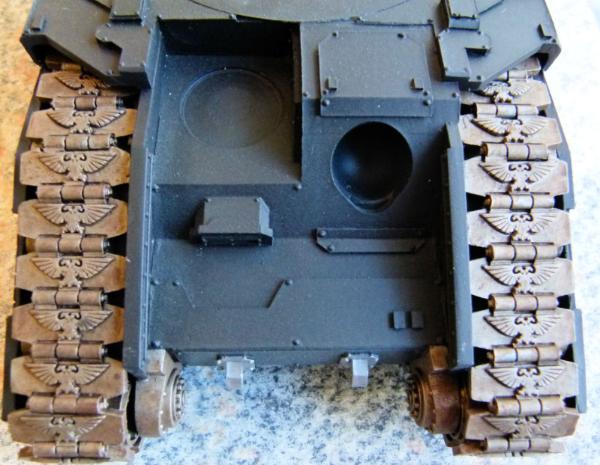
I thought the treads looked boring, so I added an Imperial Eagle to each one.
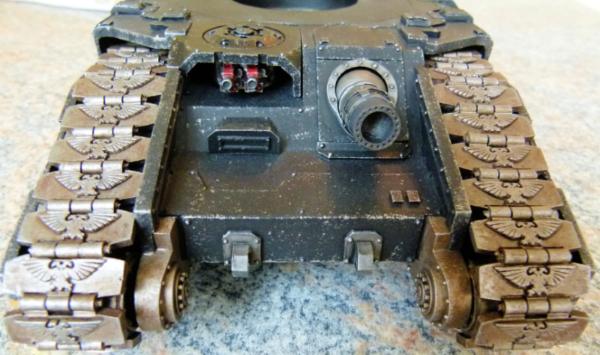
Here's the almost completed front. I need to sponge a small amount of rust pigment and this view will be done.
Here's a couple of shots of the work I've done on the sides.....
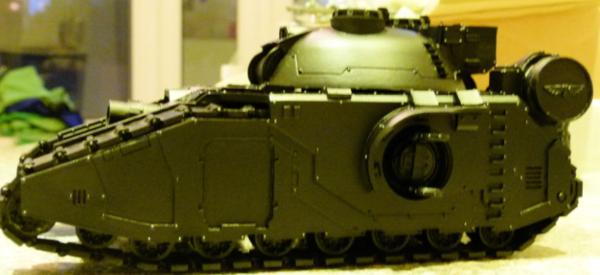
Basecoated black.
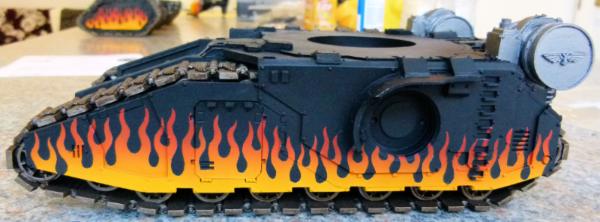
Airbrushed flames and then a thin brush, black paint and a steady hand to clean up the airbrush overflow.
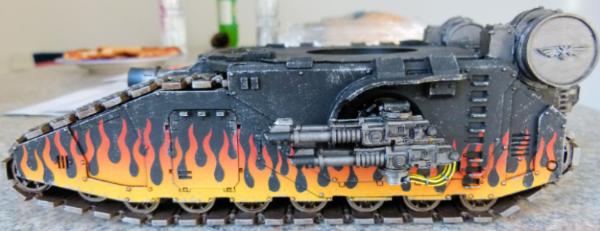
Black Oil washed, weathered and sponson completed.
The fellblade is coming along nicely now. I need to paint the turret and cannon and then a small amount of rust weathering and it will be completed. I got a Falchion and a Typhon for my birthday which I will not build until I finish the 10+ other vehicles I've already base coated first.
Legion Sicaran Venator
As promised, some shots of my finished Venator....
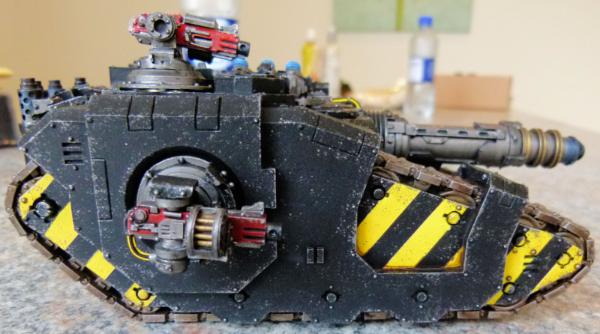
I went for hazard stripes on this one as opposed to my normal flames. I think it came out really well. The sponsons are magnetised as normal.
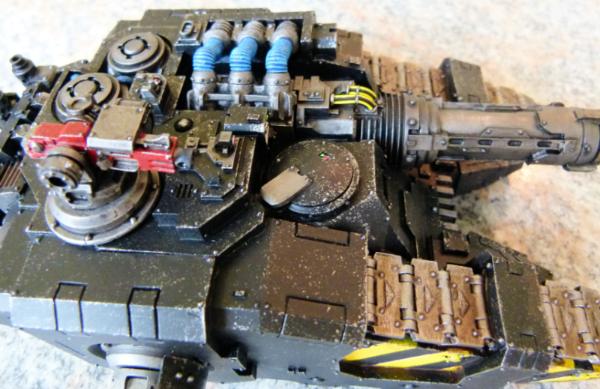
A top shot showing the FW Brass Etch Imperial Eagle on each track.
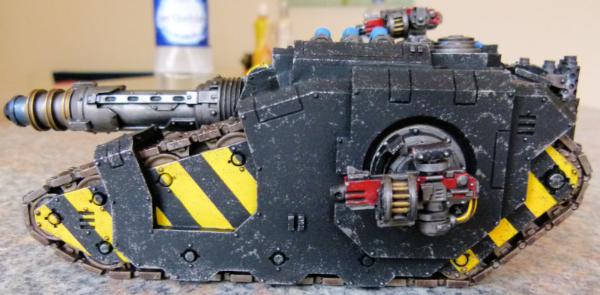
The left side....
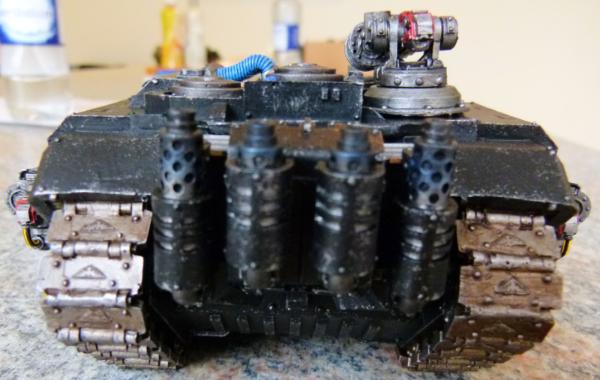
.... a slightly blurred rear......
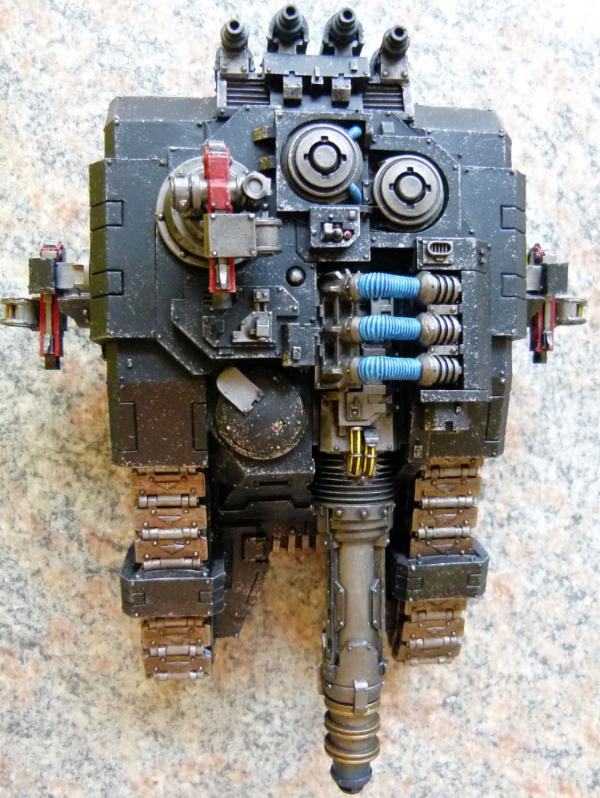
.... and finally a top view.
Off to bed now, so more updates in the future.
Regards, Phil.
38750
Post by: philmorgan75
Managed to finish a couple of vehicles recently....
Legion of the Dead Fellblade
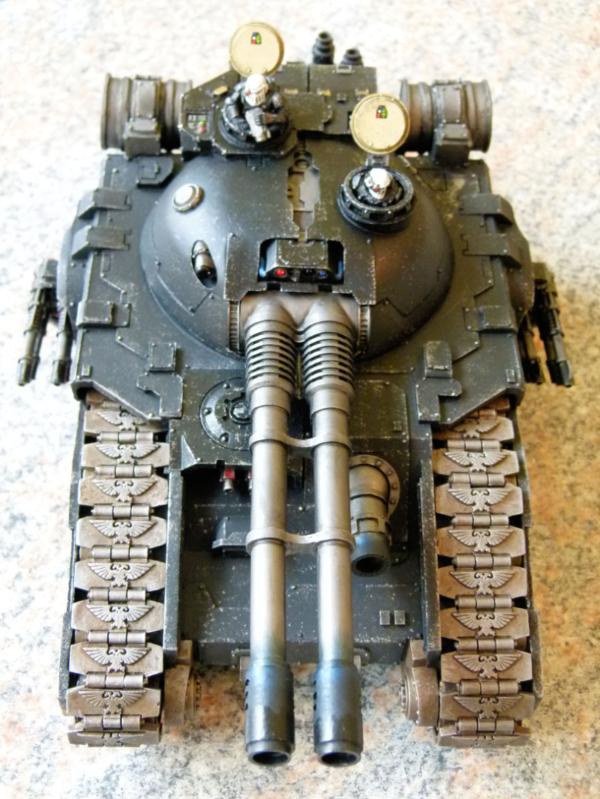
This was finished this morning by adding the completed crew. This really has been a labour of love making this. I've made some minor conversions (like the Imperial Eagles on each tread) but kept my usual embelishments of skulls etc off this one. I ended up repainting the cannons as I didn't like the heat effect and even now, it's not perfect BUT I have so many projects on the go that I can't give this vehicle any more attention.
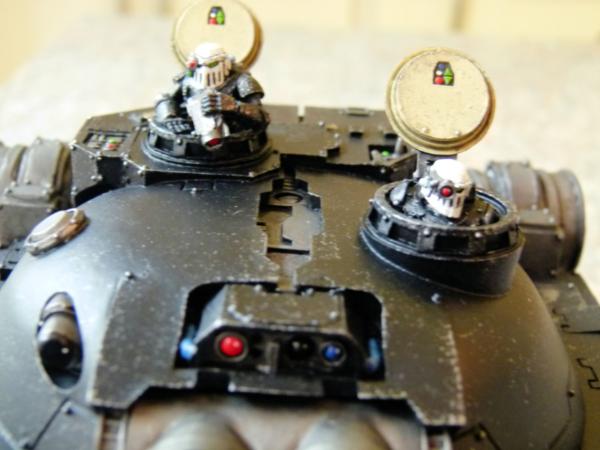
This shows the crew in a bit more detail. I toyed with added some heavy weapons that the crew could fire, but I thought that in the end no sane enemy would be alive in range of the crew weapons!!
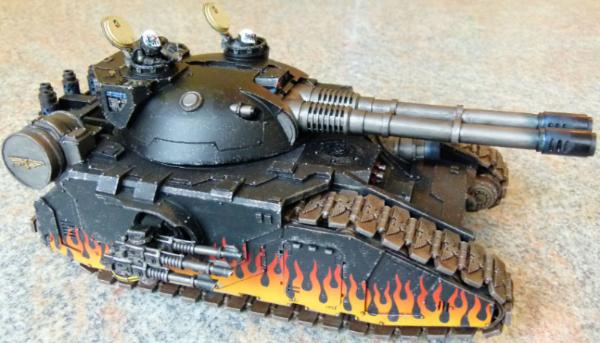
I love airbrushing flames on the sides of large vehicles as it's moderately easy to do BUT looks really effective. When I pluck up the courage, I'll sponge some rust onto small parts of all of my vehicles.
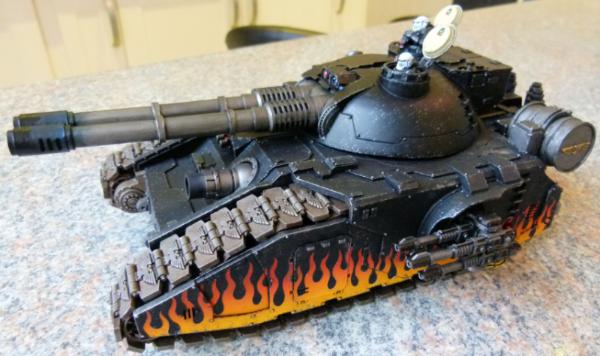
This shows the other side....
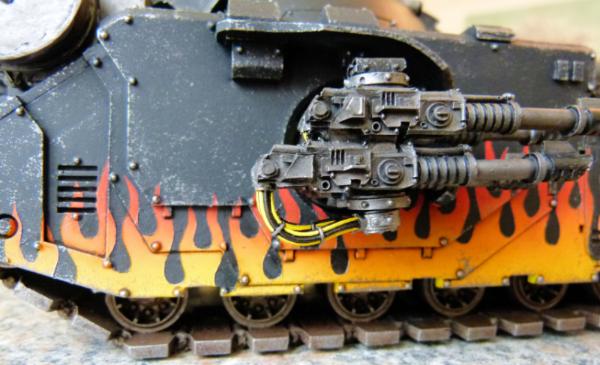
..... and a close up of the sponson weapons.
Legion of the Dead Land Raider Proteus
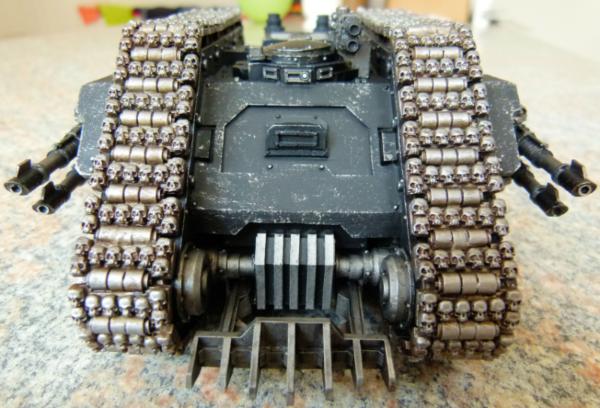
I found the tracks to be very boring, so I decided to spice them up a bit with some skulls! I made a small mould of 8 skulls and then spent hours waiting for milliput to set and then sticking them onto each tread. Time consuming but I think really effective!!
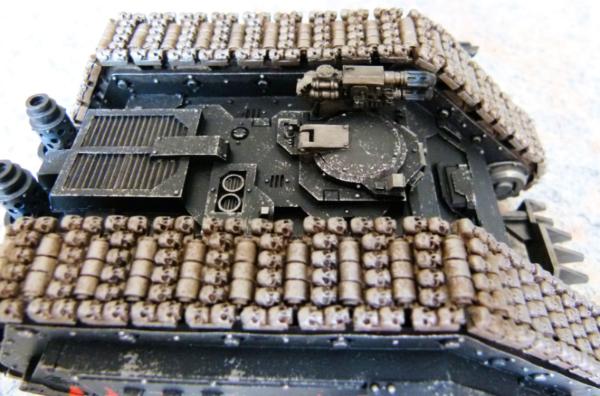
This shows a top view. You can see the mulitmelta with heat effects (via pigments).
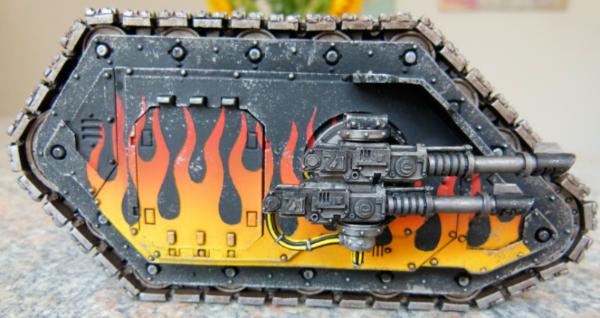
This shows the completed right side ....

.... left side .....
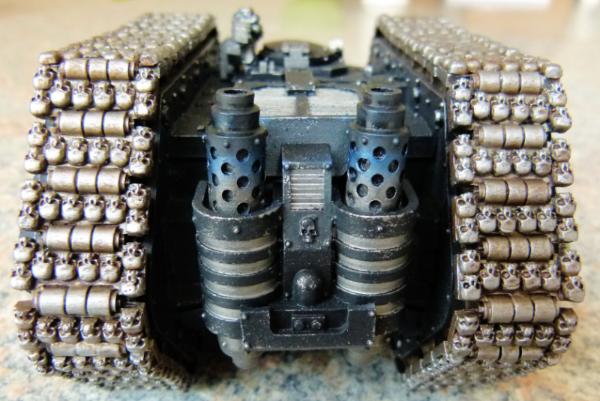
... and the rear. The exhausts were completed with the same pigments I use to mimic all my heat effects. This has now gone into one of the multiple boxes under my bed with all of the other completed vehicles I have!!!!
Legion of the Dead Caestus Assault Ram

I have been wanting one of these vehicles for a long time. I had planned on building one out of plasticard but in the end, I couldn't afford to lose the time. I would love to have a squadron of these, but at the cost I paid, probably not! I still want a Thunderhawk (don't tell my wife!!!!!)
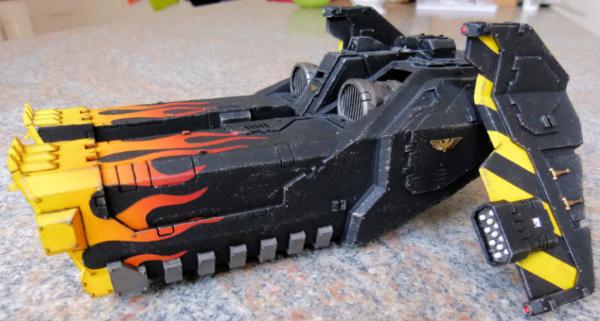
I love airbrushing flames and hazard stripes, so I was in heaven painting this!!
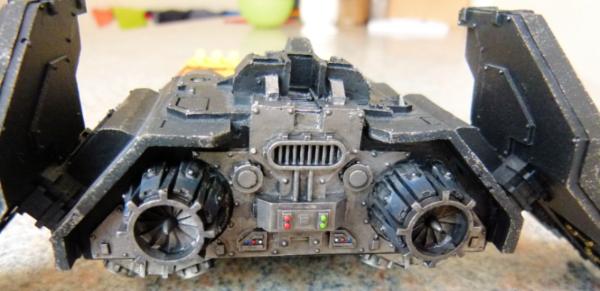
Fairly simple paint job on the rear. Could do with some black pigment on the turbines to really finish this off.
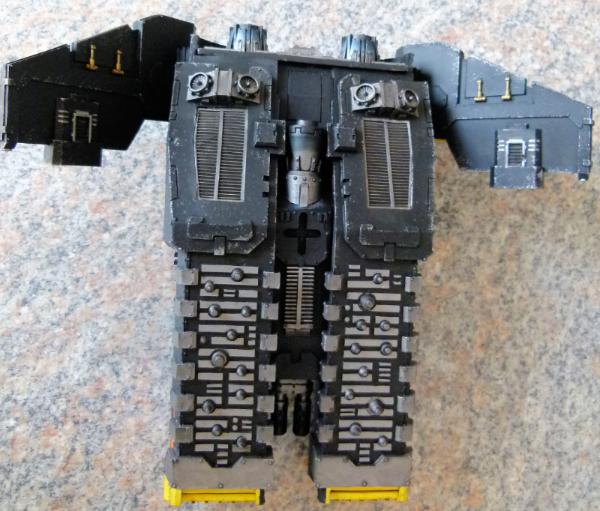
Finally, a shot of the underneath.
Work in Progress

I just finished the radar dish off my Warhammer World Command Rhino this afternoon.
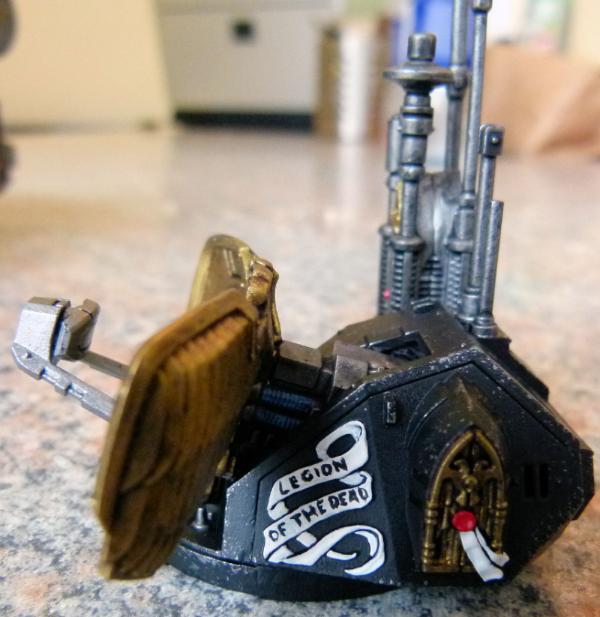
Side view. I did my best with hand painting Legion of the Dead on the scroll - I'm fairly happy with the results.
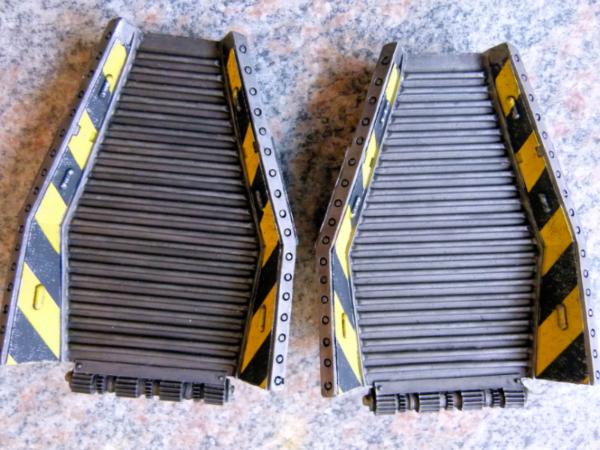
Finished 2 out of the 3 Dreadnought Drop Pod doors.
I have 2 scimatars almost finished on my kitchen table and a recon squad needing their helmets, silenced bolters and backpacks painted to finish. Once finished, I'll need to break out the masking tape and starting airbrush prep for the multiple vehicles I have undercoated (including a Stormhammer, Stormblade, Spartan, multiple Rhinos, a Leman Russ, a Storm Talon, A Sky Talon and 3 Dark Talons). I want to get all of these painted during the summer months and then over autumn/winter I'll be building my Warhound, Falchion and Typhon.
Any questions, please feel free to ask. I do feel kinda lonely writing this blog as no one seems to comment or ask any questions :(
Regards, Phil.
38750
Post by: philmorgan75
I finished some troops off for a change....
Recon Squad
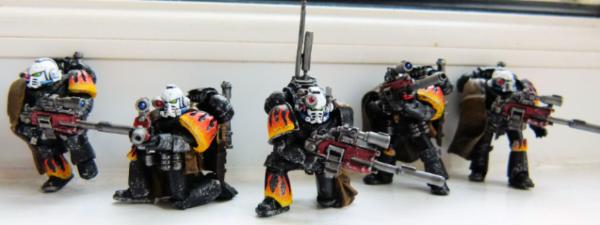
I added some flames to some legs and shoulder pads to show which Legion they belong to...
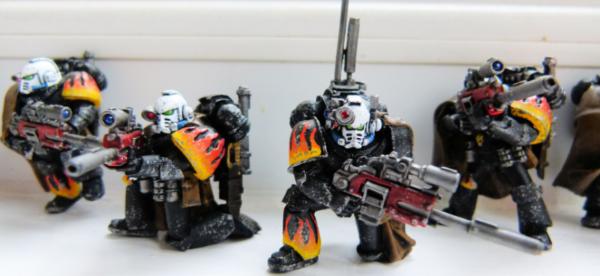
The Comms officer I particularly enjoyed painting.

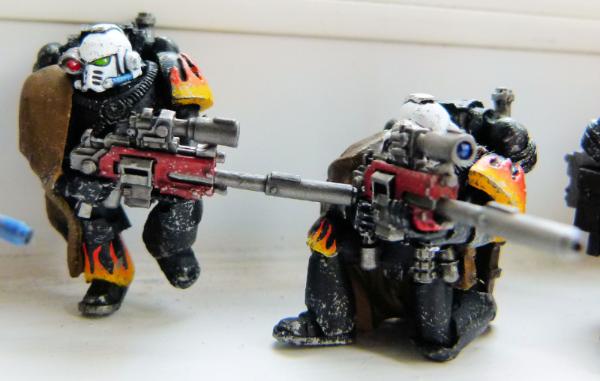 Recon Squad 2
I really liked the FW Raven Guard Mor Deythan squad, so I picked up a squad and with small conversions, made them into my second recon squad....

I removed the Raven Guard iconography from the legs and shoulder pads and added some flames.

I just need to add some black soot to the end of the barrels to finish these.

Just to differentiate, I added a Skull helmet to one of the squad...
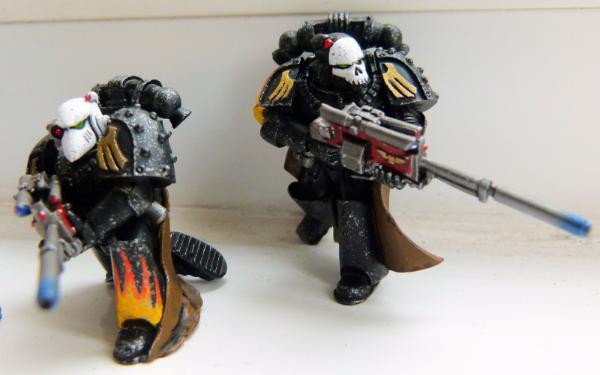
... and a painted skull on another.
Techmarine IV
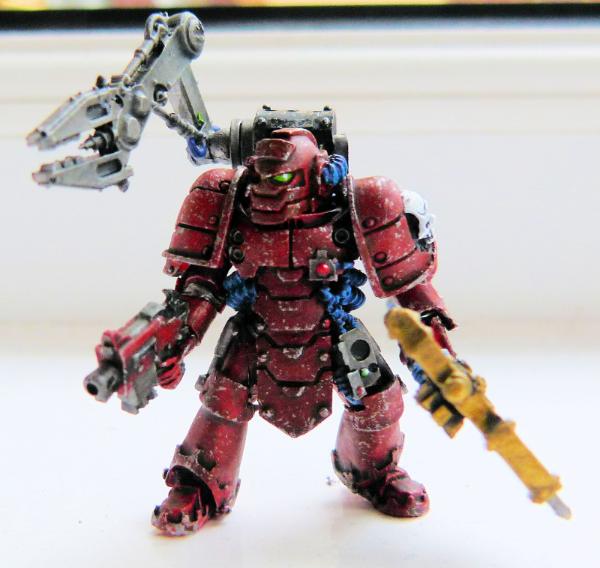
This was a quick paint job to get it off my work bench.
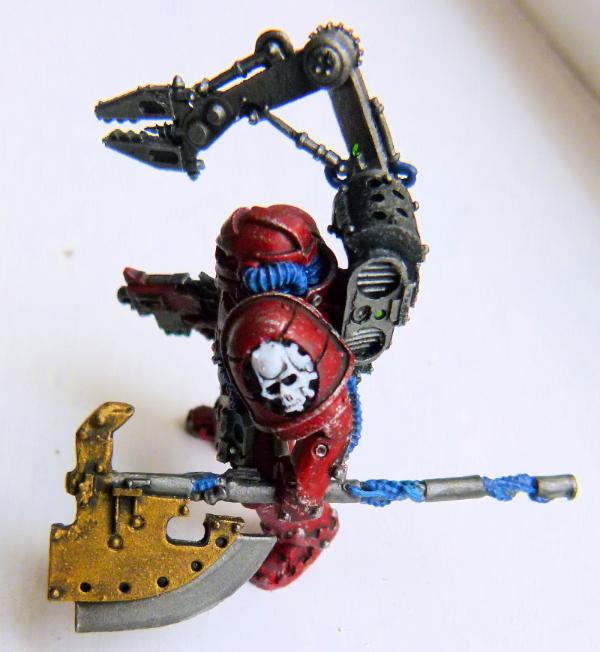
The Adeptus Mechanicus icons on the shoulder pad and the helmet look brilliant, and I'll definitely be using more of these in the future. I magnetised the servo arm and left arma nd poweraxe, for ease of storage.
WIP vehicles
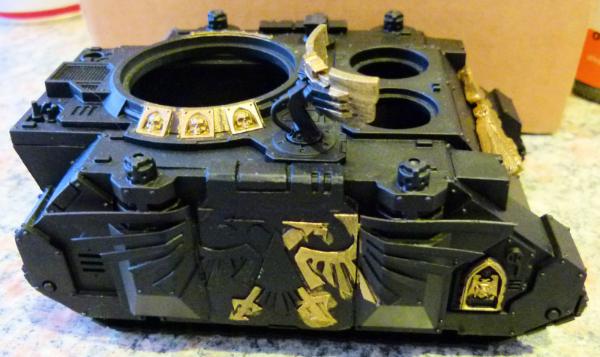
I've started to block in the main colours on the Warhammer World Command Rhino. This is picture is 2 weeks old and I have now got as far as painting the tracks with a wash. All I need to do is some weathering and this vehicle will be finished.
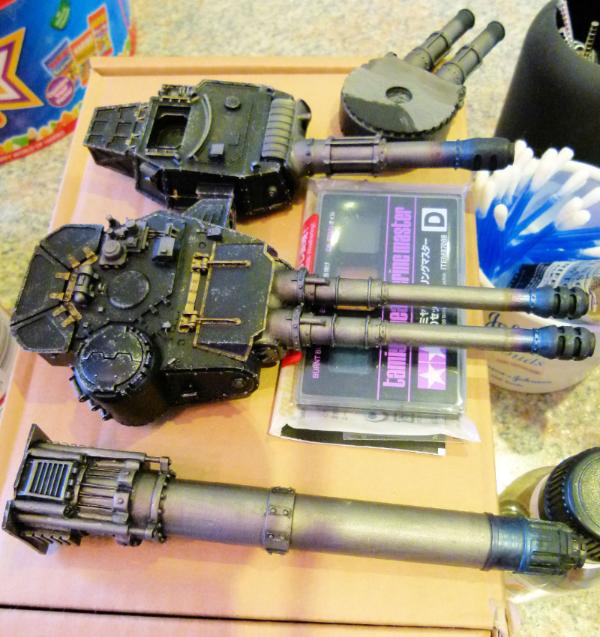
I've almost finished the main armaments for the Stormhammer and the Arkurian Shadowsword. A small amount of blue on the volcano cannon and these will be finished.
I just need to find 2 suitable arms for my Scimatar pilots and I will have completed another squad. Once this is done, I'll start masking off some flames on my remaining vehicles so I can break out the airbrush. Till next time, Phil.
38750
Post by: philmorgan75
Update time:
Command Rhino
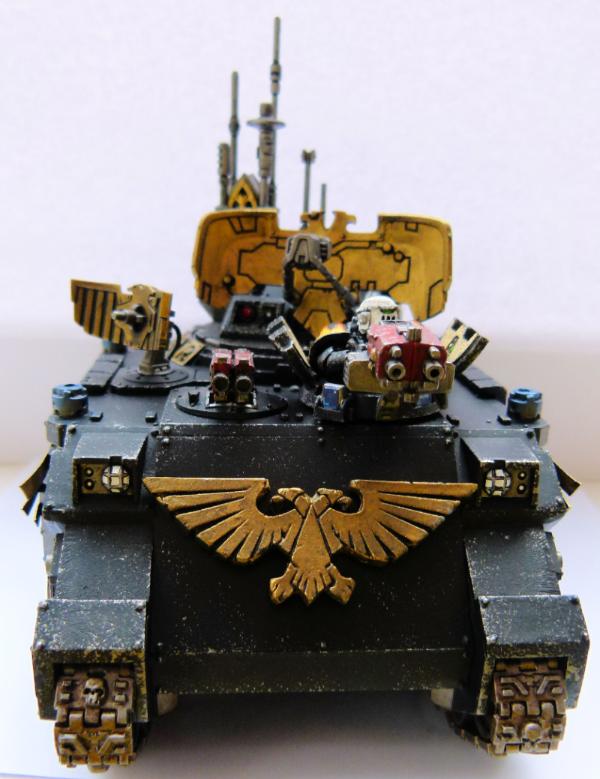
I managed to finish off my Warhammer World Command Rhino. Just to reinforce this is an Imperial vehicle, I added a Battlegear Imperial Eagle to the front glacis. A skull and brass etch imperial eagle were added to alternate tracks to show a bit of variety between my vehicles.
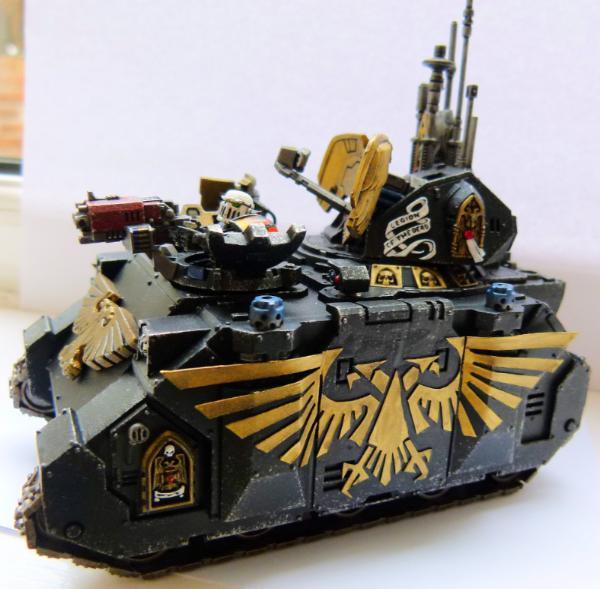
I added a thin plasticard Imperial Eagle across both sides. I originally planned on airbrushing some flames along the bottom of the sides to give the impression the eagle is rising out of the flames (like a phoenix) BUT I had put my airbrush away and didn't want to go through all the masking off and faff required to do the flames, so for the first time in ages, I present a vehicle without any flames!!
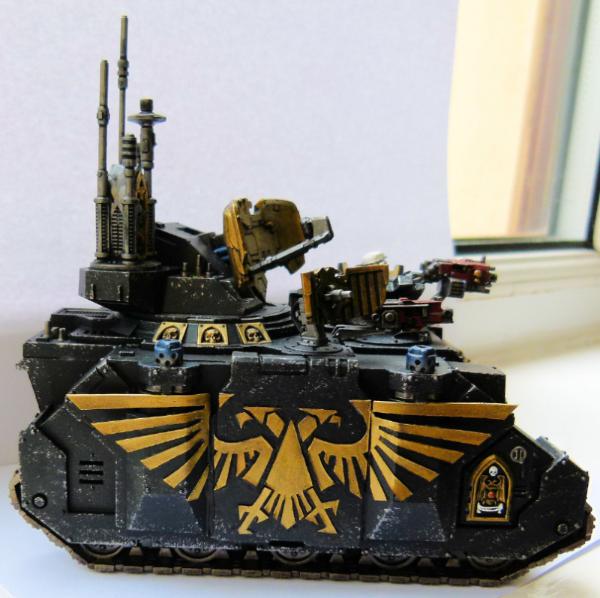
I love the Imperial Eagle radars and will probably try and use them again in the future.
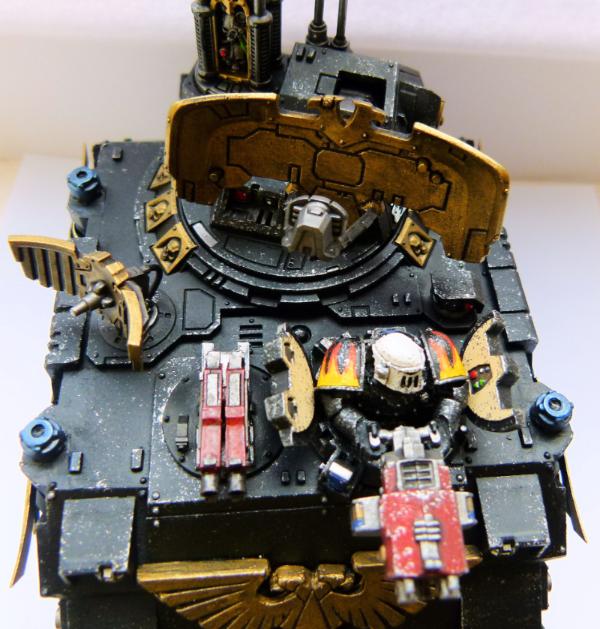
Obligatory Mk III tank commander. I haven't stuck the cupola down so I can swop the weapons if required.
Scimatar Squad
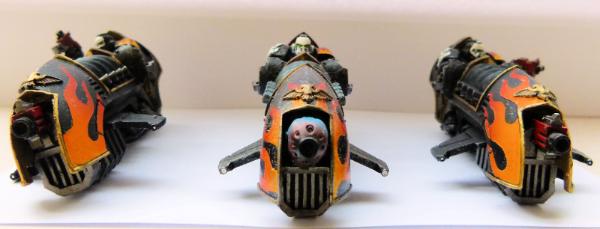
I managed to finish 2 more jetbikes to finish my Scimater Squad.
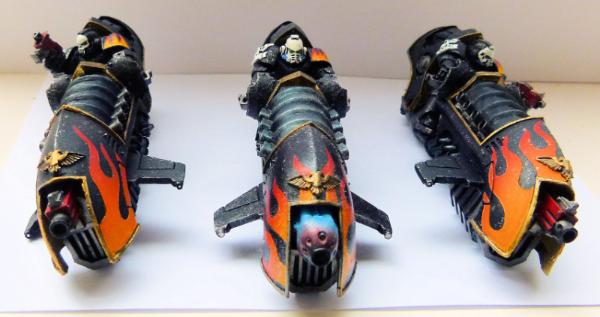
The airbrushed flames were deliberately sprayed differently on each jetbike.
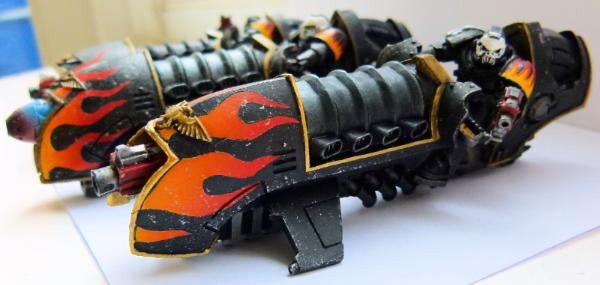
Just to add a bit of variety, I added a FW Nightlord helmet and as I managed to lose a full set of arms for the 2 jetbike riders. I armed 2 of them with bolt pistols. As you probably guessed, as soon as I super glued the bolt pistol arms on, guess what I found? The missing arms!!!
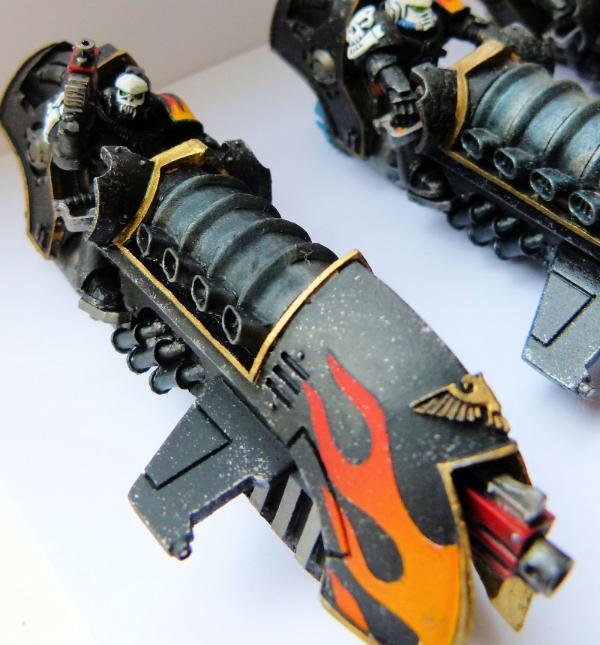
Here's the other FW Nightlord helmet.

I won a job lot of Legion of the Damned metal shoulder pads on ebay previously and decided to add them to each of the troopers right shoulder. Suitable slogans were used to bring fear to all heretics!
Breacher Squad
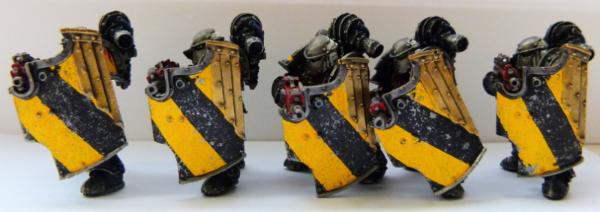
Just for a change, I've started to paint some of my back catalogue of infantry and the Breachers were the first squad to get my attention. I originally wanted to have flames all over the shields, but in the end, I went with hand painted hazard stripes instead. I love these models and will certainly get some more.

Top view. I toyed with hand painting skulls over the front of the helmets, but as I didn't think my painting skills were up to it, I decided to go with boltgun metal instead.
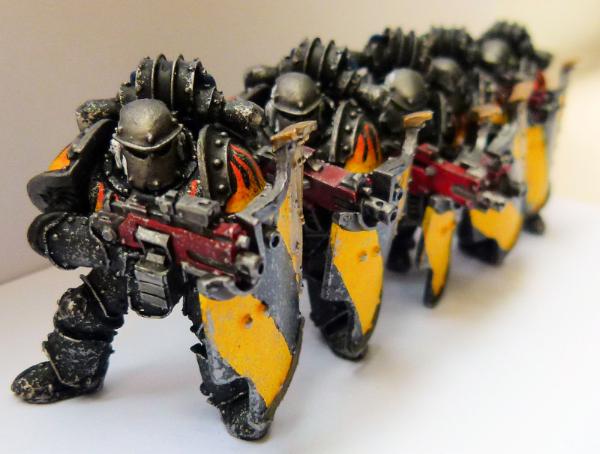
Imagine a company of Breachers boarding a ship!!
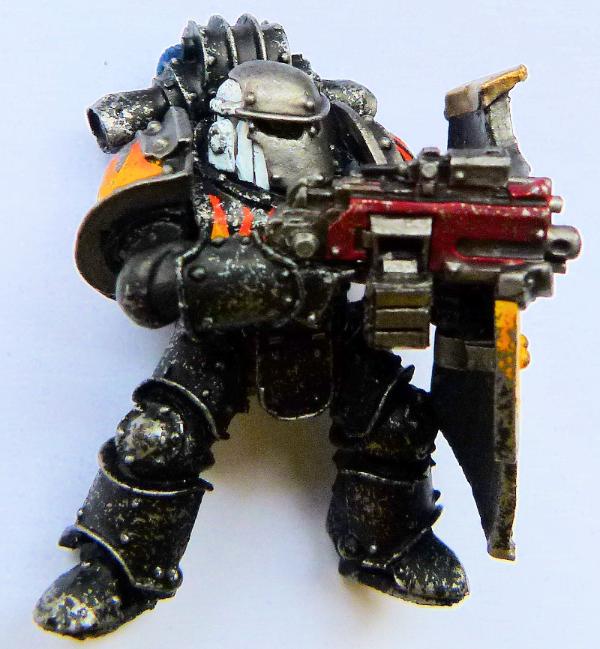
I managed to lose 2 Bolt guns whilst painting, so I added different ones to show a bit of variety between the troopers.
I have just finished my Cataphractii and Destroyer squad. I'll put some pictures up later.
Till next time, Phil.
38750
Post by: philmorgan75
More updates:
Justaerin Terminators
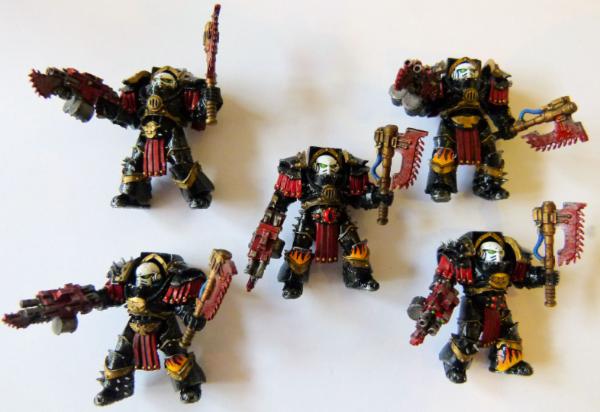
Decided to go with black, red, gold and flames on these terminators. I removed all the Sons of Horus iconography and replaced them with FW etched brass Imperial Eagles. I added gloss varnish over all the black armour as I wanted a "polished" look. I really like the helmet shape on these terminators.

I decided to magnetise all the parts (bar the helmets) to give me unlimited options.
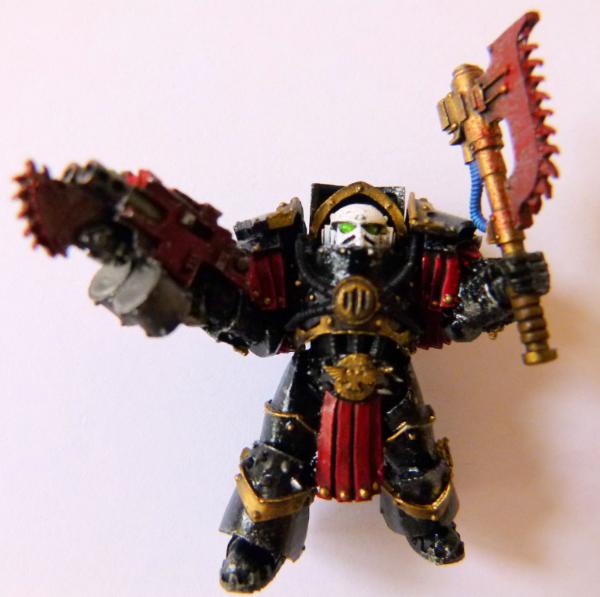

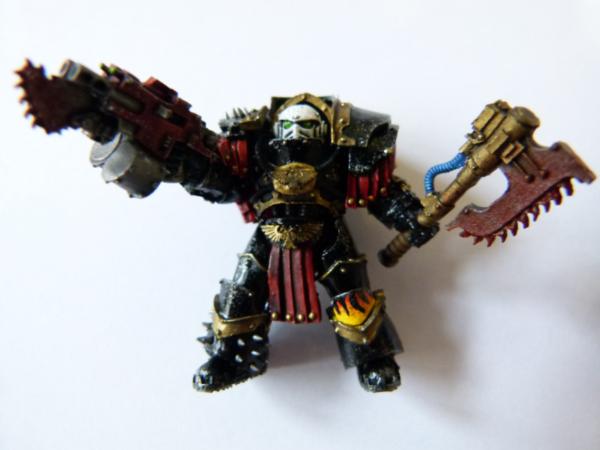

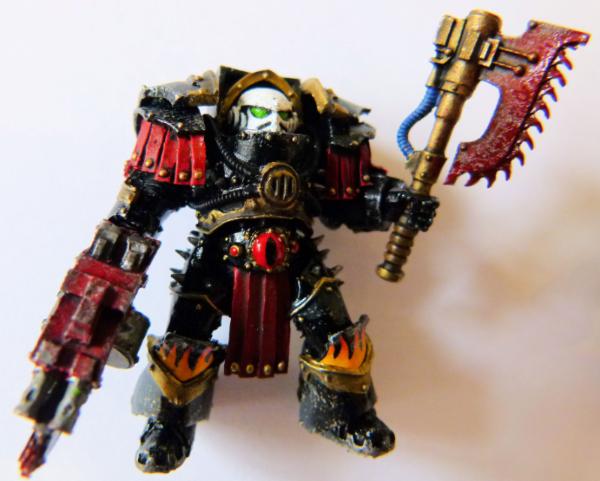
I'm really happy with how the blood splatter turned out on the chain axes. I added a bit of gloss varnish to give a fresh blood look!
Destroyer Squad

I loved converting this squad. I used a lot of Legion of the Damned parts to personalise them, skull helmet for the Sergeant, skull shoulder pads and bone toes for everyone
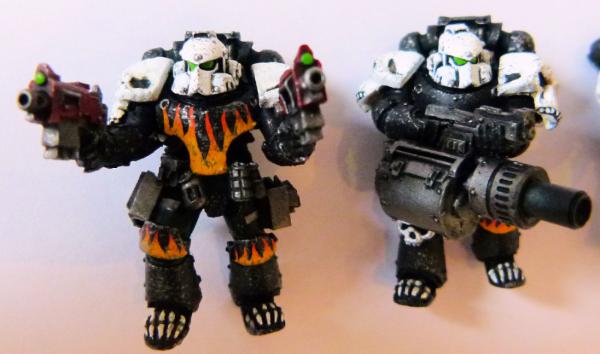 FW
FW did a great job on the Destroyer helmets.

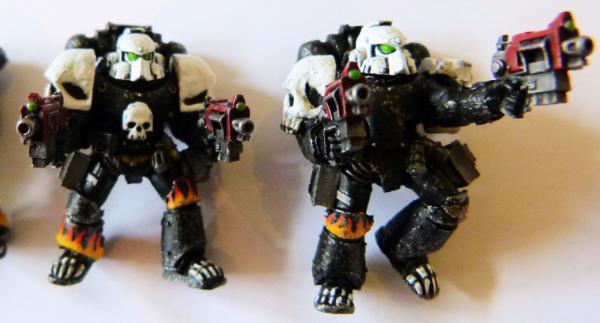
And finally some crew for a previous Basilisk....

Till next time, Phil.
38750
Post by: philmorgan75
Sept 16 Update
Leman Russ Incinerator
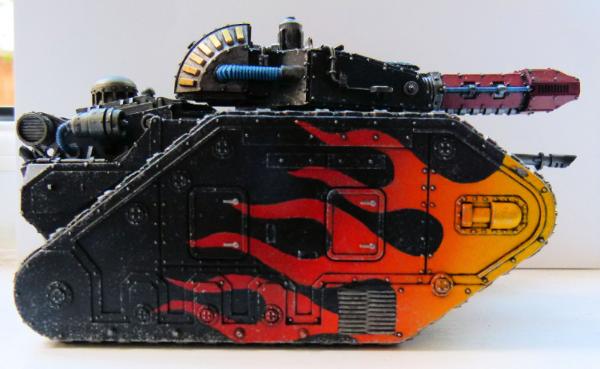
Finally finished my Leman Russ Incinerator. I'm still using a self made black oil wash to outline parts, but have ordered some Tamiya Black Panel Liner from Hong Kong on ebay so I'm looking forward to trying this on a number of vehicles in the near future.
This shows the completed right side....
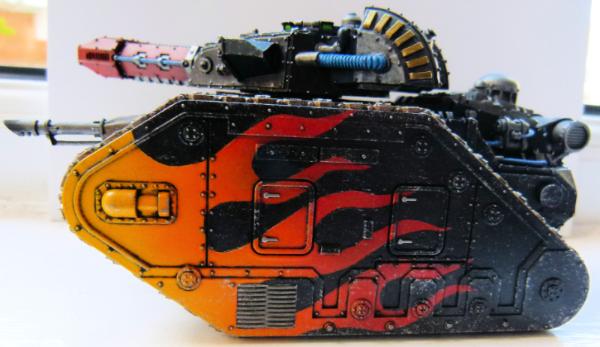
..left side...
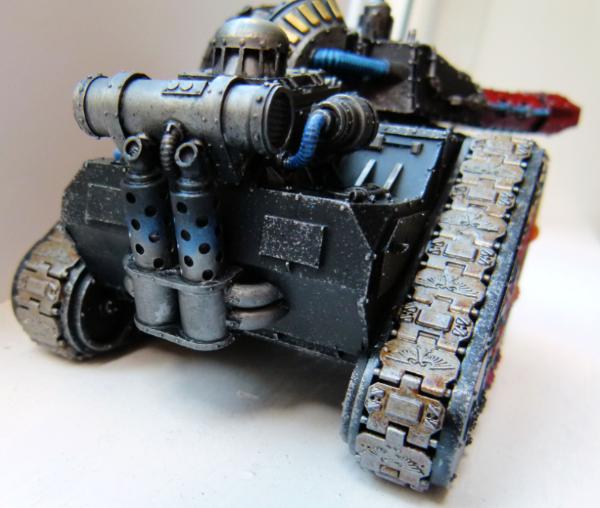
..rear....
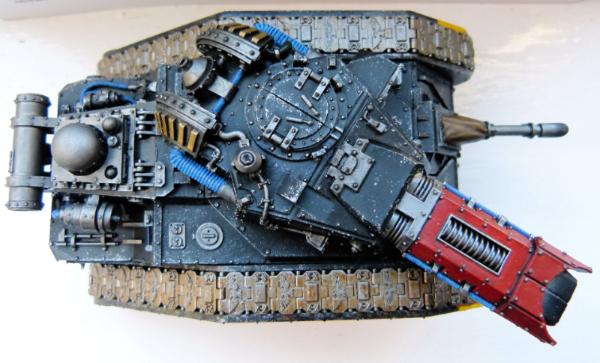
..and plan.
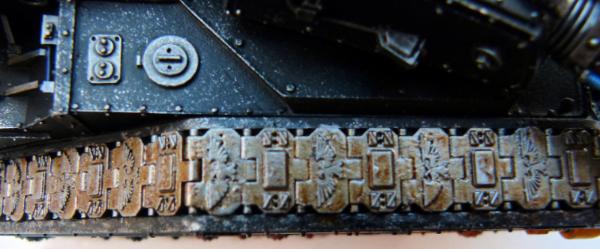
To continue with my never ending quest to improve tank treads, I added FW Etched Brass Imperial Eagles on every other tread - a definite improvement I think!
Sky Talon
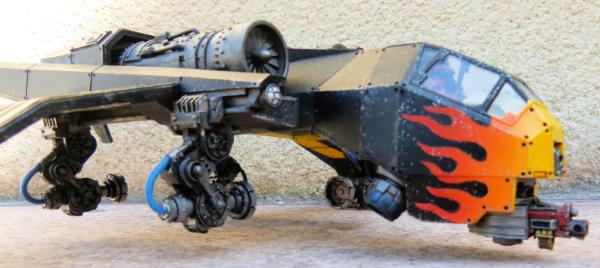
I really fancied a FW Sky Talon but didn't like the idea of it being crewed by Imperial Guard so I did a small conversion. After sawing off the original cockpit, I added a Storm Talon cockpit instead. A bit of plasti card and milliput and a small drill in each armour plate was used to match the rest of the resin kit.
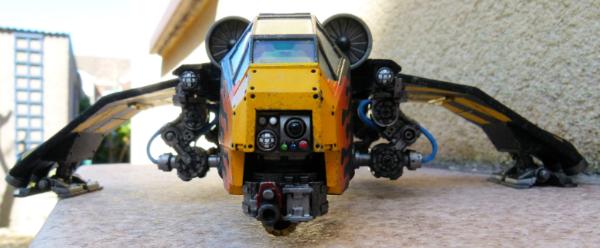
Here's the front view. There is a fully painted Tech Marine in the cockpit - honest!!
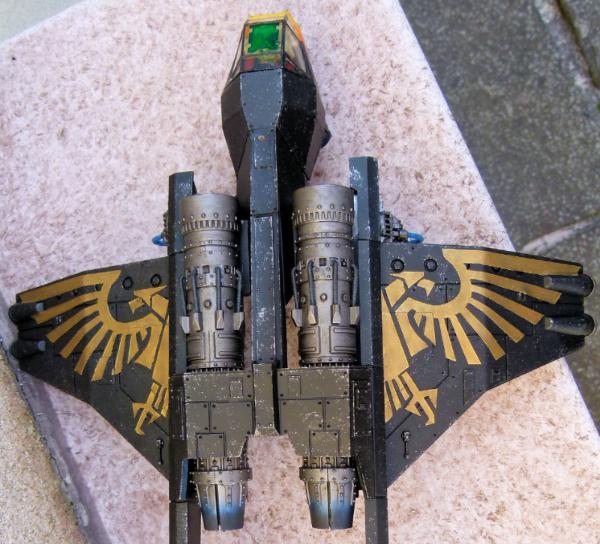
This shows the plan view. I added a plasti card imperial eagle over the Valkyrie wings.
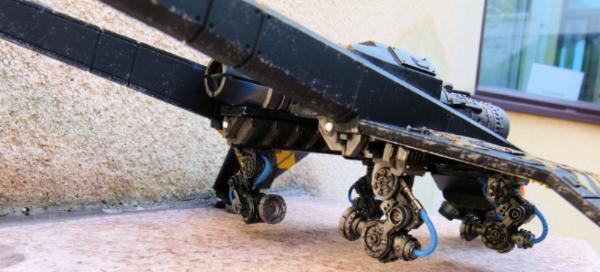
This shot shows the clamps that can be used to carry vehicles. I've ordered an Elysian Tauros Assault Vehicle and I will attempt to convert it to be crewed by SM Scouts. More to come in the future.
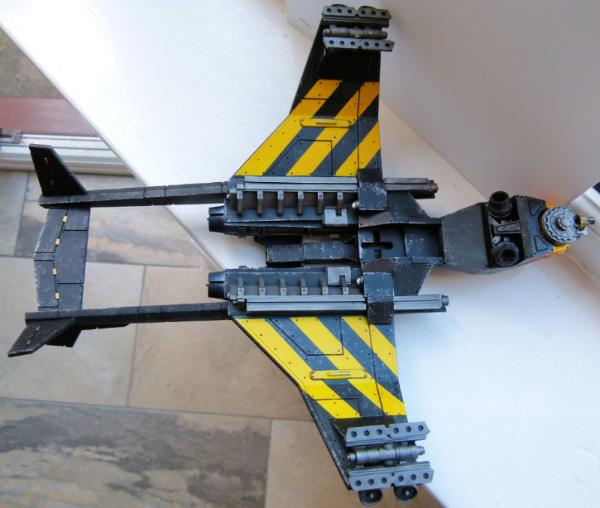
This shows the underside of the Sky Talon. I thought some hazard stripes would look cool here. I think they came out really well.
Assault Cannon Dark Talon
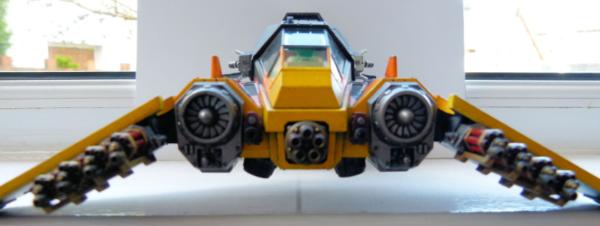
I wanted a Dark Talon armed with weapons that would kill loads of xenos, so I got a few Baal Predator Assault Cannons from bitz suppliers and added them.
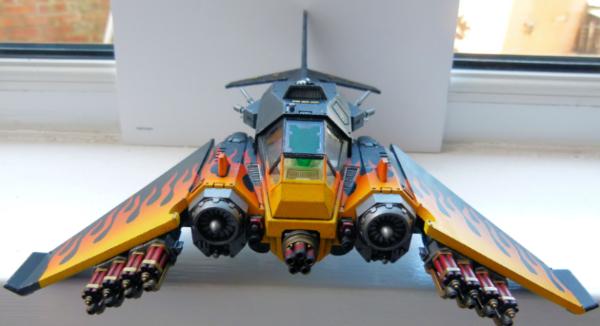
This shots (in focus!) shows the flames I airbrushed over the whole of the front and wings of the Dark Talon.
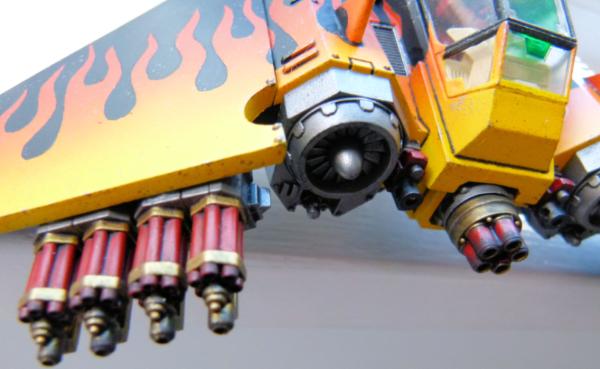
The barrels had some black smoke pigment added to recreate gunpowder residue. You can see on this shot that I managed to remove the usual embossed wings on the wings - there was a lot of sanding involved and then a thin layer of plasti card to create the ultra smooth look. I added some rivets and this wing was finished.
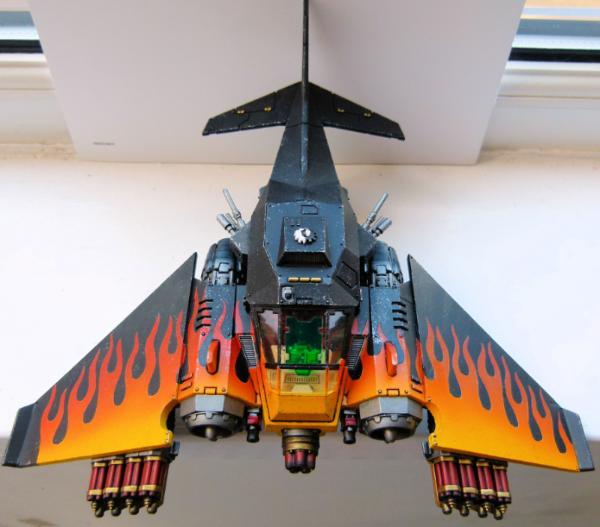
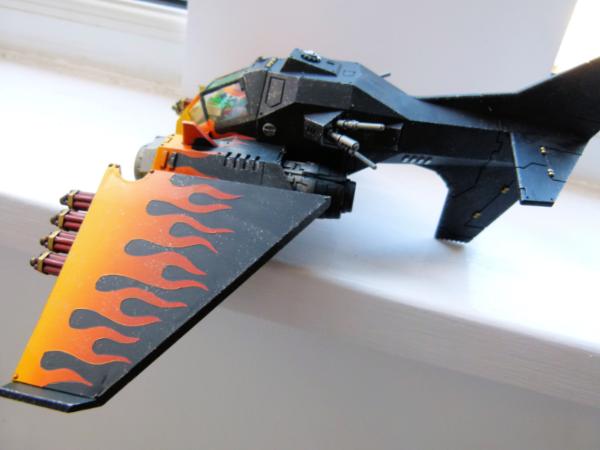
I really enjoyed this paint job. I want to add a Heavy Bolter version of the Dark Talon and a Lascannon one too!!
Xiphon Interceptor

This was such a cool looking model. I had to have it as soon as I could afford it!
I went with the usual flames over the front, cockpit and wings.
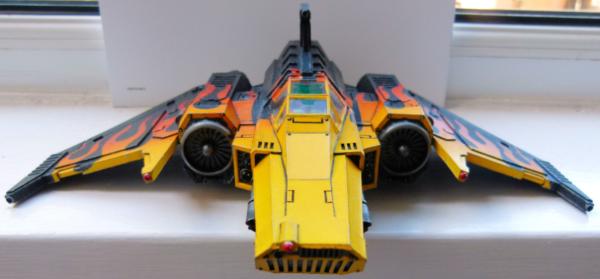
This shows a front view. The Xiphon is really sleek and was a cool model to put together.
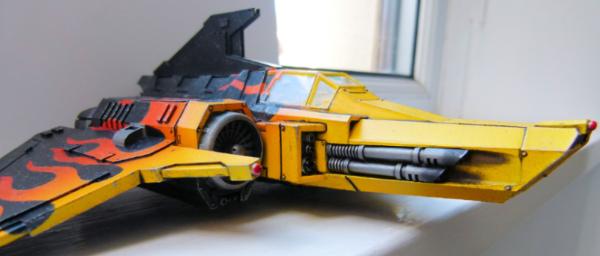
I wanted to add a realistic scorch effect around where the hot las cannon blasts, so I added some black smoke pigments. I'm really happy with how this turned out.
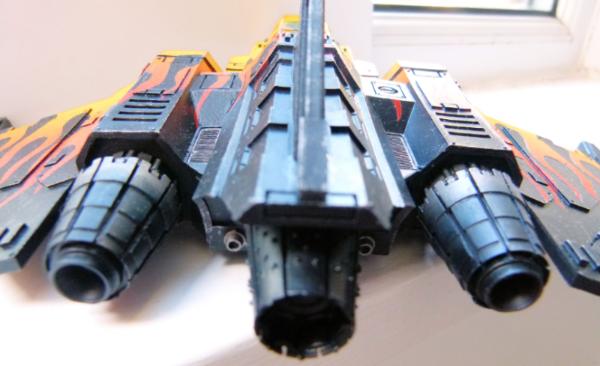
I used some Tamiya Burnt blue steel pigment and then some black smoke pigment to give the engines some heat damage....
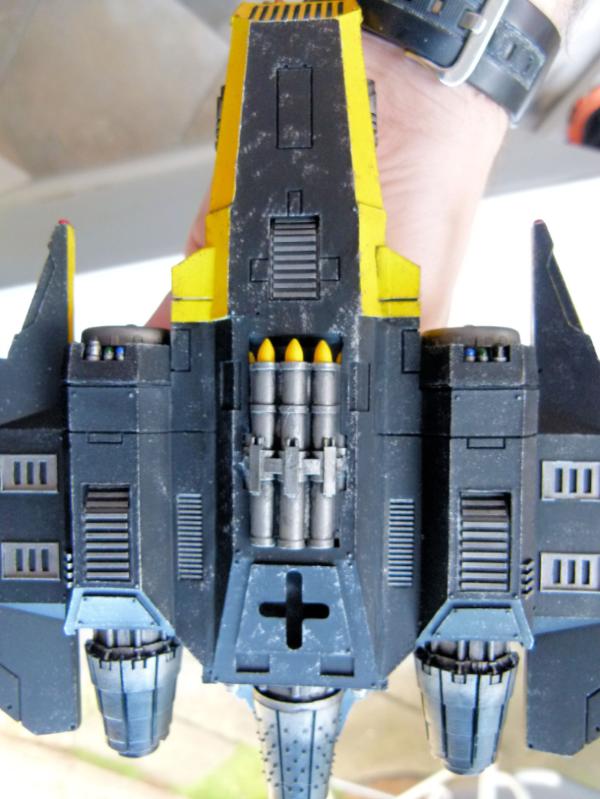
.... and the underside.
I really want to get a Corvus Darkstar, but I have to many projects started/half completed that I will have to wait.
Legion of the Dead Aircraft Wing
I thought it would be cool to have a group shot of all my completed aircraft/transport vehicles .....
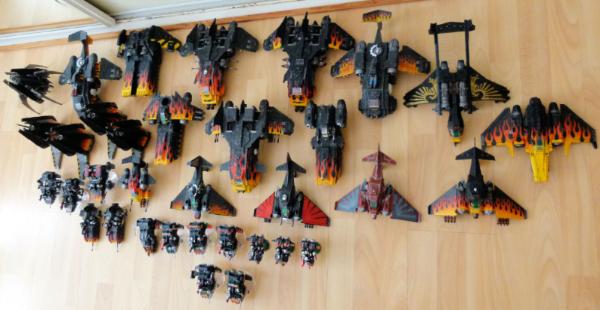
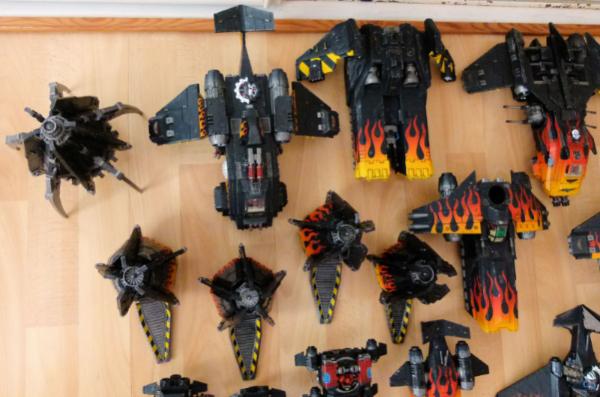
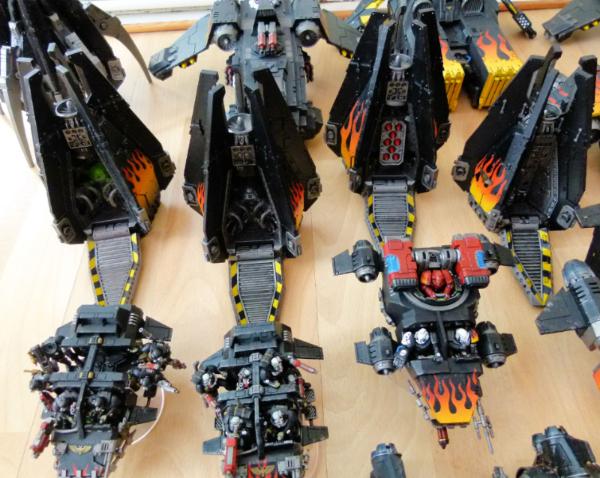
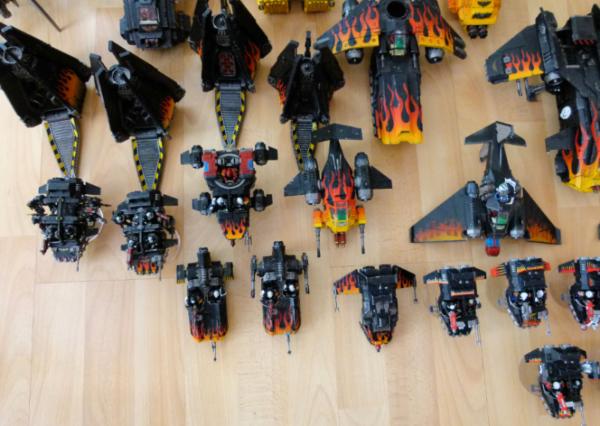
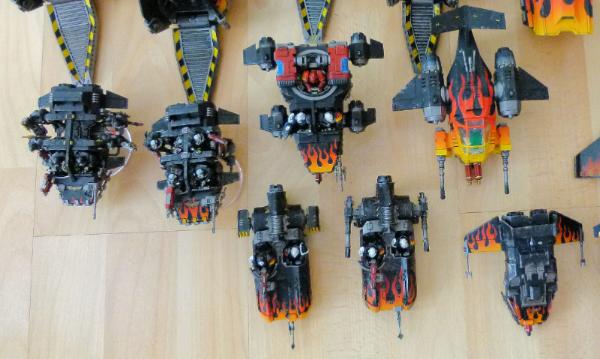
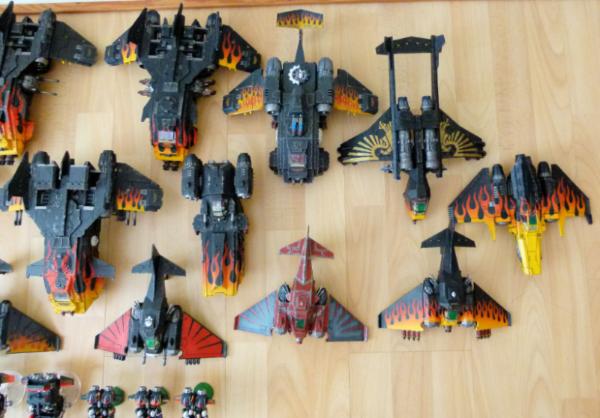
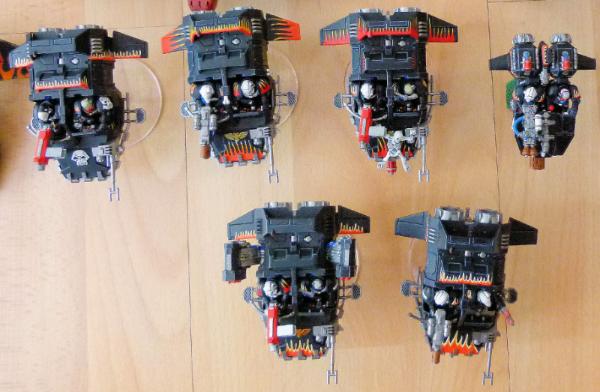
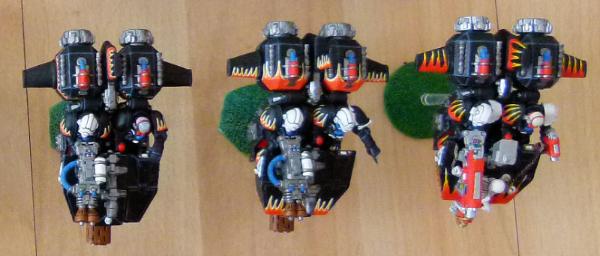
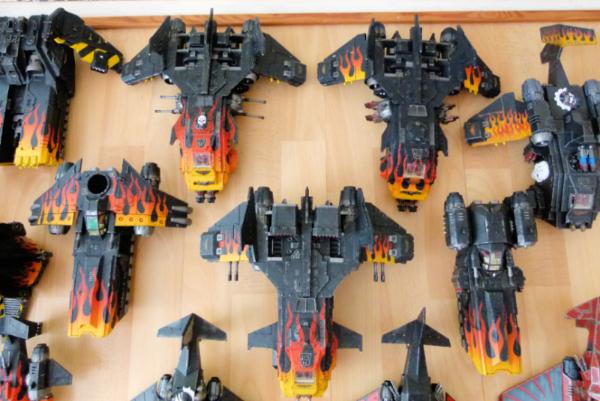
Hope you enjoy!!!!!
38750
Post by: philmorgan75
38750
Post by: philmorgan75
38750
Post by: philmorgan75
9389
Post by: lord marcus
Awesome work with the miliput on those am statues. Wish they were available for purchase.
38750
Post by: philmorgan75
69676
Post by: Big H
Amazing output mate ! How do you store all those vehicles ???
38750
Post by: philmorgan75
 Big H wrote: Big H wrote:Amazing output mate ! How do you store all those vehicles ???
Lots of big boxes under the bed!!!!
38750
Post by: philmorgan75
69676
Post by: Big H
Are the beds 4 feet off the floor at your house ??? 
38750
Post by: philmorgan75
52201
Post by: evildrcheese
Wow! Loving all the Deathwatch marines. Kudos for all the awesome customer shoulder pads, they look brilliant.
EDC
38750
Post by: philmorgan75
New Deathwatch Shoulder Pads ready to use....
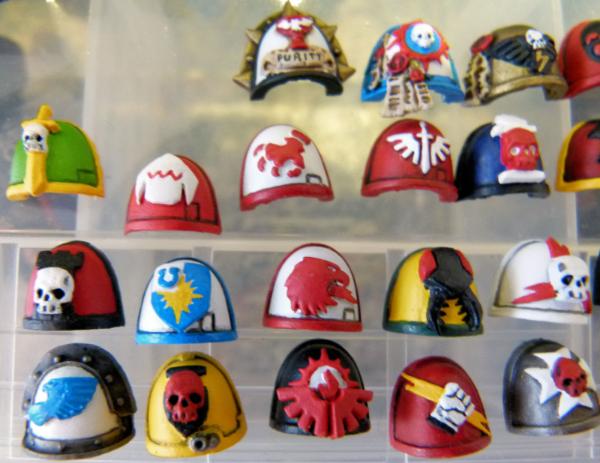
Top Row: Absolvers, Metamarines, Doom Warriors
Second Row: Warmongers, Flesh Eaters, Crimson Talons, Angels Redeemed, Nightwatch
Third Row: Crimson Castellans, Praetors of Orpheus, Storm Hawks, Mantis Warriors, Storm Lords
Bottom Row: Eagle Warriors, Emperor's Shield, Consecrators, Rampagers, Dark Brotherhood
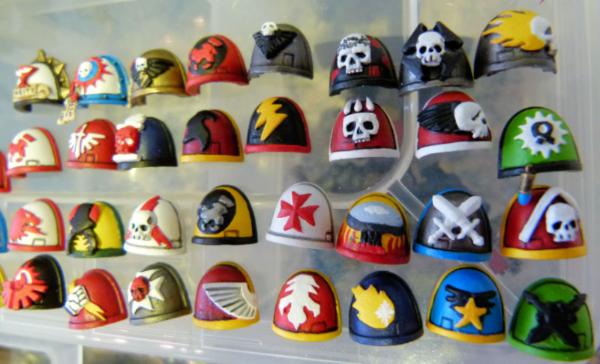
Top Row: Absolvers, Metamarines, Doom Warriors, Red Talons, Doom Eagles, Angels Penitent, Iron Champions, Imperial Harbingers
Second Row: Crimson Talons, Angels Redeemed, Nightwatch, Blackwing, Storm Callers, Carmine Blades, Angels of Fury, Aurora Chapter
Third Row: Storm Hawks, Mantis Warriors, Storm Lords, Iron Talons, Hospitaliers, Firehawks, Astral Knights, Heralds of Vengeance
Bottom Row: Consecrators, Rampagers, Dark Brotherhood, Emperor's Hawks, Imperial Talons, Marines Errant, Heralds of Ultramar, Emperor's Warbringers
38 painted Chapter Shoulder pads ready to be used on the next tranche of veterans!!!!
38750
Post by: philmorgan75
38750
Post by: philmorgan75
38750
Post by: philmorgan75
38750
Post by: philmorgan75
38750
Post by: philmorgan75
38750
Post by: philmorgan75
Dead Devastator Squad
Here's the group shot of all the dead Devastator squad I completed today:
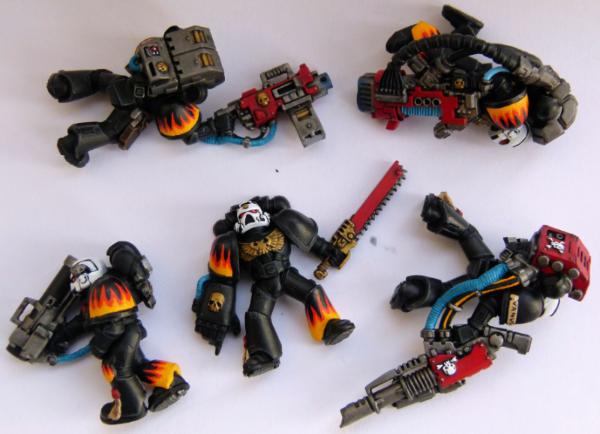
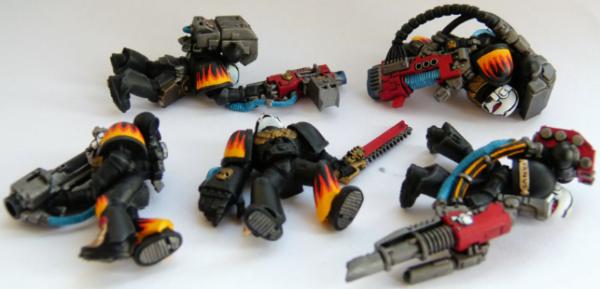
Individual shots:
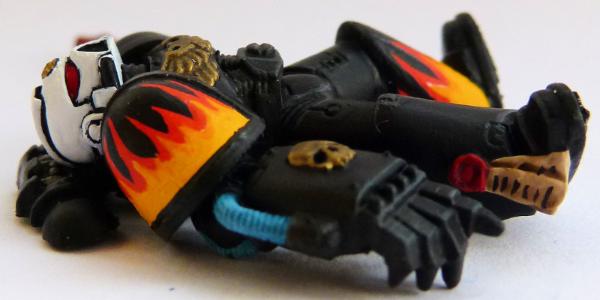
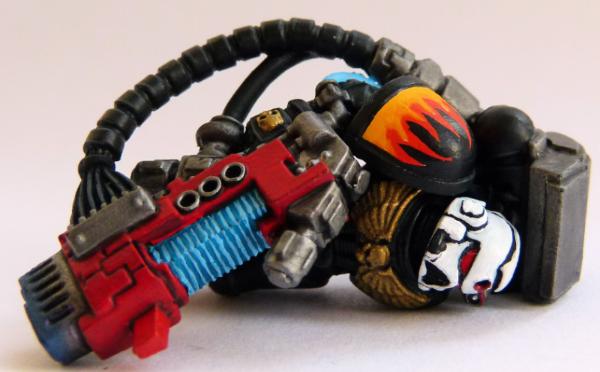
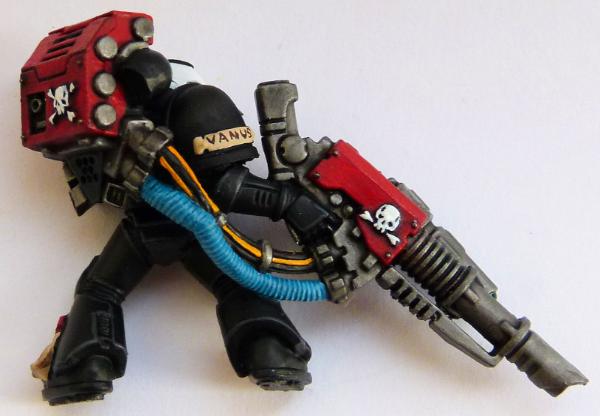
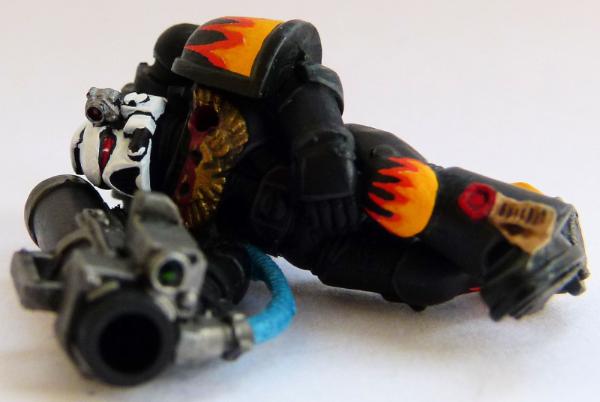
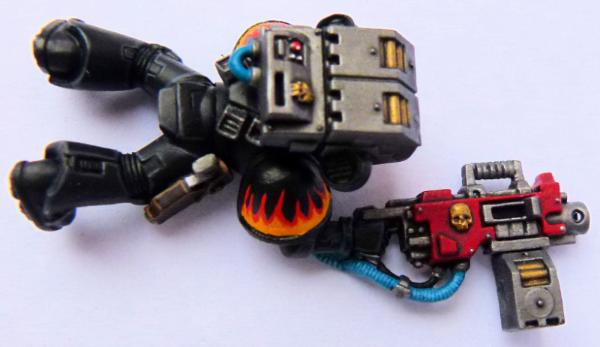
I used milliput to ensure I sculpted grips on the feet of all of the Space Marines.
Dead Heretics
Here's a shot of some 40mm bases I've recently finished:
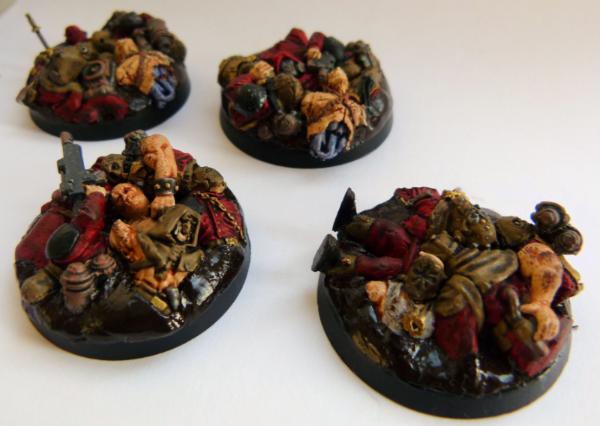
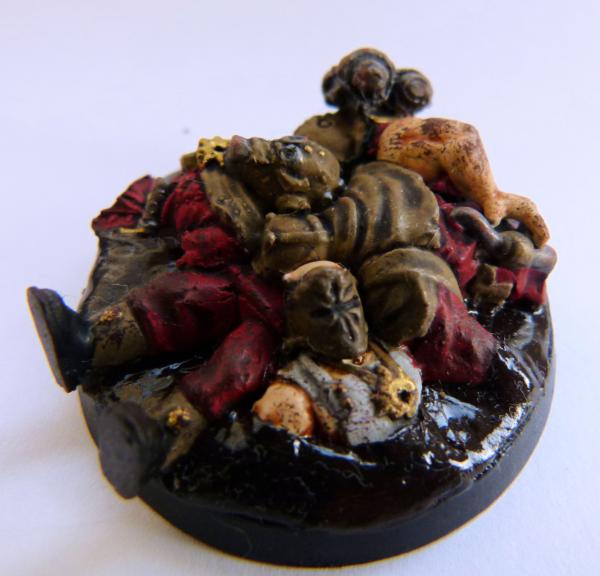
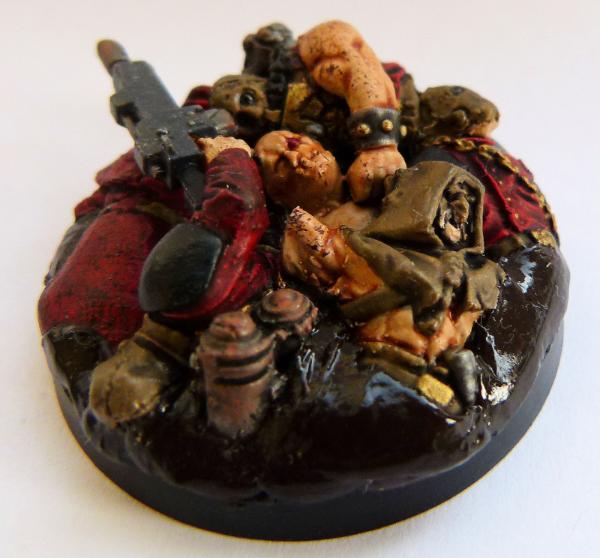
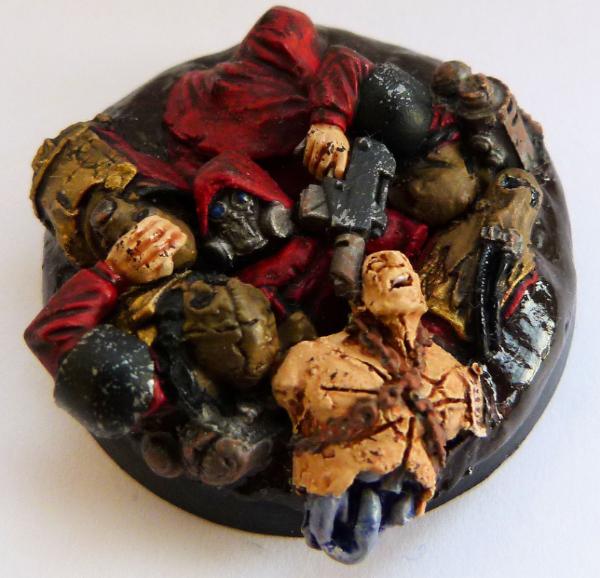
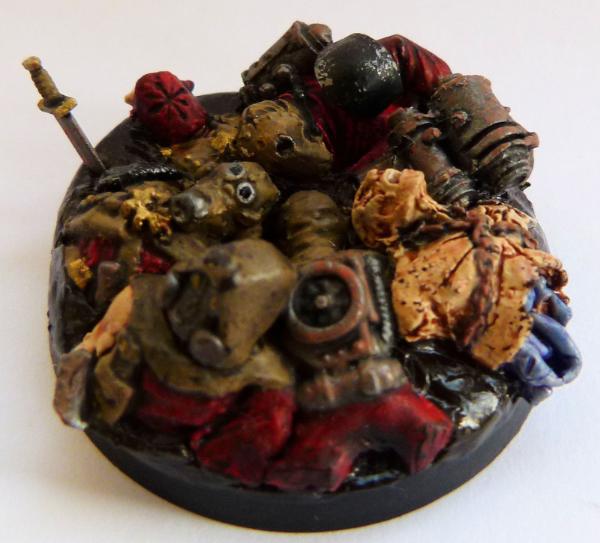
I had great fun making these from a mixture of Dark Vengeance, FW resin renegades, GW Cadian and Catachan parts and lots of milliput. My plan is (when I decide which model is going to be standing on the base) to dremel out where their feet will be placed to look like they have crushed the dead heretics underfoot!!!!
I also finished making a couple of dead heretics to be strewn on other bases:
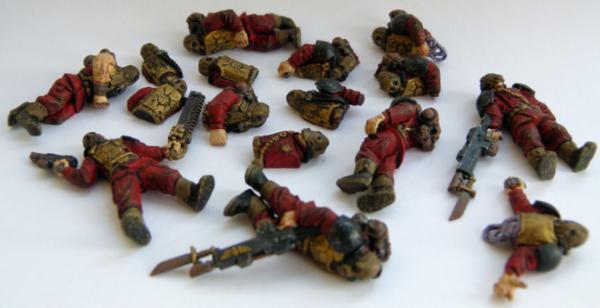

I particularly like the entrails on these heretics! Let me know if you want any further shots.
Dead Tyranids
Some road kill I've completed over the past 2 years:
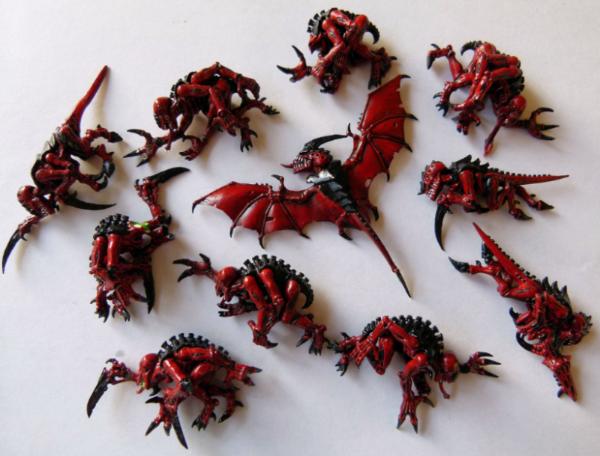
Hope you enjoy!!
38750
Post by: philmorgan75
Thought I'd share a few bases I've been working on recently:
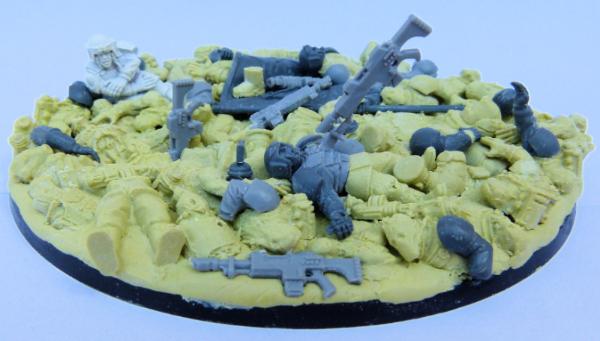
Overtime, I have made a few moulds of Imperial guard and FW Chaos Renegades and having read a lot of Siege of Vraks, I wanted to see if I could show a battlefield littered with dead bodies. I chose a large flyer base and after making numerous copies of different bodies, legs etc, I created this.....
The lone surviving Cadian is in the top left hand corner looking forlornly at all death he is surrounded by and praising the Emperor for letting him survive! I enjoy little things for example the lone boot on the flag and the Cadian that has been baynotted to death in the foreground.
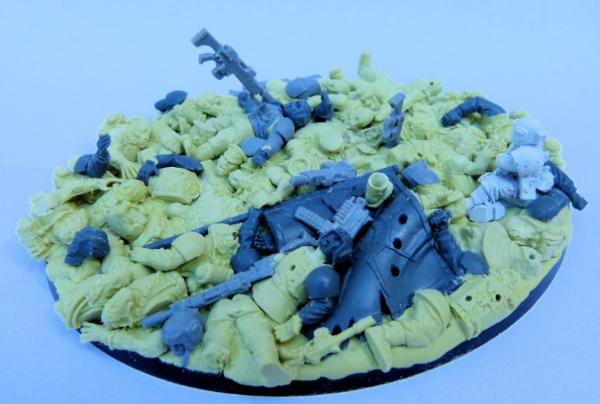
I'm really looking to House Cawdor for Necromunda as they look perfect for Chaos renegades - more scum to be trampled upon on future bases!
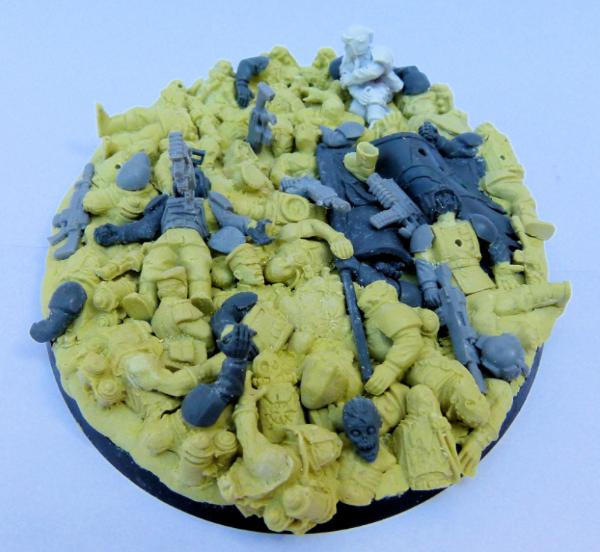
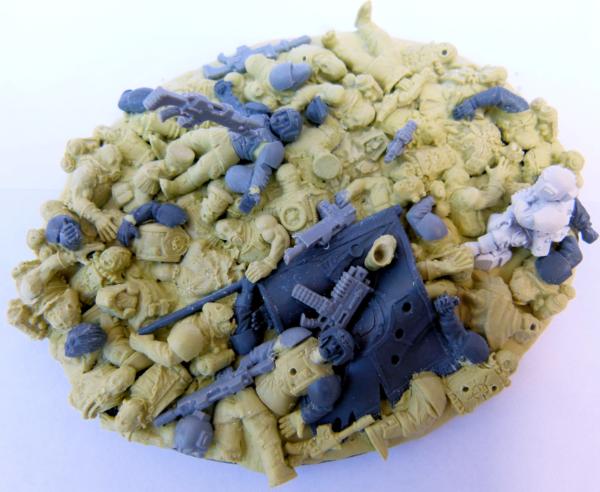
This should be a lot of fun painting up using similar colour scheme to my landspeeder base:
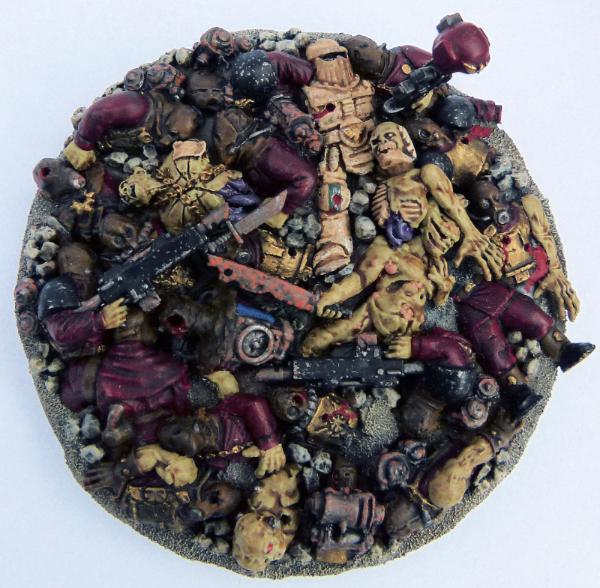
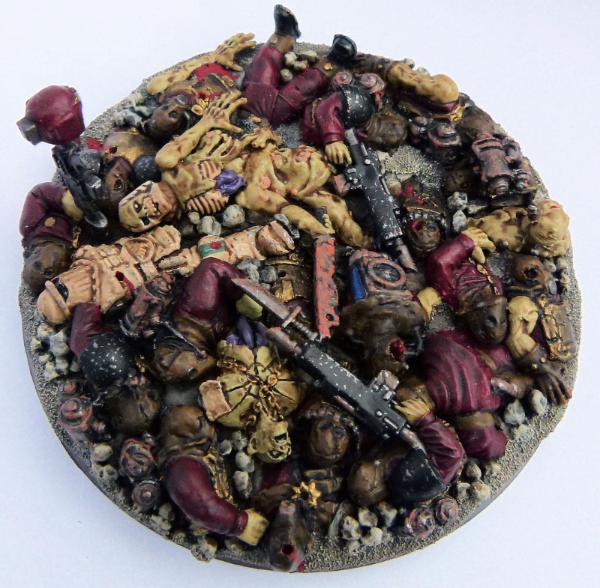
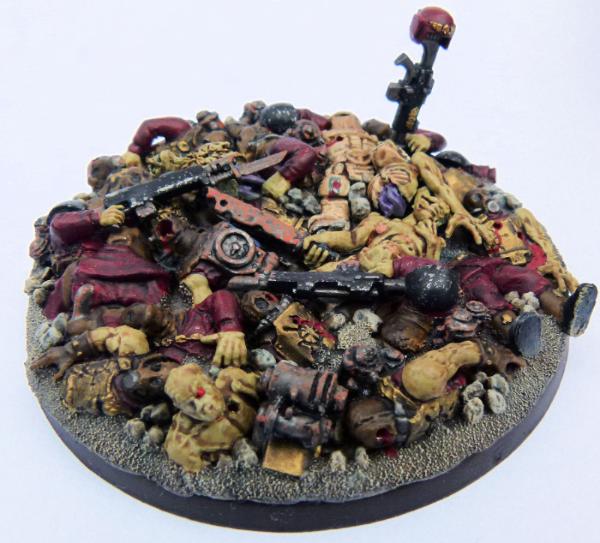
I'll post some more pictures in the near future.
38750
Post by: philmorgan75
38750
Post by: philmorgan75
38750
Post by: philmorgan75
Hi Everyone,
I've been wanting to make a diorama for a number of years now and finally plucked up the courage. I wanted a scene that depicted the pointlessness of war after watching a few WW1 documentaries. I started with a crashed Aquila Lander from the Battle for Macragge set and some das pronto modelling clay on an A4 piece of plasticard and decided the Imperial Guard were prepared at all costs to retrieve a vital piece of equipment:
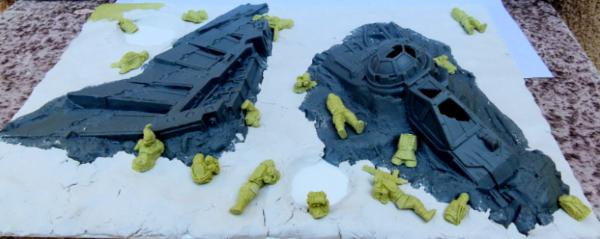
I then used a lot of milliput, silicon putty moulds, Imperial and Necromunda bits and models from FW Chaos renegades and Dark Vengeance cultists to get to this:
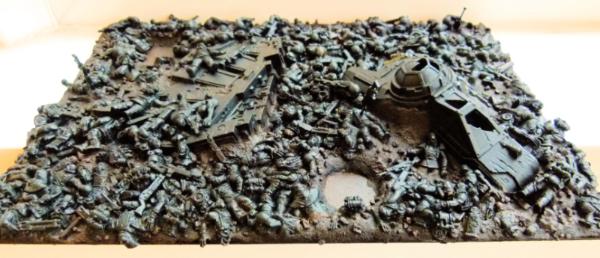
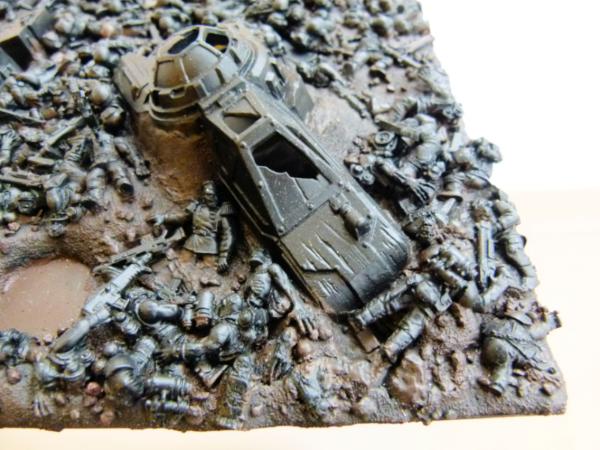
I wanted to have one of the dead crew/pilot surrounded by all the enemies he managed to kill in this scene.
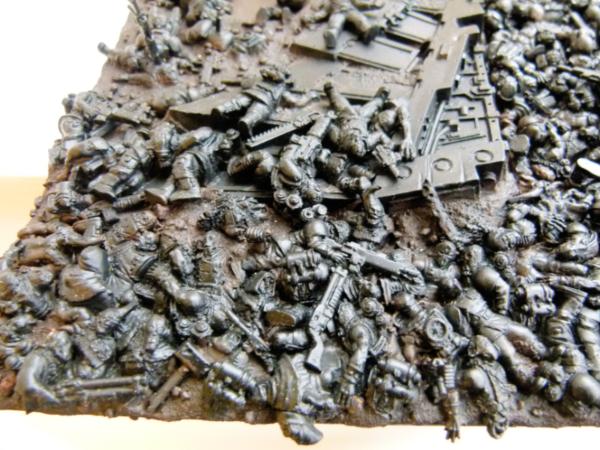
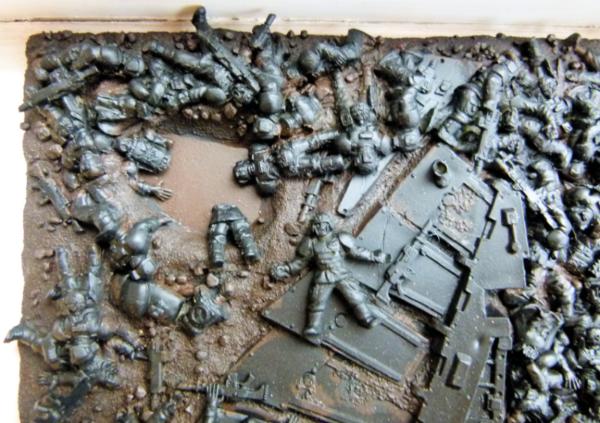
You can see the earth basecoat has already been applied. I expect a lot of weathering on this diorama and plan on learning new skills (e.g. using water effects in the craters).
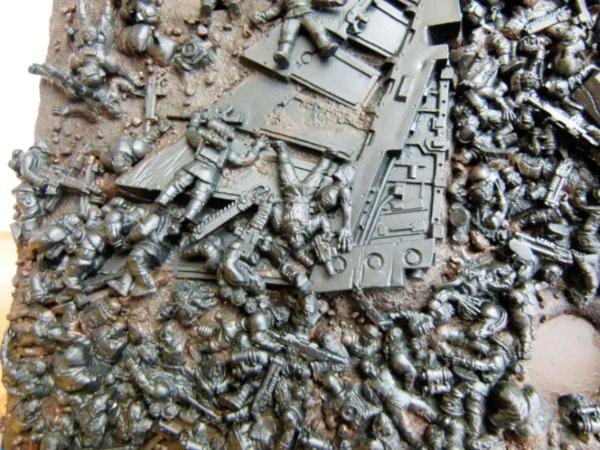
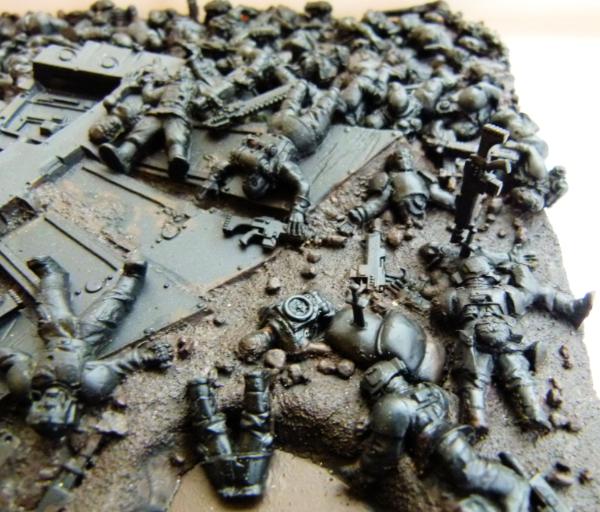
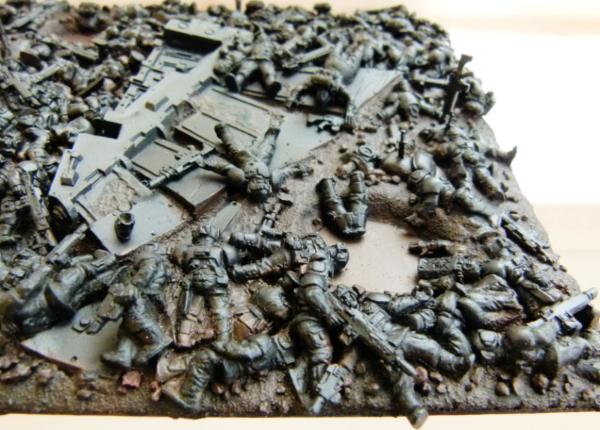
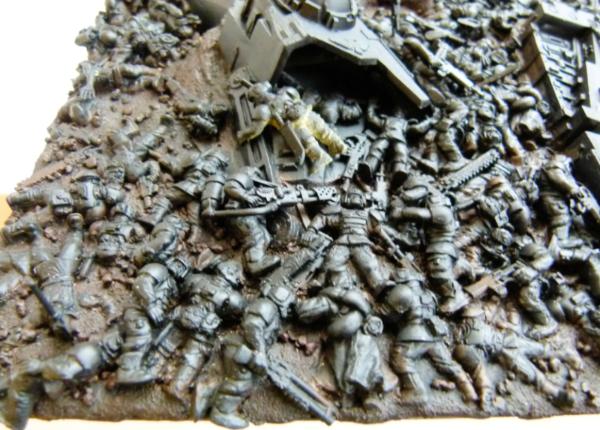
I wanted to show death in a number of different ways, from death by spade.......
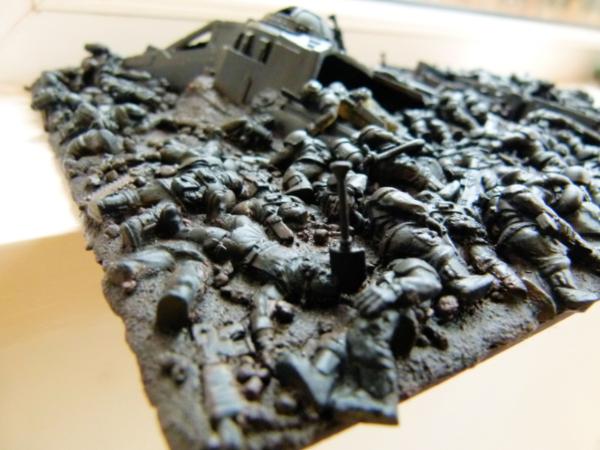
...to being run through by a bayonet!
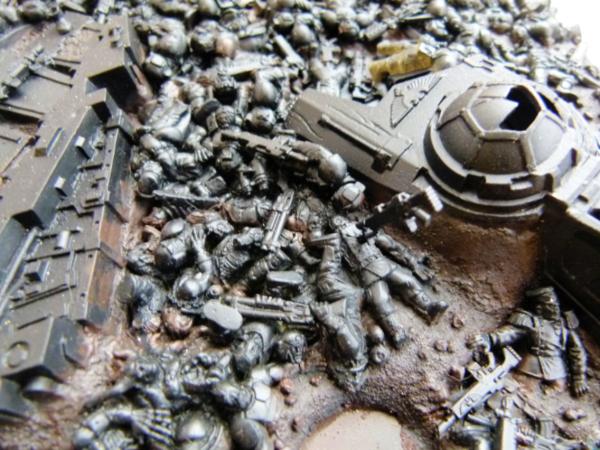
I had a real blast making this and over the Christmas period, I plan on attempting to paint this project.
PS: As I was having so much fun, I plan on adding another A4 tile with Imperial Guard reinforcements.....
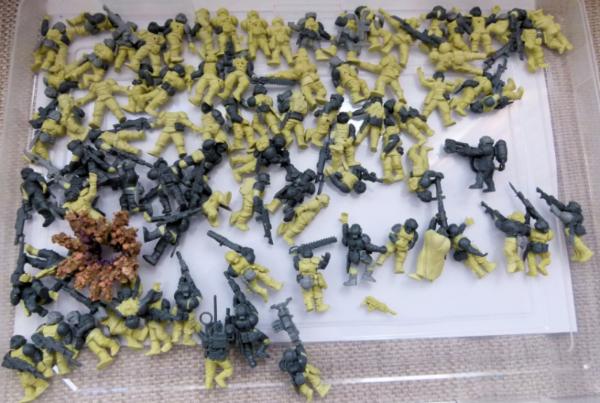
....and further into the future, another A4 tile of Chaos reinforcements:

Till next time.......
38750
Post by: philmorgan75
As I am incapable of finishing any project, I have put my Imperial Guard Vs Chaos diorama on hold (i.e. I got bored paint 90+ guardsman all at the same time!!) and started another!!
I started a Deathwatch army previously, trying to create at least 1 Deathwatch veteran for as many different chapters as I could. I enjoyed that so I thought what else could I do ……. I know, lets do the same for the Imperial Guard! How could I get to model 1 of as many Imperial Guard Regiments as I could...… I know, have them on a parade ground meeting some important dignitary. To go with that, have them all with 'Left shoulders" with their lasgun's.
I thought I'd show how I make the models - with a lot of milliput, moulds and a lot of time!
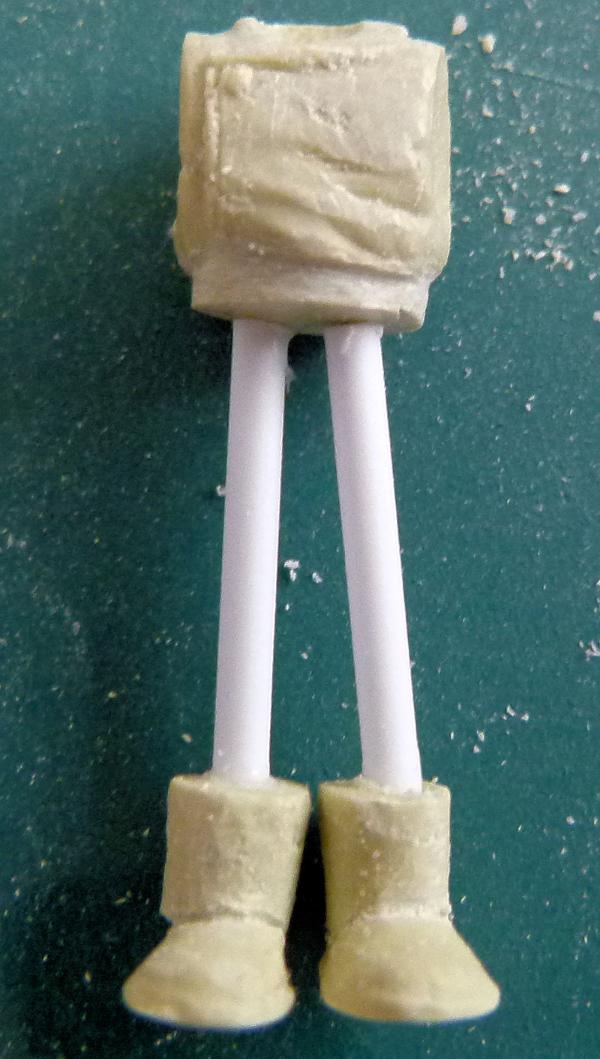
From moulds of the chest and boots, I attach a length of plastic rod to use as a base for creating the legs. Some milliput is then sculpted to make the legs.
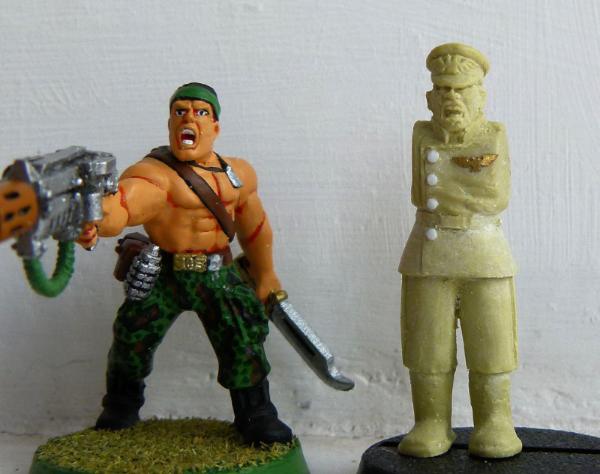
Attach a head, a brass Imperial Eagle and buttons from plastic rod to get to this stage. You then need to use milliput to sculpt some arms and get to this....
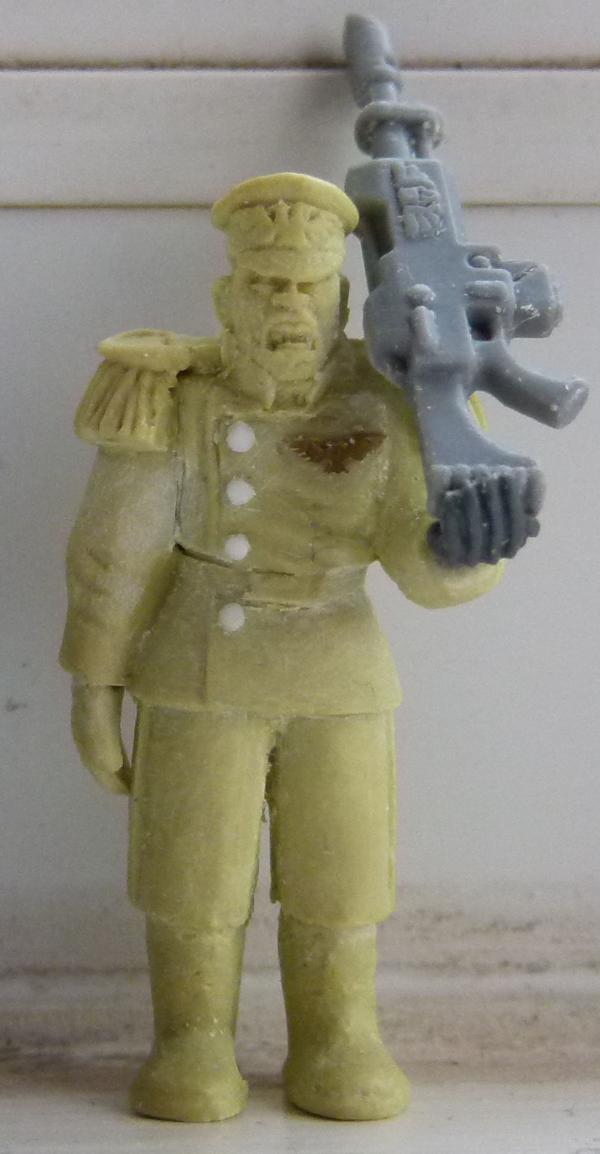
Here are some other guardsman I have made:
Penal Battalion:
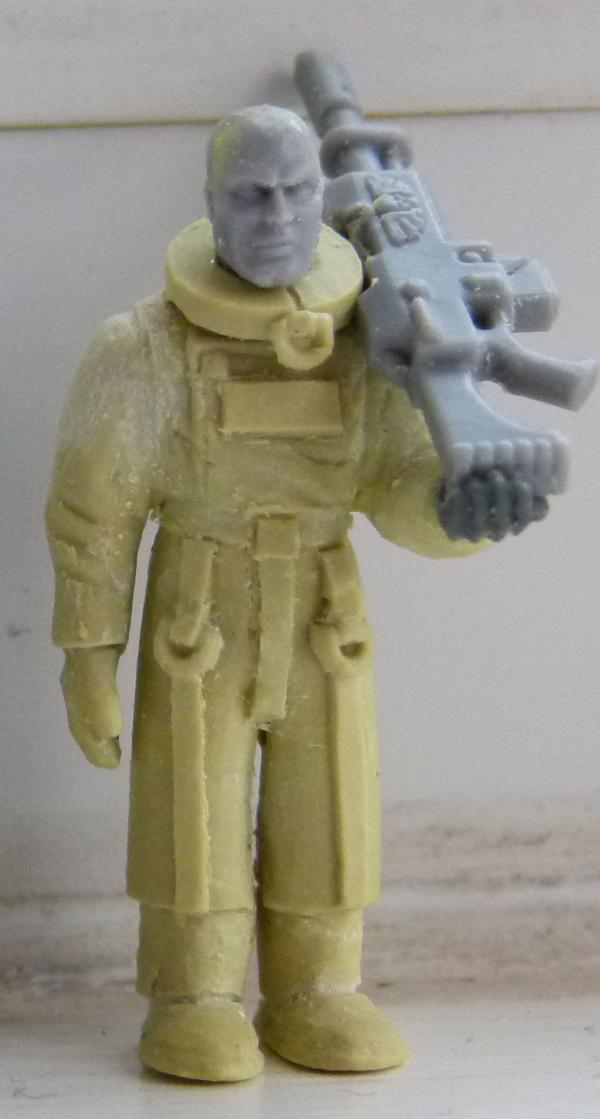
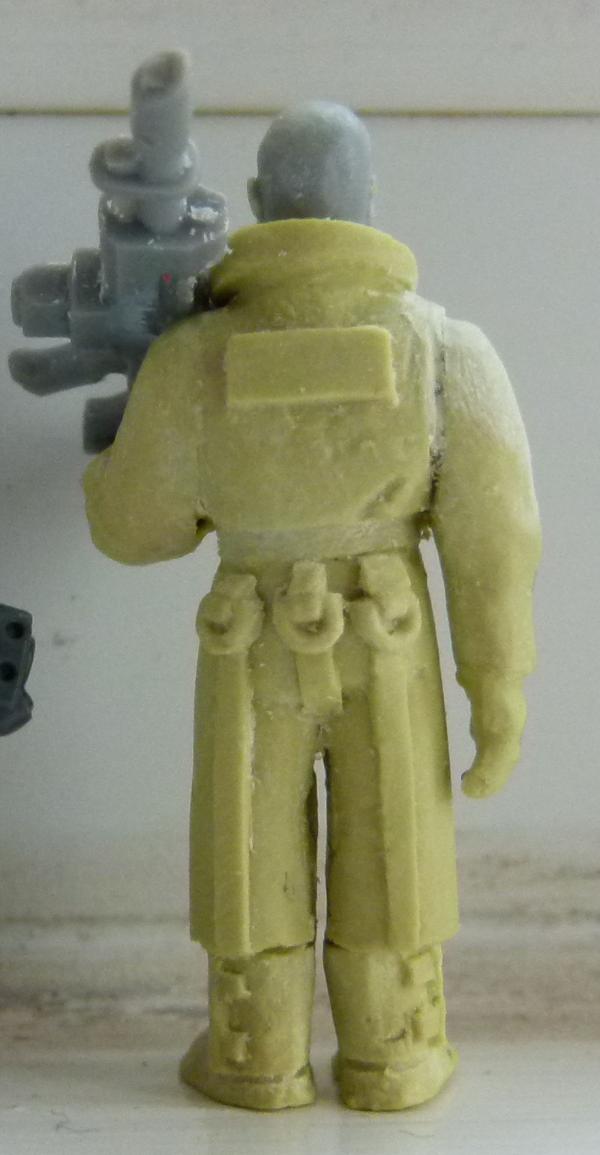
24th Foot:
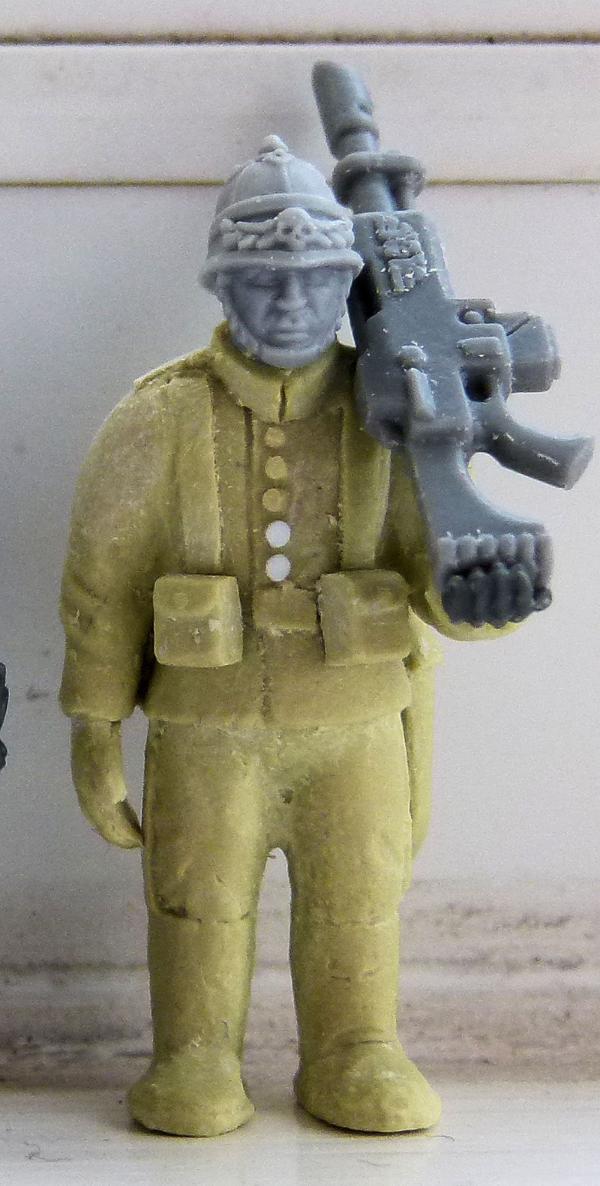
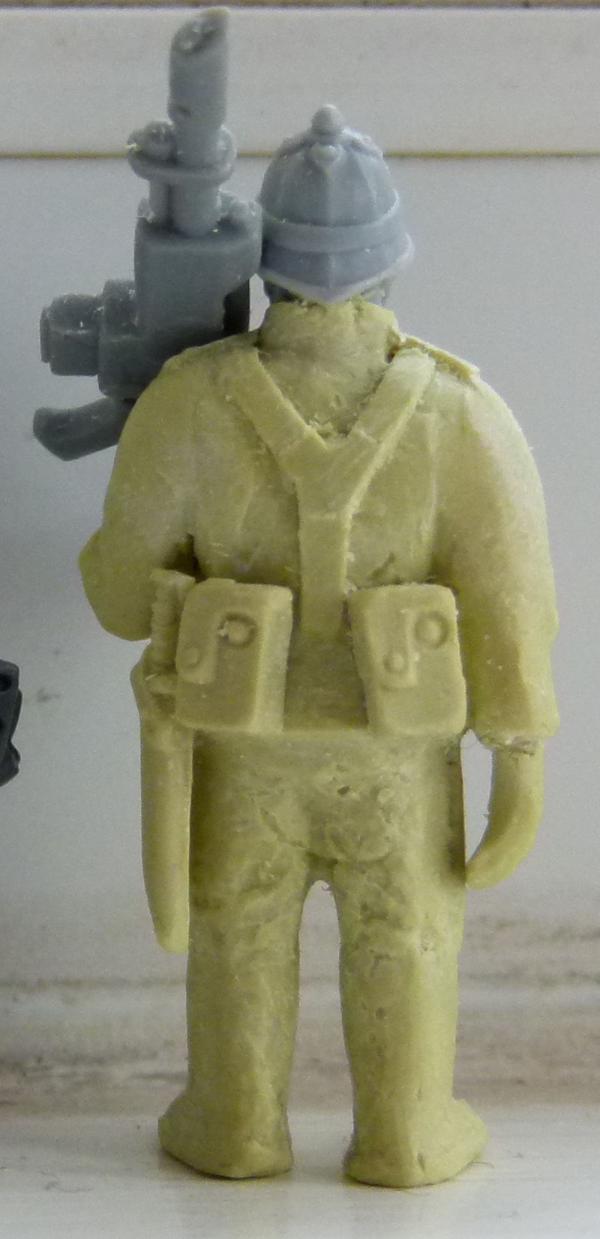
I used a head from Anvil Industries on this one.
Scot's Guard:
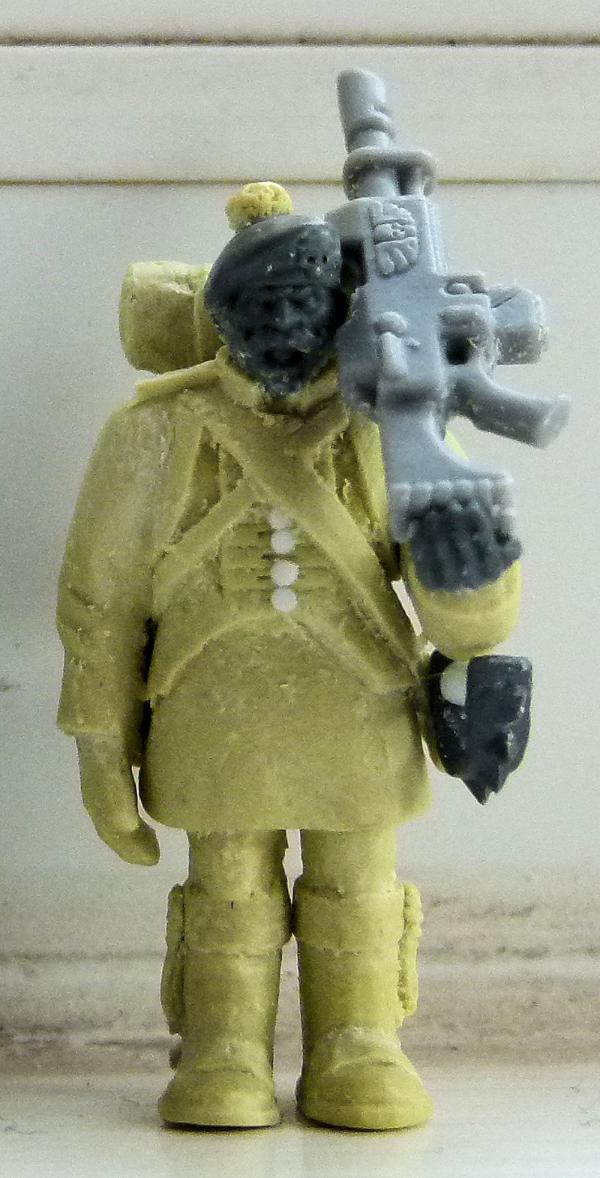
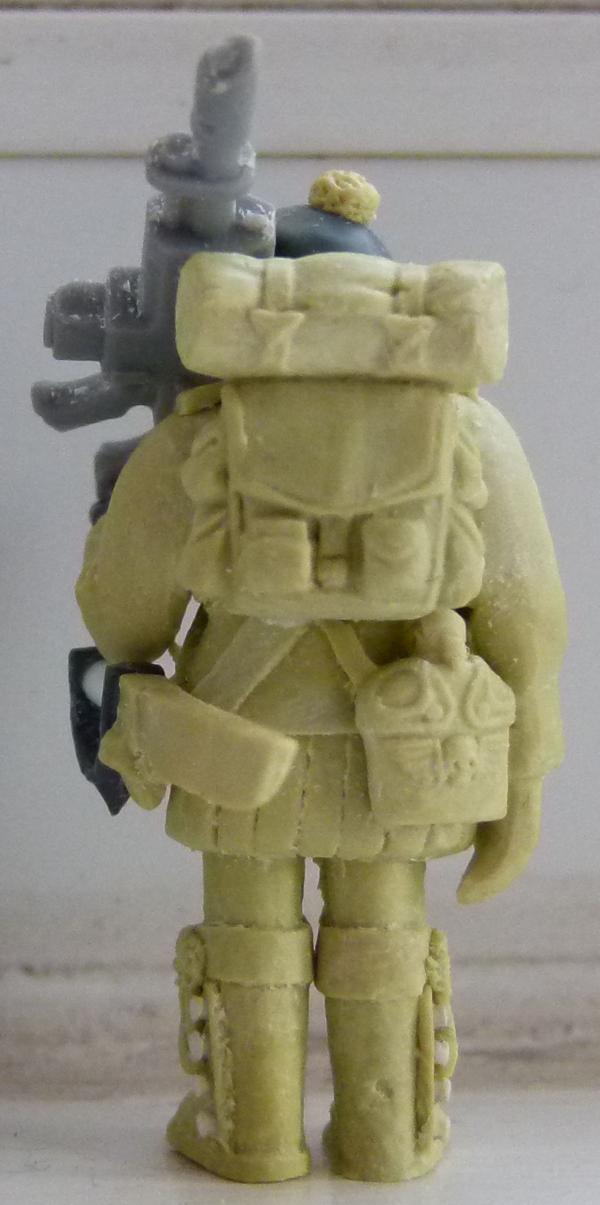
Grenadier Guard:
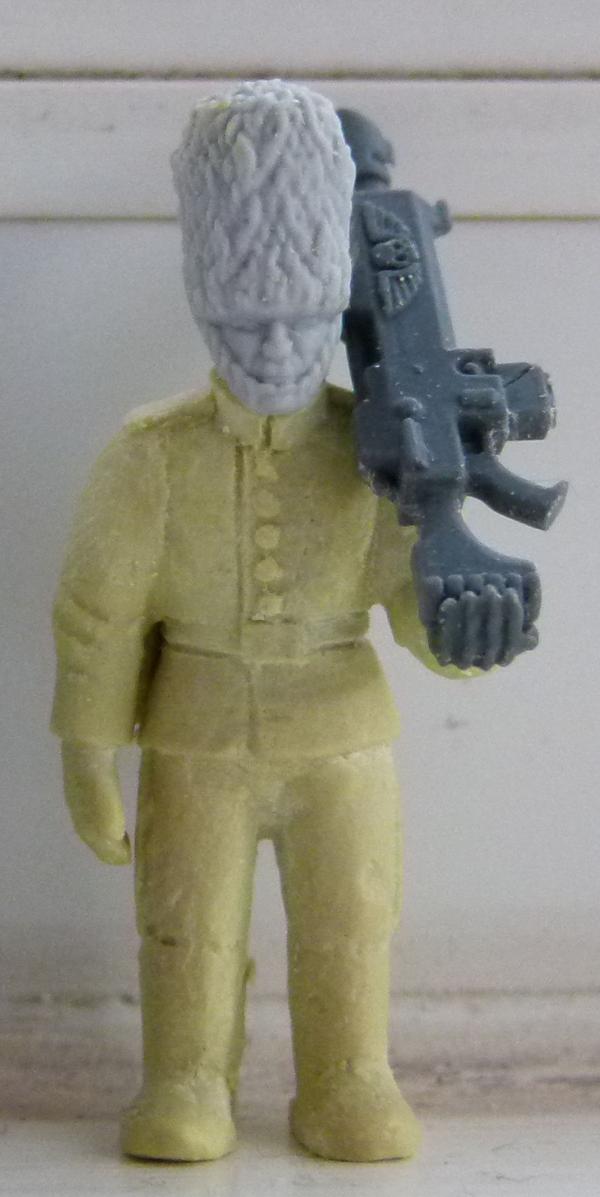
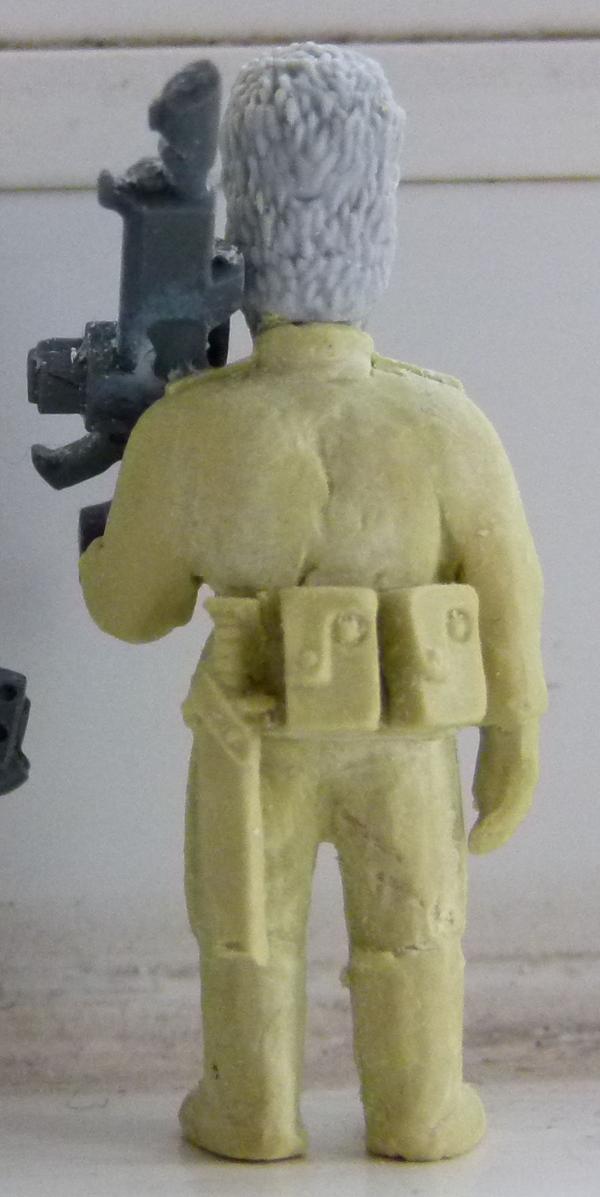
I used an Anvil Industries head on this one.
Cadian:
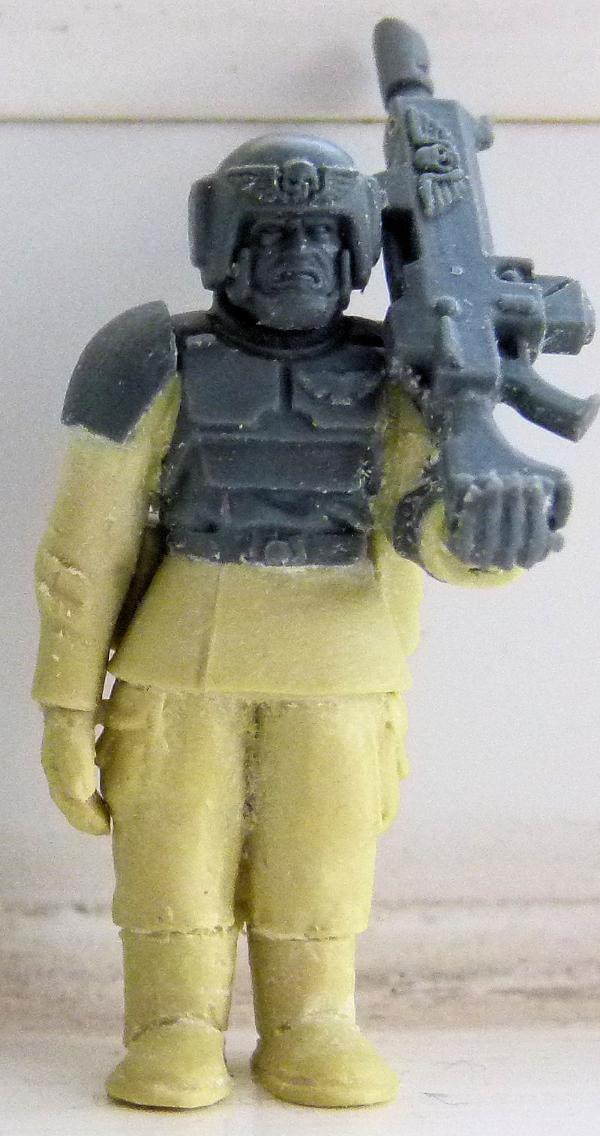
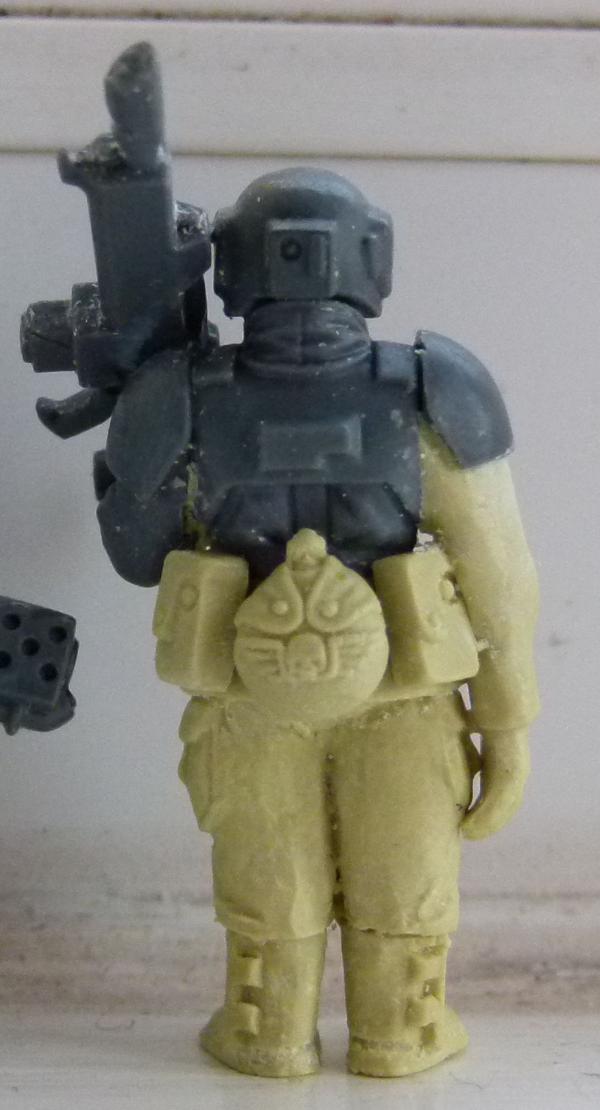
95th Rifles:
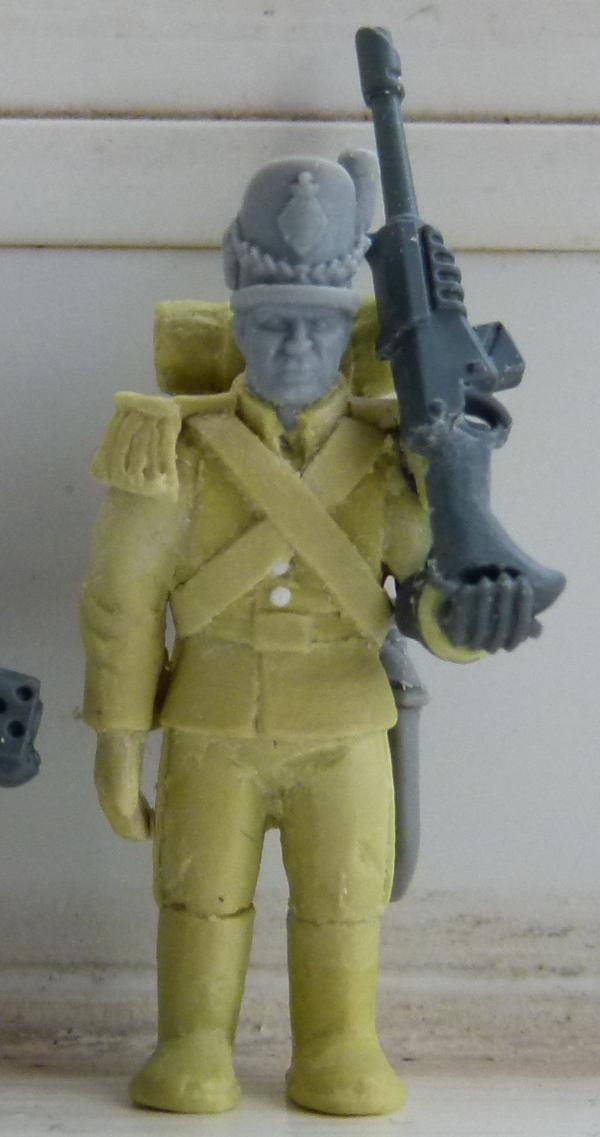
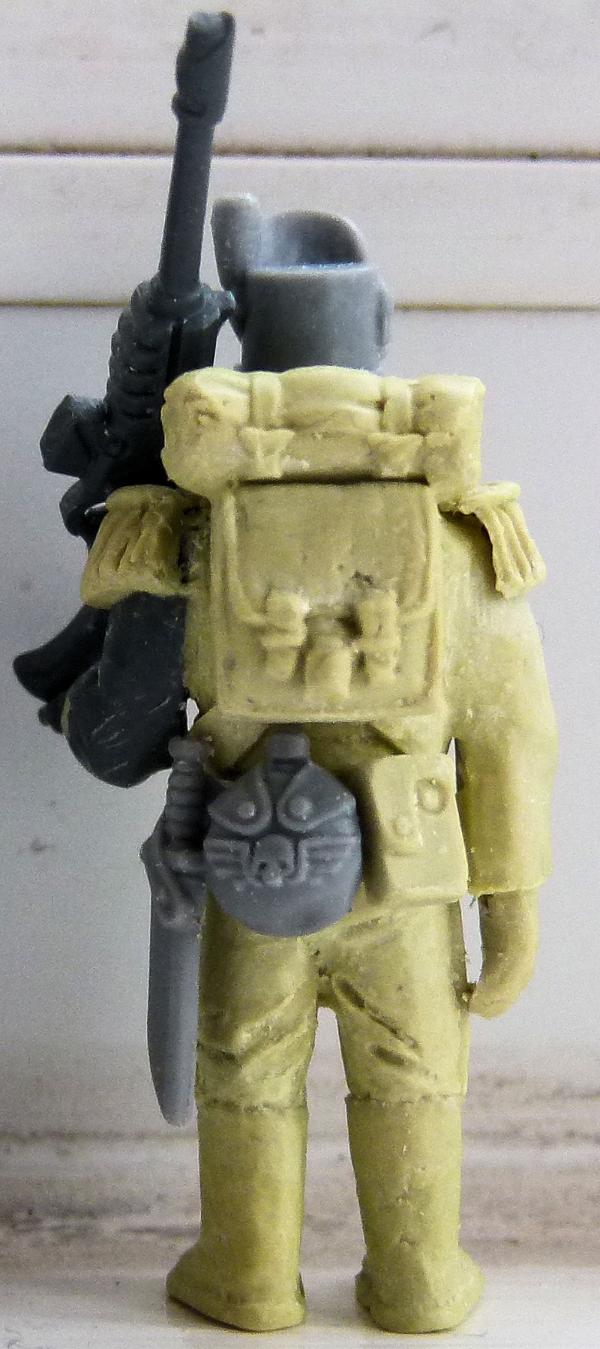
Another Anvil Industries head on this model.
Till next time, Phil.
106010
Post by: Meer_Cat
These are super cool! The level of detail is amazing- even the right spacing of the buttons on the Grenadier Guards tunic! I'll be following with great interest- I got my start into painting miniature wargaming figures with Napoleonics (British Peninsular Campaign)- these are a wonderful combination, and very representative of the millions of stars and worlds that make up the Imperium! 
38750
Post by: philmorgan75
 Meer_Cat wrote: Meer_Cat wrote:These are super cool! The level of detail is amazing- even the right spacing of the buttons on the Grenadier Guards tunic! I'll be following with great interest- I got my start into painting miniature wargaming figures with Napoleonics (British Peninsular Campaign)- these are a wonderful combination, and very representative of the millions of stars and worlds that make up the Imperium! 
Thanks Meer_Cat for your comments. I started with WW2 soldiers 30 years ago and Space Marines in 1987 got me hooked to the 40k universe! I have a few more to show over the next couple of days as well.
Regards, Phil
38750
Post by: philmorgan75
Update time:
Truskan Snowhound
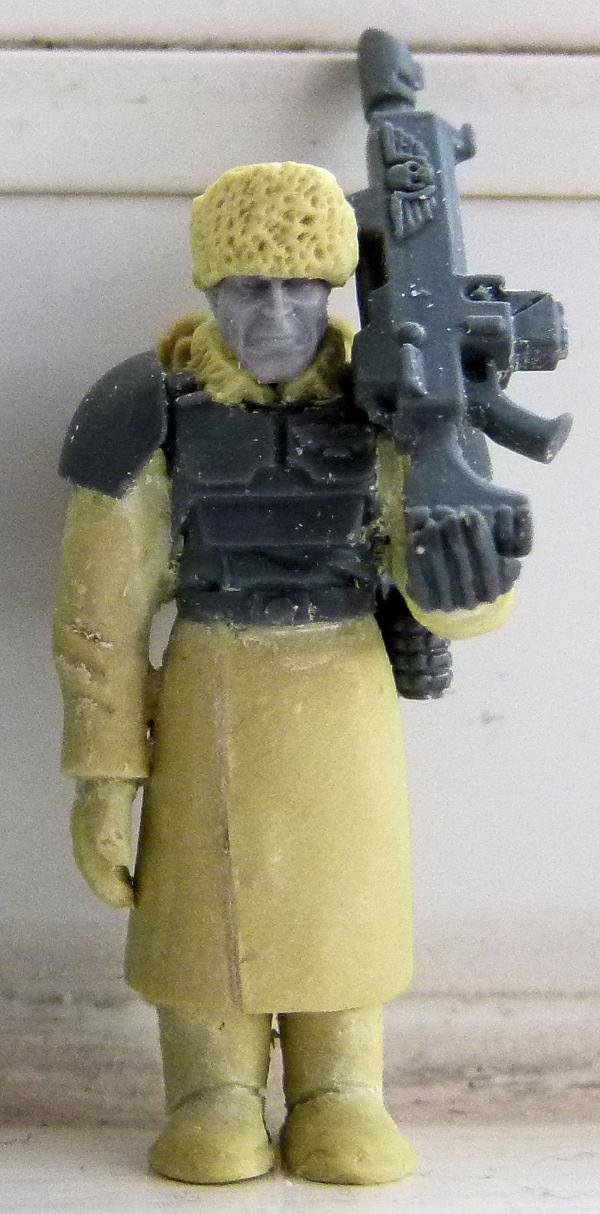
I used a Cadian torso, with a Mad Robot Miniatures head. I then used greatcoat legs (I have a small press mould for this). A bit of miliput was used to simulate fur for the collar and hat.
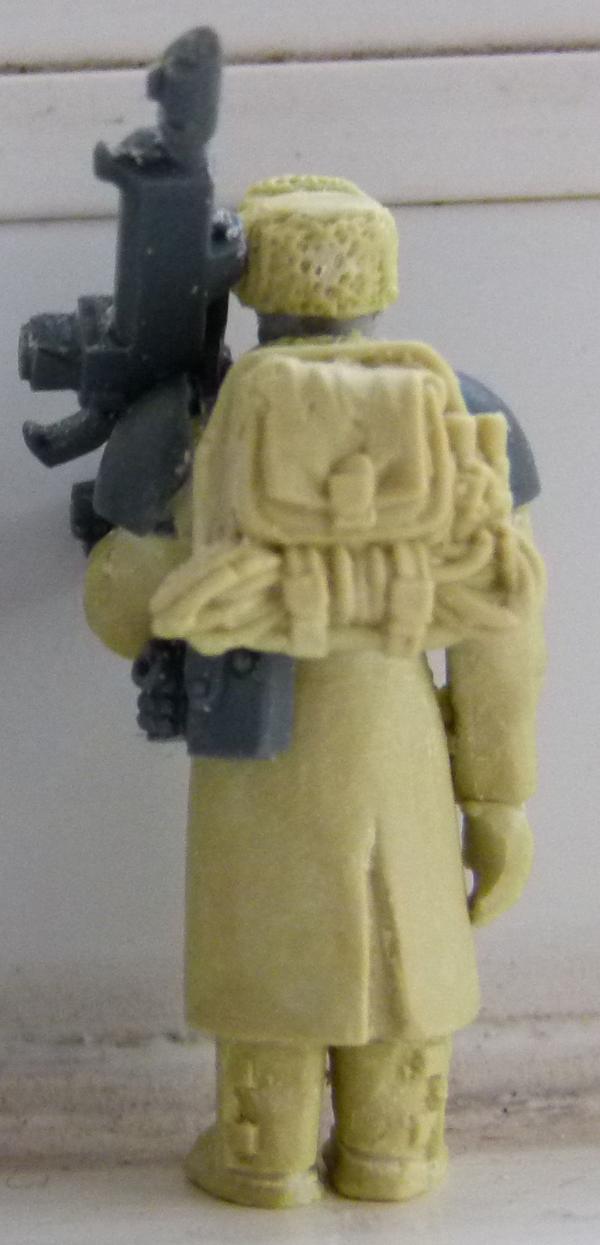
I used a backpack that had a coil of rope attached - to continue the ice/climbing theme.
Pyran Dragoon
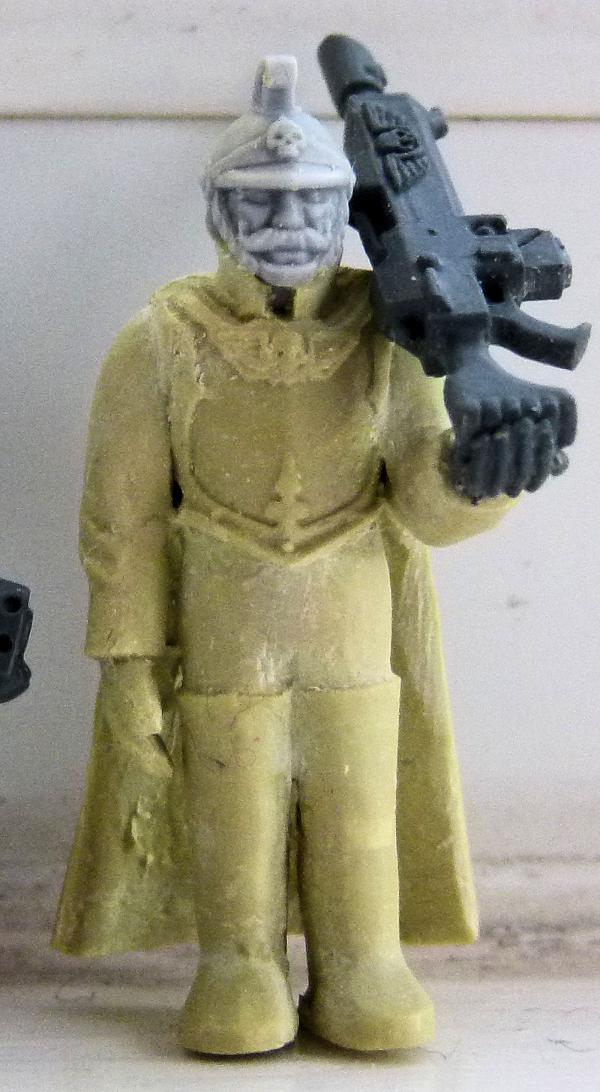
I used an Anvil Industry head for this model. A scion torso was used as a base. From the 1 illustration of the Pyran Dragoons that I found, I could see the thigh high boots which I have attempted with milliput.
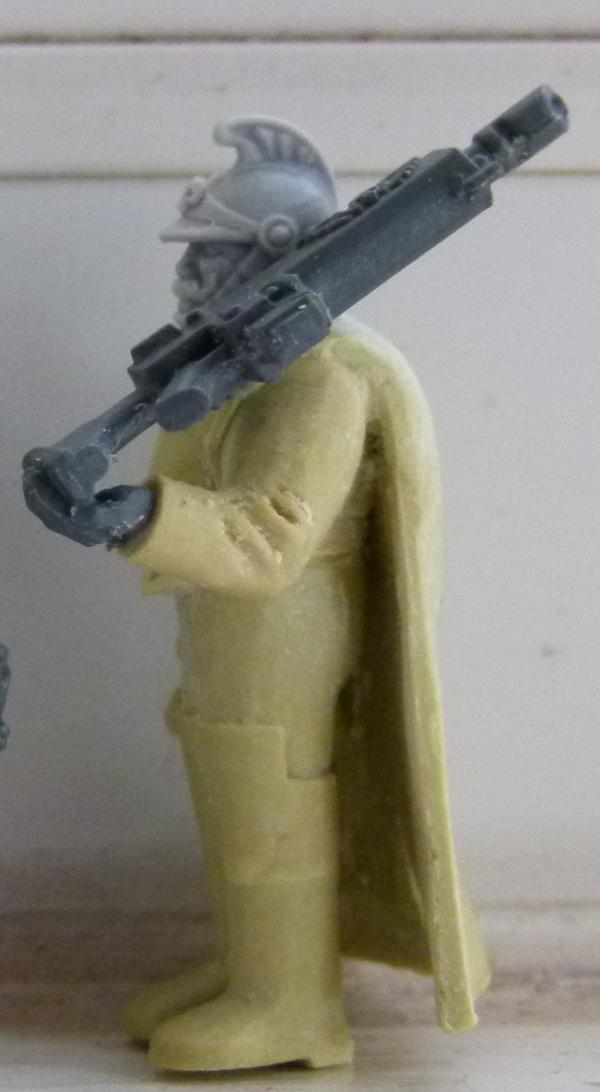
This shows the boots off better.
Group Shot
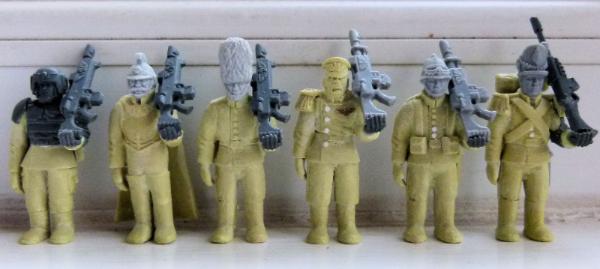
and finally, a WIP shot of an Orlock I am working on....
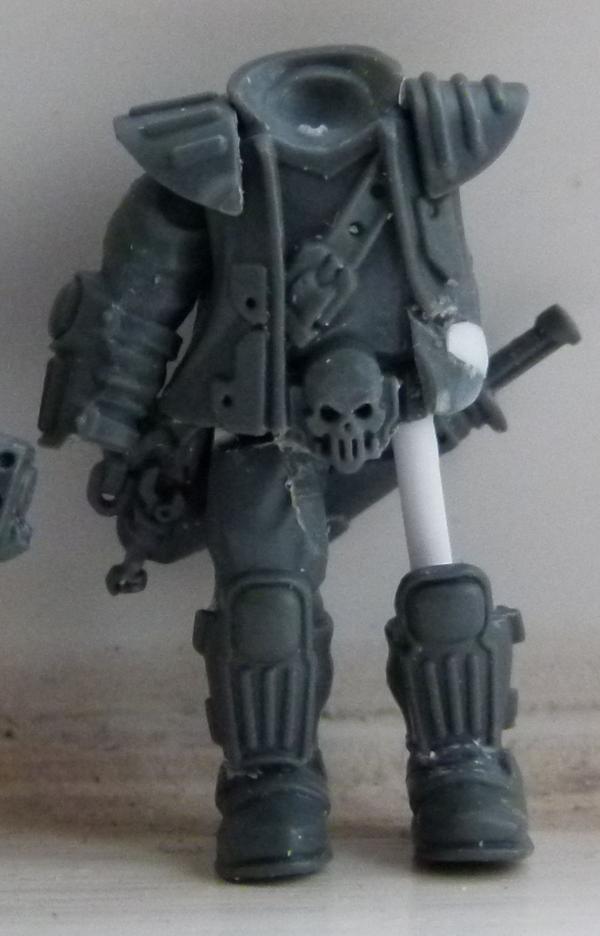
Many thanks for looking, Phil.
38750
Post by: philmorgan75
Although I haven't posted for a while, I have been busy on the modelling and painting front. Without further ado.....
Deathwatch Centurions
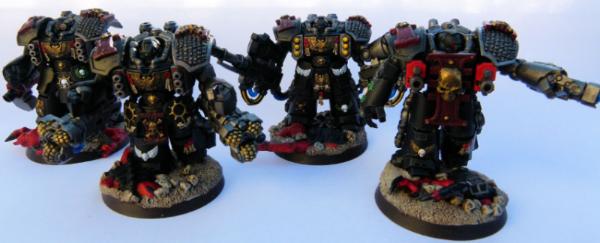
This shows a group shot of my 4 Centurions. Over the past few months, I have decided to model dead Genestealers on the bases of the majority of my models to give the base a boost and to help make them pop!
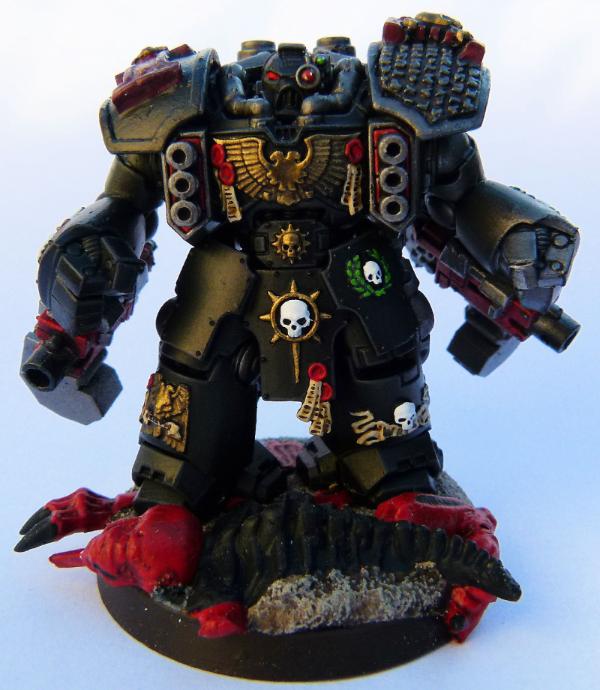
This is my Heavy Bolter wielding killer. I can just imagine him crunching the Genestealer and grinding them under foot!
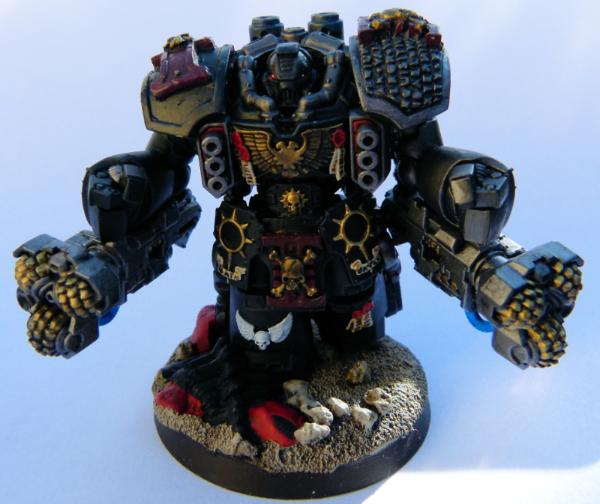
This is my siege drill killer. I really enjoyed hacking and carving the Genestealer so the Centurion's foot has totally crunched down to bed rock.
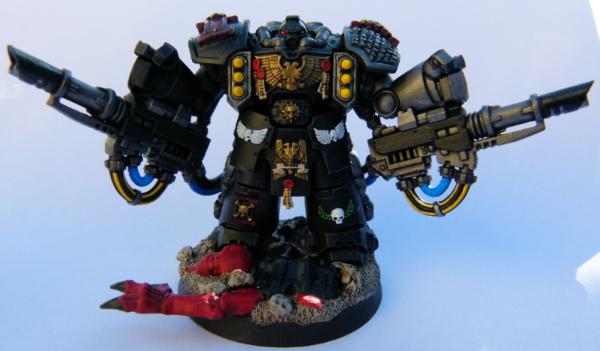
My Heavy Support Centurion. I feel he is shouting "Who's next".
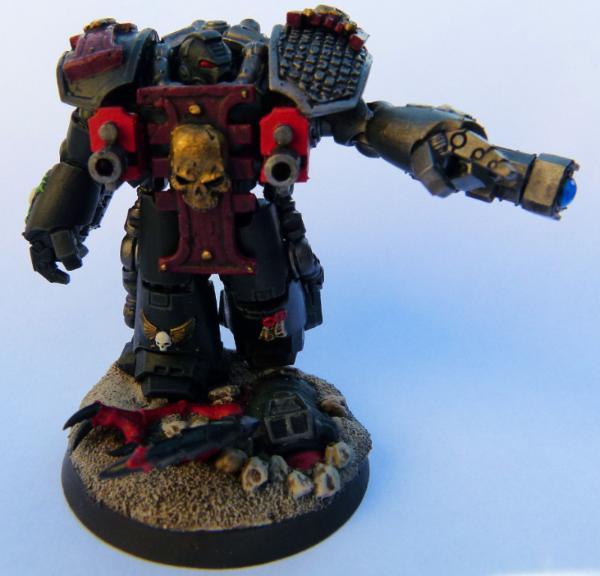
Finally, my Grav Cannon Centurion. I buy lots of bits but unfortunately, I couldn't get the usual weapon sponsons and engine, so I made some alternatives instead.
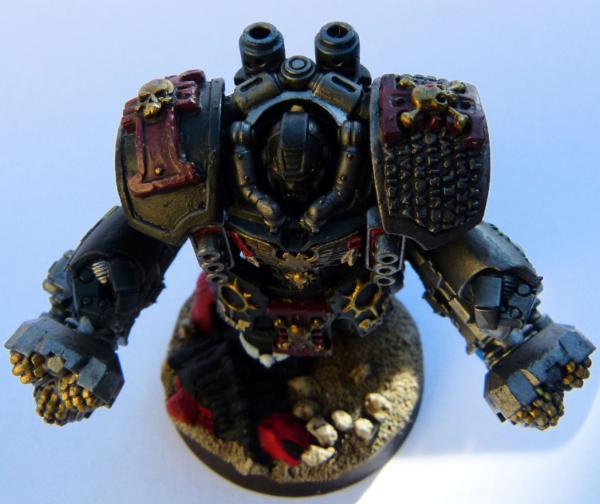
This is a close up of the shoulder pads I made for all of my Centurions. Let there be no doubt that these are Deathwatch.
Deathwatch Land Speeder
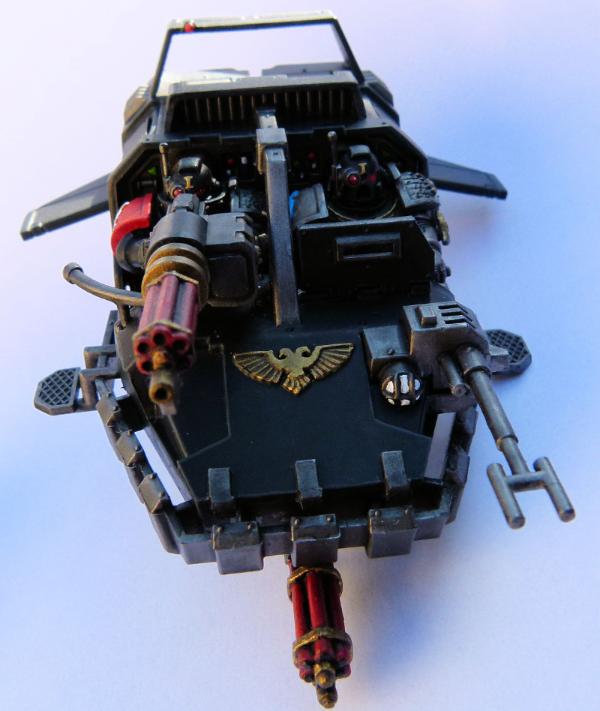
To take down as many of the horde as possible, I loaded up this Land Speeder with 2 Assault Cannons.
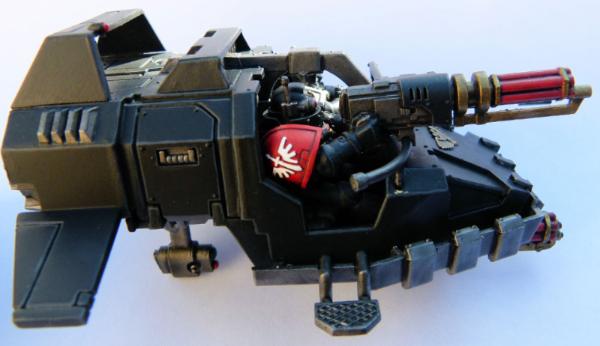
I hate edge highlighting!!!!
Deathwatch Terminators
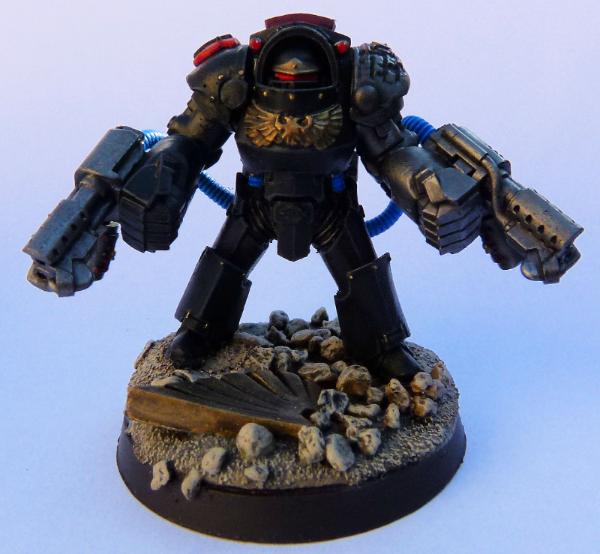
I decided to arm this Tartaros Terminator with Twin Incinerators. I used Grey Knight Incinerators, tubes made from Green Stuff Industries Tentacle Maker and a shoulder pad from Shapeways.
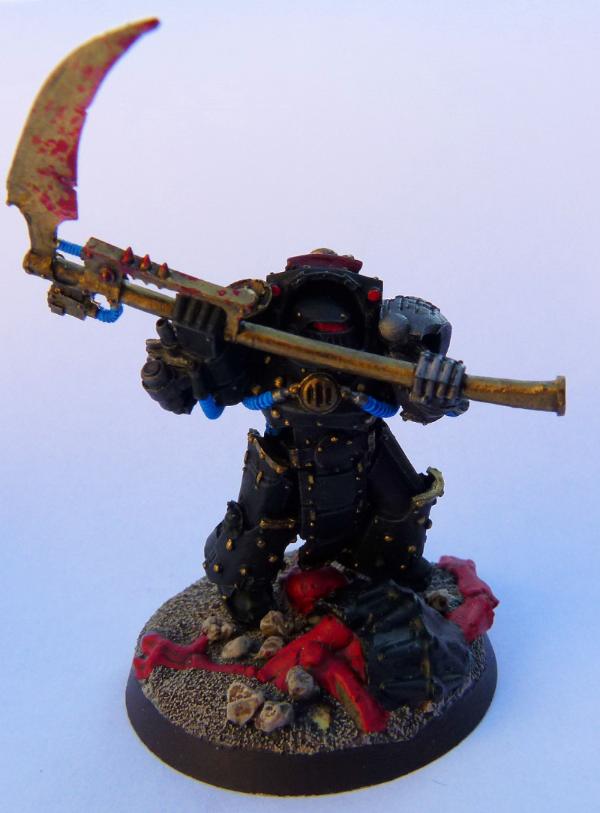
This former Death Guard still loves his Power Scythe. I liked sponging on blood on his weapon.
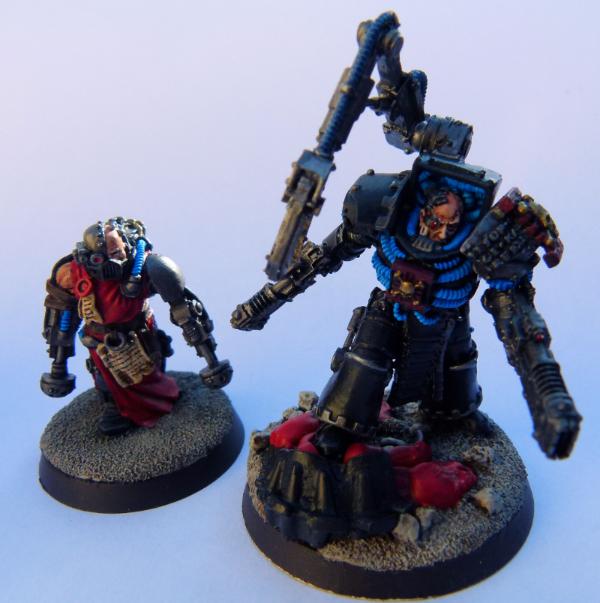
This is my Iron Father/Techmarine with servitor. I love the blue contrast paint - it really makes power cables pop over a white base coat. What's better than 1 Volkite weapon? Obviously, 2!!!!
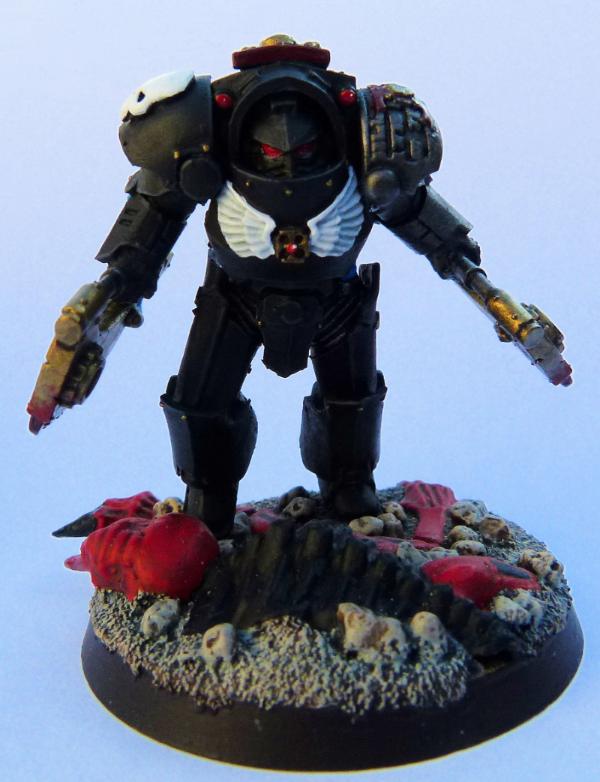
This Mortificator Tartaros utilises vicious hand held Chain weapons........
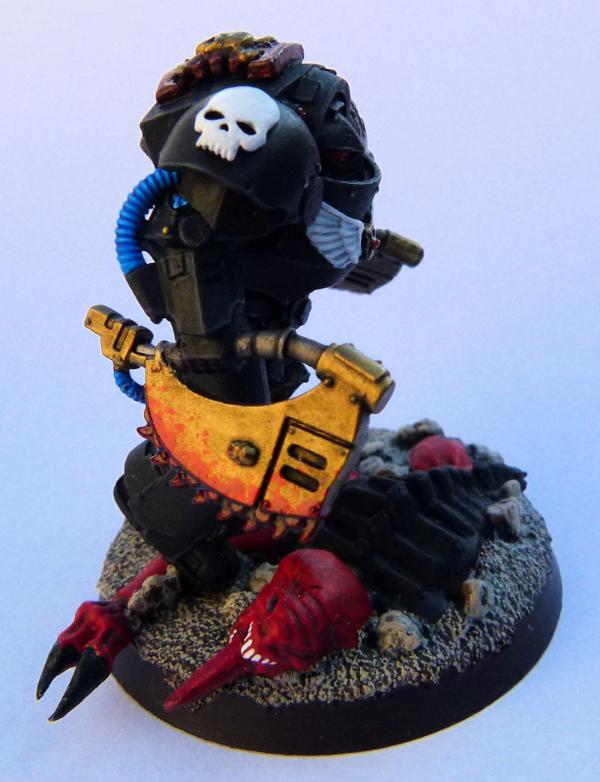
I loved sponging the blood on this one!
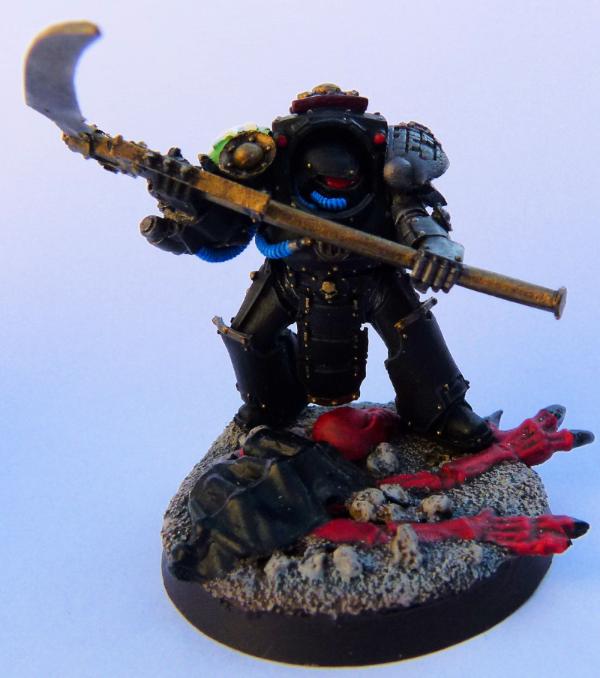
This is a Sons of Medusa Terminator. The Death Guard models are wonderful and I highly recommend them to everyone.
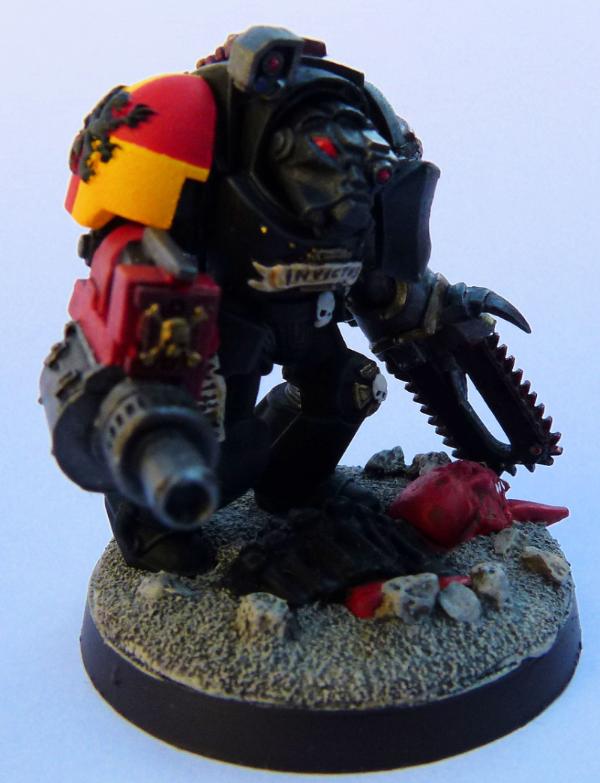
This is my Howling Griffon Deathwatch Terminator armed with a Rad Missile Launcher. I have bought lots of FW weapons over the past few months and have converted them all to fit my Deathwatch Terminators. More to follow soon...…….
38750
Post by: philmorgan75
I managed to get on ebay years ago the flag and part of the base for the "Iwo Jima" skullz programme. Over the past few weeks, from my bits box, I have created the Blood Angel, Dark Angel and the body of the Ultramarine.
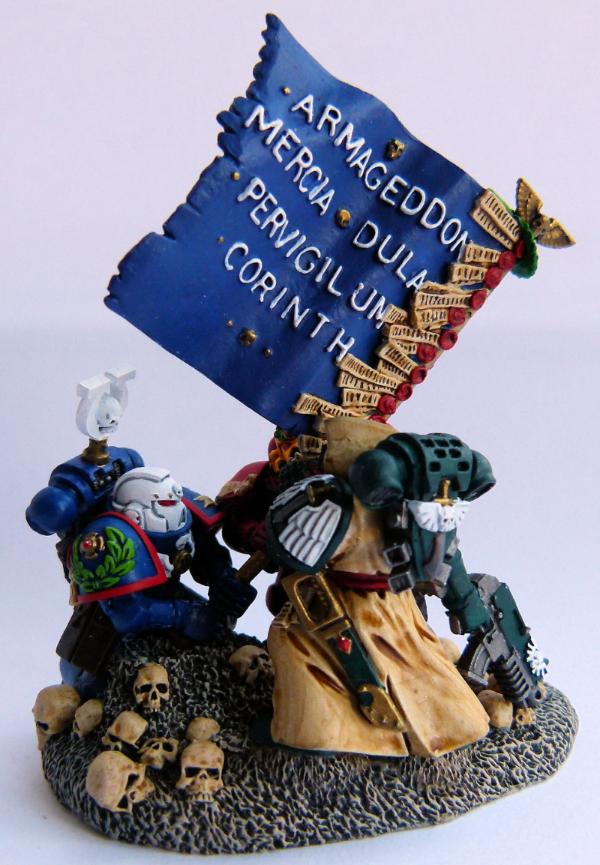

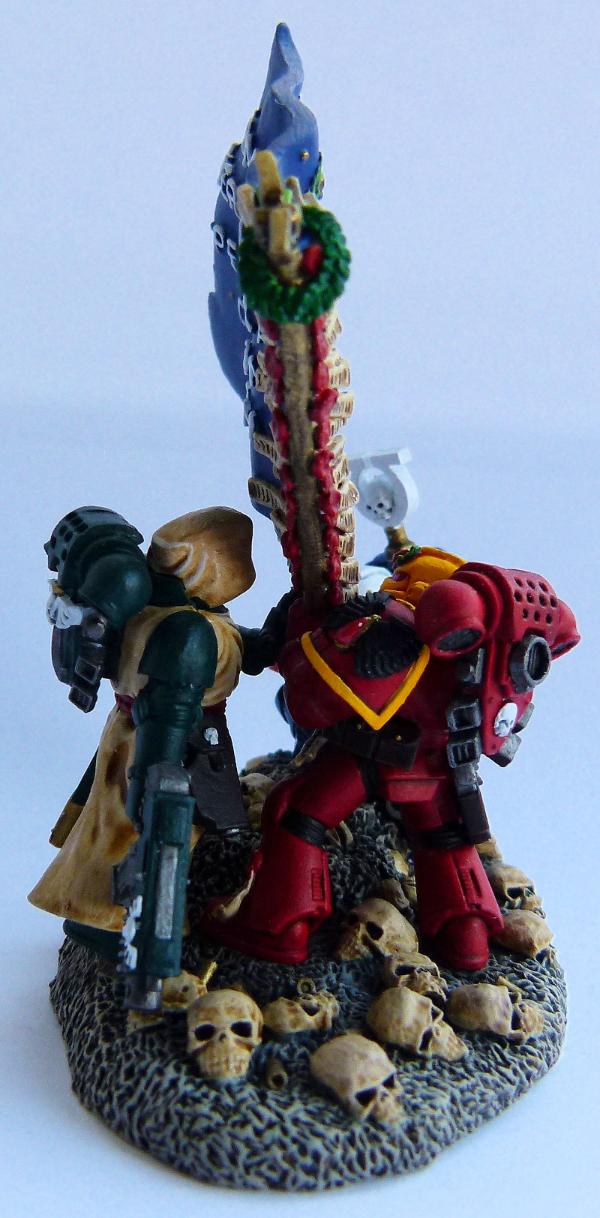
I finished off the base by adding some skulls and scultping with milliput. I'm awaiting a Tactical Shoulder pad from a bits supplier so I can finish off the Dark Angel.
As I enjoyed painting different colour schemes to my usual Deathwatch and Legion of the Dead Chapters, I thought about what I could do to add to the Iwo Jima diorama....... adding one marine from the remaining Loyalist First Founding Chapters!!!!
To do this, I will need to increase the base size......
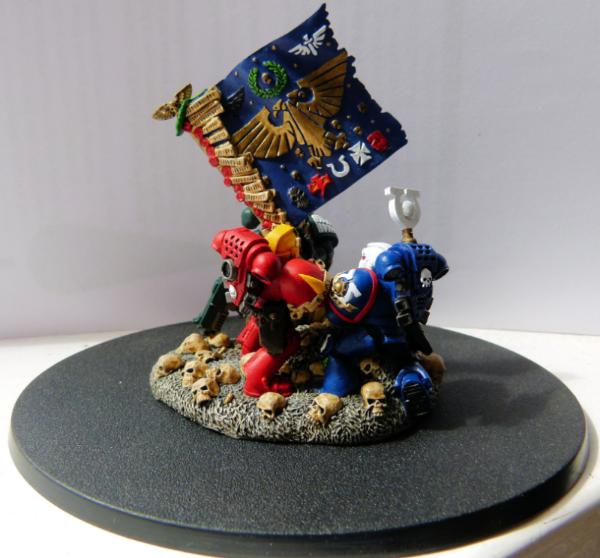
So I found this base and with milliput, some resin skulls and spent shell cases, I will proceed to make a bigger diorama.
Here are a couple of the new marines I have created so far...
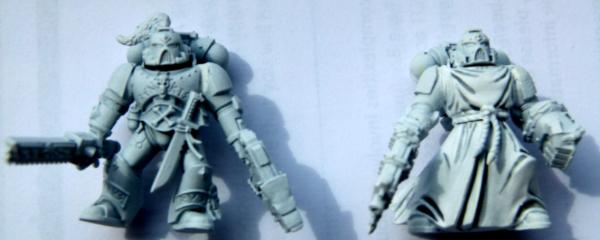
Space Wolves - I don't have the necessary paint to start this yet and the online shops I normally use, do not have any stock left. I'll have to leave this model until I can get some Russ and Fenrisian Grey. I've ordered a 3d printed left shoulder pad from ebay and I'm awaiting delivery on this.
Black Templars - I know they are not from the First Founding BUT I've always wanted to paint a Black Templar, so I used a Dark Angel Body and legs with Black Templar arms. I've undercoated and shaded the tunic. I'll paint this over the next few days. I have 2 Black Templar shoulder pads on order as well.
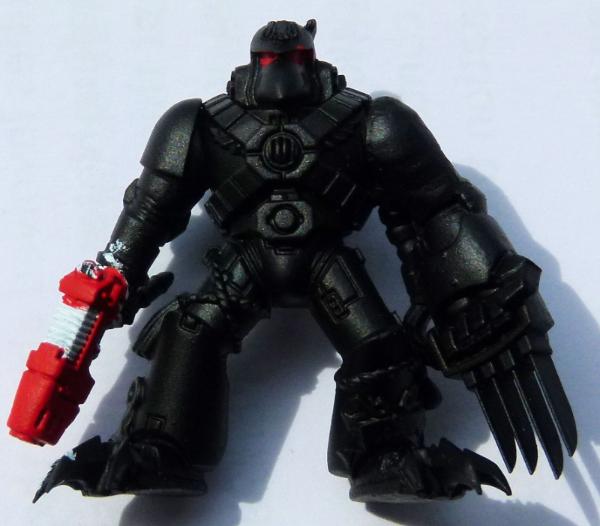
Ravenguard - I added some raptor claws to his feet to give it a more "avian" feel to this marine. I have a shoulder pad on order and am debating what type of jet pack I should have for this marine.

Imperial Fist - I hate painting yellow and even with the contrast paint, I'm not 100% happy with this marine. I have some mk III legs on order and will add those once received.
I also am in the process of making a Missile Launcher wielding Iron Hand, a Multi Melta Salamander and an Assault/Tactical Mk III White Scar. I hope to update this thread as and when I complete some more progress. Till next time...
38750
Post by: philmorgan75
Update time:
I finished the Imperial Fist - Can I say again how much I hate painting yellow!
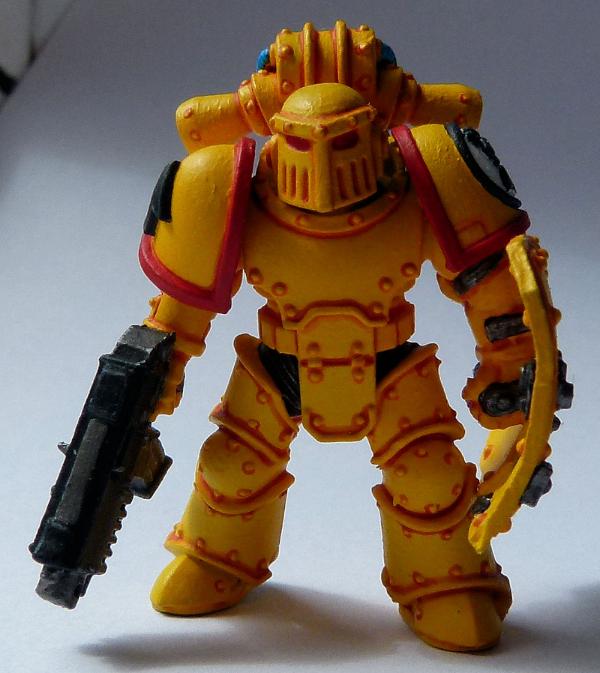
I was going to weather the feet and shield, but in the end, I chickened out!
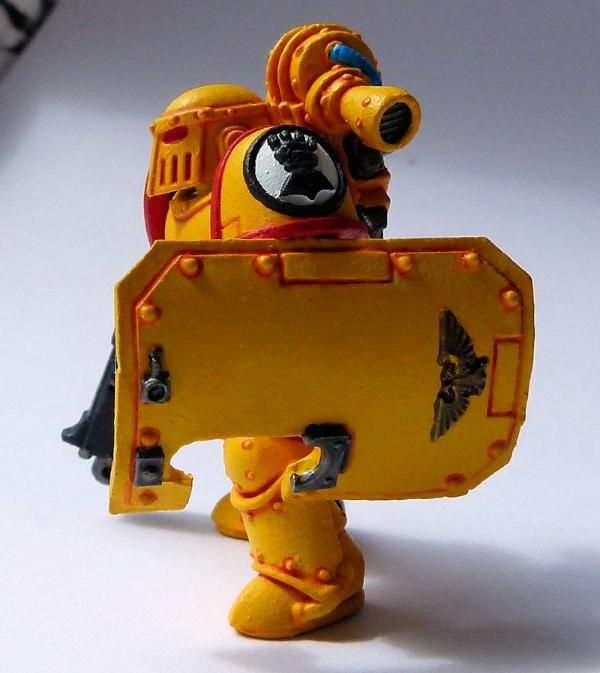
I woke up early yesterday morning and with a lot of milliput I made the groundwork.
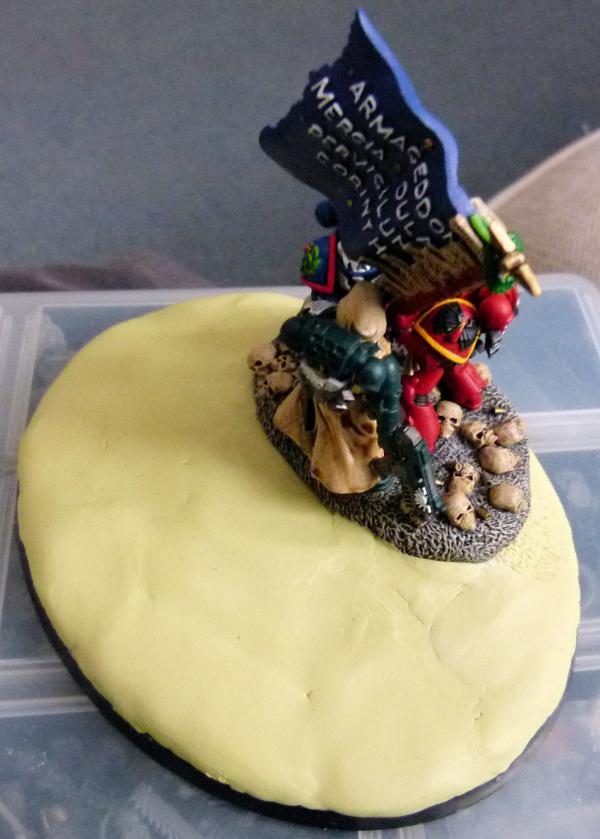
I smoothed it out to remove finger prints and then using a sculpting tool, got to this stage....

Over the years, I have built up quite a collection of "interesting" bits. I saw on eBay 100 Resin skulls and thought I could use them on future projects along with spent bullet cases. I added these around the base to match the original Iwo Jima base.
A base coat of Zandri Dust...
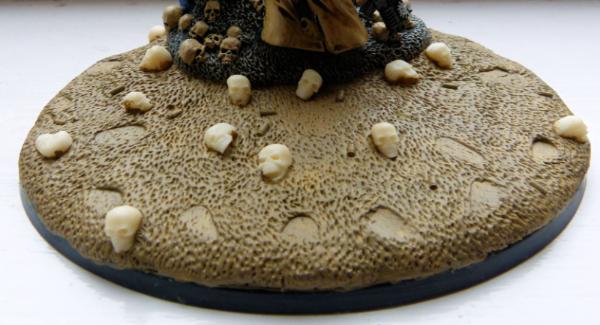
...followed by a wash of Army Painter Dark Tone (it dried gloss like eventhough I shaked the bottle!?!?!?)…..

…..followed by a drybrushing of Flayed one.
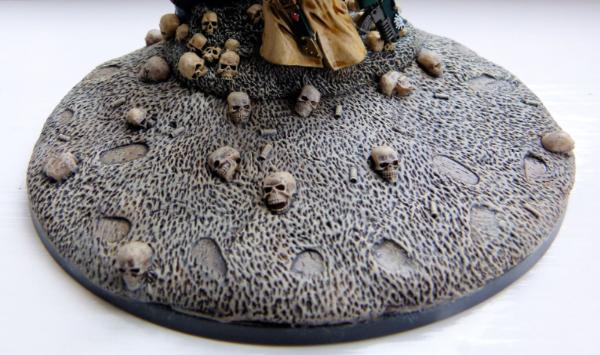
I went over the skulls with Wraithbone and a wash of Skeleton Horde contrast paint and picked out the spent cases with some old gold to finish the base off.

This is what the diorama will look like (when I get around to finish painting the rest of the marines)…

The Salamander with the Multi Melta has had a Devastator symbol sculpted on his right shoulder pad. The Space Wolve marine will have a tactical squad marking added to their right shoulder pad.
The Space Wolves marine has had a Chapter badge from a 3d printer on eBay added to his left shoulder pad. Both the Ravenguard and White Scar need backpacks - The Ravenguard will get a jetpack but I'm struggling to find a mk iii backpack for the White Scar (all my usual bits sellers are out of stock and I can't find any on eBay at the moment).

I added both the shield and sword from the White Scar Bike rider from the Deathwatch Kill Team and a suitable ornate helmet. I'm toying with having red tribal markings on his right leg. As you can see, I've painted his legs, just the top half to go on this White Scar marine.

The Iron Hands is equipped with a missile launcher. His Chapter shoulder pad is from my bits box.
Even though I finished painting my Black Templar, there wasn't enough room to squeeze another marine onto the diorama, so as he wasn't from the First Founding, I left him off. I need to get paint to start both the Space Wolves and Salamander but finding them online has been tricky. I understand GW online is now working again, so I'll need to pay a little visit there.
Till next time.
38750
Post by: philmorgan75
Update Time:
I've finished 3 more Space Marines (White Scar, Raven Guard and Iron Hands) - For some reason, I haven't added the Raven Guard in these update shots:


I converted the White Scar's Helmet Plume to flow in the same direction as the flag.
And finally, my paints from GW took 3 weeks to get here so small amount of progress on the Salamander.
Flames are done on the left leg. I'm not looking forward to all of the Moot Green edge highlighting though :(
Till next time, Phil.
|
|