RTT 01/12/07 Game Empire Pasadena 2000pts
Hey all,
Back again with another batrep for your enjoyment. Sadly, I’ve finished painting up my Imperial Guard, so now you’ll have to suffer through my misadventures with them instead of my Tau.
Side Note: It’s a weird feeling, being a noob with an army again. I like to think that I’m a decent Tau player, but my last few months of gaming w/ the Guard have had me kicked up and down the table. Oh well, what better way to learn then getting tossed into the fray.
Sneak Peek: I don’t win the tournament. L
Imperial Guard 2000 pts
Doctrines – Iron Discipline, Drop Troops, Close Order Drill, Veterans, Grenadiers
HQ1 – Command Platoon w/ Heroic Senior Officer and Company Standard
HQ2 – Malleus Inquisitor Lord w/ Tarot, Psychic Hood, 3 Mystics and an Acolyte.
EL1 – 5 Veterans w/ 3 Plasma Guns
EL2 – 5 Veterans w/ 3 Meltaguns
EL3 – Eversor Assassin
TR1 – 5 squads w/ Lascannon, Plasma Gun and Platoon Command
TR2 – 5 Grenadiers w/ 2 Plasma Guns in a Chimera
TR3 – 5 Grenadiers w/ 2 Plasma Guns in a Chimera
FA1 – Hellhound
FA2 – Hellhound
HS1 – Leman Russ Battletank
HS2 – Leman Russ Demolisher
HS3 – Basilisk
Game One (Archaeotech Excavation) vs. Travis playing Godzilla Tyranids
Oh goodie, I get to face a Godzilla list straight off the bat. In testing, I lost 4 out of 5 games against my friend’s Godzilla, so naturally my hopes aren’t too high. Travis is a Dakka poster, so he’ll get to laugh while he remembers the game.
Flyrant w/
TL Devourers
Hive Tyrant w/ Venom Cannon, Strangler and 2 Guards
3 Dakkafexes
3 packs of Carapaced Genestealers
2 Raveners
2 Gunfexes
3 Zoanthropes w/ Scream and Warp Blast
I win choice of corner, but Travis wins first turn despite the Tarot and takes it.
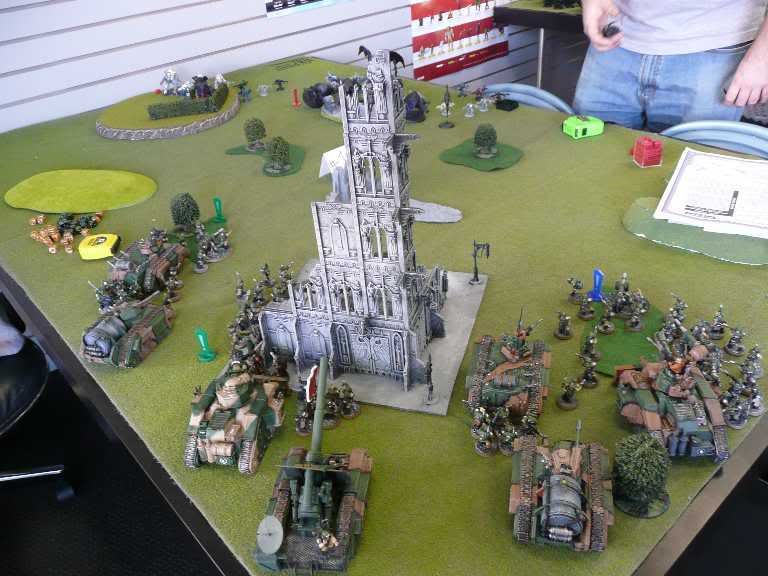
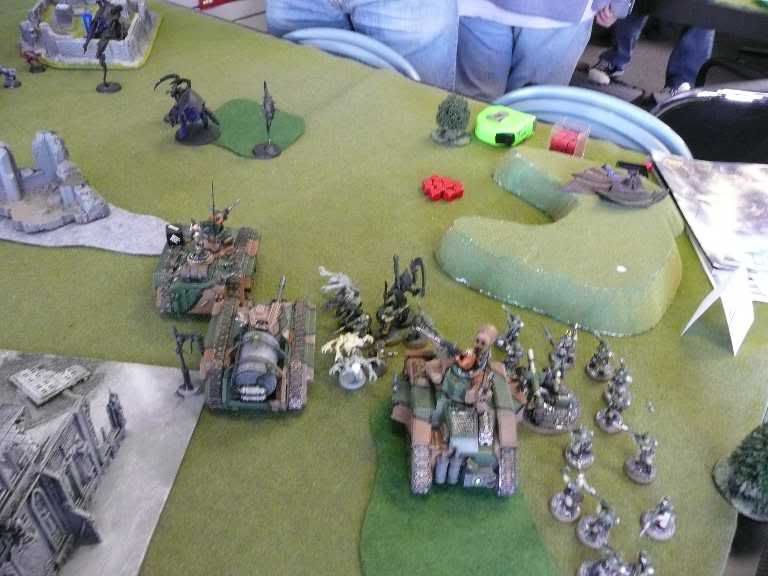
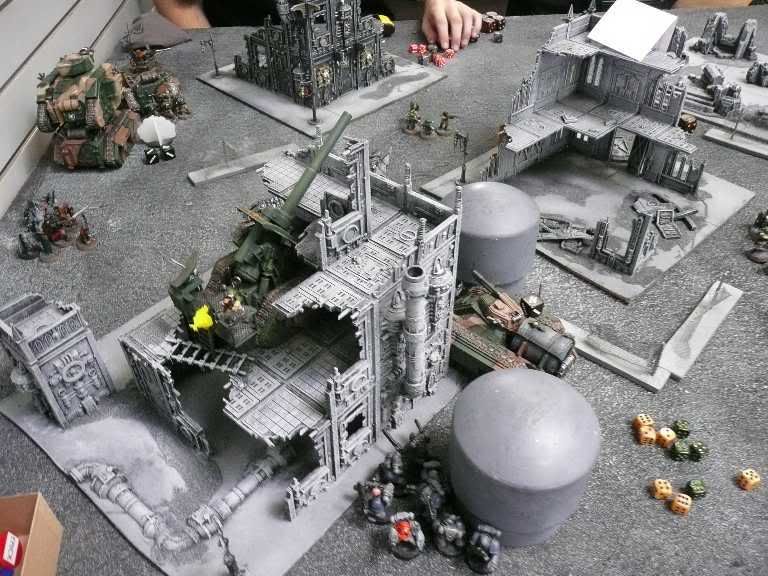
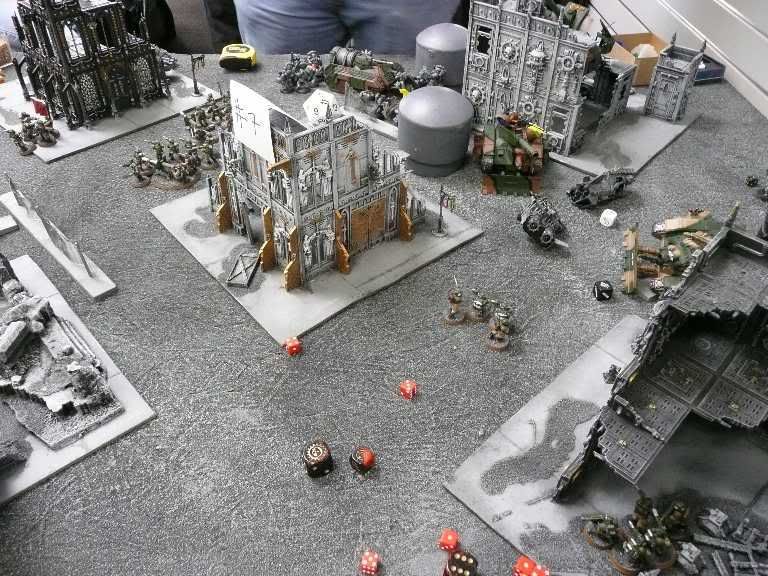
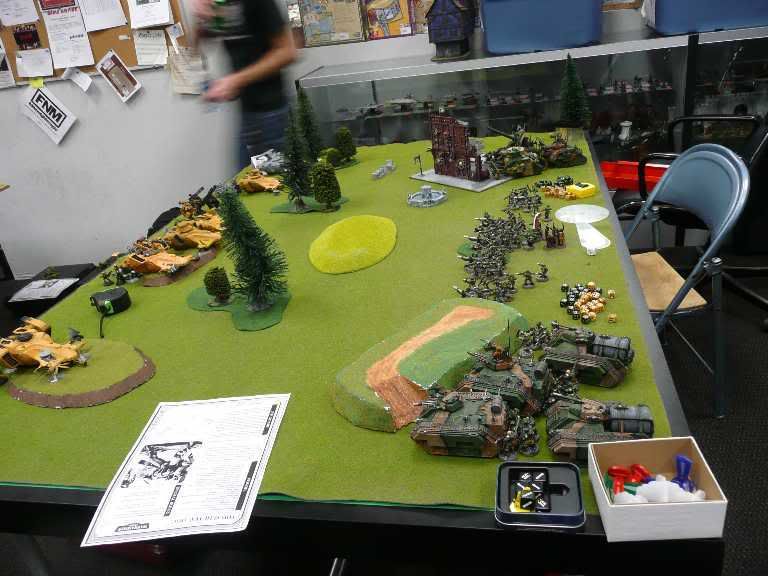
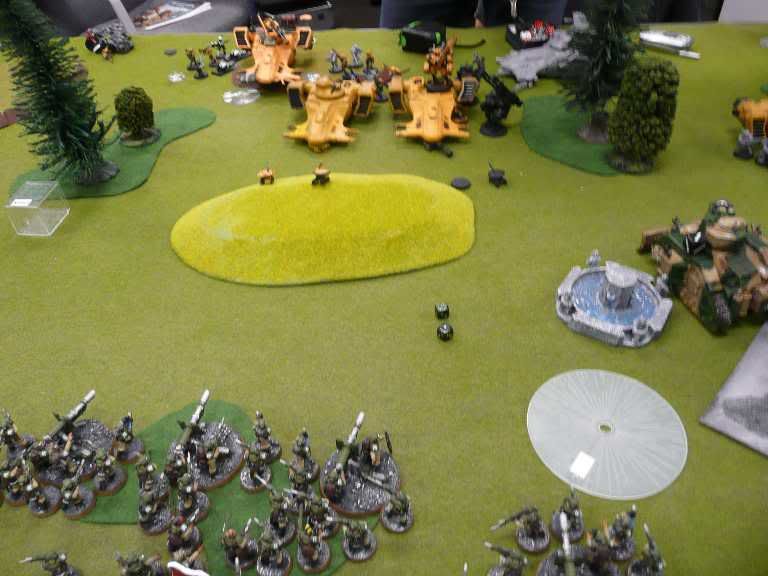
Guard Deployment
Tyranid Deployment
Turn One – Tyranids
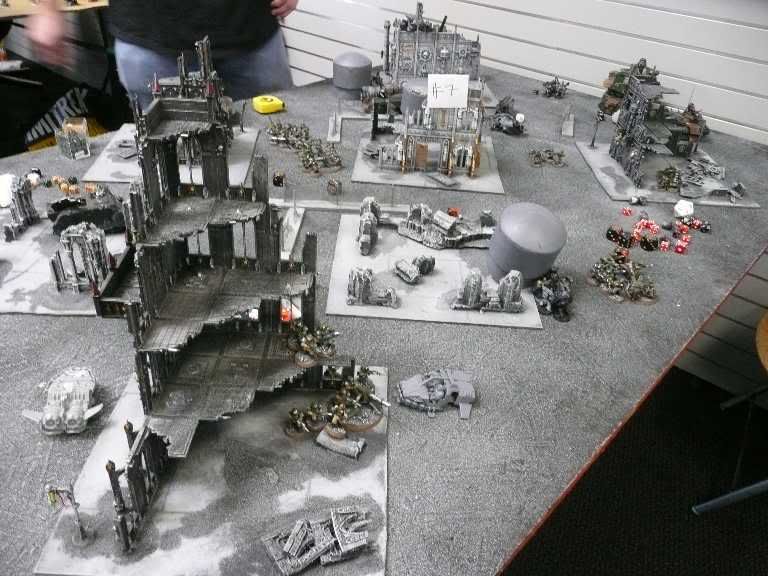
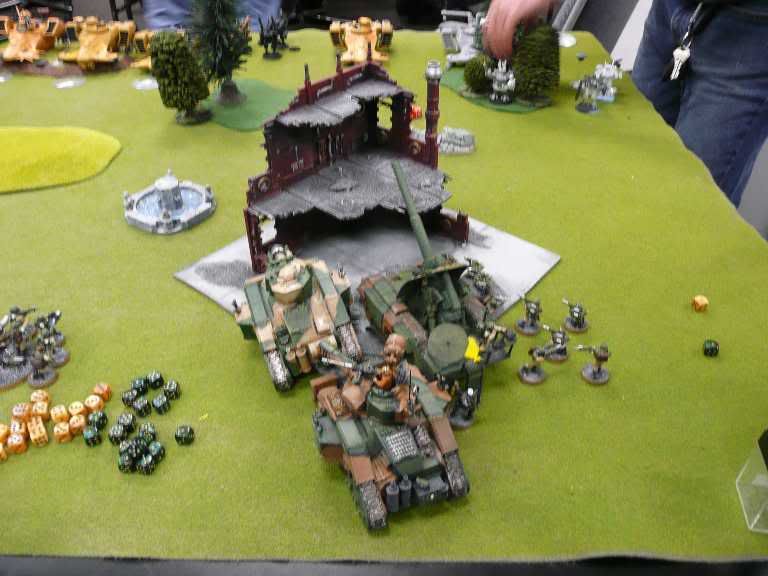
Travis has a strong center castle set up, and as luck has it, finds the objective on it with the first roll. Long range fire wrecks a Chimera and pins an infantry squad while the smaller bugs advance up the sides.

The blue marker on the right is the Mission Objective.
Turn One – Imperial Guard
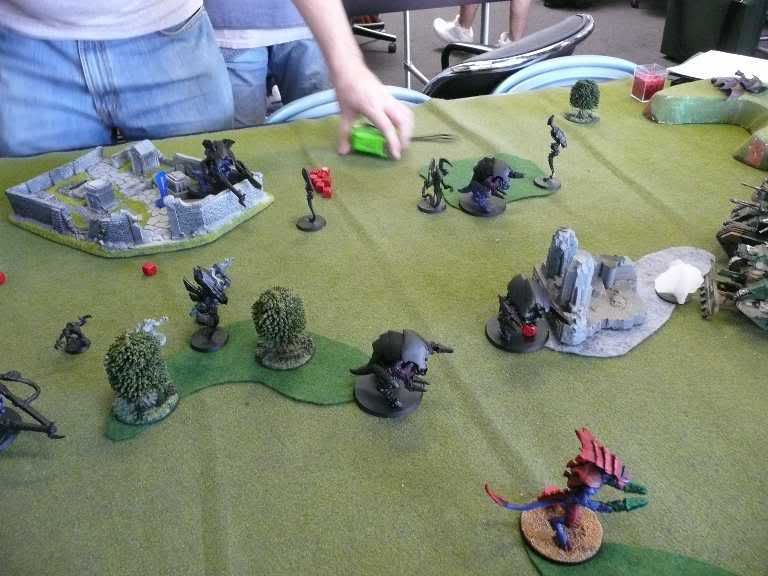
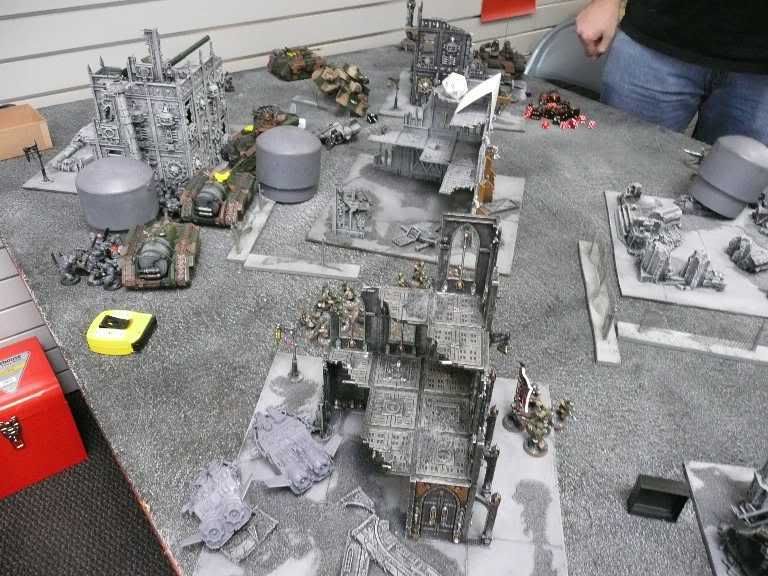
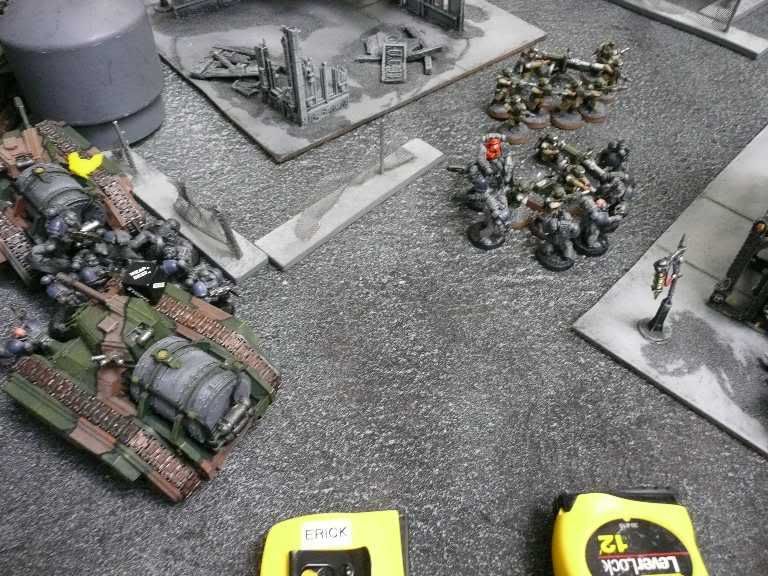
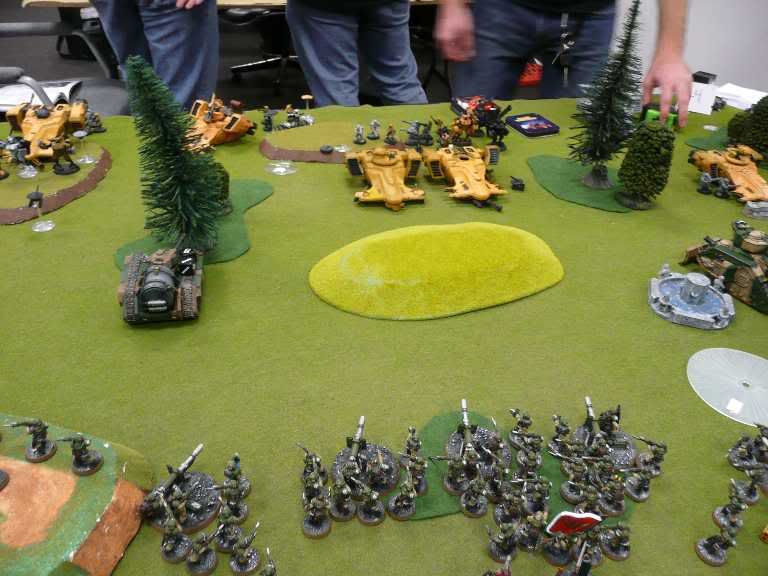
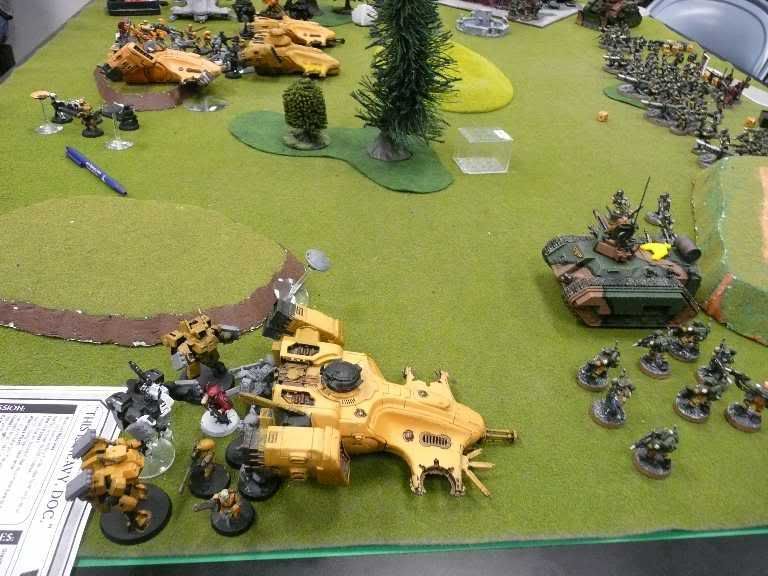
In a complete change from playing Tau, I don’t move much at all, with my armour sliding out to draw
LOS on the objective while the Chimeras and Hellhounds advance. Lascannon fire blazes forth, but fails to inflict a single unsaved wound on a Gunfex, as does the Earthshaker and Battlecannon.
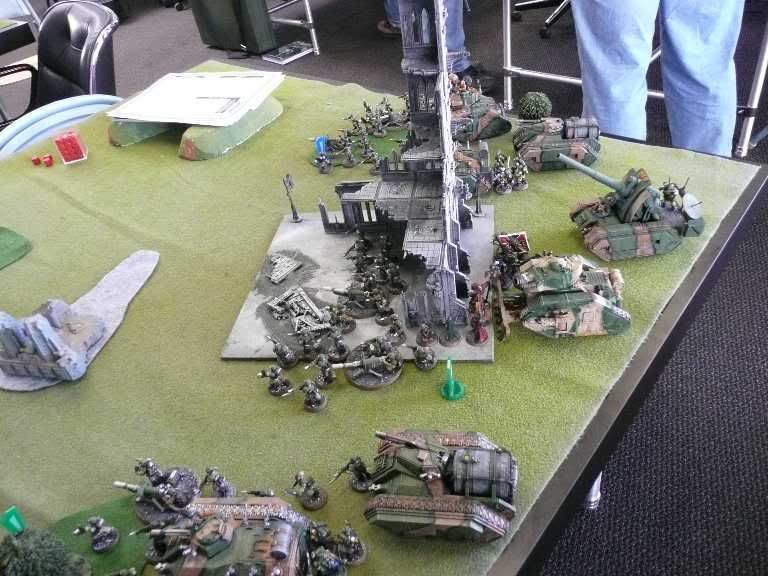
My gunline looks a lot more impressive then the damage it was dealing out.
Turn Two – Tyranids
Obviously intimidated by my display of laser lights, the Tyranid army advances their large creatures slowly forward. A few volleys of worms don’t do much, but I’ve completely forgotten about a Ravener on the right side which blows right through cover and charges one of my forward infantry squads. The Ravener doesn’t do any damage, but my Guardsmen just can’t seem to stab it enough times and combat ends in a push.

Turn Two – Imperial Guard
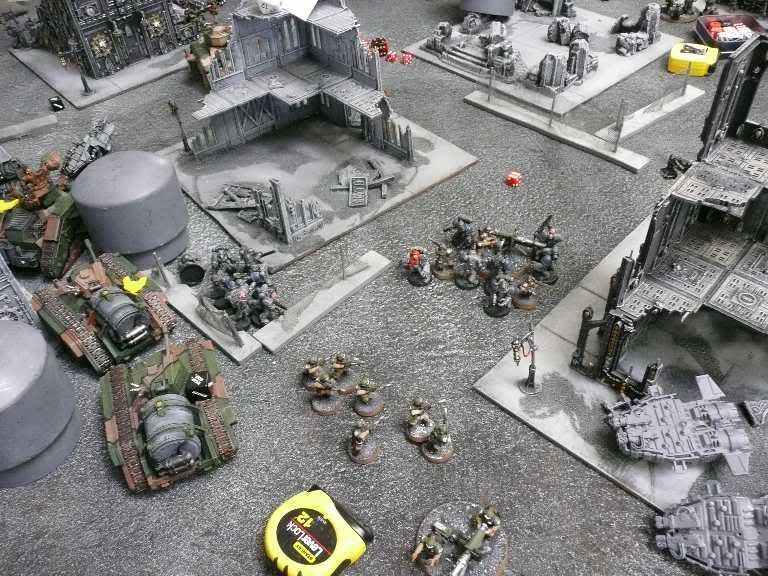
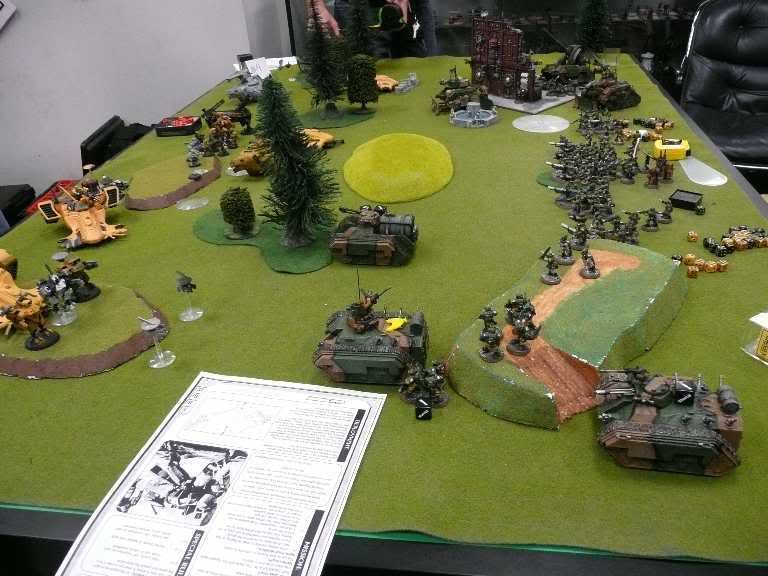
Okay, so I’ve committed a rather large foul by getting locked in second turn, but nothing to do about that now but keep fighting. Sadly, for the second turn in a row, my weapons bounce off Carnifex cover saves and I’m left with only a single wound on a Carnifex and a few dead Stealers from a scattering Earthshaker round. The Plasma Veterans show up, but neatly scatter straight into the bugs. In assault, the Guardsmen continue to whack the Ravener over the head, but to no avail. At least they don’t run, which is small consolation.

Turn Three – Tyranids
If there’s anything that’s going okay for me, is that the Tyranids are having an absolutely horrible time of injuring my armour. Venom Cannons miss or bounce off, while Warp Blasts run an amazing streak of airballs and Psychic Hood counters. The Flyrant decides to take matters into its own claws and bonks the Demolisher around a bit to compensate. In assault, the Genestealers catch up to their Ravener lead and join the fight. The Guardsmen continue to roll well and actually bring down a few Stealers while still passing morale. Maybe I should be fighting in
CC more?
Turn Three – Imperial Guard
The Shaken Demolisher drives out of the way, which lets a Grenadier squad pour short range plasma into the Flyrant for a single wound. The firebase lascannons and plasma guns bounce off the trees protecting the flying monster and the Eversor fails its difficult terrain charge on it. The Meltagun Veterans drop in and scatter perfectly into the Tyrant for good measure, but their impacting bodies prove much less destructive then their weaponry. On the right, I charge the Genestealers with a infantry squad and both command squads for actually a good amount of kills, taking the Ravener down and reducing the Stealers below half. Can’t win the combat though, and the originally charged squad (down to 2 men) breaks and runs from the fight.
Turn Four – Tyranids
The Tyranids continue to try blasting armour, to little avail, but the Carnifexes are virtually undamaged in return. The Flyrant shoots and charges a firebase squad, locking in while the remaining Ravener charges and destroys a Hellhound. In close combat, the Guard gives as good as it takes and more Genestealers and Guardsmen bite the dust.
Turn Four – Imperial Guard
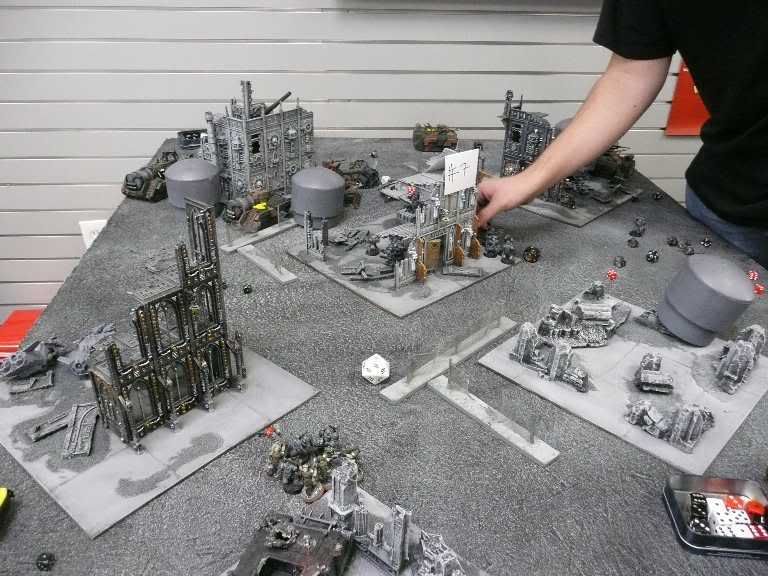
My last volleys of the game again bounce off various Carnifex sized walls, but the Eversor charges in and takes out the Flyrant with a flurry of NeuroGauntlet attacks. On the right, the mass of bodies finally prevail and the last of the Genestealers collapse under Imperial boots and bayonets. Time’s up and having not killed a single Carnifex plus the loss of the objective means the Tyranids take this round rather decisively.
It was rather frustrating not being able to put wounds on the Carnifexes and it definitely made me wish for my Markerlights. Getting caught out with a 2nd turn charge was really bad also, but at least it ended well. Off to Round Two.


 Till next time.


