Under the GNU license, there is a program available for download at no cost, and it is named Scribus. This is what is called a Desktop Publishing program, allowing you to make pamphlets, magazines, books, or other forms of written media. The program also has an integrated PDF creation suite. This makes Scribus very useful for creating your own professional-looking PDF files that you can make available for downloading.
I want to share how I went about creating my own PDF download, a background history and fluff supplement on my home-brew
SM chapter. I am currently using Scribus to create a monthly issue of a webzine related to the
40k hobby on my blog:
http://foxphoenix40k.blogspot.com
Step One: Download Scribus
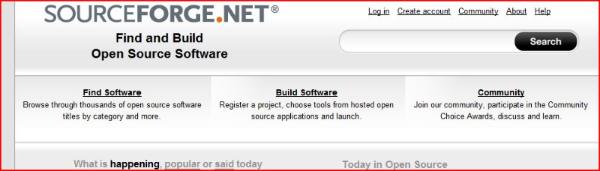
Starting at Sourceforge.net, enter the search term "Scribus". It should be the first result in your queue, and should look like this:
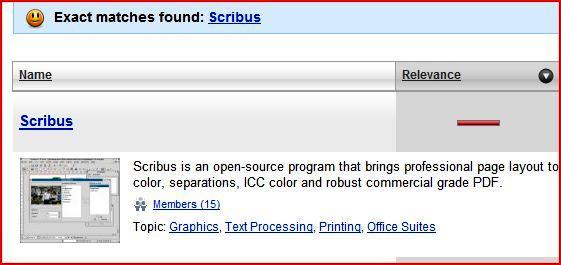
Click on it, and go to the download section. You want the most current stable release for your operating system. If you don't know what I mean, then you might want to consider brushing up on computer terms before you delve into this project. Install it onto your computer after downloading. It may take a little while, as my download was around 128
MBs.
Step 2: Decide what you want to do with Scribus
Do you want to do a little supplement? A webzine? A battle report? What you want to do determines how much prep-work it will take to make your publication. If you are planning on doing something that will have lots of similar pages, you will want to make a background image to make the pages look neat. If you are doing a supplement or a battle report that has lots of differing pages, this is not so important. Either way, you are going to have to either find some pictures to use or create your own.
Step 3: Make your first page, usually a title page
By this point, you should have the program installed and a few images in mind for using in your publication. Now we are going to begin our first page. Open up Scribus, and the New tab will pop up automatically. It should look like this:
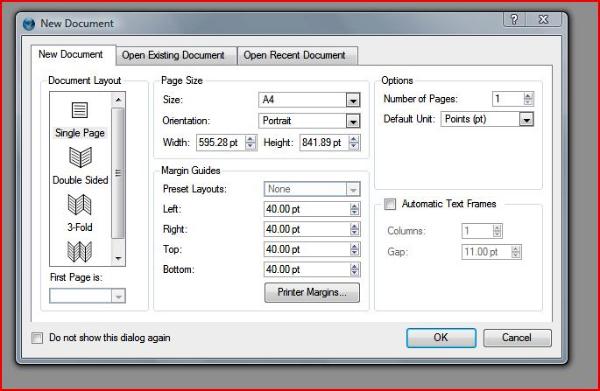
I like to make my publications in Letter size, Single Page format. Don't worry about the rest of the stuff, except that you can change the standard unit of measurement to inches. That can be useful to us American chaps over the pond.
The Title page can have as much or as little as you want on it, but it generally needs a title. This is what the page will look like:
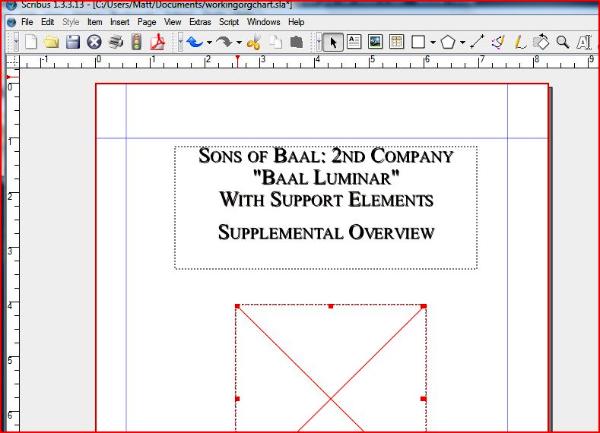
The red box in the center is an image box. The blue lines are guidelines, which you can choose to snap-to if you so desire. The rulers running along the top and left sides of the window also help keep everything aligned.
To make a text box, you will need to choose the proper tool. Here are some of your most frequently-used tools:
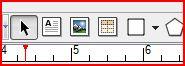
The white box with an A in it is what you are looking for. This creates the limits of the text you can use. To the right of this, you will see a button that looks like an open book with a pen/pencil writing in it. Clicking this opens a box of text-related tools like you would see in a word processor. It has text alignments, font sizes, and different fonts for you to use. Use it to create your title within your text box.
Adding images is a snap. Use the image tool in the toolbar I showed you, and draw a box for it to fit in. Right click on the box, and click "Get Image". Then pick the image you want to use for your title page, and voila! In it goes. You can also add image effects, but we'll go into that in a later tutorial.
You can also add lines, polygons, circles, etc using the tools in your toolbar. Use whatever you need to spice up your title page and make it look interesting. Don't worry about those blue guide lines, they won't show up in the final product.
Step 4: Add some pages and finish it
Once you are satisfied with your title page, you should save a scribus-copy so you don't lose your work. The regular save feature is best for this, as you cannot edit your PDF once you save it as one.
Add yourself another page by going to the "Page" menu at the top of your window, and clicking "Insert". Choose how many pages you want to add, and where. New blank pages will appear in your document, and you can edit them up just like you did your title page.
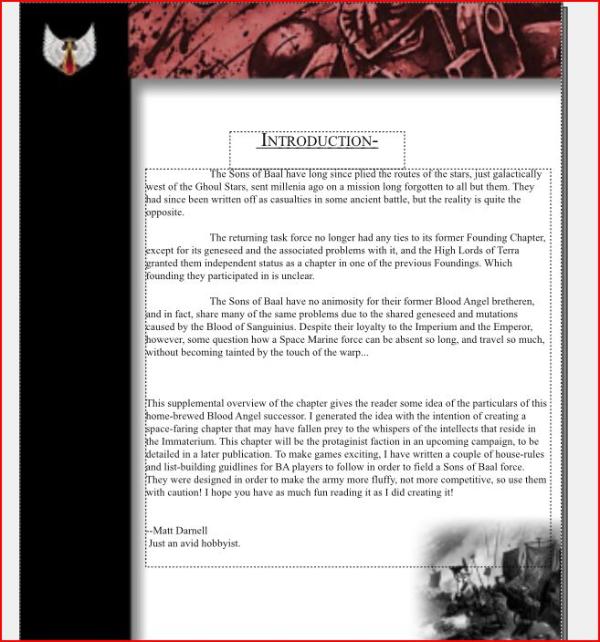
For main pages, I like to use a nice-looking background image. I found some nice ones at B&C that people use to print their army lists on, but I would ask permission before using anybody else's art. If you are artistically inclined with a computer, you can draw up one. Once you find an appropriate image, before you do anything else to the new page, draw your image box from the top left corner of the page all the way to the bottom right corner. Now add your image, and it becomes a background image for you to make text boxes upon! Here's an example of what a finished page can look like:
After adding your background image, but before adding text, you may want to make a master page so you don't have to draw in the image every time you make a new page. You cannot edit text on master pages, so be sure you don't have anything on there you don't want. Go to Page- Convert to Master Page and name it what you want. Now whenever you add another page, use that Master page to make a nice template to start from! It saves you a lot of time.
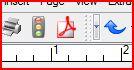
Do you have enough pages? Go back and edit them a few times, correcting all your spelling/grammar errors and making sure everything lines up right. After doing so, now its time to save it! To save it as a PDF, just click the button:
And you're done! Upload it onto your favorite file server and tell everybody to download it!
I hope this helped, I know I have a lot of fun putting together a webzine with all my best articles. I hope you will have as much fun as I do!


 Walk softly, and carry a big gun