Hey guys, i wasn't going to do this tutorial because i noticed someone had done an article about magnetising terminators, however, the carnifex is slightly more complex, and im currently building my second fex so thought i'd make a tut as i build. I'm hoping to add a part each day, hopefully finished by sunday at the latest. I shall update the thread with each new part.
So, without further adue
Part 1
Step 1 - Firstly we need to get the required tools together.
1 Carnifex, 1 pack of green stuff, a file, 2 drill bits, some magnets and some super glue (not pictured).
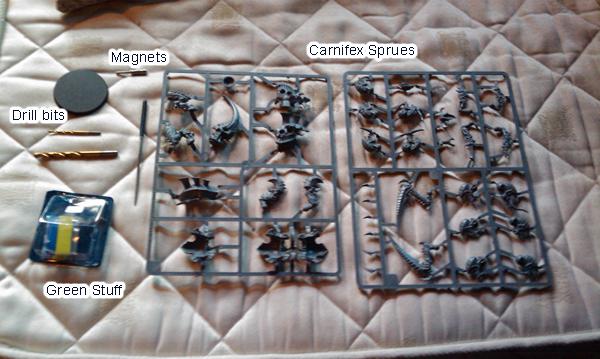
For my carnifex's i used 2 sizes of magnets and drill bits, the magnets i use are 6mmx2mm and 3mmx2mm. The two drillbits therefore need to be 6mm and 3mm in diameter.
The magnets for guys in the
UK can be bought online from maplin.co.
uk
6x2mm Magnet
Code: YA28F
Price: £1.29
3x2mm Magnet
Code:YA26D
Price:£0.89
The magnets can get quite pricey, considering the main torso alone will cost you £7.74 in magnets, but in the long run, i think its well worth it becuase you'll never have to buy, build or paint another carnifex again!
Step 2 - Get the body parts, a head, and some limbs off the sprues and clean them up.
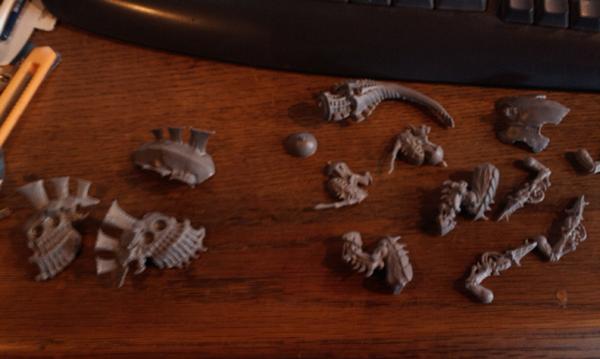
Fairly straight forward, just get the peices off, clean them up abit and prepare to get drilling!.
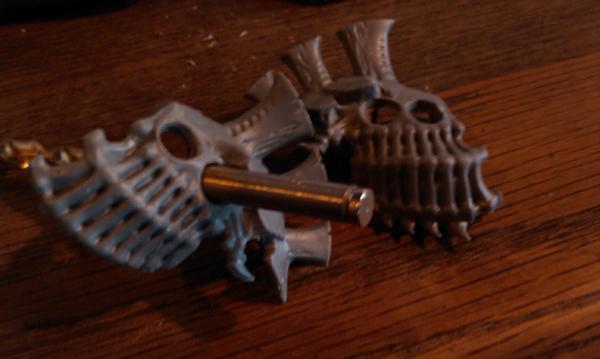
Step 3 - Using the 6mm diameter drill bit, begin to make a hole in the arm sockets.

Don't be shy, a metal drill bit will tear straight through the plastic model, you want to drill right the way through. Some people will say use a hand drill, like a dremel, but i think there is too much scope for error, you may slip and ruin the side of your carnifex. Making the hole by hand is far more accurate and controlled. However!....
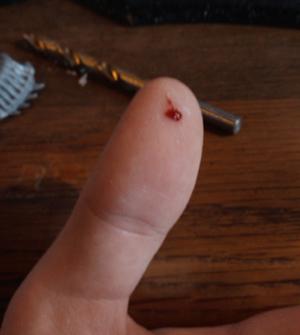
Drill bits are made to destroy things!, like a knife, if you push it too hard into your finger, it hurts like hell!. So be careful when you are drilling.
Step 4 - Clean up the holes after drilling
Once you have done the one side, drilled the holes, and cleaned them up, do the other side.
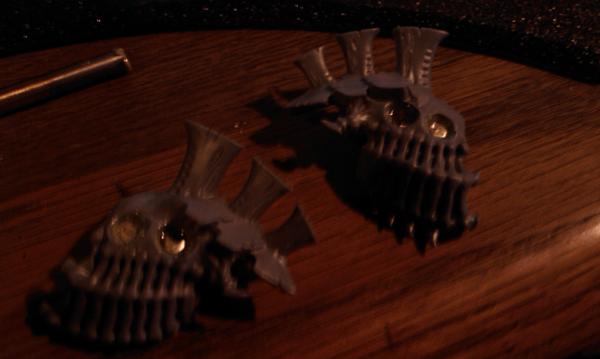
You should now have both sides of the carnifex, with holes drilled right through the arm sockets, cleaned up with a file and ready for the fun stuff!.
Make sure the drill bit can slide though the hole completely, as it should be the same size as the magnet, and it makes it alot easier for the next step if the magnet goes in without a fight.
Step 5 - Preparing the torso for magnets
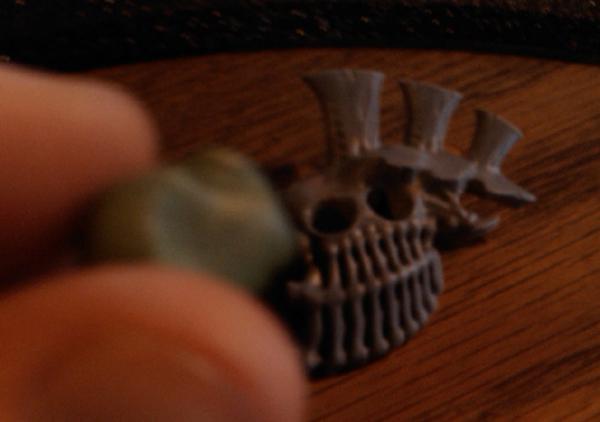
Get yourself a nicely sized peice of green stuff, big enough so that it spans the two holes we have made in the side of the torso.
You may want to moisten your fingers slightly so that the green stuff sticks to the model and not you for the next bit.
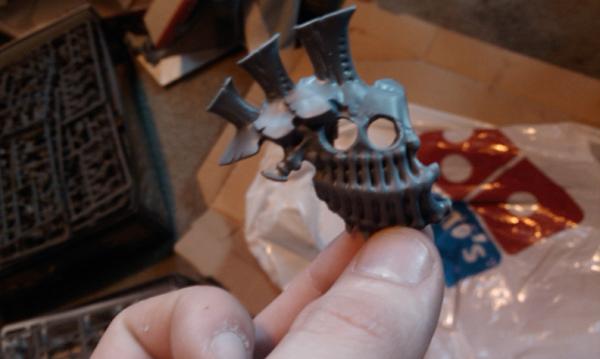
Gently press the green stuff from the inside of the torso, out through the holes, so it buldges out slightly as shown, then smooth the green stuff down at the back.
Step 6 - Inserting the magnets.
Before we get the glue out, we need a little lesson about magnetic poles. If you are familiar with magnets, ignore the next few paragraphs and blunder on, however, so that people don't go mental when they've super glued magnets into there carnifex the wrong way round, i am going to explain what we need to do.
Magnets have a + and - pole. If a + and + are facing towards each other, they will repel (not stick), as with - and - , however, - and + will attract, and make the two magnets stick together. The reason this is so important, is if you glue the magnets in the wrong way, the arms, head and carapace of your hive tyrant will not stick to him! and will infact, attempt to fly off in the opposite direction.
So, as a general rule of thumb, i make all my carnifexes have the same pole pointing outwards from the torso, so that when i change limbs from fex to fex, they all stick correctly.
The 6mm magnets from maplin actually have a small dot on the one side identifying it as a certain pole, this helps as i have the dots facing in towards the body. If you don't have dots on your magnets, you can etch an X with a scalpel across the magnets to make sure you know which is which.
I digress...
For both peices of torso, dab super glue onto the green stuff that you are going to put the magnet into (only 1 hole per side for now).
Then, push the magnet into the green stuff, with your finger gently supporting the green stuff on the other side, i actually use the end of the drill bit to do this as i can:
a) not get super glue on my fingers
and
b) know for definite which magnetic pole i am pushing into the green stuff
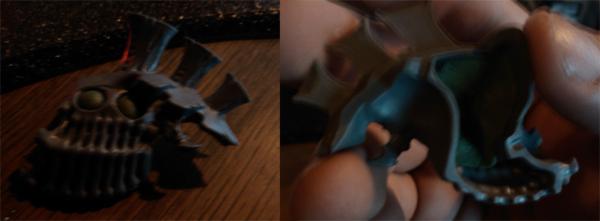
Once you have pushed the magnet in, (as deep as the back of the old socket use to go (don't forget the ball joint of the limbs need to be able to get into the socket too!), dab more superglue over the top of the magnet.
I do this for several reasons, paint chips less easily off superglue than it does off metal, it makes the bond stronger than just pushing a magnet into the green stuff and it makes it set slightly quicker. This is important because we can't put both magnets into one side until the first one's super glue has set.
The reason for this is if we try to put both magnets in at once, they will attract to each other, and be pulled out of shape and will make a terrible mess of superglue, magnets and green stuff.
So, my recommendation is to wait between 30 and 40 minutes after glueing the first magnets in before you glue the second in.
In my experiences, green stuff is still quite maluable even upto and after waiting for 40 minutes, so you can still push the 2nd magnet in with no problems, its just that we want them pointing in the right way and this is a hassle free way to do it.
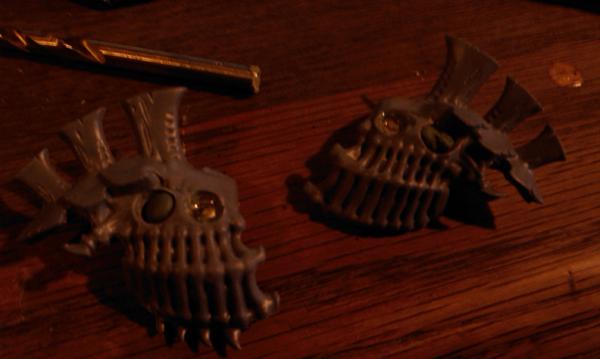
So, we now have two sides of the torso, with 4 magnets glued in place, all with the same pole facing outwards (for the limbs to stick to).
At this point, i recommend leaving the model over night. I am going to allow the green stuff to set before i do anymore, as the next steps involve sticking 3 more magnets into the torso. So it is sensible to let what we have done become solid before we introduce even more magnetic fields into the model.
Hope you enjoyed that, more to come very soon!
I may make alterations to wording in previous parts as i build the tutorial up, if the moderators would wish for me to complete the tutorial before posting, i will be happy to take this down and put it all up when i finish.
Part 2 - Coming tomorrow!


 1500 vs
  1500 -40k
 2500 vs
  2500 -fantasy

 Walk softly, and carry a big gun


 Kreig - 2850 pts
 Skaven - 3450 pts
 Orks - 1950 (pro painted)