Ive been meaning to try my hand at this project for a while, so in light of the ‘get your teach on’ comp, I thought it would be worth getting a few photos and see what people think!
This is how to get convert your Catachans into a feral world
IG army.
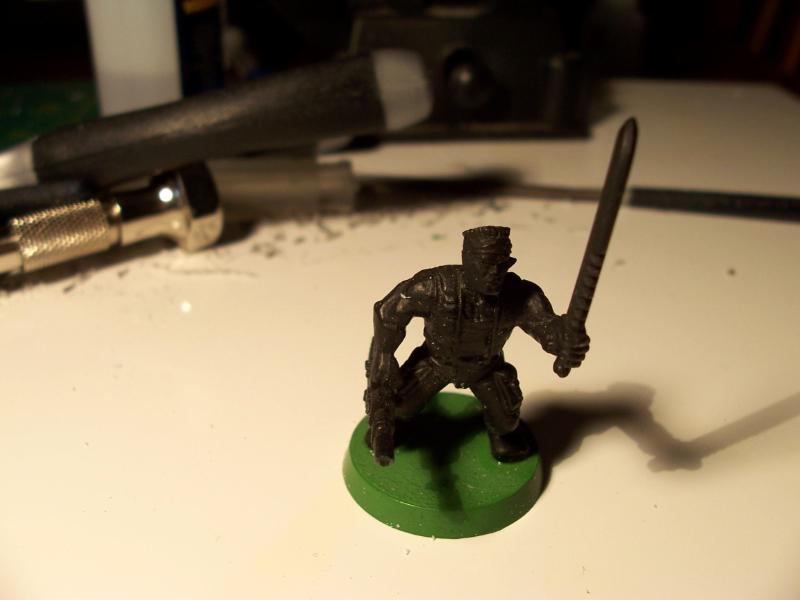
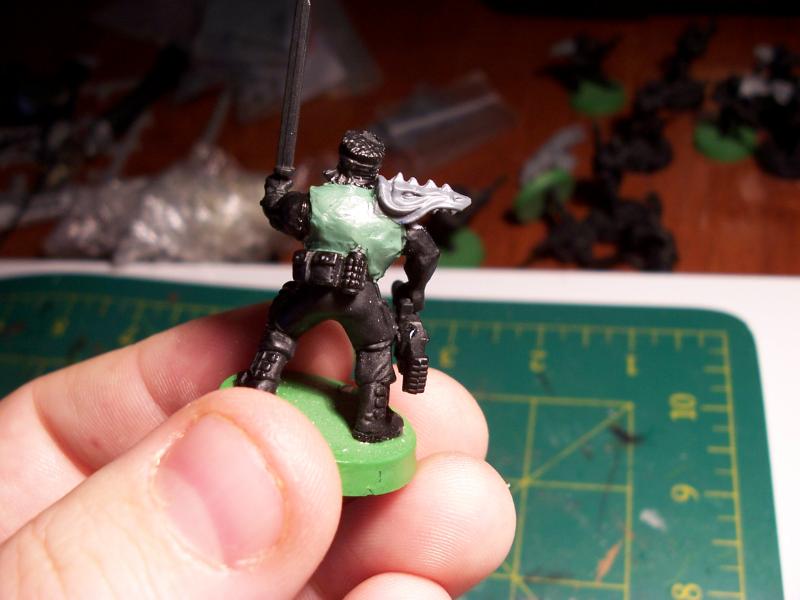
Before starting any of these projects, plan! I decided that mine would be standard Catachans, with a shoulder pad and thick chain-mail armour.
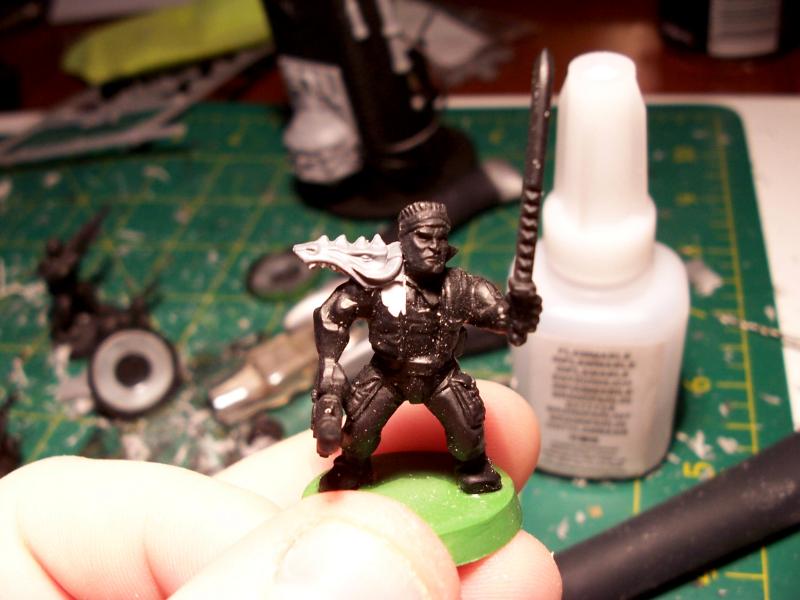
1) Select your model
I started with a simple Catachan model (I recommend not undercoating first!).
2) Select your shoulder plate
To get a feral look, I suggest a ‘totem’ like approach when selecting this part. I used Chaos Gargoyle heads – they are readily available, cheap on ebay, and have a great look to them.

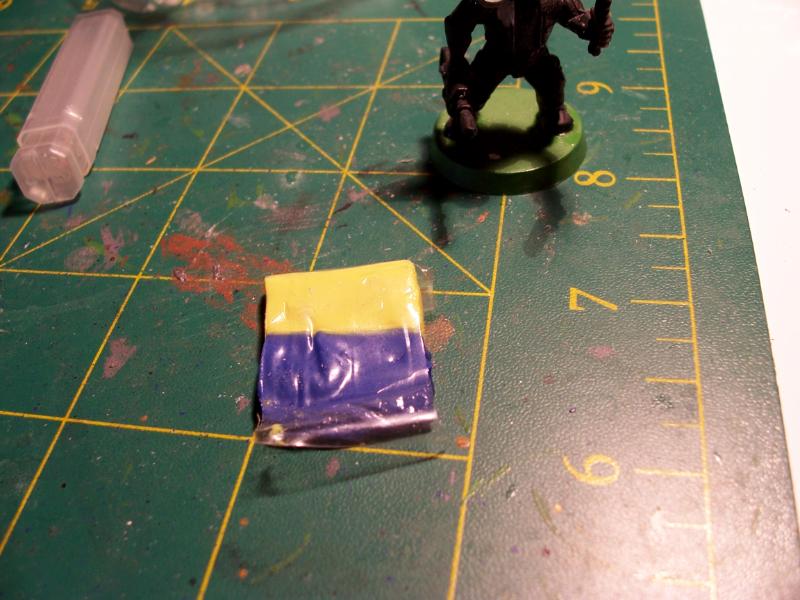
3) Trim the shoulder plate to fit
In my example, this involved cutting off the lower jaw.
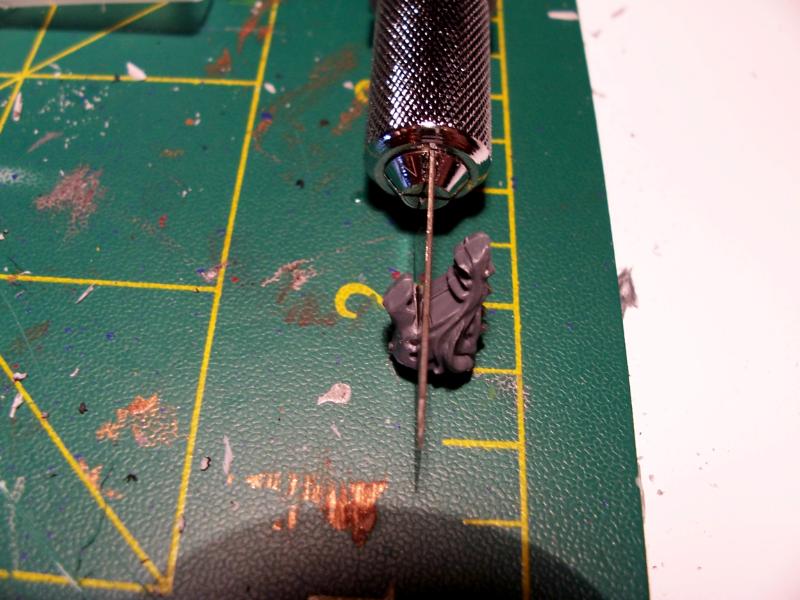
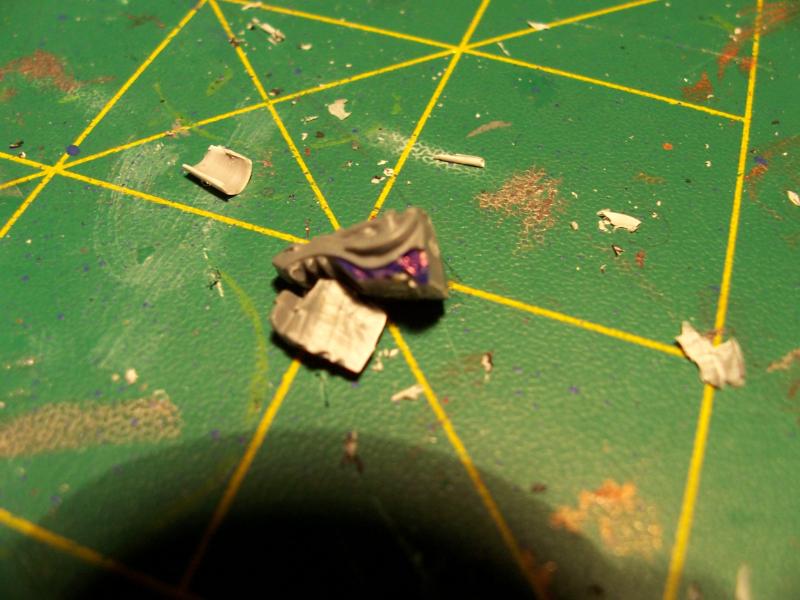
(the blue shows where I trimed to).
4) Carve/file our the insides leaving a thin layer as the shoulder pad.

5) Glue on the shoulder plate!
Note that you may need to trim the shoulder.
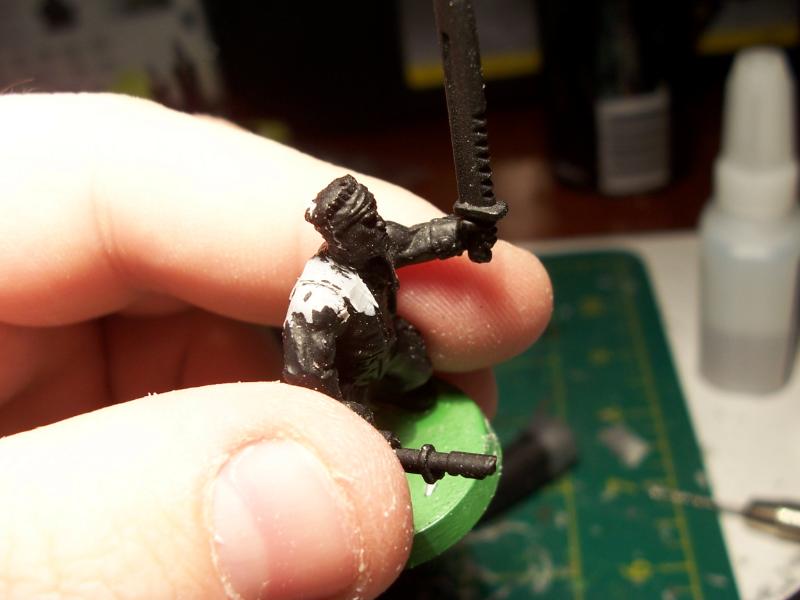
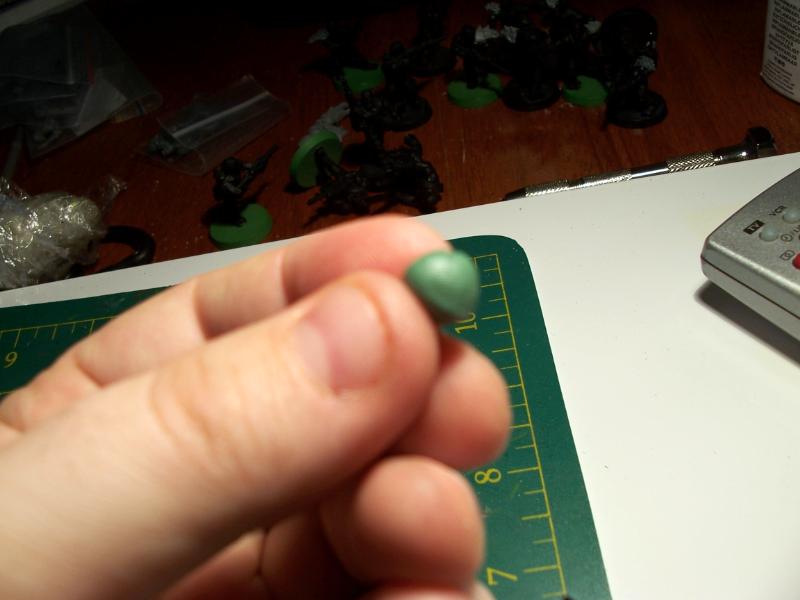
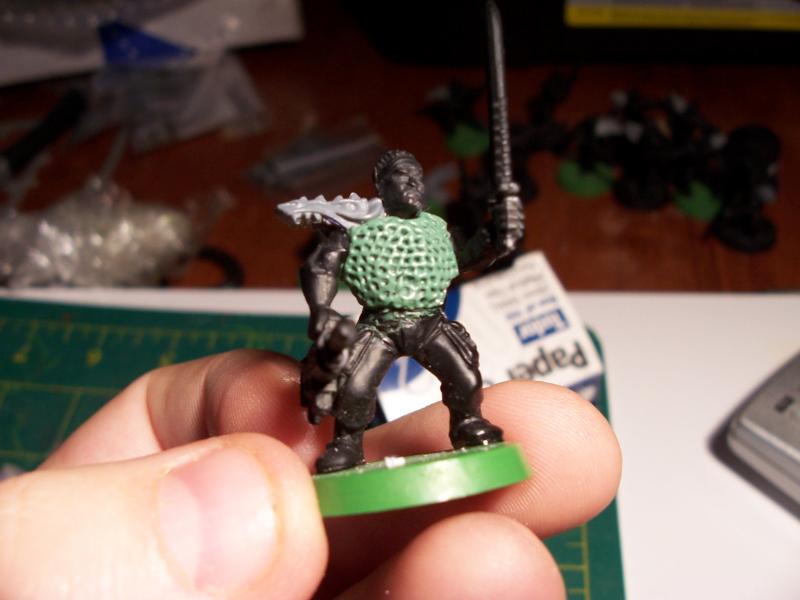
6) Now the chainmail
Mix a blob of greenstuff
Then place the greenstuff on the model forming a rough shirt.
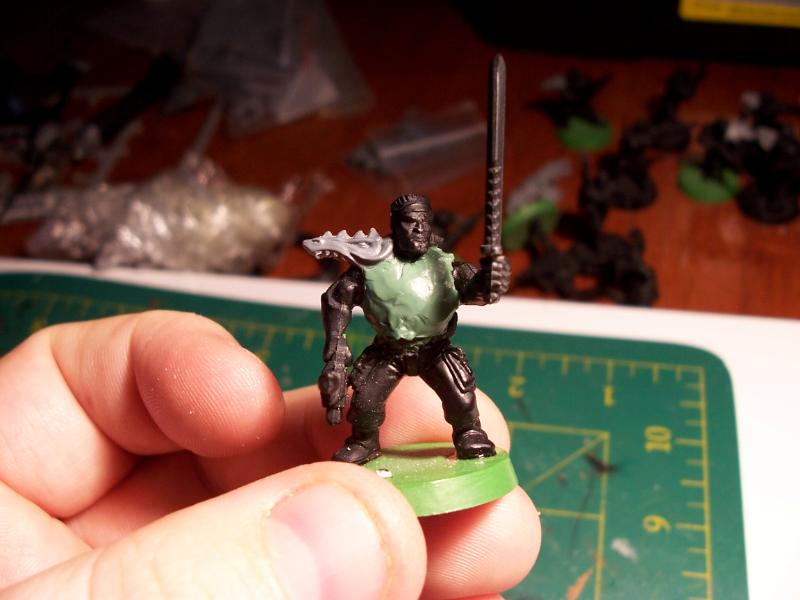
Smooth this out, but there is no need at this stage to go overboard.
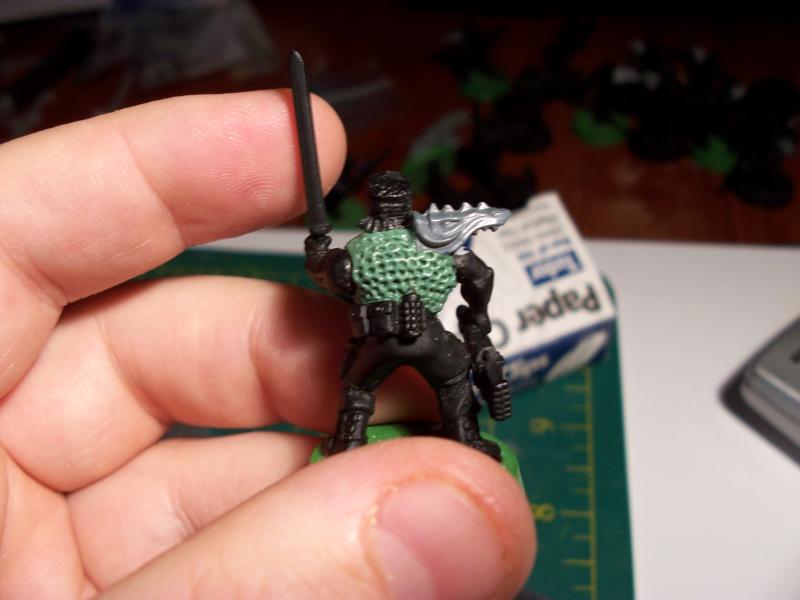
7) Use a pointed tool to poke small dents in the greenstuff. Do this in rows, going from left to right on the first row, then right to left on the second. Try to keep these rows as regular as possible, as chainmail should look orderly.
I used a bent paperclip – next time, I may look for something a little smaller, for finer detail. But for a first try, I was pretty happy.
The results are like this:
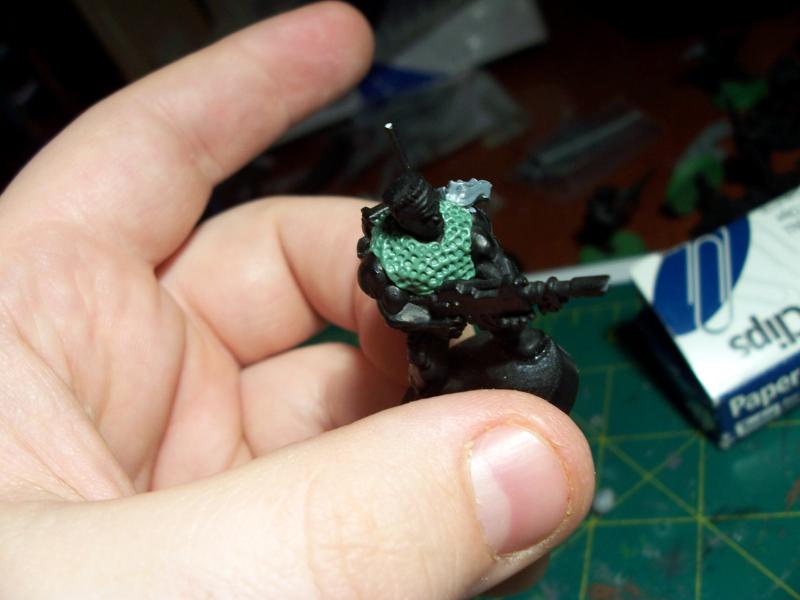
Now this model isn’t quite finished (I will be creating a mail skirt), but I think this should be enough to get my brief tutorial done!
Cheers!


