1500
Secure and Control
Gamma
Risen of Aurchist
The Nightbringer
13 Warriors
12 Warriors
5 Immortals
4 Destroyers
10 Scarab Swarms
1 Monolith (deep striking)
Blood Angels
Death Company: Chaplain, 8 Marines (1 from Tac Beta, 1 from Scouts)
Scouts: 9 Marines
Assault Marines: 2x Flamers, Melta Bombs, Sarge w/ Plasma Pistol
Terminators: 5 (deep striking), 2 Assualt Cannons
Tactical Squad Alpha: 6 Marines, Razorback, Las/Plas
Tactical Squad Beta: 9 Marines, Sarge w Power Weapon and Plasma Pistol
<!--[if !supportEmptyParas]-->Predator w/Lascannons
Nearly everyone unit was deployed out of sight clustered on the left side of the board, with the exception of Tac Beta, who started on the right side in a position to make a move on one of the loot markers.
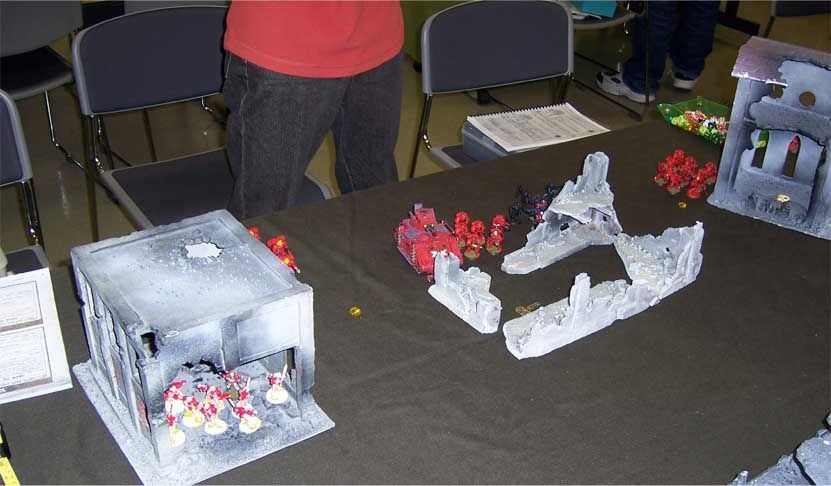
I put the Nightbringer out in the open, confident that he could take anything thrown his way in the first turn, and putting him as far forward as I could get him, so that he could get into combat ASAP. <!--[if !supportEmptyParas]-->
The Blood Angels got turn one.
Blood Angels 1:
Movement:
No one Black Rages. Assault Marines, Tac Alpha, Death Company, and Tac Beta all advance. The Scouts take up a better shooting position in the ruins they infiltrated in.
Shooting:<!--[if !supportEmptyParas]--> The Razorback takes a potshot at the Nightbringer.
Necron 1:
Movement:
The Scarabs turbo across the board to try and jump Tac Beta when they reach the loot counter. The Nightbringer, Immortals, and Destroyers break from cover and advance, the Warriors bringing up the rear.
Shooting: The Nightbringer kills one of the Assault Marines, the Immortals taking down four more. <!--[if !supportEmptyParas]-->The Destroyers shake the Razorback twice.
Blood Angels 2
Movement:
The Terminators Deep Strike in, right by my Destroyers, everything else advances in their general direction, save the Scouts, who sit tight, and Tac Beta, who move towards the loot counter and my Scarabs.
Shooting:
Between them, the Predator and the Assault Marines manage to kill two Destroyers. The Terminators kill two members of Warriors Alpha.
Assault:
<!--[if !supportEmptyParas]-->The Assault Marines annihilate the last two Destroyers.
Necron 2:
Movement:
My Monolith Deep Strikes in, right in the middle of all those nicely arranged Blood Angels. All my forces advance (except for the Scarabs, who I forget about). <!--[if !supportEmptyParas]-->The Nightbringer walks through a building, getting well within charge distance of the Assault Marines.
Shooting: The Nightbringer fries an Assault Marine. Rapid-fire from Warriors Alpha slays a Terminator. The Immortals detonate the Razorback with three glances, and one penetrating shot. The Monoliths? Gauss Flux Arc kills one Termie, one Assault Marine, and four scouts. Particle whipping kills one more termie. The termies break, and run off the board. <!--[if !supportEmptyParas]-->The Assualt Marines break, and make it within an inch of the edge.
Blood Angels 3:
Movement:
Since Warriors Alpha are too close, the Assualt Marines don?t regroup, and run off the board. The Death Company Advances, Tac Beta stays on top of the objective. Tac Alpha sits tight on top of its objective, pulling back a bit to make sure it stays out of the Monolith?s firing arc.

Shooting: Tac Beta kills three scarabs. The Death Company manages to drop one Immortal from shooting. The Predator kills a member of Warriors Alpha.
Assault: <!--[if !supportEmptyParas]-->Death Company hits my Immortals and wipes them out.
Necrons 3:
Movement:
Warriors Alpha moves up to try and rapid fire on the Predator. Warriors Beta advance to engage the Death Company. Remembering the Scarabs, I advance them to make trouble for Tac Beta. The Nightbringer wub-wubs his way through terrain towards where my Immortals used to be.
Shooting:
The Monolith?s Gauss Arc kills one scout, and three Death Company marines (having scored six hits). The Particle whip lands square on the Death Chaplains head, and a couple of ones later, he keels over, along with one other Death Company marine. The Nightbringer fries another DCM.
Assault:
<!--[if !supportEmptyParas]-->The Nightbringer charges the remnant of the Death Company, and six attacks later, the last two are neatly torn into bite sized chunks.
Bereft of time, that?s where the game ends. I control one counter, while the Blood Angels have control of two.
Victory points come out to 1477 v 1340, leaving me just 14 points shy of a solid victory. <!--[if !supportEmptyParas]-->Considering that he had 500 more Victory Points than I did for controlling two counters, I?d say that?s pretty good.
I think I?m getting better at pulling a refused flank on the setup, because in this game I had my entire army coming in against one flank of his, allowing me to focus quite a bit of firepower in one place at a time. Getting my Monolith on turn 2 was pretty lucky, and the fact that he had so many of his units in that one section of the board meant that I got to use it to maximum effect. It was very interesting to play without a Lord there to teleport my troops around the board, and definitely had me having to play a different tactical game. I only get to game one day a month, and I?ve never had a chance to use my Nightbringer before, and really wanted him in this game. It meant dropping my Lord, and half the Immortals, but I think it worked out pretty well. If the game had continued, over the next three turns, Warriors Alpha probably would?ve wiped out the Scouts. I would?ve sent the Nightbringer to take care of Tac Alpha where it was hiding in the ruins, and I would?ve had the Monolith harass it as it drifted across the board towards Tac Beta.
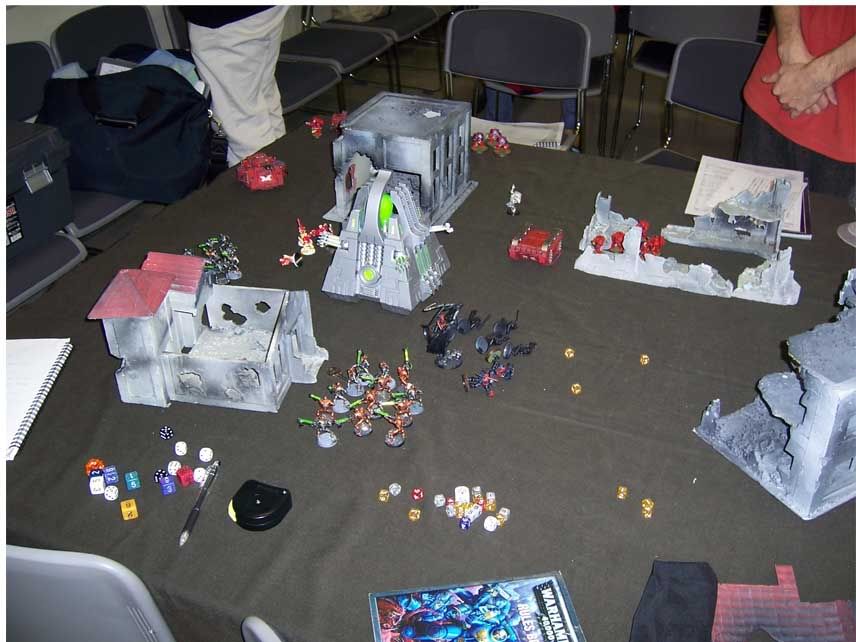
Just for kicks, here's what the room we played in looked like after we put everthing back:


