Switch Theme:

Simple pipe barricades  [RSS] Share on facebook Share on Twitter Submit to Reddit
»
Author Message
Advert


Forum adverts like this one are shown to any user who is not logged in. Join us by filling out a tiny 3 field form and you will get your own, free, dakka user account which gives a good range of benefits to you:
  • No adverts like this in the forums anymore.
  • Times and dates in your local timezone.
  • Full tracking of what you have read so you can skip to your first unread post, easily see what has changed since you last logged in, and easily see what is new at a glance.
  • Email notifications for threads you want to watch closely.
  • Being a part of the oldest wargaming community on the net.
If you are already a member then feel free to login now.


Made in au
Dakka Veteran


Canberra

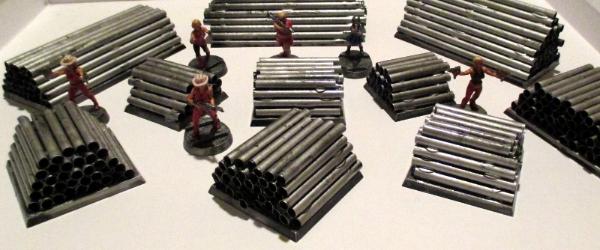
Want to make cheap, numerous barricades that would fit an urban, steampunk or post-apocalyptic warzone? These are quick to make and very easy.

What you'll need:

*drinking straws
*glue
*bases
*black spray paint, or similar
*chrome spray paint, or similar

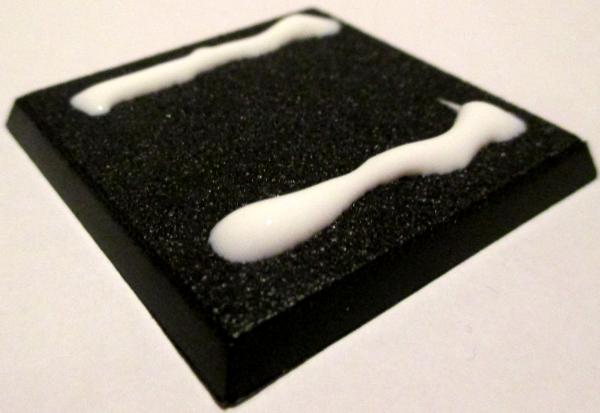
Step 1: glue to base
Choose whatever base you want (e.g. spare figure bases, shapes cut from foamboard, whatever you have handy) and apply some glue to it. I've used PVA glue.


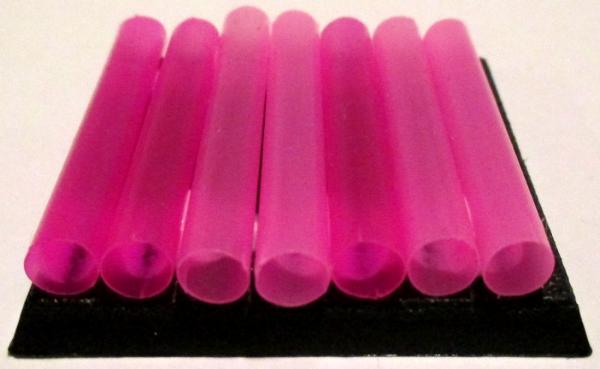
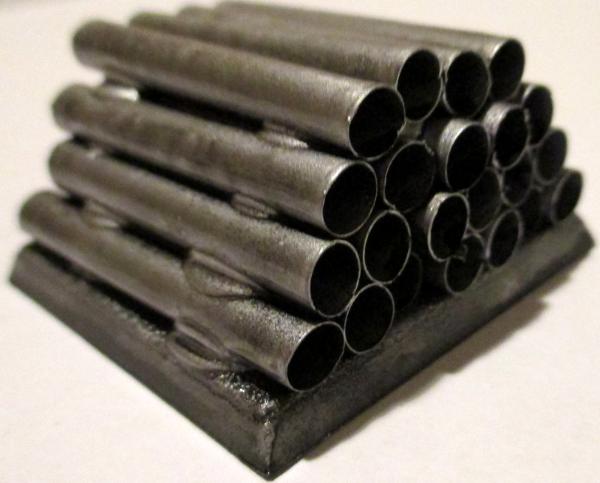
Step 2: layering pipe
Cut some drinking straws to the length you want, for the base you are using. Apply them to the base as a 1st layer.


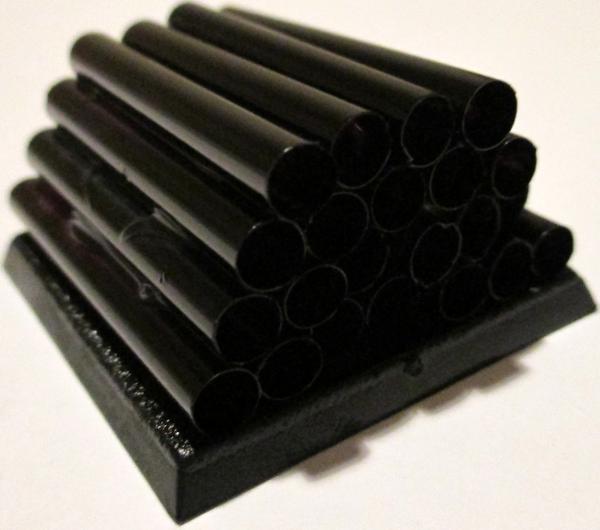
Step 3: layering more pipe
Wait until the glue is dry, or if you are impatient, very carefully glue more layers of pipe in a pyramid pattern until you're happy with the height.


Step 4: paint it black
Once the glue is dry prime it black, preferably with cheap spray paint. Don't use expensive primer.


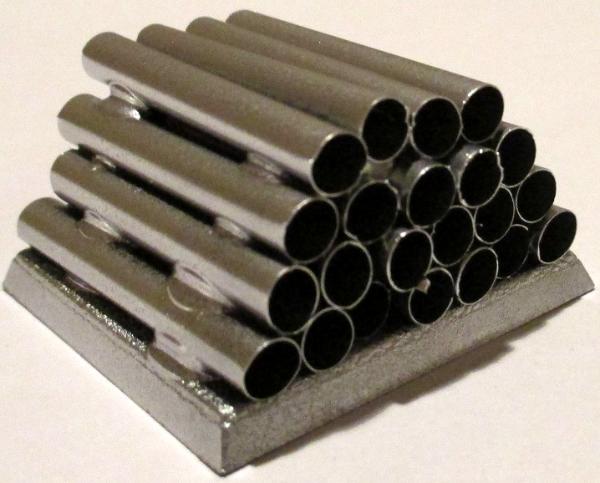
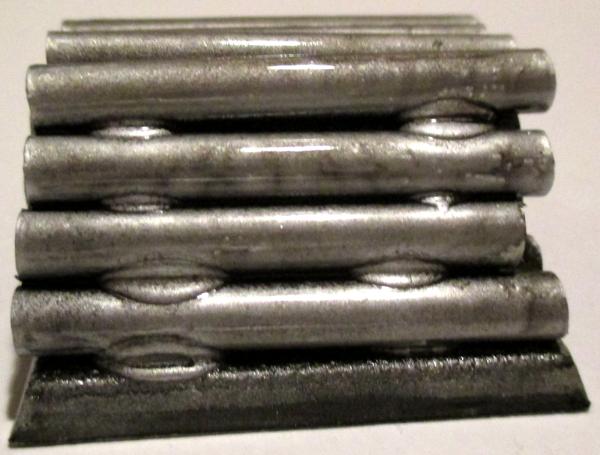
Step 5: paint it chrome
Once the black is dry give it a light coat of chrome, preferably with cheap spray paint, or dry brush with cheap silver acrylic paint.


Step 6: dirty it up (optional)
If you want to make it look dirty then heavily water some cheap black or brown acrylic paint, add a bit of dishwashing liquid to prevent beading, then apply liberally.


Step 7: varnish (optional)
Plastic straws aren't exactly the strongest things in the world, so to add a bit of durability I coated them with gloss varnish.


While very basic, quantity can be quality all on its own.
   
Made in us
Gargantuan Gargant


New Bedford, MA USA

Good tutorial overall.

They are simple to make and look surprisingly good.

My only criticism is that they would look better with less visible glue.

Maybe if the glue blobs were painted like rust or sludge of some sort they would be less distracting. As they are now they look like massive weld joints.


Made in au
Dakka Veteran


Canberra

 adamsouza wrote:
Good tutorial overall.

They are simple to make and look surprisingly good.

My only criticism is that they would look better with less visible glue.

Maybe if the glue blobs were painted like rust or sludge of some sort they would be less distracting. As they are now they look like massive weld joints.

Thanks, I completely agree about the glue blobs - I needed to make these in a hurry, otherwise I'd have smoothed them down.

Or I could have used less PVA but that's crazy talk

   
Made in us
Gargantuan Gargant


New Bedford, MA USA

Just for giggles I'm going to make a half dozen of these. I'll let you know how they turn out.

   
Made in ca
Rampaging Carnifex


West Coast, Canada

I'm thinking about bendy straws. That could be fun.

   
Made in au
Dakka Veteran


Canberra

Cool - pics please once done!
   
Made in au
Terminator with Assault Cannon


brisbane, australia

I'm game. these should look good in brass.

*Insert witty and/or interesting statement here* 
   
 
Forum Index » Painting & Modeling Tutorials
Go to: