Ok, it’s been ages since we last did this, but here we try out some of our new models, including some fliers and a gorkanaut. We played Cut and Run, an old Ork mission, where the Chaos forces are pursuing a fleeing army (who want to run away so they can come back to fight again).
Note that we played this before the release of the new
IA13 book, so the hell blades have Agile and normal reaper autocannon.
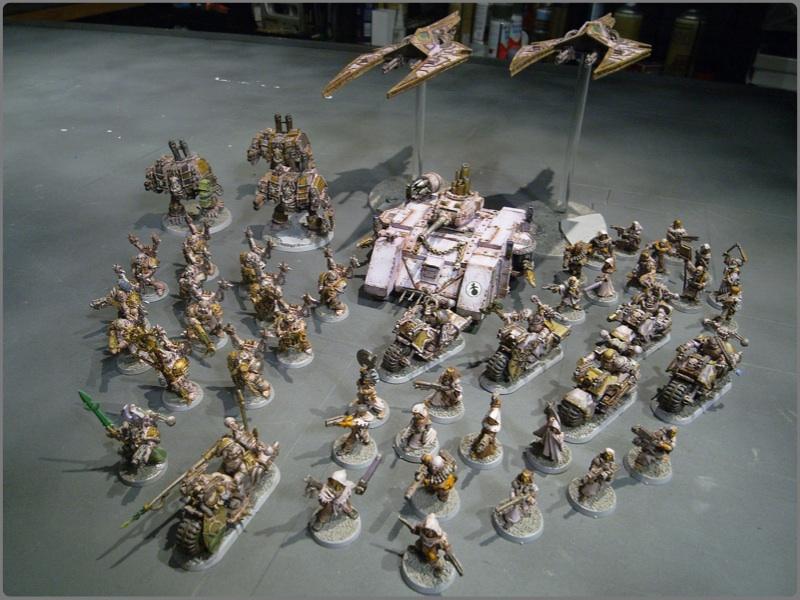
ArbitorIan’s Noise Marines - 1500pts
* Chaos Lord (
MoS, Bike, Power Lance, Sigil of Corruption)
* Chaos Sorcerer (
MoS,
* 5 Bikers (
MoS, Meltagun, Champion with Power Axe)
* 12 Noise Marines (8 Sonic Blasters, 2 Blastmasters, Icon of Excess)
* Hell Blade
* Hell Blade
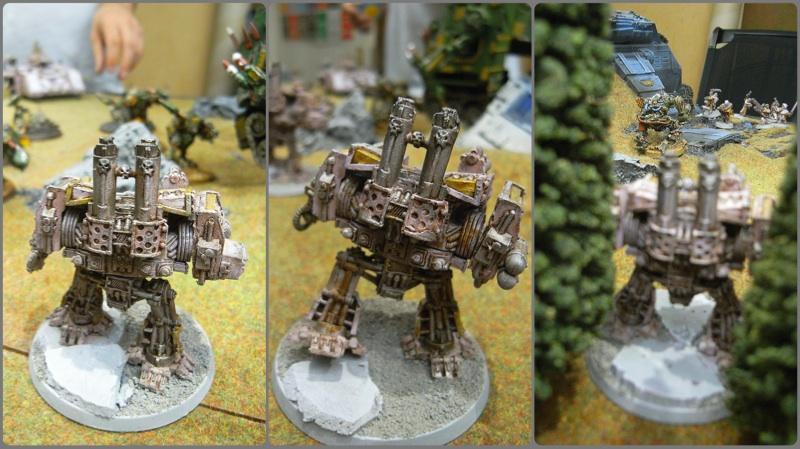
* Helbrute Mayhem Pack (3 Multimeltas, 2 Powerfists, 1 Thunder Hammer)
* Chaos Predator (Autocannon, Lascannon Sponsons, Havoc Launcher)
Panic’s Grotz - 1500pts
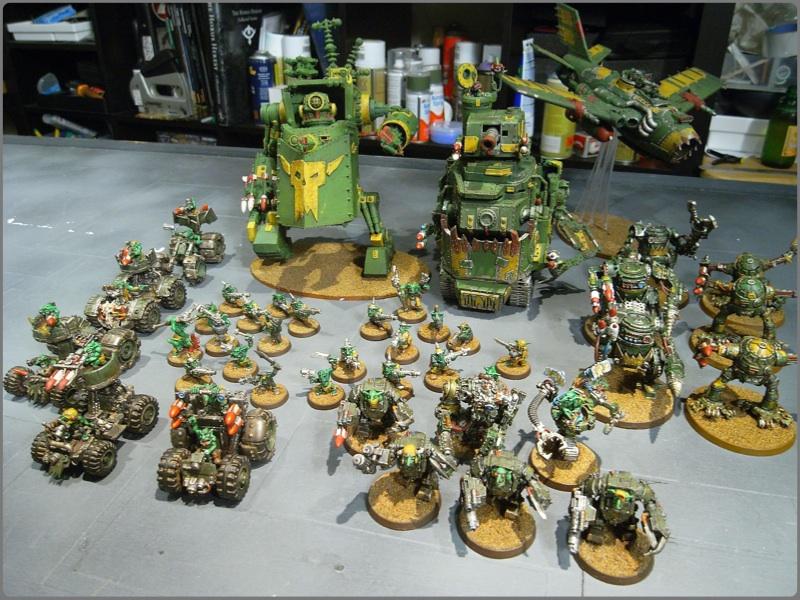
* Warboss (Mega-armour)
* Big Mek (Mega-armour,
KFF)
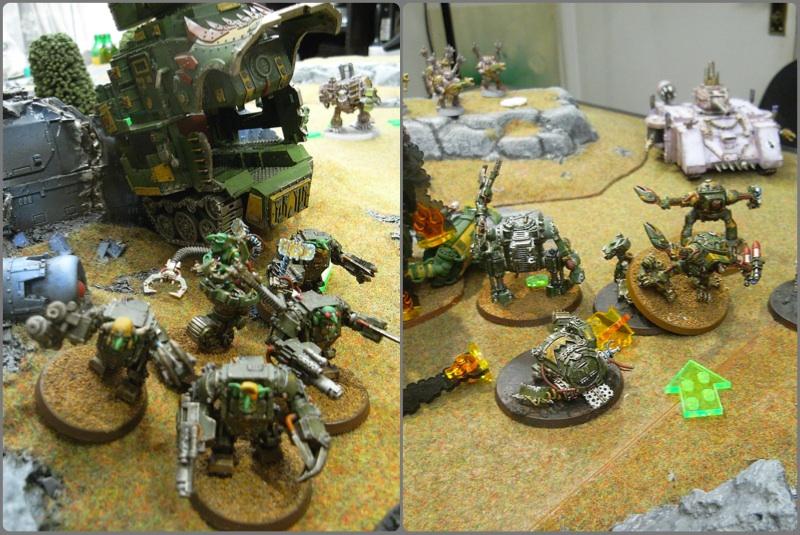
* 4 Meganobz in a Battlewagon (4 Rokkits)
* 10 Grotz + Herder
* 10 Grotz + Herder
* 6 Killa Kanz (Rokkits)
* 5 Buggies (Rokkits)
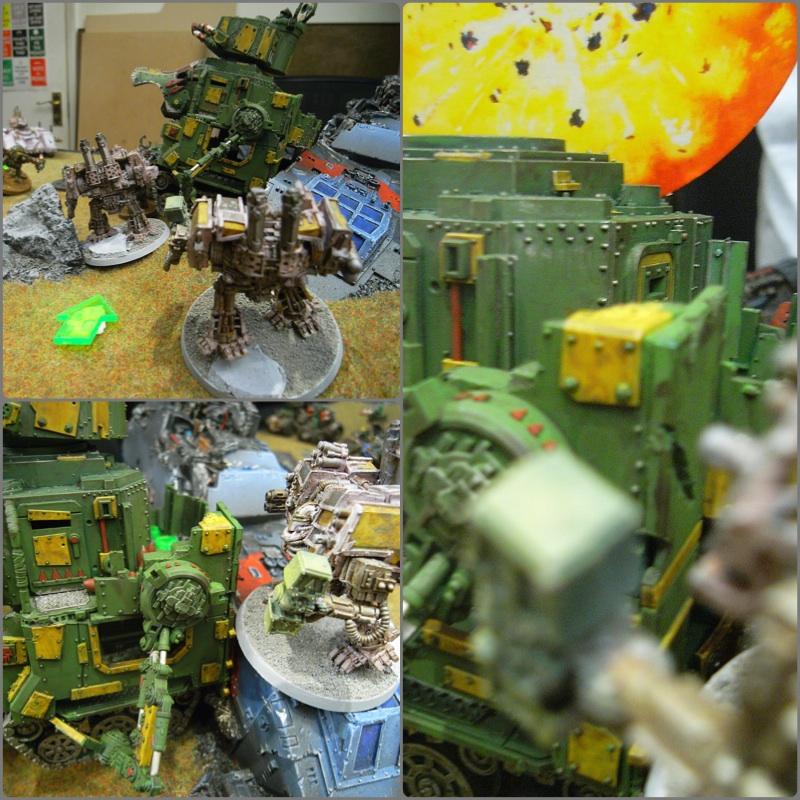
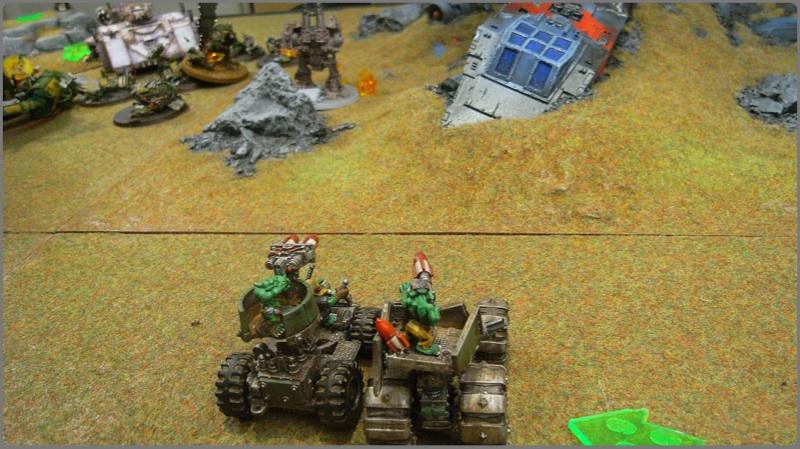
* Gorkanaut
* Blitzabommer
Pre-game
We played ‘Cut and Run’ from the irk section of the Battle Missions book. This is a modified
KP mission, with a few extra rules:
*
HQ are worth 3KP, Troops worth 1VP, and everything else worth 2VP
* The Orks start between 12” and 24” into the board, and after Turn 3 they can run units off the board to avoid giving up
KP.
* The Noise Marines are Stubborn
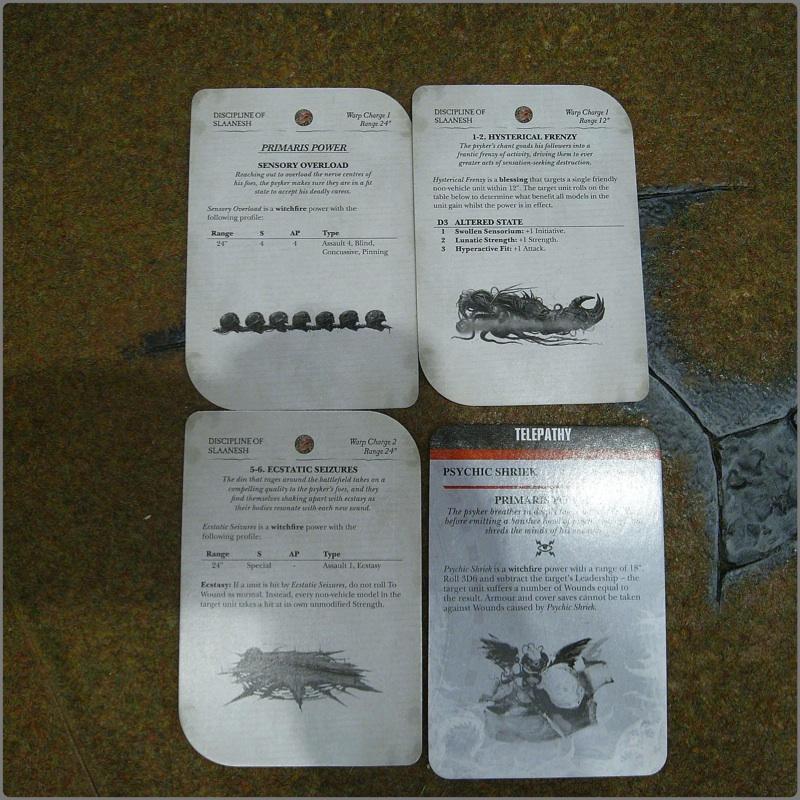
The sorcerer picked his psychic powers:
And the warlord traits were rolled. The chaos lord got Shrouded for his unit, and the war boss got Prophet of the Waaagh, making Ere We Go models fearless during the waaagh.
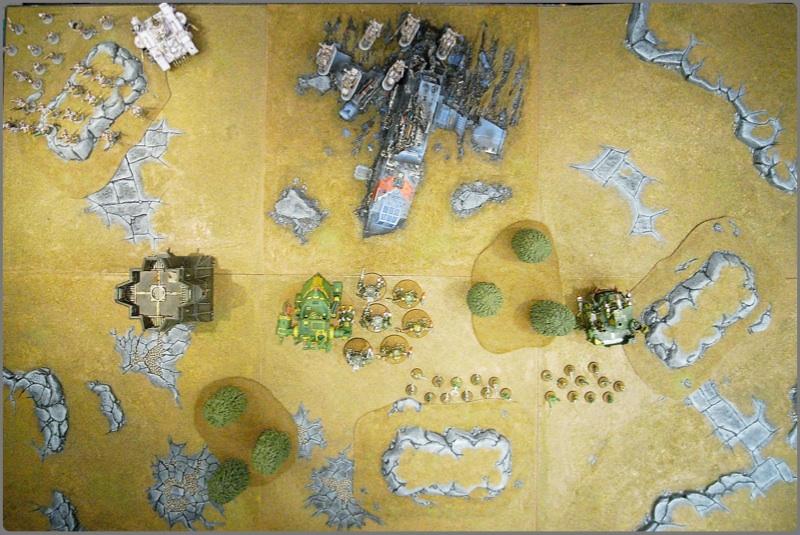
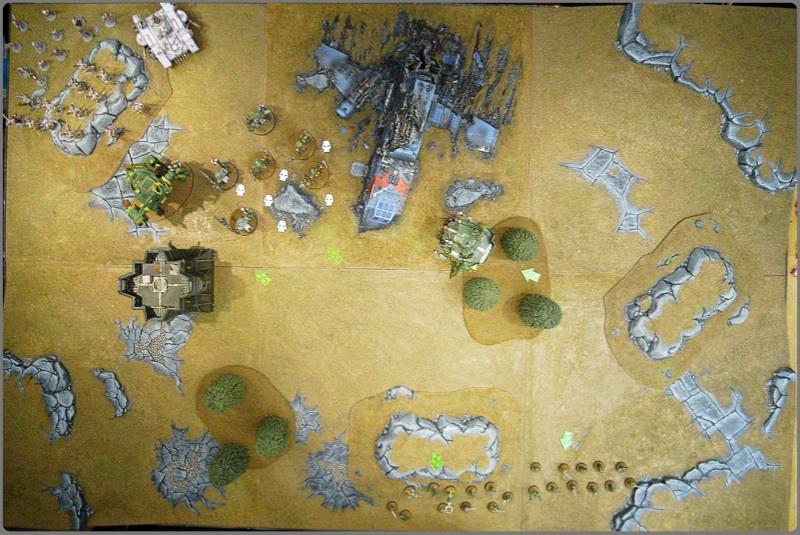
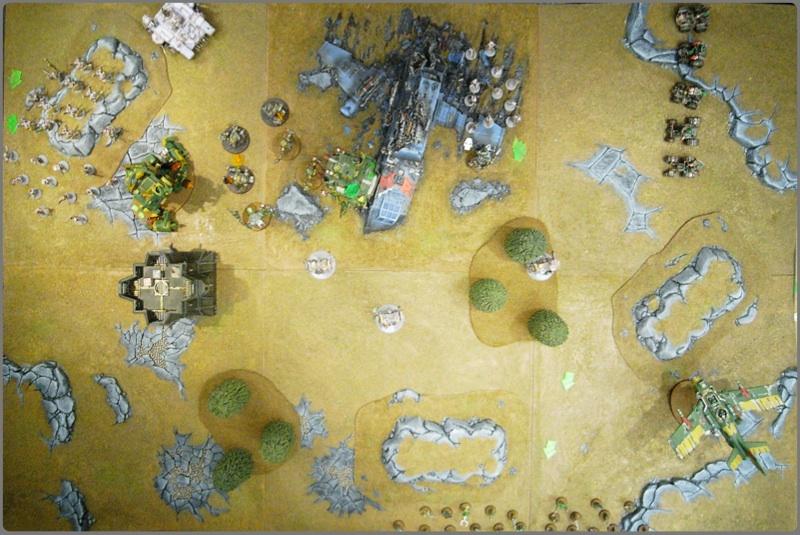
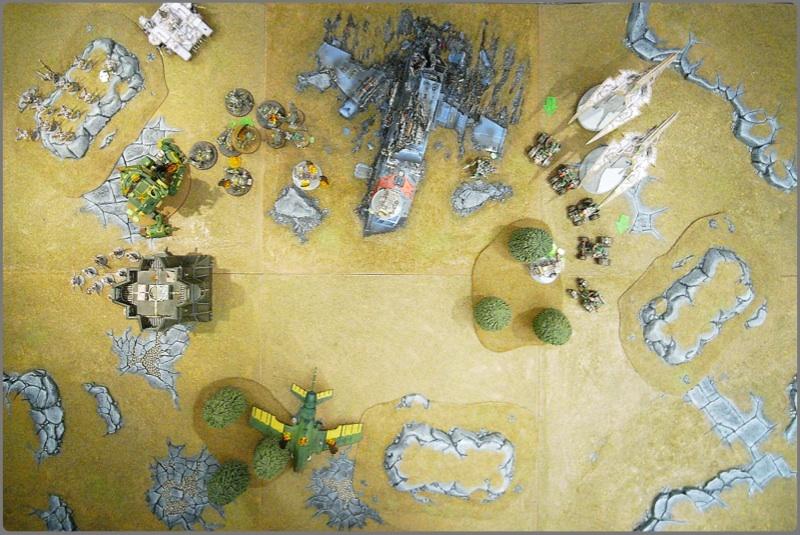
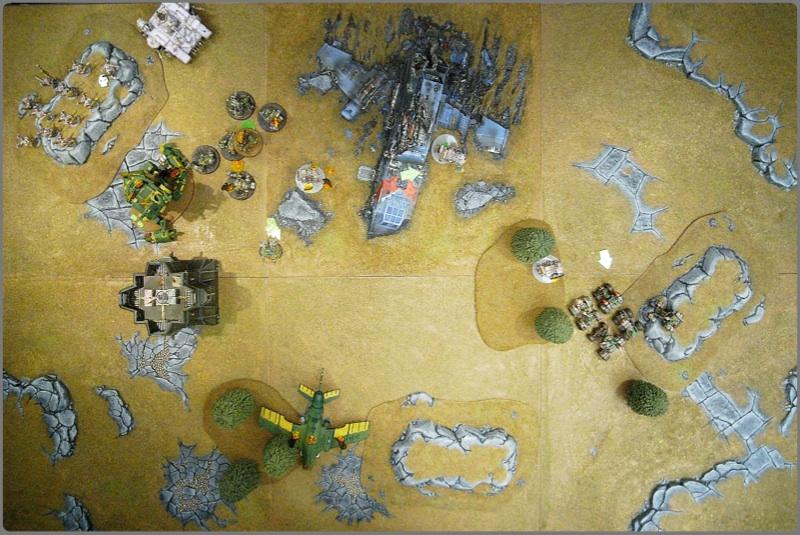
Deployment
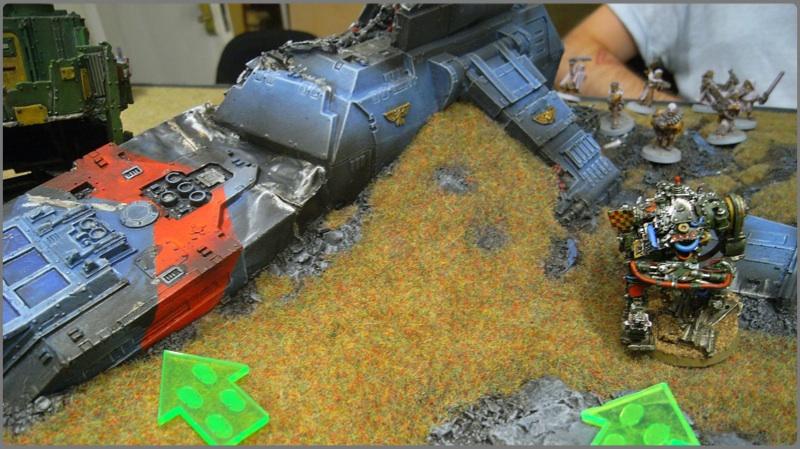
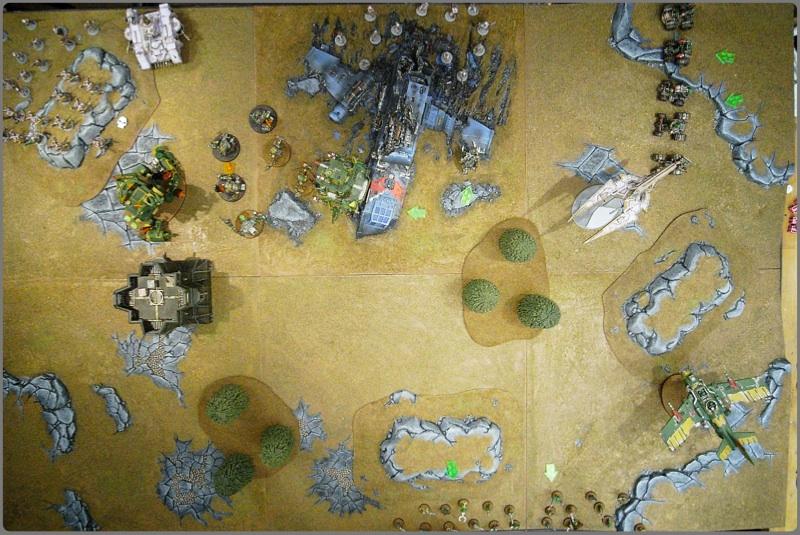
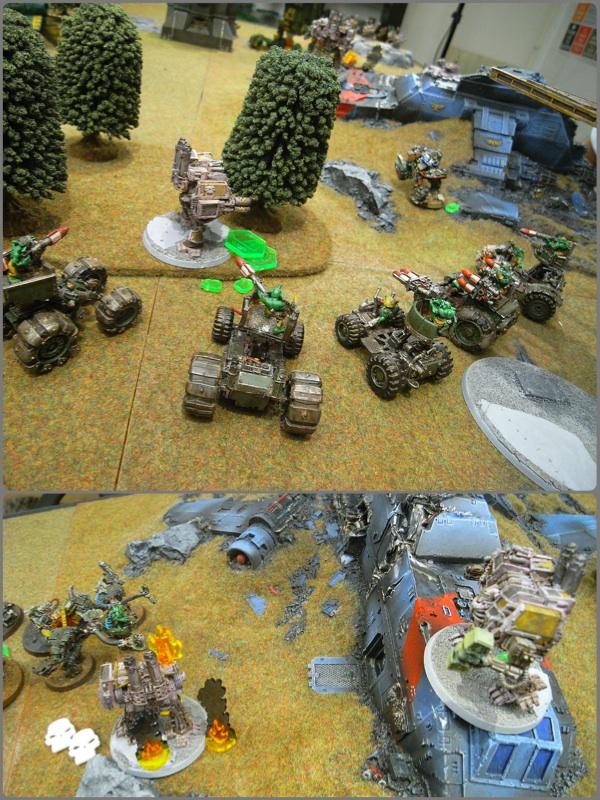
The trots set up the gorkanaut and big kan squad in the centre, supported by the meganobz in the battlewagon at the side. In response, the noise marines set up with an extreme refused flank, the noise marines and sorcerer on the left and the lord and bikers in the centre with the cultists in reserve and mayhem pack of helbrutes deep striking.
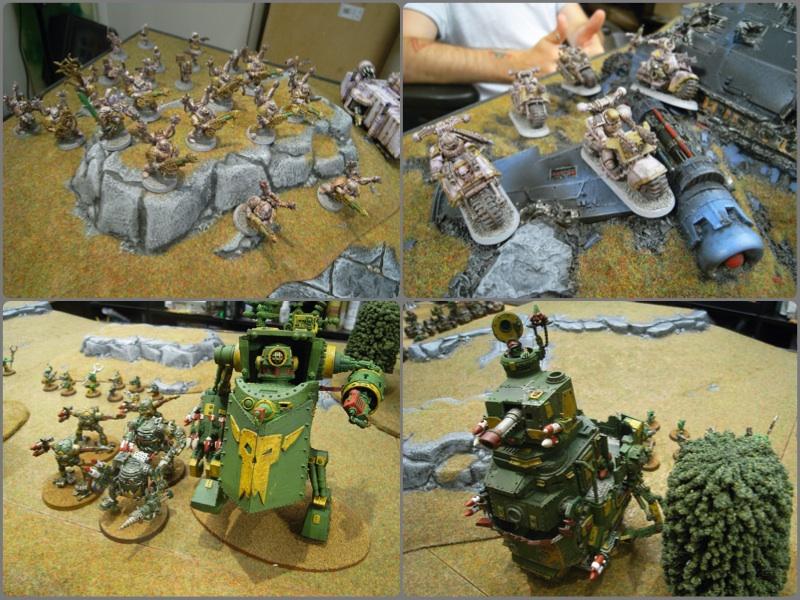
The grot herds hide at the back, ready to save their points by running off the board!
 Chaos Turn 1
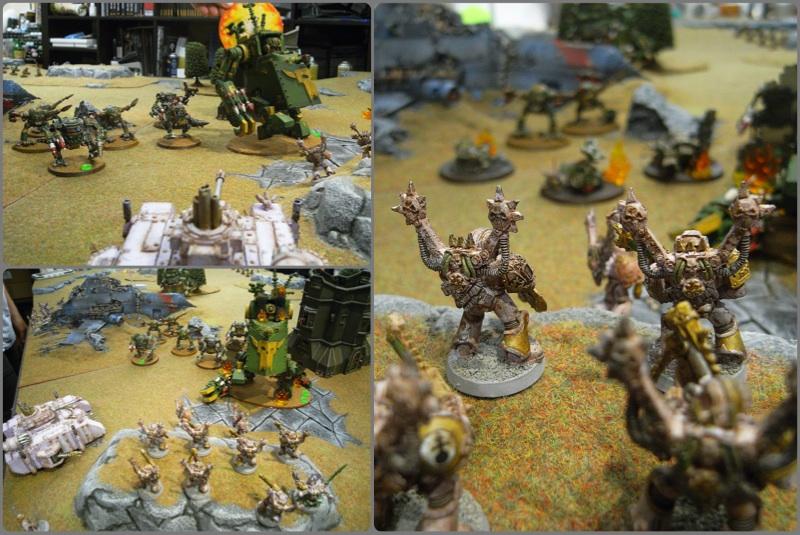
Chaos go first, and advance with their bikers to just within 6” of the gorkanaut. Everything then opens fire on the massive walker, but only manage to get two
HP of damage on the thing!
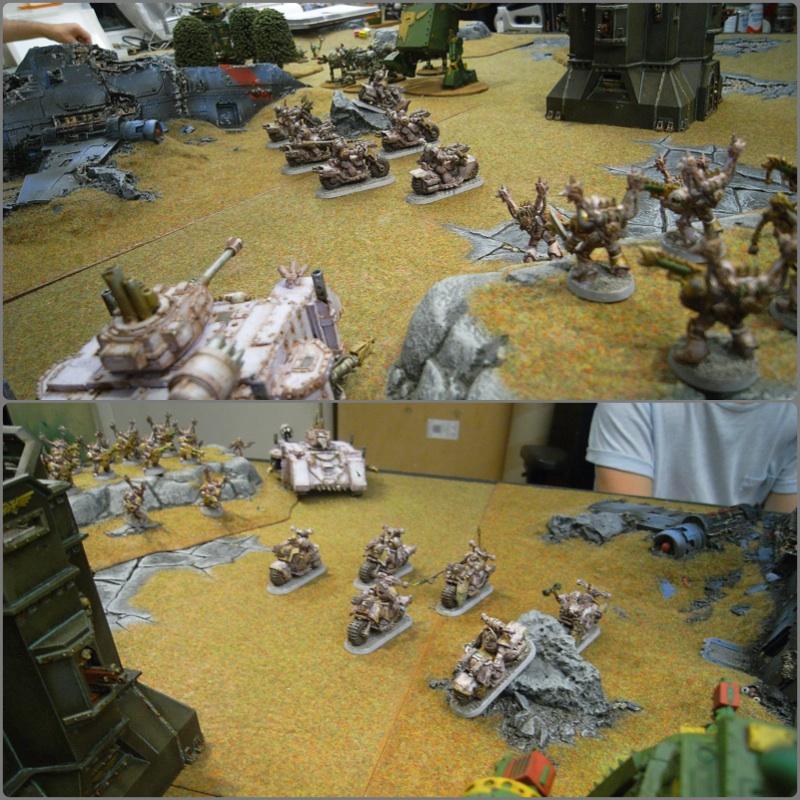
The lord and his bikers are now dangerously overexposed!
 Grot Turn 1
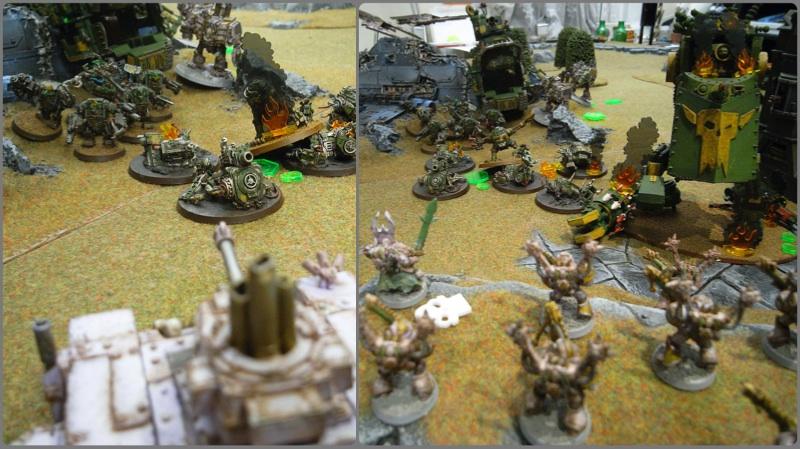
The grot herds start their run for the board edge as everything advances and opens fire on the bikers! Everything is killed, including the lord - the only damage suffered being a second hull point on the gorkanaut.
The cans and gorkanaut then consolidate towards the noise marines.
 Chaos Turn 2
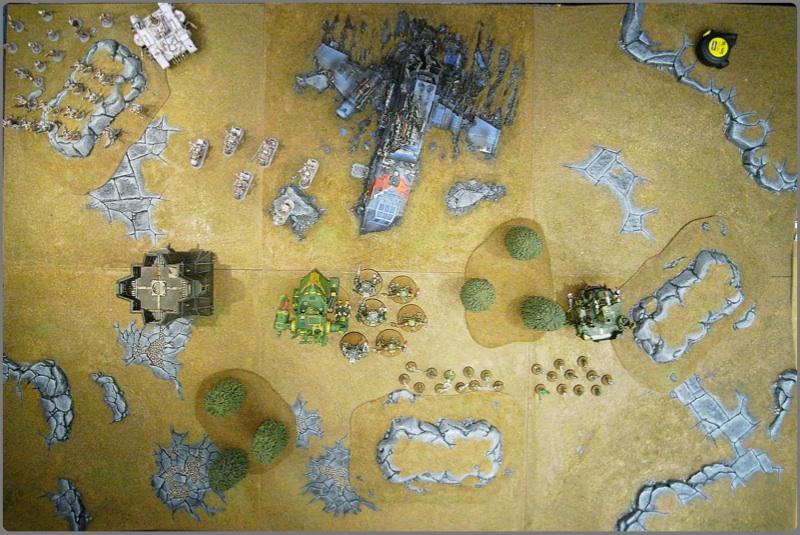
Having already lost their elite strike unit and lord in the first turn of the game, the noise marine army try and stop the rampaging walkers. The first thing to fire is the predator, which gets lucky and explodes the vehicle in one lascannon shot! With help from the sorcerer, the noise marines then fire on the kans, destroying three.
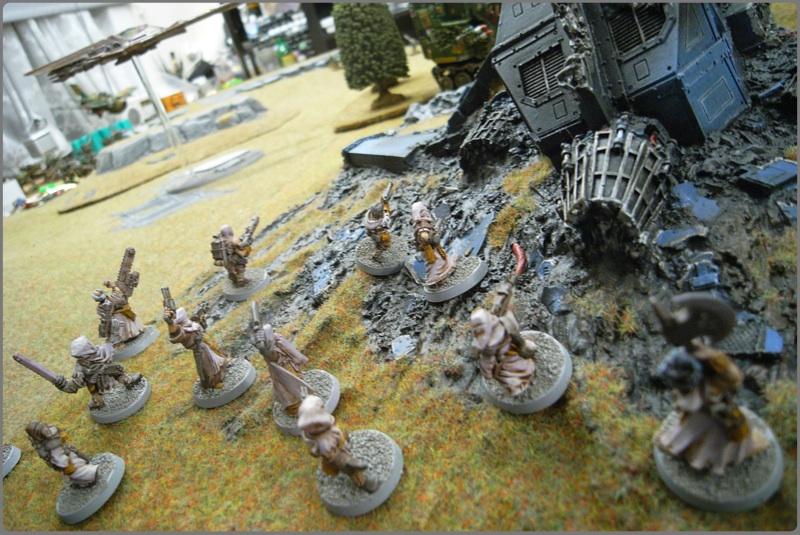
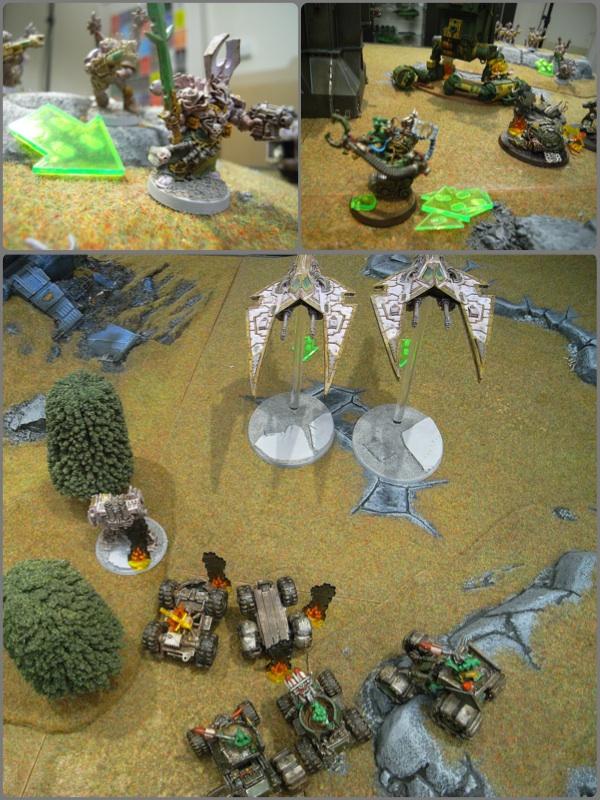
From reserves, the cultists arrive to take up the dangerous gap behind the noise marines and to occupy the thunderhawk.
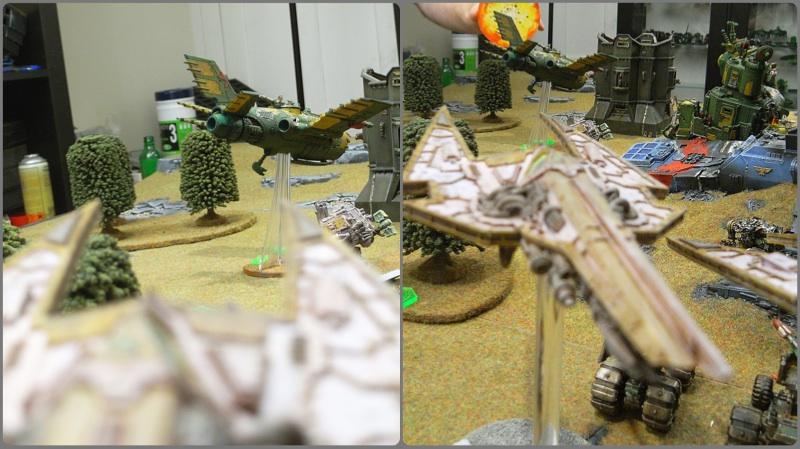
The first hell blade also arrived, and tried to attack the battlewagon’s rear, but failed to do damage.
 Grot Turn 2
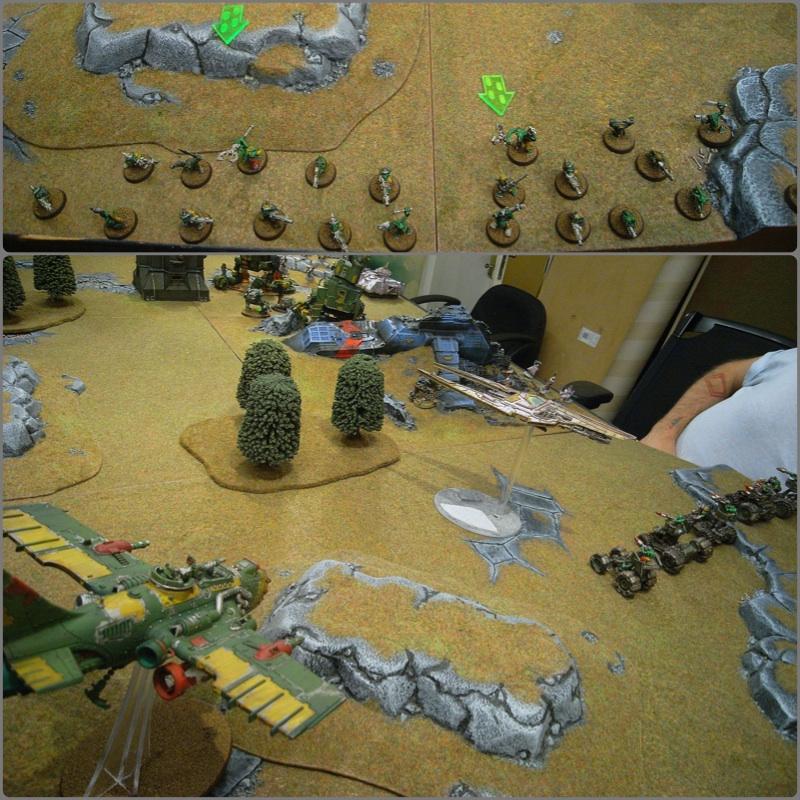
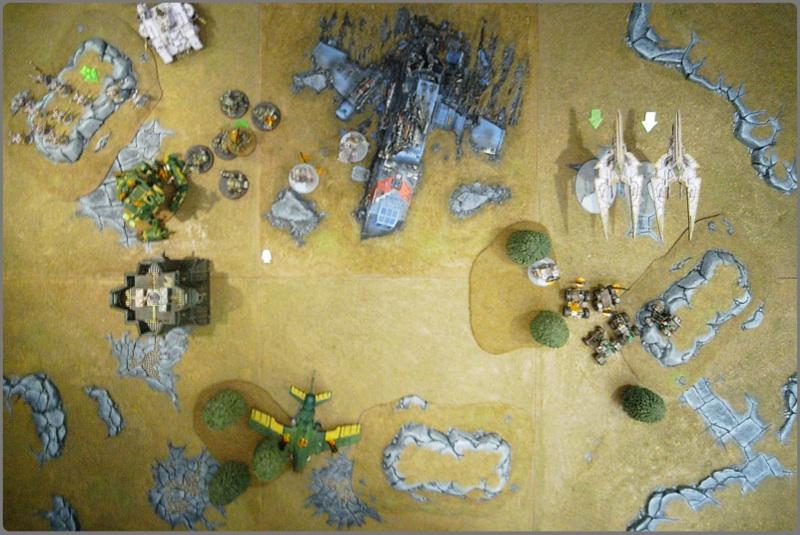
The grot herds finally reach the edge ready for their immediate exit next turn, while the blitzabommer arrives to shoot at the hell blade. The blade jinks with it’s agility skill, and avoids any damage.
As the battlewagon goes over the thunderhawk, the warboss disembarks to go for the cultists.
The buggies also arrive on the right flank, heading for the thunderhawk.
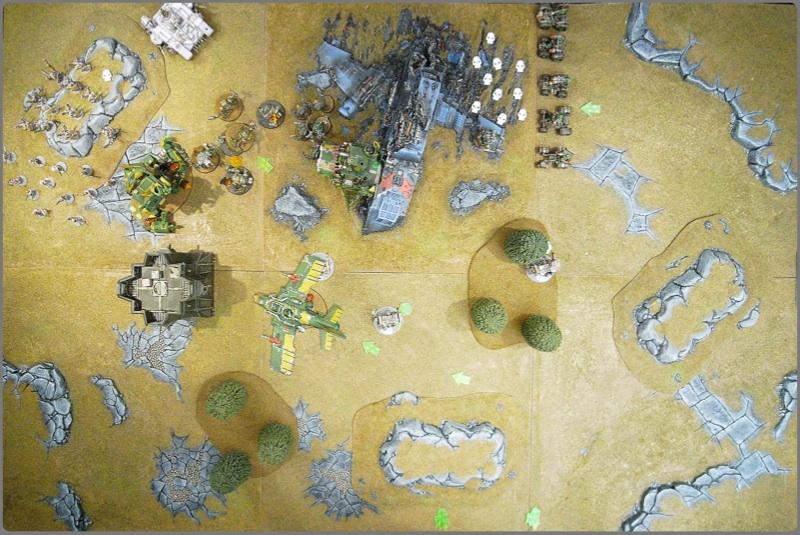
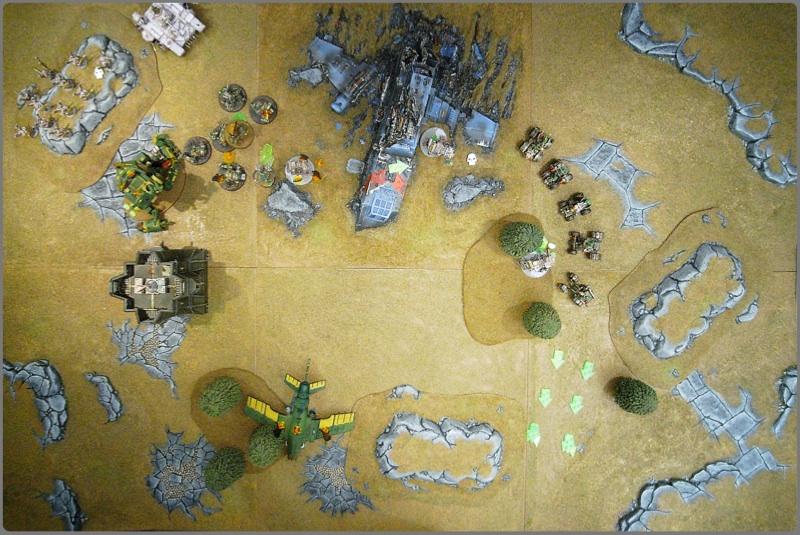
 Chaos Turn 3
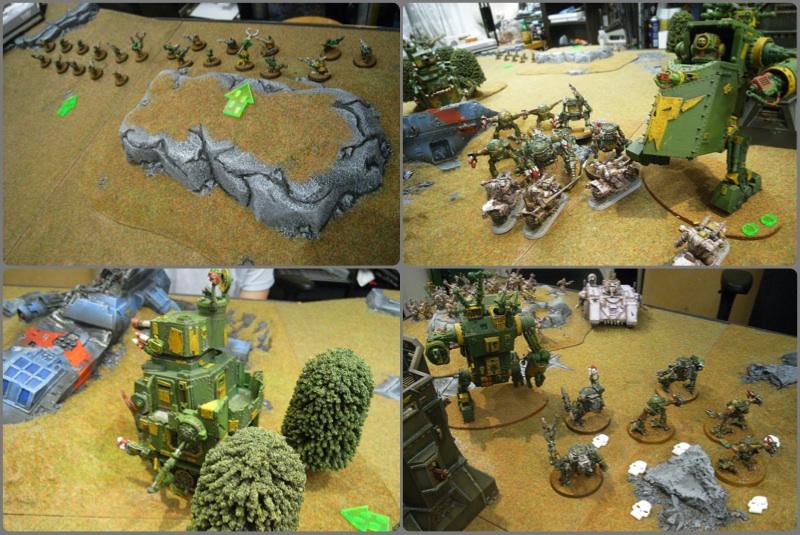
The mayhem pack arrive, three helbrutes dropping down in the centre of the board.
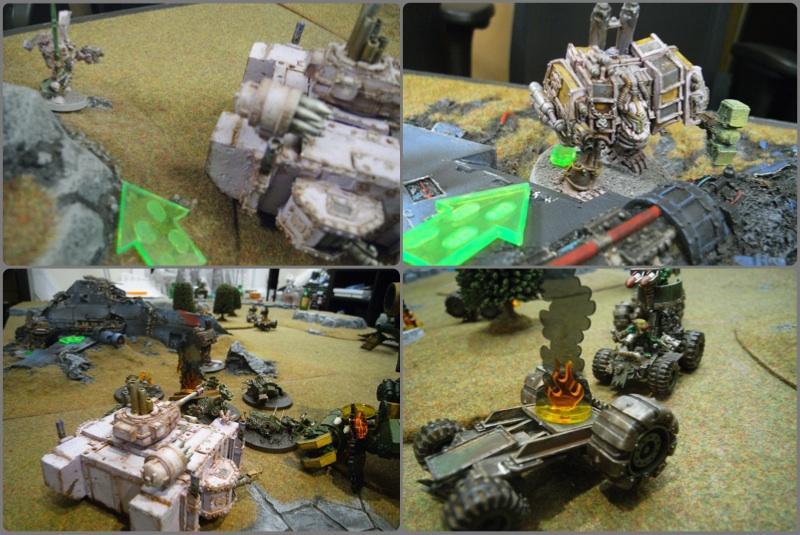
Two multi-melts shots shake and immobilise the battlewagon.
In the meantime, the cultists advance on the warboss, firing but not hurting it, while the kinking hell blade zoomed into ongoing reserves. The sorcerer failed his psychic test, so while the noise marines fired at the cans again, only one was destroyed.

The cultists charged the warboss, but predictably failed to hurt him, and ran away.
 Grot Turn 3
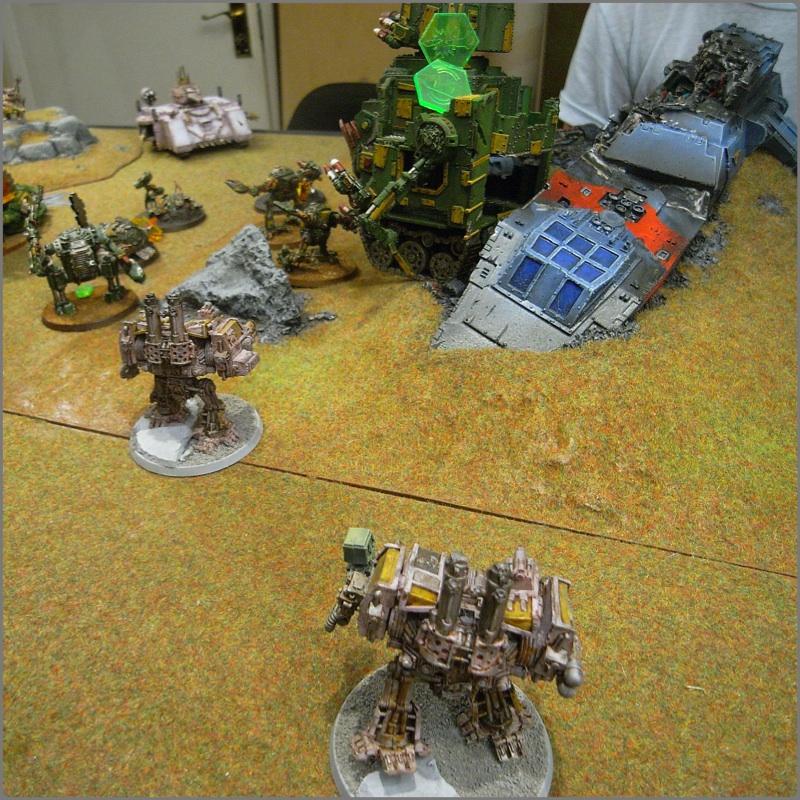
The meganobs disembark the immobilised battlewagon, as the cans advance over the wreckage of their mates.
The blitzabommer dropped a bomb on the central helbrute, stunning it, and the buggies immobilise the one on the right, while the warboss takes the opportunity to follow up into the cultists and wipe them all out.
The blitzabommer completes it’s move by the bastion and fires at the noise marines, but doesn’t manage to hurt anything.
 Chaos Turn 4
Both hell blades arrive and open fire on the blitzabommer, causing it to crash and burn.
The central dread charges the battlewagon and explodes it.
The predator and noise marines keep firing at the kans, but there’s still one left!
 Grot Turn 4
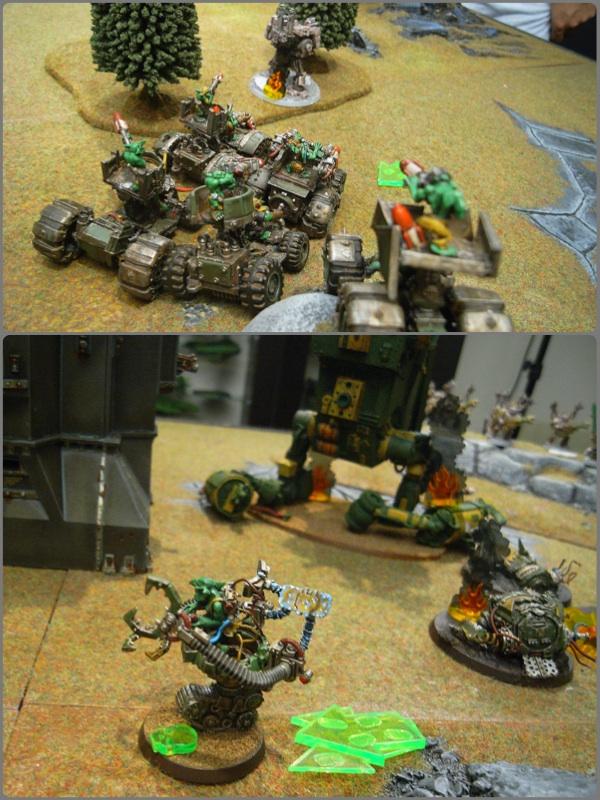
The leftmost helbrute failed to charge the meganobz last turn, so the nobs move into the attack, losing two but wrecking the helbrute.
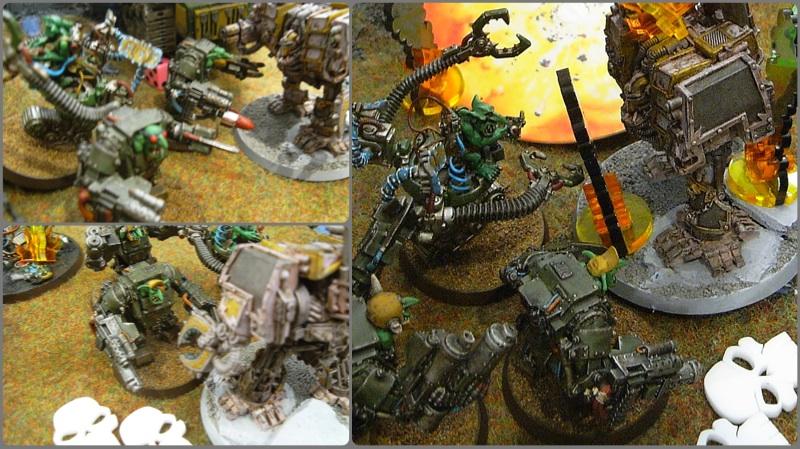
The buggies move to surround the immobilised helbrute, taking another hull point from it.
And the end of turn four.
 Chaos Turn 5
The other squad of cultists finally make it to the bastion and hide inside, as the thunder hammer helbrute attacks the warboss and kills him!

On the left, massed fire takes out the rest of the meganobz and the mek with them flees, while the hell blades leave combat airspace again.
 Grot Turn 5
The buggies take the last hull point from the immobilised dread, and move on, while the mek keeps running!
End of turn 5, and we roll and get another!
 Turn 6
The Sorcerer leaves his unit to get into range and then blows up the running mek with a psychic shriek, as the hell blades arrive and attack the buggies.
The buggies keep moving, but can’t hurt anything.
 Turn 7
The remaining helbrute hides as it’s a walking couple of kill points, while the predator takes out one of the final three buggies.
And here are the last two models in the grot army!
And the game ends with Grots 10, Chaos 13. Noise marines win!


 3500
3500

 3000+
3000+
 3000+
3000+
 1000+
1000+
 1000+
1000+ 
