Figured I'd post this here as it isn't a great fit for any of the other forums! I'm a Tyranid player who has long been inspired by this skyshield model:
http://www.40kaddict.uk/2014/02/nids-part-126-project-y-scratchbuilt.html. That and some of my army actually having invulnerable saves sounded very very nice, since we don't get many stock. This project began when I came into possession of some capillary towers...
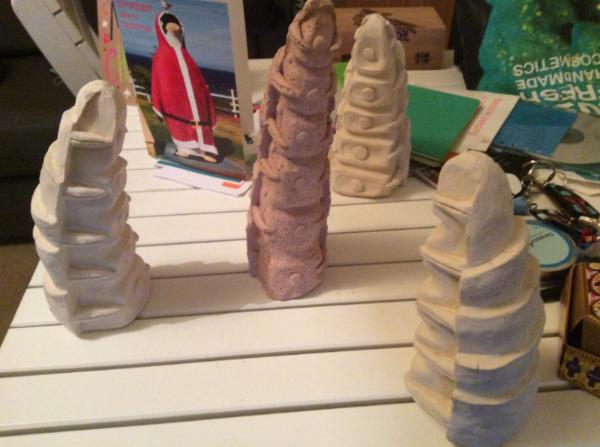
Excuse the trash lying around on the table... But anyway, some guy quitting the game had come into my local store and dropped off a ton of things he had lying around - some of which happened to be these capillary towers he'd sculpted himself out of what I think was clay. Initially I was just thinking that I'd got some sweet Nid terrain which would serve as spore chimneys for
apoc games maybe, but then I got an invite to a follow-up to a tournament I'd gone to last year. I did pretty well with skyblight, as it was eternal war - but my bunker really didn't feel all that useful. I remembered the linked skyshield above, saw that the
FAQ allowed invulns to be taken against 6s on the D table, and my decision was made - I'd be building a Nid skyshield to take along.
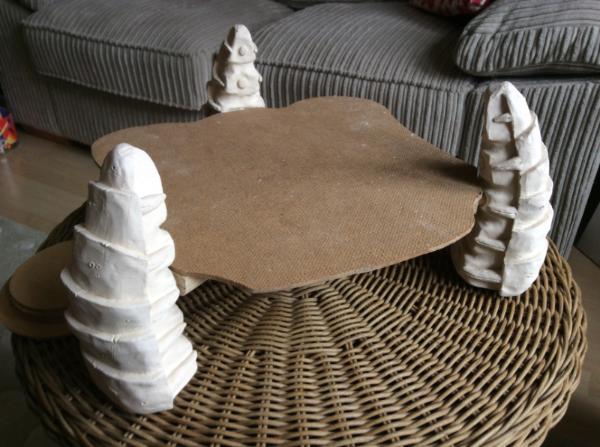
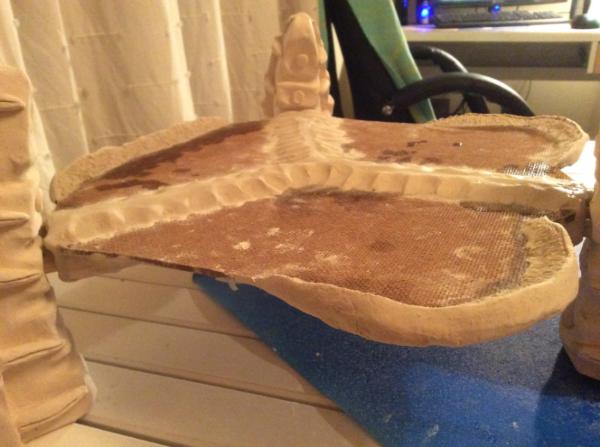
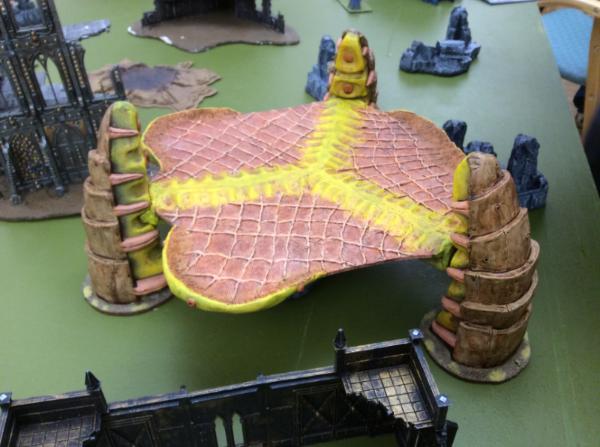
The first step was to assemble the pad itself - I had the support legs, but needed a platform that would fit between them. I used a big sheet of hardwood lying around for this, taking the textured side usually on the bottom face up so it looked more organic. After some work on a
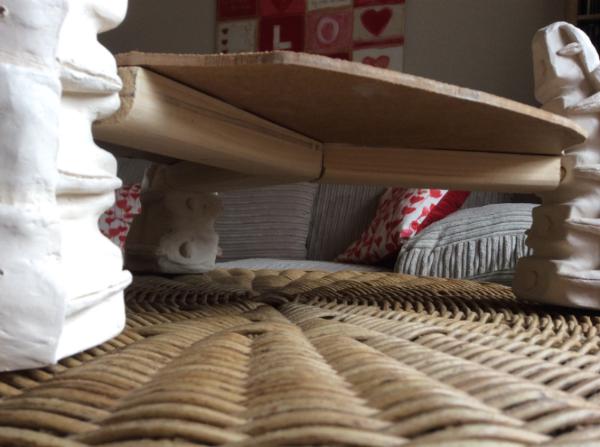
PC working out how large a shape I'd need to get a comparable surface area to the actual skyshield, I stencilled my design on and jigsawed it out. The next step was to attach the thing to my towers/legs, which was more of a challenge. I'd decided that I was going to use some lighter pieces of wood to form a Y shape underneath the pad travelling to each tower, which I could paint to look more tough/boney than the fleshy film I imagined stretching between them to make up most of the pad. This Y of wood could also be drilled into so I could use dowel to slot the pad into the towers - which would be removable to allow for easier transport and storage. Turns out drilling into set clay is no easy task - it proved so tough I had to go out and buy a new large tile drill to be able to drill one hole (of 6) in less than half an hour! That and being terrified I was toing to shatter the thing. But in any case, it all worked out, and I had my basic structure (you can see the wood Y underneath).
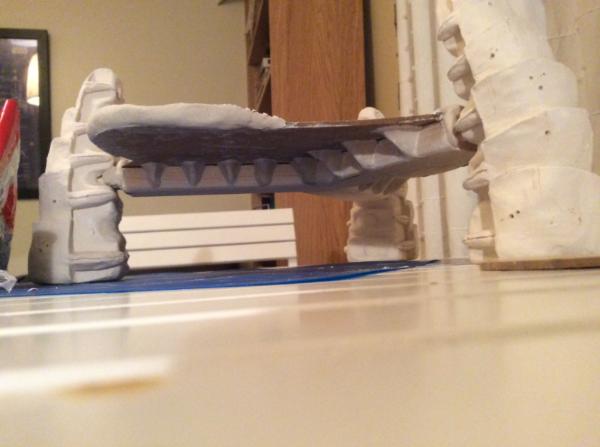
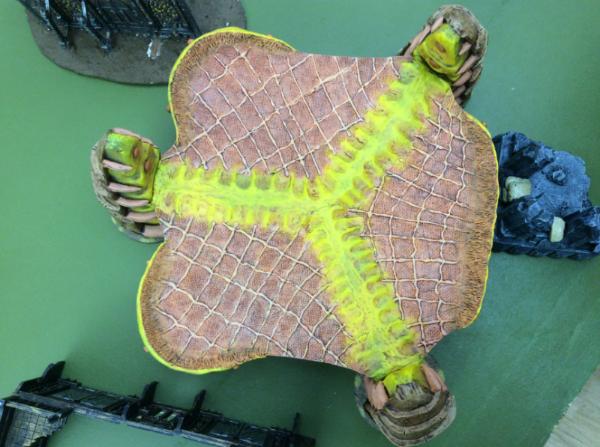
The next step was to sculpt some of the body of the pad up so it looked like more than a sheet of wood (which admittedly it was). I used some clay to add a Y-shaped ridge to the top of the pad mirroring the wooden one below, as well as to flesh out the wooden Y with some more organic looked ridges of their own. Since a stretched membrane like the linked pad has wouldn't form in the rounded corners I had cut, I also added some edges to the three sides of the pad to form battlement-type areas (which I had further plans for), and made some effort to make the inside edge look more organic and blend into the pad.
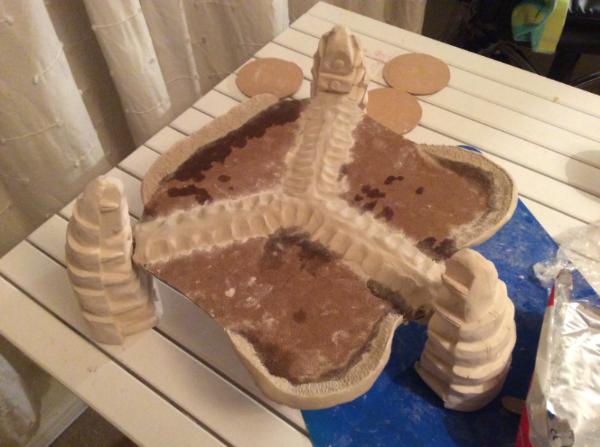
You might also notice the three circles of hardwood in the first of these pics - they are intended as bases for the three towers, as they're really heavy and could easily damage a gaming board. Next step was to fill in the gaps on the exposed wood to make the thing look more membranous - I used a hot glue gun to do so...

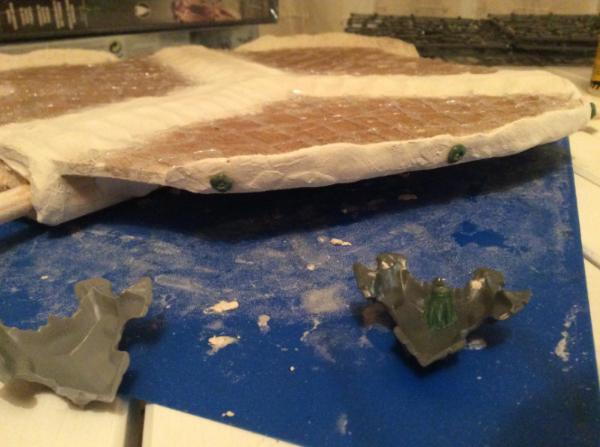
Looking pretty solid! Now to put my plan for the battlement segments into action - I was going to magnetise spare Fex carapace parts onto them so they looked more battlementy, to reflect the edges of the actual skyshield when shielded - and being magnetised meant I could remove them to indicate it being unshielded. You can see the little green stuff circles I did around the magnets below, with the intent of making each look a little like eyes when unshielded. Also visible is the dowel used to attach the thing together, and some extra claywork round the dowel to ensure a snug fit with the towers.
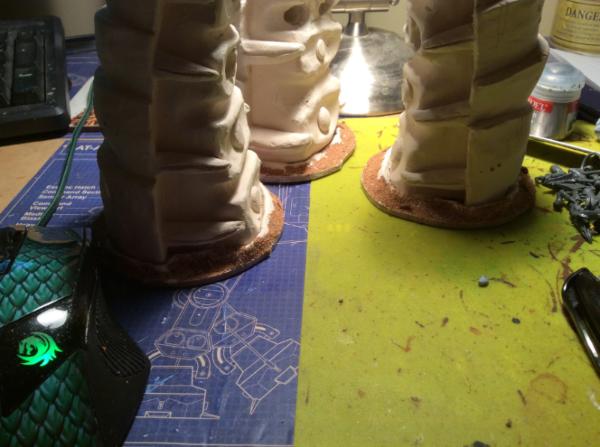
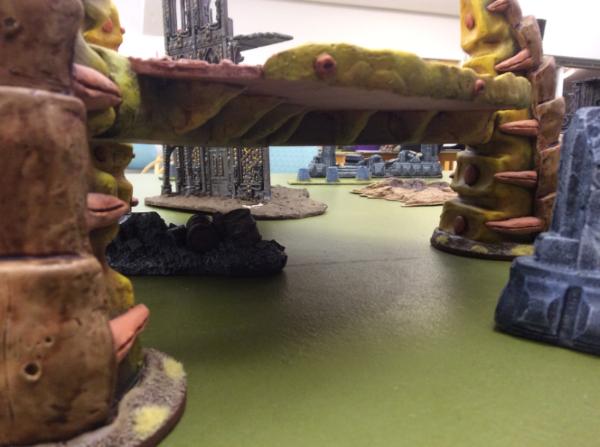
I then based my three towers, sticking them onto the hardwood circles then building up clay to make it appear that they had burst from the ground. Then I used the same basing as my army to make them blend in - sand and the odd bit of slate. You can see the holes drilled in each tower in this photo quite well too.
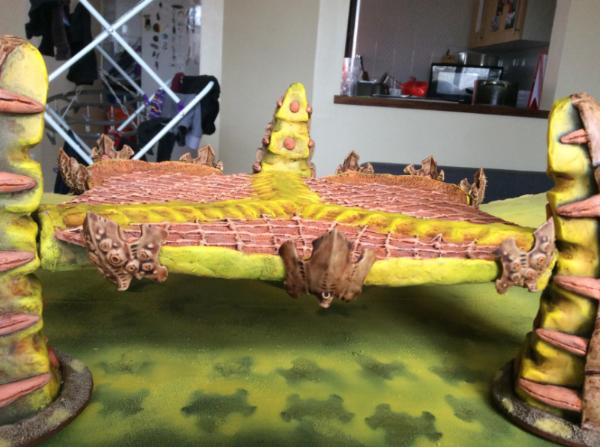
So then it was painting! Took considerably less time than I expected with some huge brushes, and some advice from my artsy significant other as to how better blend the yellow and fleshy look together on the pad, but here's the finished product...
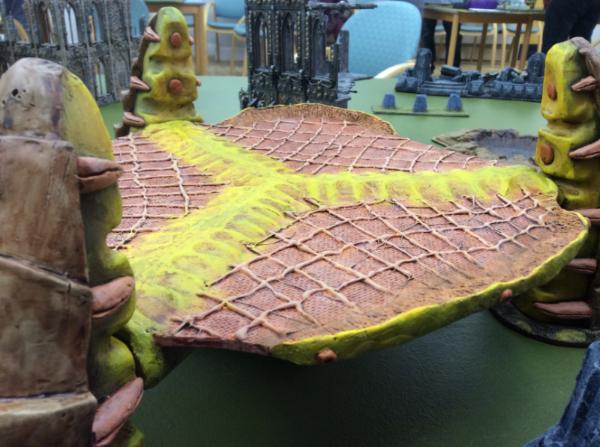
I was very pleased with the finished product, even if it had rapidly earned the nickname "waffle iron" at my local club! And perhaps I should say almost finished product, as one part was outstanding - the fex carapaces magnetised onto each side (turned out I didn't have enough what with my use of others for my VSG project). I had to wait for a friend's generous donation to be able to finish that up...

So there we go! Totally finished. Here's one last parting shot of my army crammed onto the thing - extra points if you can actually see the Venomthrope I swear is in there... Hope you've enjoyed!


 bag!"
bag!"


 even if placing fliers so close is always a pain...
