
- by Iain Wilson
In my continuing quest to find
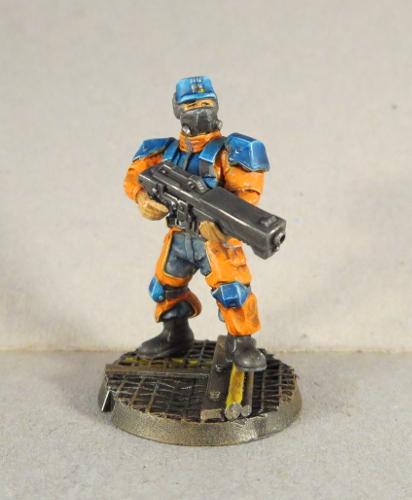
all of the fun and cool ways to customise the range of Maelstrom's Edge plastic models, this week I'm having a look at enhancing the humble
Epirian Contractor, through the addition of a gas mask or rebreather to help him to stay upright and functional in some of those less human-friendly environments that they might come across on frontier worlds.
 What You Need:
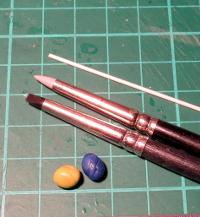
Aside from your contractors, you'll need a little green stuff, some sculpting tools (something flat, and something rounded - I like silicon clay shapers (also sometimes sold as 'color shapers' for painting), as they don't stick to the putty the way metal tools do), a little 1mm plastic rod and you may also find a hobby knife and some superglue useful.
You're best off working with the heads before they have been glued on the model, as you have a little more room to maneouvre that way. I find just working with the head on the sprue works well for this.
Note: For those new to putty work, 'green stuff' is the common name for a product called 'Kneadatite', which is a two-part epoxy putty. You have a blue component and a yellow component that you mix together until they go green, at which point they are pliable for sculpting for an hour or two, after which they set to a slightly-rubbery-plastic consistency.
What You Do:
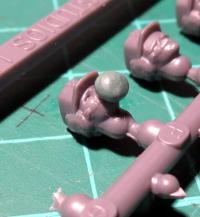
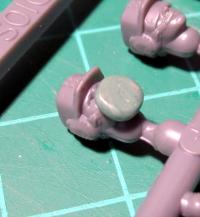
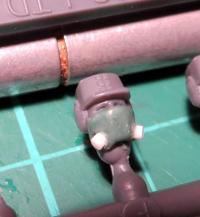
Roll a small ball of green stuff, and press it lightly onto the Contractor's lower face.
 Tip: If you're trying to make a number of identical masks, roll out a long, thin sausage of green stuff, and cut off segments for each mask. This makes it much easier to get the same amount of putty for each mask.
Using a flat sculpting tool, press the front of the ball down flat, angling down towards the chin.
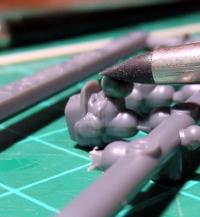
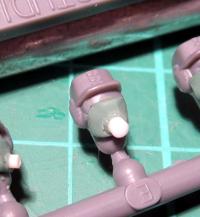
Using a rounded or conical tool, roll the sides of the ball down to meet up with the Contractor's earpieces on either side.
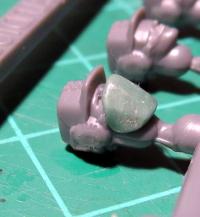
If necessary, use a sharp knife to cut the mask off just a fraction below the chin. If it juts down too far, you'll have problems getting the head to sit right without cutting off the front of the collar.
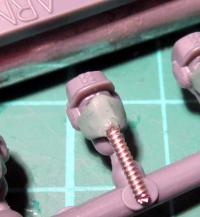
Then, cut yourself two 1-2mm lengths of plastic rod.
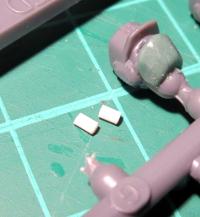
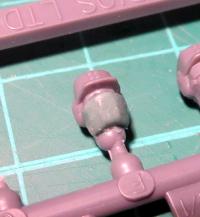
Press these into the 'cheeks' of the mask so that they protrude out diagonally downwards. It can help to add a small touch of superglue to the end of the rod that goes into the putty, to help it stick in place. Otherwise, they can work loose once the putty has set.
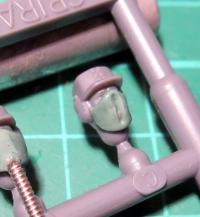
Leave for a couple of hours to let the putty set, and you're ready to glue the head in place and paint.
You can easily vary the design by modifying where you place the rebreather canister...
...using some guitar string instead if plastic rod, and running it down to a canister on the belt or armour harness...
...or leaving the canister off entirely and having an inset rebreather grill. This style also works well for converting a
Karist Angel Keeper.
Working away at your own Contractor Squad? We'd love to see your work! Wander on over to the
Comm Guild Facebook page to share your creations!


