Today we'll learn to paint a cloak, made of skin. A lot of brutal characters in Warhammer, Malifaux and many other wargames wear these horrifying trophies. So, this method will be used everywhere. It's also easy and suitable for the beginners.
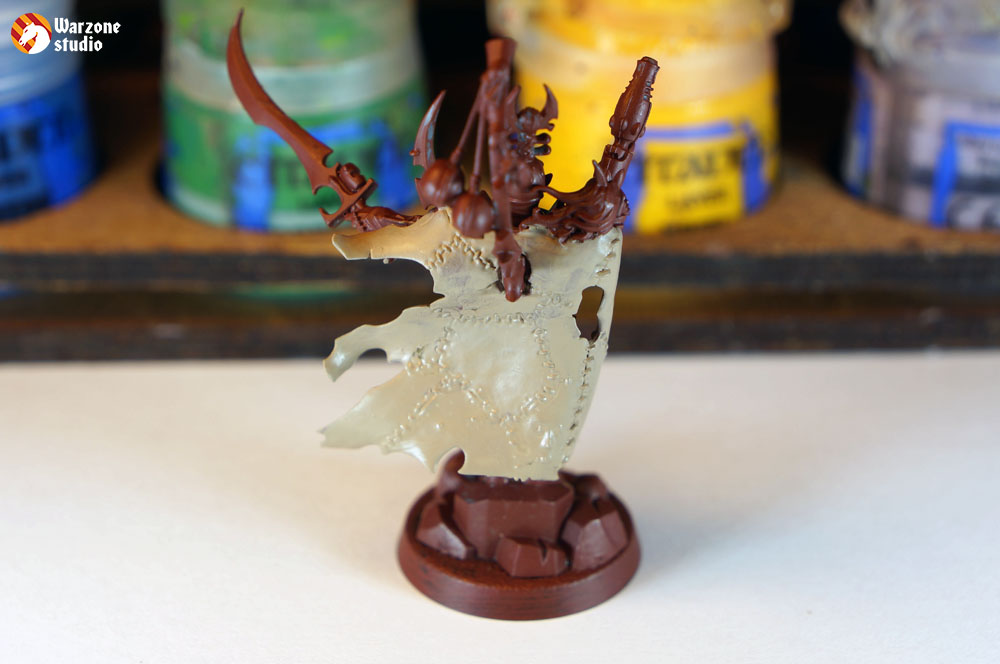
The example will use Dark Eldar Archon - those sharp-eared sadists really appreciate such wear. After experiments with different primers, we've chosen a brown one from Vallejo - it is great both with dark and light basecoat and demonstrates you unpainted areas. If you use any other primer, it would be nice to paint the cloak in brown before you start.
OfficialGames Workshop guide recommends Rakarth Flesh as a basecoat. If you have it - it's great. If not - it's not a problem - the point here is to get beige-gray color with some flesh tone. So, we've mixed Karak Stone, Kadian Fleshtone, and Pallid Wych Flesh. You can also take Zandri Dust and add some white color. In fact, the particular shade is not the matter at this step. Sure, you need to apply it in 2-3 thin layers. and it's nice if the color covers the brown layer unequally - the cloak, sewed from different skin patches shouldn't look homogeneous.
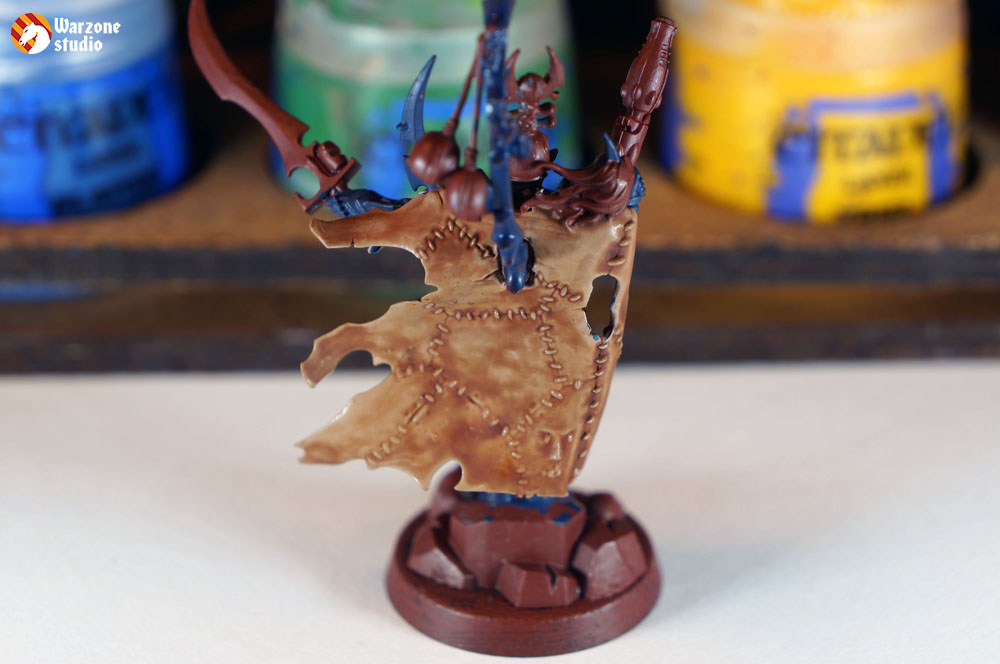
Wash the cloak with Reikland Fleshshade - after that the dirtiest stage is over and you can start painting the entire model. By the way, if you are not sure, you can do well, you can just skip the other stages after this one and immediately go to highlighting - the result will look OK, especially if the previous layer isn't similar everywhere.
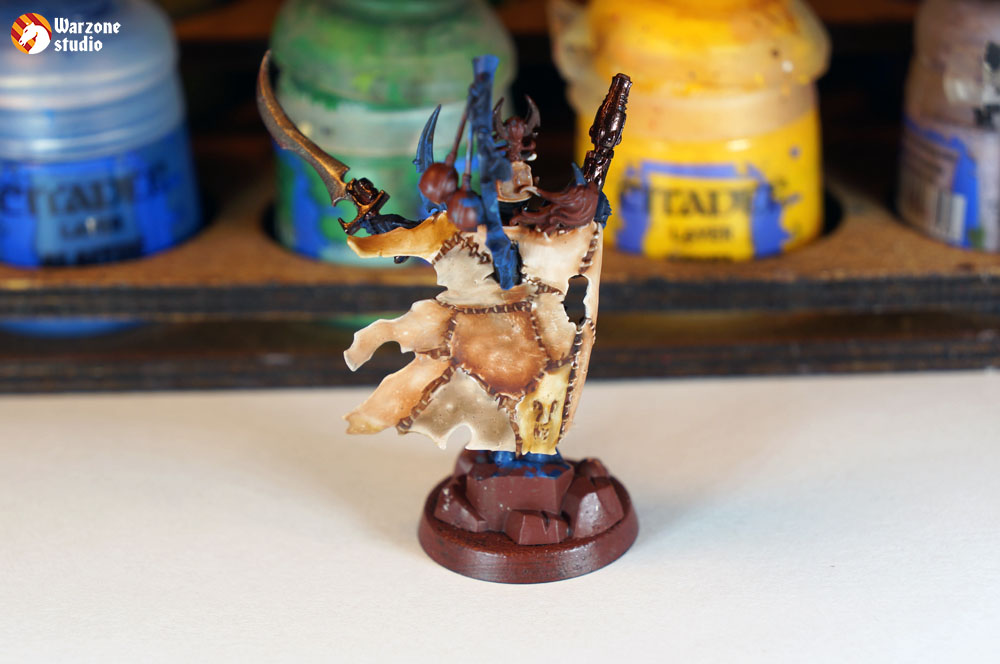
For the next step, you can use Flayed One Flesh, or mix Pallid Wych Flesh with Kadian Fleshtone or Ungor Flesh. The main point here is to make skin tone closer to white. Of course, leave some previous layer in the recesses.
Now the most interesting step. Since there's no glaze of skin color, we'll make it ourselves. Take Lahmian Medium as a base, and add different washes into it. Sure, Reikland Fleshshade, but you can use Nuln Oil or Seraphim Sepia or mix them - even the same wash, but in different proportion looks different. So, don't be afraid to try - only you decide, which creatures were used to make the cloak for your warlord.
And the final step - highlight the edges with Pallid Wych Flesh. The stitches can be painted with any black, brown or gray paint - it's up to you. And your skin cloak is ready!
Visit our blog for more:
https://warzone40k.com/skin-cloak