Today we'll show you 2 relatively easy ways to paint Death Guard armor. These Nurgle legionnaires are extremely popular these days. The point is that we decided to use Vallejo paints. Citadel has Death Guard Green, and it's not a difficult choice. But we wanted to find something from the other manufacturers but looking close to the standard color scheme.
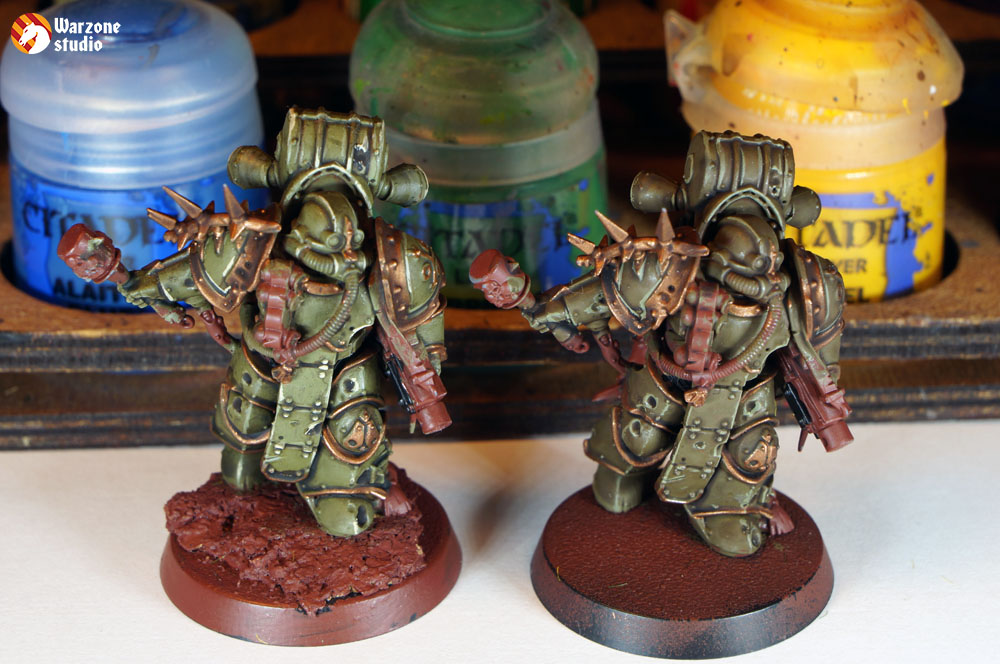
You can see suggested paints on the photo. Sure, you can choose something else, but these ones match well with each other and with Citadel shades. We'll show 2 methods - they are close, but the second is easier - it's the right miniature on each photo.
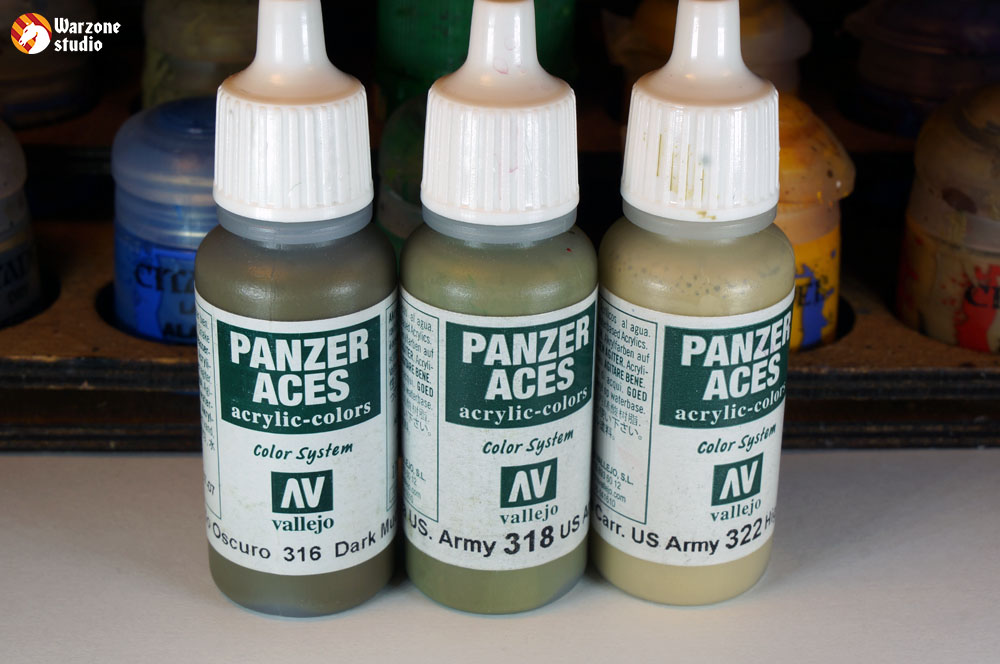
The first step is similar to both methods - apply the base layer of Dark Mud (Panzer Aces 316).
But the second step is already different for each miniature. Apply a layer of drybrush with US Amy Tank Crew (Panzer Aces 318) on the left one. Don't forget to leave the previous layer in the recesses. And try to make this layer thin - rotten Death Guard armor shouldn't be smooth. On the right miniature, you need to paint all brass parts with Baltazar Gold. This will fasten the process since you will apply the shade to the whole miniature.
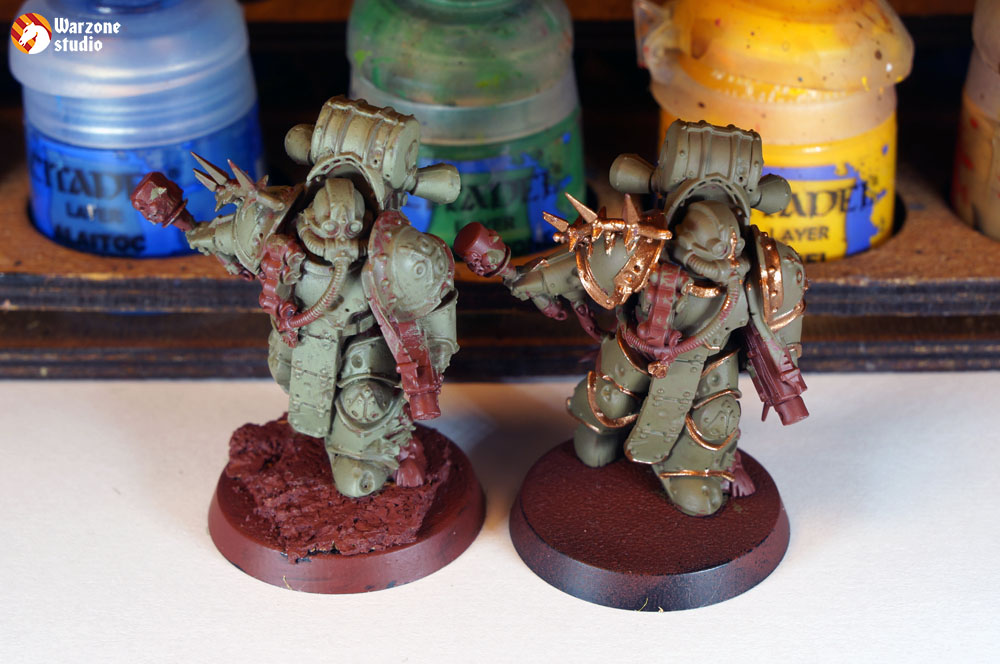
Now - the shade. Athonian Camoshade for the left, your favorite Agrax Earthshade for the right. It's equally nice for the armor and brass parts.
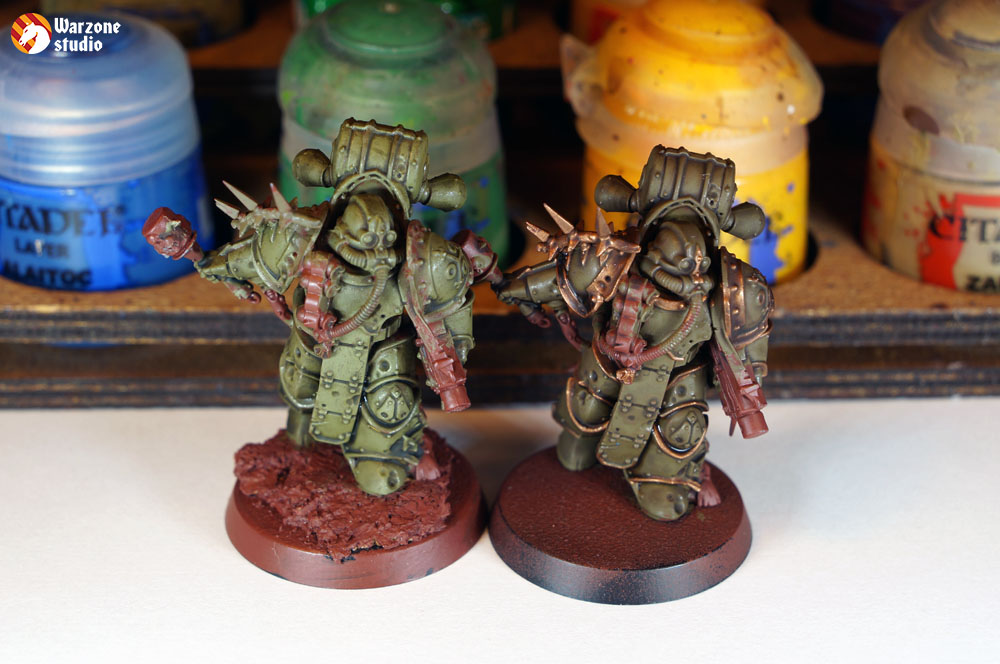
The difference is in the volume - the left miniature will look a bit more relief. Use US Amy Tank Crew (Panzer Aces 318) to highlight edges on both figures. Now the work on the right miniature is over - it's definitely an easy and fast method.
The left one has still a long way to go. The green shade added a nice dirty tone to the armor and bound the colors together. But we still lack volume. So, use Agrax Earthshade to mark the deepest recesses and caverns in the armor. It's a nice idea to paind brass part Baltazar Gold before, so that to shade them too. Some of such parts are left unpainted here since they are planned to be painted with Brass Scorpion and shaded with Nuln Oil. It's the best way to imitate rusty iron.
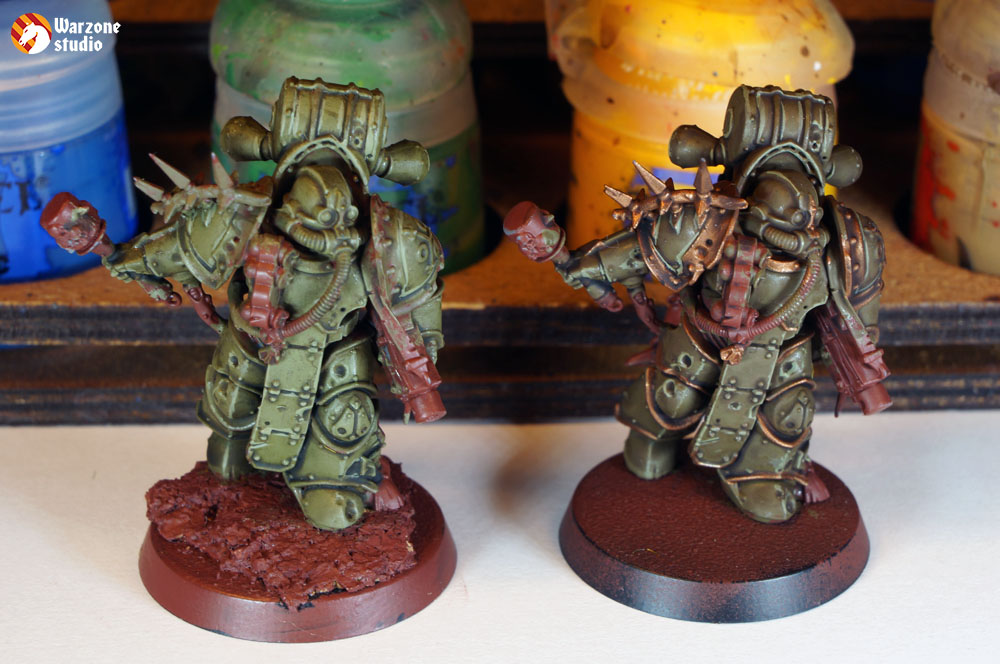
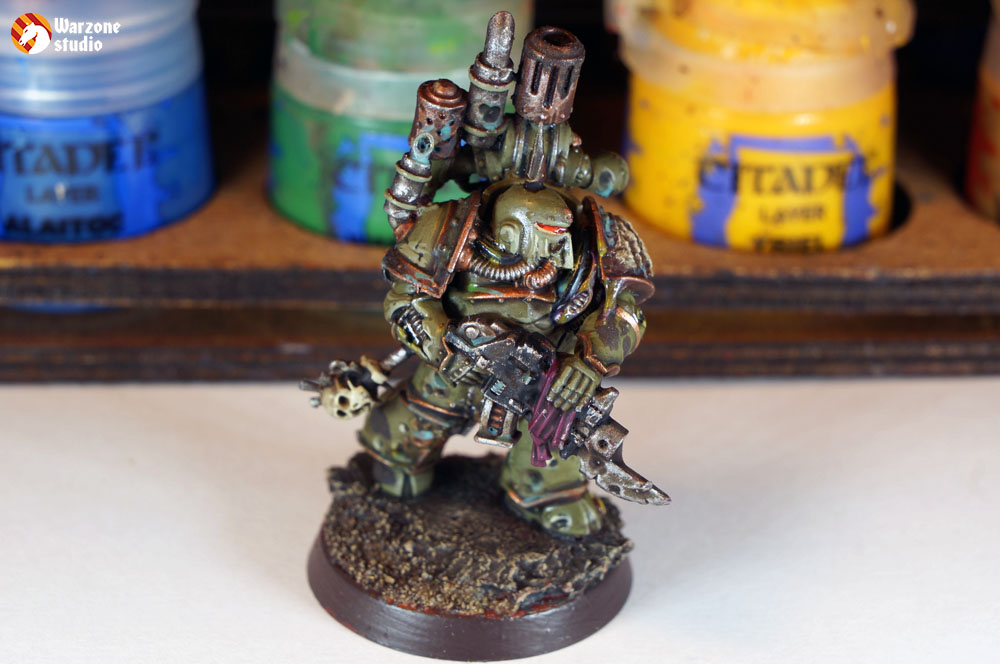
SInce the left figure is more green, the first layer of the highlights is not so bright as on the right miniature. So, use Highlight US
Tk.
Cr. (Panzer Aces 322) for the highest parts. This will give you the required volume and.
Now you need to add some rust, patina, rot, and small details to finish your Deth Guardian. Which method do you like more?
Find more in our blog:
https://warzone40k.com/death-guard-paint


