 - by Iain Wilson
Battlefields are a dangerous place, but that's no reason not to follow reasonable occupational health and safety protocols. So here's a quick and easy tutorial for painting hazard stripes on your terrain, to make sure that your settlement's managing body doesn't find themselves with unexpected compensation claims on top of their post-battle repair bills!
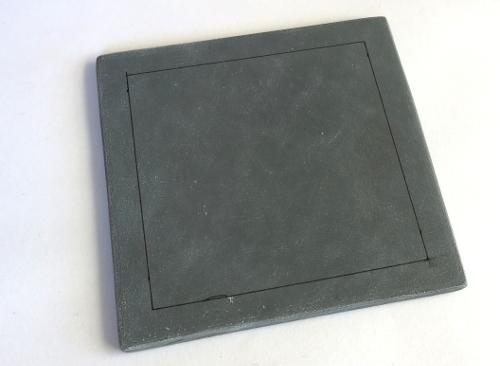
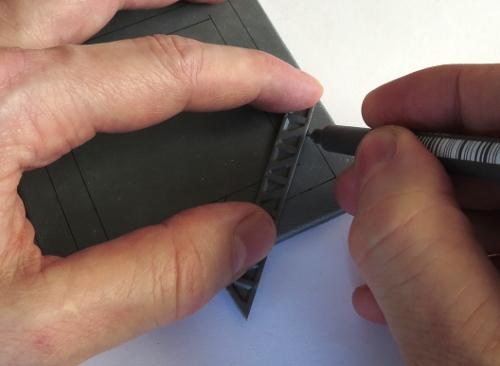
Start by marking out the area that you want to draw attention to with a ruler and a fine line black pen - I'm using a Staedtler 0.05 'Pigment Liner' here.
You can use a ruler to mark out the width that you want for the striped area, but I find it quicker and easier to just grab an appropriately-sized strip of plasticard or (as shown here) a spare support strut from the Maelstrom's Edge terrain sprue and use it as a guide.
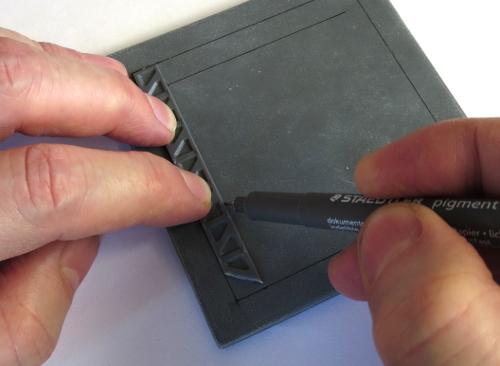
Once you have marked out the area to be striped, it's time to start adding in the lines for the striping itself. I generally use something around about a 45-degree angle, but the precise angle doesn't really matter. Place your guide strip where you want the first stripe (I started at the corner here, because it seemed like the obvious place) and draw a line either side of the strip. If you're working to the right, move the strip to line up the left hand edge with the right hand stripe, and draw a new line along the right of the strip. Repeat all the way along.
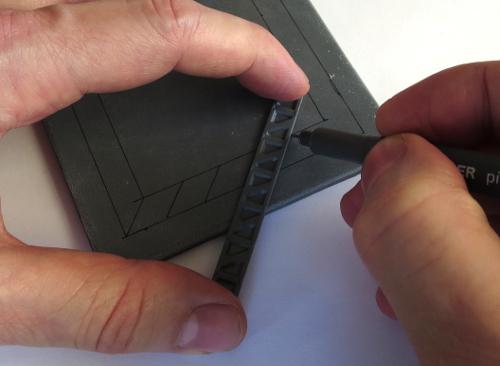
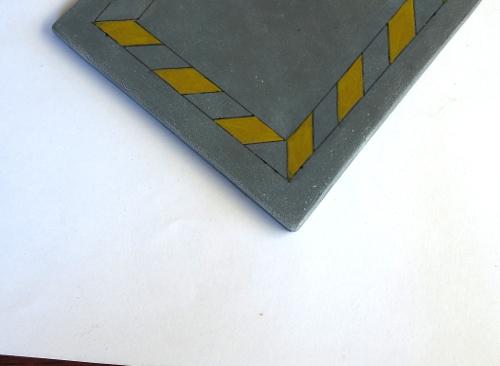
If your hazardous area has corners, there are a couple of ways to approach them. The easiest way is to just run your stripes past the corner, so that the angle of the stripes reverses around the corner.
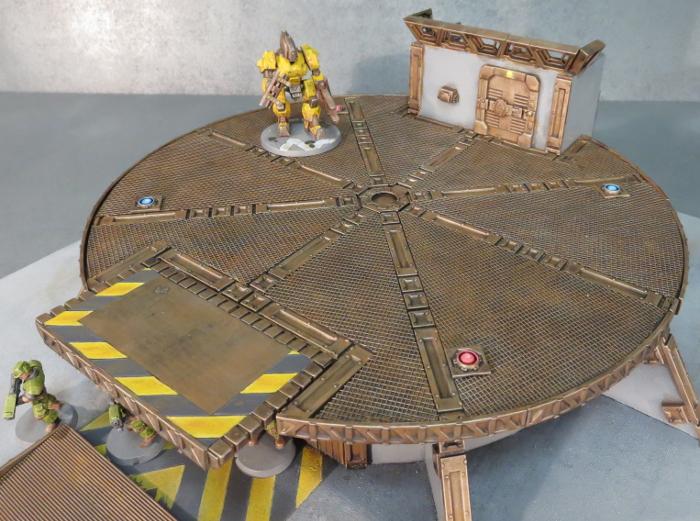
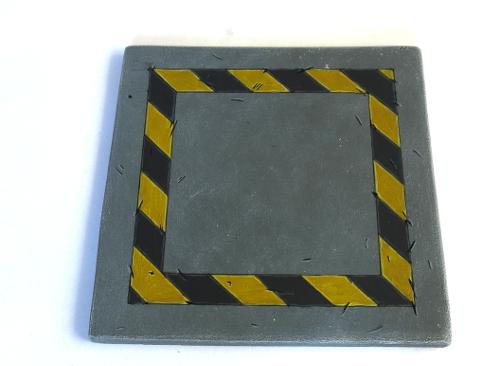
Once you're all marked out, it's a good idea to either set the piece aside for a couple of hours to let the pigment from the pen set properly, or hit it with a coat of fixative spray (which you should be able to get in the sealer section of any decent craft store) to avoid it smudging. Then it's time to fill in every second stripe with yellow. Here, I've used a basecoat of Iyanden Darksun followed by a coat of P3 Cygnus Yellow. It doesn't matter if it's a little patchy, unless you're going for a new and pristine look to your terrain.

The above shows how the stripes 'flip' when they go around the corner. Alternatively, you can run the stripes to the corner, and then start another run of stripes in the new direction. This can be fiddly for odd angles, but works fairly well for 90-degree corners.
It's also worth mentioning that if you are worried about painting neatly in the lines, you can minimise the need to do so a little by painting the whole area yellow before marking the stripes in. That way, you only have to be neat with the black, which is a little more forgiving since messy bits that run over the lines can just be turned into weathering anyway.

Extra tip - If your striped area runs up to a wall, cutting the end of your template strip at an angle lets you get it
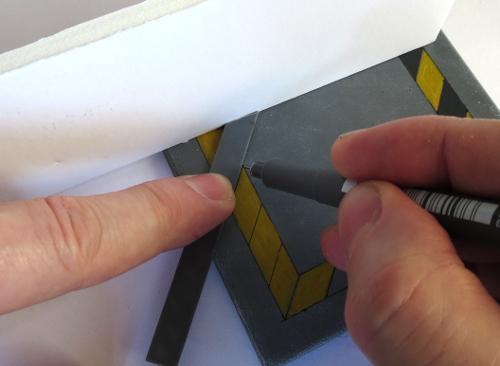
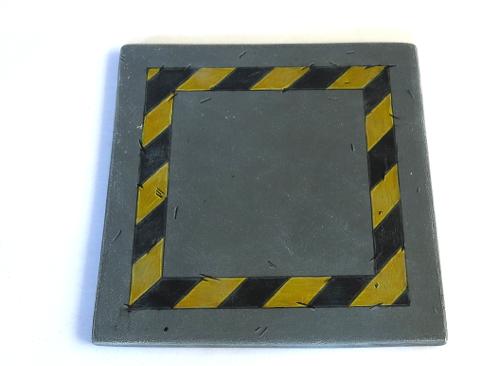
Next, fill in the 'black' areas. I prefer to use a dark grey rather than a black, as it looks a little more natural. Here, I'm using Vallejo Heavy Charcoal, from their Game Colour 'Extra Opaque' range.
If you're in a hurry, you can leave it there and it will look quite presentable. Or carry on for a little more detail...
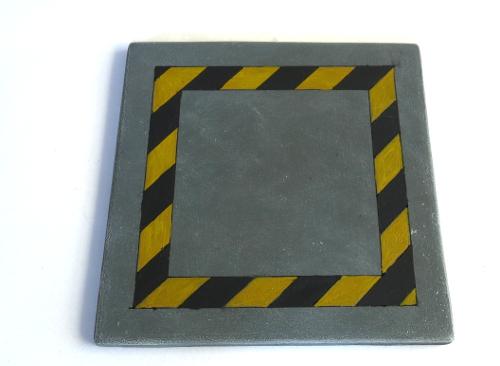
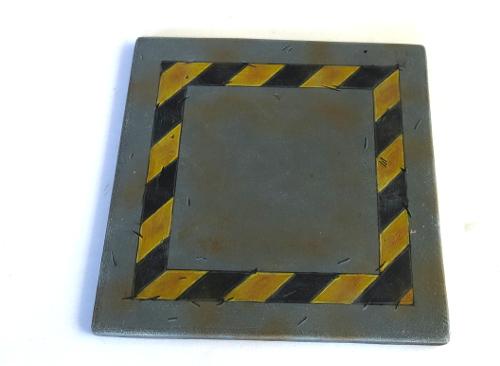
Add some chips and scratches with your pen, wherever seems appropriate. This is a great way to conceal any spots where your paint wasn't completely inside the lines, and also adds some extra detail to the finished piece.

Then highlight the edges of the hazard stripes and the scratches with lighter yellow and grey - I just mix a little white into whichever yellow I used for the stripes, and some Vallejo Basalt Grey for the 'black' sections. I have also used some Vallejo Light Grey to highlight the scratches on the surrounding cement area.
You can 'fade' the stripes, to give them a more worn appearance, by drybrushing with a little of the same colour as the area around them. My cement on this piece is Vallejo Basalt Grey drybrushed with Light Grey, so I've drybrushed over the stripes with some more light grey. The heavier you go with the drybrush, the more faded the end result.
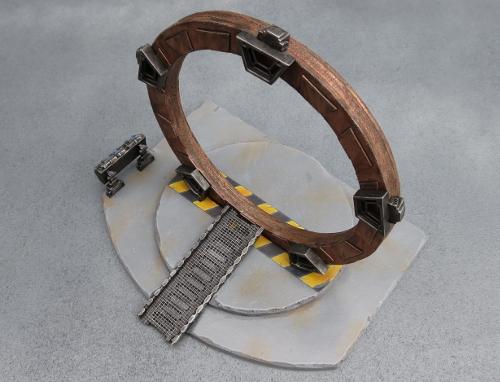
Finally, a bit of brown drybrushed into the middle of the yellow stripes gives them some more depth, with some more brown (Vallejo Beasty Brown here) drybrushed around to dirty things up.
And that's about it. Go forth and hazard up your terrain wherever seems appropriate.
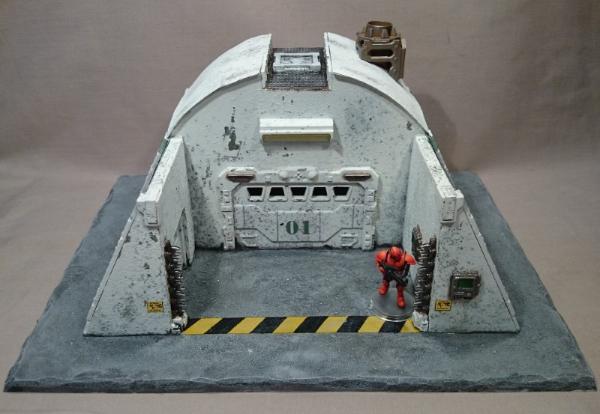
Gateways, energy fences, holes, hatchways, heat vents, and anything else that could conceivably crush, spindle or make your day unpleasant is a good candidate for some serious warning stripes.
To build your own hazardous terrain, you can pick up the Maelstrom's Edge terrain sprue from the webstore here. As always, feel free to share your creations on the Comm Guild Facebook page!
For other Maelstrom's Edge modeling articles, including tutorials and walkthroughs of a wide range of different building and miniature projects, check out the article roundup here.


