Assembling Broken Rabble Assault Units
 Note:
Note: The bulk of this article is the same as for the Broken Rabble Assembly Guide
here, as the only real difference between the different units model-wise is the choice of weapons. So if you have already worked through that one, this guide will look rather familiar and you may want to just skip down to the part with the weapons.
This guide will cover assembling Assault models with the various two-handed weapons. The pistol options will all be covered in the upcoming Chieftain/Boss article very soon.
General Notes
Polystyrene cement - only use superglue if you want to go insane! All of our models are designed to be assembled with polystyrene cement as it gives some time to re-pose while gluing, fuses the models together and prevents brittle joins like other glues do. Make sure you have polystyrene cement in your toolkit before you begin!
We want you to experiment! We've broken our models up into lots of parts and given a fair few spare parts so that you can push yourself out of your comfort zone, learn new skills and create some really unique models. We've tried to price things so that it won't break the bank if you make a mistake, so please cut stuff up and have some fun. Start simple with a slice here and a re-pose there, and watch your confidence and skills increase until you are a master modeler!
Basing - Always make sure you glue your model to its base with an eye on the arc markers on the sides of the base. The arc marker indents should be at the halfway point between the front and back of the model to show the front and back halves of the model when gaming. See the Maelstrom's Edge rulebook for more detailed notes on this.
Dry fit before gluing! - There are lots of pose options possible, but that means there is also the freedom to screw up and make some bad poses! Sticking the parts together and seeing how things look will usually lead to a model that is fairly static and repetitive. You should consider knee, hip, torso, and arm positions when gluing and ensure that you have a pose in mind before you start gluing things together. If in doubt or insecure about your talents in the posing area, we recommend you try to copy the poses from some of our studio models found here in the gallery.
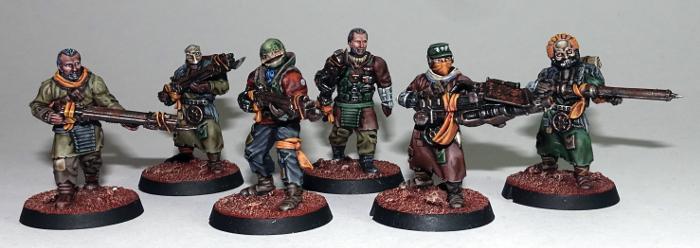
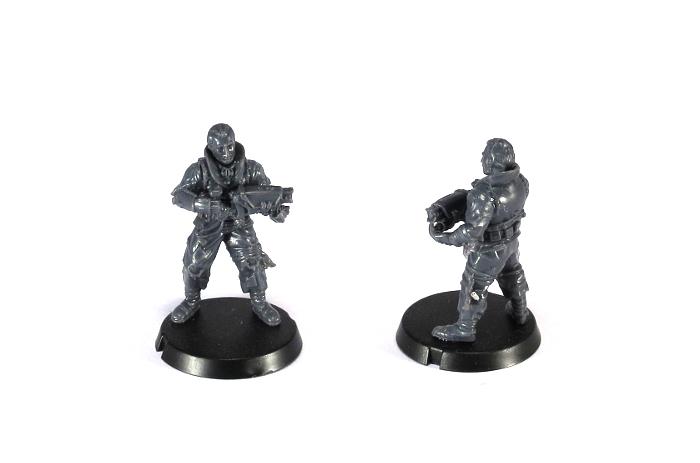
Rabble Assault Unit Assembly Notes
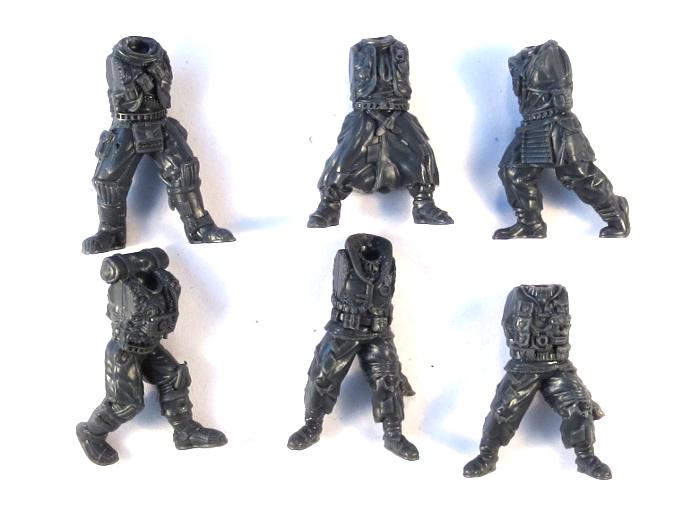
Six Broken models can be made from one set of the Broken Infantry sprues:
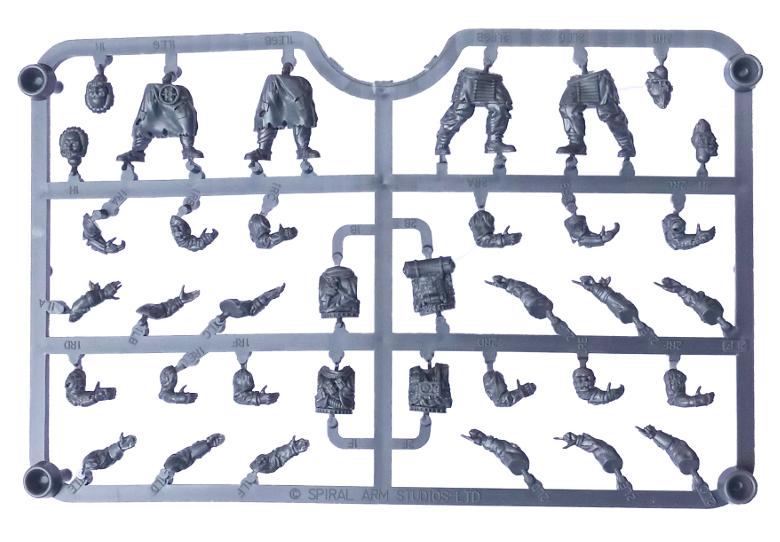
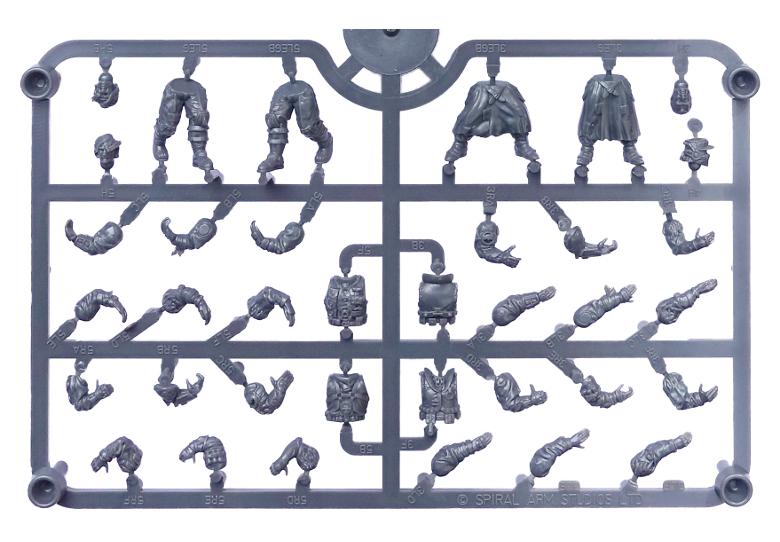
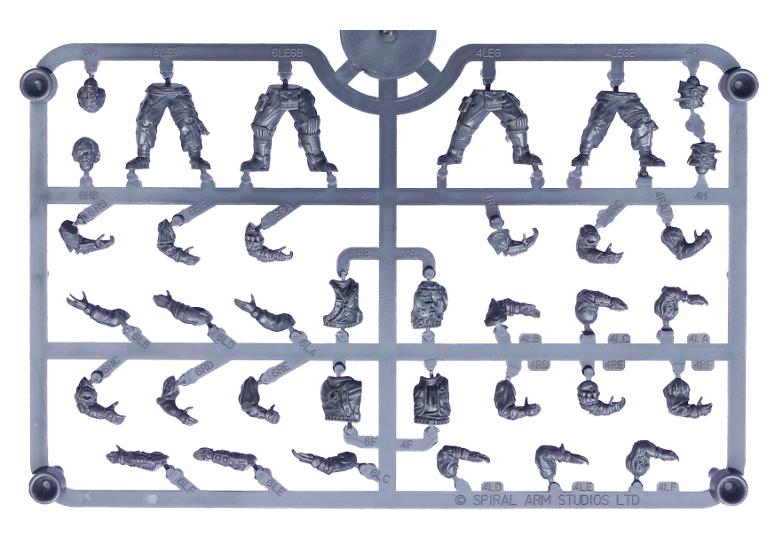
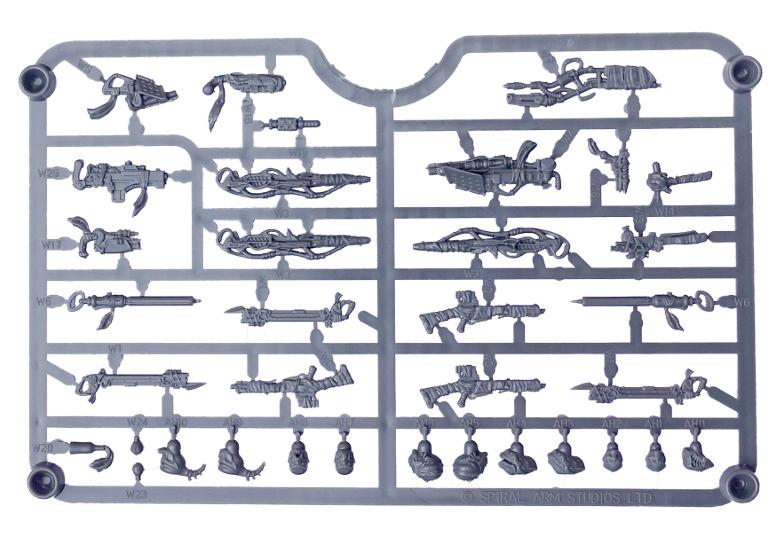
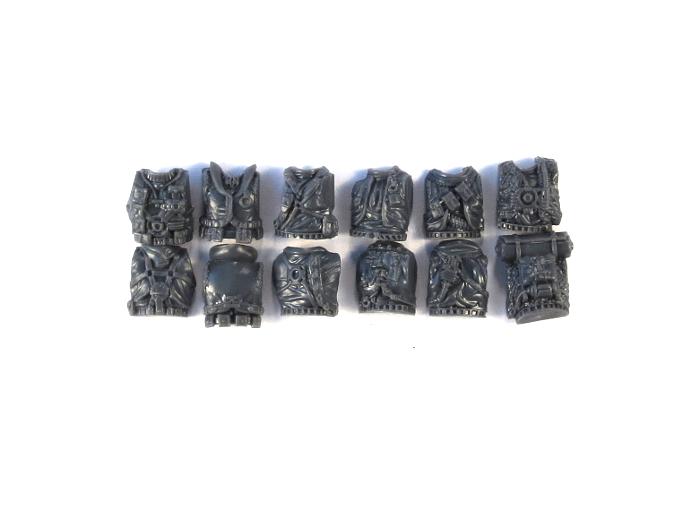
Assembly is fairly straightforward, with everything fitting together where you would expect. There are six different torsos, each with a unique front and back.
You can save yourself some aggravation if you keep the matching parts together when you cut them off the sprue. If they do get mixed up it will help that the fittings are different on each pair, so each front and back will only go together with its correct partner.
The twelve different sets of legs give you a whole slew of options for posing, as with one exception any of the torsos will work with any of the legs. The exception is torso 3 (parts 3B and 3F) which has pouches hanging from the belt. This torso fits with the legs labelled 3LEG and 6LEG, and slightly less flush with 3LEGB, although the pouches hide any slight gap you wind up with on that last set. You can also make this torso fit with some of the other legs if you trim up the bottom of some of the pouches a little.
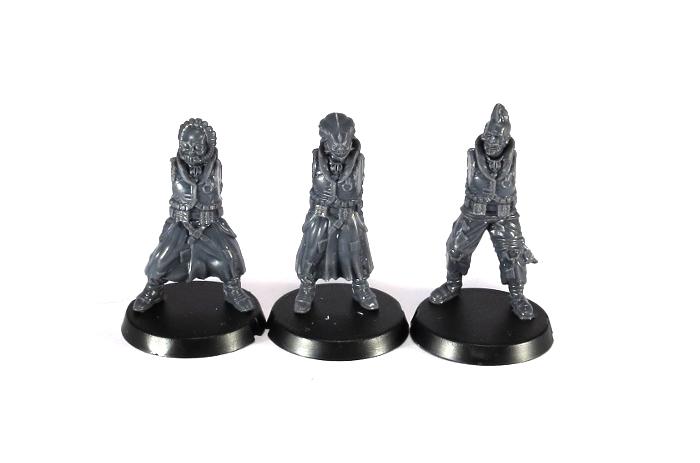
With the torsos glued in place, you might notice that there is a reasonable amount of height variation between the models, which makes for a much more ragtag look to the unit than the usual identically-sized military units.
As with the torso/leg pairing, most of the huge range of heads on the sprues will work with any of the torsos. Torso 2 (2B and 2F) has a rolled cloak across the shoulders and torso 3 (3B and 3F) has a high collar, both of which may get in the way for heads 3H, 4H, 6H, 6HB and AH11.
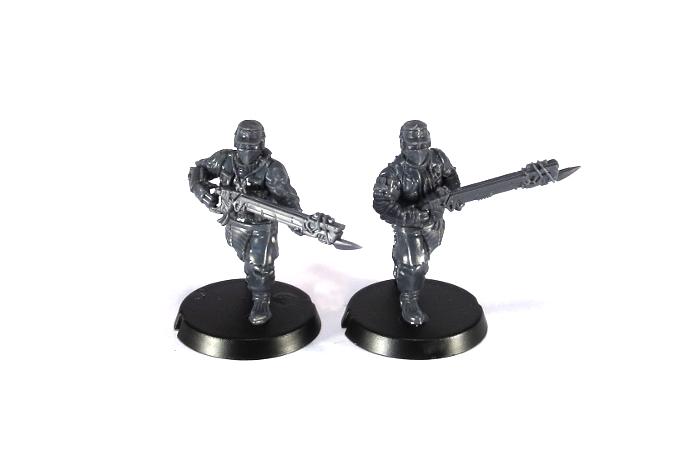
With the massive range of arms available to choose from, a little experimenting may be required to get just the look you want. Because of the different grips and sizes of the various weapons, some weapon hands have a more open grip and others are more closed, so this needs to be kept in mind when fitting them onto your models. In some cases the 'matching' left arm will work, but for some weapon/arm combinations you may want to tack the right arm and weapon together and then find a left arm that fits best.
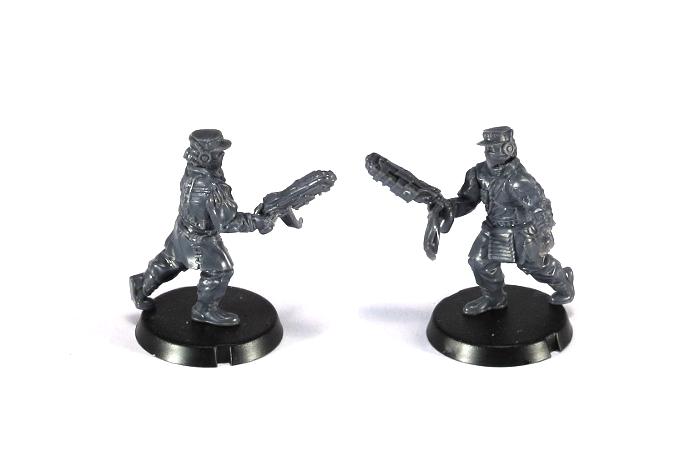
The signature weapon of the Rabble Assault unit is the Beam Blastgun. It works best with a more closed right hand, as do the Torch and the Massive Torch.
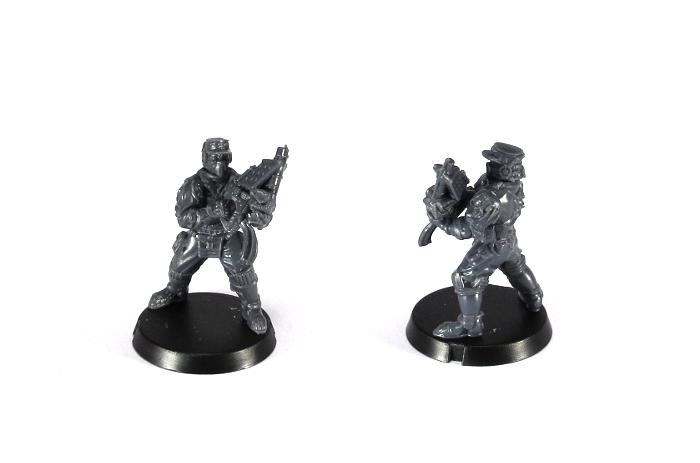
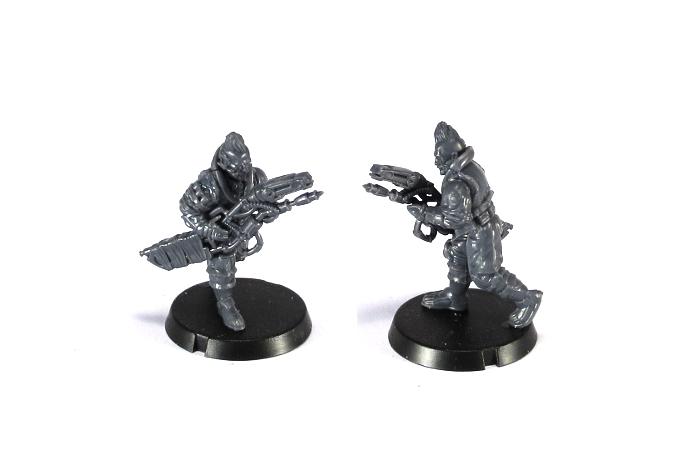
The Chem Launcher and Glue Carbine work with a more open right hand, but work best with hands 1RC, 3RA, 4RC, 5RB or 6RC.
The EMP Harpoon can use a more closed hand to latch onto its rear grip, or you can use an open hand for a more relaxed grip.

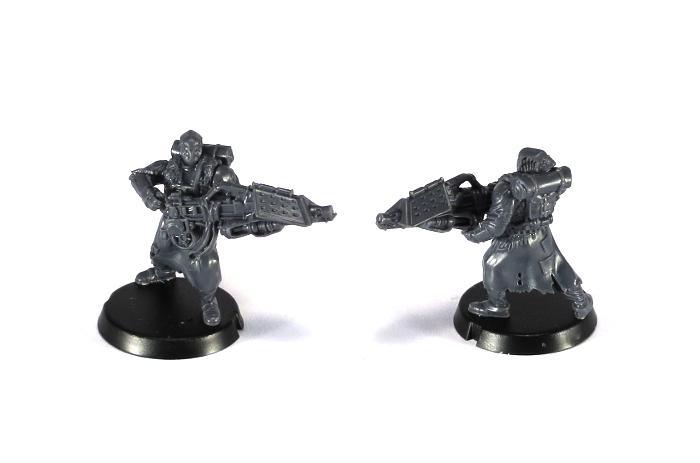
Likewise, the Glue Rifle can potentially work with either grip style. It's such an unusually-shaped weapon, and can work held a few different ways, so have a play with it and see what you like best!
For some more ideas for building your Broken models or to share your own creations, head on over to the
Comm Guild Facebook page.
You can pick up the Broken Infantry Pack, and the rest of the Maelstrom's Edge miniature range, from the webstore
here.
For other Maelstrom's Edge modeling articles, including tutorials and walkthroughs of a wide range of different building and miniature projects, check out the article roundup
here.


