After a long hiatus from the game and from modeling, I'm slowly getting back into the swing of things. That means doing some repairs to an army that went through multiple moves and ten years sitting in some boxes.
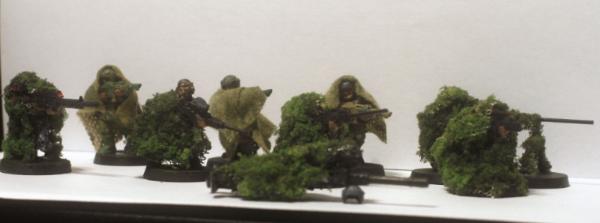
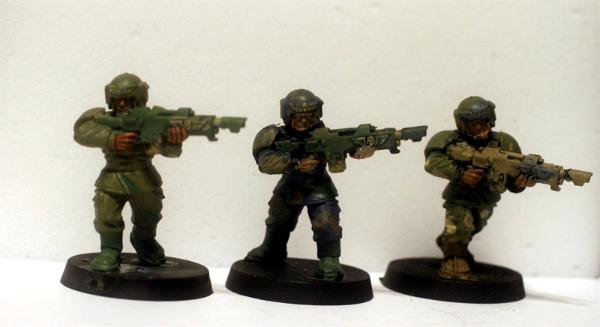
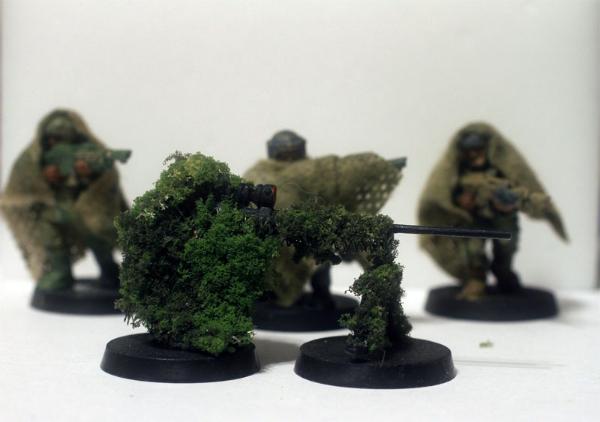
These are my snipers...there are many like them...but these are mine...
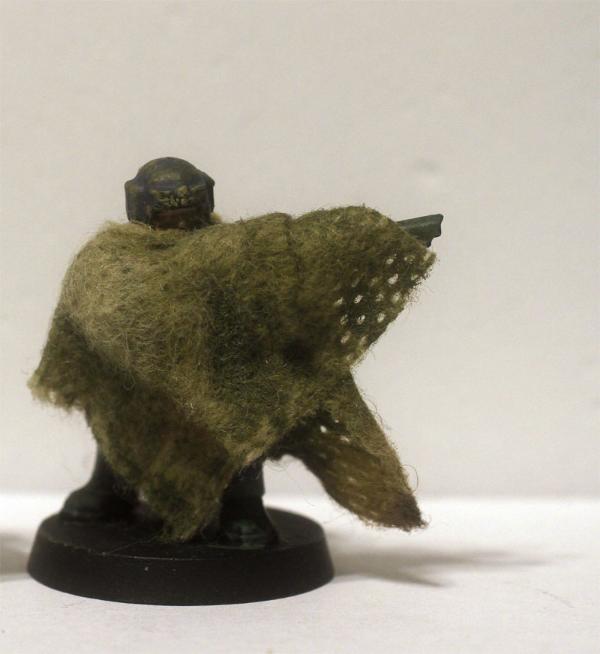
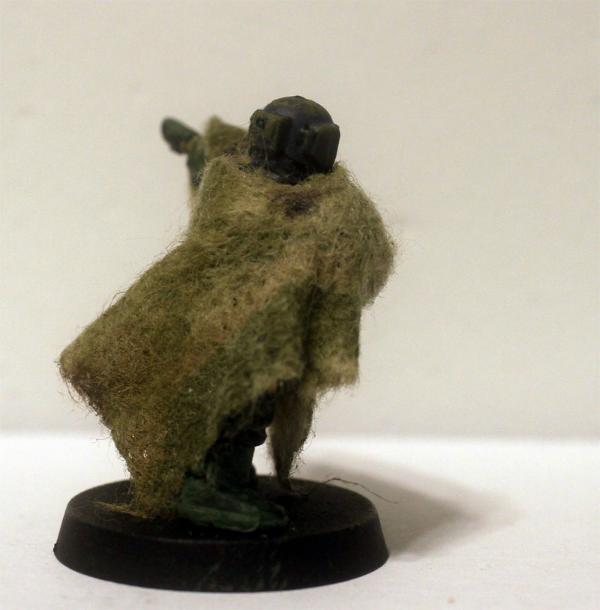
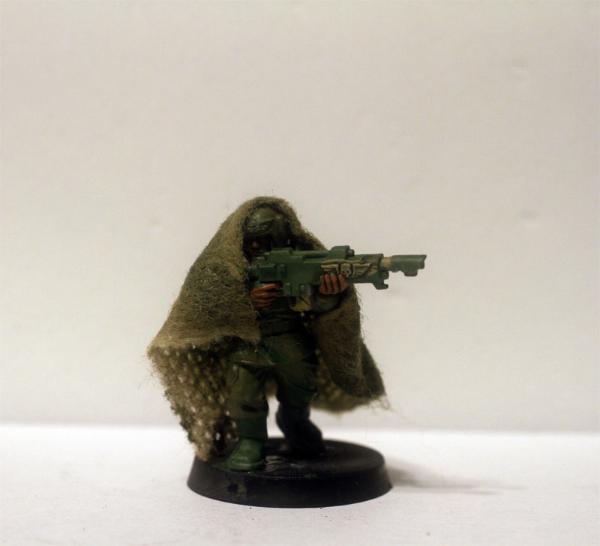
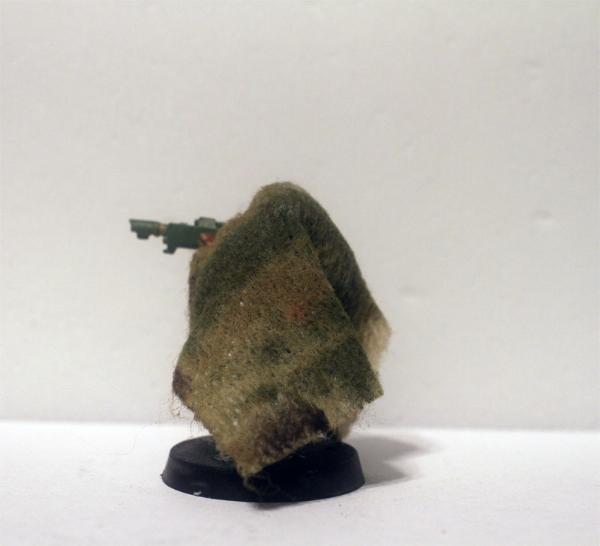
These guys were easy enough to make. Paint them, paint some wire mesh black, cut the mesh into 1x1" squares, wrap them around the model, coat parts with super glue, roll them flock, wait for it to dry, add more glue to the exposed areas of the mesh, roll in different flock, and repeat until satisfied.
They look good. Great even. I really like them...
But at the end of the day, they aren't without their problems. First, the flock comes off and the mesh I used didn't hold the paint very well, which means they have to be repainted and reflocked from time to time.
Second issue...
Well, lets face it, at the end of the day, after all that painting, all that gluing, all the vacuuming of flock off various surfaces, you have shrubbery, a bit of scenery, you have a bush that after the initial "oh cool" factor wears off annoys your opponent and game shop owners alike, because they are a bit messy...and they get lost from time to time (as in I've literally left guys on the table because I couldn't see them after a match ended).
So I decided to try something new, and I figured I'd share.
Recently I came into possession of several packages of 3x3" gauze, and while making myself a nice cup of chai tonight was hit be inspiration.
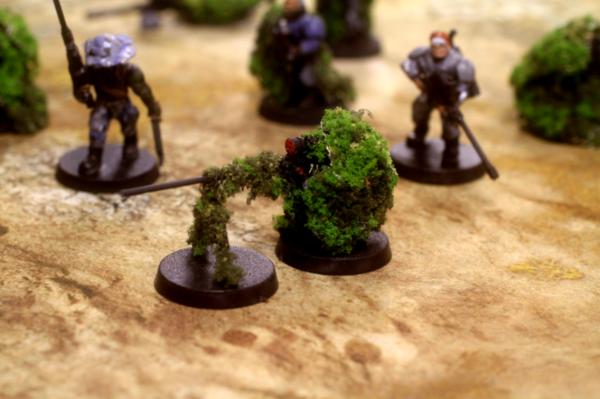
But before I get into that allow me to introduce the unsung hero's of my army.
From left to right Bob, his brother Bob, and his other brother Bob.
These are my paint test models. They have been painted, stripped, and repainted so many times, I'm pretty sure they have cancer from all the Simple Green baths.... I mean heck, Bob (the one in the middle) is missing an arm. Uniform testing can be rough...
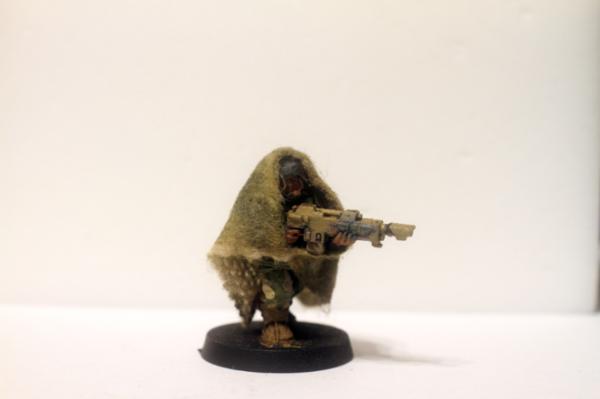
And once again the Emperor has called upon these noble three to risk it all, and don the new Ghillie suits.
As an aside, there is nothing like a quality macro lens, and a white background to show every little detail. Both good and bad.
I started constructing the ghillie suits, by taking a three inch patch of it and soaking it in the drainage/excess tea.

My cup of tea on the right, the left over and the gauze on the left...
I let it soak, checking every ten minutes or so, and after an hour, it had the light brown/burlap color I was going for.
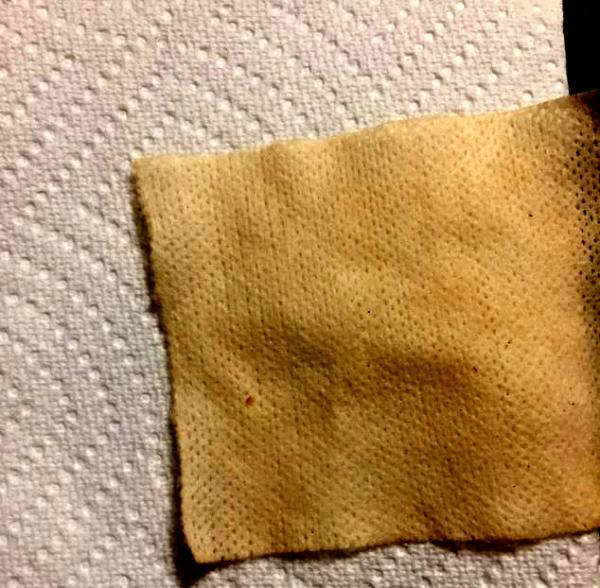
Not sure why it looks so dark in this photo, it was a lot lighter in "real life".
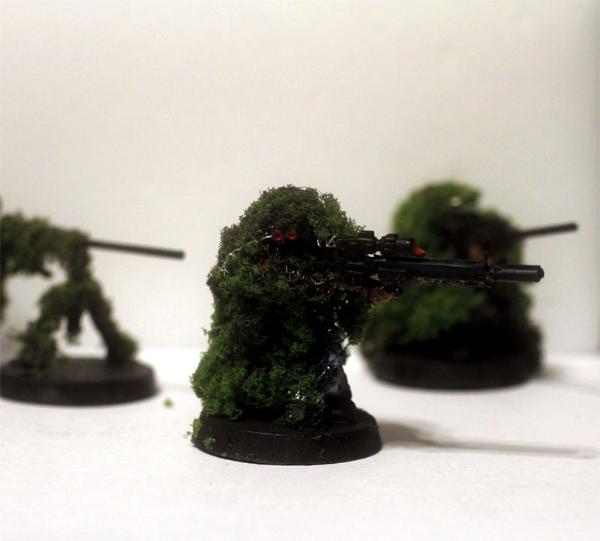
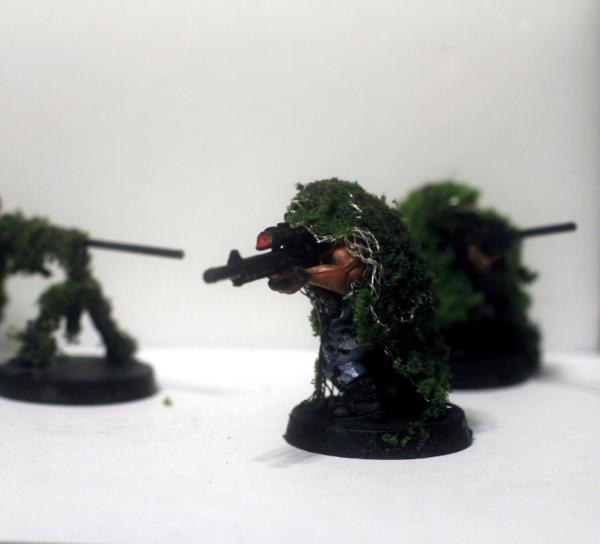
After letting the gauze dry, I then dry brushed it with Death World Forest, which gave it a nice blotchy and dark green shade. Then I went over some of the lighter areas with Zandri Dust and added some spots of ratskin flesh that had been diluted slightly with water. I also added some rhinox hide for dark brown spots, but I'm torn how much value they added.
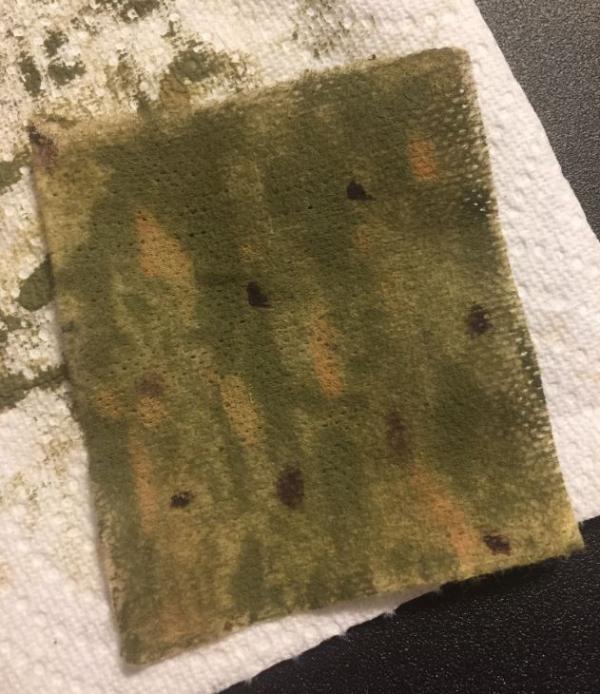
After letting the gauze dry again, I cut it into four pieces and set about dressing the Bobs.
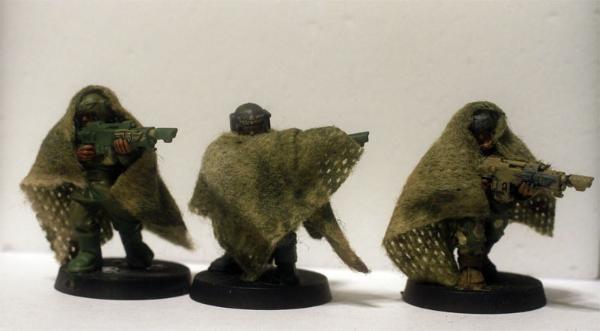
I cut a small hole in one of the squares and draped it over Bob...personally I think it makes him look like Batman...but that could just be me.
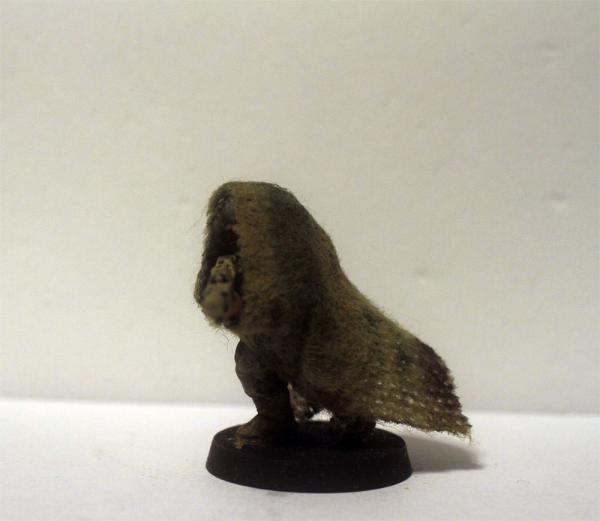
Now there's some nice effects here. The gauze looks like burlap. Its stringy and very malleable. I was able to put it on and take it off, and by getting it moist, was able to shape it to the models rather well.
This allowed me to play around with some poses, and swap the various ghillie suits between the Bobs
So, how do they compare?
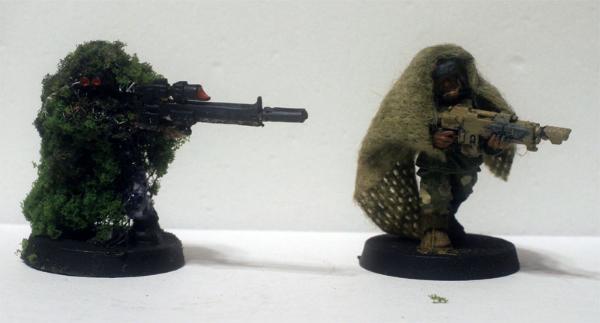
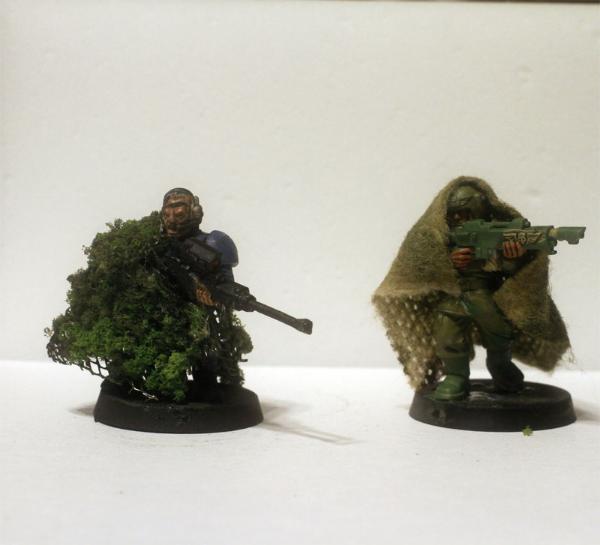
Of the two methods, I like the flocking snipers better. I think they look better, brighter in some ways.
But for real effect and the ability to show off the paint job, as well as versatility and ease in shaping the suit to the models, the prize goes to the gauze method.
The only changes I would make to the process would to use brighter colors when painting, or perhaps not letting the gauze seep for so long. Really all the seeping needs to do is to get the edge off the white, dull it enough that it doesn't become a distraction.