Welcome to game 14 in our ongoing campaign.
The situation – the Chaos forces have been driven from Ameti Hive into the countryside and wastelands surrounding the Imperial city.
The renegades are far from beaten however, having been reinforced from orbit by newly arrived Chaos fleets, who have penetrated the Triskelion system inner planets.
As the Imperial forces in Ameti Hive marshal their troops to take the fight to the heretics, elite units of drop troops, also newly arrived via Imperial Navy convoys, are deployed.
Communication, command and supply depots are the target of choice of the airborne units. The Chaos forced cannot be allowed to regroup and threaten Ameti once more.
++++++++++++++++++++++++++++++++++++++++++++++++++++++++++++++++++++++++++++++++++
Captain Stirling crouched in the bay of the Valkyrie assault carrier as he did a final check on his gear. He and the rest of his command squad were bathed in the red pre-drop lighting of the jump bay,
giving him enough illumination to test the straps and mechanisms of his grav-chute. The voice of his old jump instructor, dead two decades now, came back to him
Check your kit once, check it twice and then once more for the Emperor. You don’t get second chances once you hit the blue
Once he’d finished his checks, he performed the same routine for the trooper behind him – Benner, his vox carrier. Every man in his command stick checked the gear of trooper next to him.
It was part drill, part ritual. Drop Troopers tended to be a superstitious lot, given their trade.
“Thirty seconds” The voice of the pilot came over his vox bead. The sudden stillness of his troopers told Stirling that they too had heard the call.
Above him, just below the assault ramp at the rear of the carrier, a green light began to blink. The ramp began to open, exposing the interior of the craft to the howling slipstream of the night sky.
In the blackness outside, Stirling caught the tell-tale silhouettes of the other Valkyries in the assault force as they too prepared for their drop-runs.
“Ten seconds” came the call from the cockpit
Stirling checked his lasgun one last time, ensuring it was secured tightly across his chest, but ready to be unclipped in an instant.
Raising his voice above the din of the wind, we called out to his troopers
“Out of the Blue!”
“and into the Black!’ They replied, completing the motto of the Antipodean Droop Troops
The light above the assault ramp stopped blinking and glared a solid green.
“Drop, drop, drop!”
Stirling didn’t hesitate, pushing himself upright and out of the assault ramp in one practiced motion. He knew without looking his men would be right behind him.
The freezing slipstream hit him with a familiar snap as his grav chute activated and began to slow his hurtling descent. Behind his rebreather, Stirling smiled.
Into the Black….
++++++++++++++++++++++++++++++++++++++++++++++++++++++++++++++++++++++++++++++++++
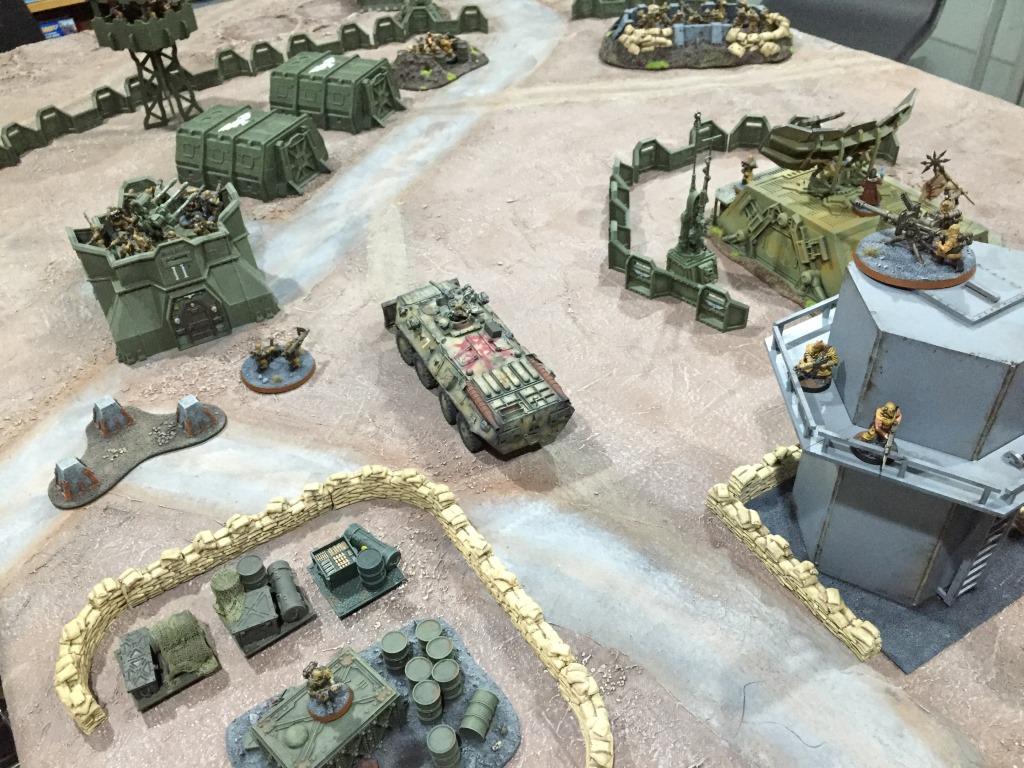
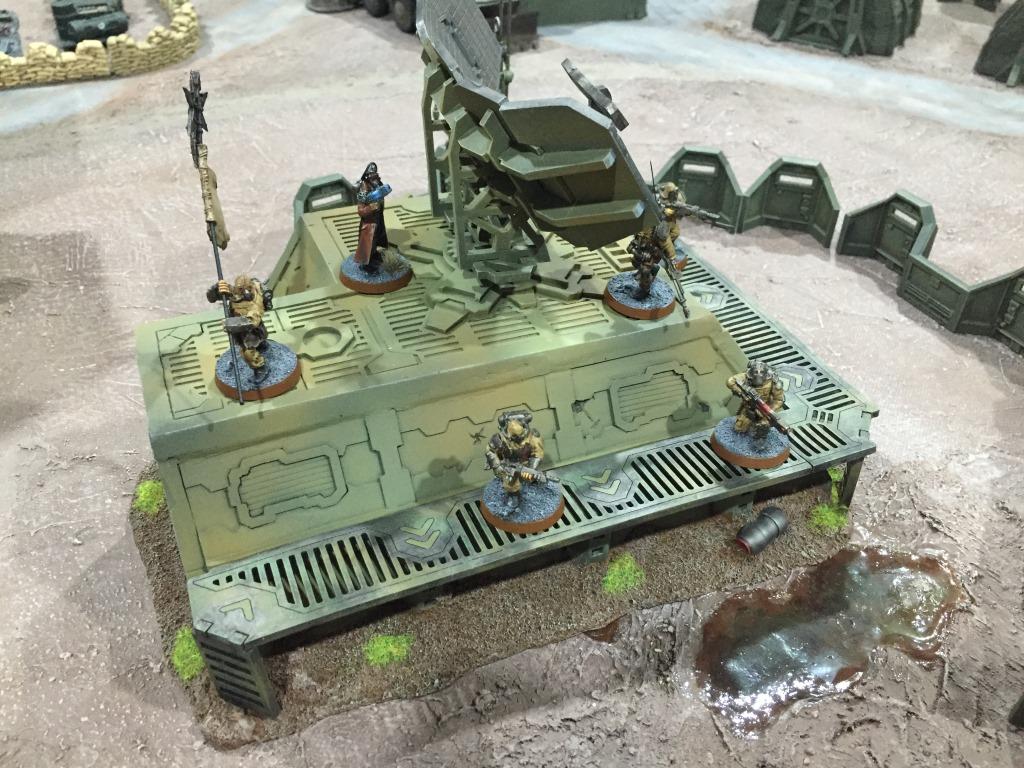
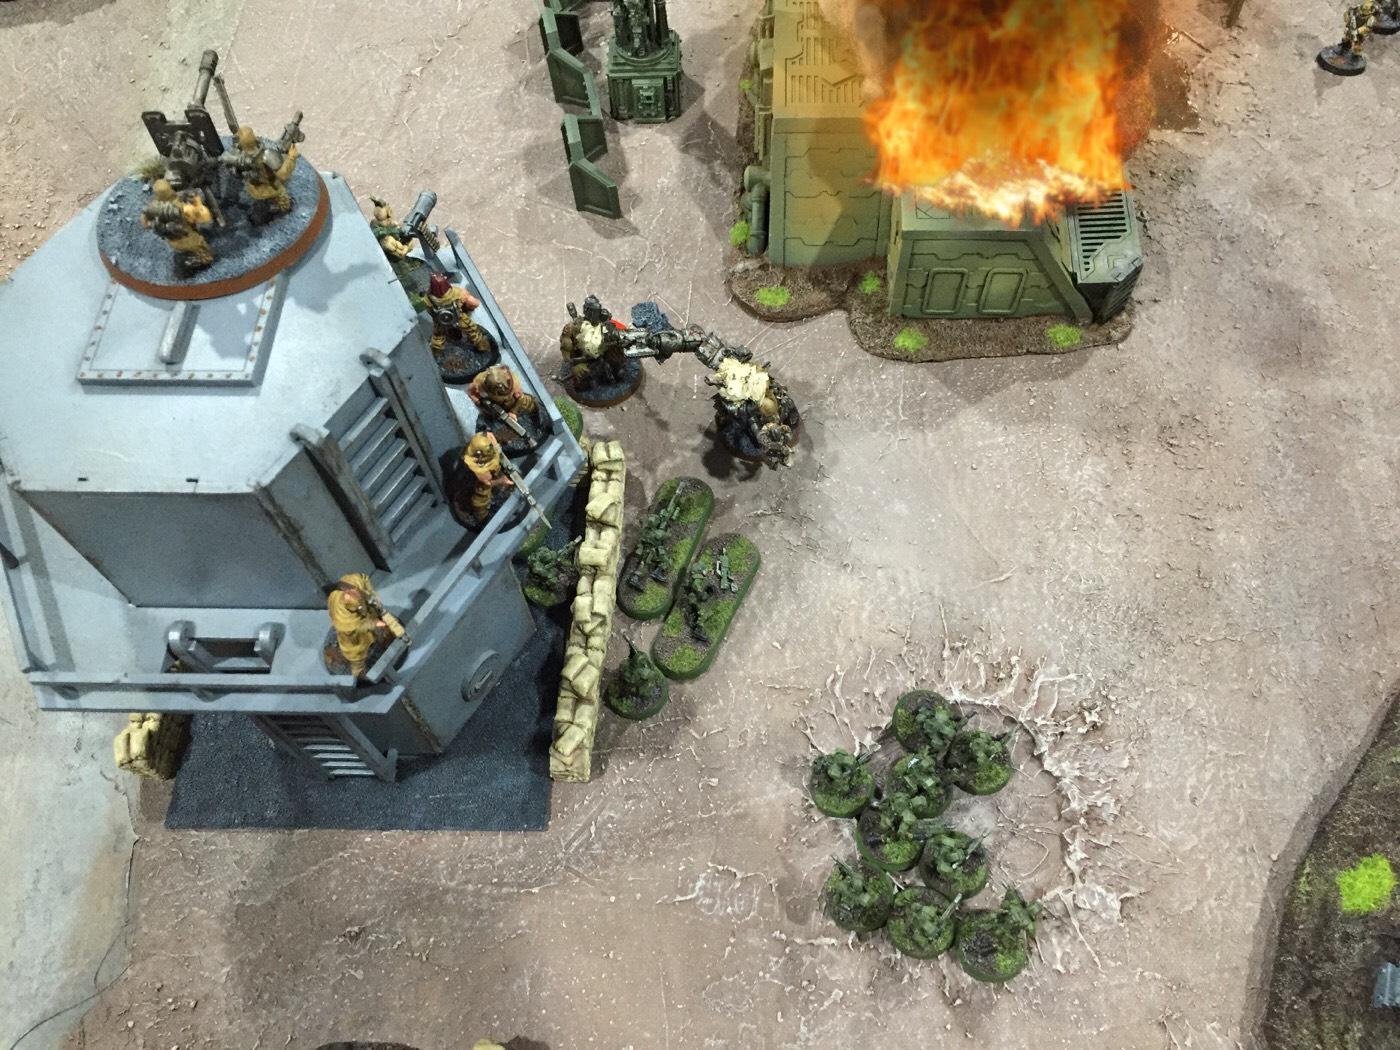
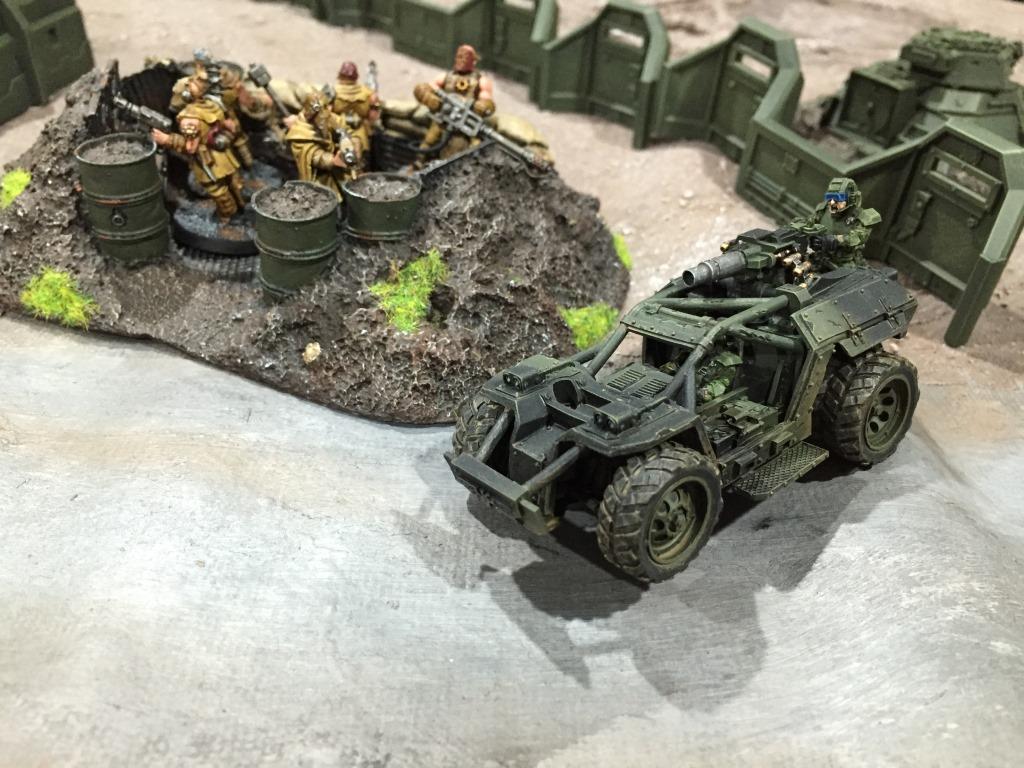
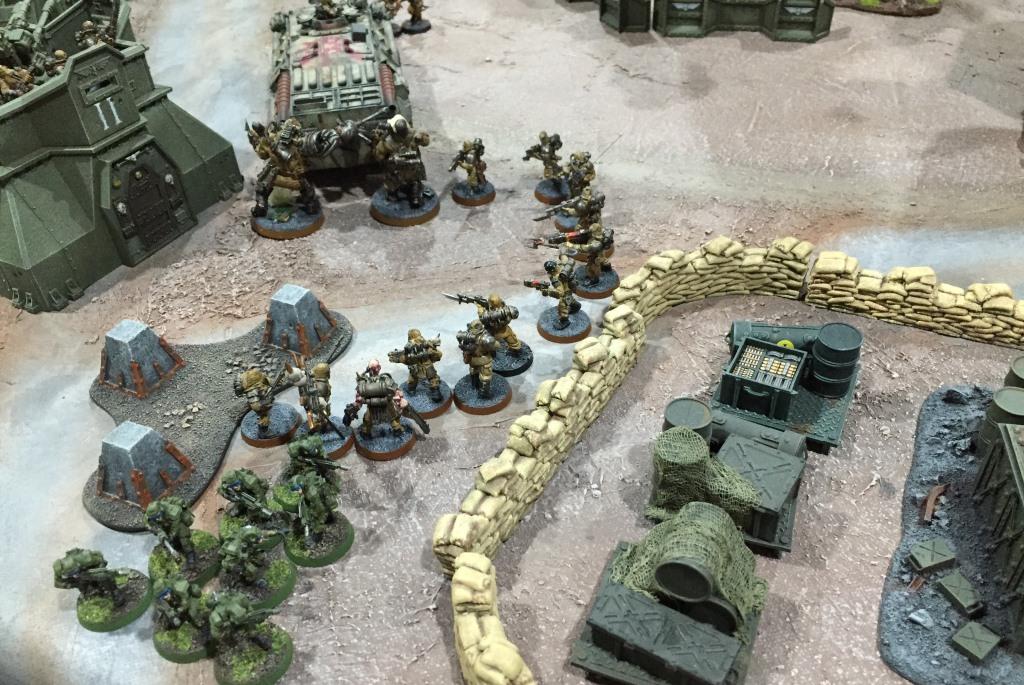
The target for tonight – a renegade communication and supply depot. The main radar facility is in the centre, with the fuel dump at the top centre-left
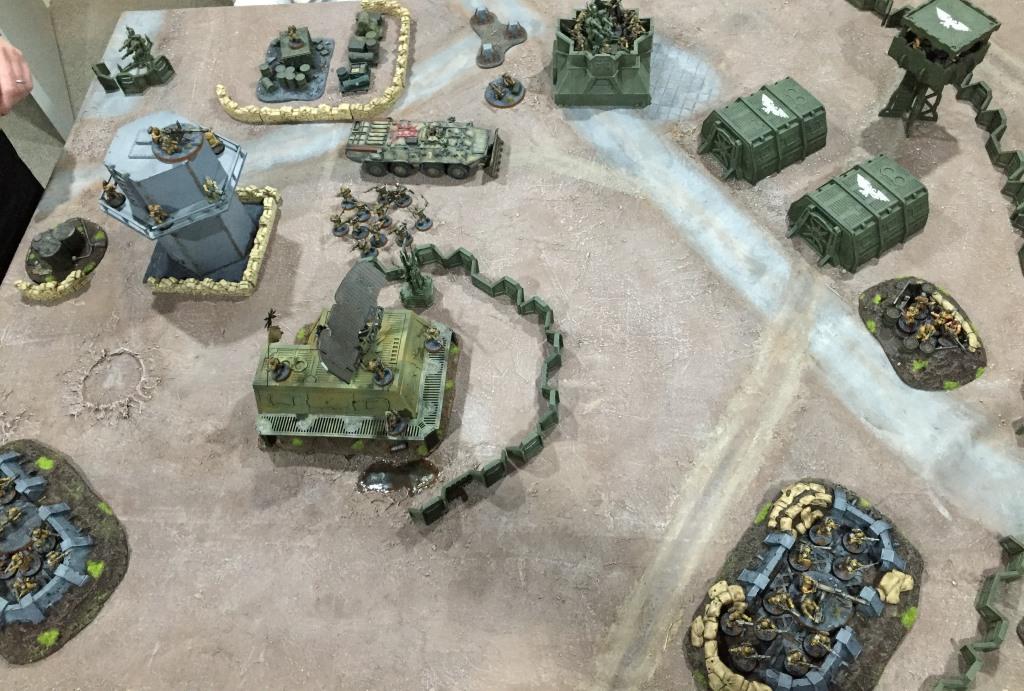
The Renegades are on high alert, with reports of strikes against renegade assets all across the sector
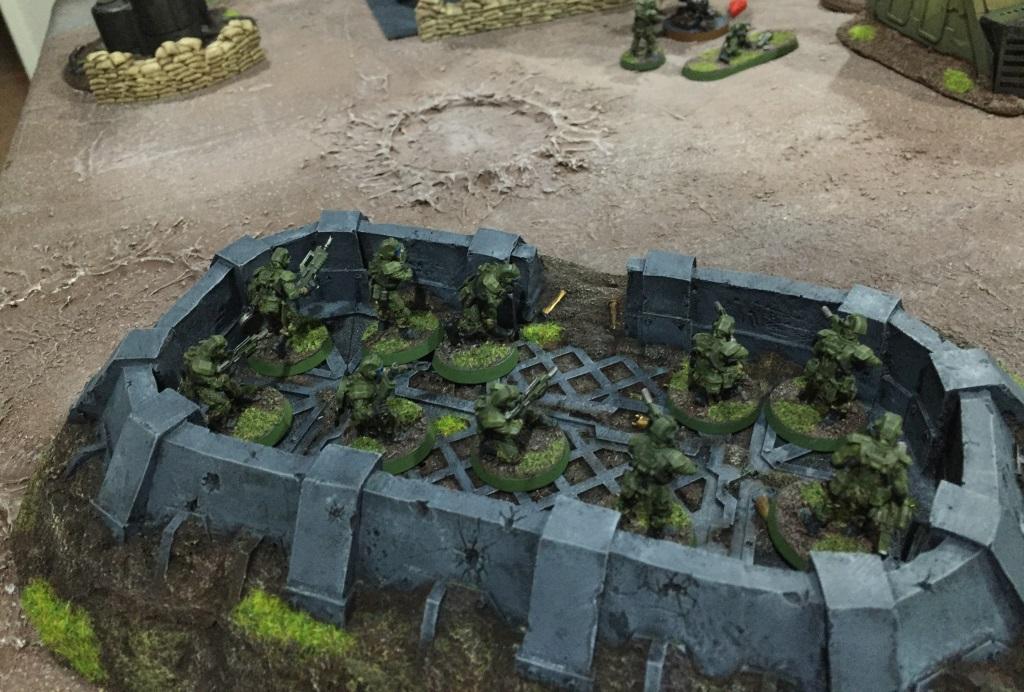
The radar installation, with renegade
HQ on patrol
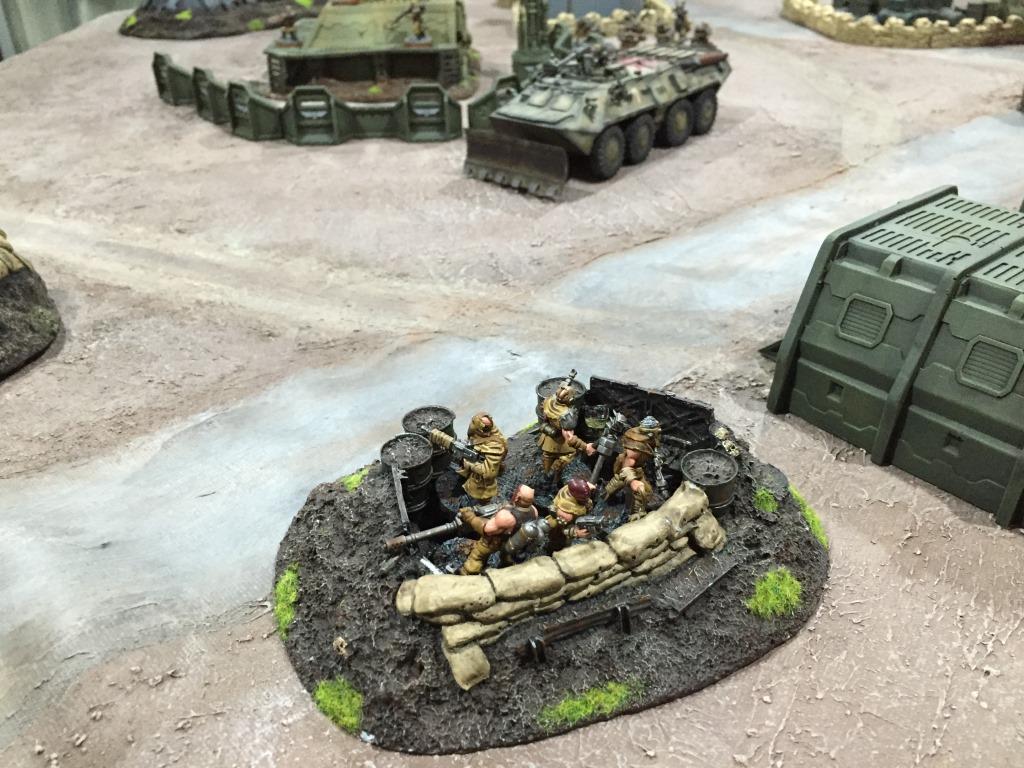
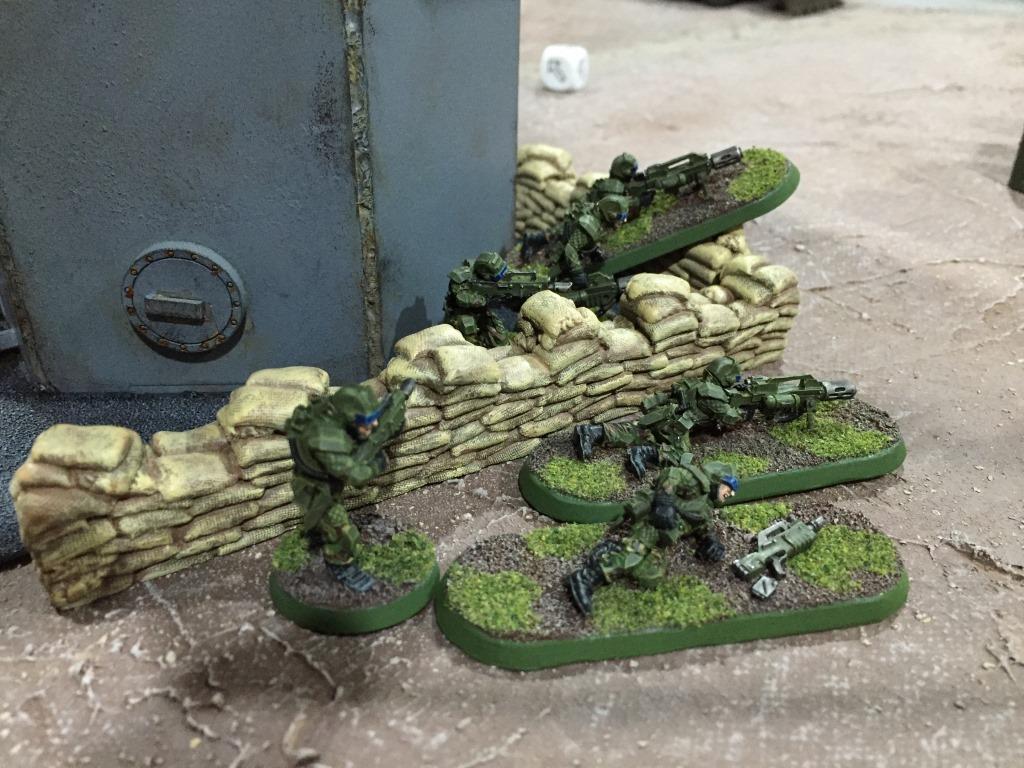
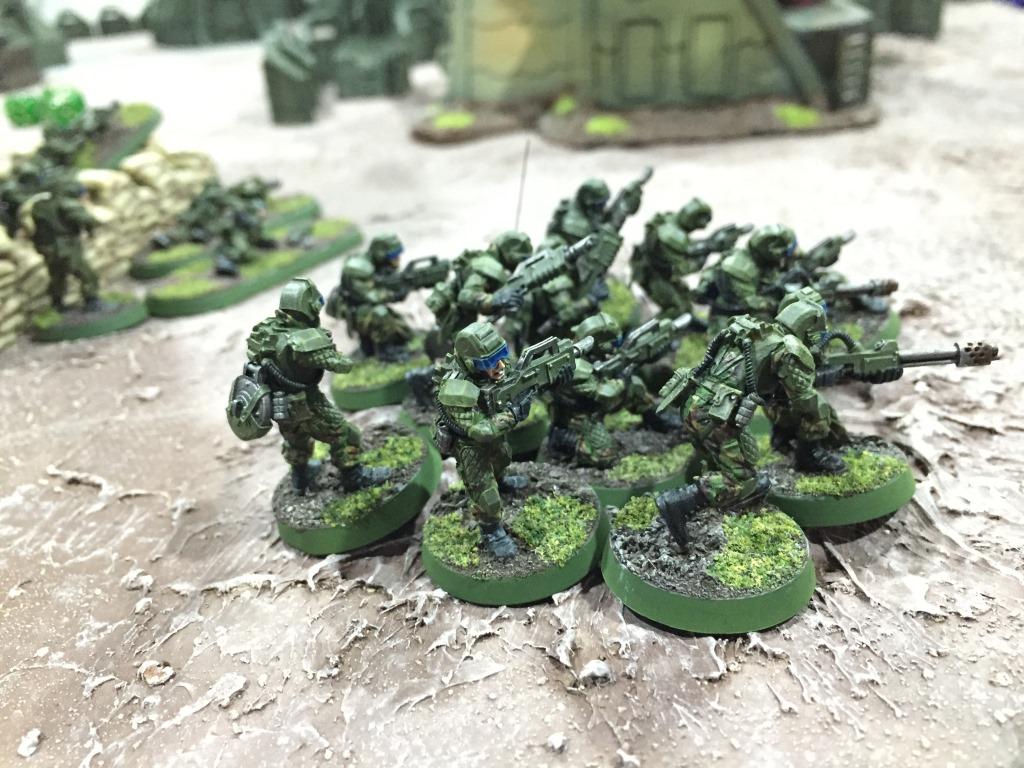
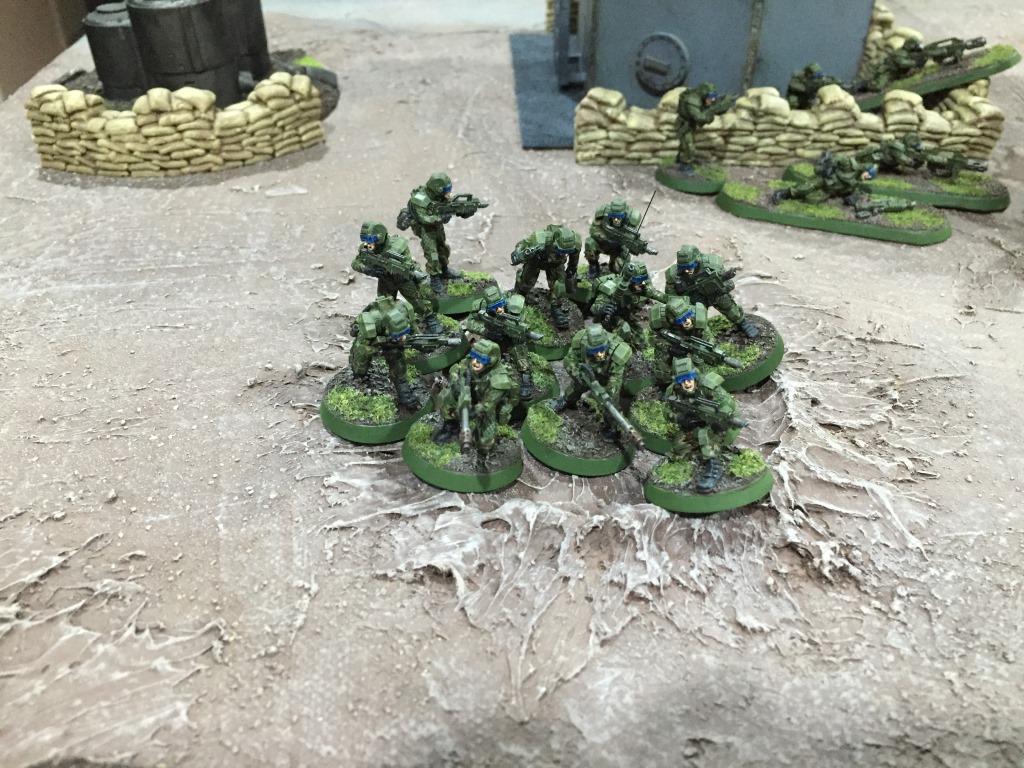
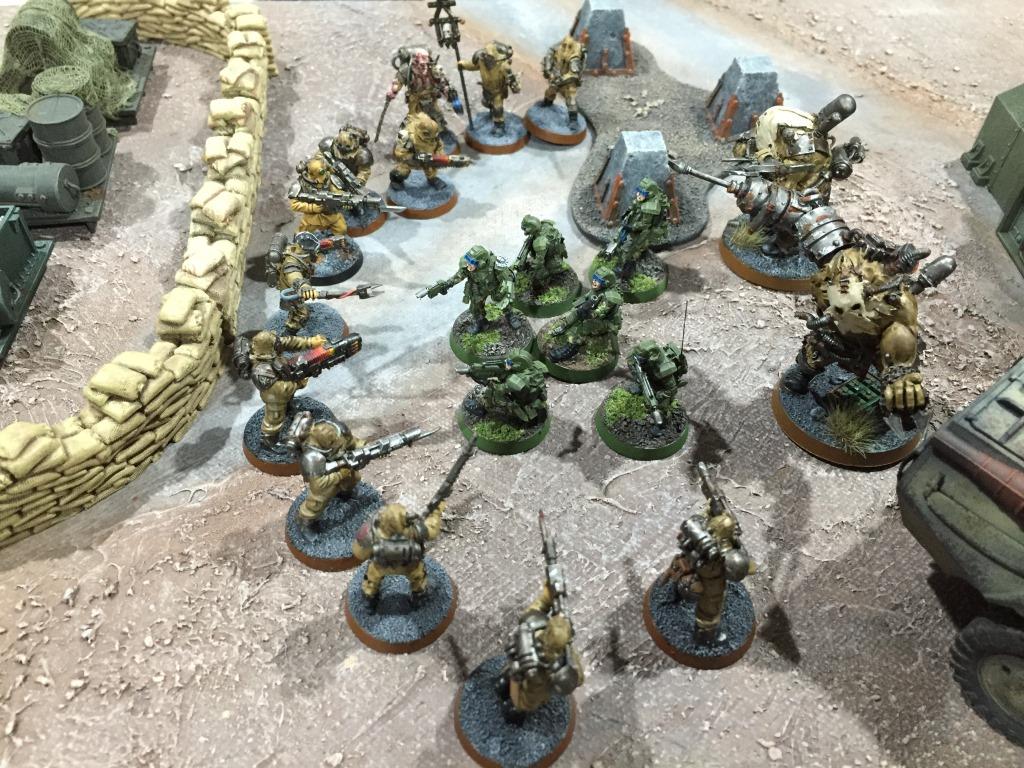
The defenders man their positions
Go go go!
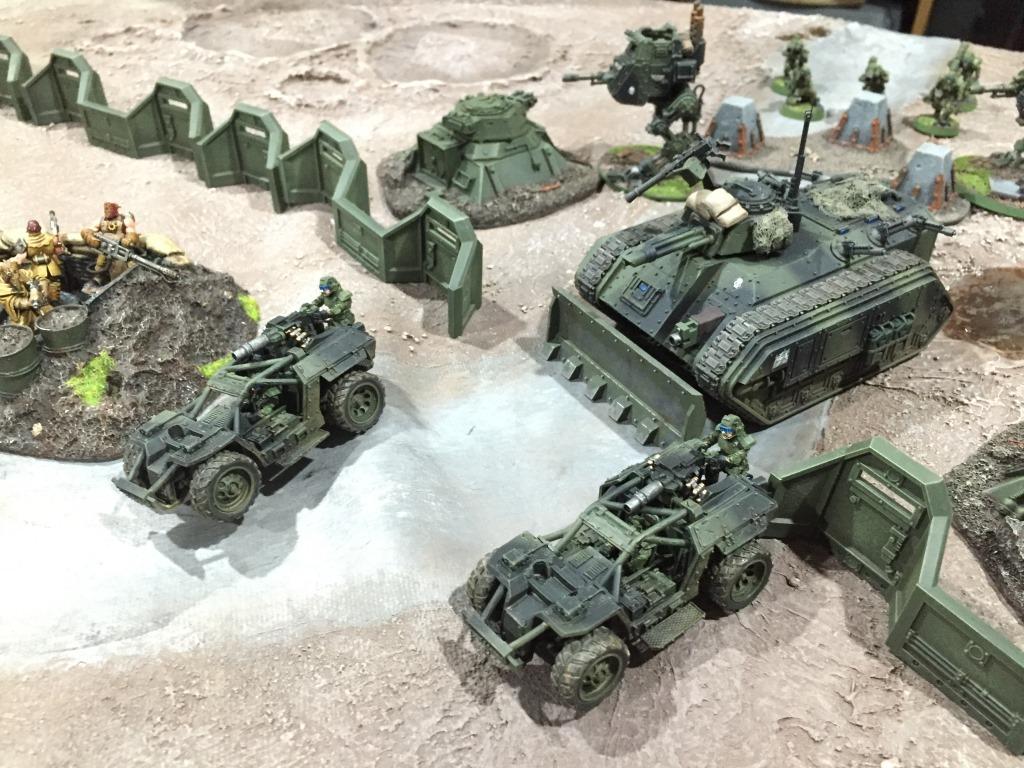
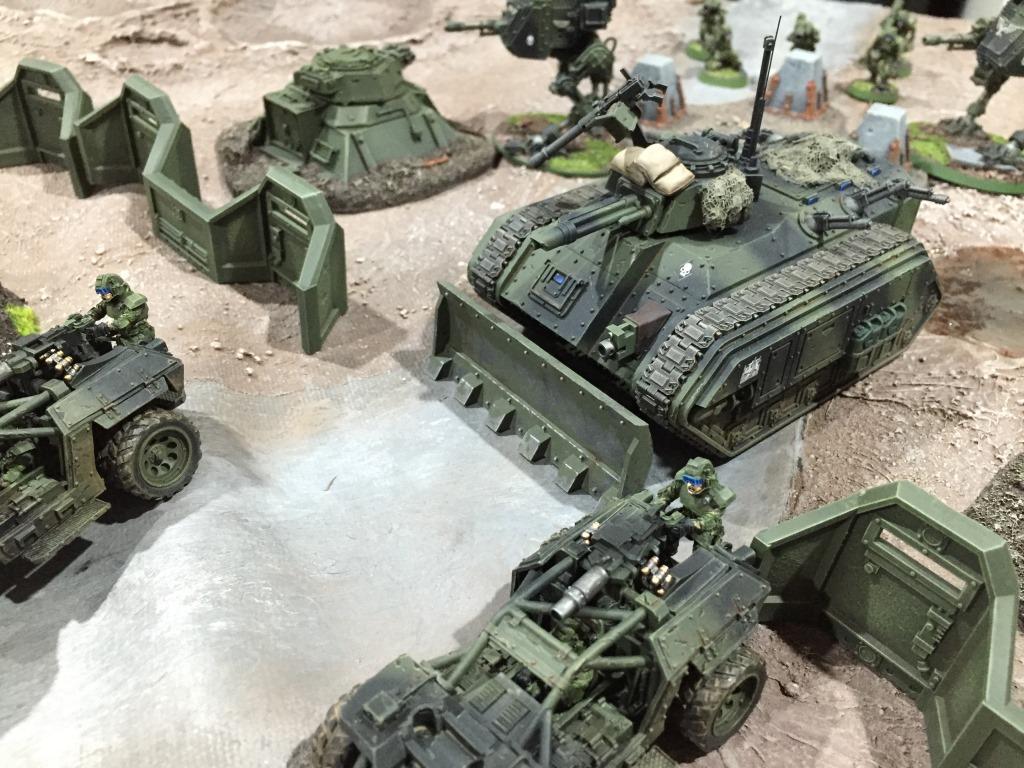
Sabre Force, the supporting ground attack, assaults the main gate
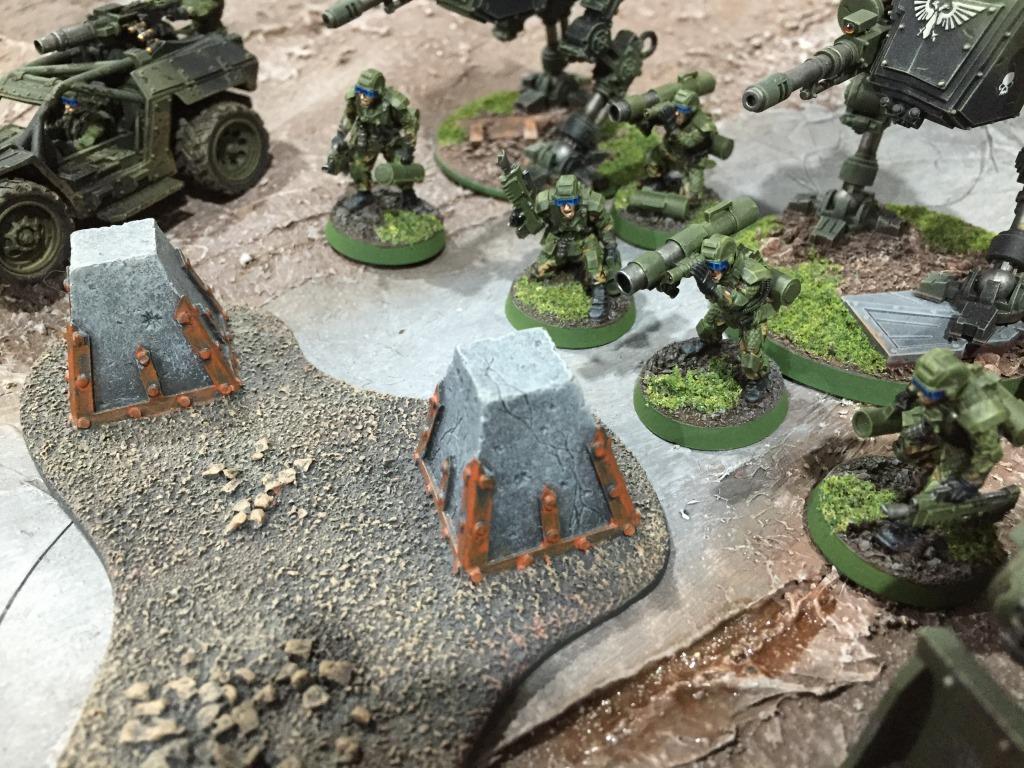
Drop trooper missile teams run to cover and begin to set up their weapons
The initial volley of fire from Sabre force routs the defenders at the gatehouse
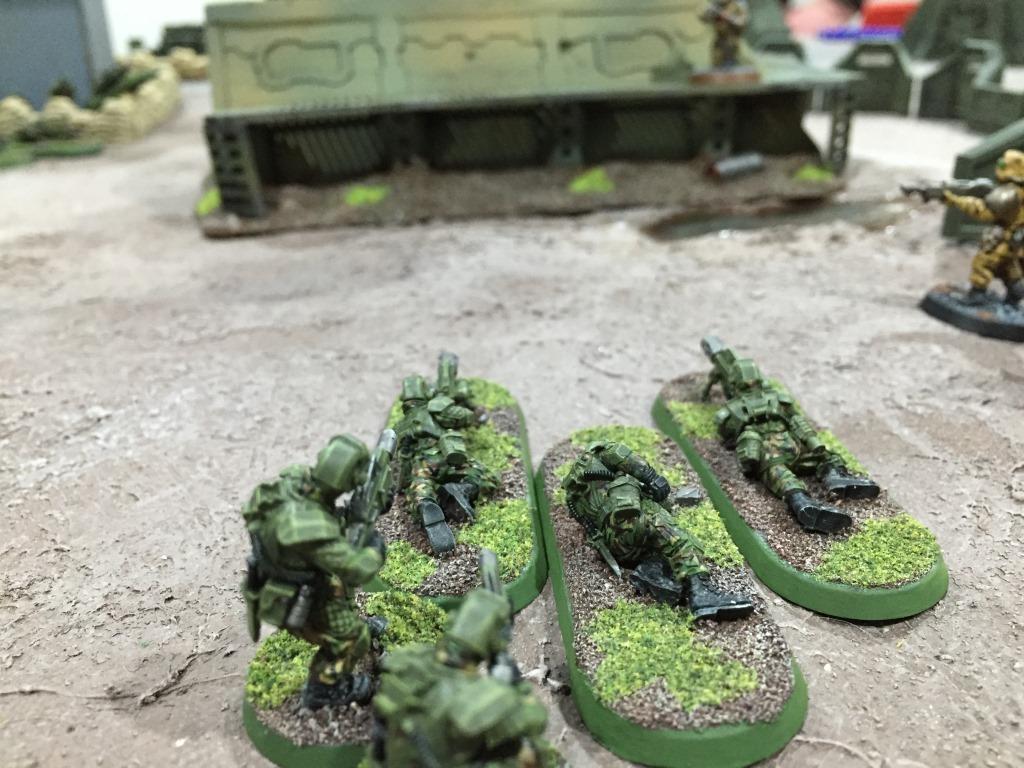
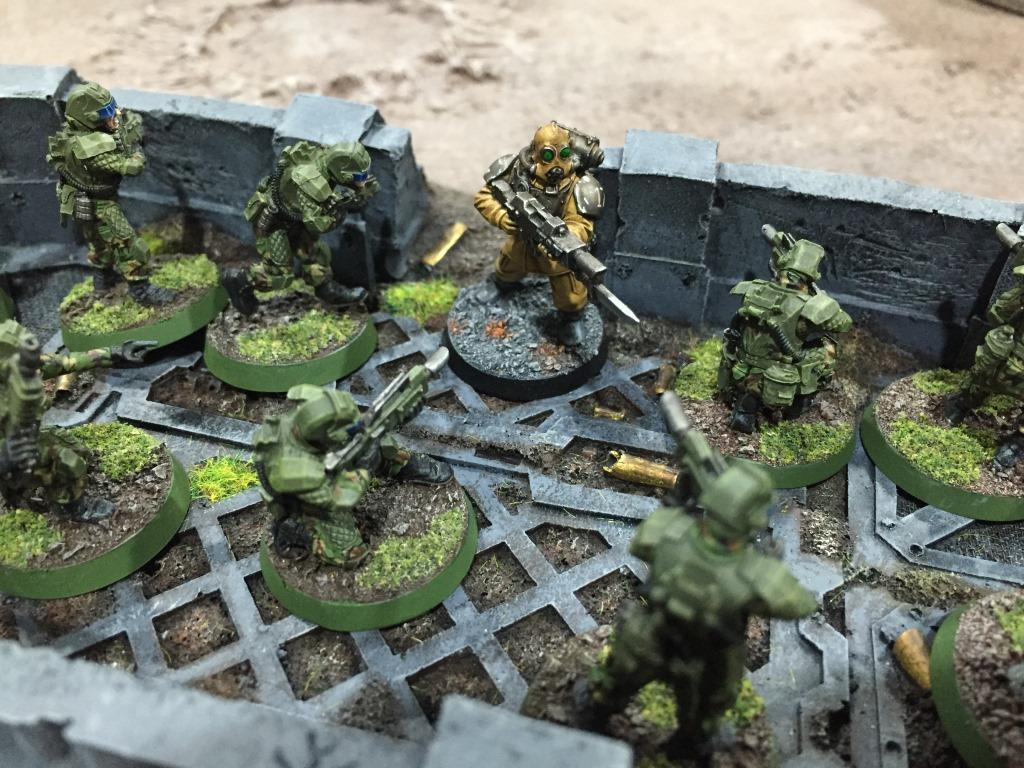
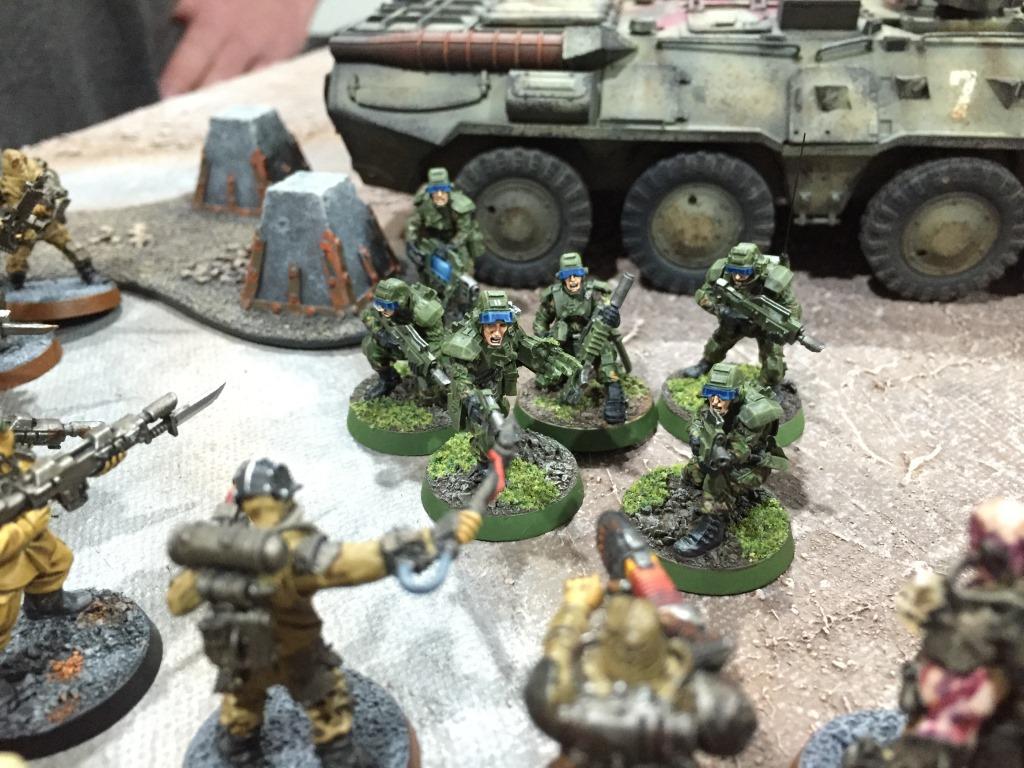
First stick lands safely, but out in the open

Melta stick one loses a man, who collides with a guard tower on descent
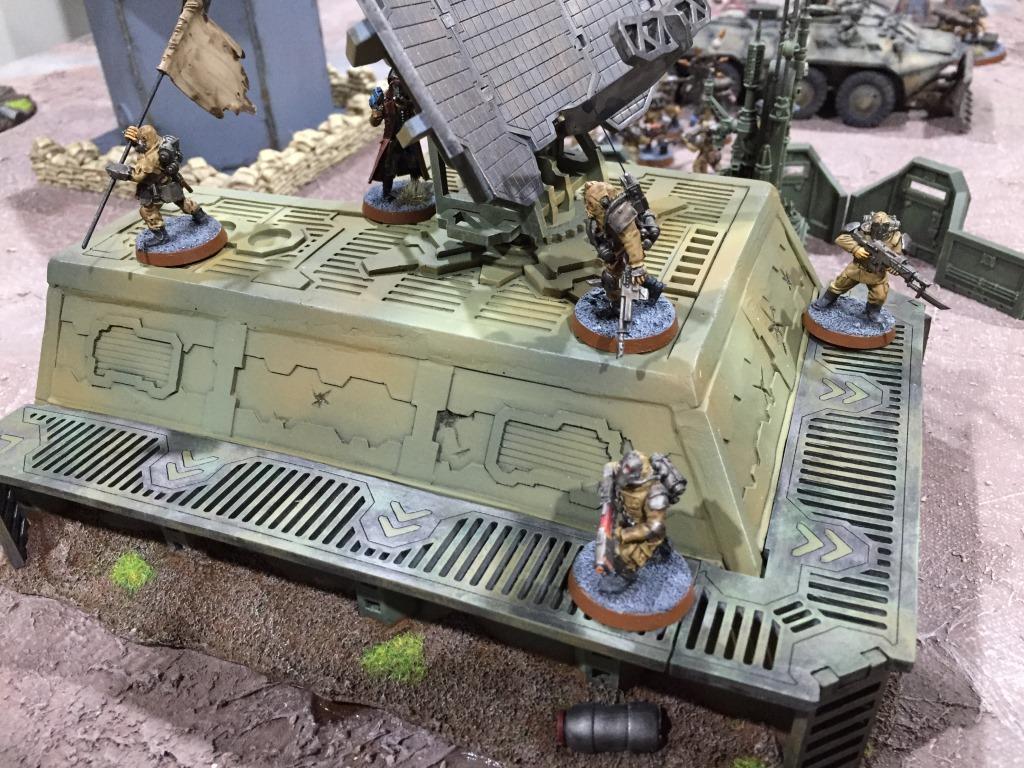
Melta stick two lands on target and lines up their primary target- the radar array
Alarm! Paratroops! The renegade
HQ spots the danger
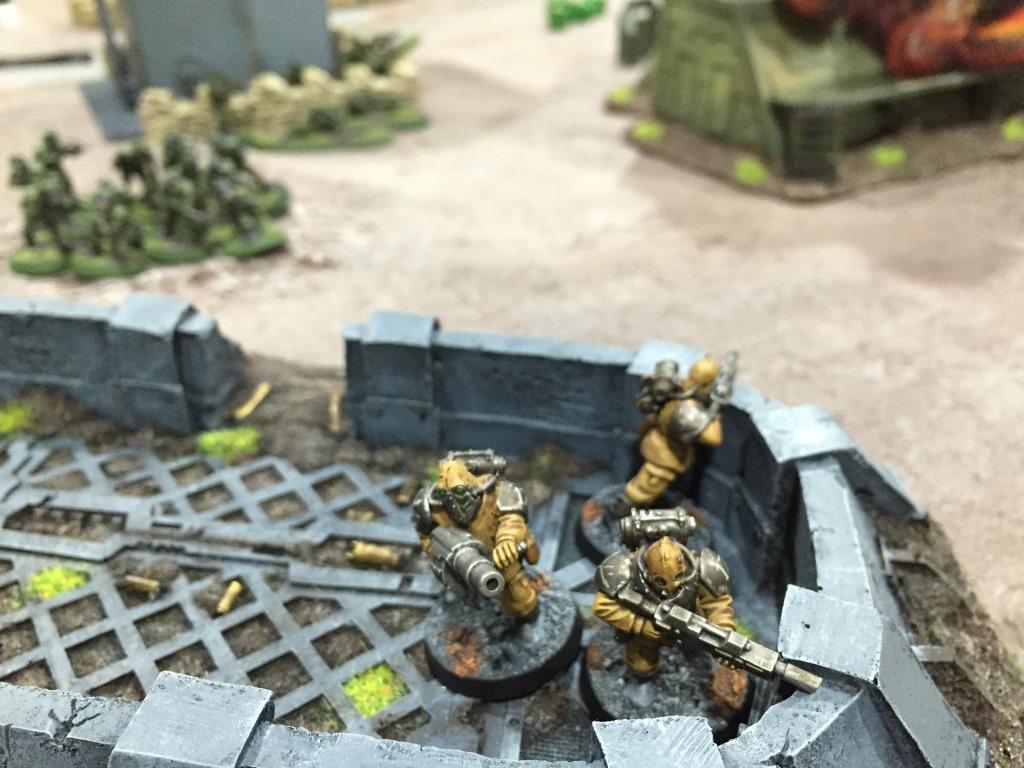
First stick wipes out most of the defenders in a nearby bunker
We could really use some cover…
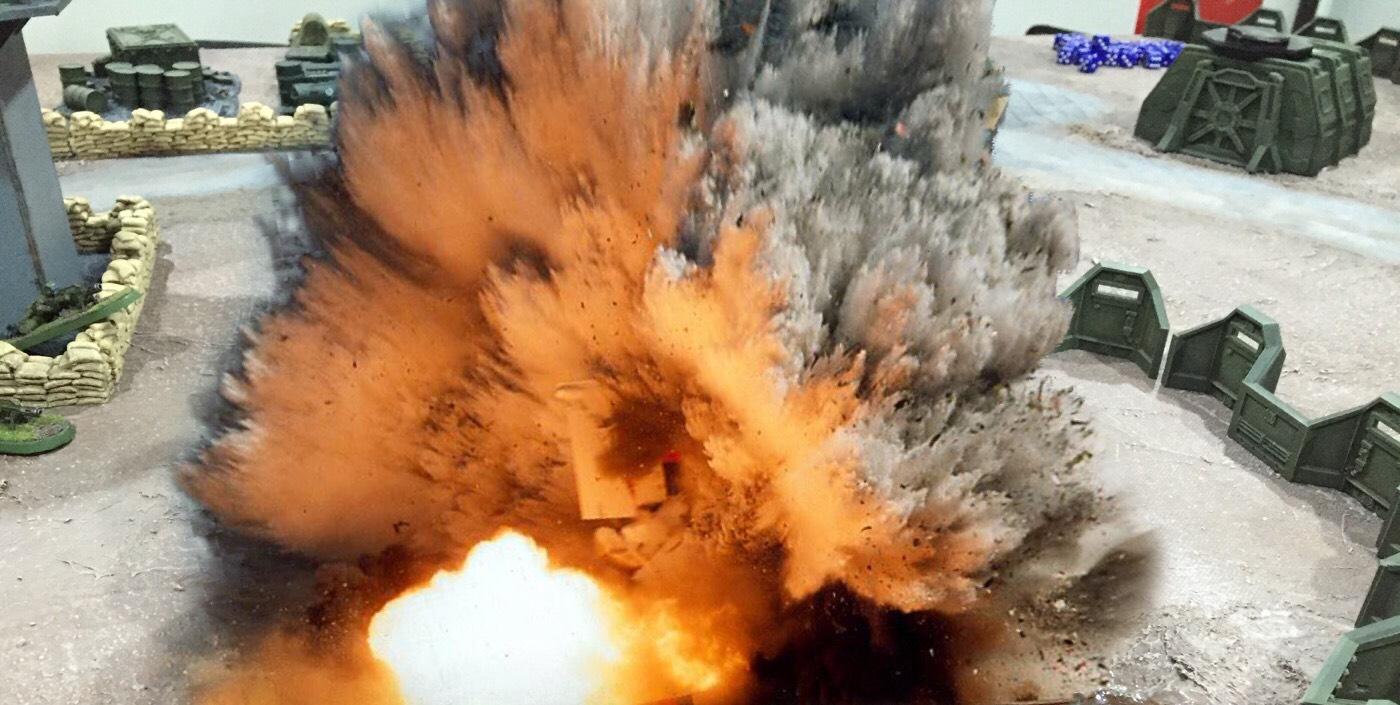
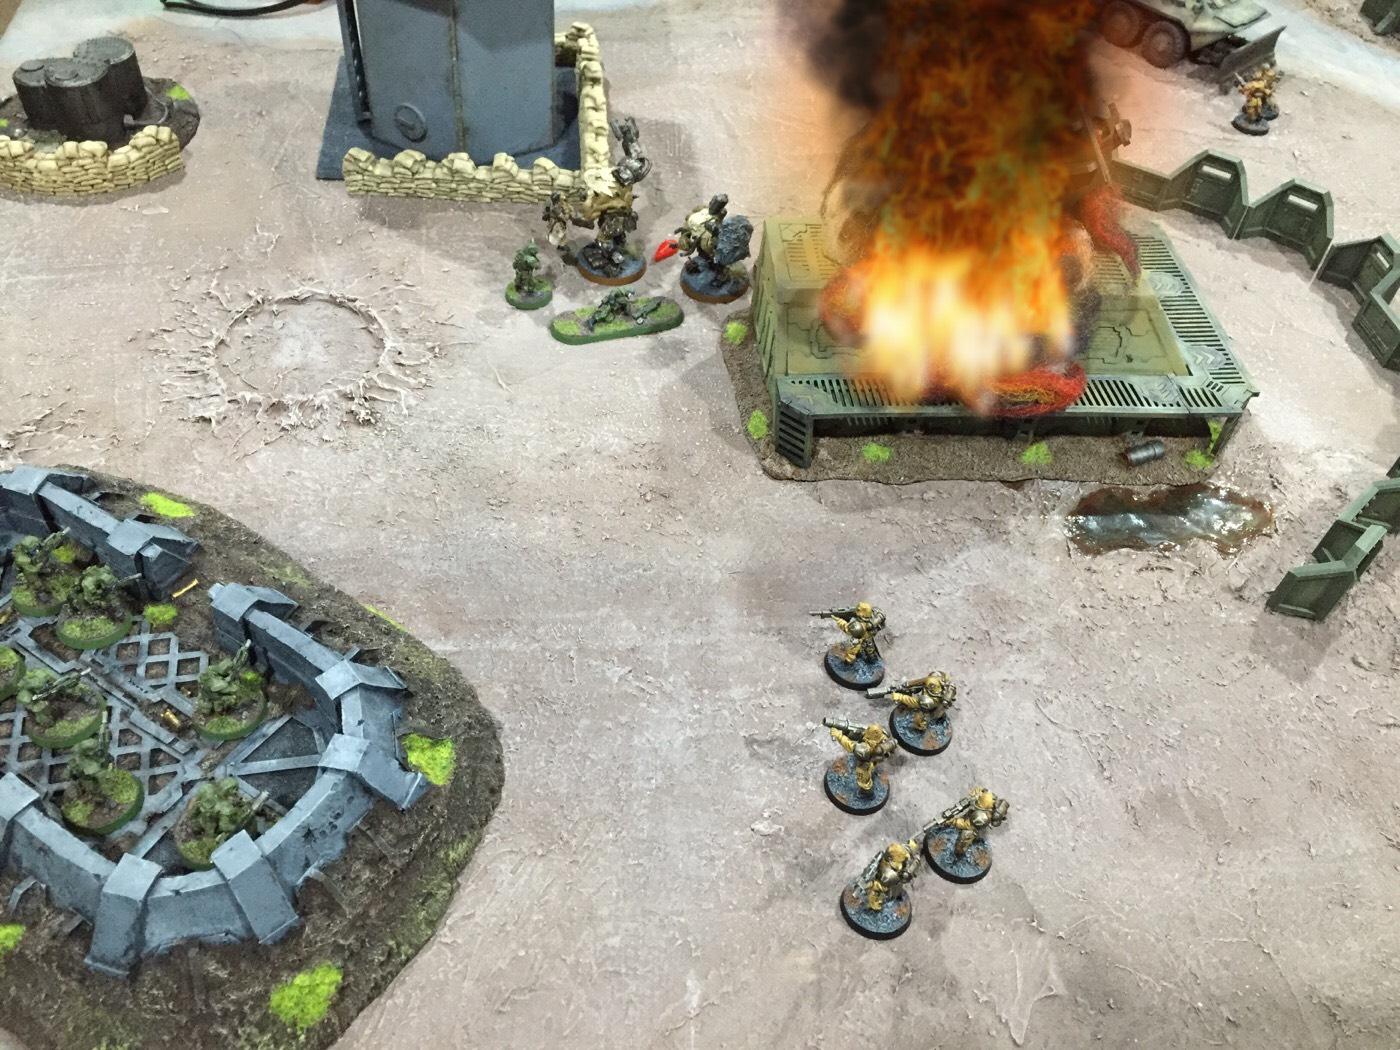
Kaboom! Melta stick one and two put 6 shots on target and the radar installation detonates, taking the renegade
HQ with it
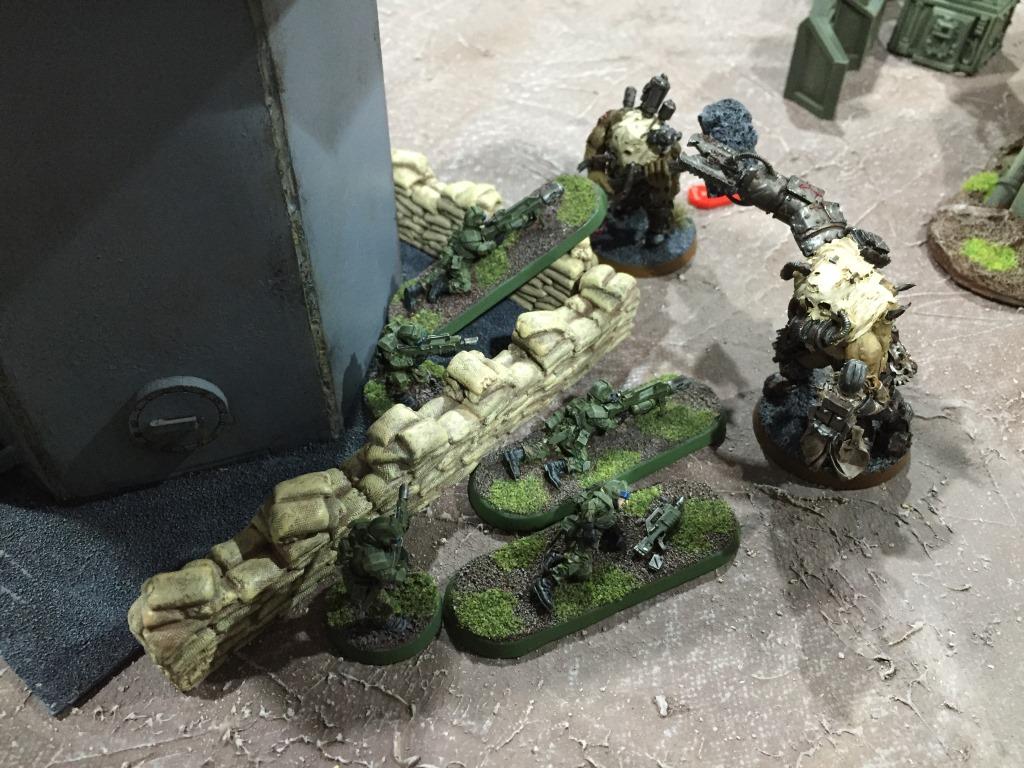
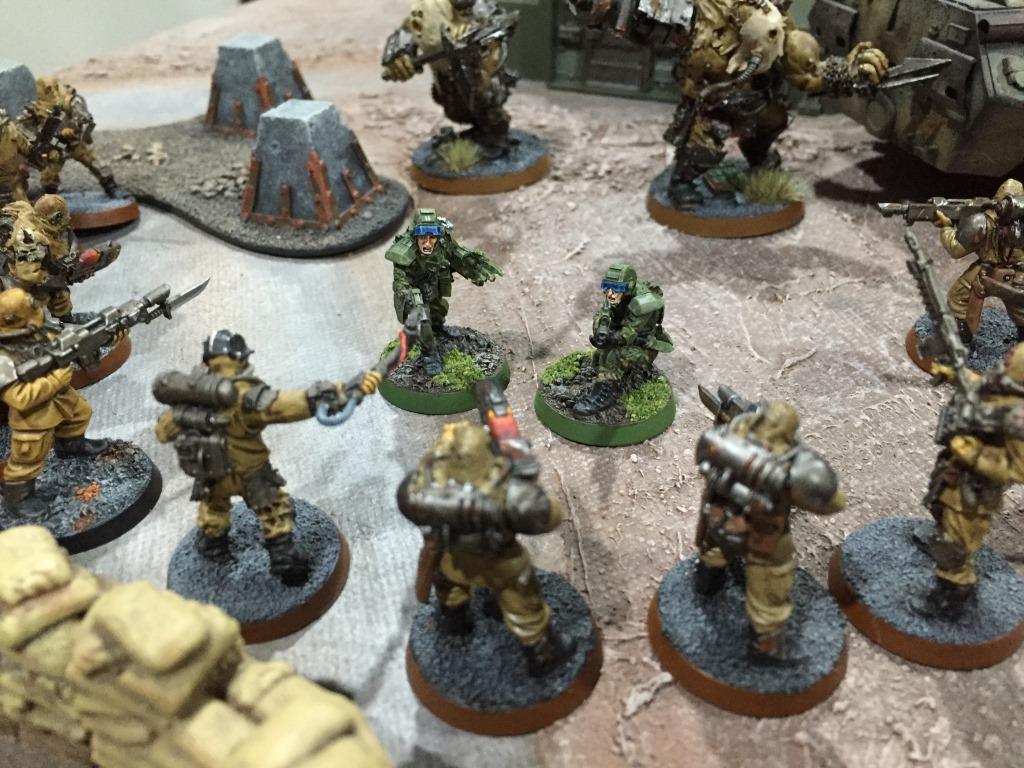
Unfortunately for Melta one, this only enrages an Ogryn berserker squad that had been inside the facility
First Stick is fired on by every renegade gun nearby – which is a lot
Incredibly, only one drop trooper is felled
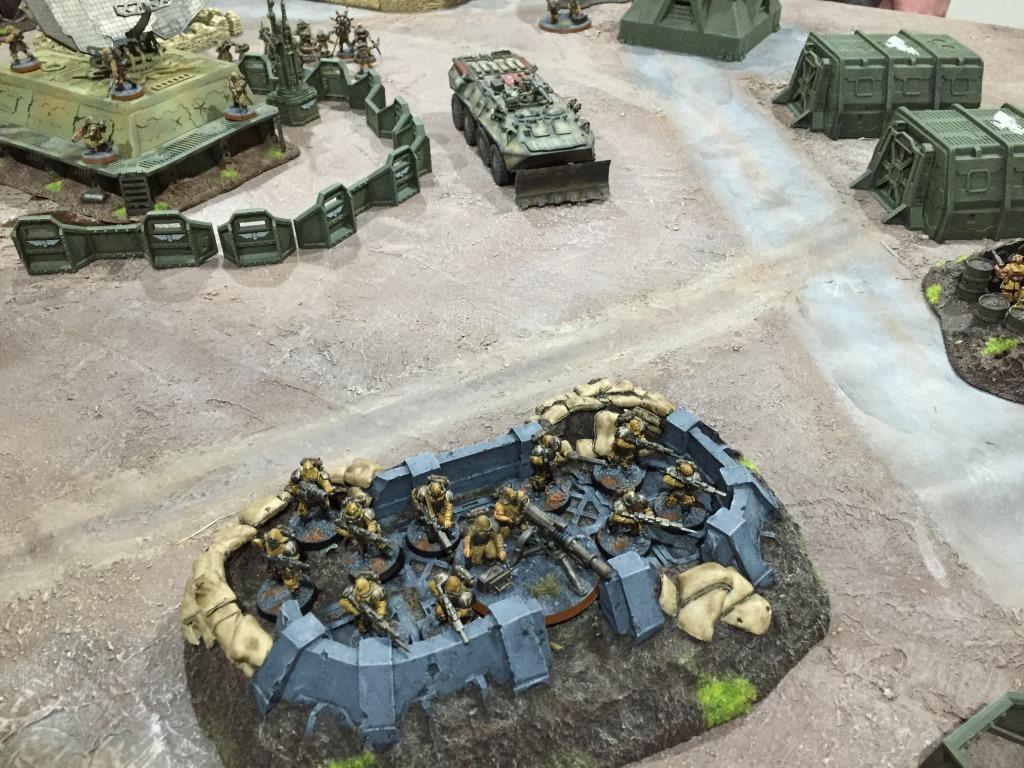
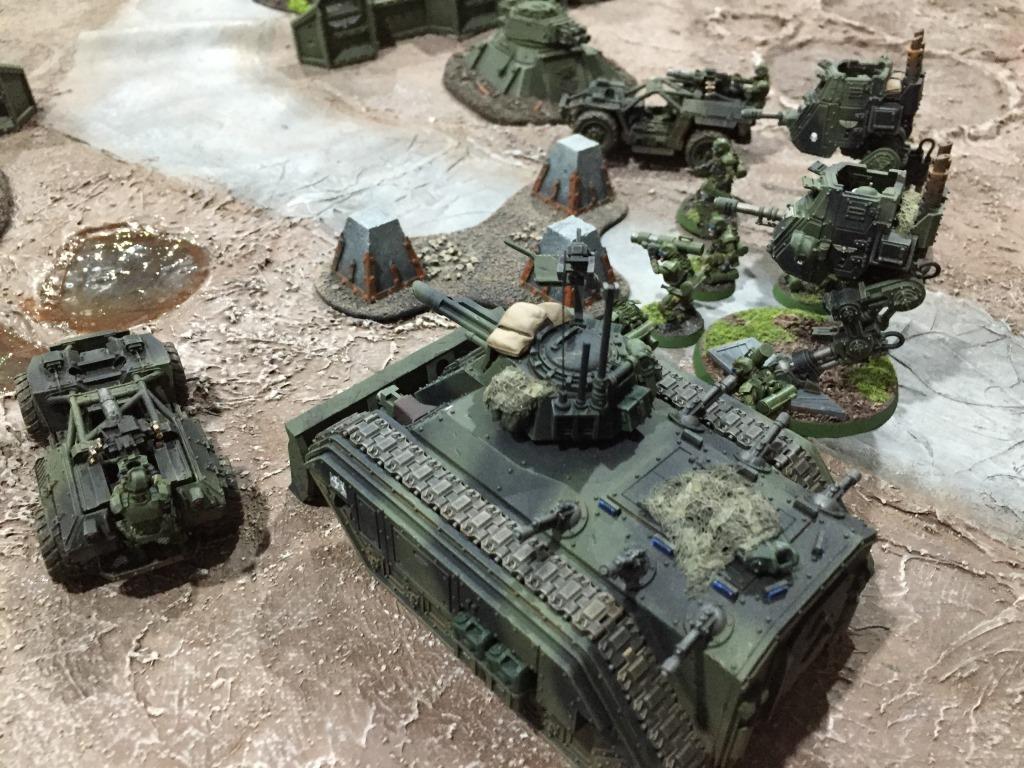
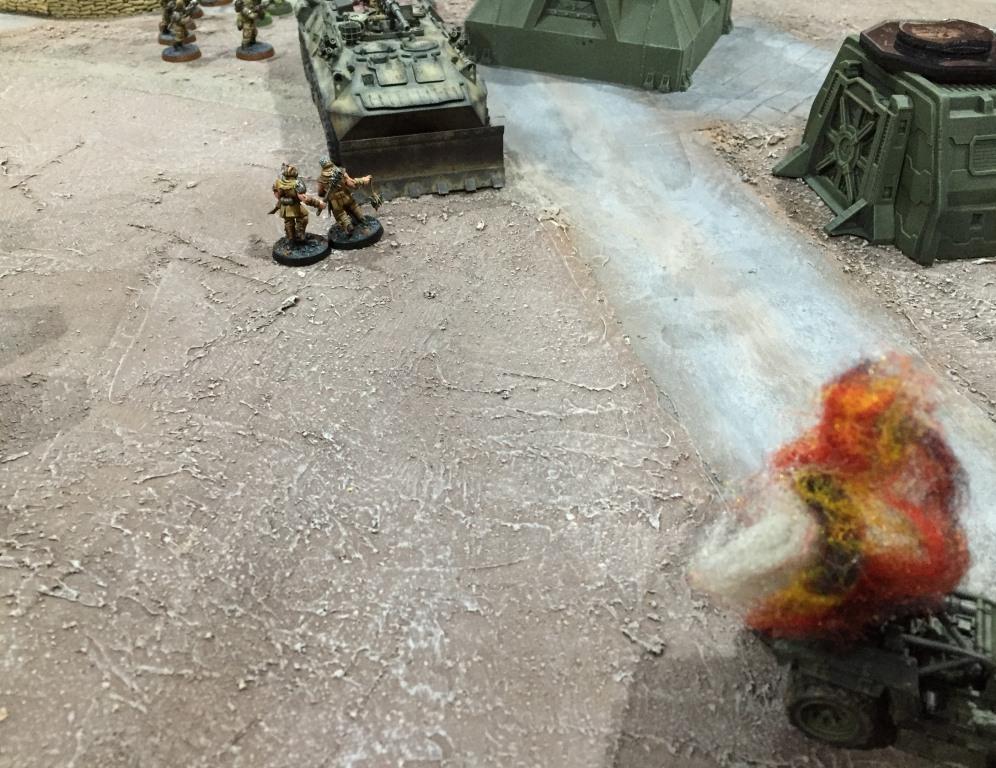
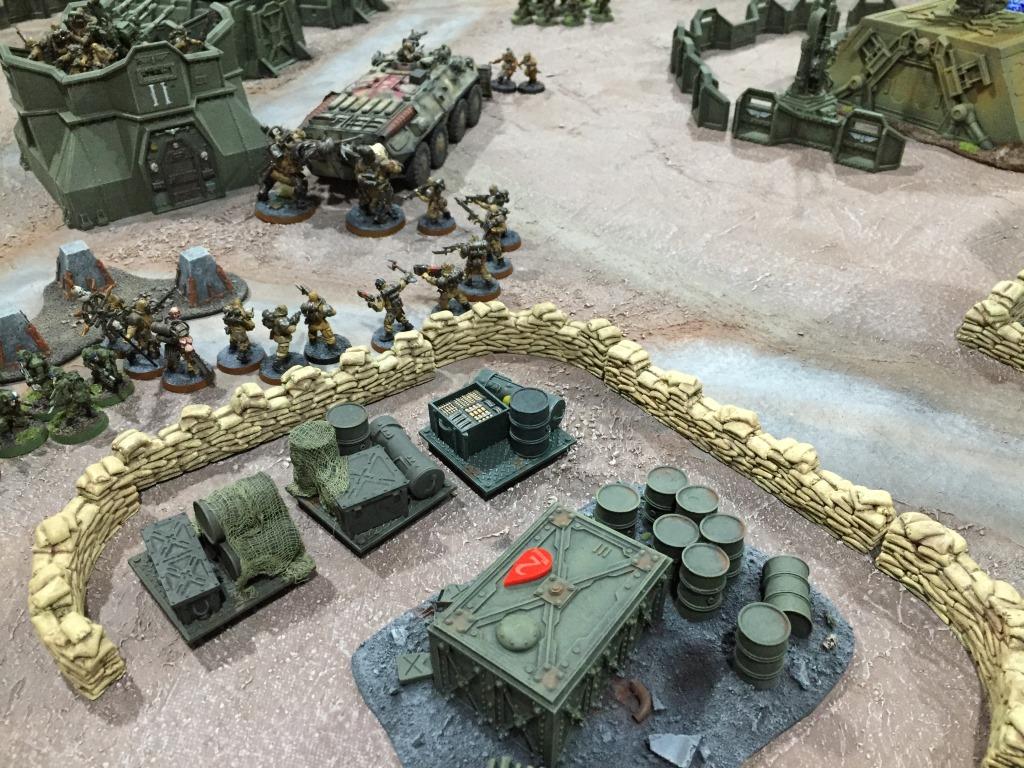
Meanwhile, Sabre Force breaches the gate and storms into the compound
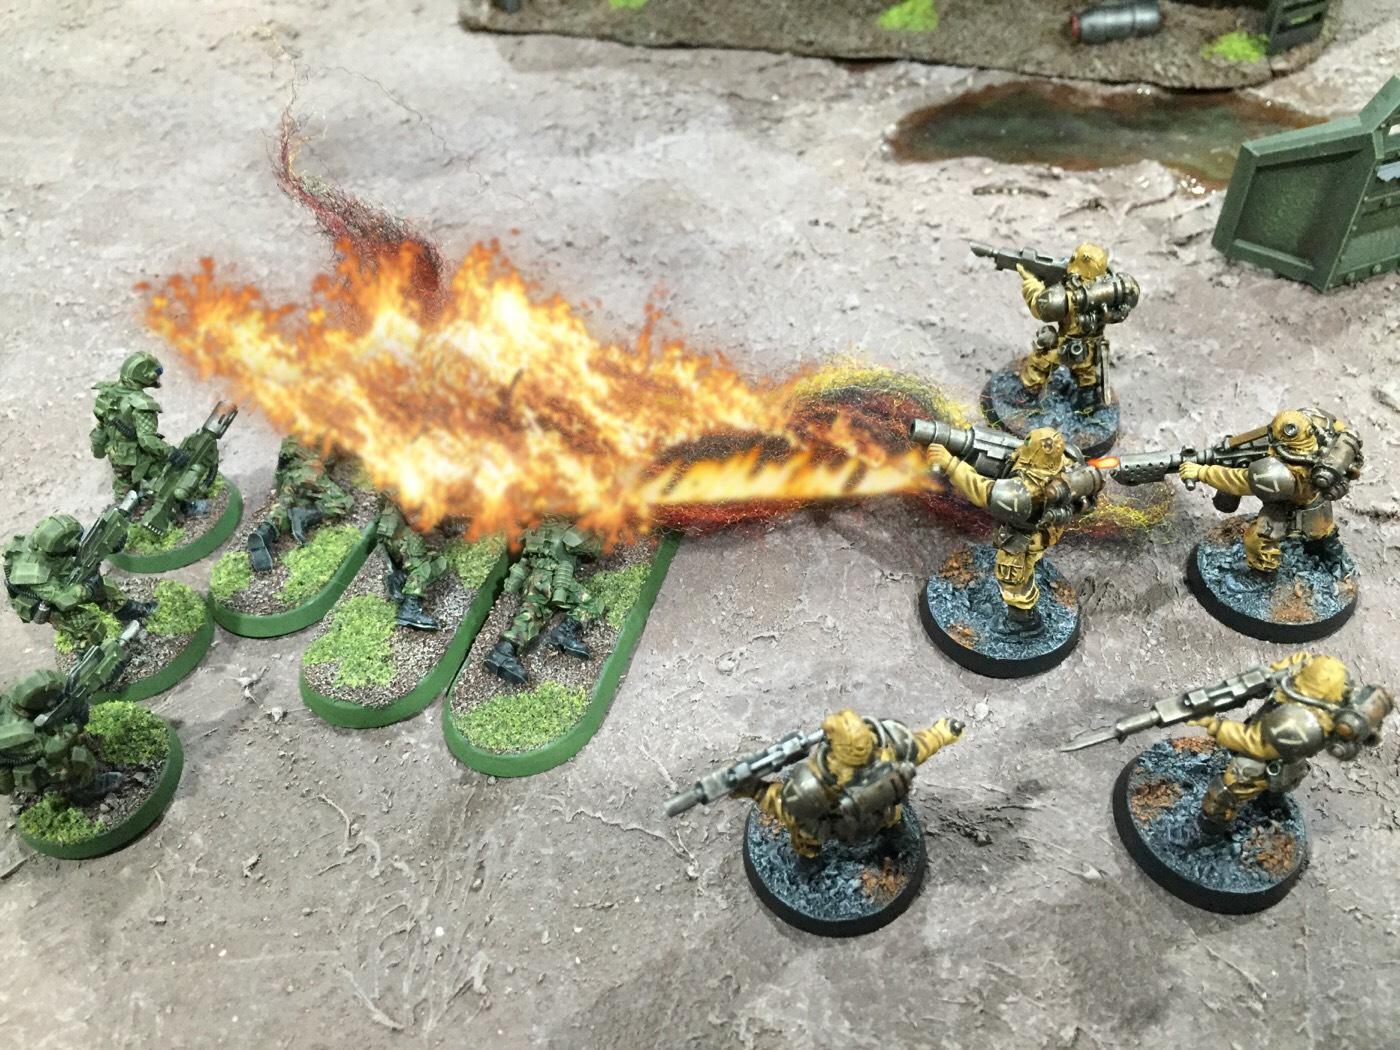
The renegade squad that has fallen back from the gate rallies and flames 3 members of melta two
The Sabre Force vehicles clean out the bunkers by the gate
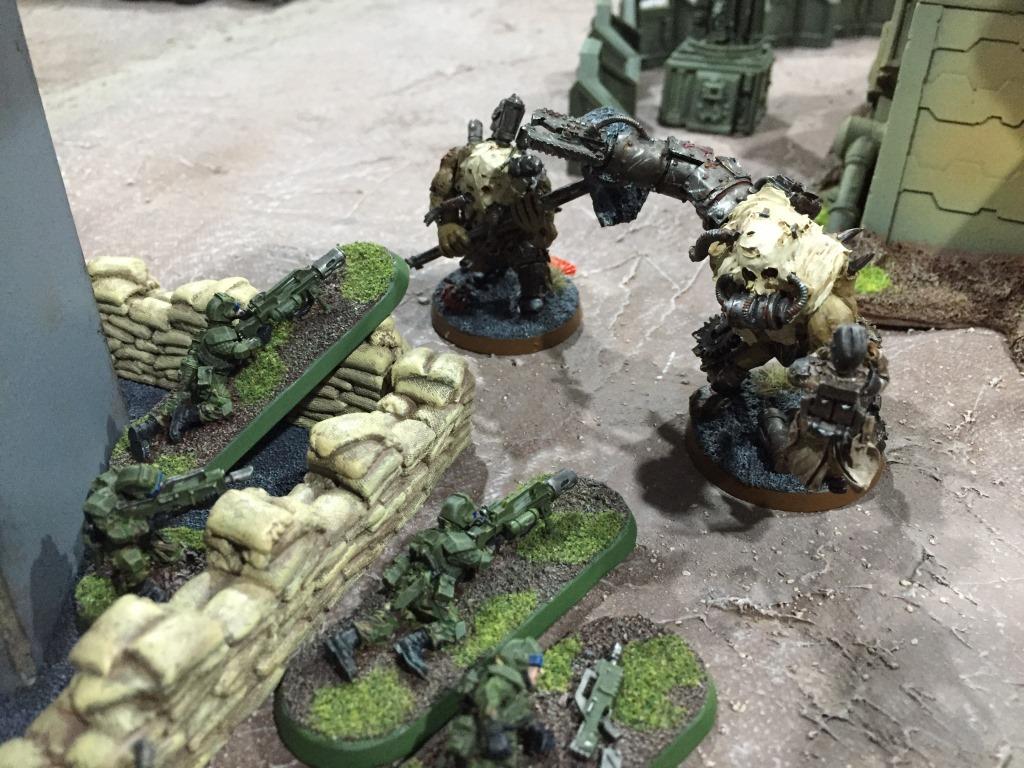
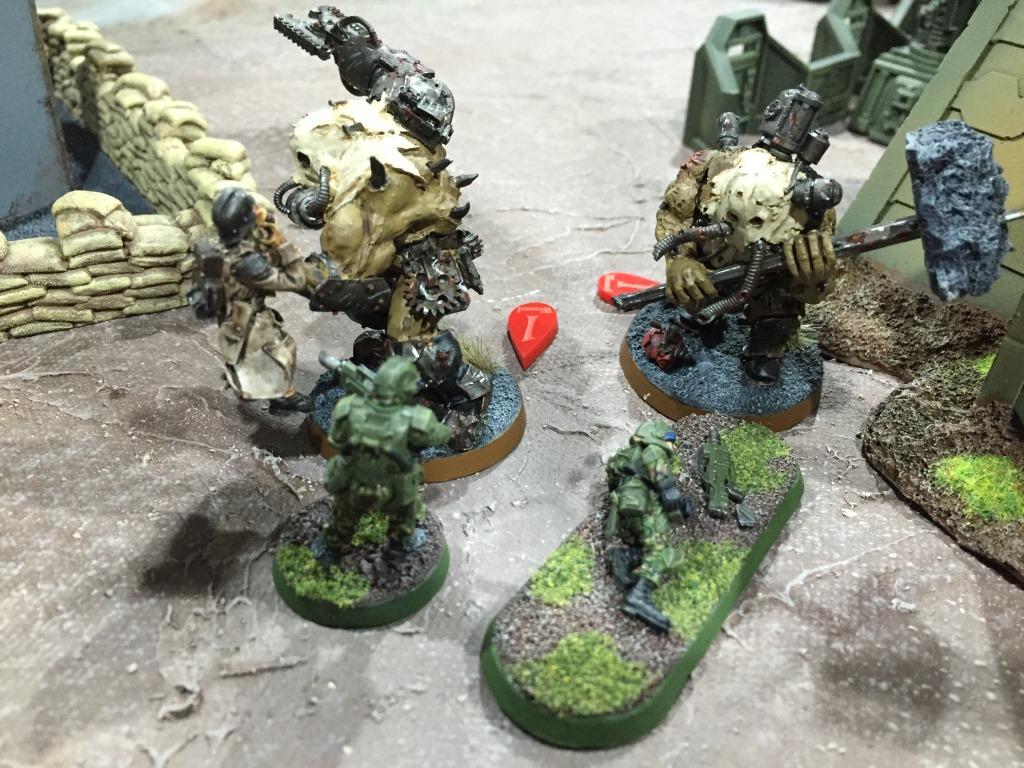
Meanwhile, the Orgryn Berserkers slam into Melta one
Melta two retreats from the flamer renegades and links up with First Stick, who have assaulted and cleared a nearby bunker

Cover at last!
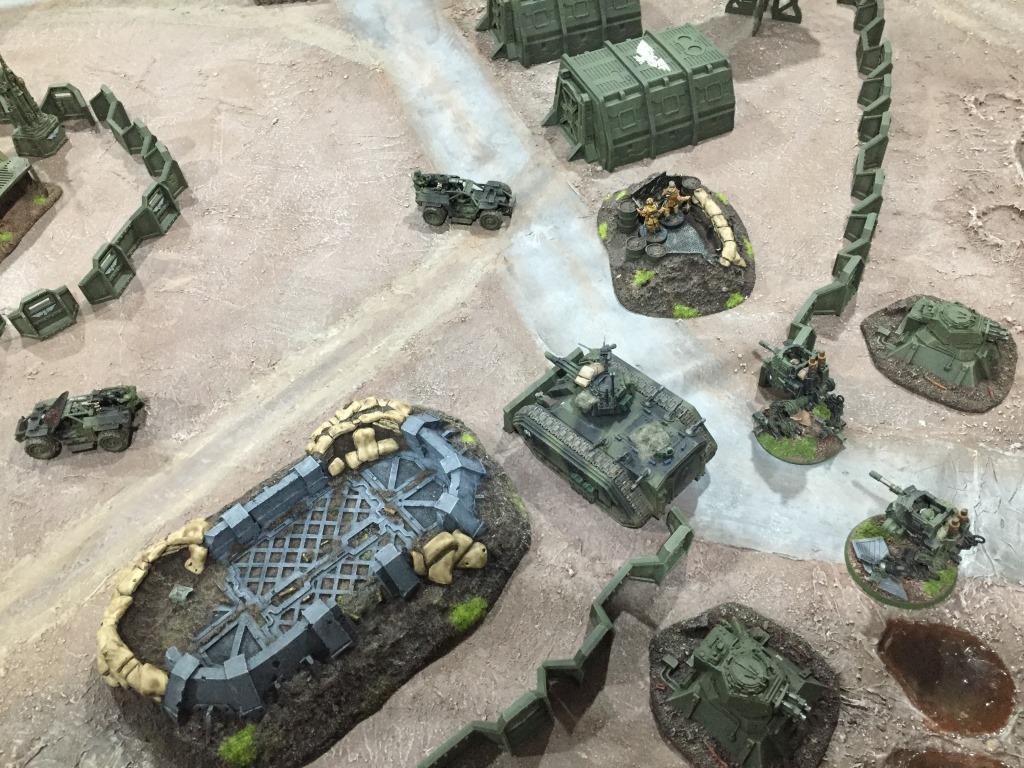
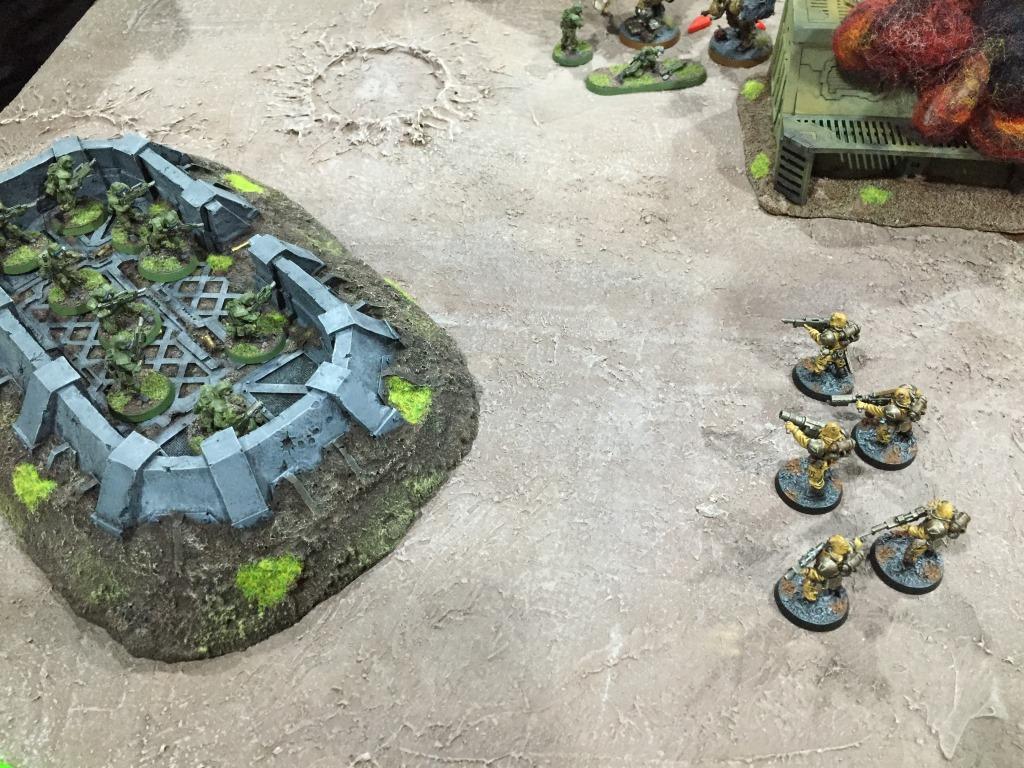
The state of the battle
Tauros assault vehicles run amok in the compound
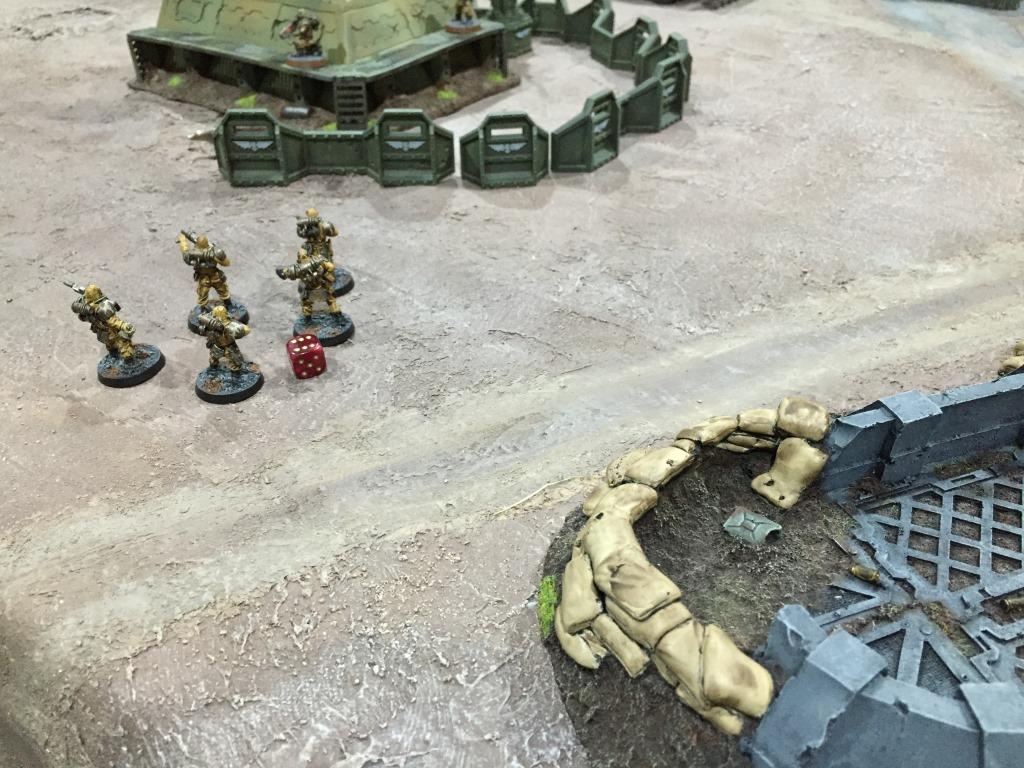
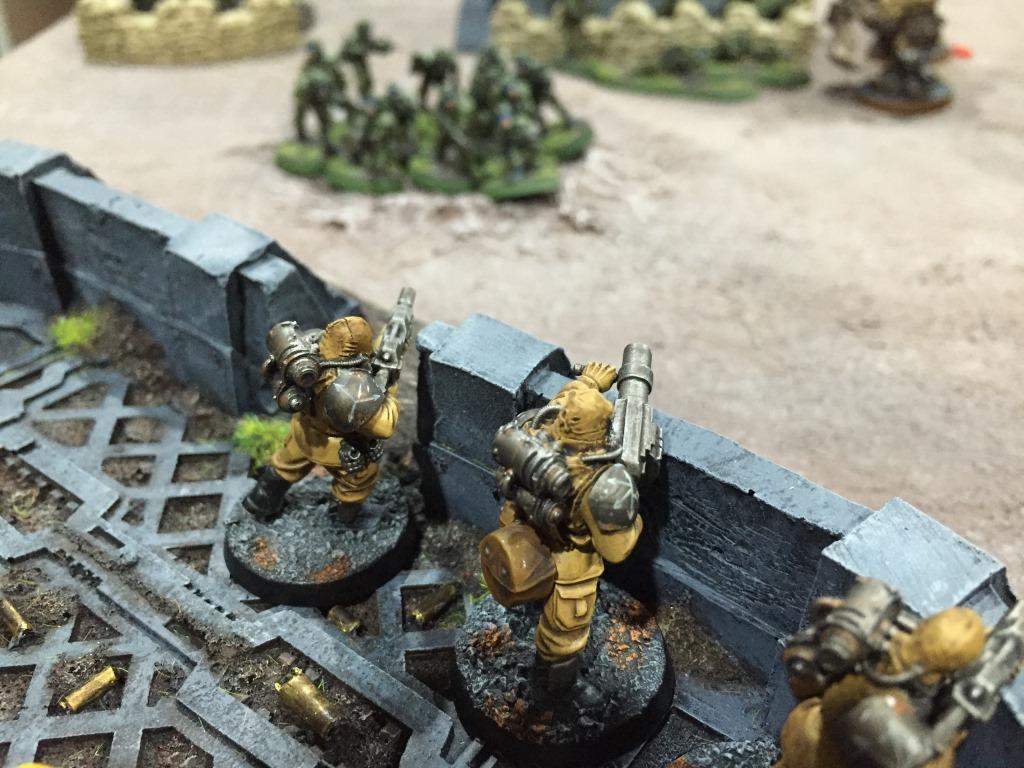
Captain Stirling and his command squad land, but badly off-course
They are quickly surrounded by renegades disembarking from the nearby landcrawler

…who are then joined by more Orgryn berserkers…
I have a bad feeling about this…
At the southern end of the compound, First Stick trades fire with renegade infantry
While Melta one is hammered by the Ogryns
One of the Tauros assault vehicles is knocked out by enemy fire
Captain Stirling’s squad is cut down by a fusillade of fire and the officer is wounded
Enemy defenders are routed form the last bunker
The guard tower fires off another missile, barely missing the second Tauros
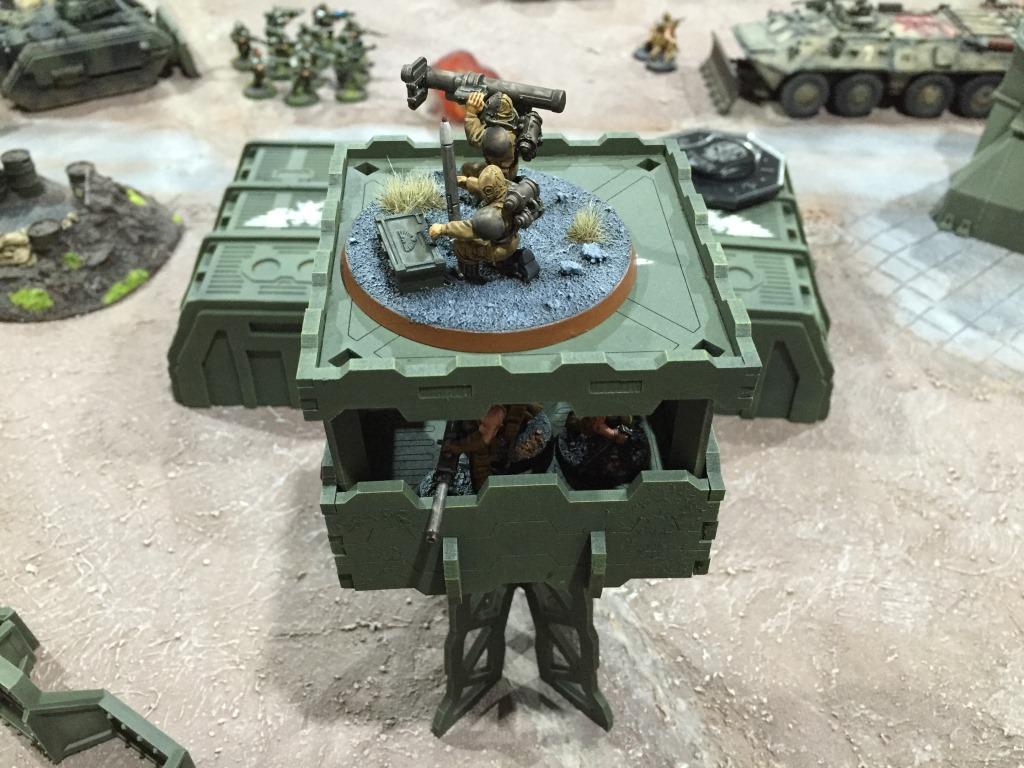
They do however, attract the attention of the missile squad by the gate

With explosive results

Sabre Force, now fully inside the compound, brings their weapons to bear on the defenders
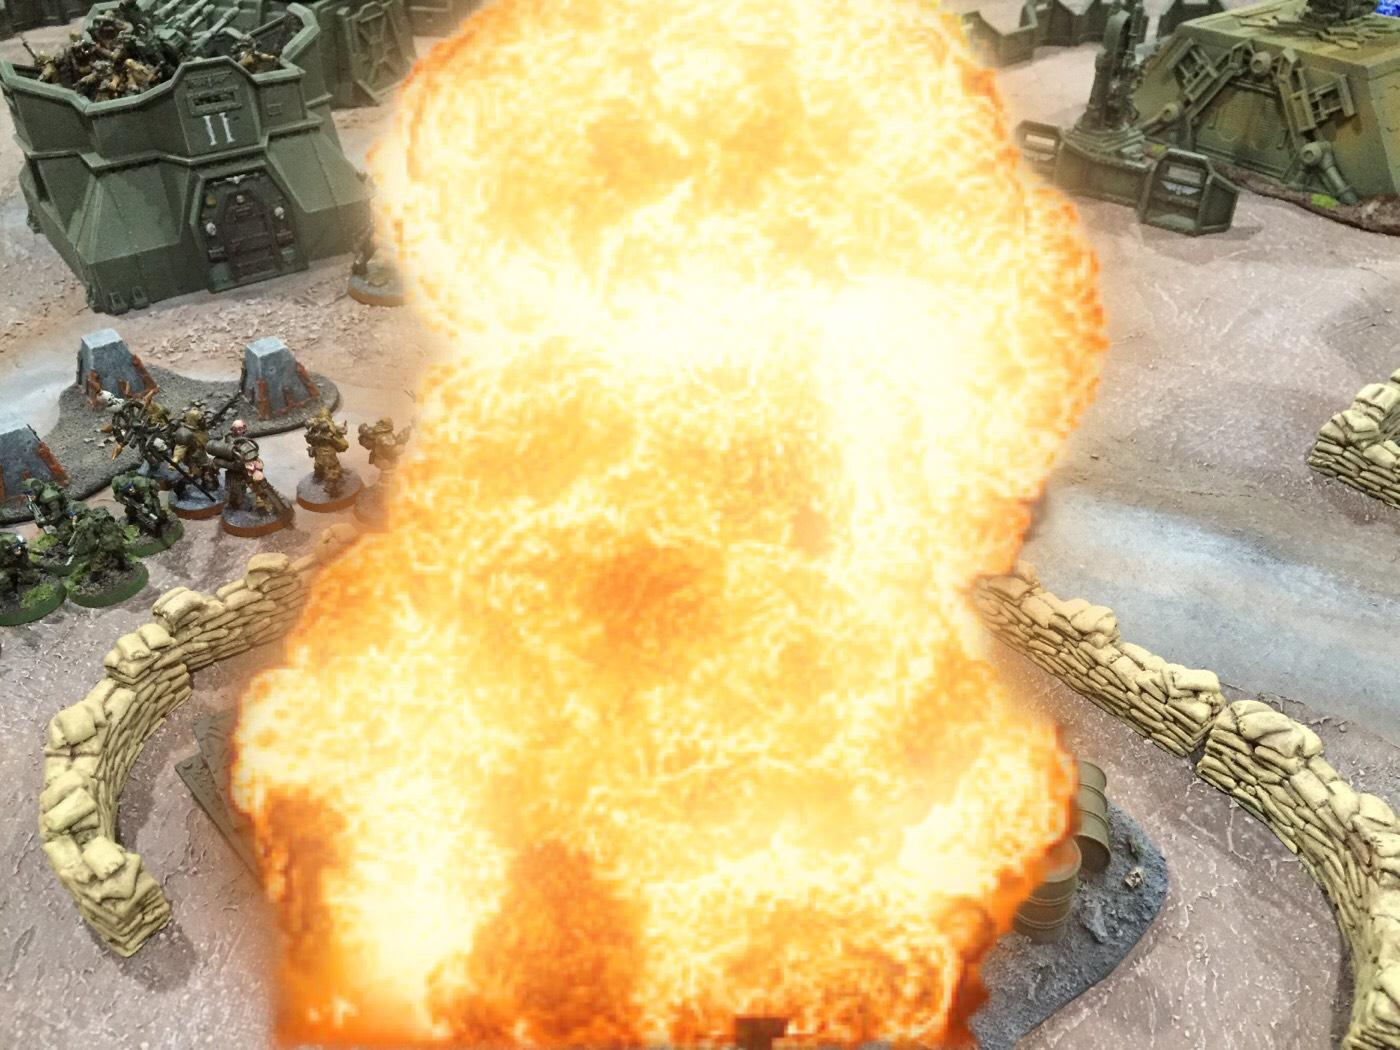
Second stick finally arrives, right next to the downed command squad. They fire with everything they have at the fuel depot as the mission clock runs down…
In desperation, the squad sergeant hurls a krak grenade at a pile of fuel drums
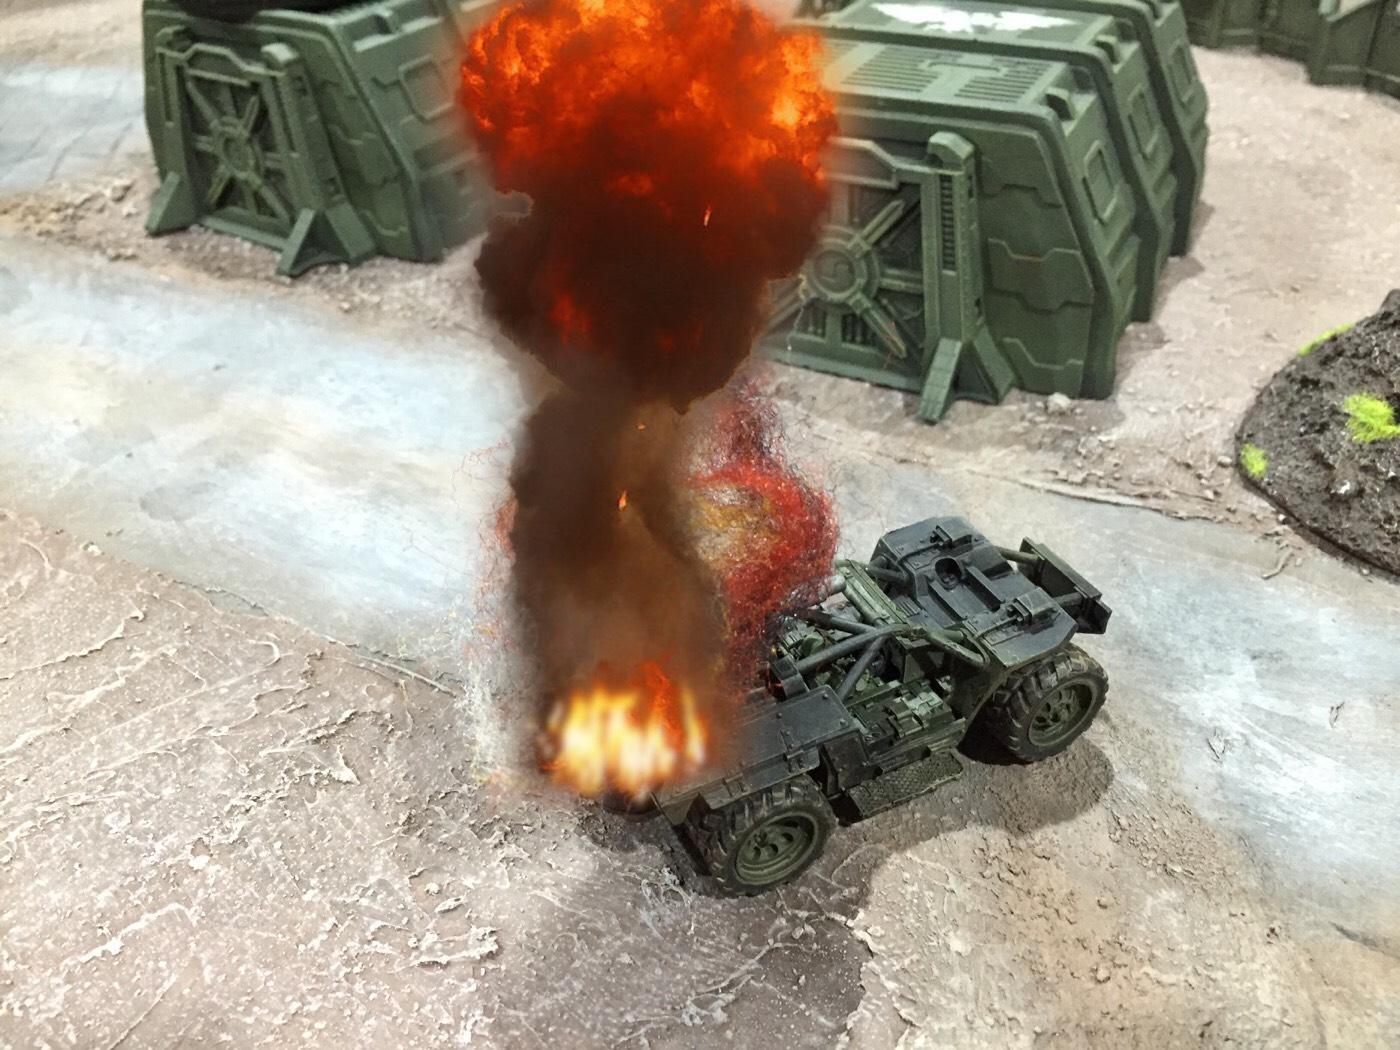
The result is spectacular – the fuel dump detonates in a massive fireball – consuming the depot and most of the renegades nearby
Support troops deploy from the Chimera as the remaining renegades flee. The injured Captain Stirling is loaded aboard the transport as the assault force quits the destroyed depot and heads for the pick-up point

Imperial victory!
++++++++++++++++++++++++++++++++++++++++++++++++++++++++++++++++++++++++++++++++
Well, drop troops are pretty much one-shot wonders. On the turn they land they can do a lot of damage, but they are seriously exposed to return fire/assaults. Having some of the sticks delayed and/or off course didn’t help (this game was played using 7th ed – these guys will be way better under the reserve deployment rules of 8th ed).
Great game though (the Chaos guys may disagree) and a really different dynamic with the way this force plays. I painted this army just for the campaign, so it was great to get them on the table.
Next game, both sides bring in the armoured units as the war for Triskelion continues to escalate…
++++++++++++++++++++++++++++++++++++++++++++++++++++++++++++++++++++++++++++++++
Captain Stirling came around in the back of the Chimera as it bounced across the uneven ground towards the pick-up site.
He lifted his head and saw Benner, lying alongside him, covered in bandages. The trooper gave him a weary thumbs up
“Mission successful boss. Fuel dump is a smoking hole in the ground”
Stirling gave a pained grin. “we always get the job done”. He winced as the Chimera hit another bump.
“No matter how much it hurts”
+++++++++++++++++++++++++++++++++++++++++++++++++++++++++++++++++++++++++++++++++


