Hey Dakka,
This topic has been taking up a significant amount of my thoughts for the last year as I tried to decide from different techniques and YouTube videos on how to create good looking flags for my American Civil War project. There was a guy using a heat gun to melt blister pack packing, innumerable websites hocking their wares, using the generally inferior paper flags included with your minis, using aluminum foil, lead foil. All sorts of ways to potentially destroy the 100s of minis you painstakingly painted. The best technique I have found was by this young lady:
https://youtu.be/3MX91IVS9Bo
The main issue with her technique is time spent on the banner and perhaps your freehand technique isn't as good as hers. I had to make 15-20 nearly identical flags. This is a problem that frequently occurs to historicals players. LOTS of minis. LOTS of flags and banners. Well, I hybridized her technique and feel that the results should be shown to help my fellow strugglers...
1. Watch her video.
2. The "Japanese Paper that I cant remember the name of..." is likely "Mulberry Paper." It has a shinny side and rough side as she described and it's what I used. I think that it worked very well.
3. Utilizing "Inkscape" I downloaded and sized vector images of flags. Inkscape is a free program and is the same program Wikipedia uses for their vector graphics. Great program for FREE.
4. I carefully trimmed the Mulberry Paper to fit my
HP color printer and simply printed all the flags I needed on one sheet. Make sure your printer has normal paper underneath so to decrease the likelihood of a jam. Also make sure the paper is oriented as you would like it. I oriented mine so the printed surface was the rough side.
5. Trim the flags.
6. I applied undiluted PVA to the flag but brushed with a wet flat head brush.
7. Then wrap the flag or banner as normal.
8. Apply juuuuuust a drop of superglue to the top and bottom along the flag pole to keep it in place.
9. Allow it to begin to set for about 2 - 3 min so you don't disturb the ink and it will allow easier sculpting.
10. THINK about how flags look. The upper corner is ALWAYS down due to gravity. The whole flag will droop toward the pull of gravity too.
11. Sculpt it.
12. Allow to dry remarkably fast (2-3 hours).
13. Viola! Easy flags.
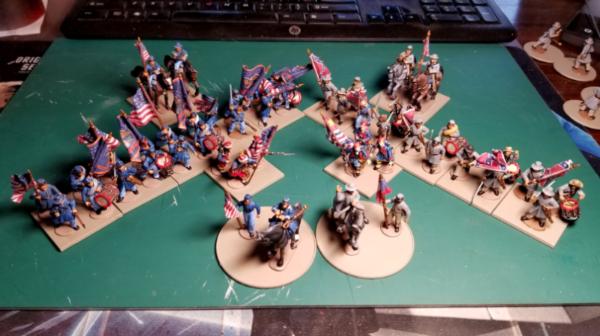
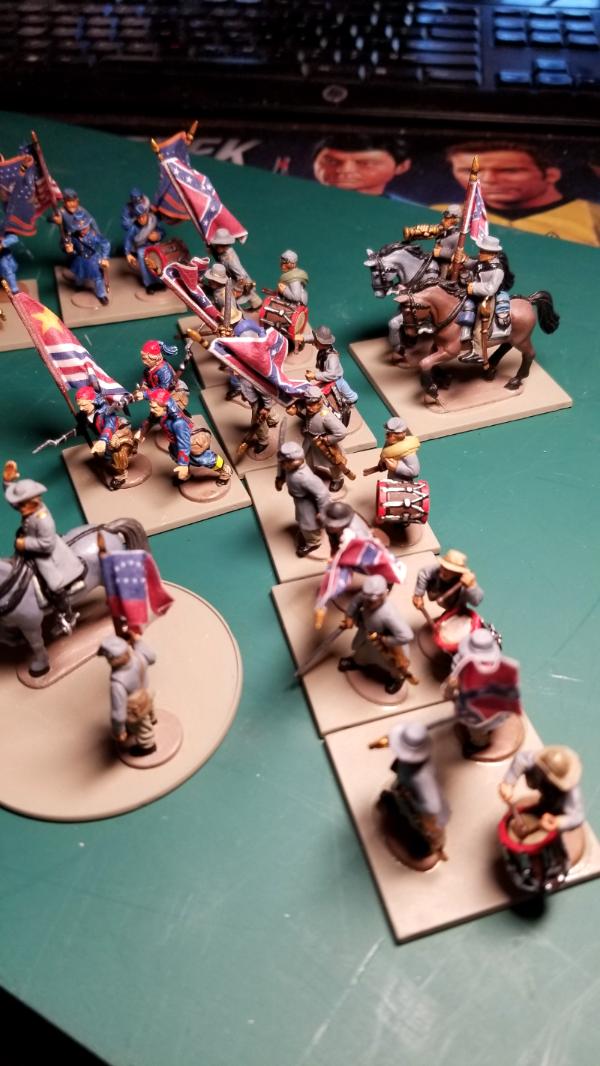
My results are OK for my TOYS. I understand they aren't Crystal Brush winners. hahaha. Here's some typical stands. Basing is next....
*** Design note. Remember to give space for the flag pole's circumference in Inkscape. I used about 4mm (measured from Perry Miniatures flag insert.)
 Automatically Appended Next Post:
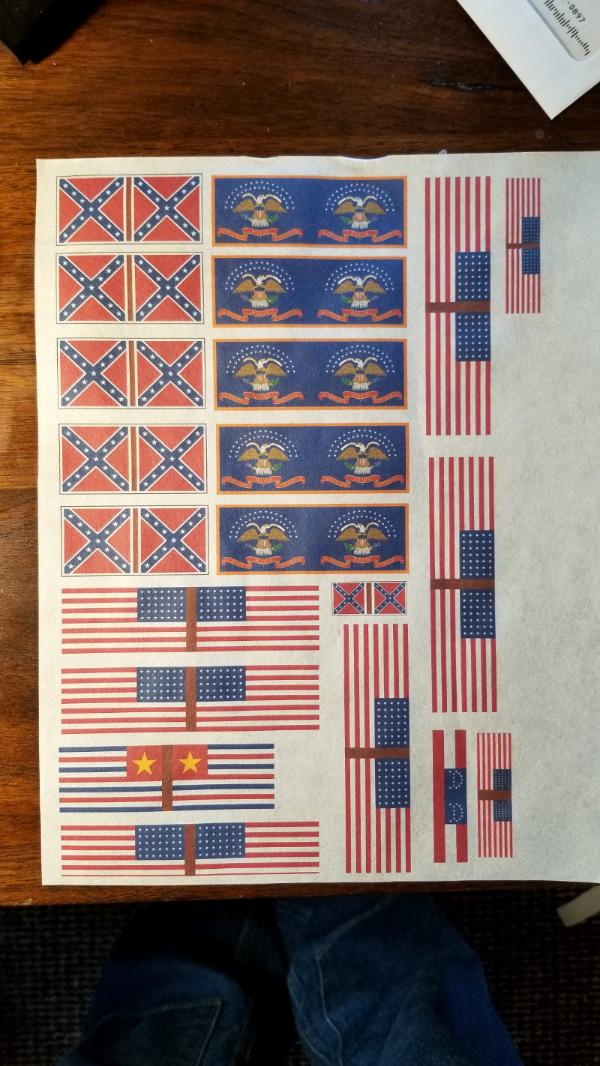
Here is a printed page on the Mulberry paper.
 Automatically Appended Next Post:
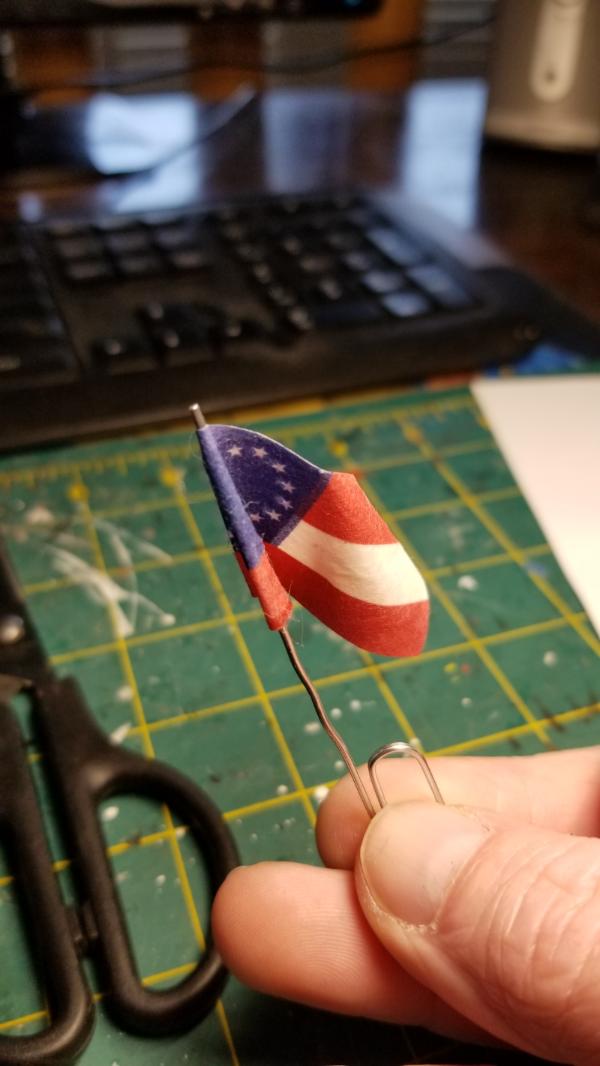
First try on a paperclip.