
- by Iain Wilson
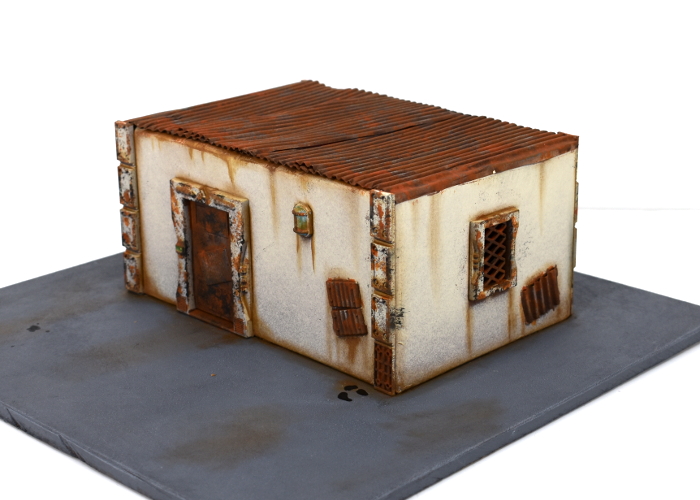
Our new, upcoming terrain sprue is themed around Broken terrain - delapidated, cobbled-together structures either repaired from abandoned ruins or cobbled together from salvage. I've been putting together a series of run-down shanty buildings and thought I would share my method for painting them up and making them all grubby and rusty!
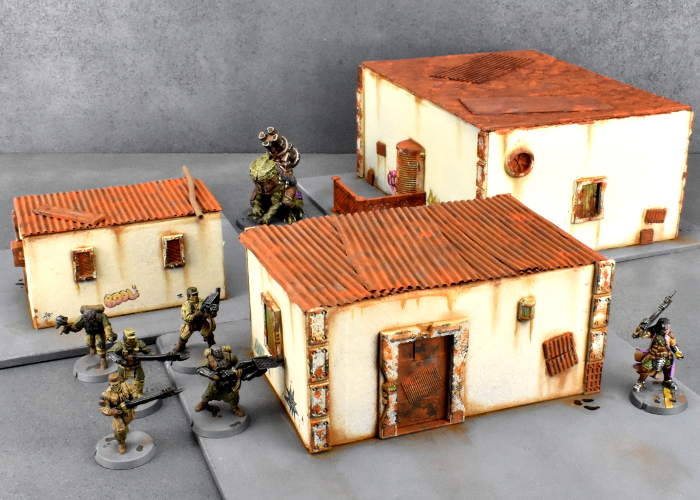
The building I'm painting up here is the one shown in the walkthrough in the first preview article
here.
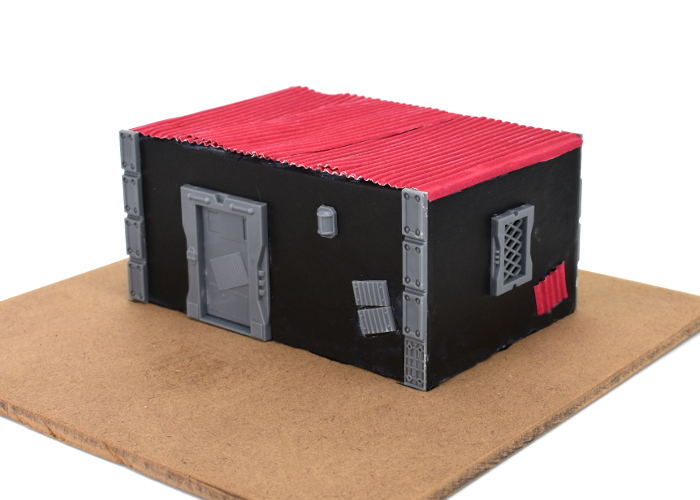
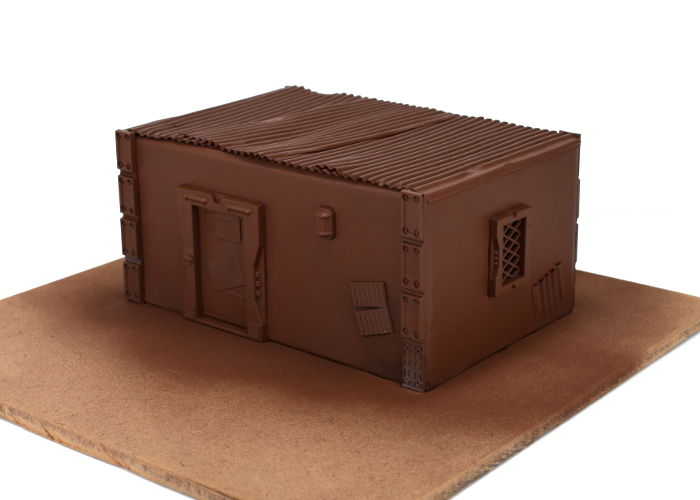
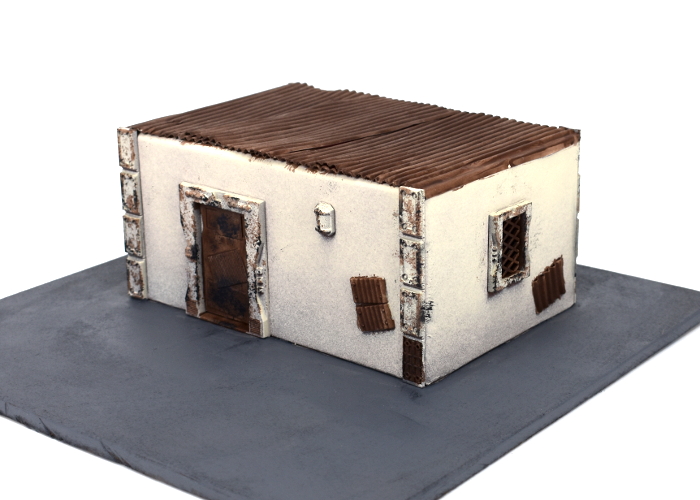
The first step is a basecoat of dark brown. The exact colour doesn't matter too much, but here, I'm using an AK Interactive Rust Basecoat.
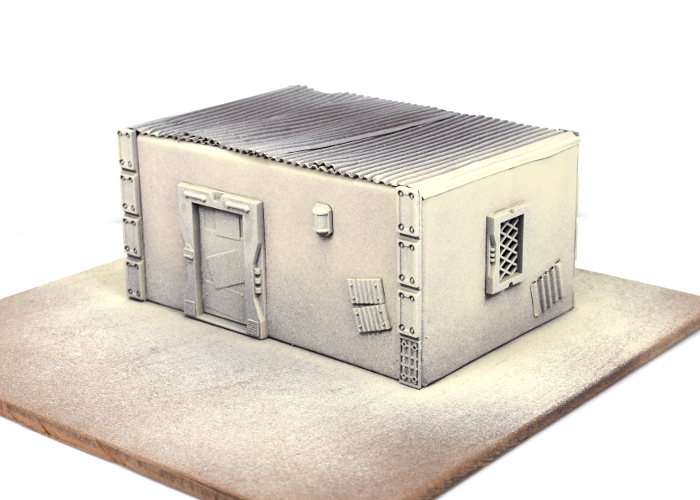
Over the brown goes a spray of cream, sprayed downwards at an angle to let the brown form some natural shading. I'm using a Dulux Chalky Finish cream spray, as it gives a fantastic, non-glossy surface finish.
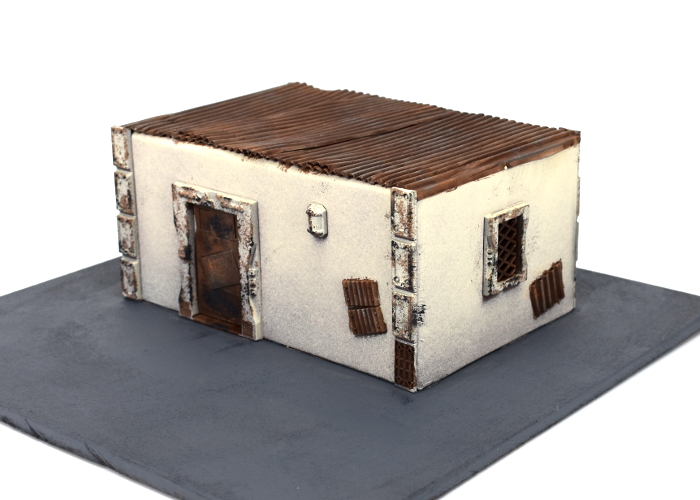
Over the areas of exposed metal, re-undercoat with a dark brown. For painted metal areas, like the reinforcing struts, apply the dark brown with a sponge. (You can find a tutorial on sponge weathering
here). The exact shade of brown doesn't matter too much, as rust comes in a wide range of shades dependong on age and exposure, but I've used AK Interactive Shadow Rust here.
For areas of lighter rust, apply a sponge of dark gray over the brown. This will give the effect of old but unrusted metal showing through the rust in places. Where you want heavier rust, like on the roof, leave this off. For this building, I used Vallejo Heavy Charcoal for this step. I have also painted the base with Vallejo Neutral Grey at this stage.
On the larger rusted surfaces, like the roof and door, apply a rough drybrush of orange. This doesn't need to be particularly even - you're aiming to create a rough highlight to accentuate the patchiness of the rust.
Now the magic part! The final coat of rust is applies with Vallejo Dry Rust. This is a worryingly bright orange paint that goes on gloopy and dries down to a very flat finish. Applied over the brown, the orange is dulled down to a perfect rust finish. Use an old brush and just dab it on, working downwards so that the rust collects most strongly on upper surfaces. As with the drybrush layer, the aim isn't to evenly coat everything, but to create a blotchy effect with the rust heavier on raised, exposed areas and lighter on undersides.
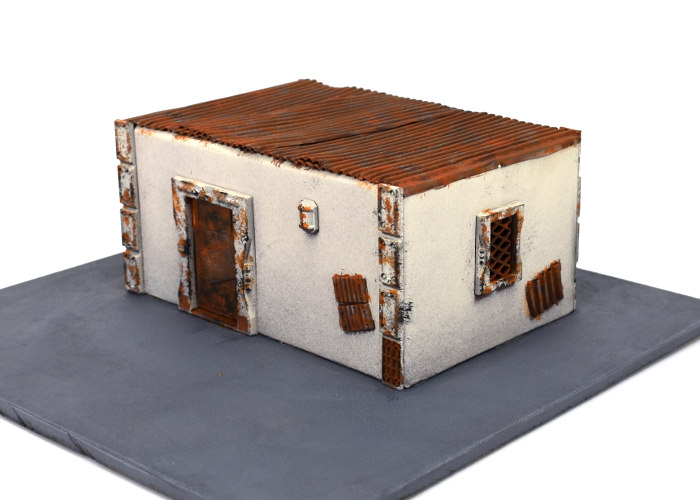
Around this time, drybrush the base with Valljeo Light Grey or similar.
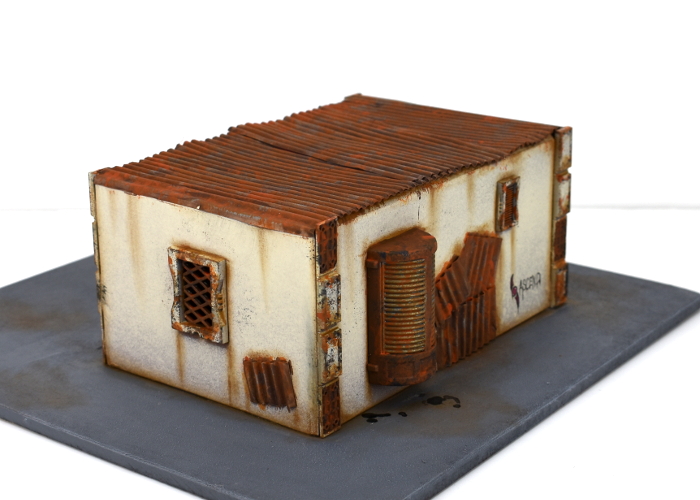
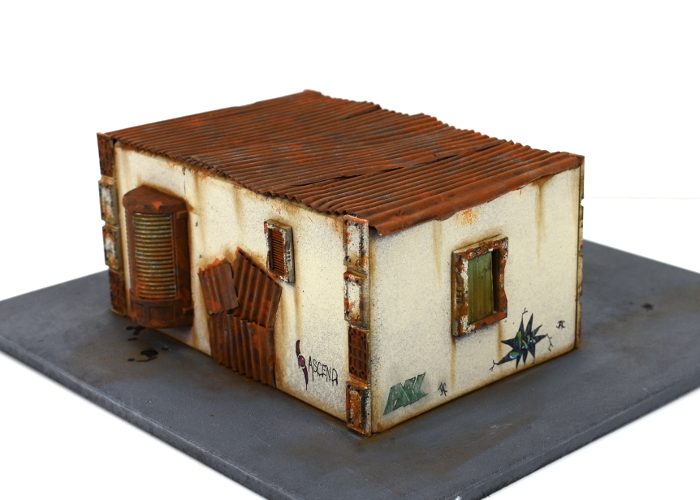
Once the rust has dried, it's time to add some dirt. But first, paint in any remaining details - lights, control panels, grafitti or other markings on the walls, are all best added in now, so that the weathering goes over the top and they don't look out of place with the rest of the structure.
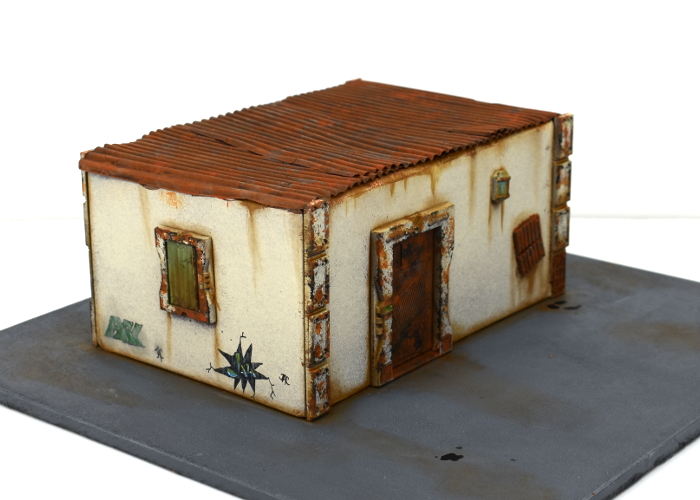
Then, use a medium brown (Vallejo Beasty Brown here) and drybrush around the bottom edges of the walls, in any vertical raised recesses, along the edge of the roof under the corrugated card, and along the tops of doors and windows. This is also a good time to drybrush some dirty patches on the base.
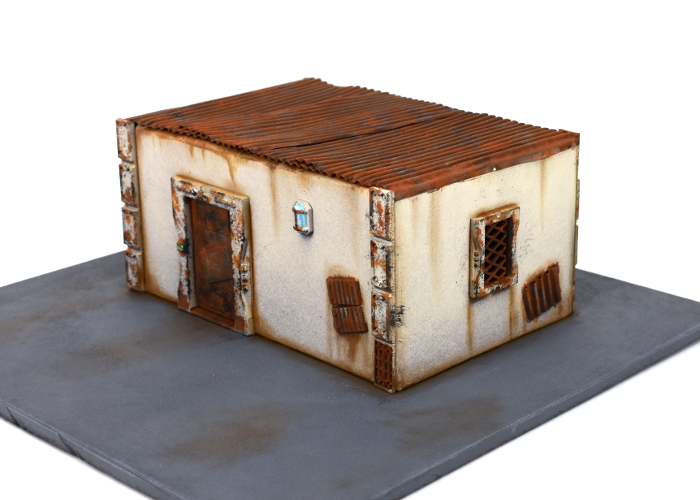
Finally, use a small drybrush to add some more brown along any remaining upper surfaces, like the tops of each segment on the reinforcing struts, the rim of the light fitting and anywhere else that dirt and dust would collect. I also like to add some oil (or other fluid) stains around the base by applying small drops of Army Painter Quickshade wash and leaving them to dry.
The new terrain sprue will be available soon. In the meantime, you can still pick up the original terrain sprue along with the rest of the Maelstrom's Edge model range in the webstore
here.
As always, feel free to pop along and share your creations, or ask any Maelstrom's Edge- or hobby-related questions on the
Comm Guild Facebook page!
For other Maelstrom's Edge modeling articles, including tutorials and walkthroughs of a wide range of different building and miniature projects, check out the Hobby section of the Maelstrom's Edge website
here.


