Welcome to game 33 in our campaign.
Following the Deathwatch vs. Eldar battle on the Triskelion orbital, the action moves back to the core world.
The forces of the Imperium are now impatient to force a breakthrough on the main renegade lines protecting the fallen hive of Erd.
To this end, the 681st Krieg Assault Regiment have been tasked with launching an attack in depth on the outer defence ring.
This will be a 3-stage battle (played over 3 reports) with the ultimate goal of forcing a breach in the Chaos lines and seizing a promethium refinery located just beyond them
The 681st are supported by artillery and heavy armour units, and the renegades have had months to bolster their defence works and bring in troops, guns and worse….
Previous games in this campaign can be found here:
http://www.dakkadakka.com/wiki/en/Gordy2000%27s_Battle_Reports
+++++++++++++++++++++++++++++++++++++++++++++++++++++++++++++++++++++++++++++++++
The rolling artillery barrage smashed into the assault zone an hour before sunrise.
The big guns situated far behind the lines rained high explosives across the Chaos defences for over an hour.
Razor wire and communications roads were blasted to ruin, and the open areas became a storm of fire and shrapnel.
But the renegade defenders hunkered down in their bunkers, dug deep into the stony earth, and endured the destruction above them.
With a final series of light thuds representing a scattering of smoke shells, the artillery barrage came to an end.
Knowing what was about to come, the defenders emerged from their bunkers and revetments and manned their guns.
Looking across the smoke-shrouded battlefield, it was clear that most of the defences remained intact.
In the pre-dawn light, a red star shell arced into the sky. The defenders settled down behind their gun sights and waited for the first Imperials to appear…
+++++++++++++++++++++++++++++++++++++++++++++++++++++++++++++++++++++++++++++++++
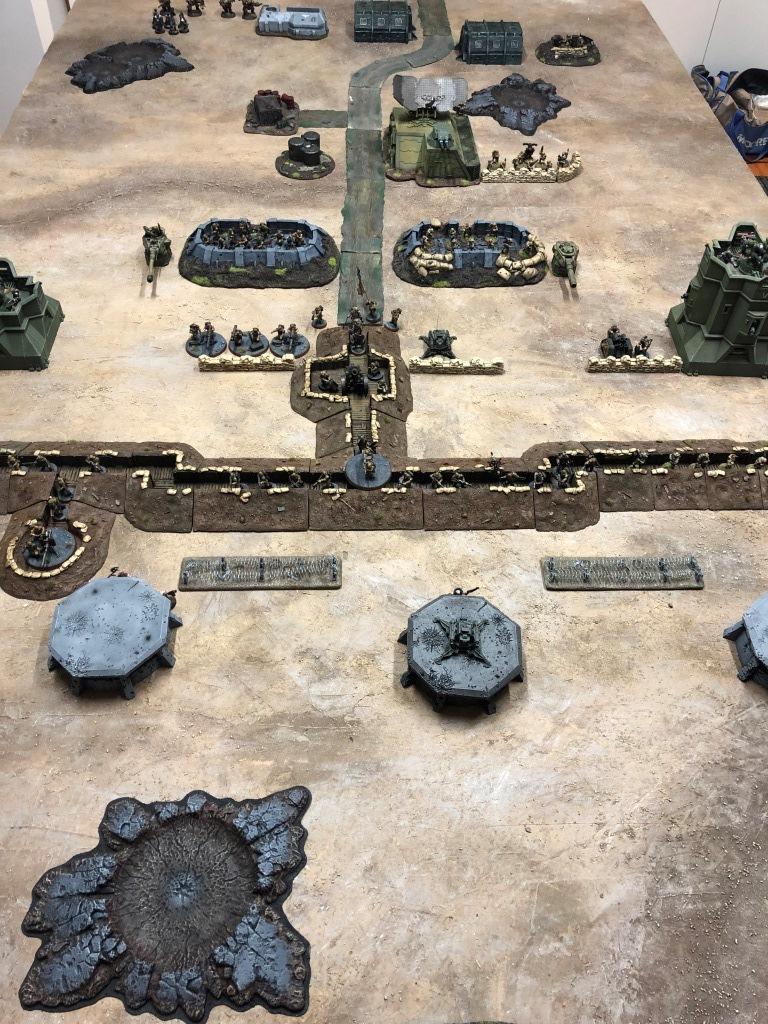
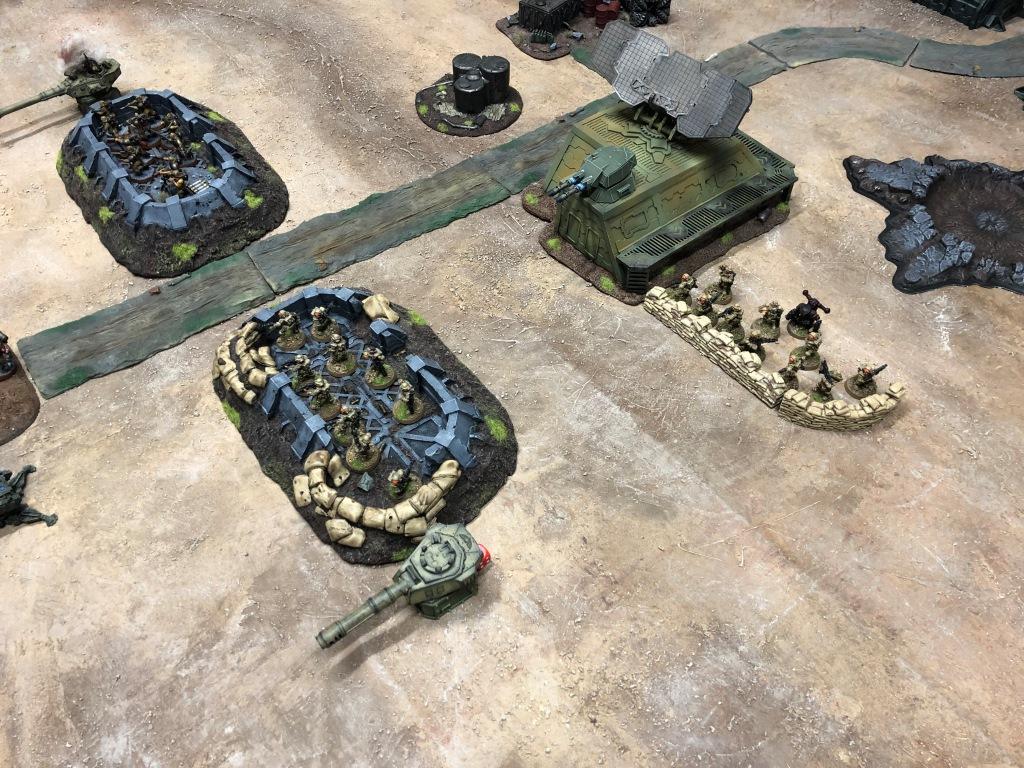
From a gameplay perspective, the battle is played lengthways along the board. Each subsequent game will start at the point on the board the assault had reached in the previous battle. In game 3, assuming the attackers have progressed far enough, the promethium refinery will become visible on the far side of the defences.
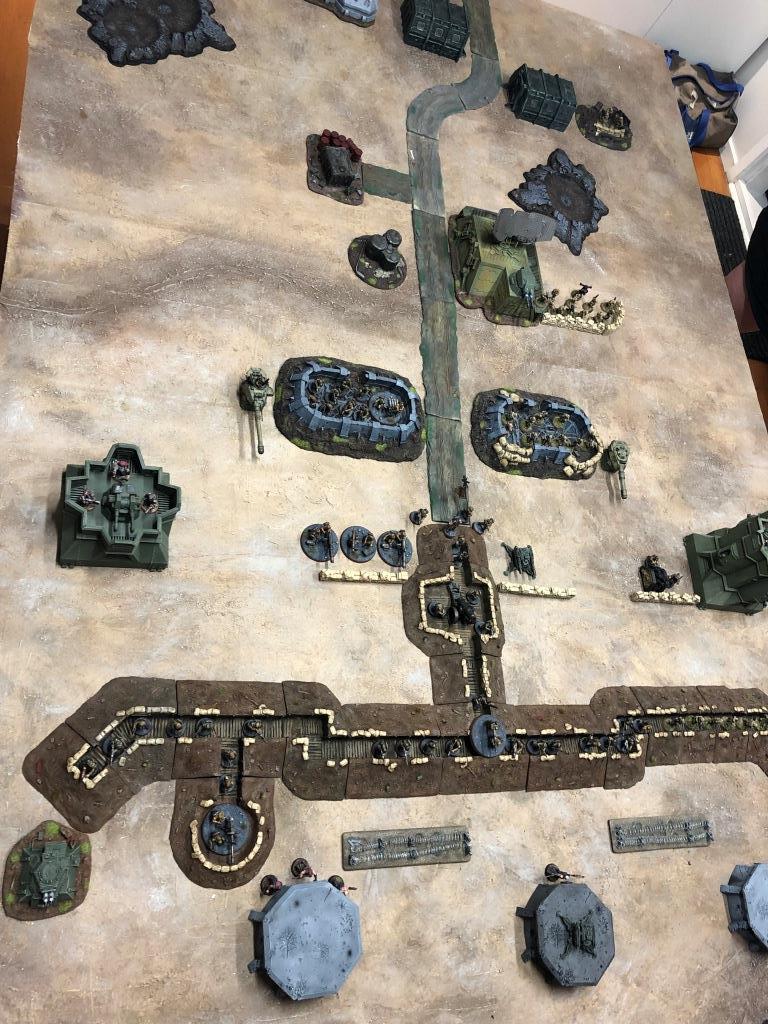
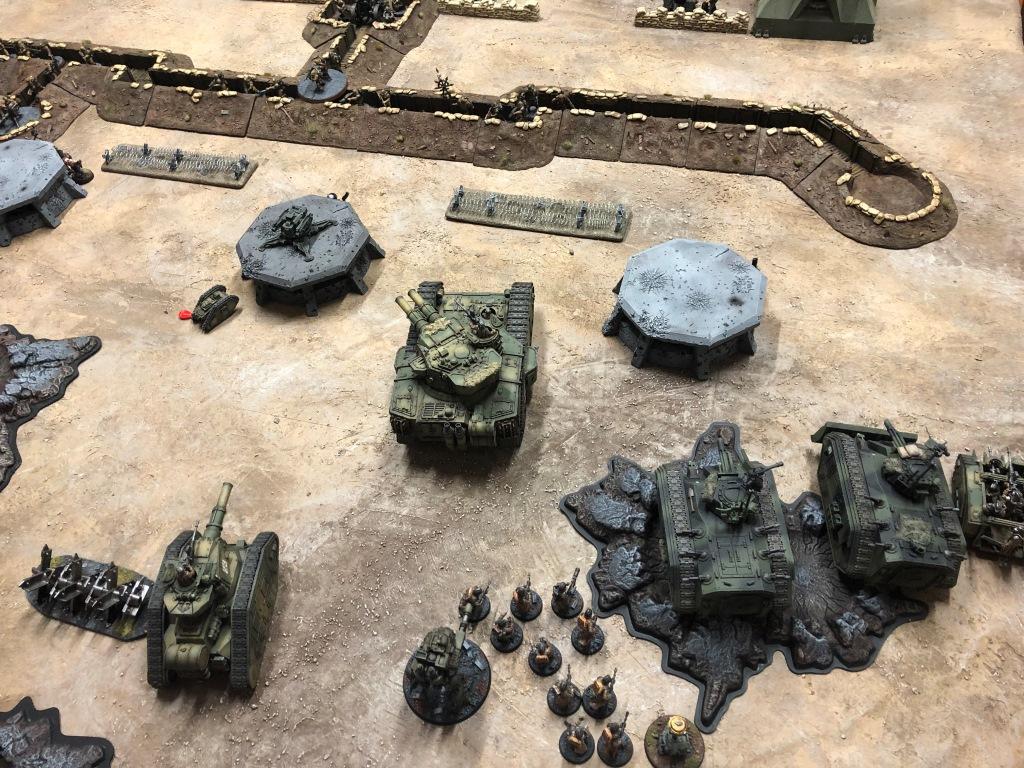
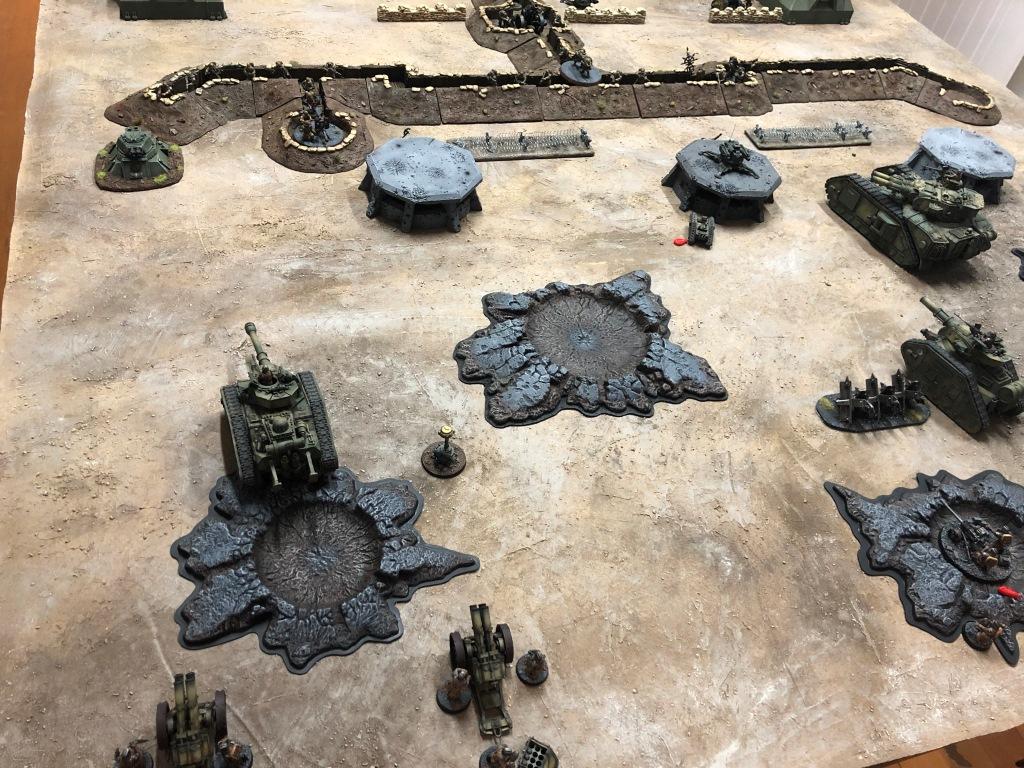
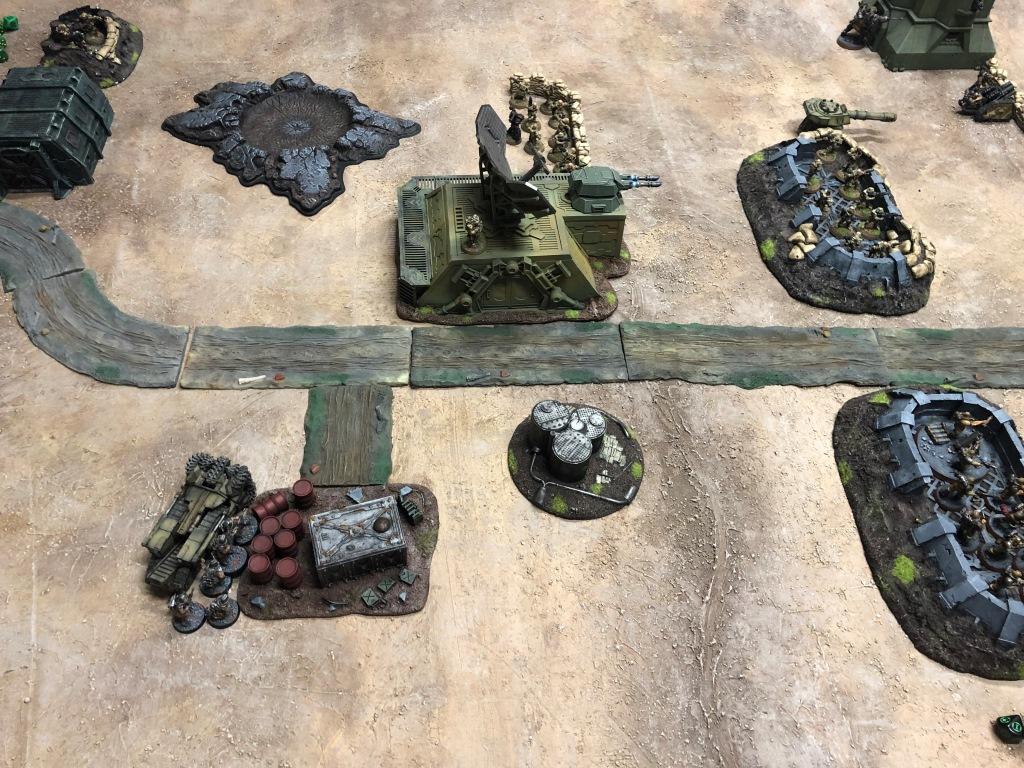
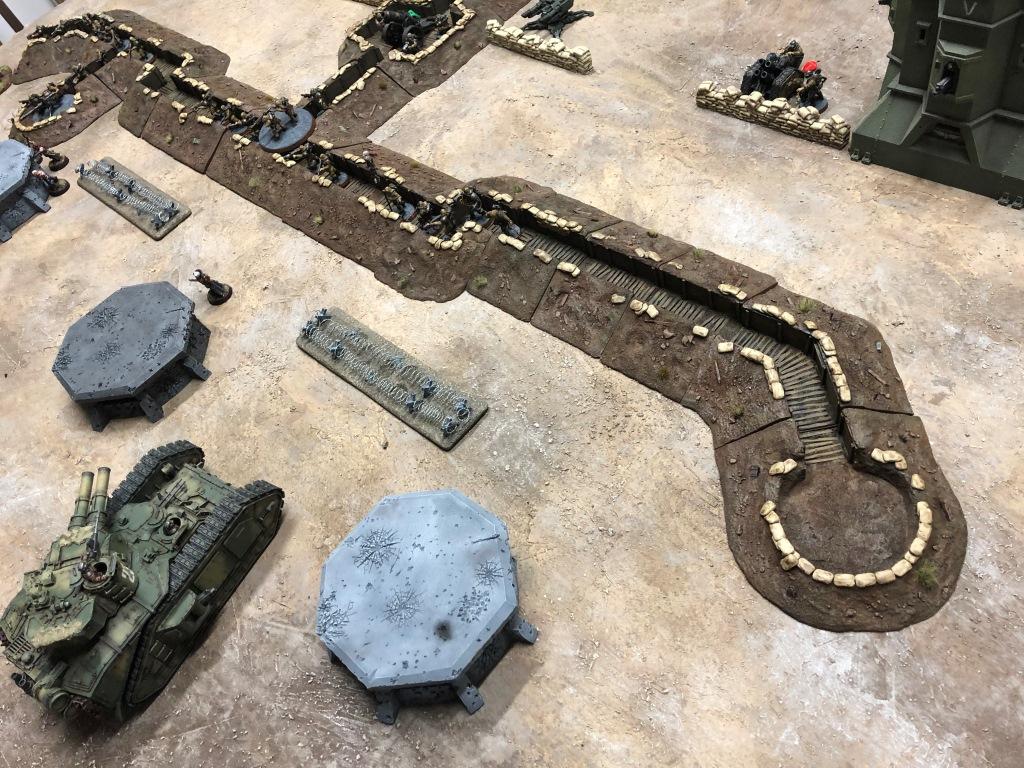
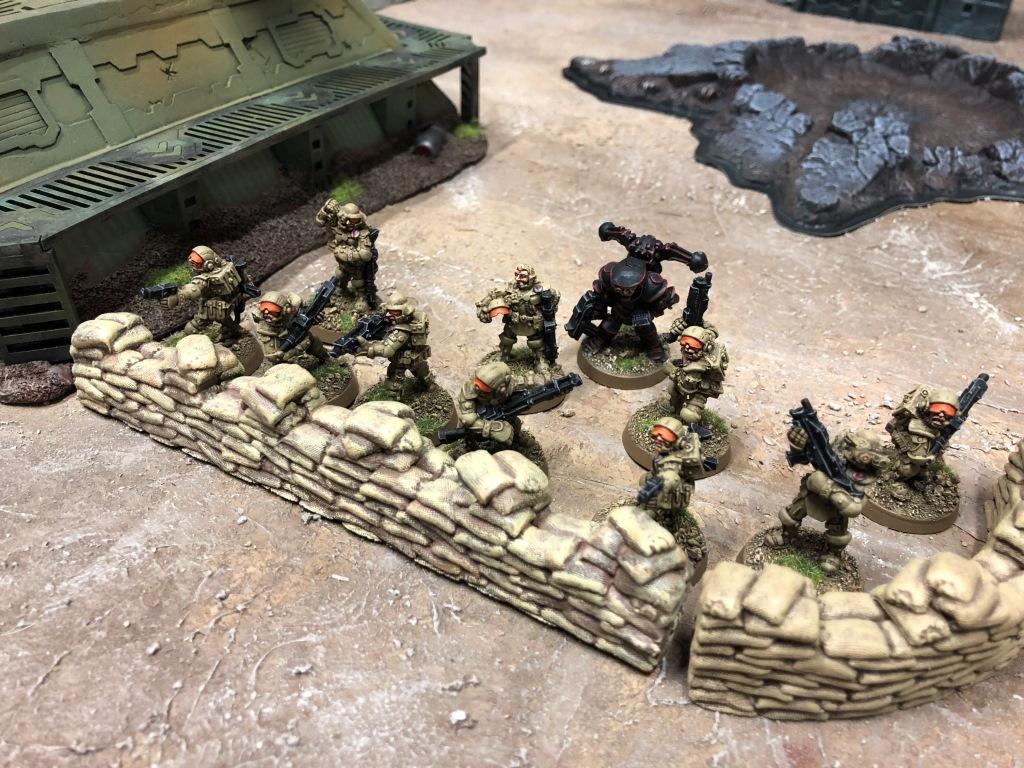
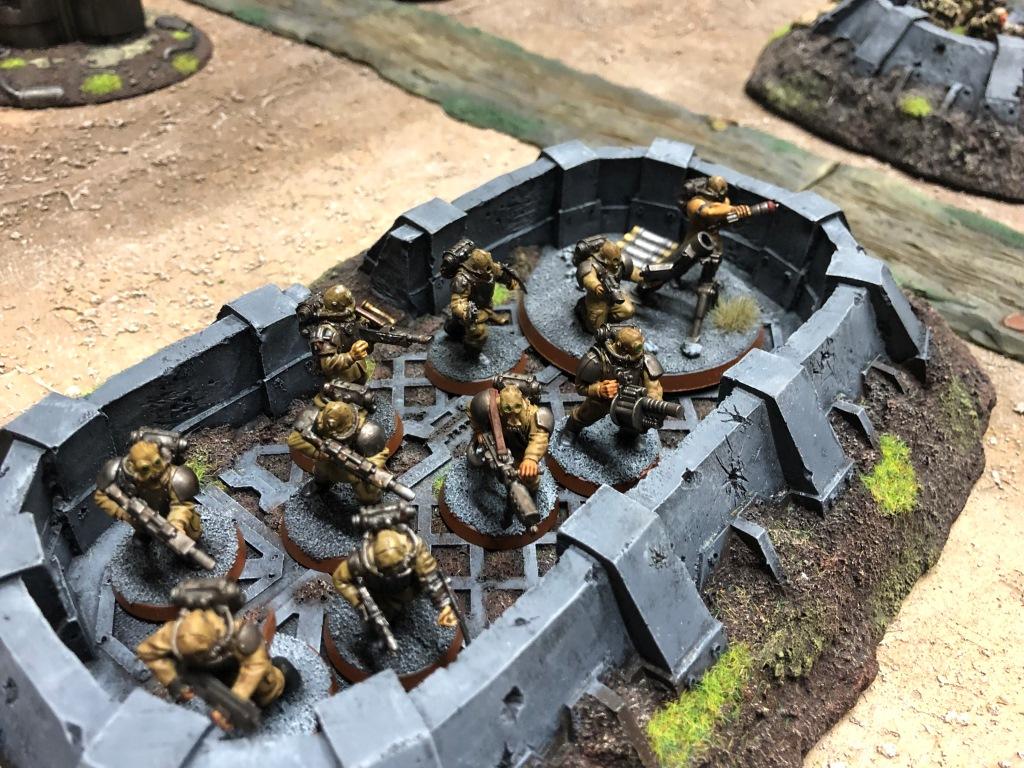
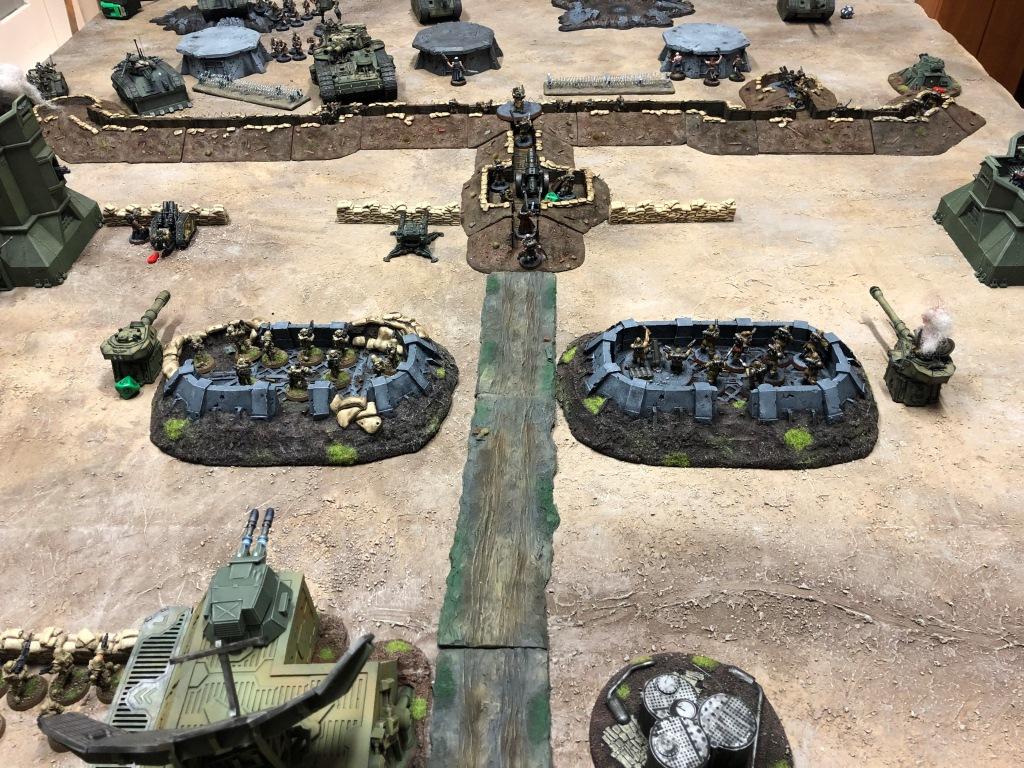
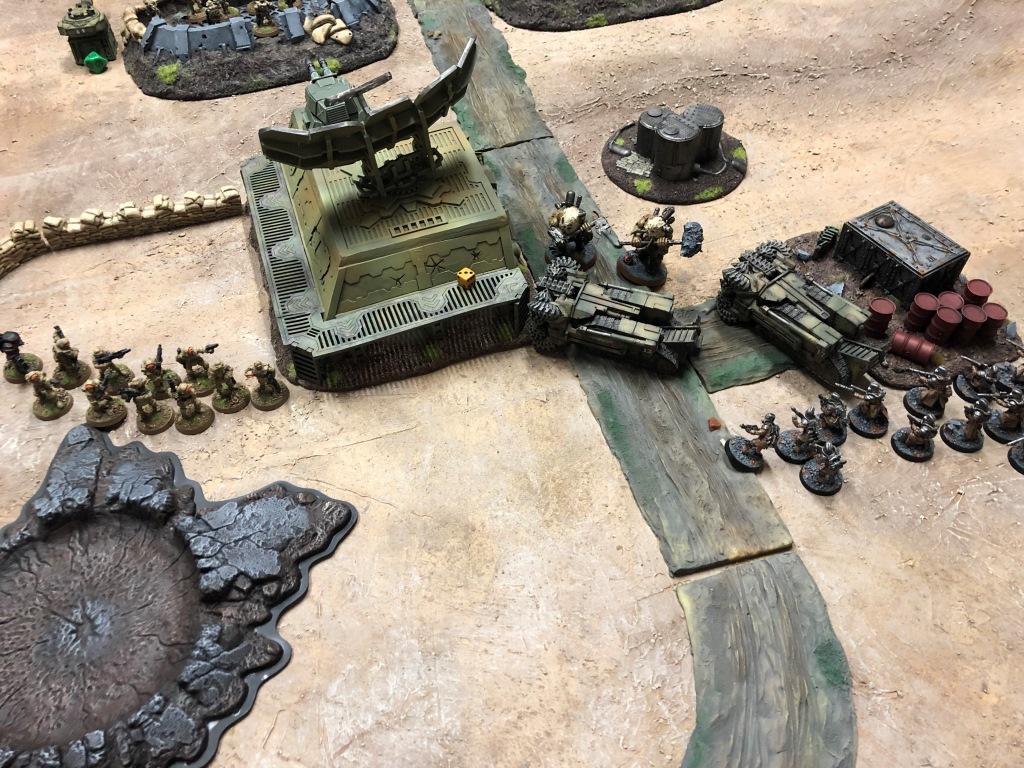
The renegade defences – trench lines, bunkers, gun emplacements and pill boxes
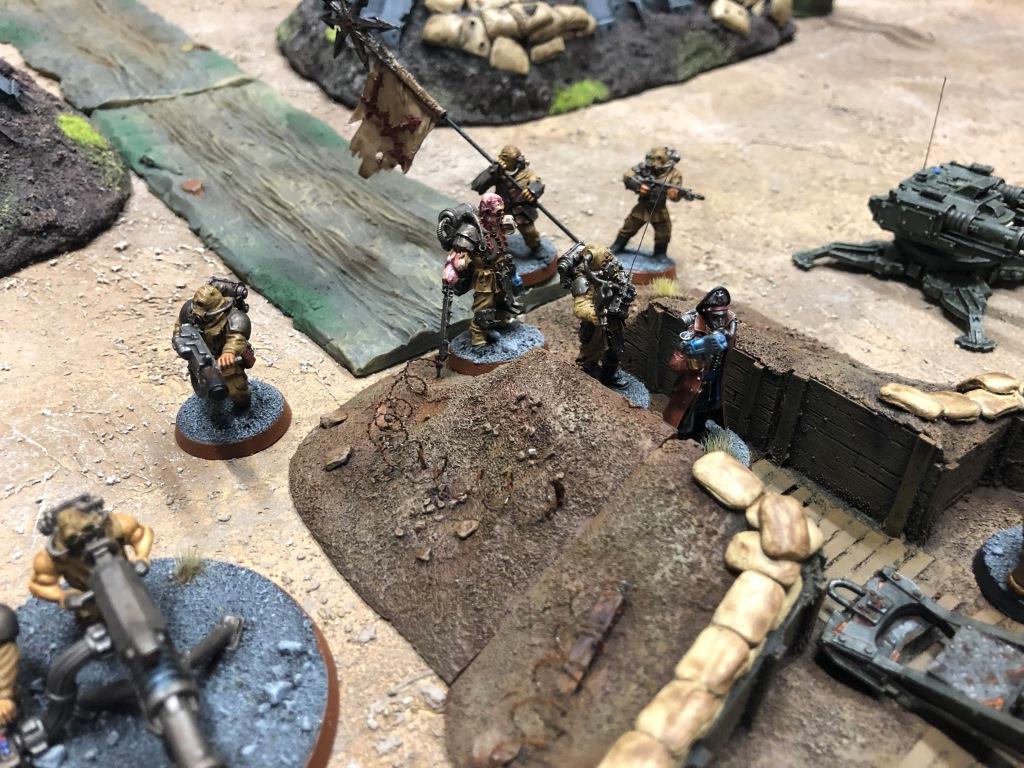
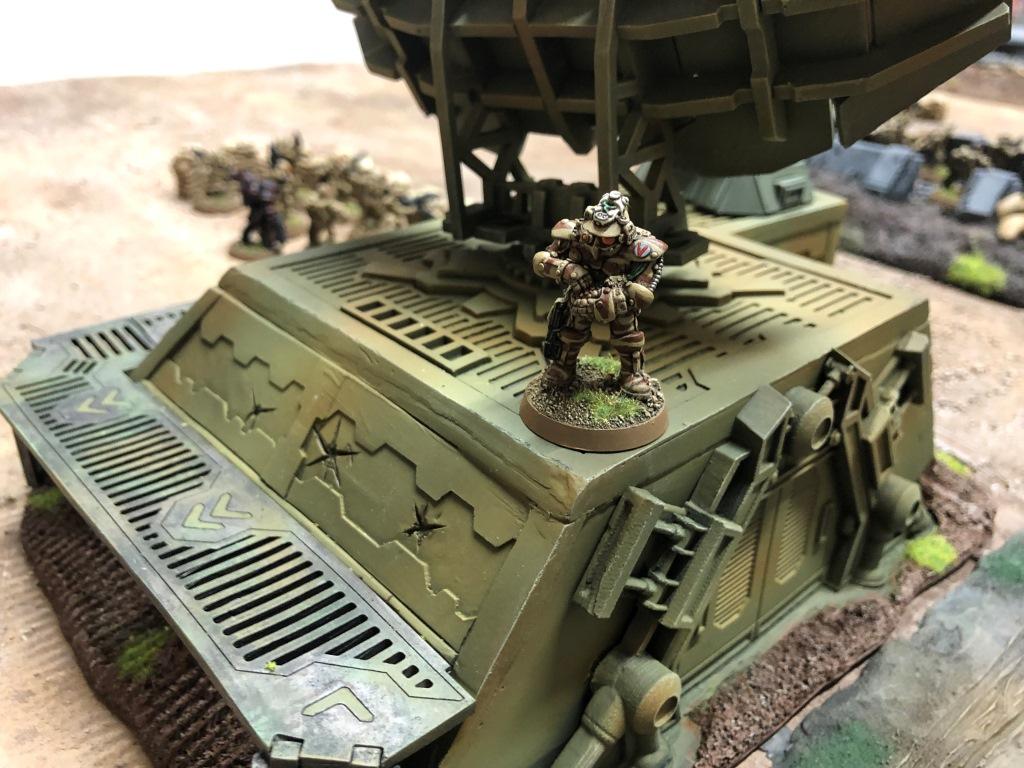
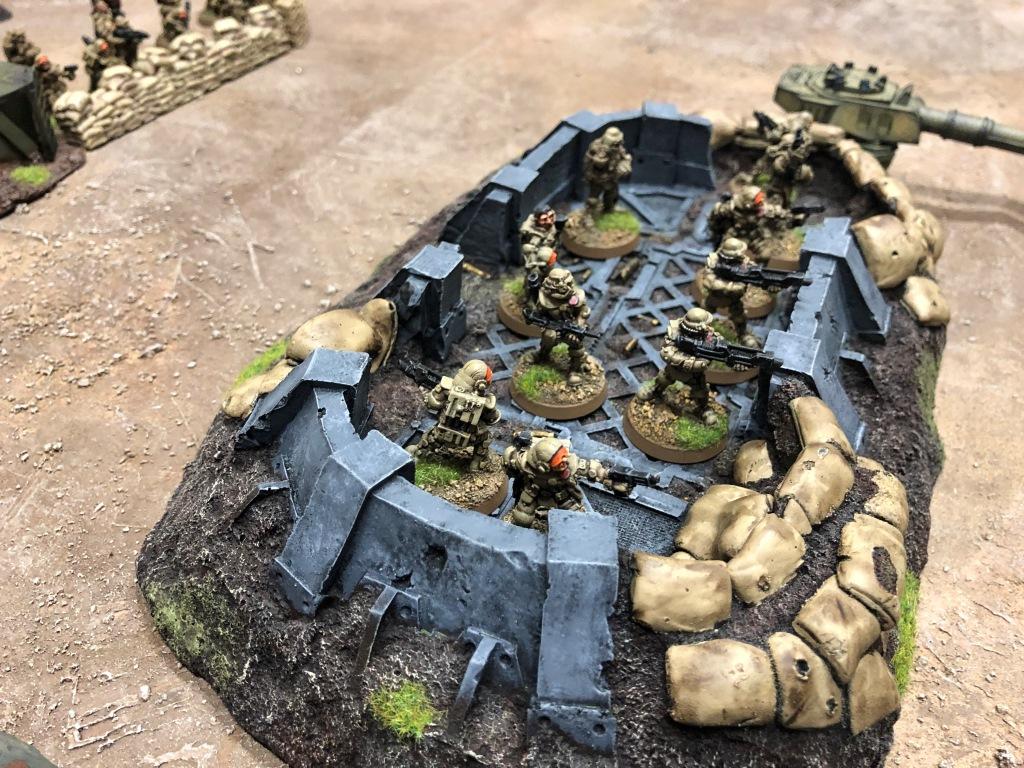
Captain (Now Colonel) Farid surveys his troops
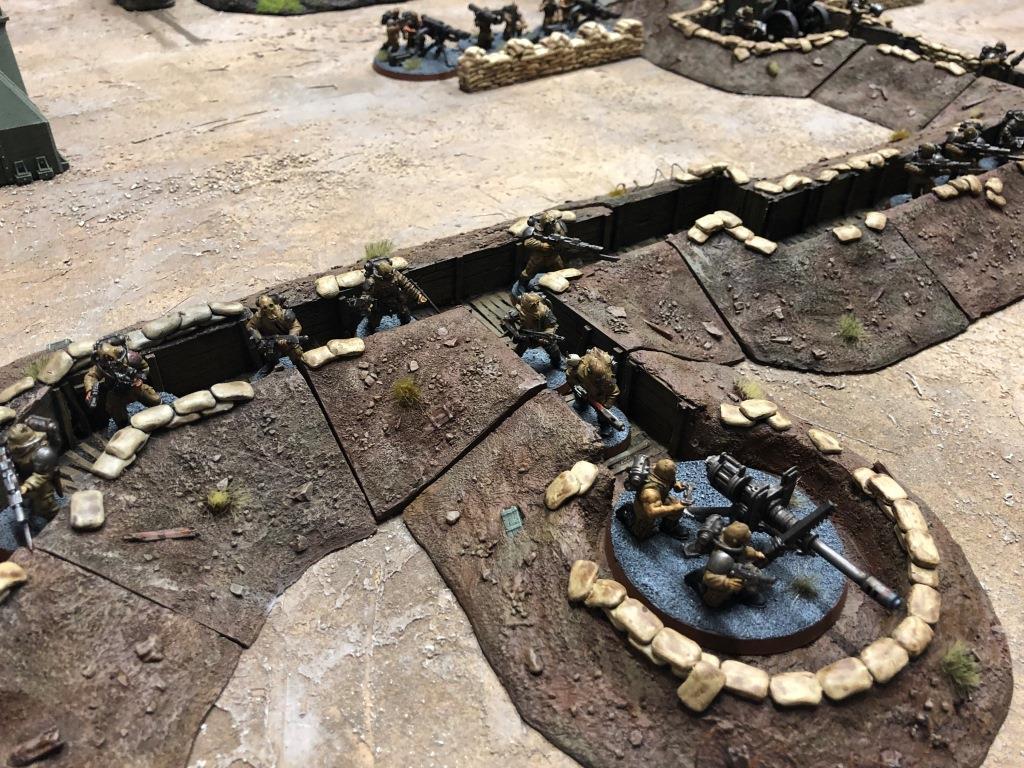
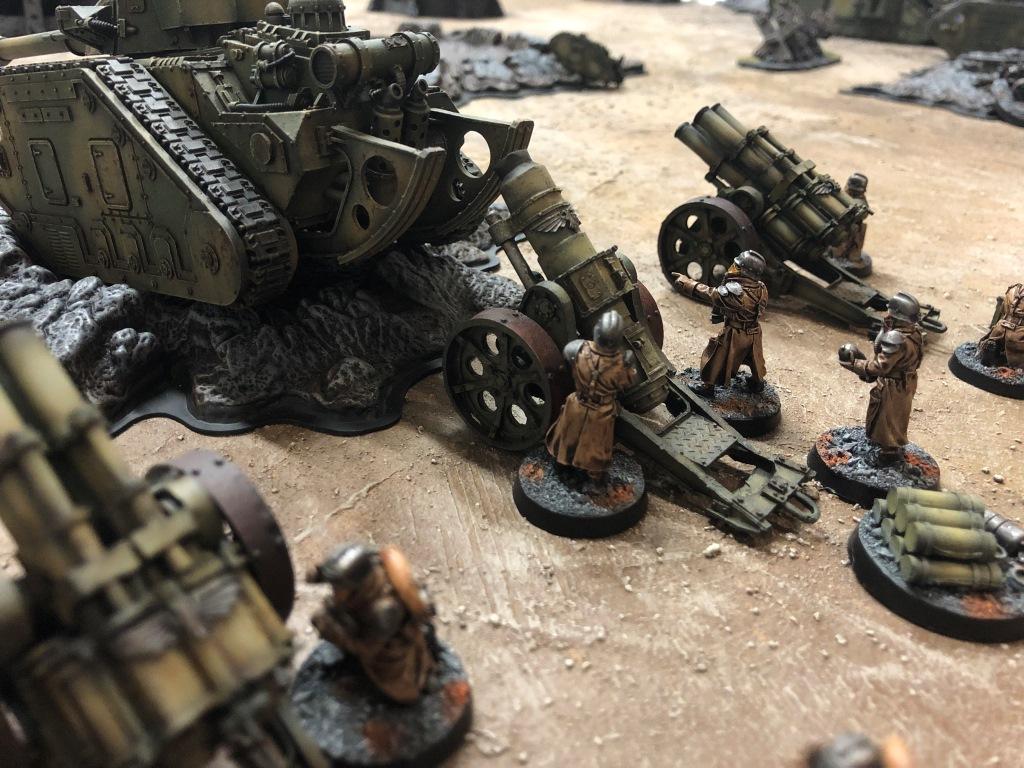
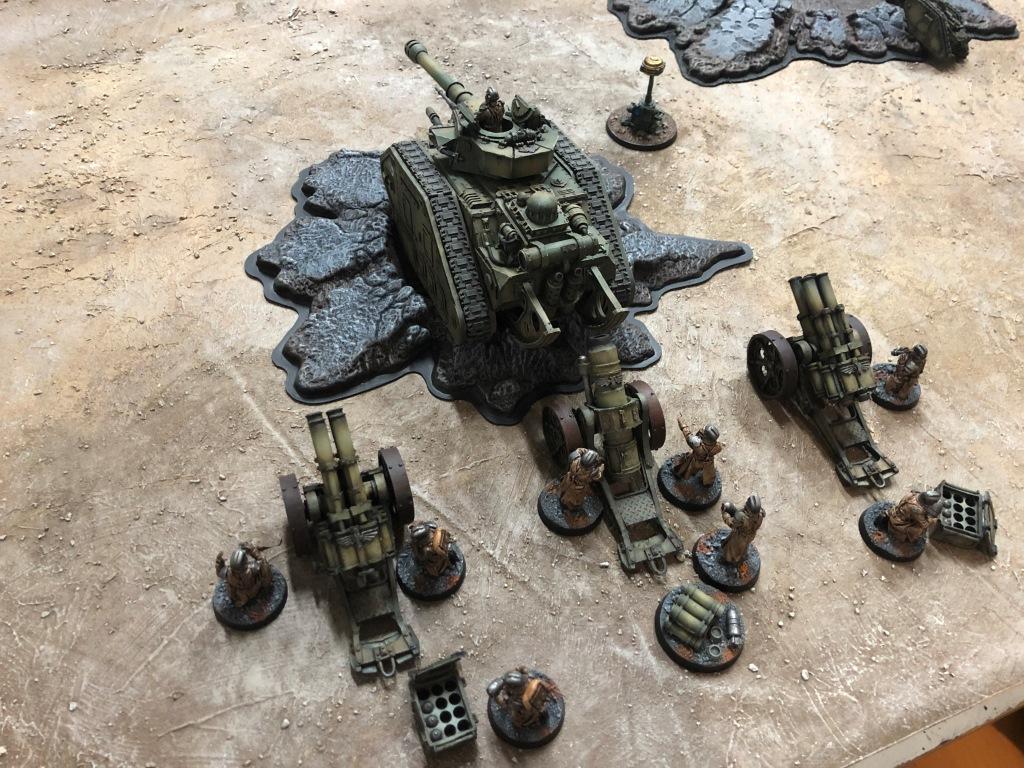
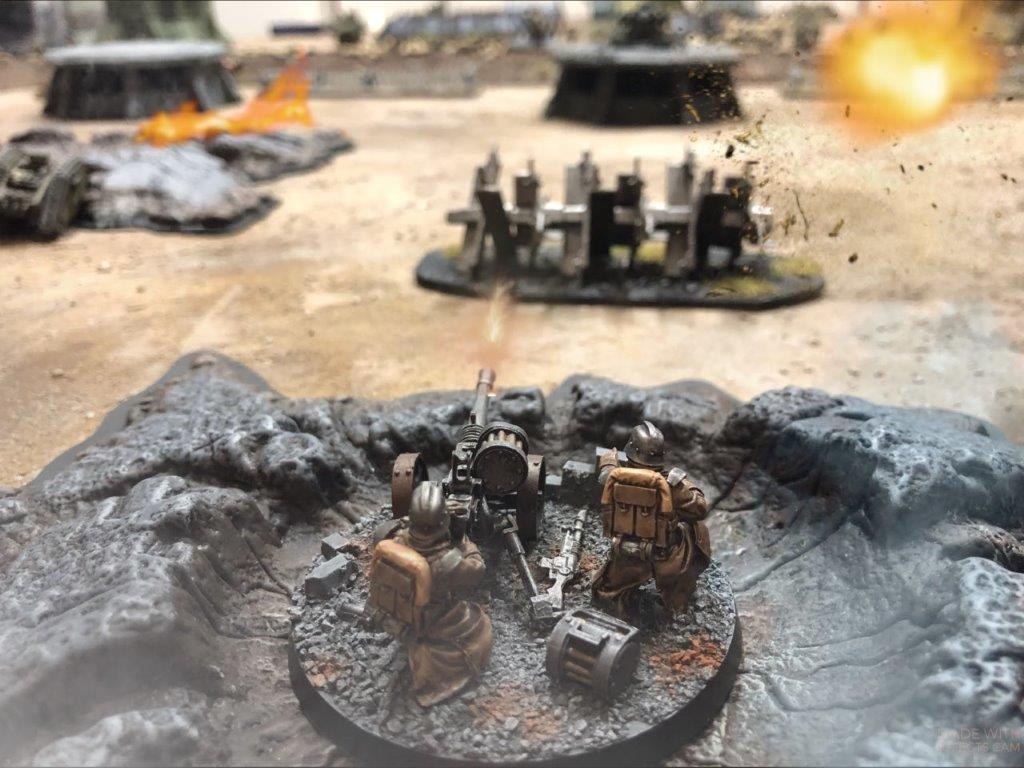
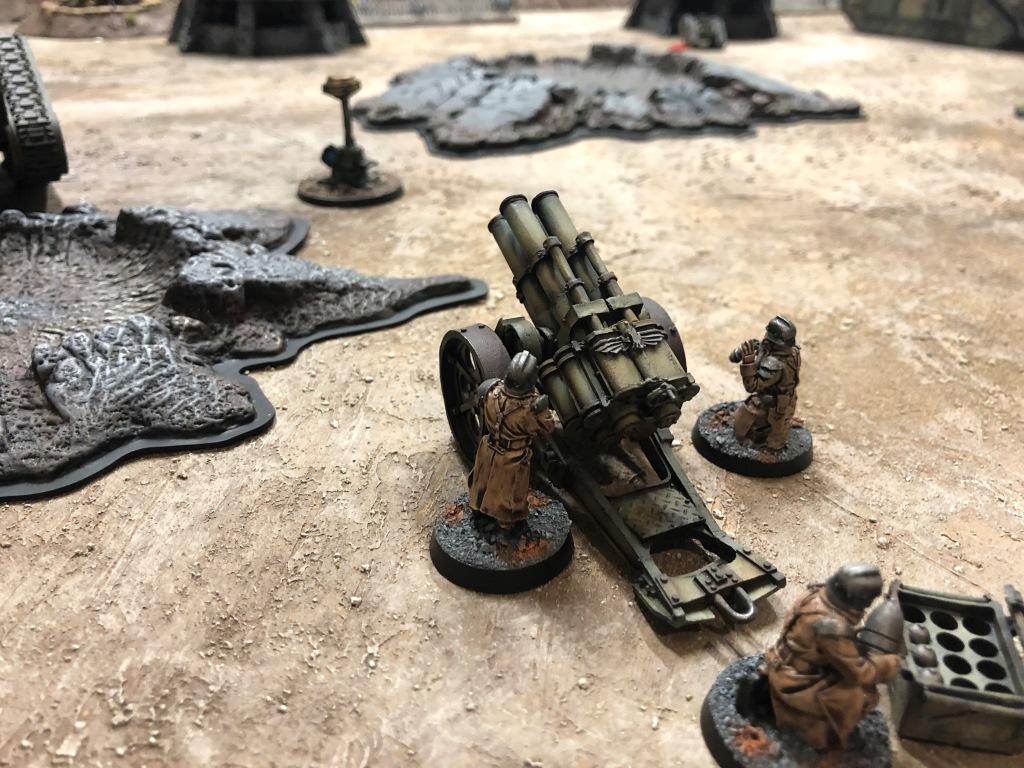
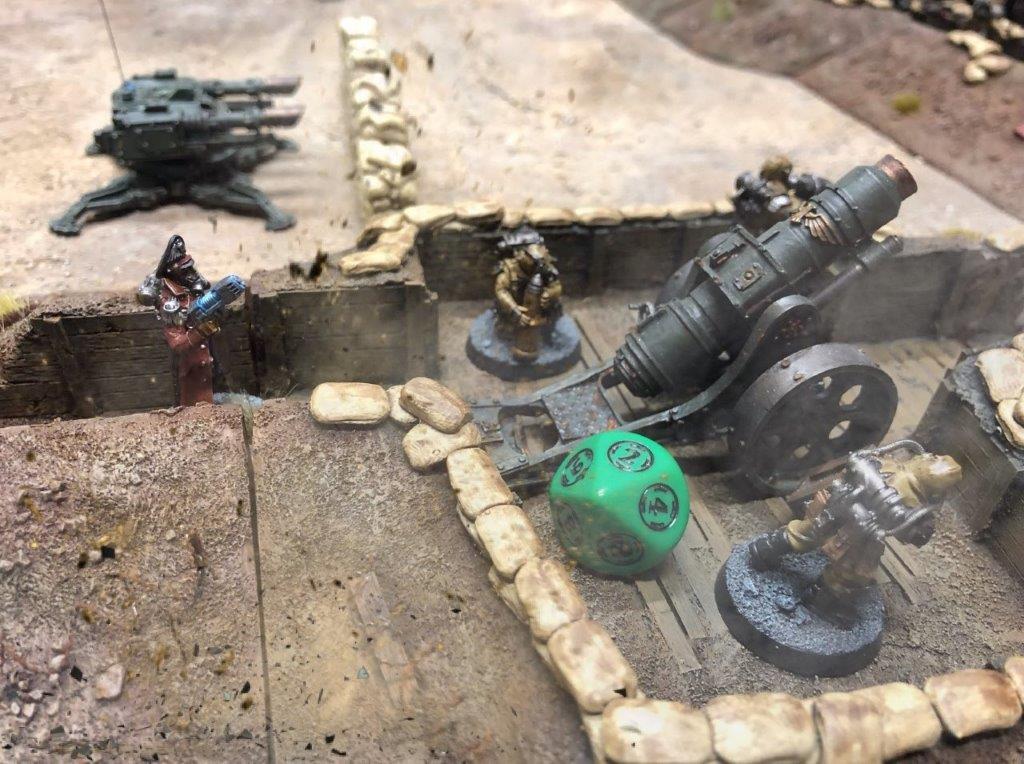
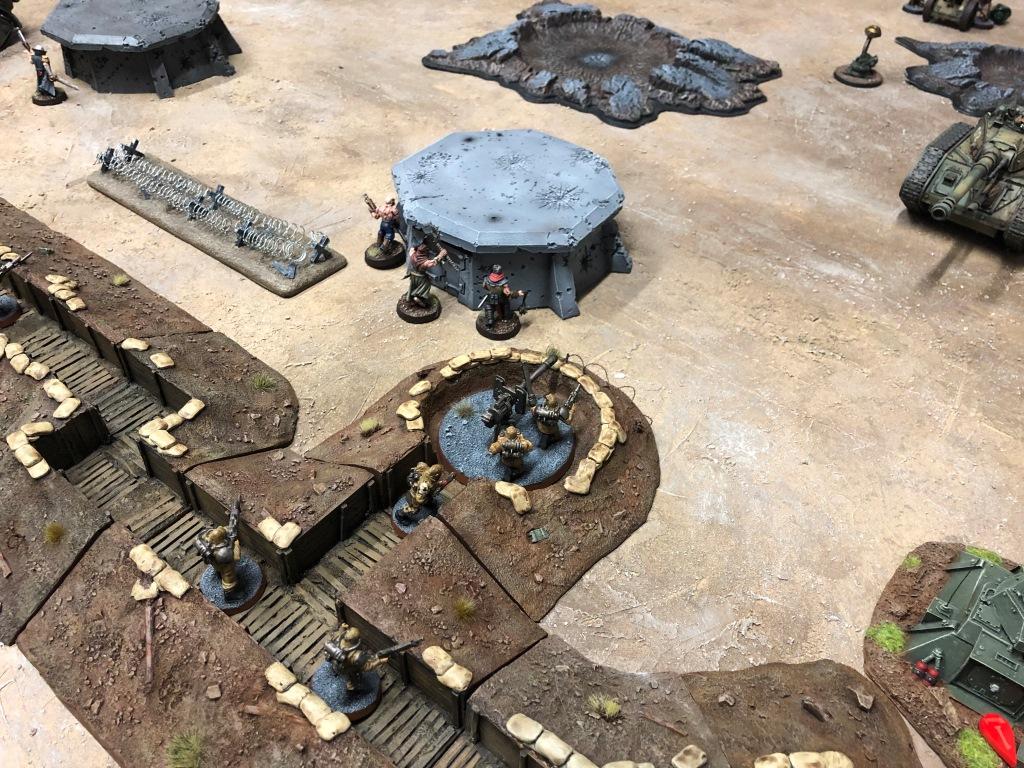
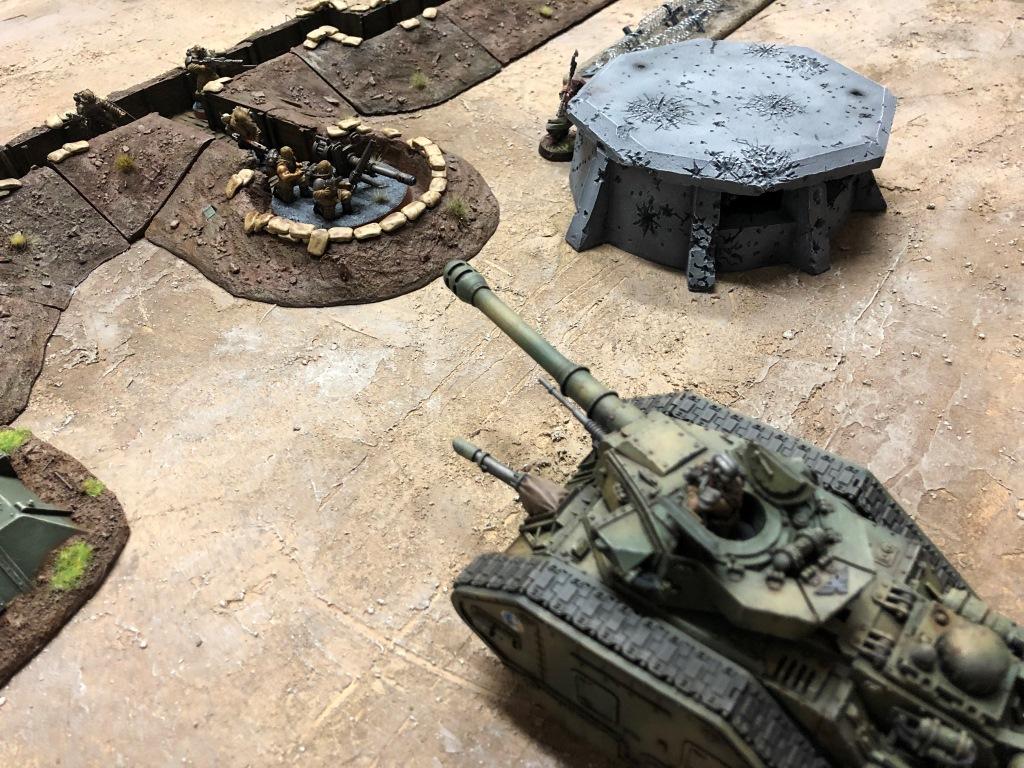
Big guns await the first Krieg armour
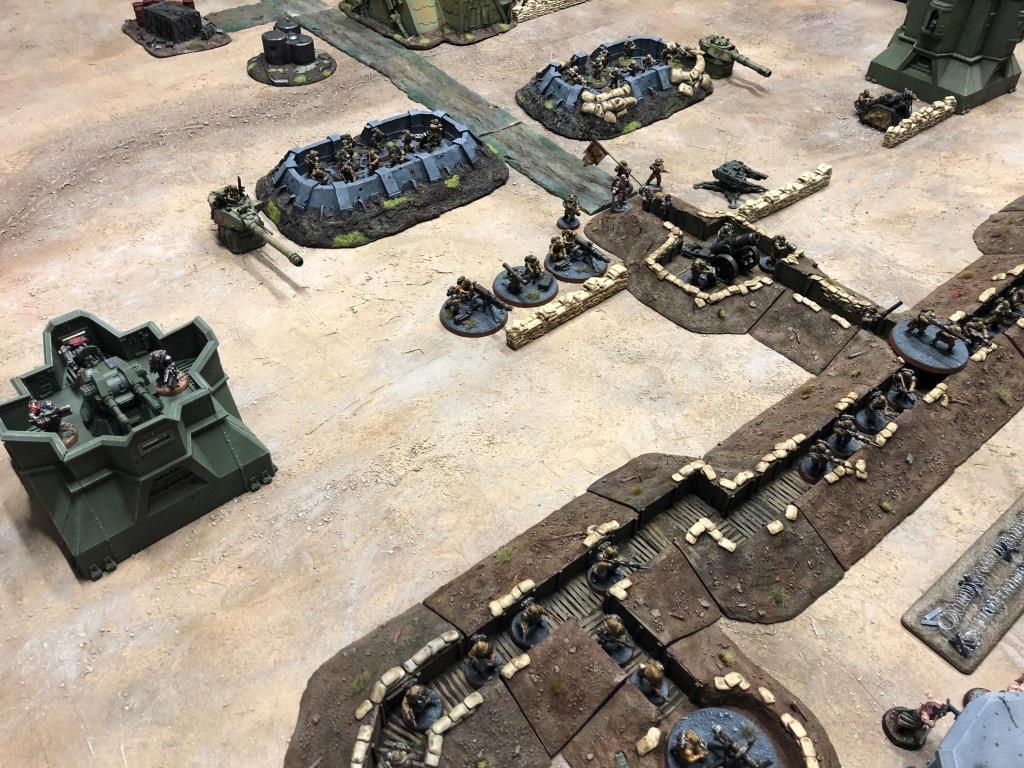
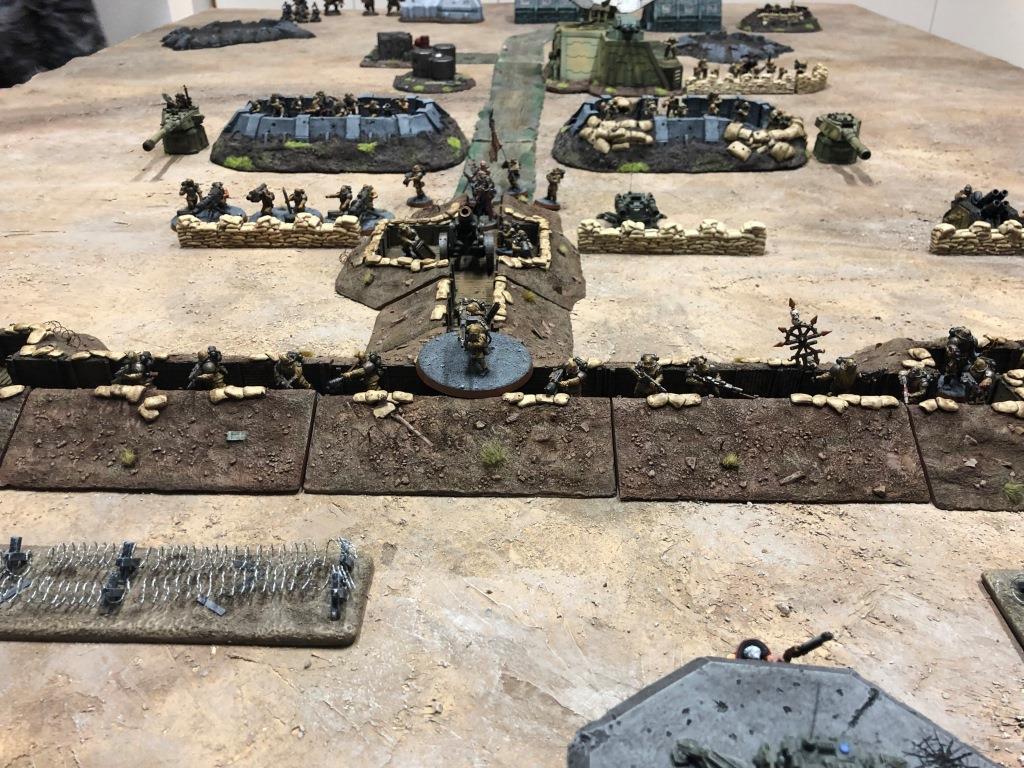
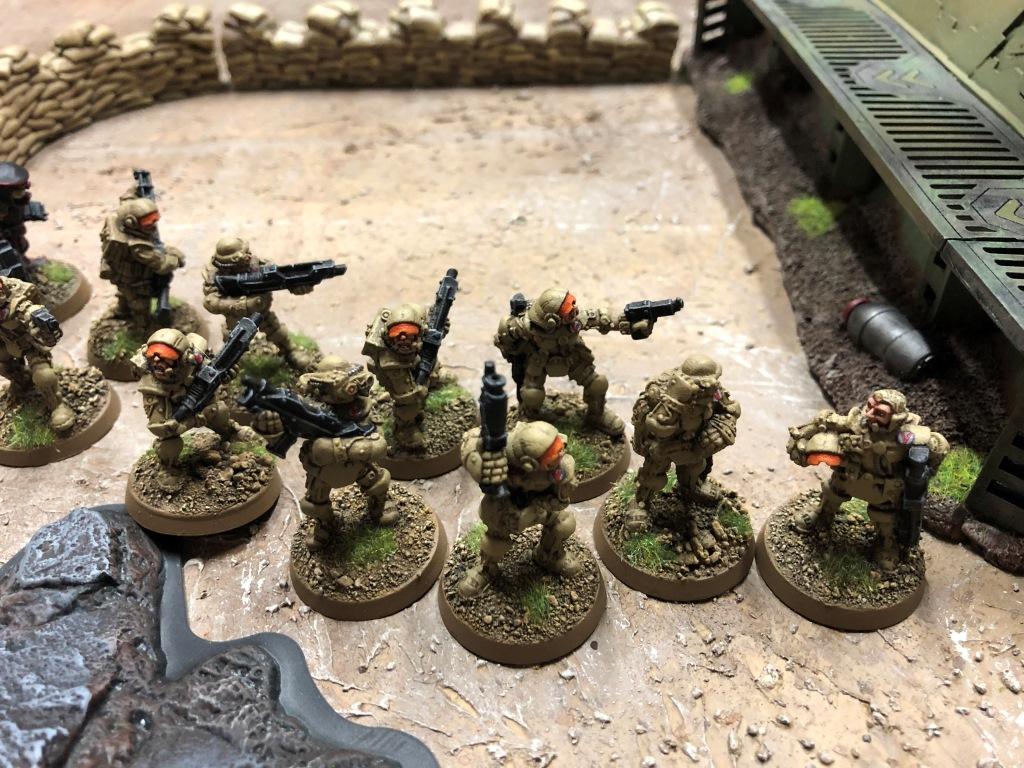
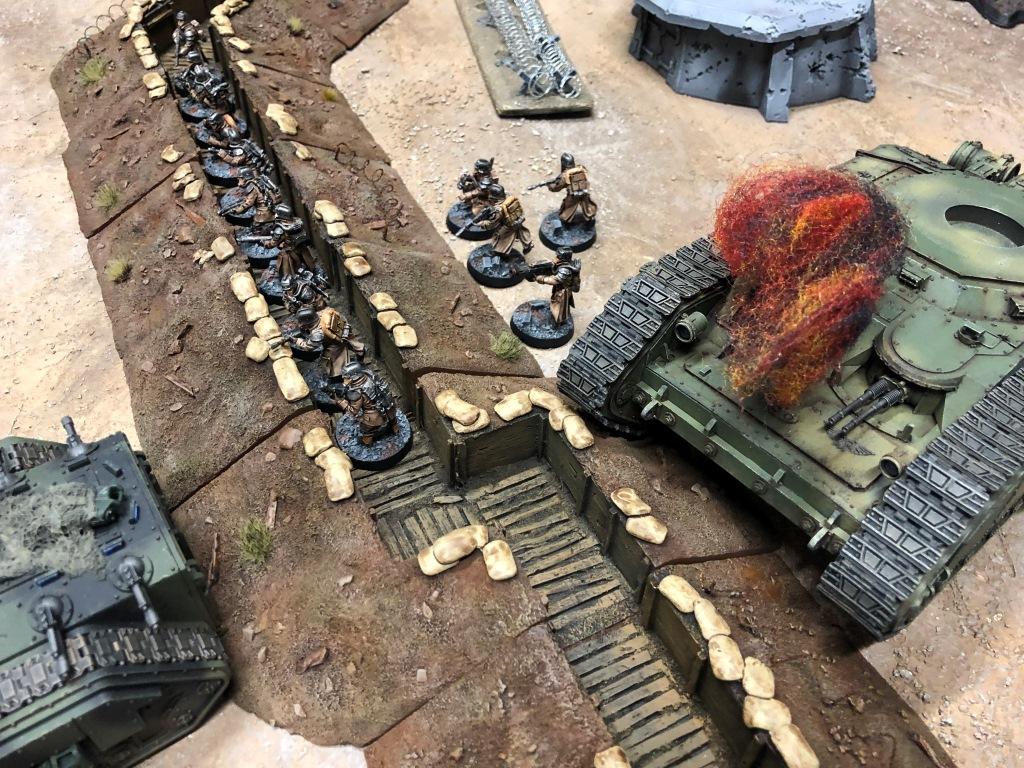
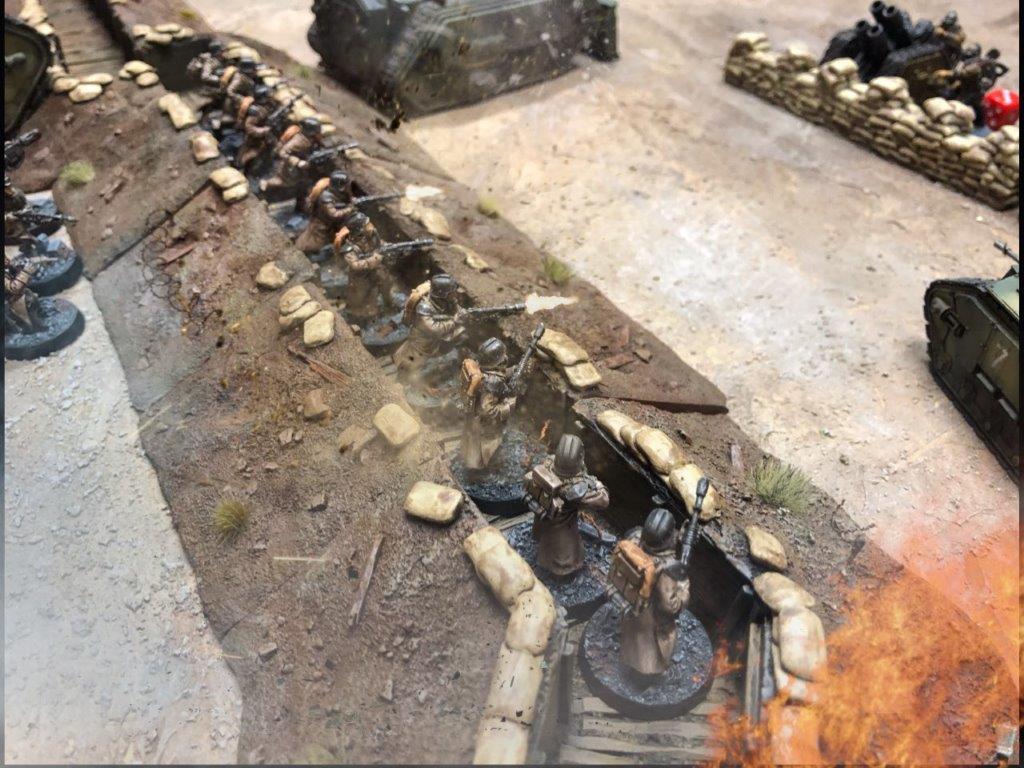
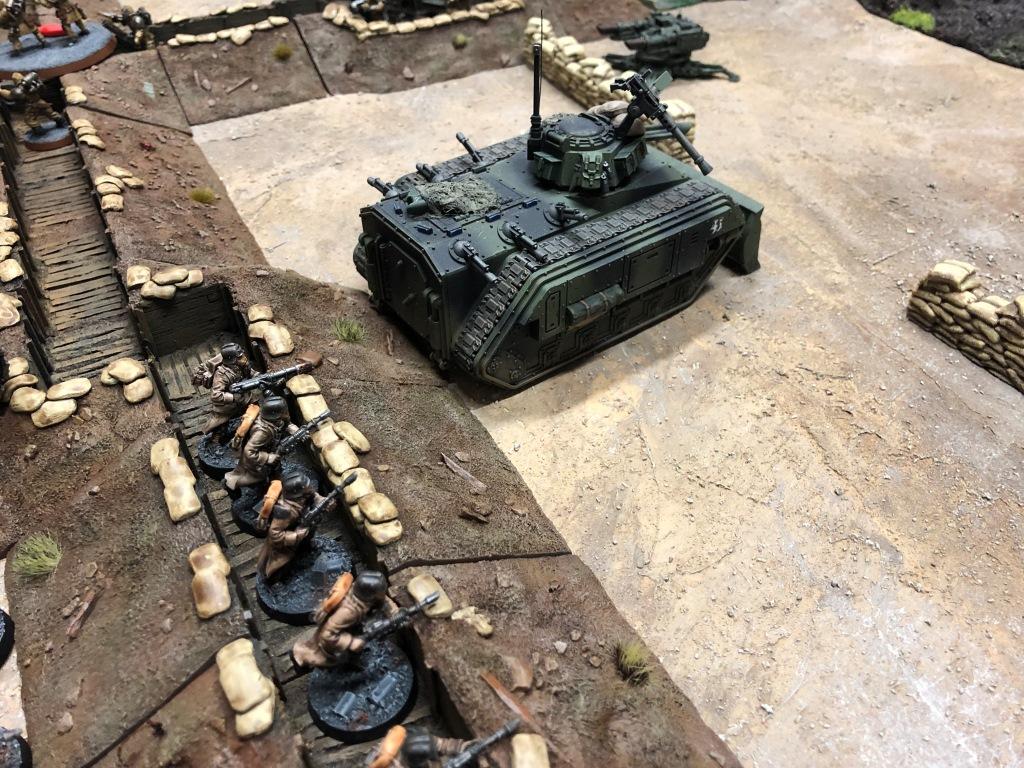
Renegade troops line the trenches
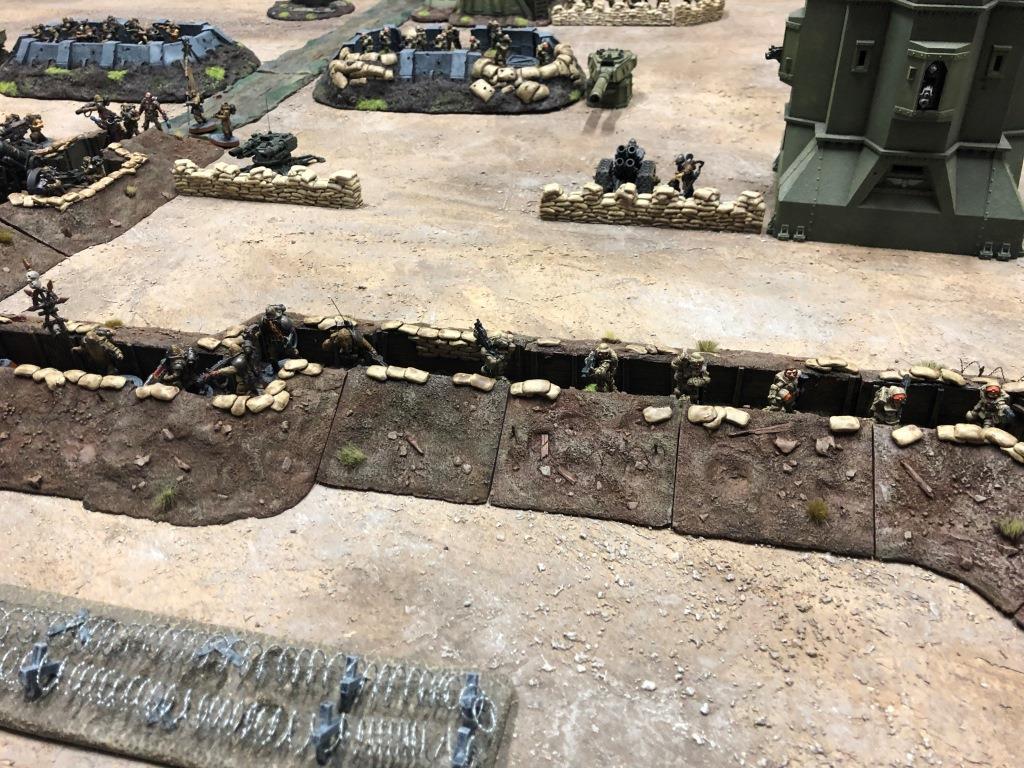
A tough nut for the Imperial forces to crack
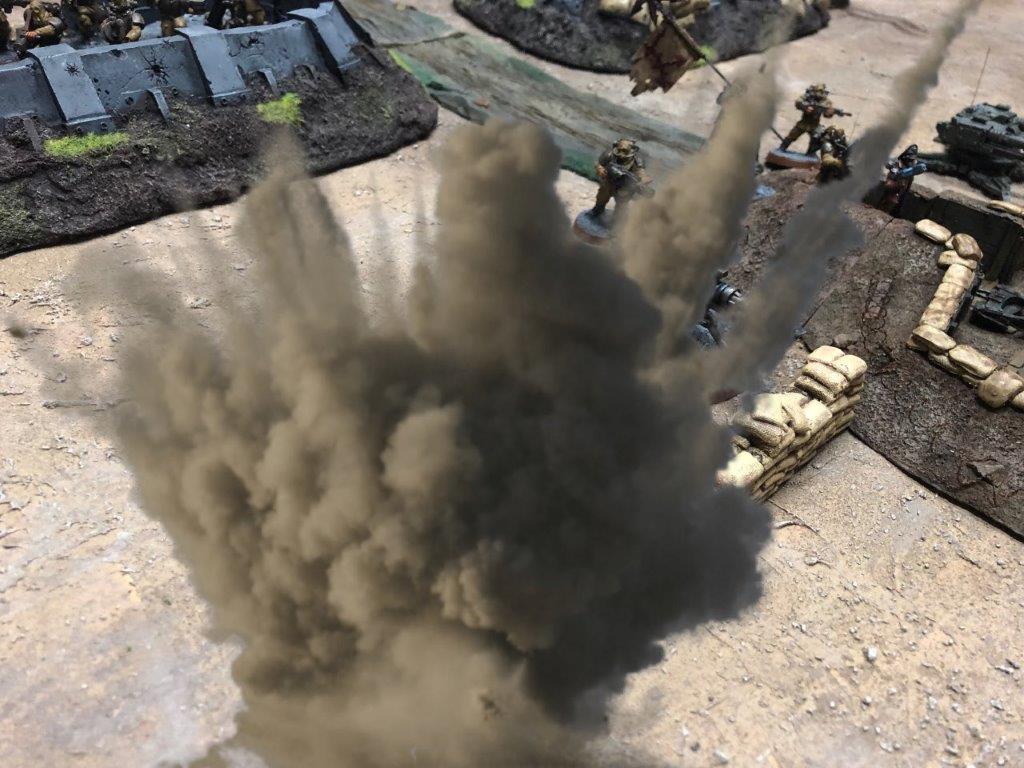
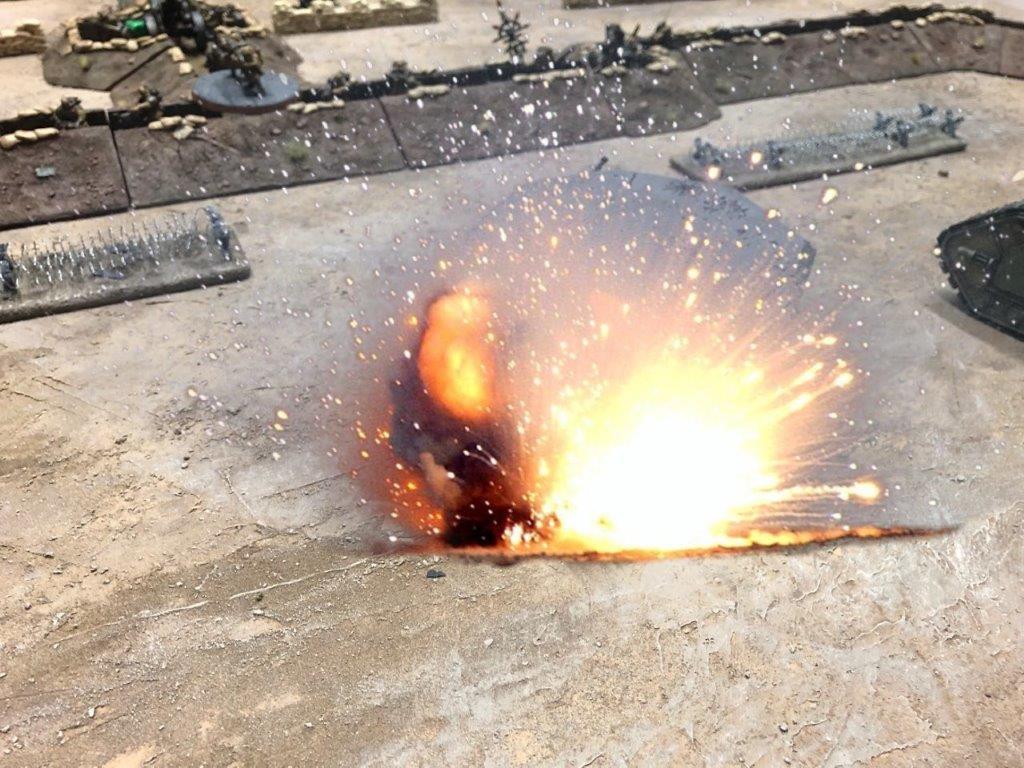
With little warning, mortar fire erupts amongst the defenders
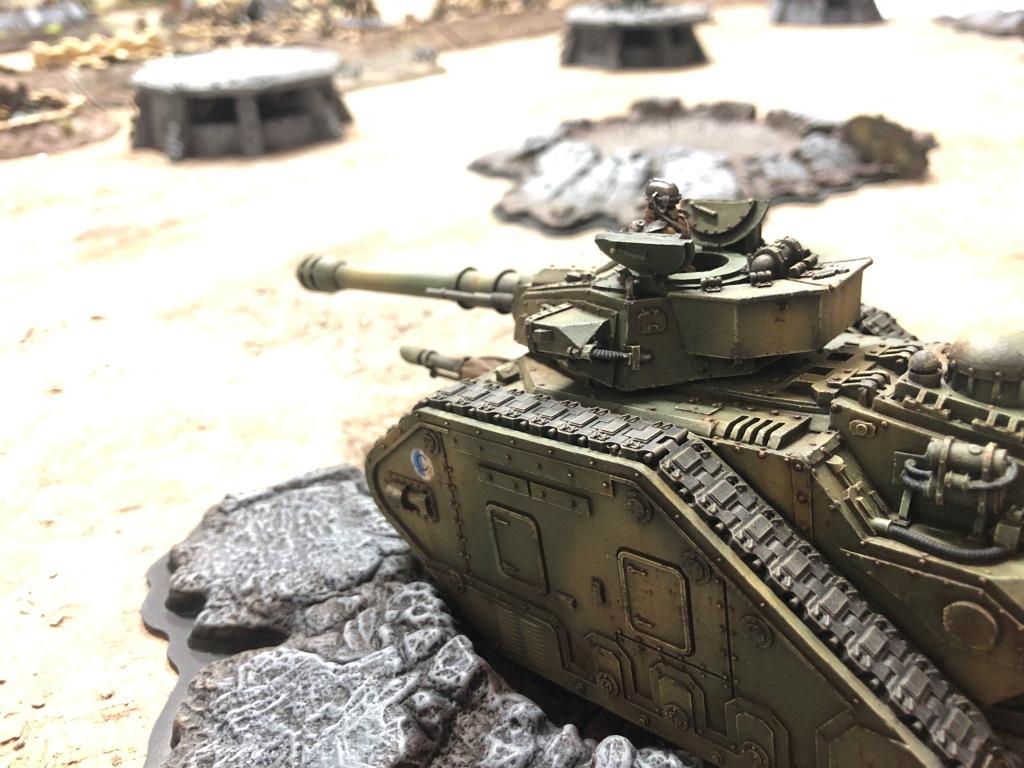
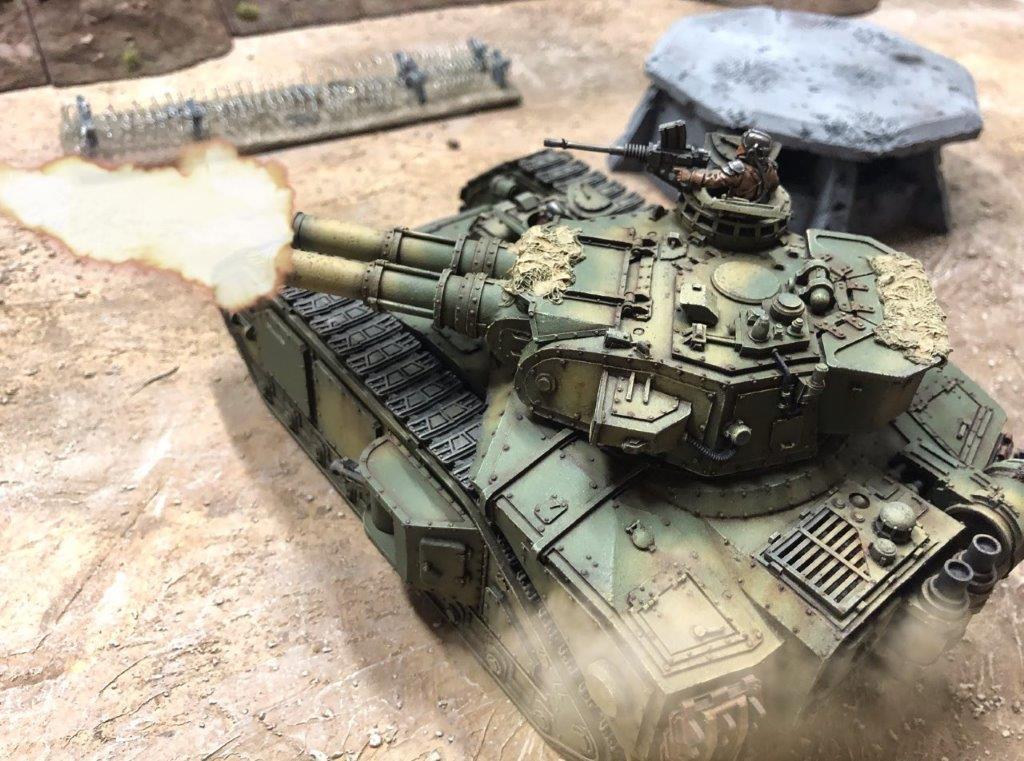
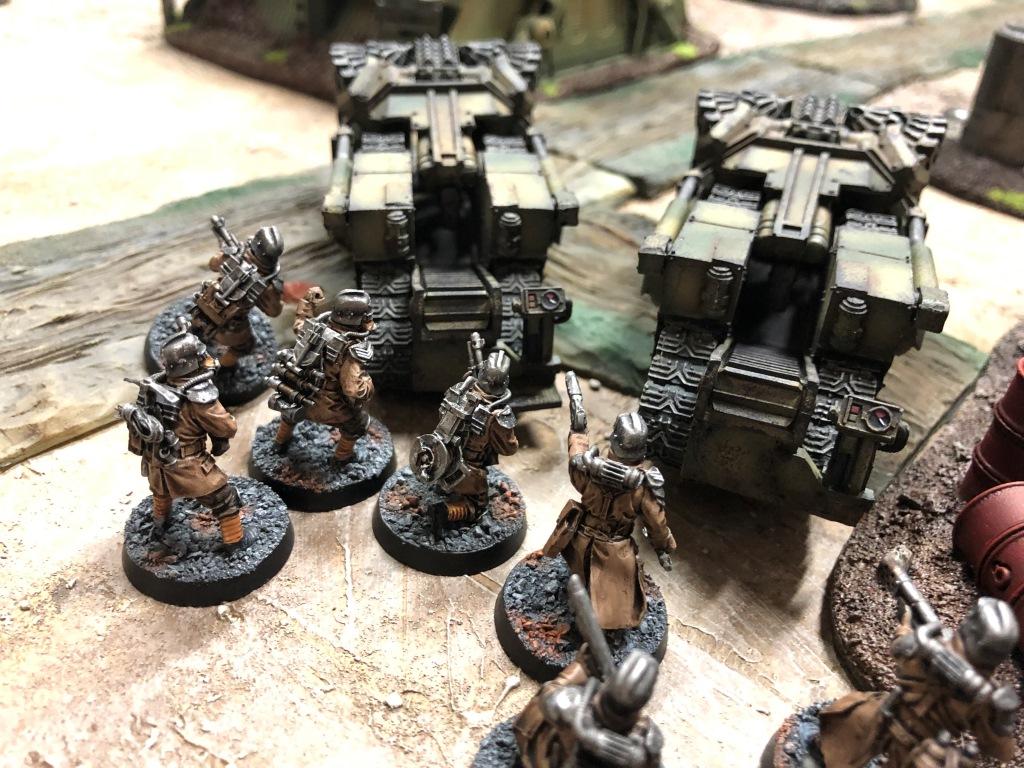
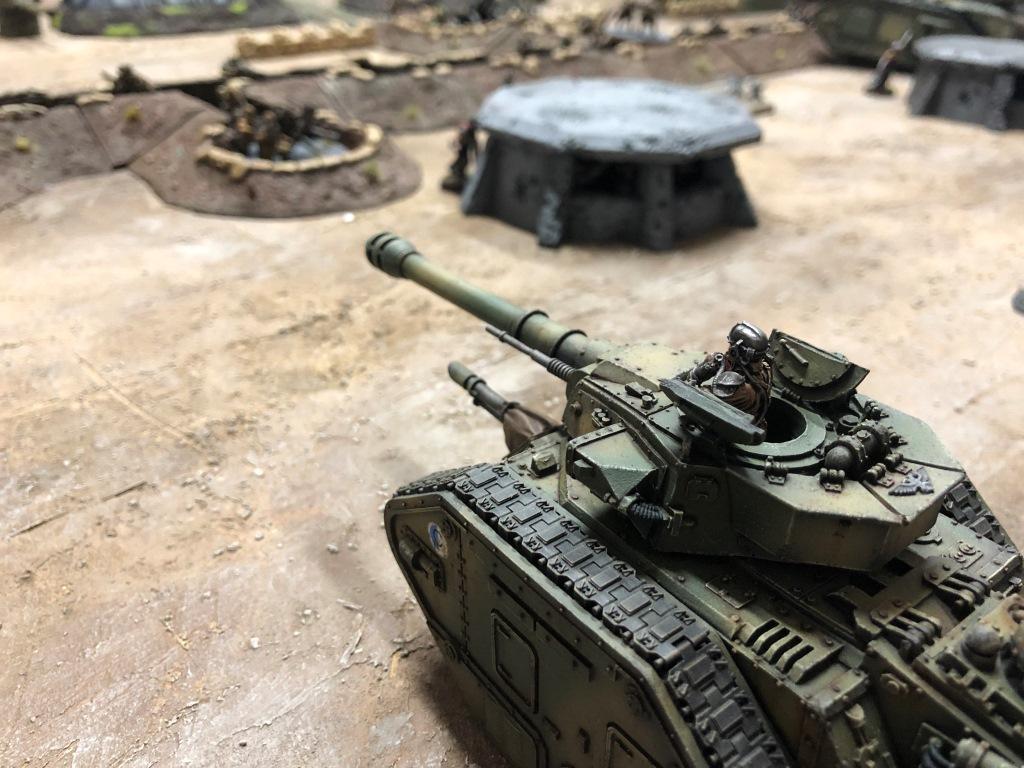
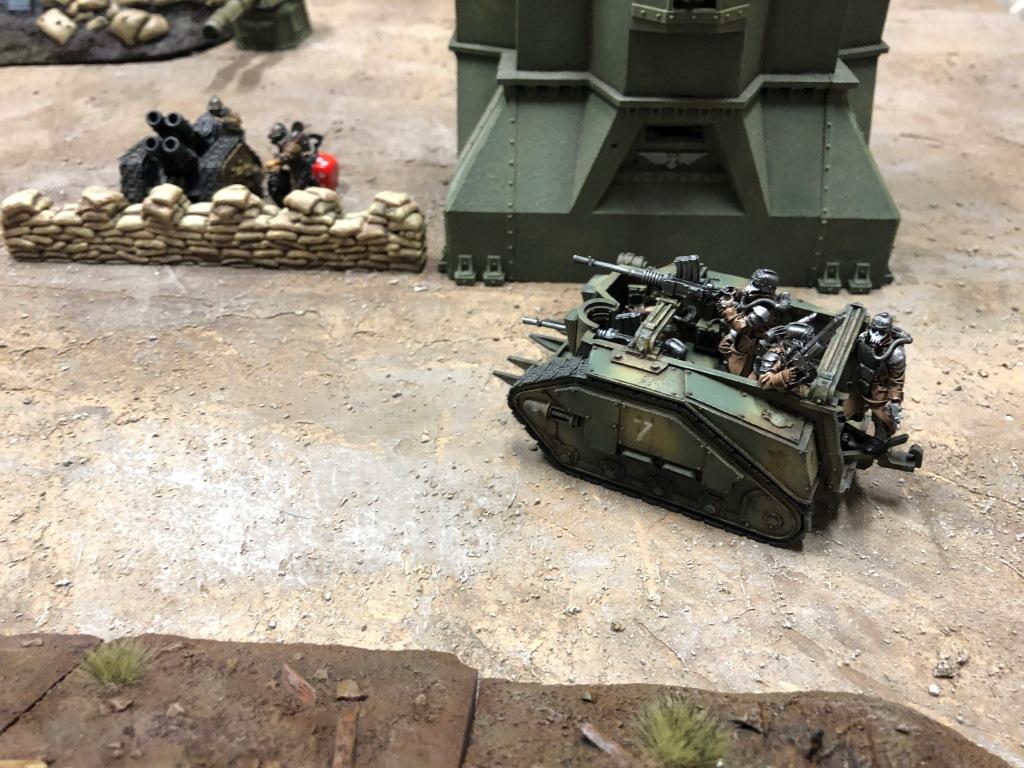
Forwards! The Command Russ leads the charge into the glare of exploding star shells
Mortar crews rapid fire to support the advance
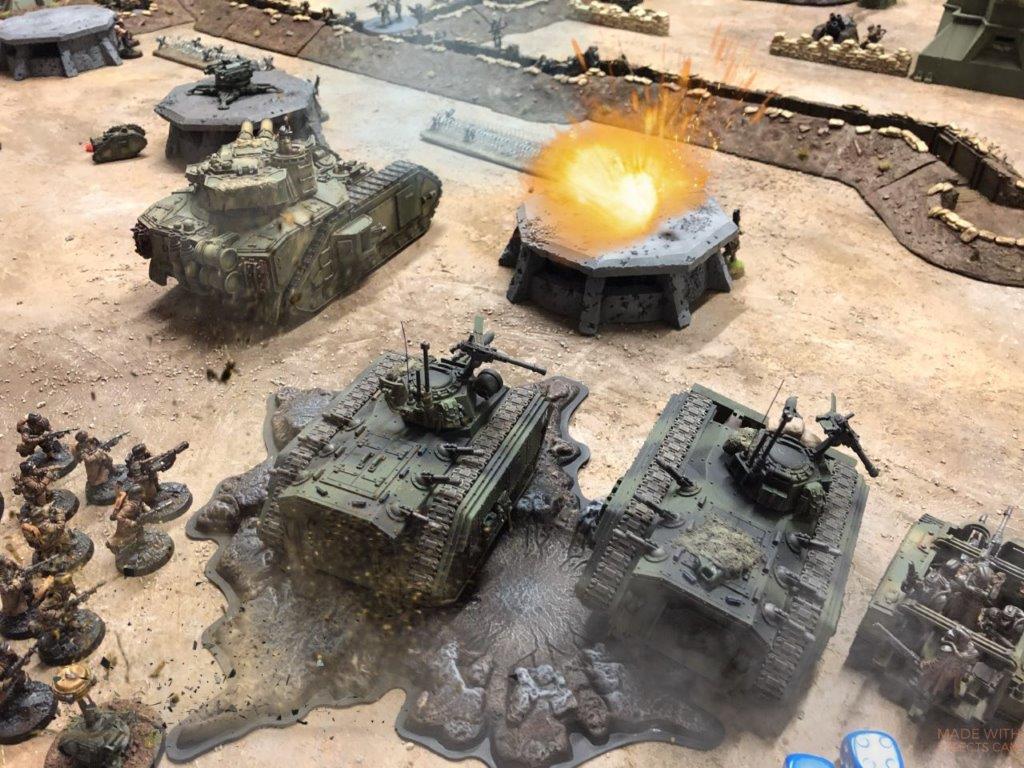
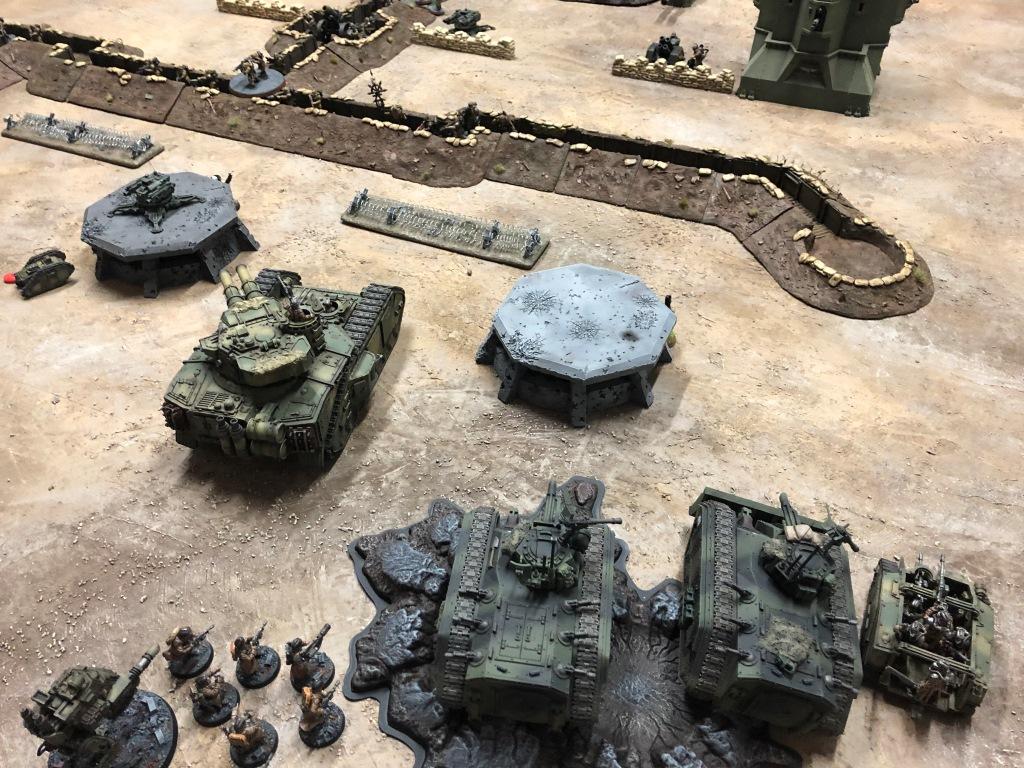
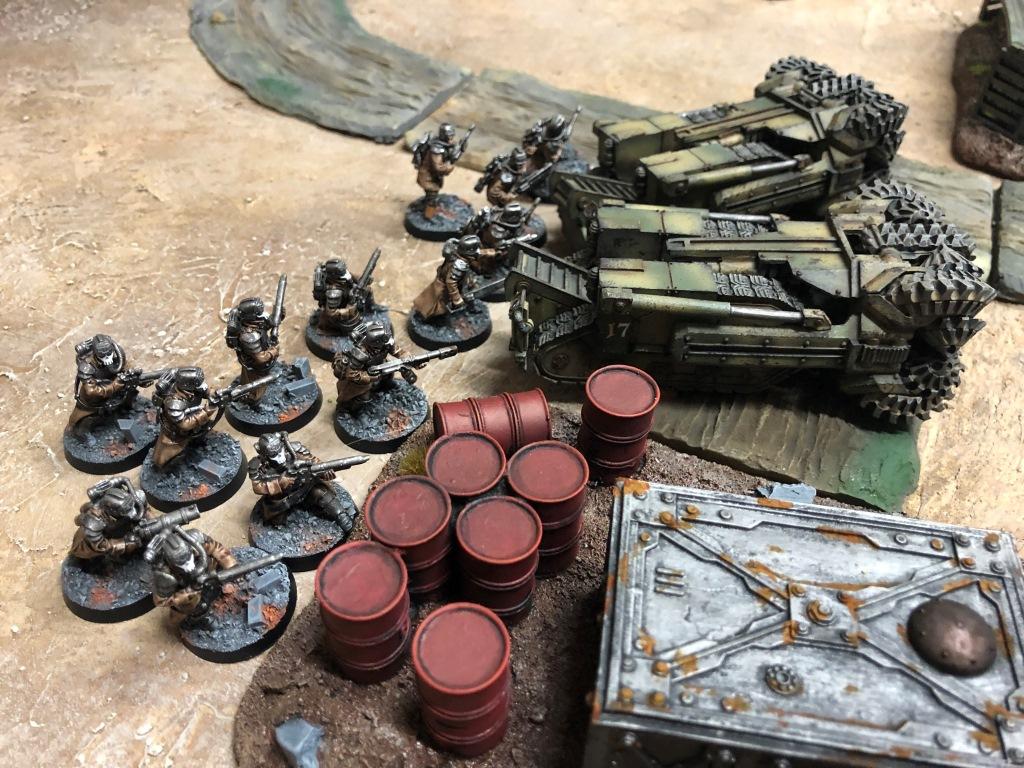
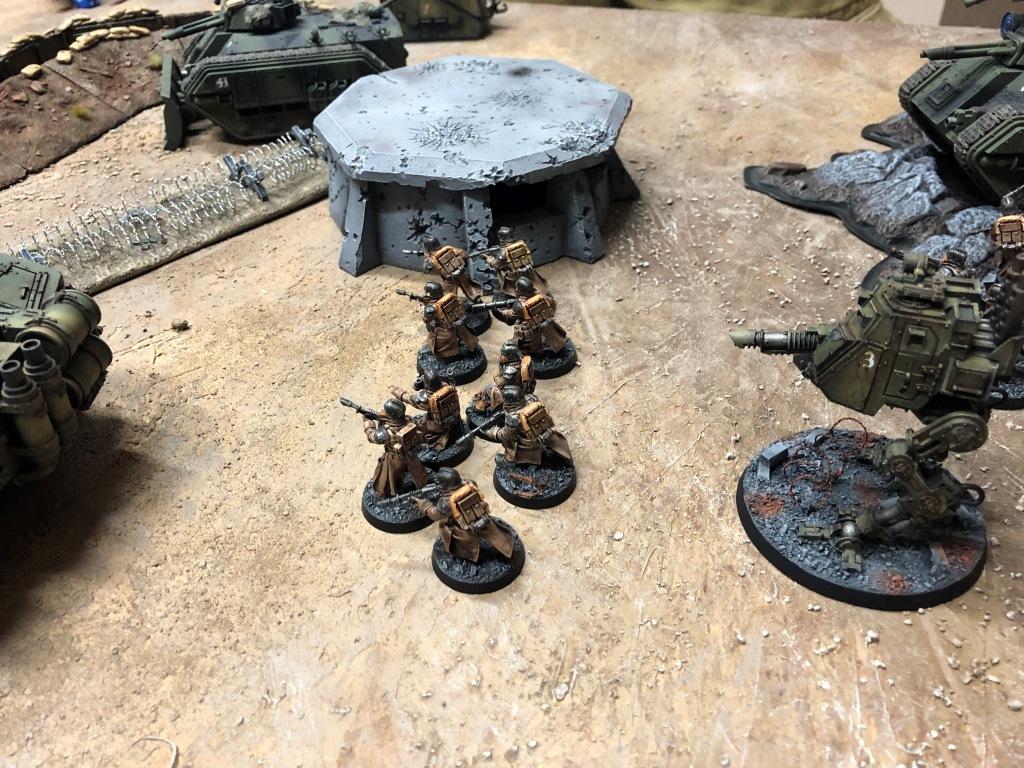
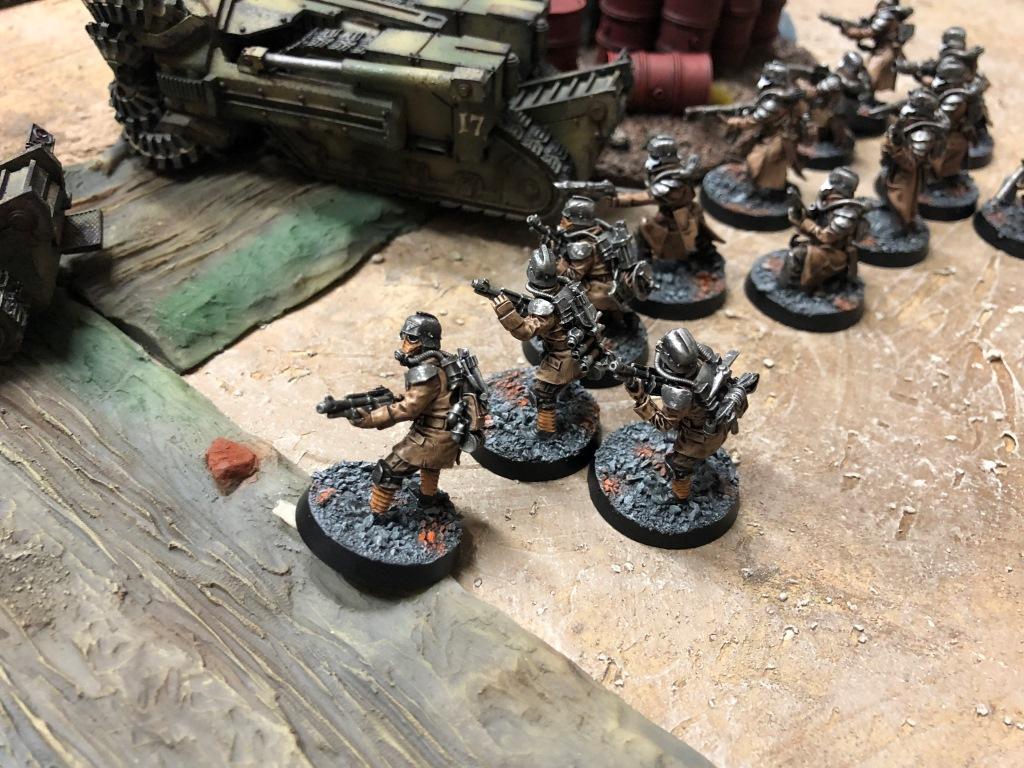
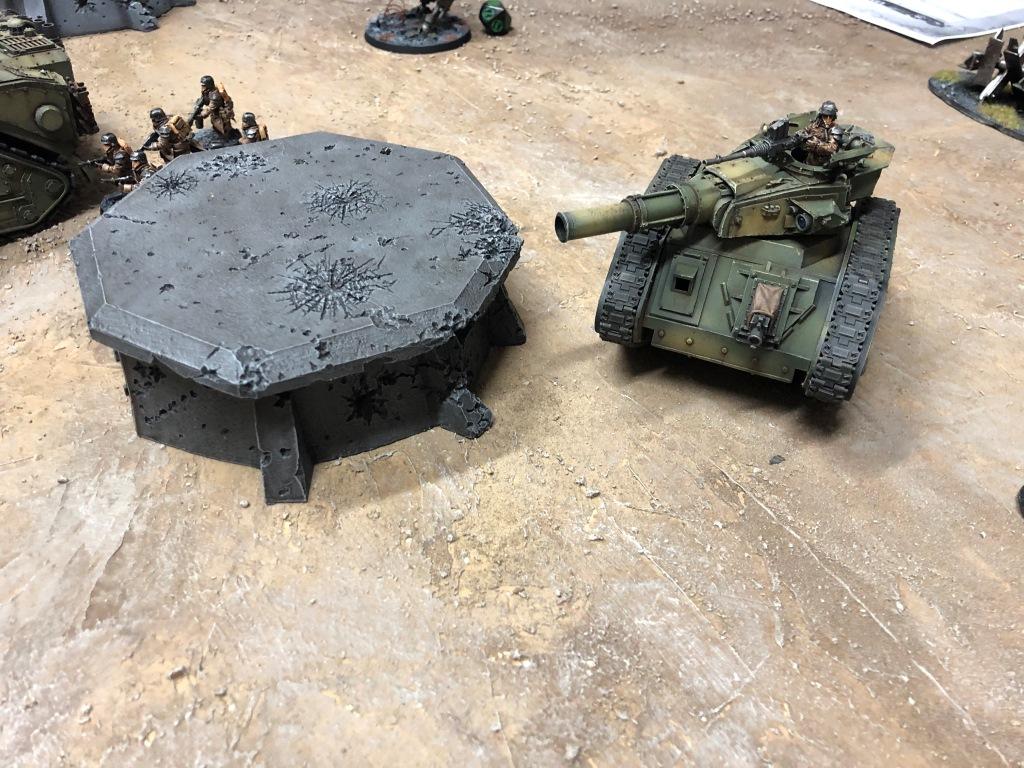
Armour moves up, with assault troops using the steel behemoths for cover as they advance
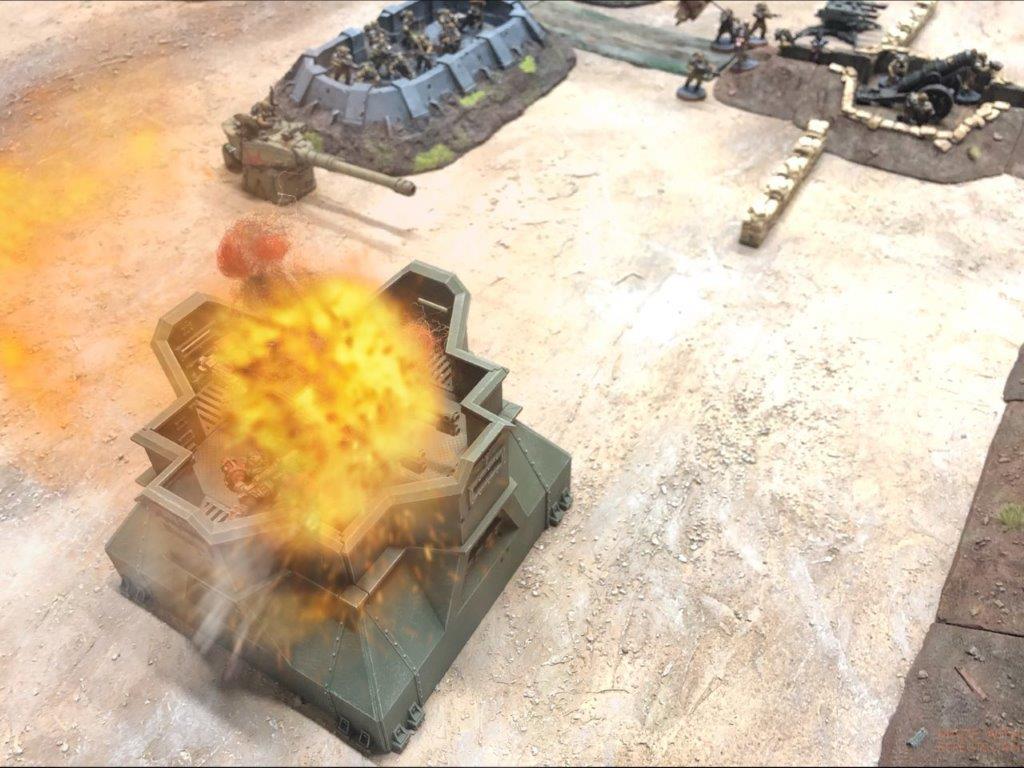
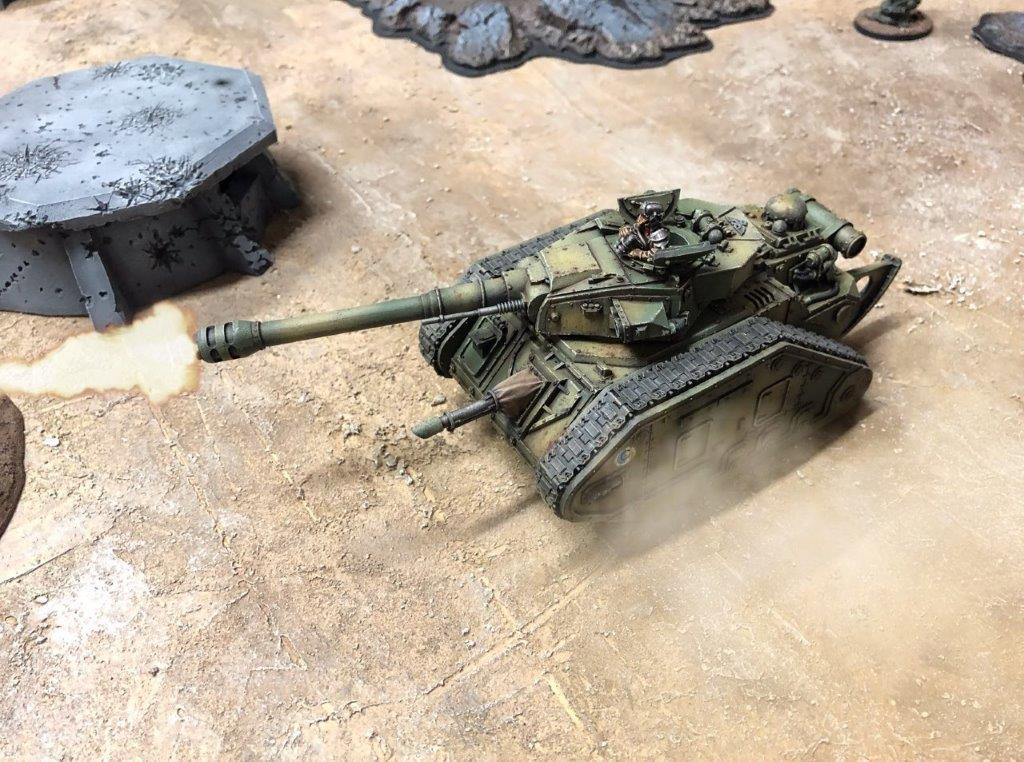
Direct tank fire destroys a defence tower
Fire!
Krieg heavy weapons provide support
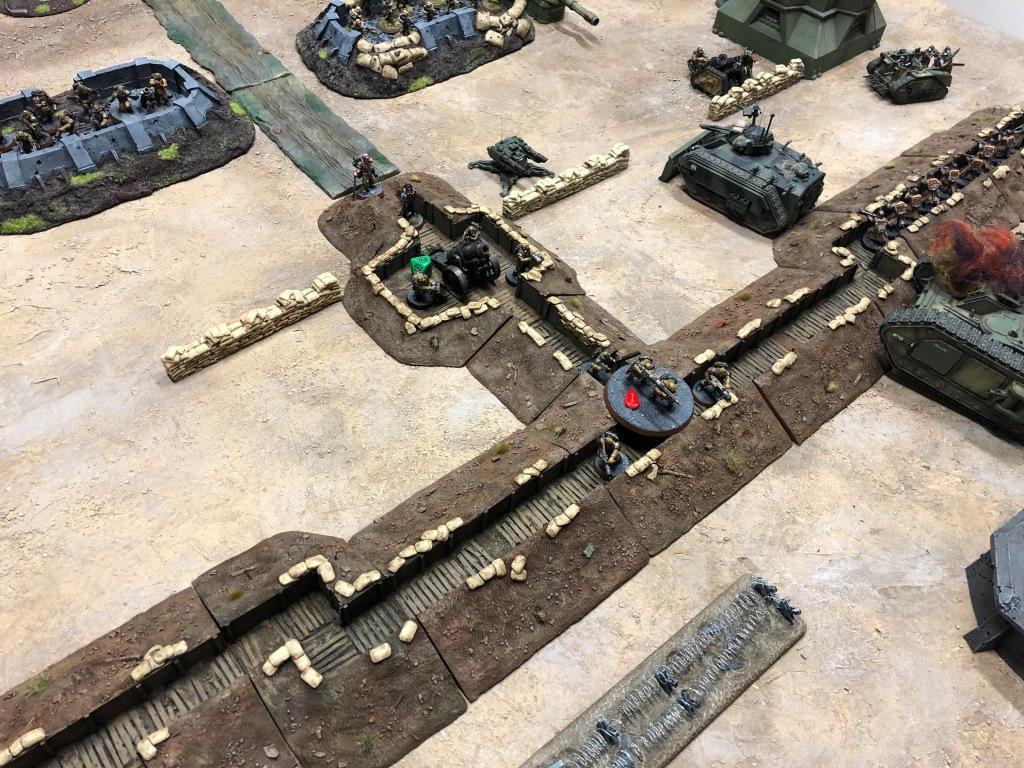
The assault approaches the first line of trenches – the first objective
All the while the mortar crews rain havoc on the defenders
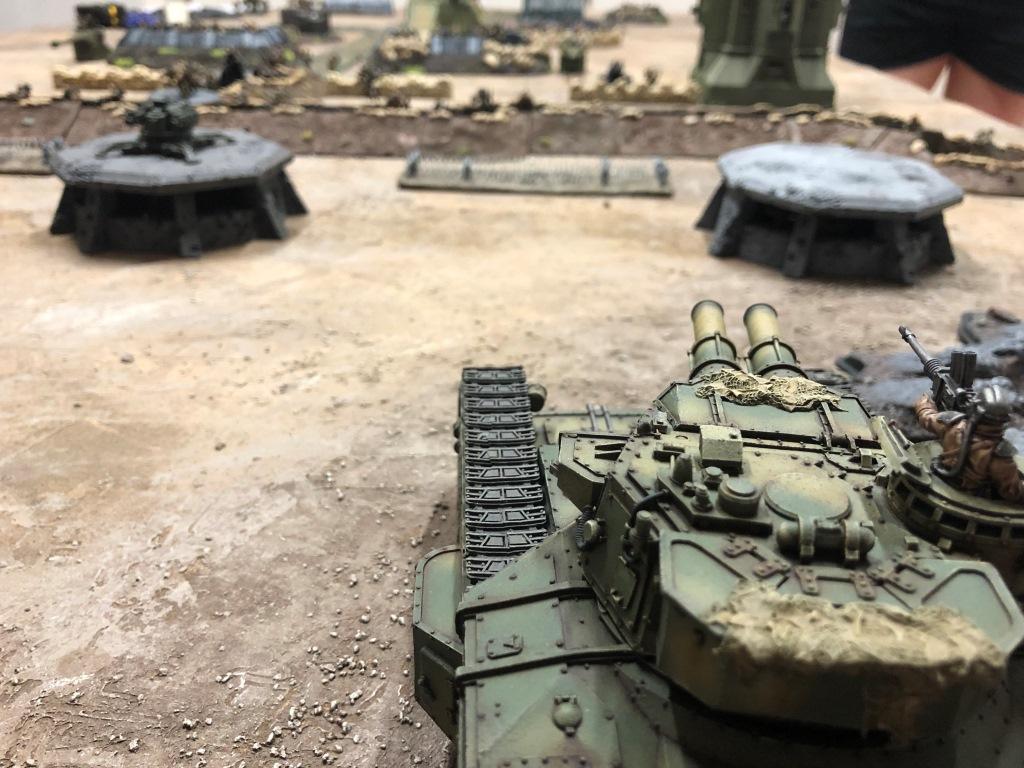
The Command tank moves up
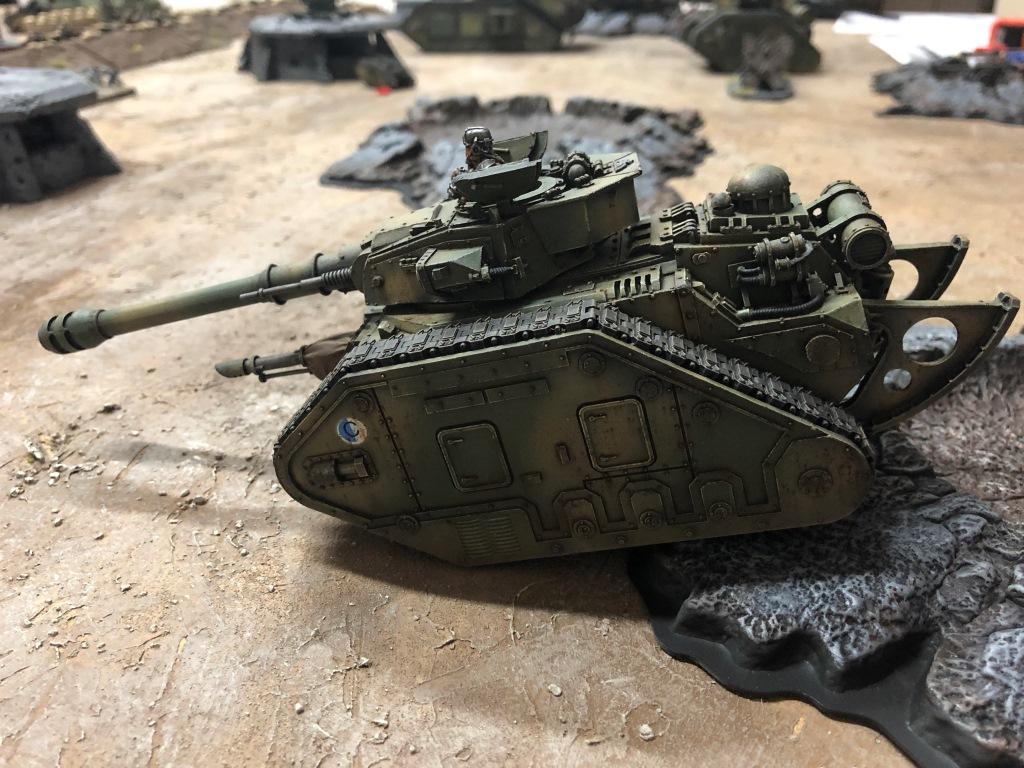
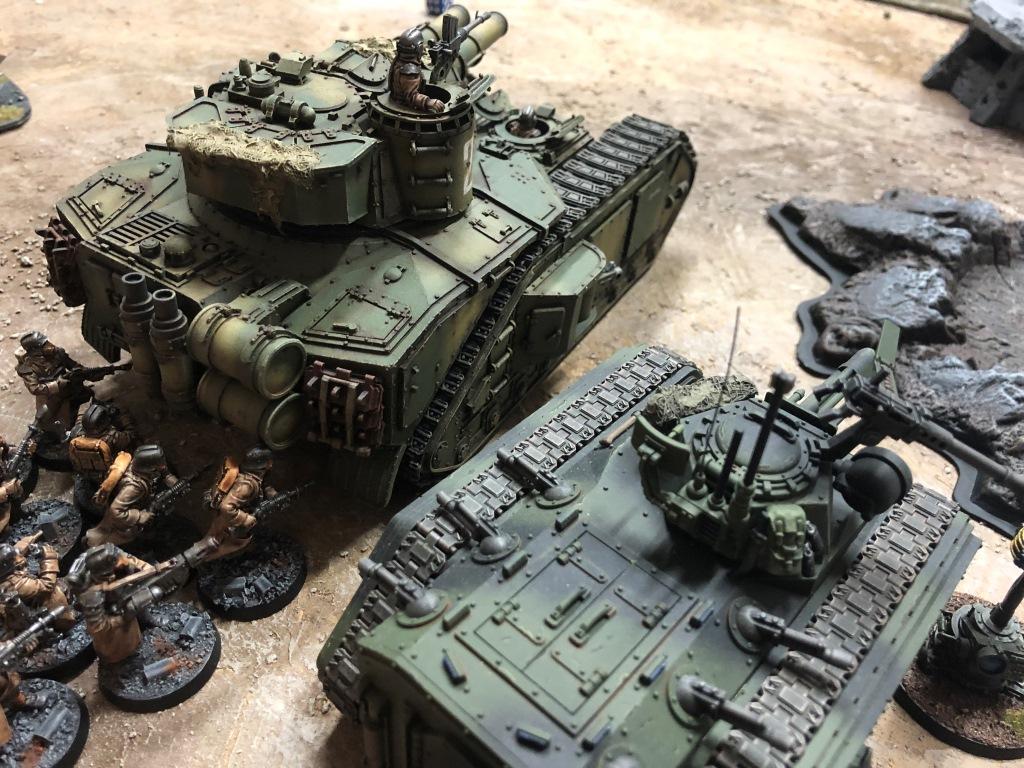
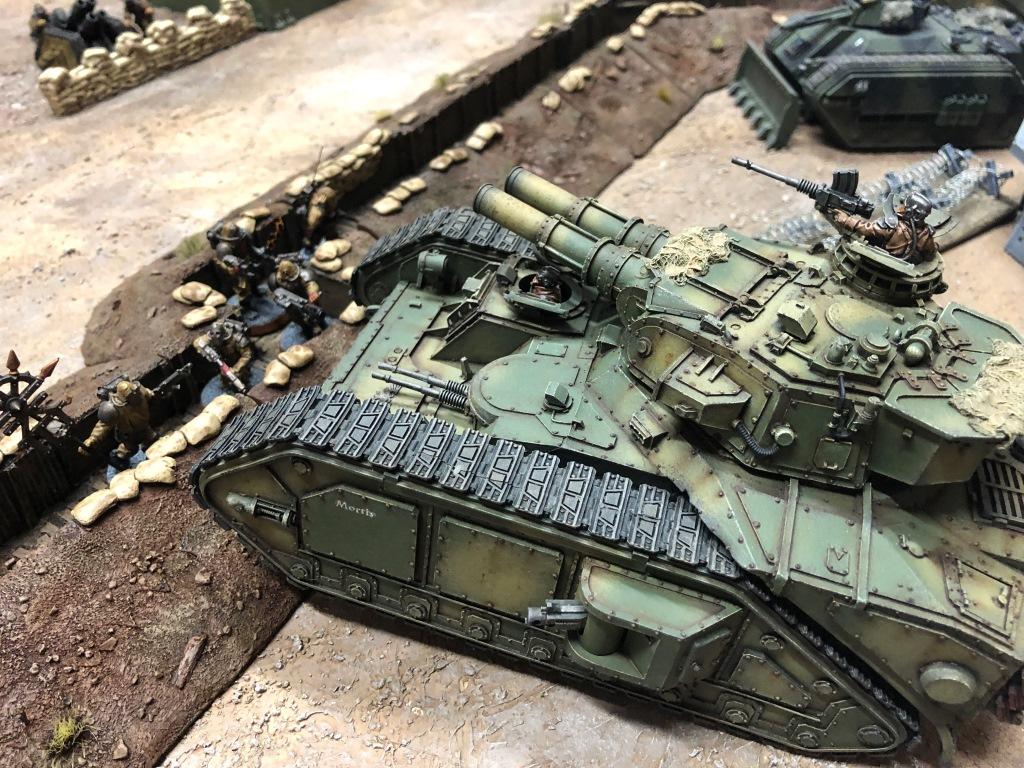
The mighty Macharius draws torrents of fire from the anti-tank guns
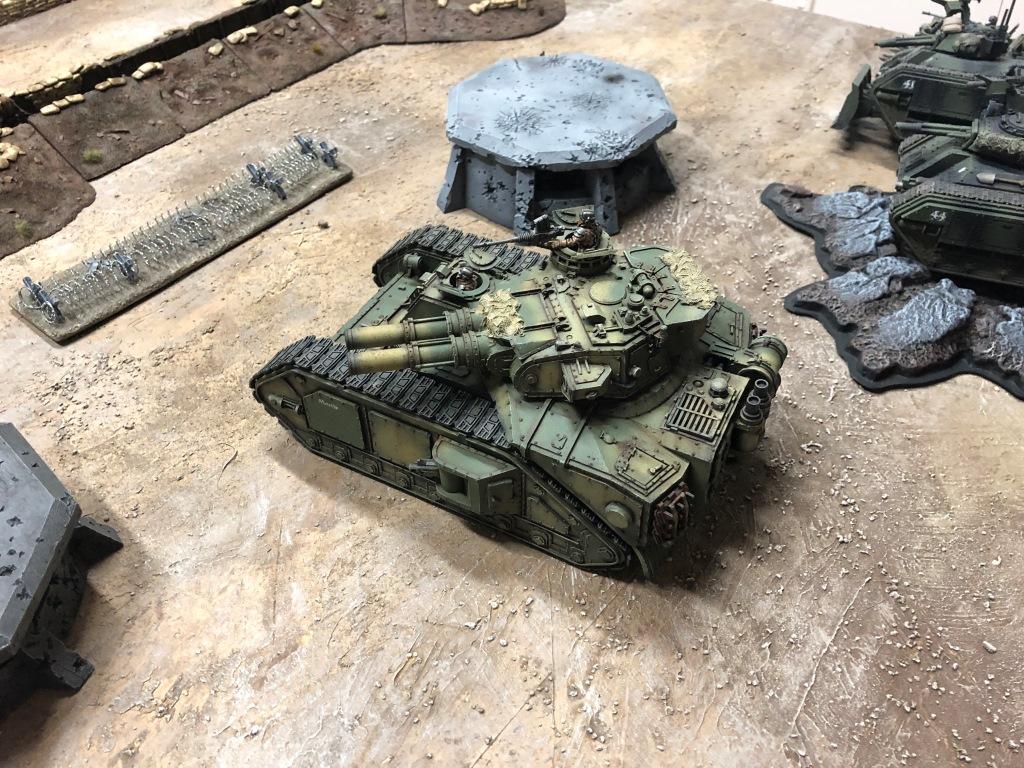
Move up! Move up!
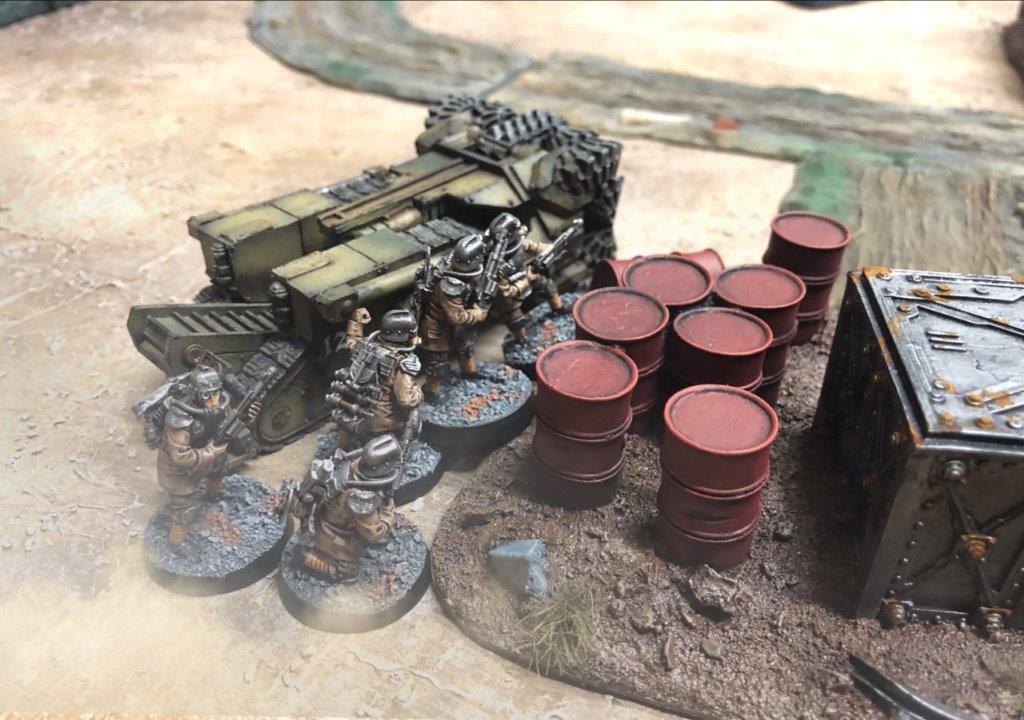
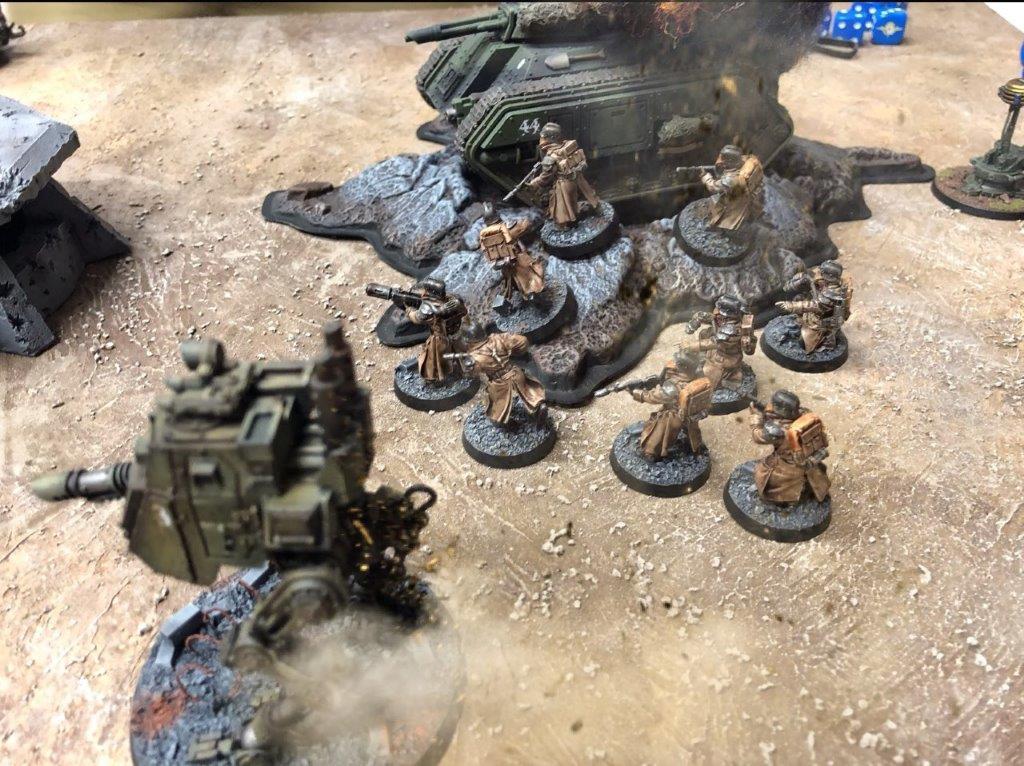
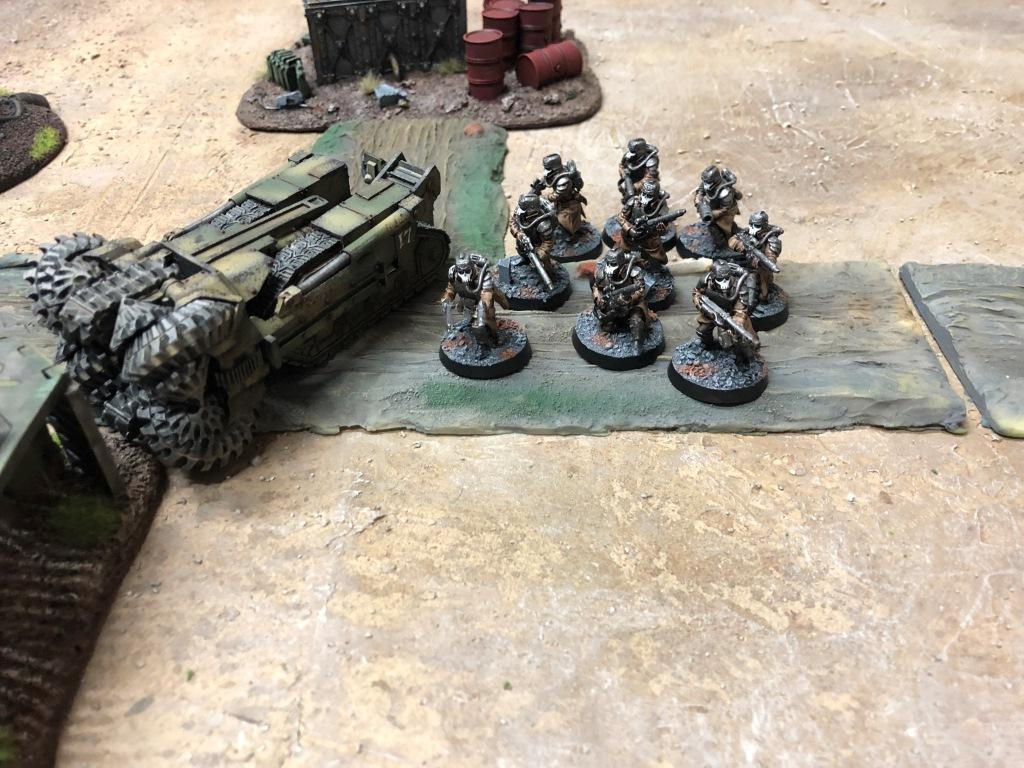
Engineers emerge from underground amongst the defenders and join the attack
Gunner! Target that tower!
Kaboom! Another tower is destroyed
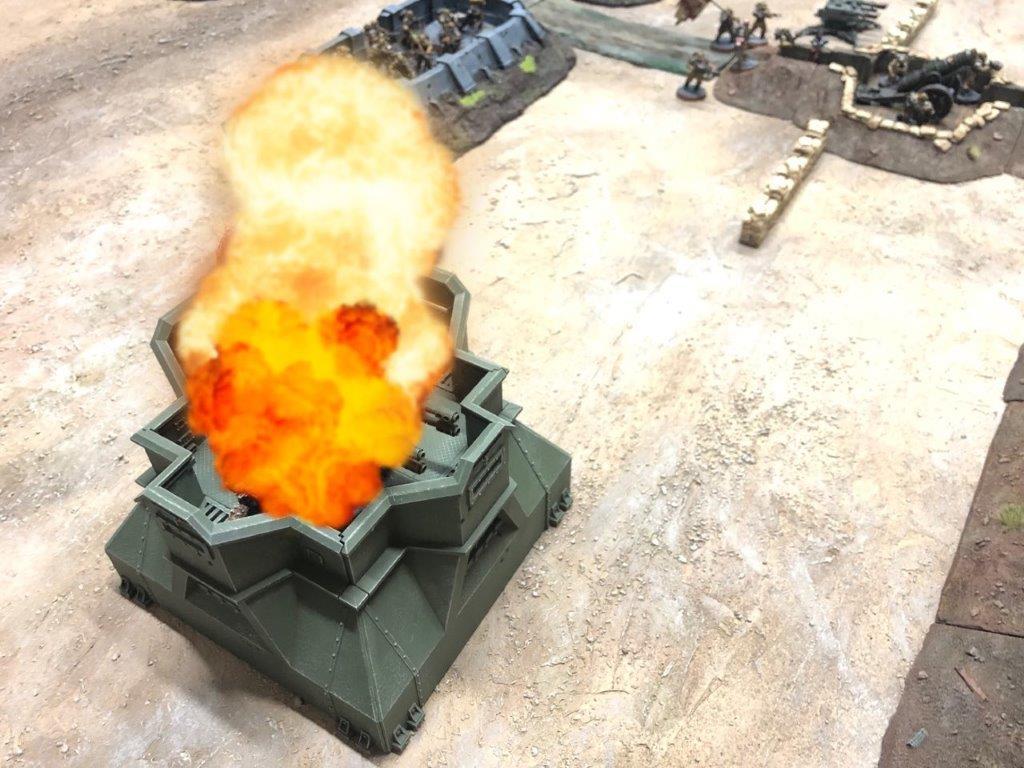
The defender’s guns are being systematically knocked out
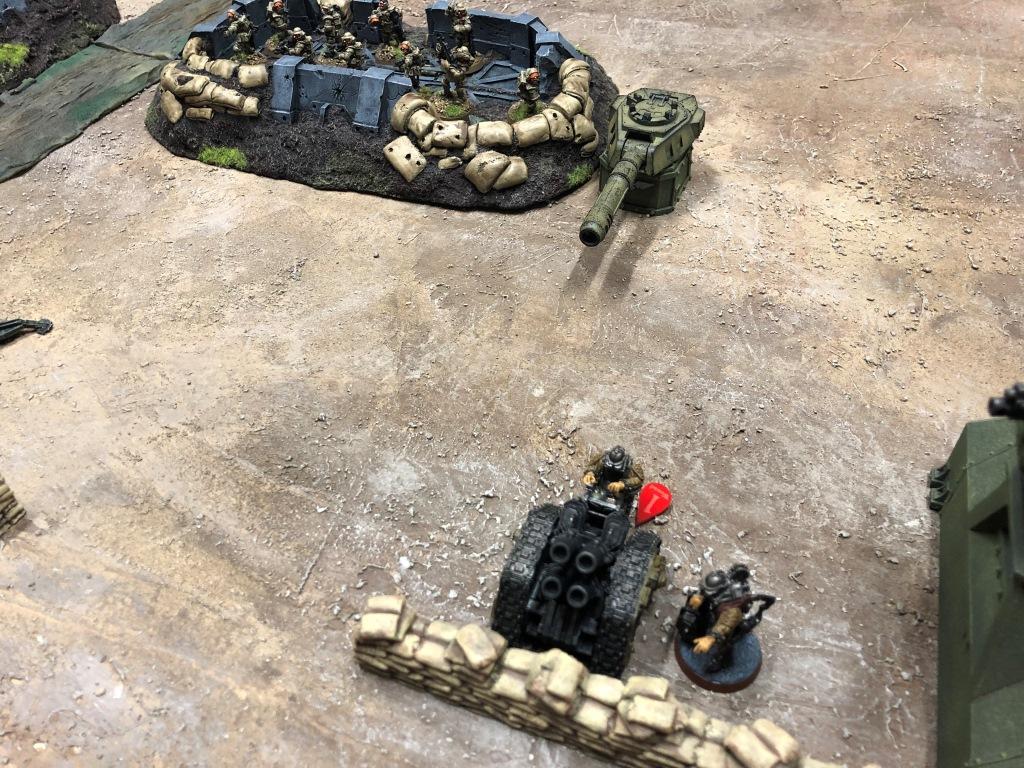
A cyclops demolition charge approaches a crewed bunker
Boom! Another pillbox silenced
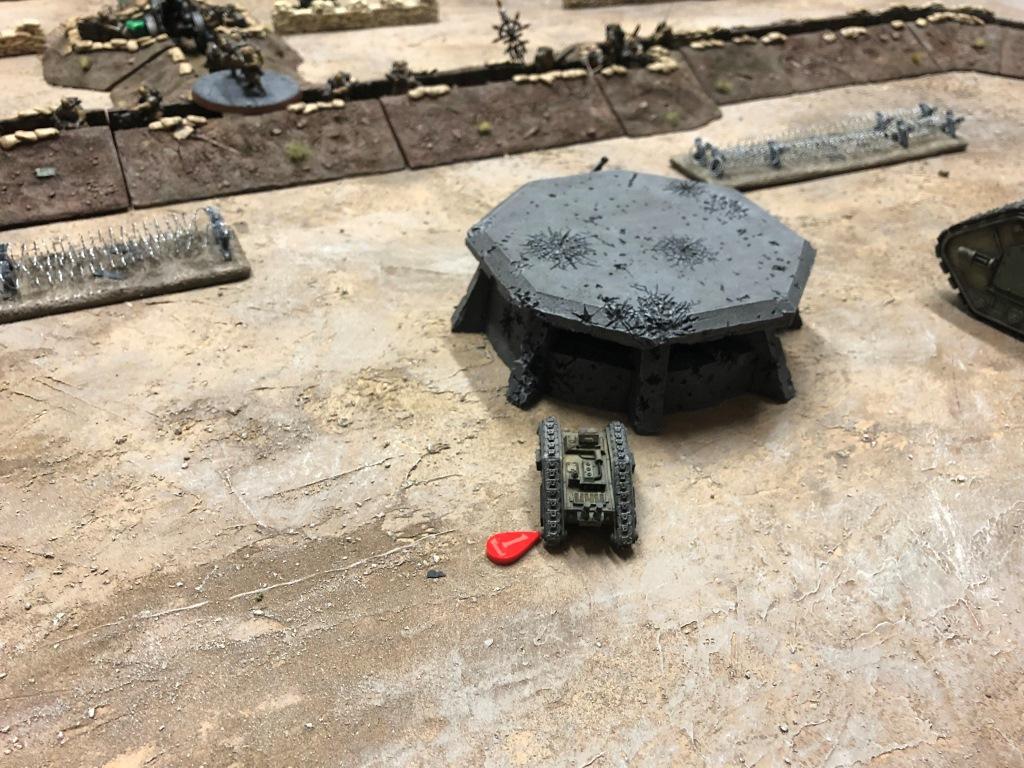
The Macharius grinds on towards the trenches, although now heavily damaged by renegade guns.
The constant mortar fire from the Krieg lines is taking a toll on the defenders
A Chimera is knocked out by anti-tank fire, forcing the troops out
The Renegade Commissar, recovered from wounds suffered earlier in the campaign is sighted
Still plenty of renegades and guns left…
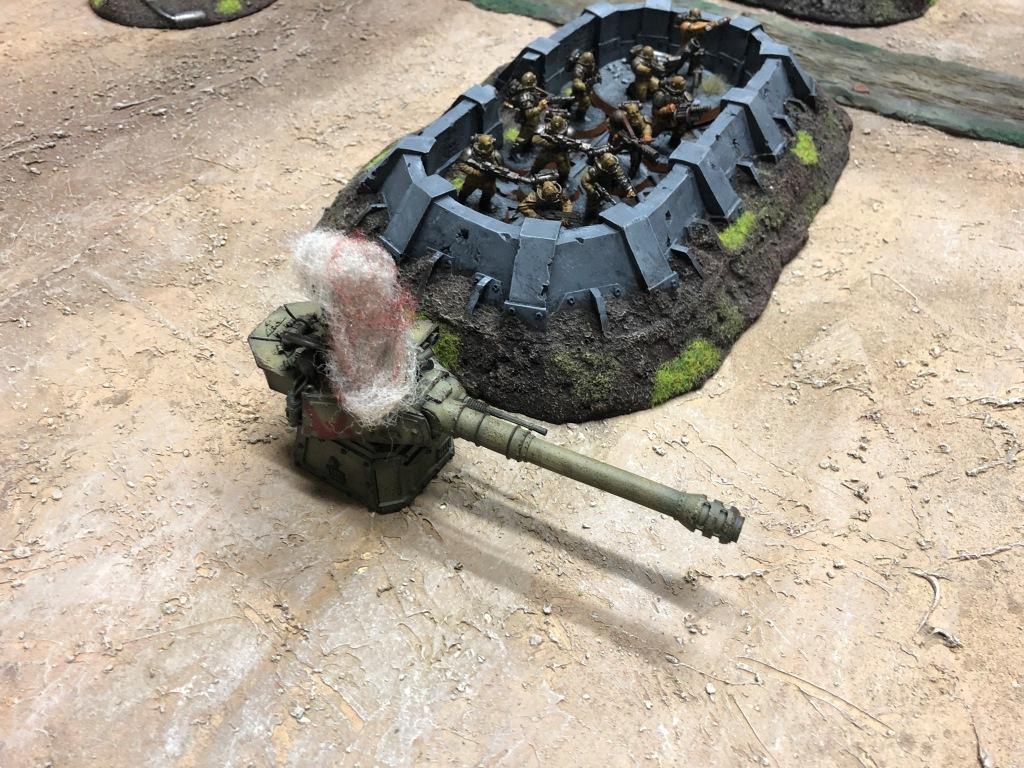
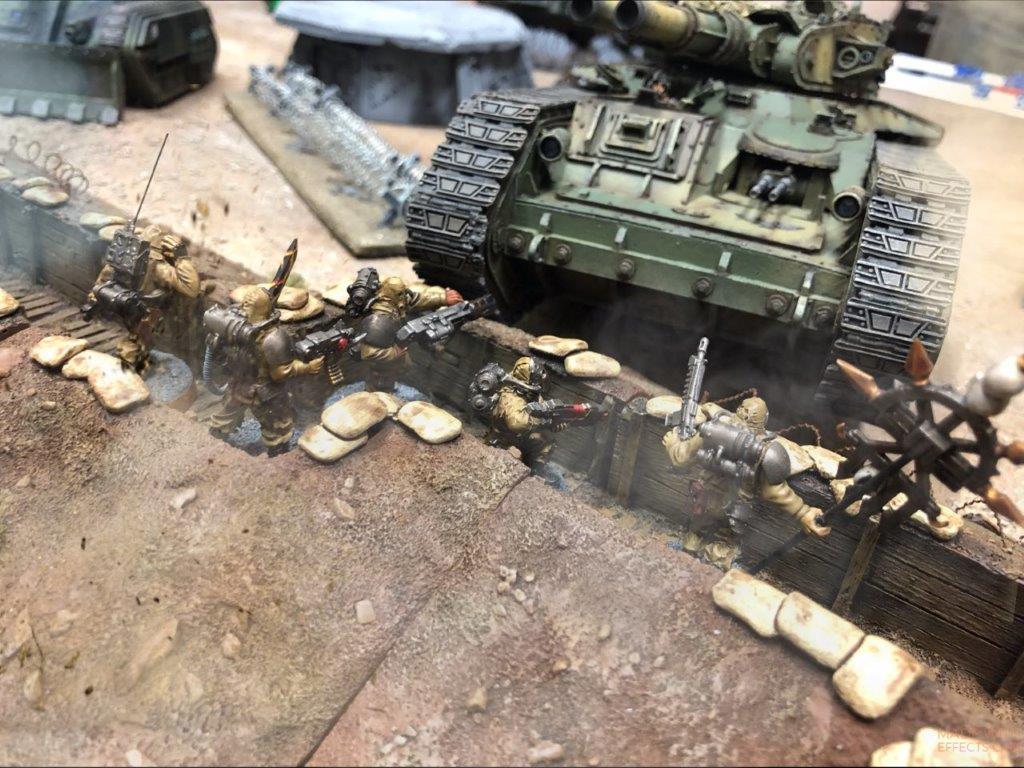
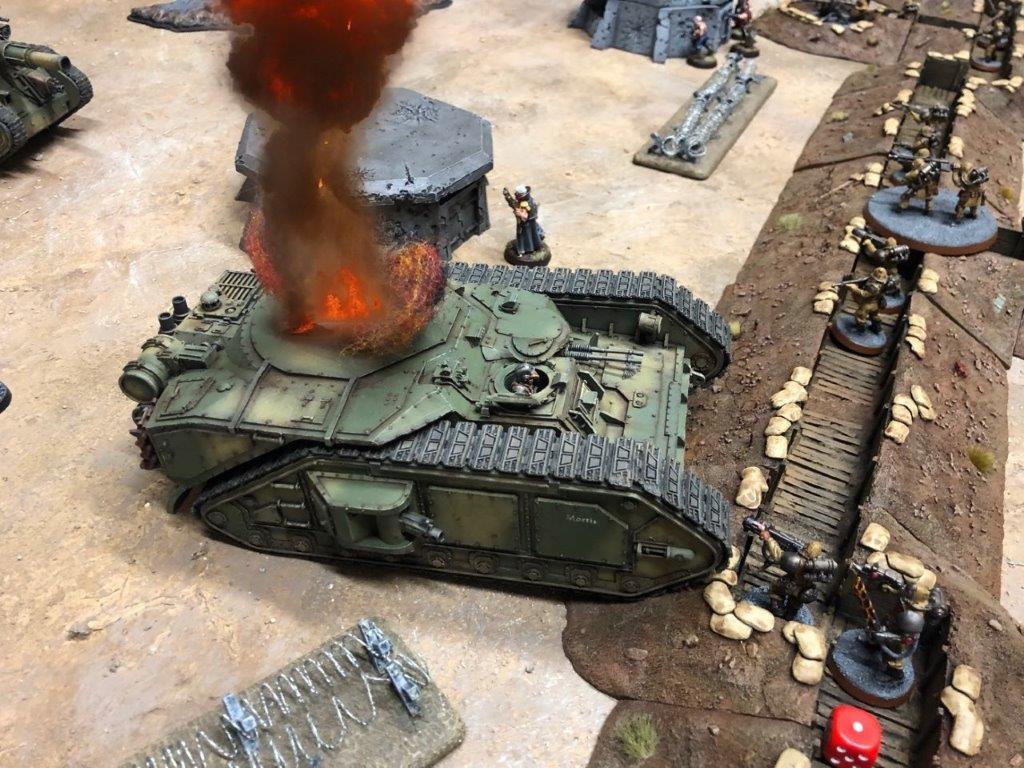
The Macharius reaches the trench lines, sweeping the defenders with stubber fire
But the renegade command squad hold the line, and the melta gunner puts a shot straight through a vision slit, knocking out the huge tank!
More assault drills emerge behind the renegade lines, causing mayhem
Imperials in the wire! The engineers are spotted by an artillery observer
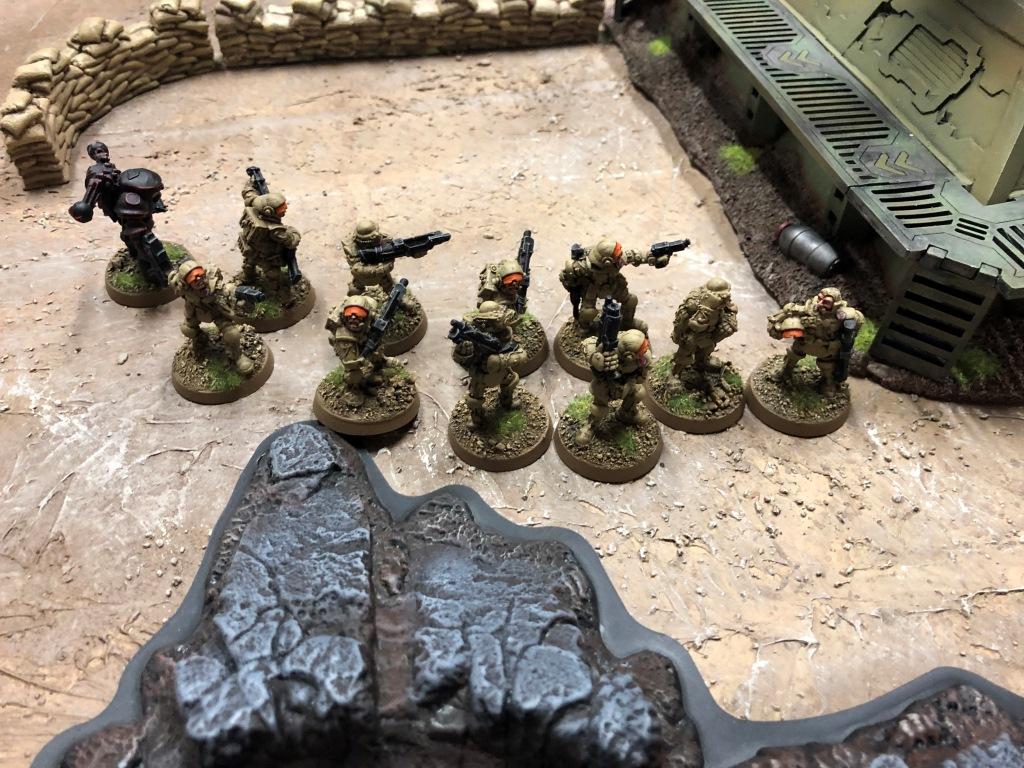
The traitor officer and his nearby squad are cut down by newly arrived grenadiers
The charmed life of Colonel Farid continues, as all around him are cut down by fire and artillery
Many defence positions remain intact however
Defenders in the first line of trenches have taken severe casualties from mortar and direct tank fire
No mercy! Onwards!
The assault reaches the main trenches in force, but is still under heavy fire from defenders further back
Troops move up to the initial objective
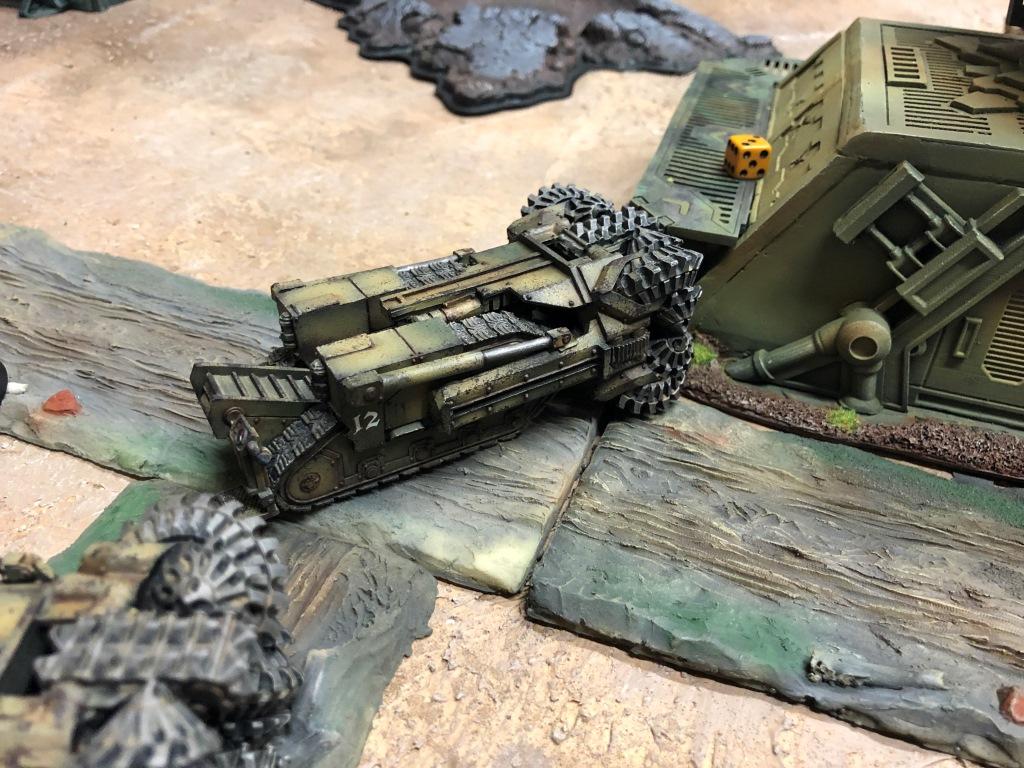
One of the Hades Breaching Drills grinds its way through the command bunker
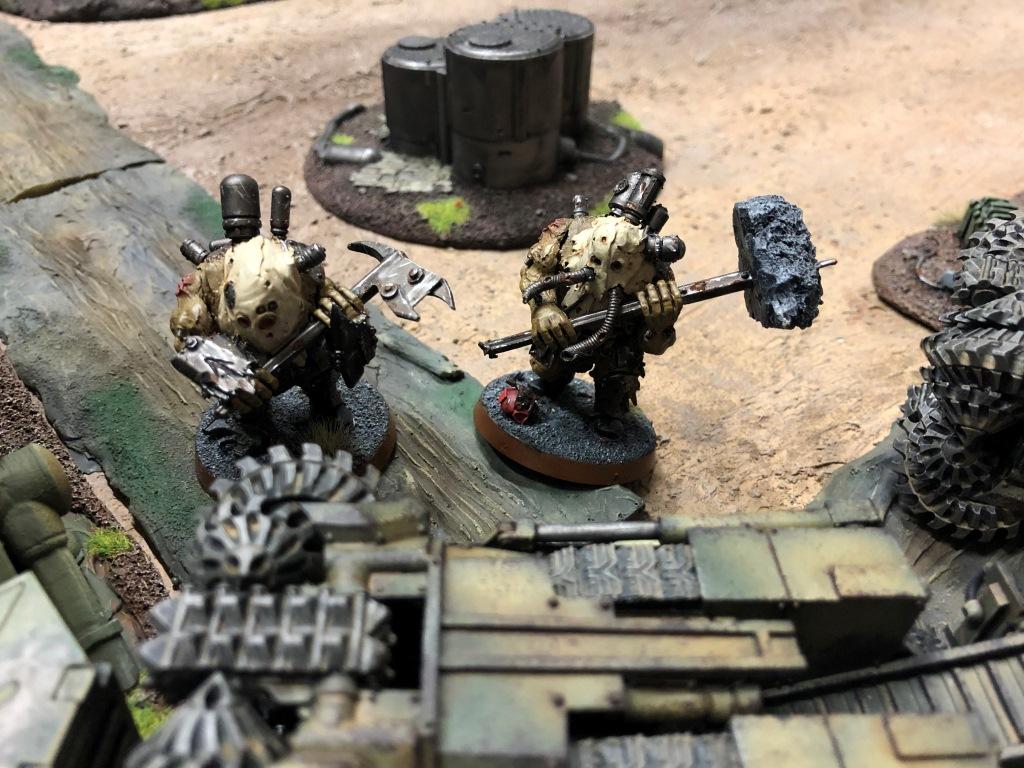
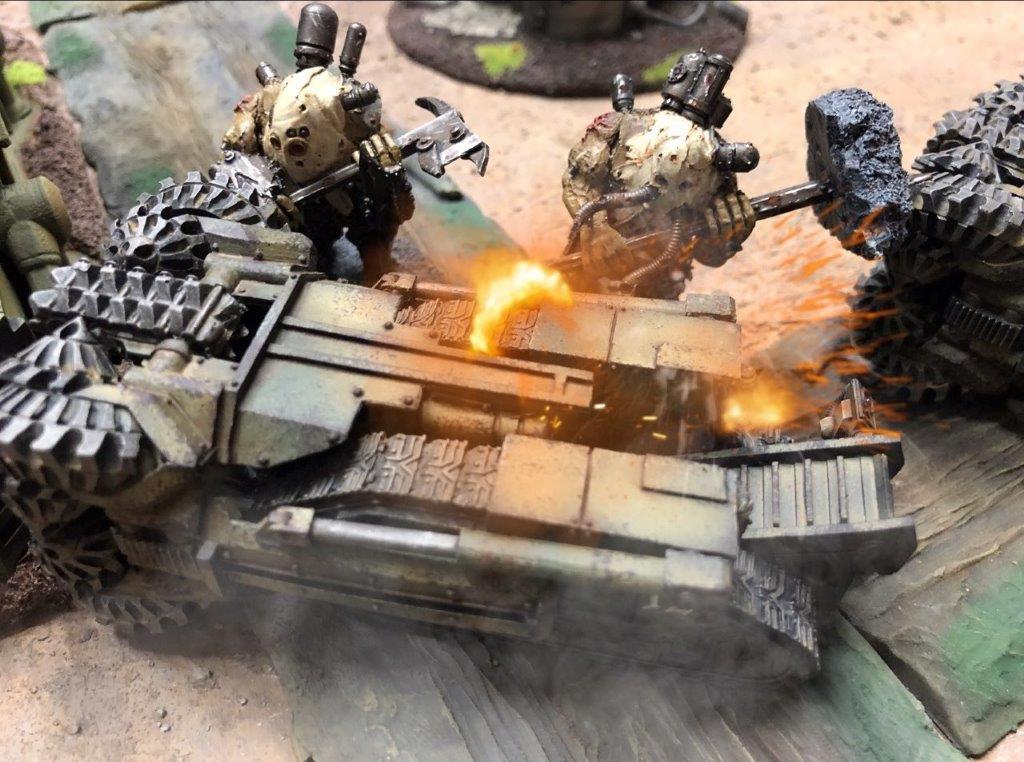
Ogryn surprise! Two of the tainted giants emerge from the rubble and engage the drill
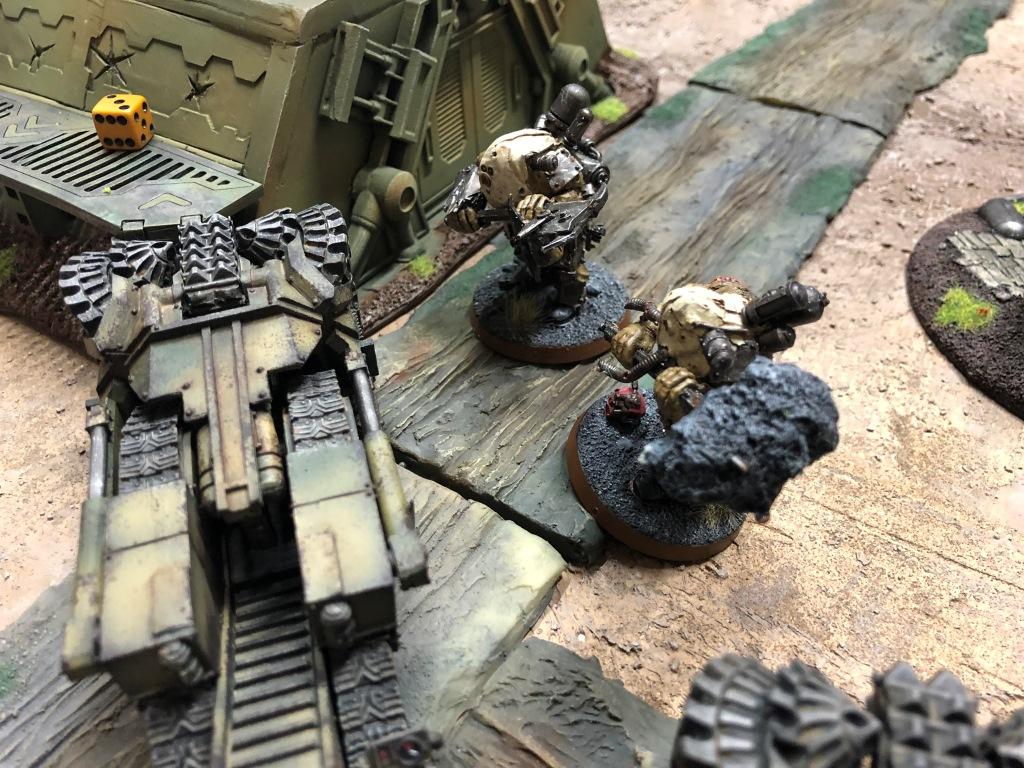
Their massive hammers get to work on the Hades
“Fight you dogs!” The fallen Commissar leads his storm troopers in a counter-attack
They are quickly caught up in a vicious short-range firefight with the Krieg Engineers and Grenadiers
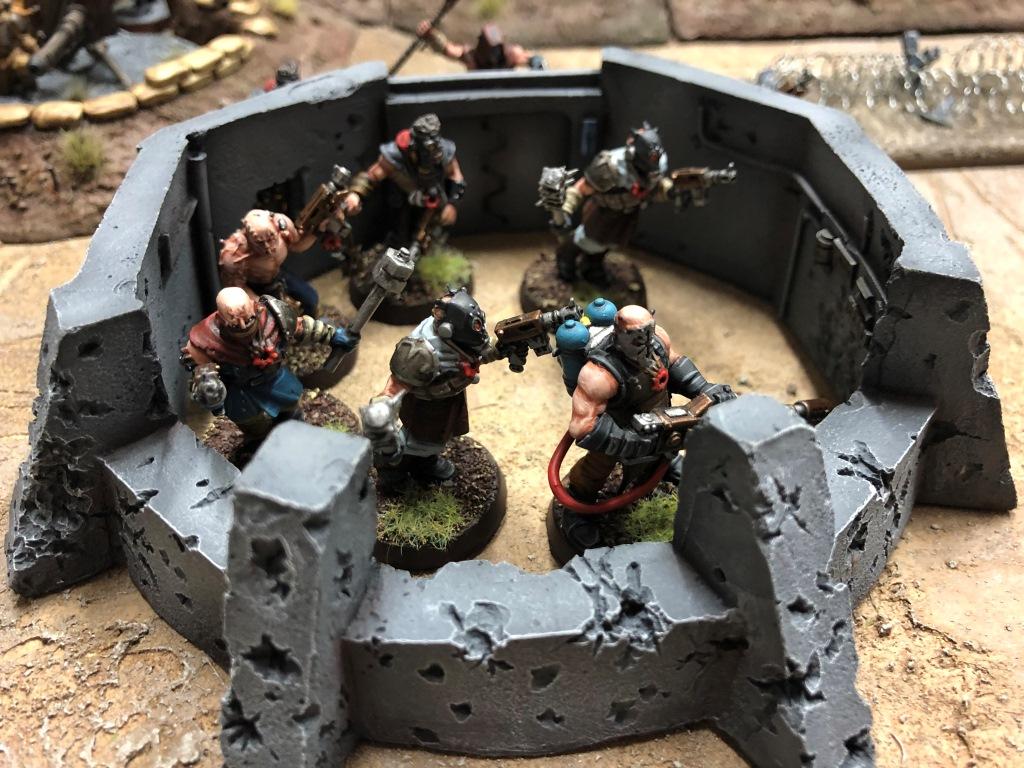
Inside the remaining forward bunkers, the Chaos Cultists are reconsidering their career choices
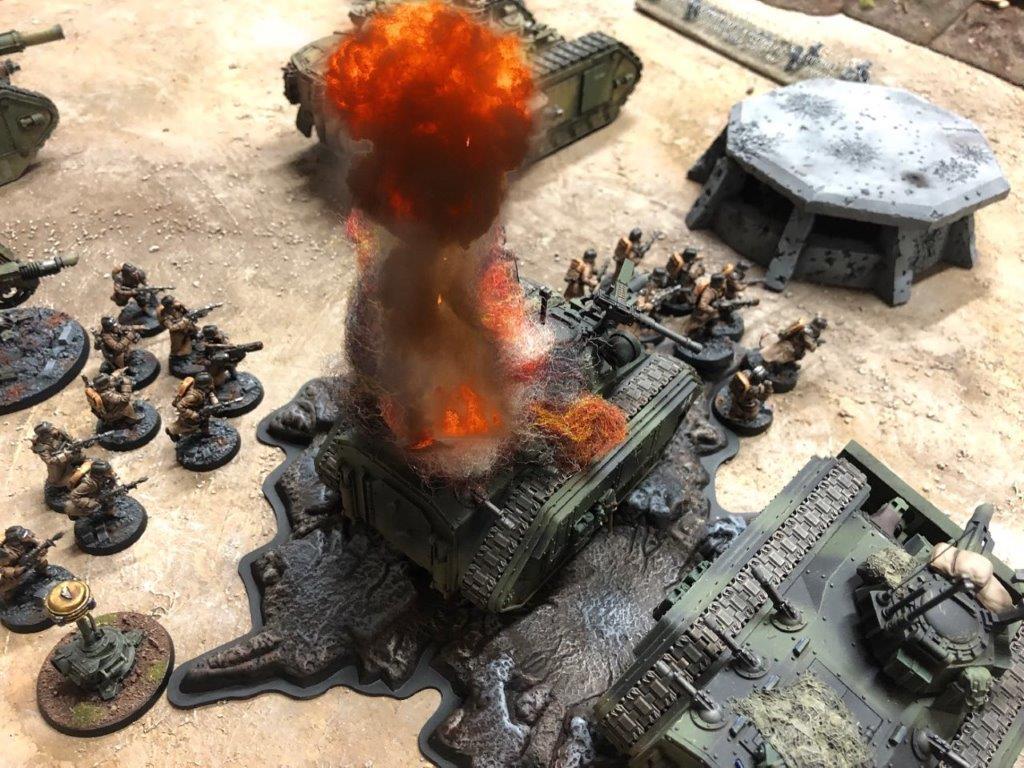
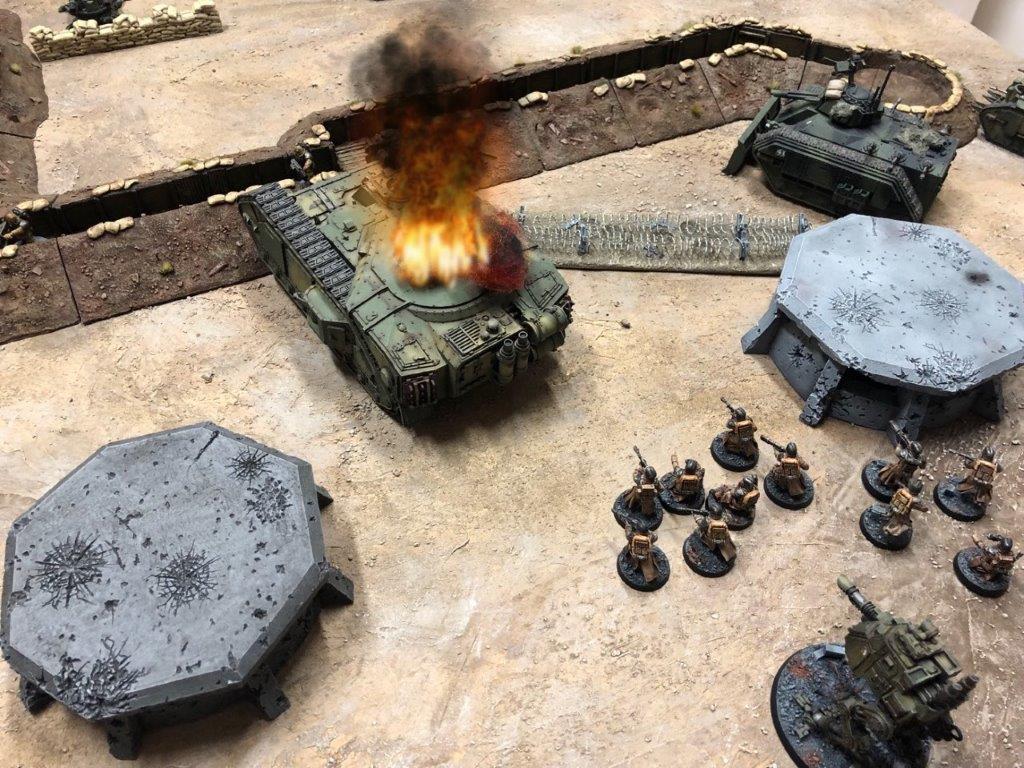
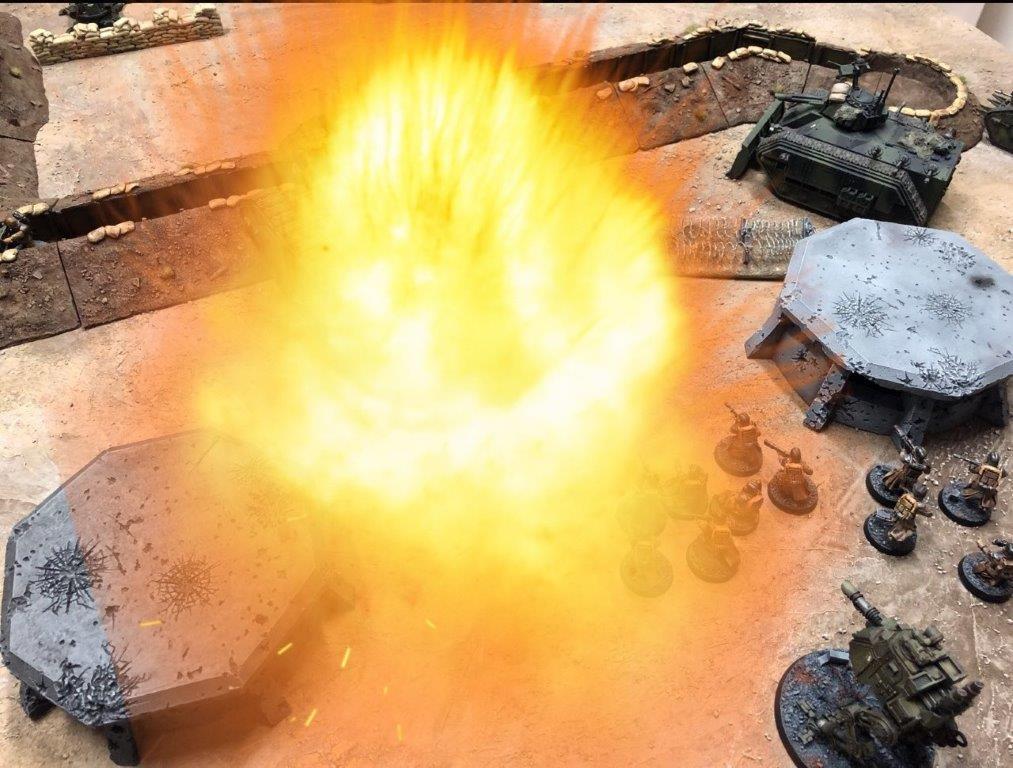
Meanwhile, the knocked out Macharius continues to burn, until the flames reach its magazine and…
]
Booom! The tank is ripped apart by a huge explosion that wipes out the renegade command squad (and the triumphant melta gunner), a nearby bunker, several Krieg infantrymen and damages a Chimera
The renegade storm troopers are hammered by the engineers and grenadiers
The renegade Ogryn finish off the Hades drill
]
Krieg armour finishes off the last anti-tank guns and forward bunkers
Krieg troops assault into the forward trench line and capture the position
And begin to direct fire into the now exposed defenders on the opposite side
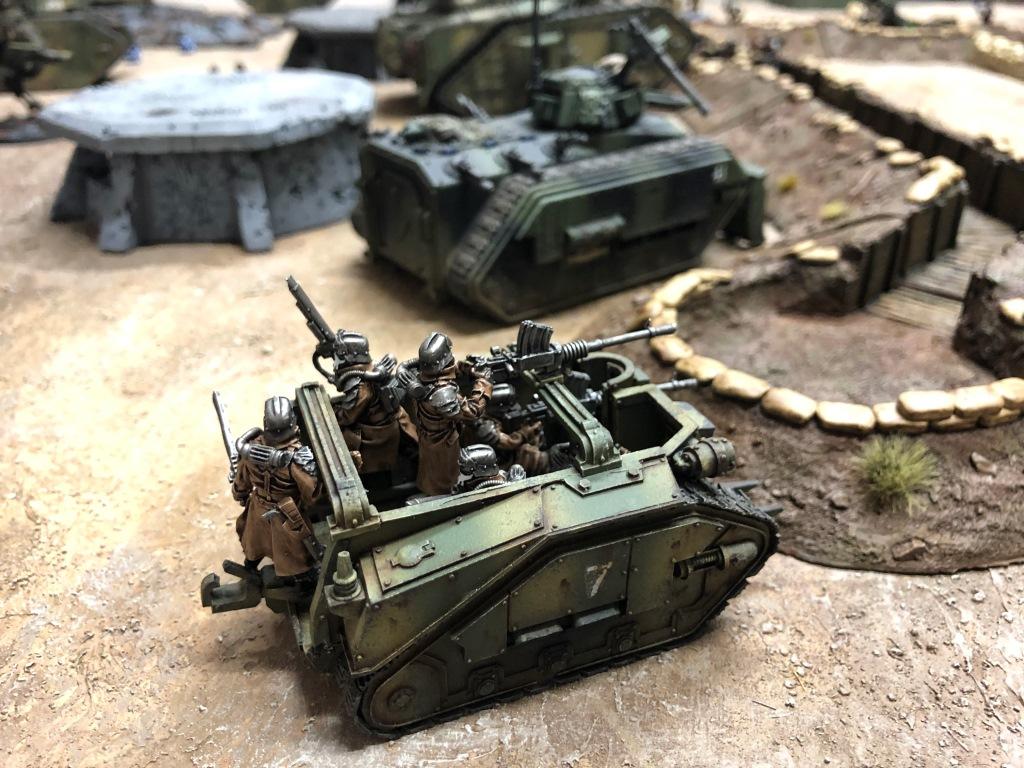
A Chimera crosses the trenches and fires into nearby renegade mortars
The Krieg tanks direct fire on any remaining targets to their immediate front
Only one anti-tank gun remains
The engineers are lost in the firefight with the renegade stormtroopers, but the grenadiers prevail, cutting down the traitors
The Imperial forces have now reached their initial objective and seized the trench line. The remaining forward defenders are wiped out.
The Krieg Command Centaur moves up and takes out the last renegade mortar. With that the front line of the renegades collapses and they fall back to the next line of defence.
Victory Imperials! Well, for phase one as least…
++++++++++++++++++++++++++++++++++++++++++++++++++++++++++++++++++++++++++++++++++
Well, that was fun – a grinding advance into the teeth of prepared defences and damn the casualties! The Hades Drills were a nice spoiler force and kept the defenders off balance whilst the regular infantry pushed into the trenches.
The loss of the Macharius was a blow, but it had absorbed most of the anti-tank fire by that point, allowing the assault force to close. Plus, it was an awesome moment when a lone renegade took it out. Luckily, there are more of the massive tanks in reserve for the next push.
The Krieg artillery was a real beast in this game, constantly raining destruction on the defenders further back. The quad launchers put out a serious amount of fire.
So, the Krieg gain a foothold in the defence works and now have to avoid being pushed out by counter-attackes as they drive ever forwards into the guns of the enemy.
As per the scenario, the next game starts where this one finished – the terrain will be the same and both sides can bring up fresh units. It’s going to be a long, bloody slog for the Death Korps.


