Forum adverts like this one are shown to any user who is not logged in. Join us by filling out a tiny 3 field form and you will get your own, free, dakka user account which gives a good range of benefits to you:
No adverts like this in the forums anymore.
Times and dates in your local timezone.
Full tracking of what you have read so you can skip to your first unread post, easily see what has changed since you last logged in, and easily see what is new at a glance.
Email notifications for threads you want to watch closely.
Being a part of the oldest wargaming community on the net.
If you are already a member then feel free to login now.
So I meant to start this thread a little while ago, but I was lazy about uploading pictures.
The basic project was to create a nice, natural terrain 4x4 skirmish board that I can use on my tiny dining table. This whole project was really inspired by watching a how-to video on making wire trees on youtube, to be honest. I made a couple trees to test with, and they went so well that I figured I'd do a whole batch and make some rocks/hills/buttes to go with them, sorta going for an Australian bush vibe. I suppose I'll break this up into pieces by sub-project:
Here's my tree progression so far:
Spoiler:
First test trees:
What they look like being built:
Here's the whole larger batch with basing in-progress - The first four trees plus how ever many others I did are all there. Everything without foliage will get the foliage treatment as the final step after painting. I'll just carefully paint around the foliage of the first four.
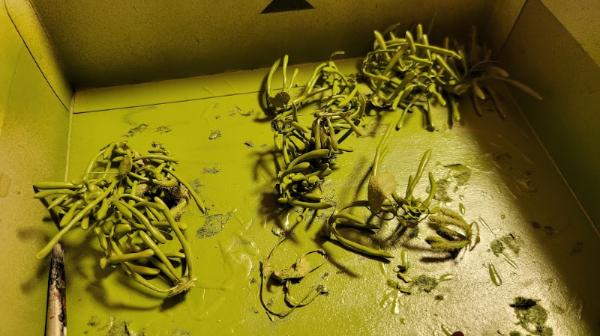
Along with the trees I had this idea for making smaller cactus looking things by making a little wire frame and then dipping it into an acrylic medium, letting it dry, and then dipping it again. I think I ran all these through the dip process three times. The plan is to spray them green and then apply some static grass for texture and a little more volume? I'm not sure exactly how they'll come out but I have faith!
Spoiler:
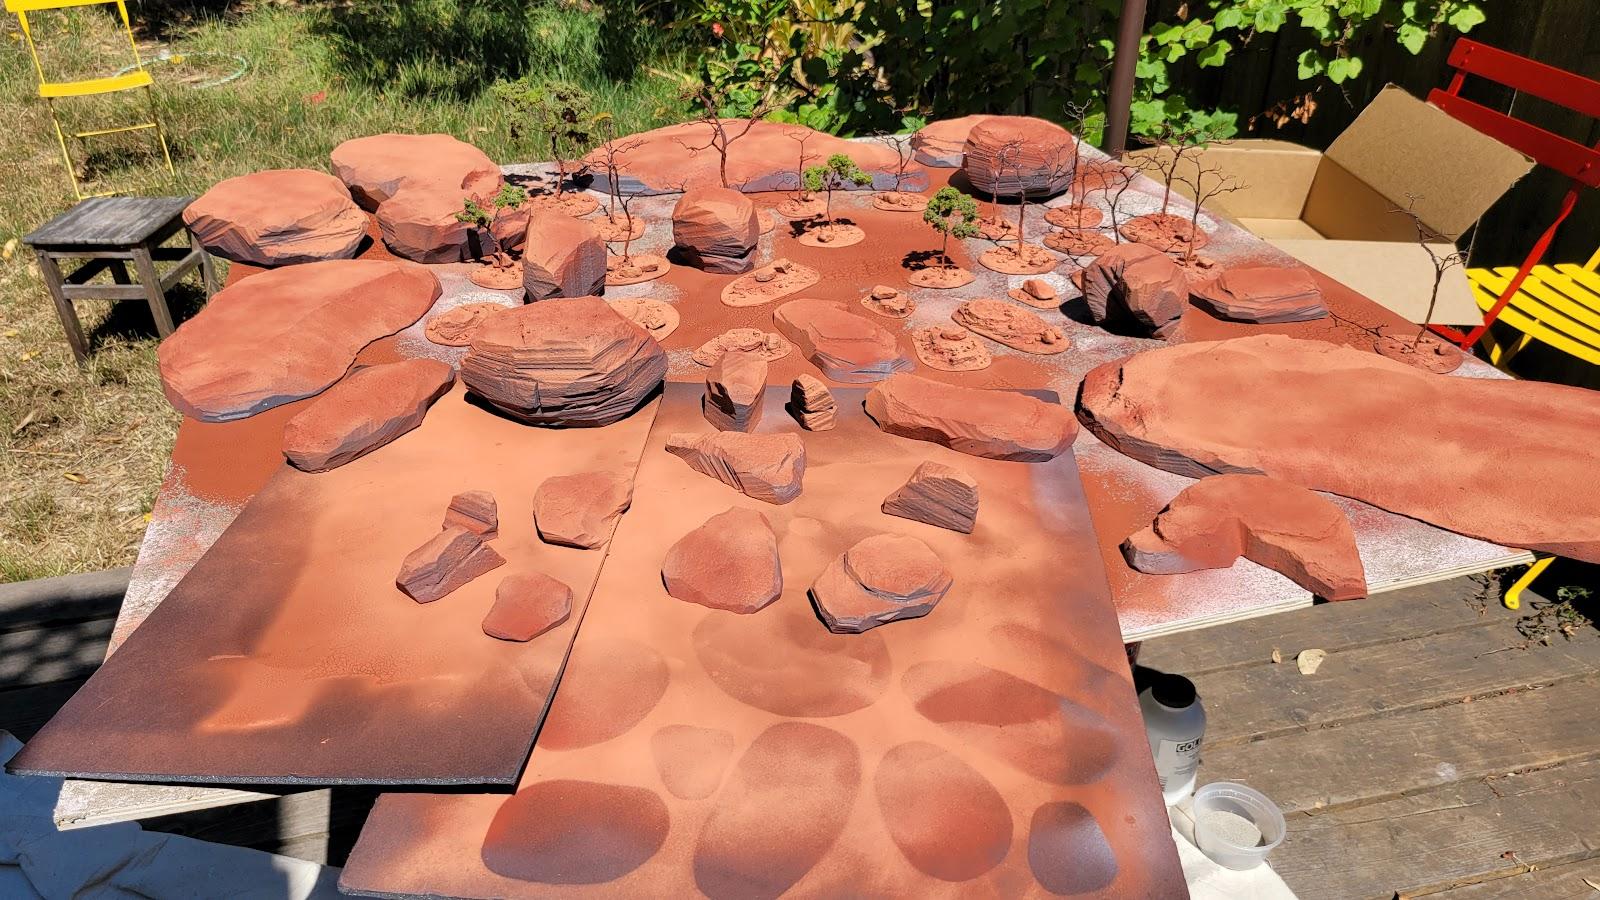
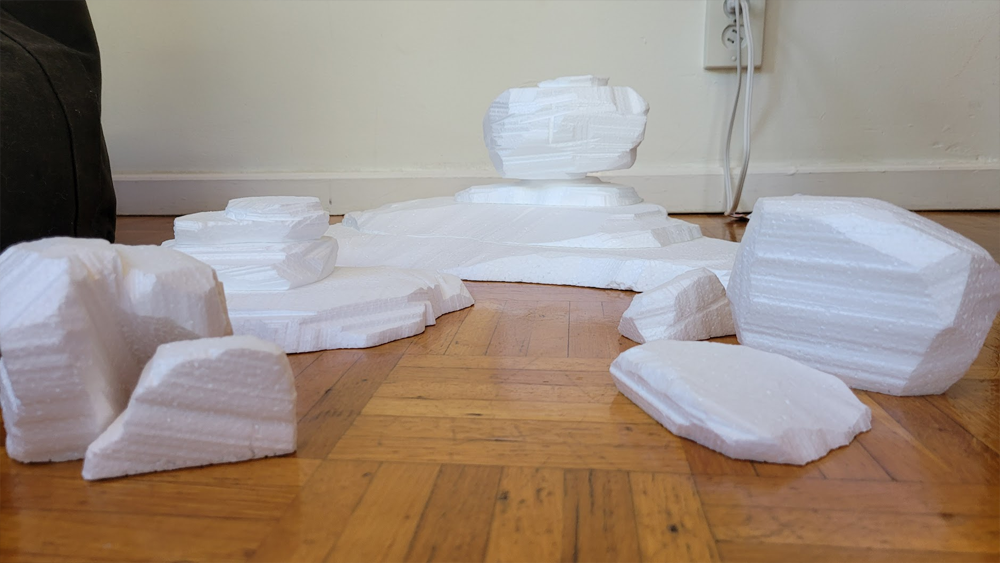
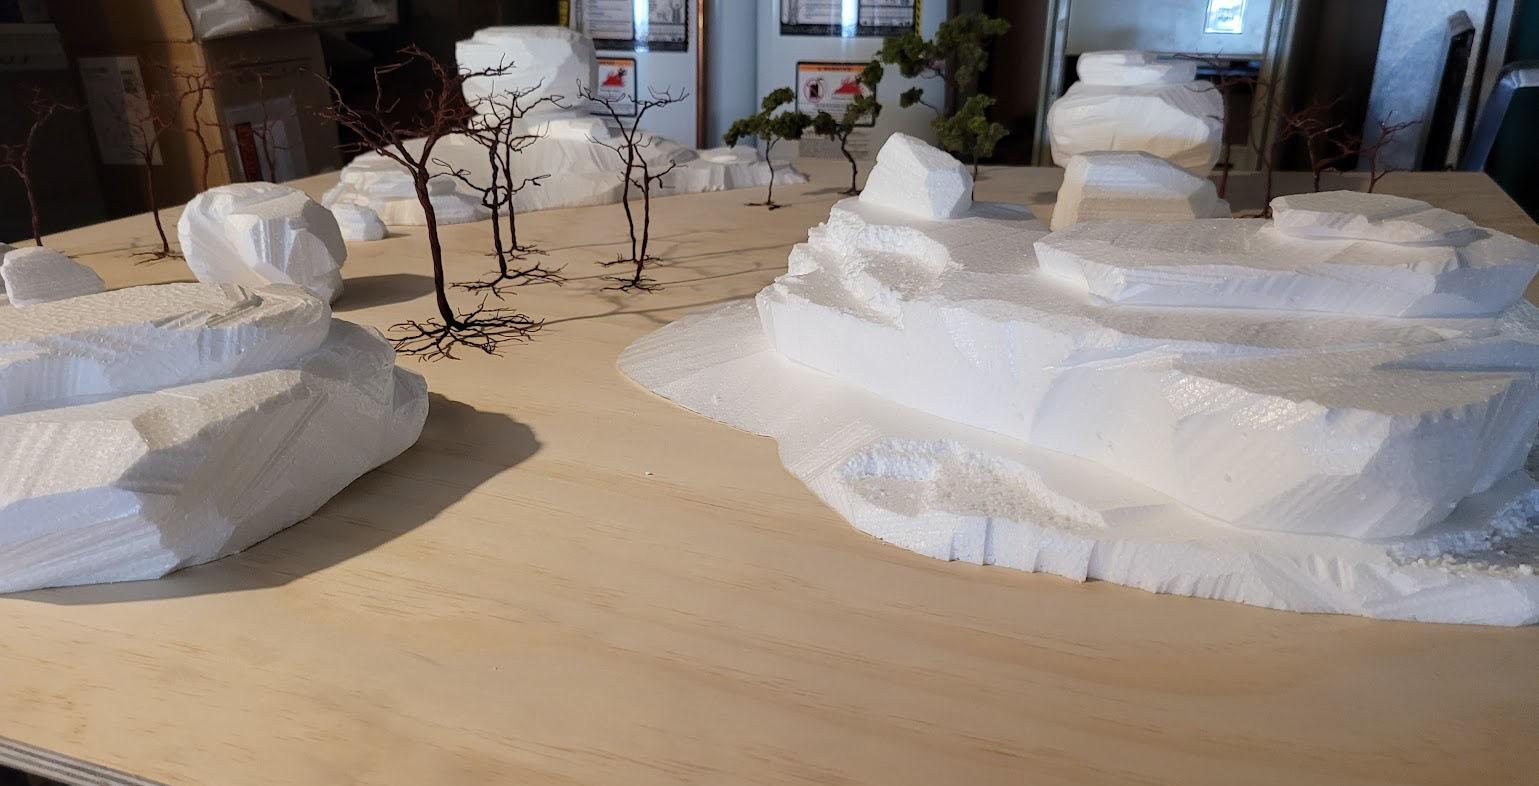
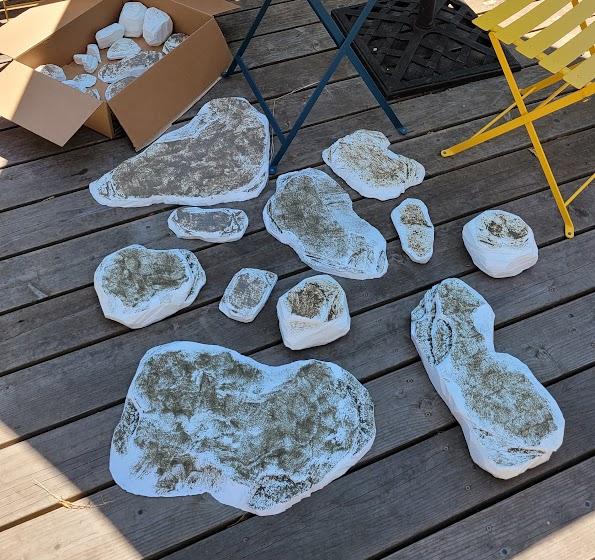
Then the real meat of the terrain set is going to be the rocks. Goofing around with the hot-wire cutter I got a satisfying result by keeping the wire roughly horizontal when cutting/finishing, which got me these stridations that are sorta evocative of desert plateaus. The whole set is intended to be able to be pushed around and recombined into interesting shapes. I cut a few at first, stuck them on the 4x4 table and decided I needed a bunch more for density and variation. When I felt I had enough, I primed them with house primer for a decent seal, and then mixed sand with acrylic medium and loosely spread it onto appropriate looking surfaces. Once that was dried I painted them gray with some mysterious paint mixture I had in a tub (probably just a bulk acrylic), and then sprayed them from the top with a reddish primer to use as a basecoat, and leaving most of the sides gray for some directionality.
Spoiler:
First set, testing for looks:
Adding more and looking at table density on the 4x4:
Sand applied:
Basecoat applied:
I also sprayed the bases of the trees today, so next up will be a bunch of brushwork I think. Time to aggressively ruin a brush with drybrushing! I'll post again when I have something decent to show for it.
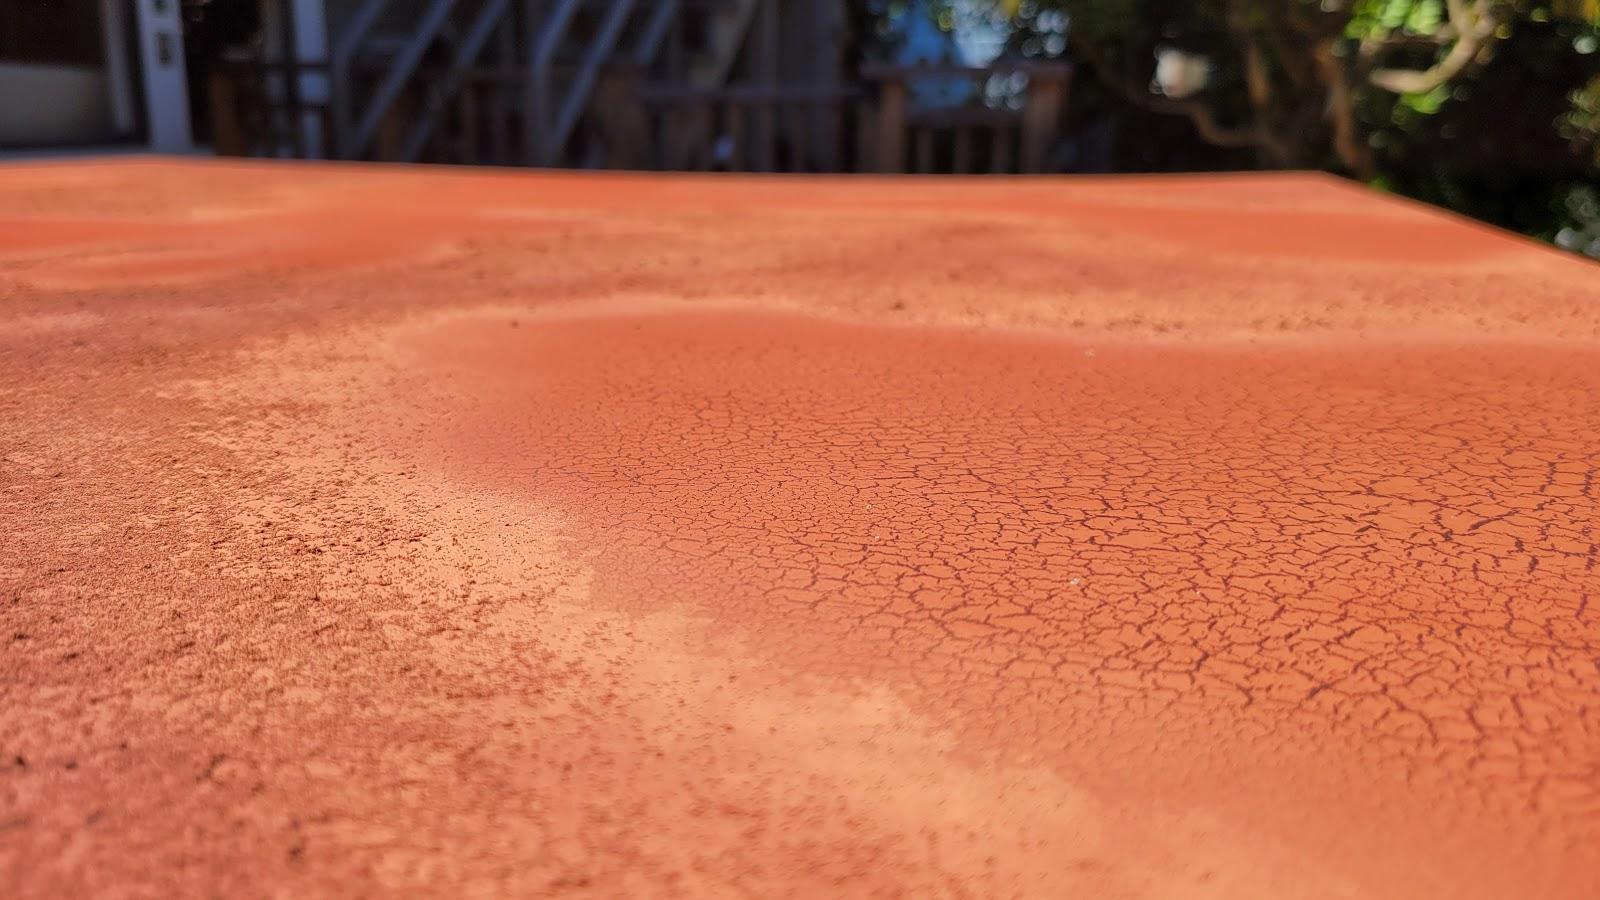
We're coming up on the end-of-June deadline so I put in another good few hours to get this thing done. First off I experimented with a couple spray paint colors to find something I liked for finishing up. I found this crackle effect spray paint by a company called Montana. With a few tests I found that not only does the paint make this neat crackle effect when sprayed over another paint of the same brand/chemistry, but when used on top of different paints or mediums, it changes color to this absolutely gorgeous warm orange sandy color. I can't say I understand it, but oh the luck!!.
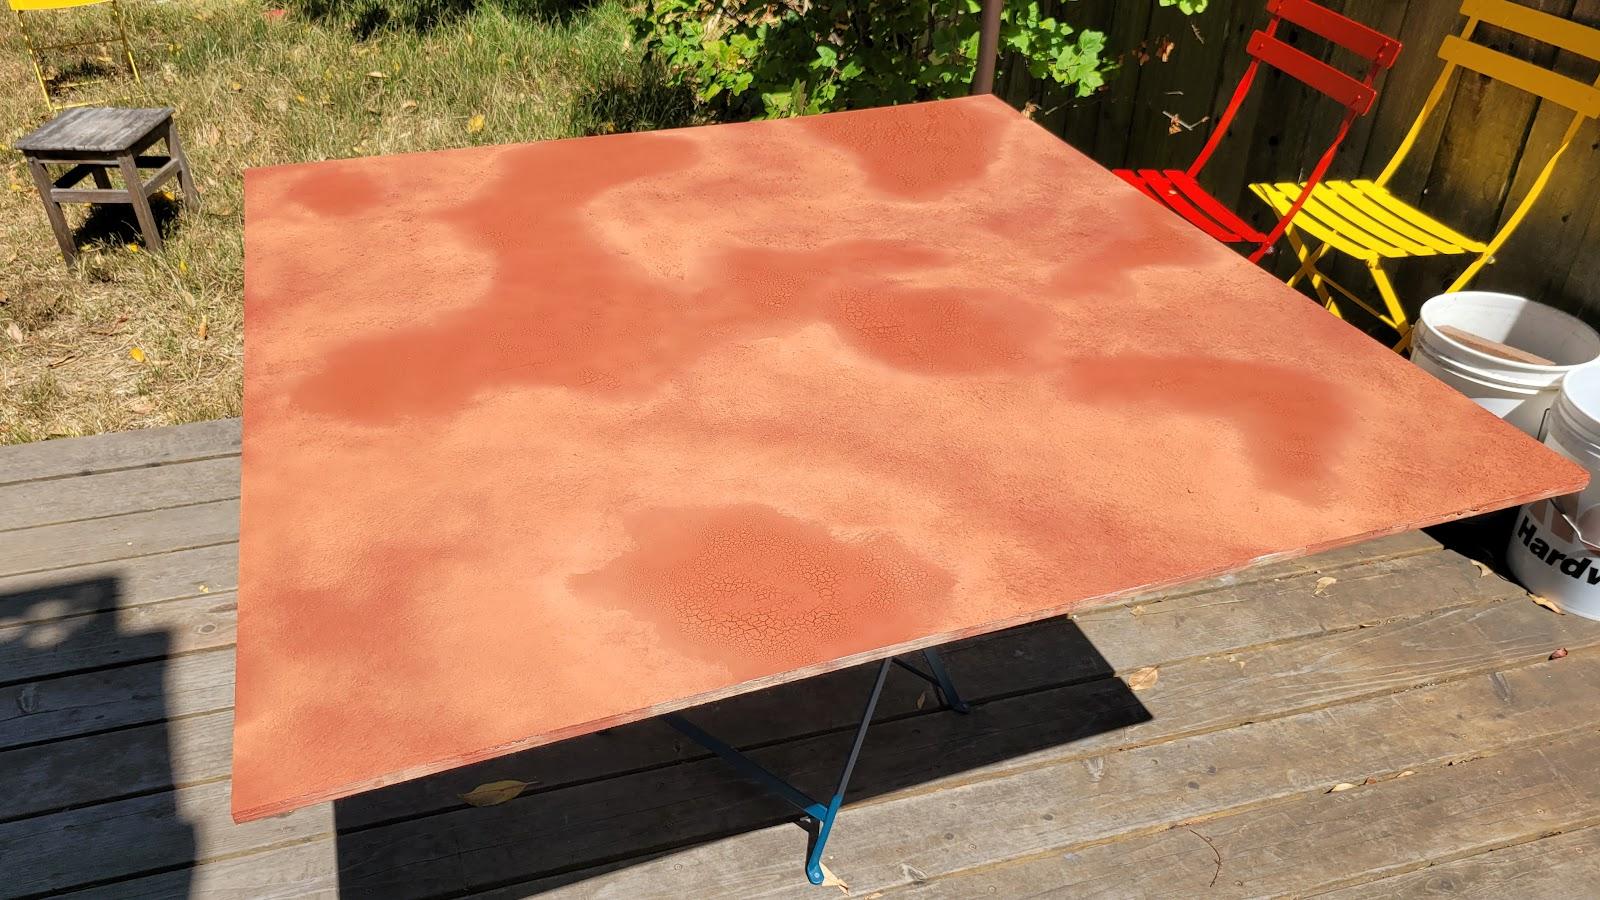
First thing I did was do the crackle effect on the table itself to give a nice base, I did this over a deep red-brown colored spray paint also from the Montana brand. After that dried I mixed some fine sand with Golden Acrylic medium and a bit of water. After a couple tries I found that brushing it on the table, then following it up with lightly sponging it with a dabbing sort of motion, gave me a nice organic looking texture. It also dried nice and strong, something I wouldn't be as confident with had I used the Elmers glue I normally use for basing my models.
After that had dried, I used the same crackle spray to hit all my smaller terrain bits, painting over what had been primed with what I'll call "Golden Gate Red" Primer from Krylon.
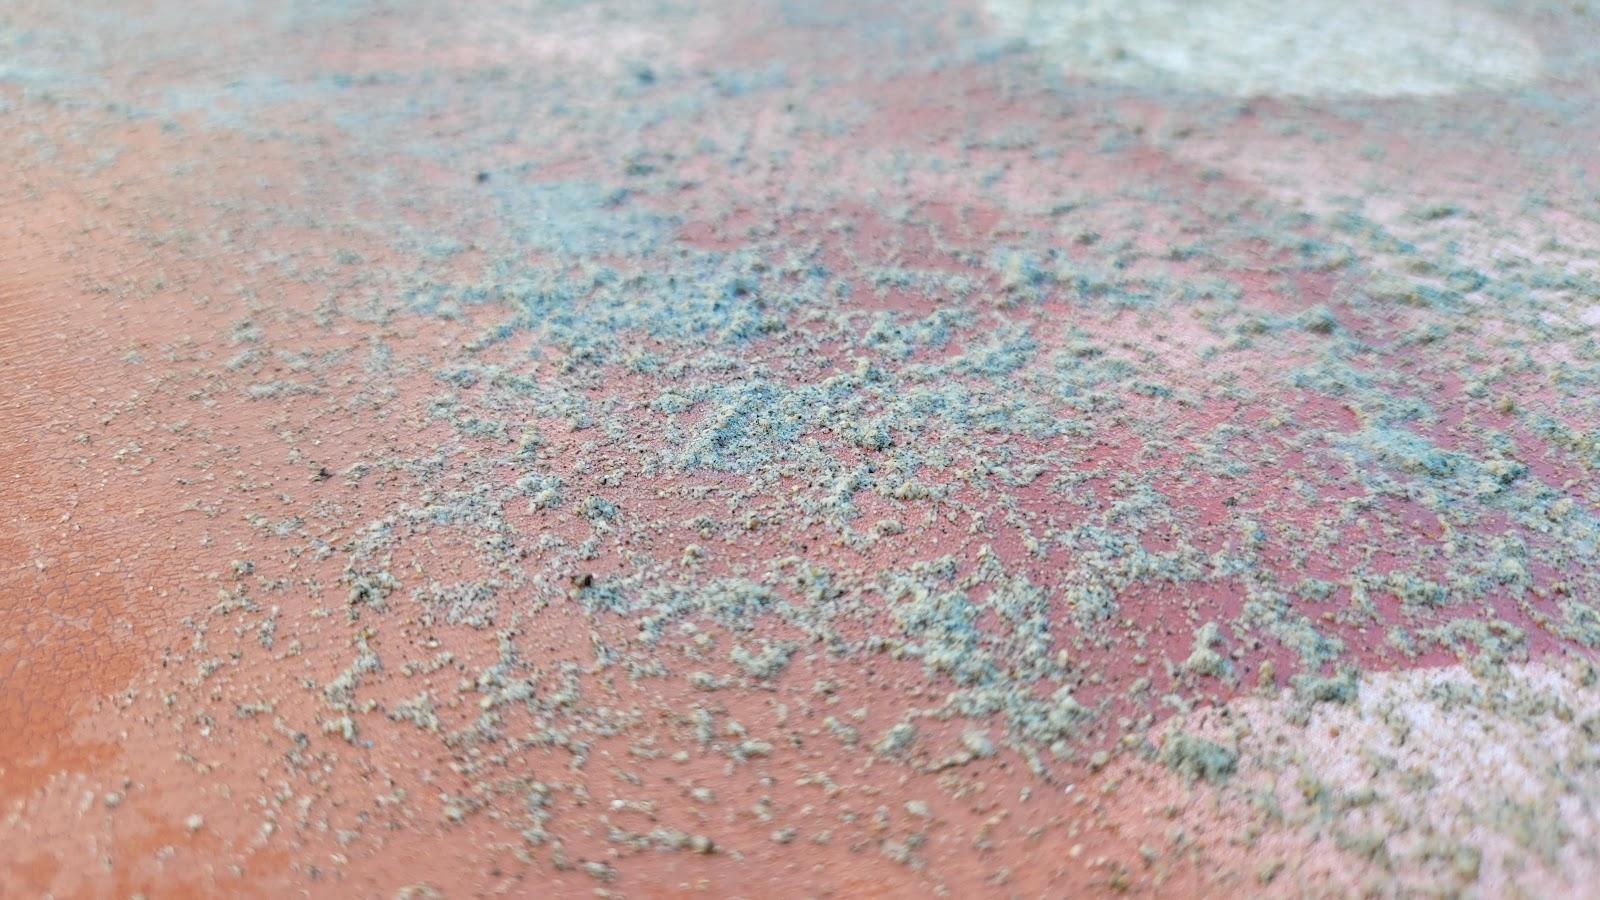
Once I had an idea of how that combo worked, I went back to the big table and primed all the parts that I had covered with the sand texture. Waited for it to dry and then dusted it with the Crackle paint. The effect it has is very strange. Spraying it on a non-Montana paint or medium looks like it's one color first, and then it fades to be much lighter as it dries. Don't ask me how, it's just magic as far as I'm concerned. But it looks great! The big finished board is essentially finished with the same paint, but it just acts and dries differently depending on the substrait.
Tonight is going to be a night of doing the little details like adding the cacti and re-painting the tree trunks after their recent base spray painting.
Insectum7 wrote: Spraying it on a non-Montana paint or medium looks like it's one color first, and then it fades to be much lighter as it dries. Don't ask me how, it's just magic as far as I'm concerned. But it looks great!
The rub will be that, in doing so, it actually releases tons of radiation that you just haven't been affected by yet.
Heh. I'm reasonably certain the heavy regulations of California would catch that, but you never know! I'll post about it if I grow a third arm
Thanks! Yeah with this weird paint behavior I'm liking it quite a bit without having to go back and do some hand-work and drybrushing like I originally expected to do. Win/ win!
This message was edited 1 time. Last update was at 2022/06/29 17:56:22
Coming down the home stretch for the contest. The cacti were sprayed green and then glued into place on a number of the tree bases and the rocky outcroppings. I used Golden molding paste to stick them down, and then brushed it brown to blend it with the dirt. Then I brushed watered down elmers glue onto them and heavily sprinkled a mixed color of static grass on them. Super easy! In the second pic here you can see a trial cactus where I used the very green GW static grass on one as a test. Hated it. I re-covered it with a lighter mix.
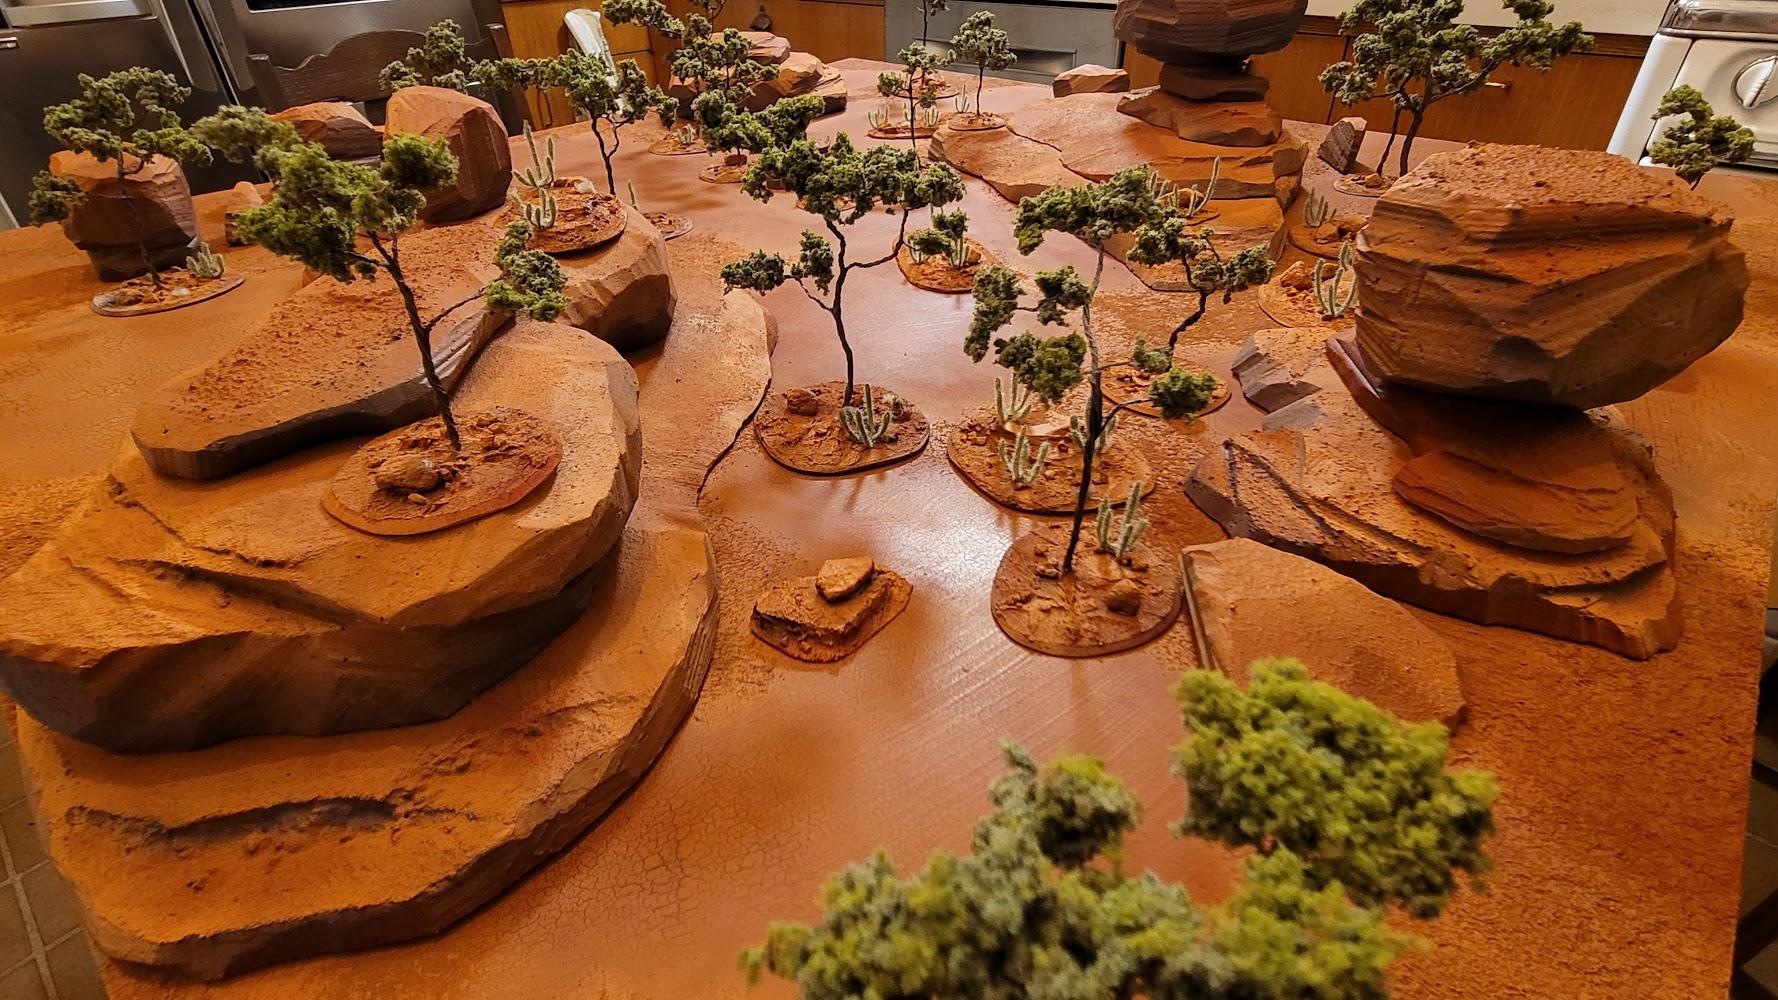
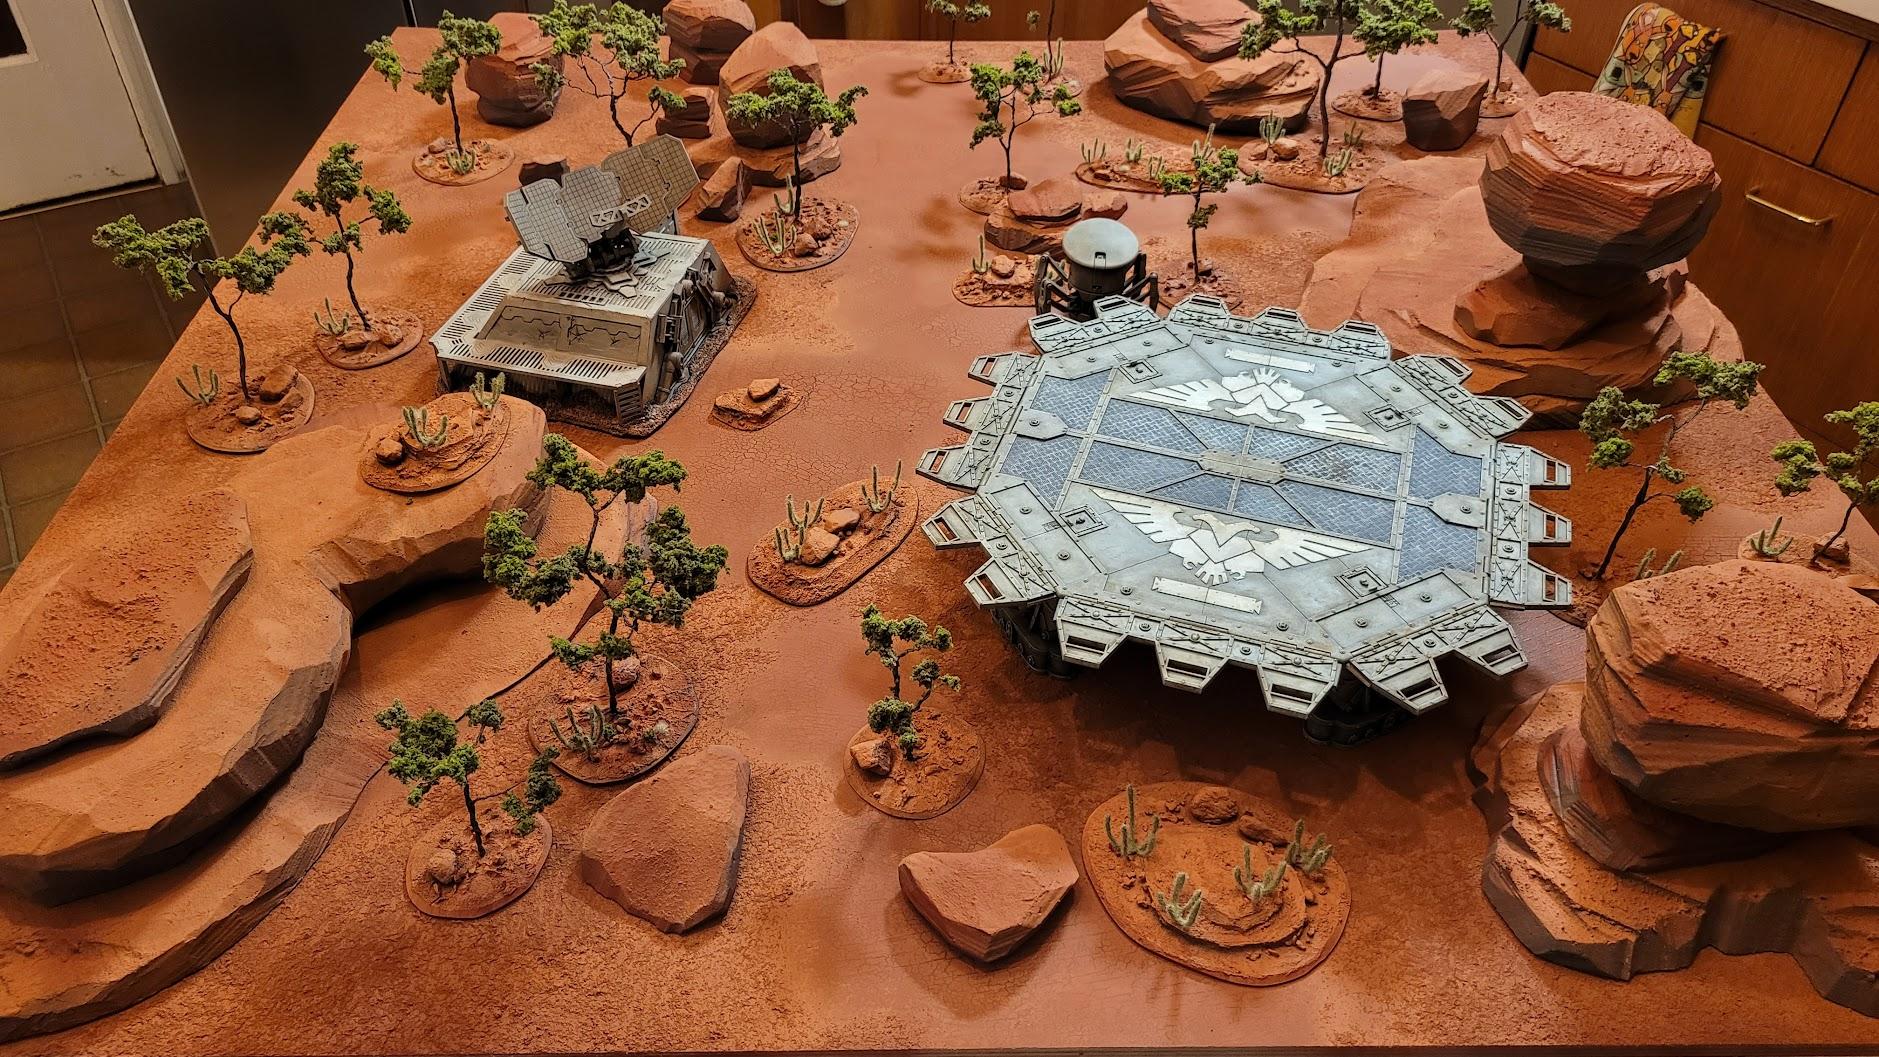
After the cacti I "foliaged" the rest of the trees, and then set up the whole collection to take some pics. Table, Rocks/Hills/Buttes, Trees and Cacti:
First without the trees for the more barren effect and to see the rocky outcroppings themselves:
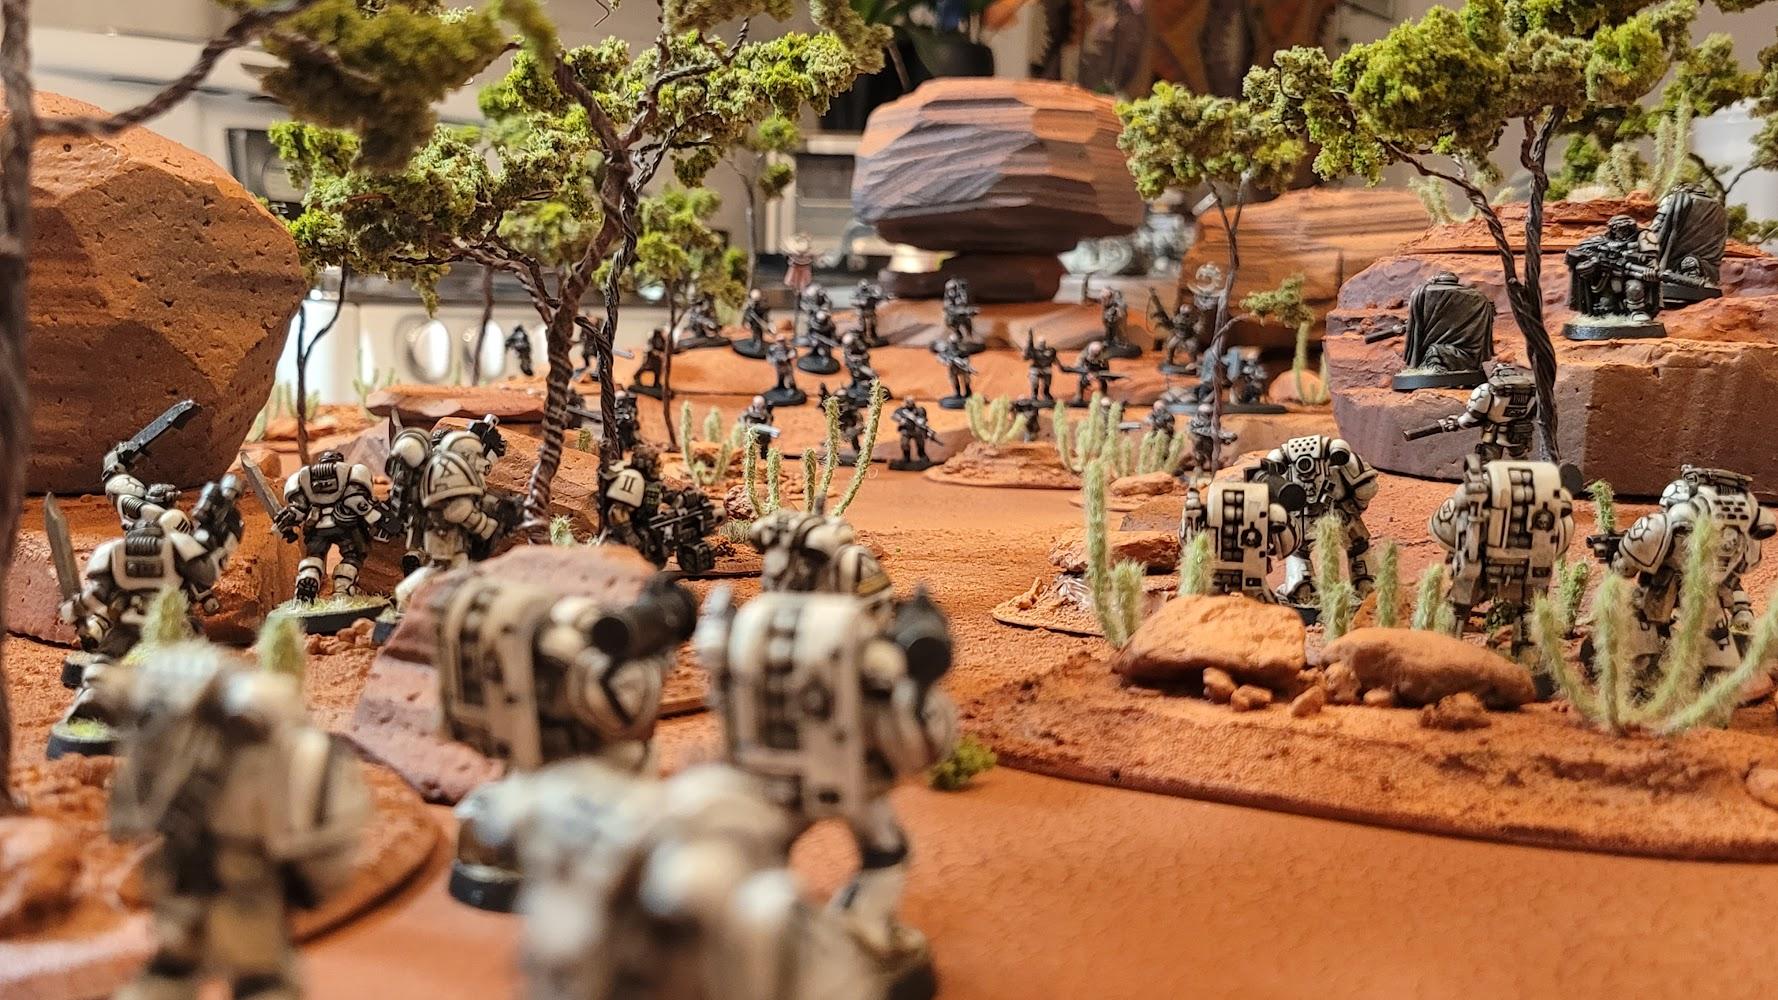
After a long pursuit, Space Marines catch a column of Genestealer Cultists in the desert badlands.
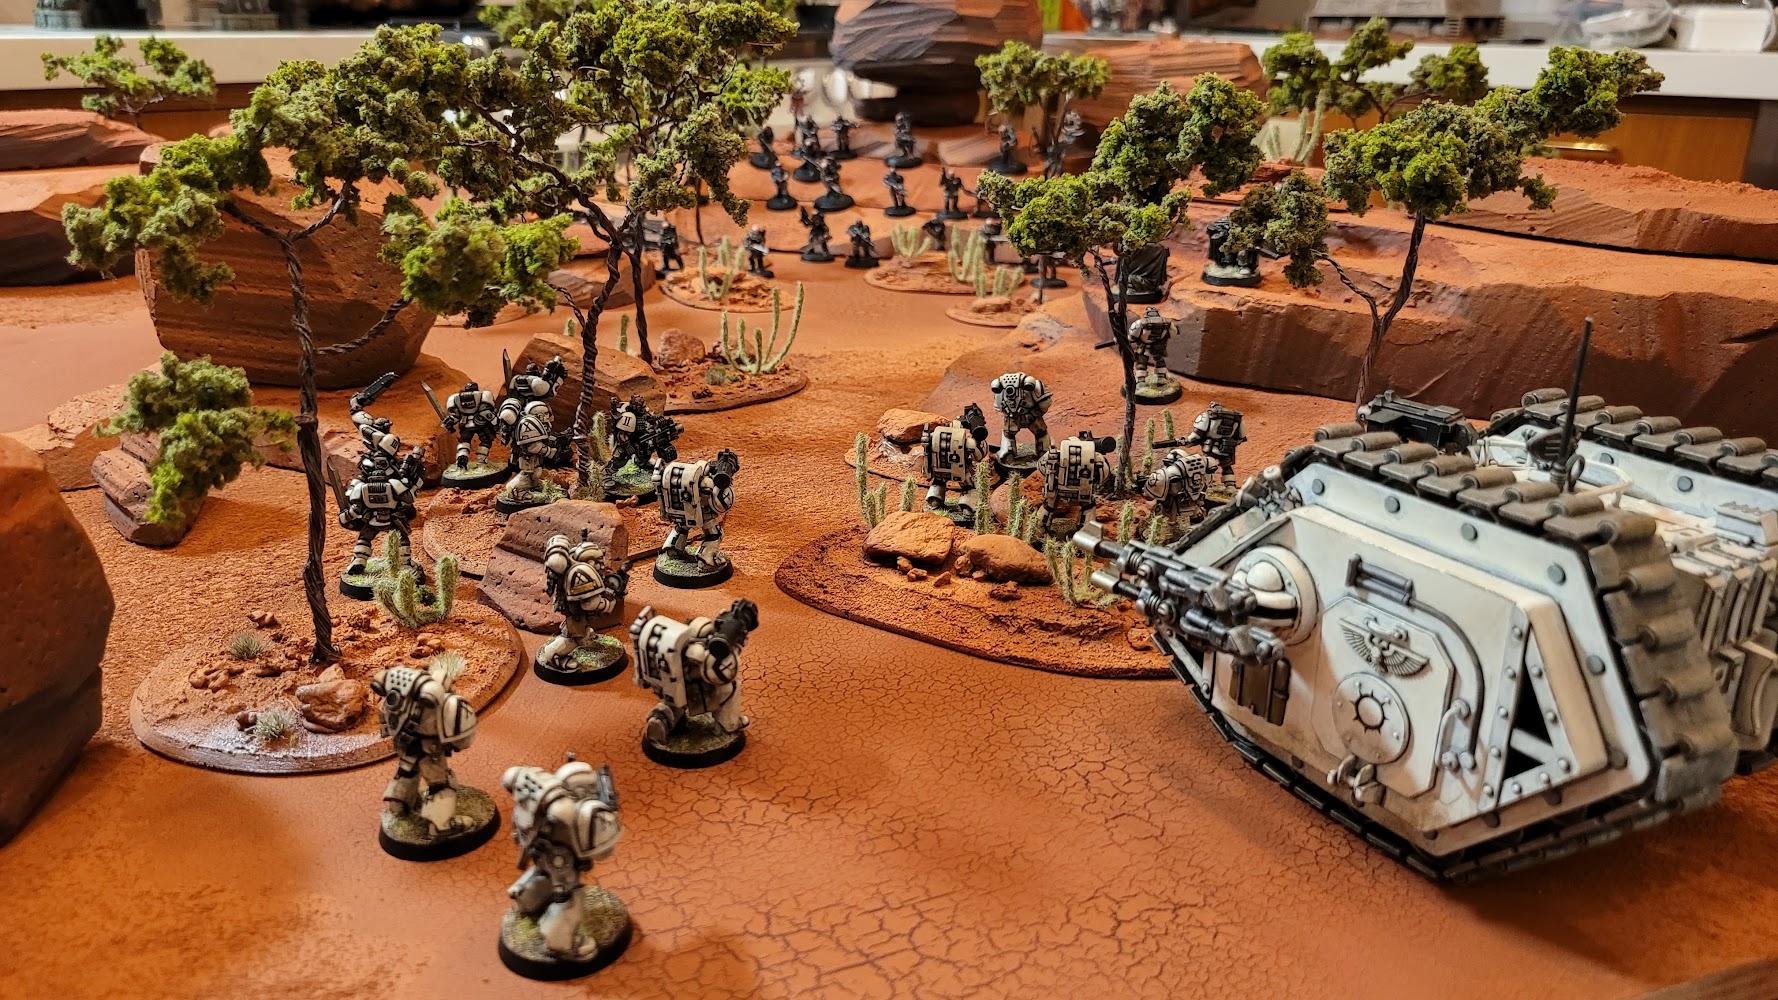
Table with choice extras from my terrain collection:


 Cadre Coronal Afterglow w1;d0;l0