The Great Experiment – Warhammer Fantasy (but no magic)
Unfortunately, the Excel doc I used to calculate my army points got corrupted, so I don’t have the point totals (and too lazy to recreate them). I do have the army lists. Araby had a significant point advantage, maybe 150 points in lists that were around 2800 points, more or less. (The name in parenthesis is the equivalent in the historical lists, when it isn’t obvious). The lists below use the same figures and unit strength as previous games, whether it makes sense or not.
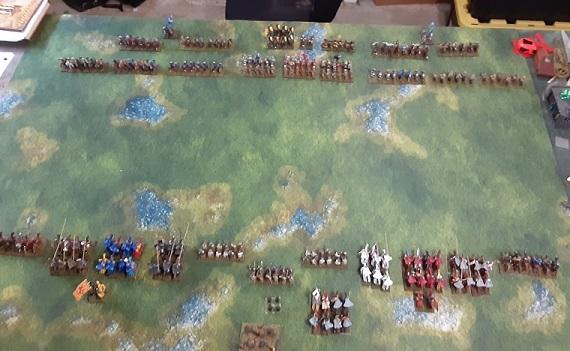
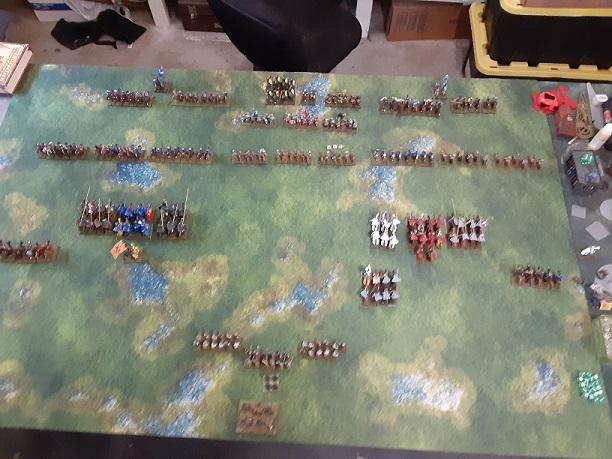
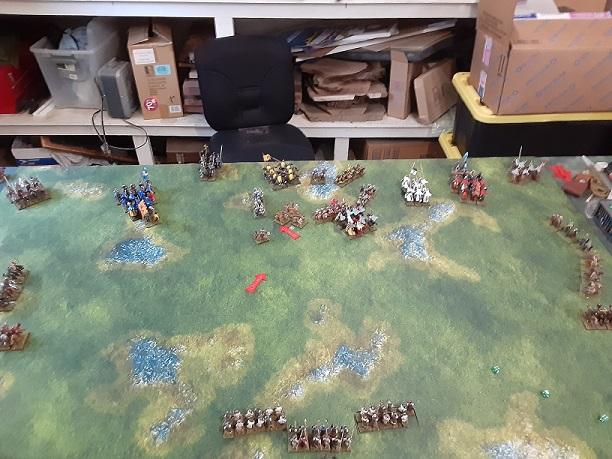
Both armies are deployed with infantry in the center and the various cavalry types deployed equally on each wing. Bretonnians have the French cavalry on the left and the English cavalry on the right.
Side Note: One of the perils of being a soloist is forgetting rules from time to time. I totally forgot that horses fight in these rules, and the devastating charge rule.
Bretonnia:
Characters: 1 lord, 2 heroes & battle standard with basic equipment
Grail Knights: 2 units of 6 (Holy Orders)
Questing Knights: 2 units of 8 (English or French knights)
Knights of the realm: 6 (western Europe men-at-arms)
Knights Errant: 2 units of 8 (English or French men-at-arms)
Yeoman: 2 units of 6 (Turcopoles)
Brigands: 2 units of 12 crossbows
Foot knights: 12 foot men-at-arms
Araby
Characters: 1 lord, 2 heroes & battle standard with basic equipment
Mamluks in barded armor: 12 (gurad cavalry)
Mamluks: 4 units: 2 of 6 and 2 of 8.
Desert Riders with spear & shield: 2 units of 8
Desert Riders with bow: 4 units of 6
Guard Infantry: 12
Warriors with spear and shield: 3 units of 12
Warriors with bow: 3 units of 12
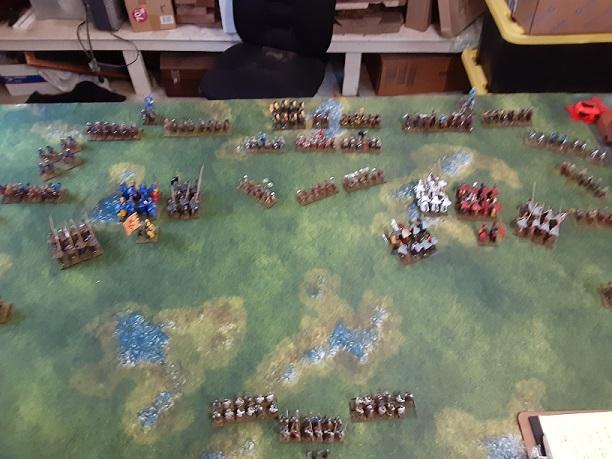
Turn 1: Araby moves first
The light cavalry and archers move up and fire, knocking out one yeoman on each flank
Crusader infantry holds in the center, while the cavalry marches double quick on the wings. Crossbows knock off six archers.
Turn 2:
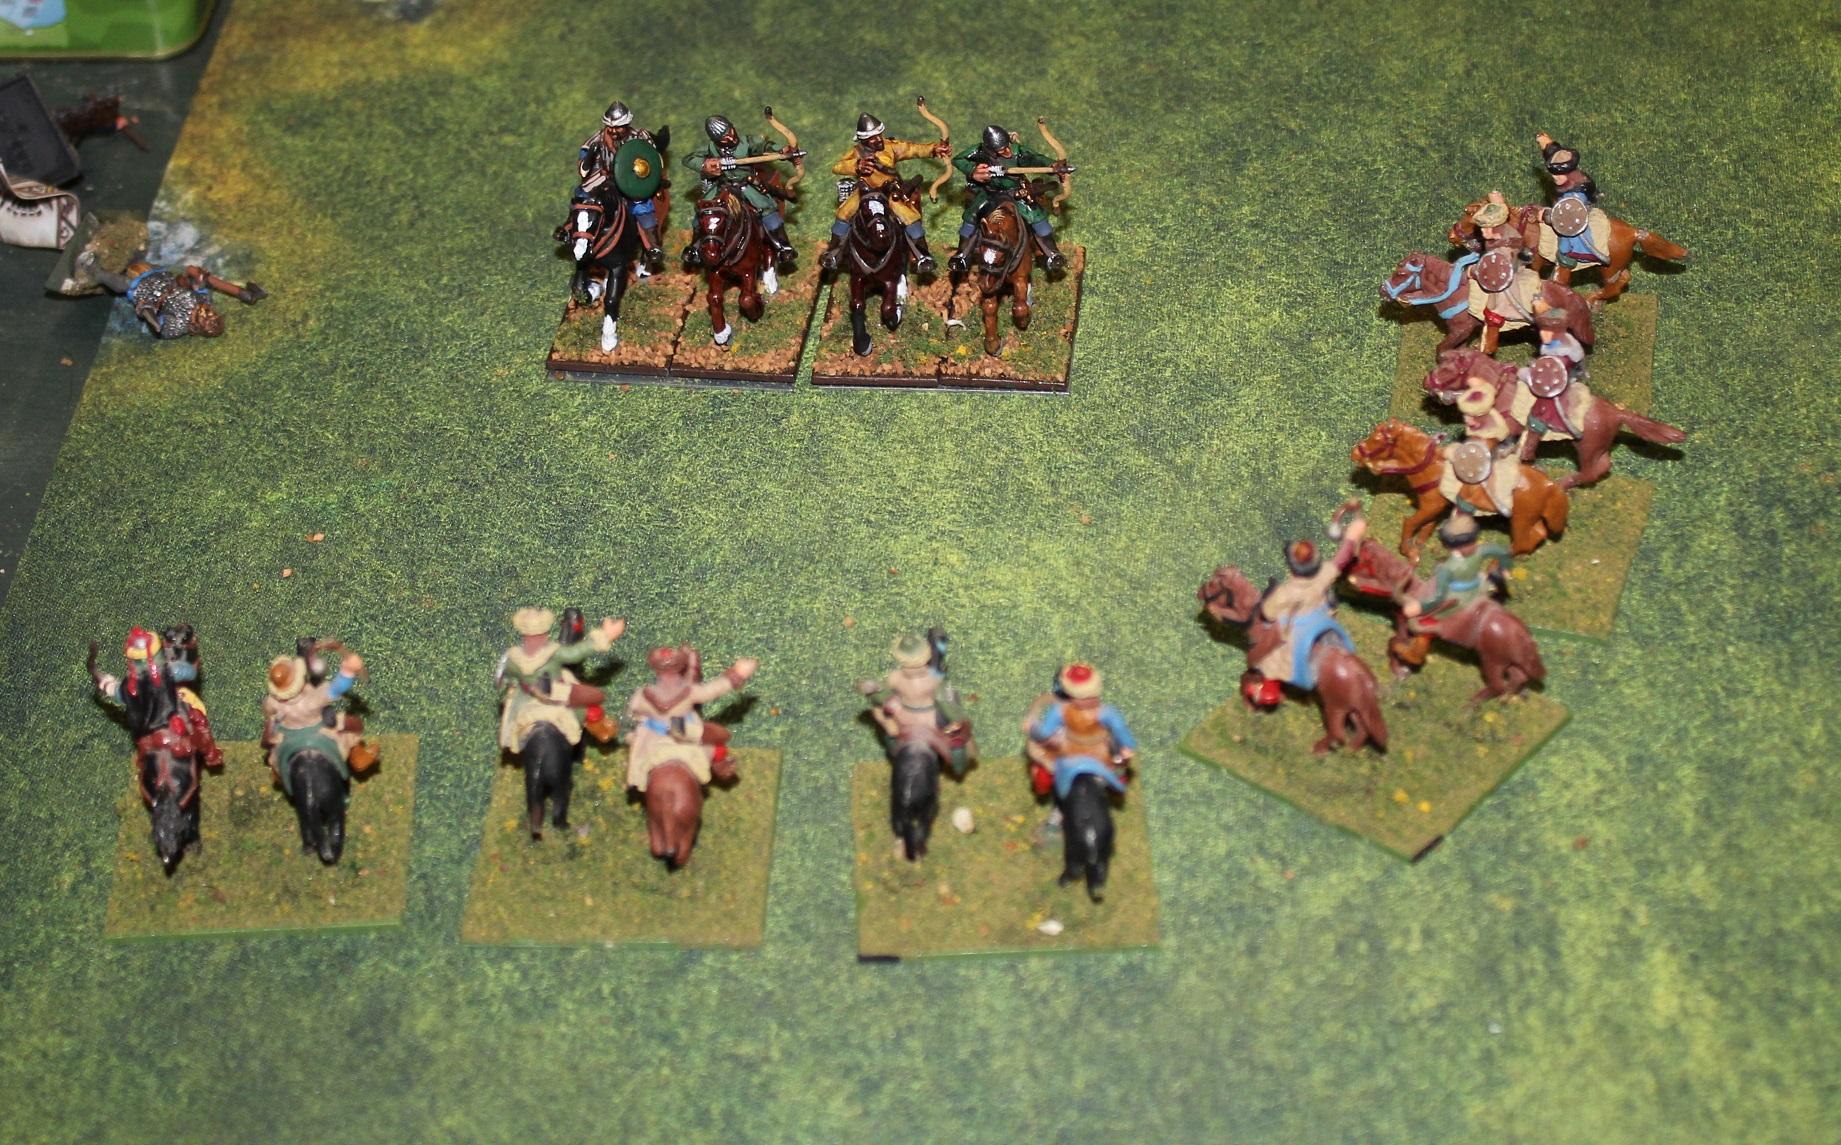
Araby horse archers maneuver to the flanks, hoping to surround the Bretonnian cavalry. Right flank horse archers inflict 3 kills on yeomen. Bows in the center decide to ignore crossbows and turn to shoot questing knights- but due to heavy armor bow fire is ineffective.
Crusader cavalry advances normal move, turning to face their targets for next turn.
Th e weakened yeomen fire on horse archers with little effect. Crossbows continue their effective fire into enemy archers (6 kills).
Turn 3:
To charge or be charged, that is the question. Araby decides to receive the expected charges next turn in hopes of being able to use their superior numbers to set up some flank attacks. Probably not the best decision as it turns out. They decide to continue to fire and maneuver with horse archers – but they can’t seem to penetrate heavy armor.
The Bretonnians declares seven charges! That may be a record for me in one turn. (I will use part of their historical names to avoid confusion is description below).
The French knights errant charge a unit of horse archers, they flee behind a supporting unit of Desert Riders with spears. The French are victorious, but the faster riders retreat off board. Unfortunately the pursuit overruns the horse archers as well.
French Questing Knights charge a unit of Mamluks, they win the casualty battle 3:1 but they stay (Araby would be stayed by zealously <similar to Empire “Hold the Line”> throughout this game).
Hospital Grail Knights route and overrun a unit of Mamluks, but pursuit takes them off board.
Western Europe knights of the realm roue and overrun a unit of archers. Their pursuit carries them into a unit of supporting infantry.
Templar Grail Knights route a unit of Mamluks, they escape and route off board.
The English Questing Knights fight a unit of Mamluks to a standstill.
English Knights Errant route and overrun a unit of desert riders armed with spears.
Turn 4:
Araby: With all the knightly targets engaged in combat, the horse archers turn on the yeoman cavalry. Both units of yeomen are destroyed.
In the most unenthusiastic charge ever (3xDr1), the guard Mamluks fail to charge the juicy flank of the French Questing Knights (all they needed was a 5).
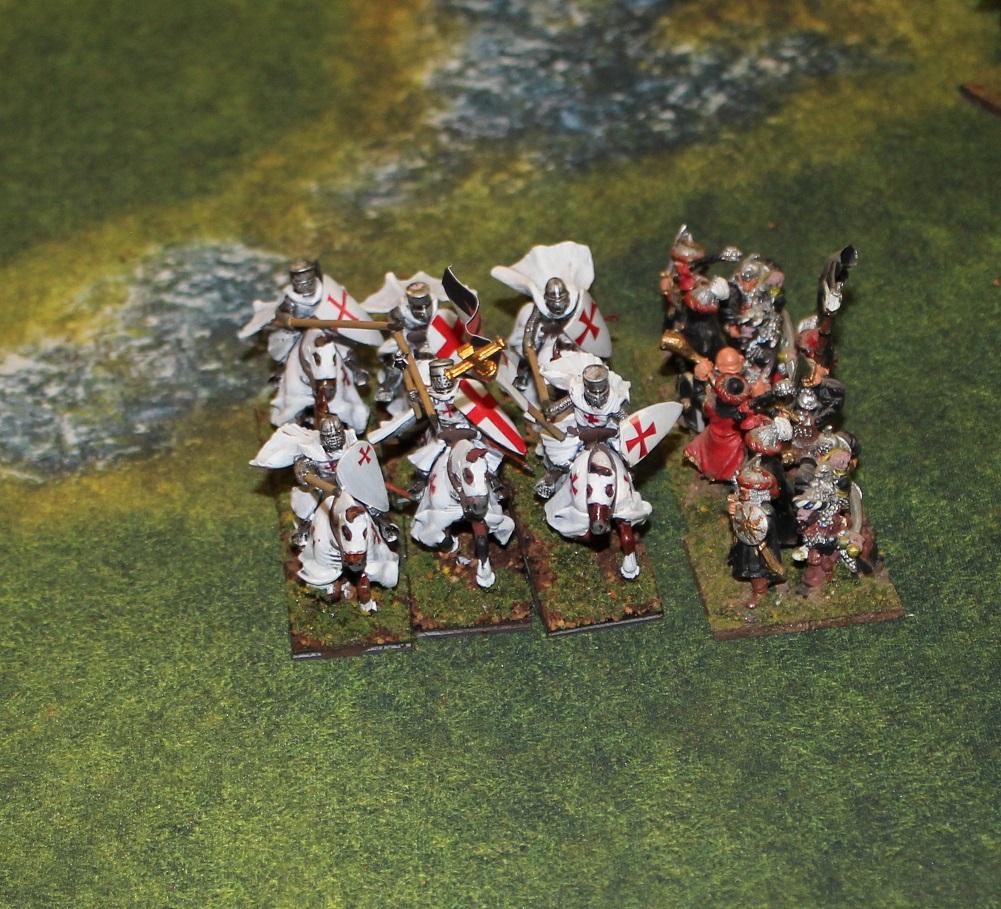
One unit of infantry does manage to hit the Templar Grail Knights in the flank. All three combats (Questing knights v Mamluks, Knights of the realm v foot warriors & Grail Templars v. foot warriors) result in continued fighting. Templars pass test to turn to face their flankers.
On the Bretonnian left, the Hospital Grail Knights return right smack dab in front of the Barded Mamluks. The wheel to block the latter from getting a flank shot.
The French Questing Knights route and overrun a unit of mamluks, killing the wing commander.
The knights of the realm continue their fight v foot warriors without effect, as do the Templar Grail knights.
On the far right, the English Questing Knights route, but fail to overrun a unit of mamluks, who escape off board, taking the hero with them.
Turn 5:
The horse archers turn about and continue their harassing tactics, killing a questing knight on the Bretonnian left and a knight errant on the right.
The barded Mamlukes route and overrun the Grail Hospitallers. The pursuit carries them off board. On the Bretonnian right-center, the Templar Grails can’t make any headway v. a unit of foot warriors, nor can the knights of the realm against their foot warriors.
Bretonnian crossbows destroy a depleted unit of archers. Knights of the Realm finally defeat their warrior counterpart. Meanwhile, neither the Templars nor warriors seem to want to win their combat.
Turn 6:
The barded Mamluks return to the board just in time to face the French Questing Knights. The Palace guards turn to face the threat of the English Questing Knights. Meanwhile horse archers still can’t hit the broad side of a bard (or at least wound it).
As night sets on the battle, the Bretonnians launch their final charges, as the crossbows continue to pick off a fig or two from unengaged units.
The French Questing Knights charge the barded Mamluks – but battle is inconclusive.
The French Knights Errant charge the last unengaged unit of warriors, causing many casualties, but they zealously fight on.
The English Questing Knights charge the Palace Guards, who are led by the commander and hi standard, but it is not enough. They are routed and overrun.
The Templar Grail knights continue to suffer insult, but no injury as their fight against a very stubborn unit of warriors drags on.
Having lost their general, his standard and both wing commanders, Araby yields victory to Bretonia.
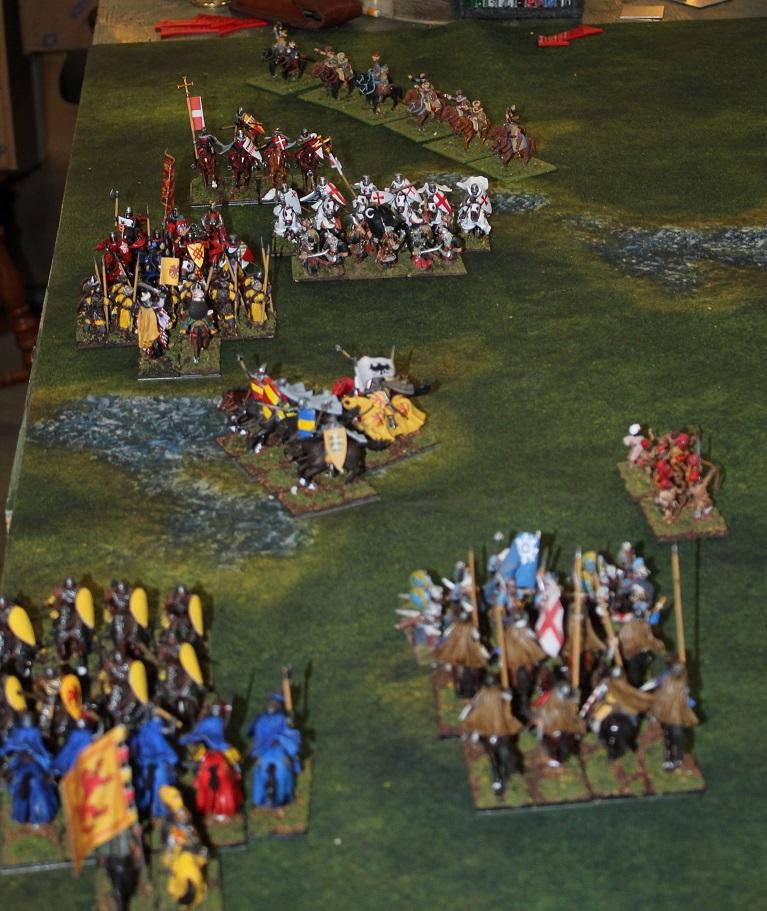
And now for some action shots:
Bretonnian left - is it a trap?
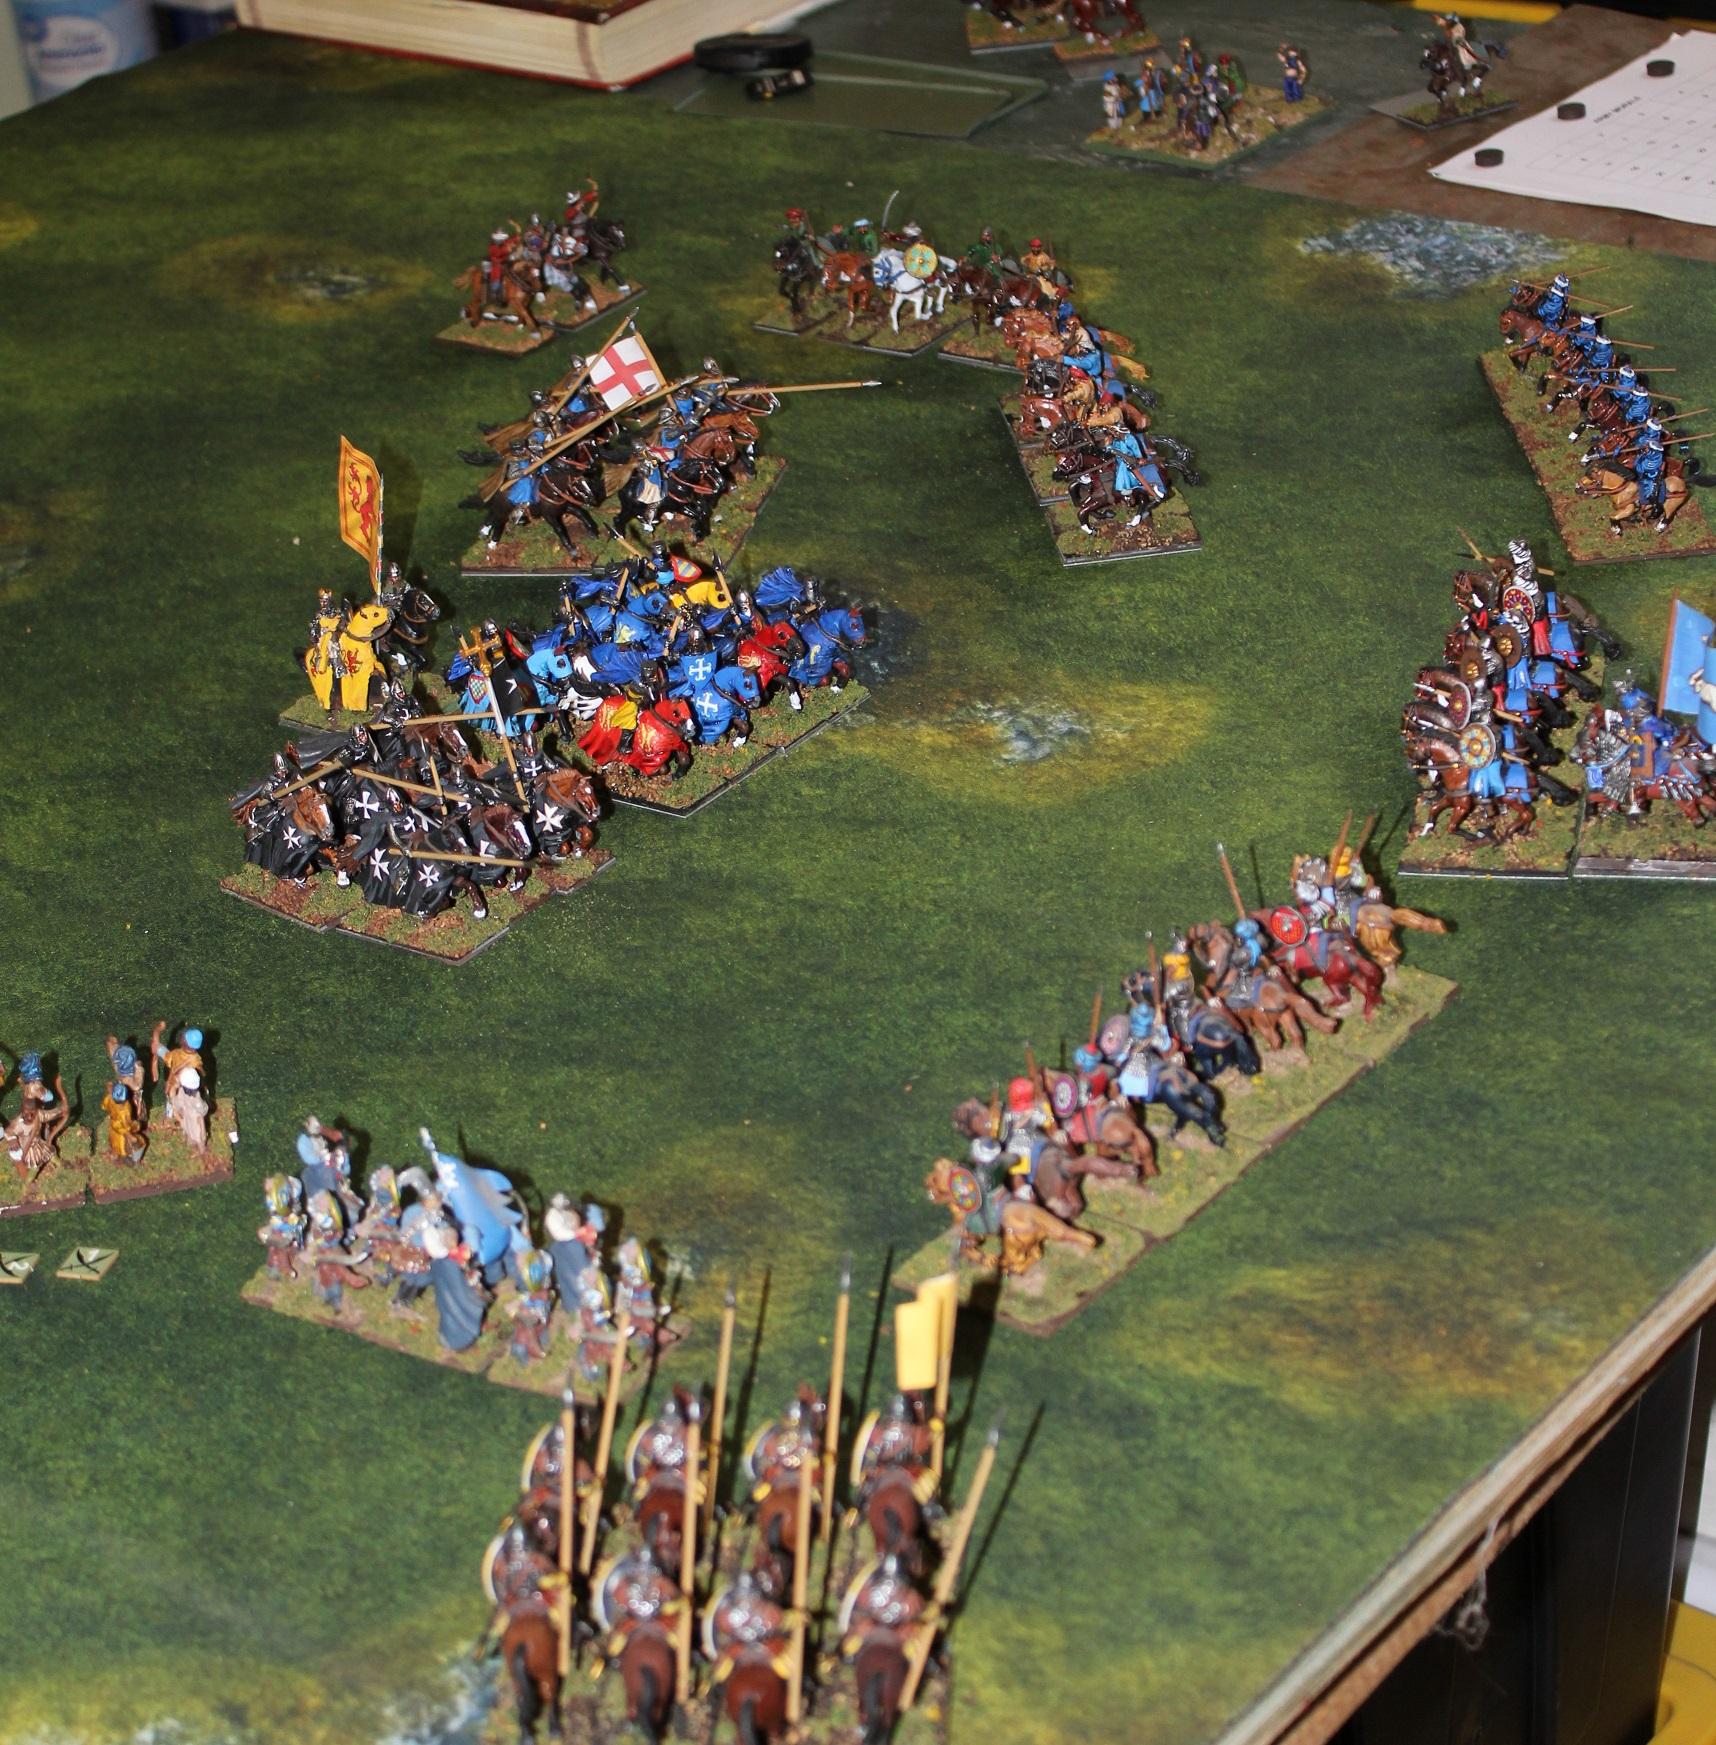
Bretonnian right - Are we supposed to be surrounded like this?

How a pin-cushion feels:
Flanked by infantry - how embarassing
You won't win a lot of combats with "hit" rolls like this:

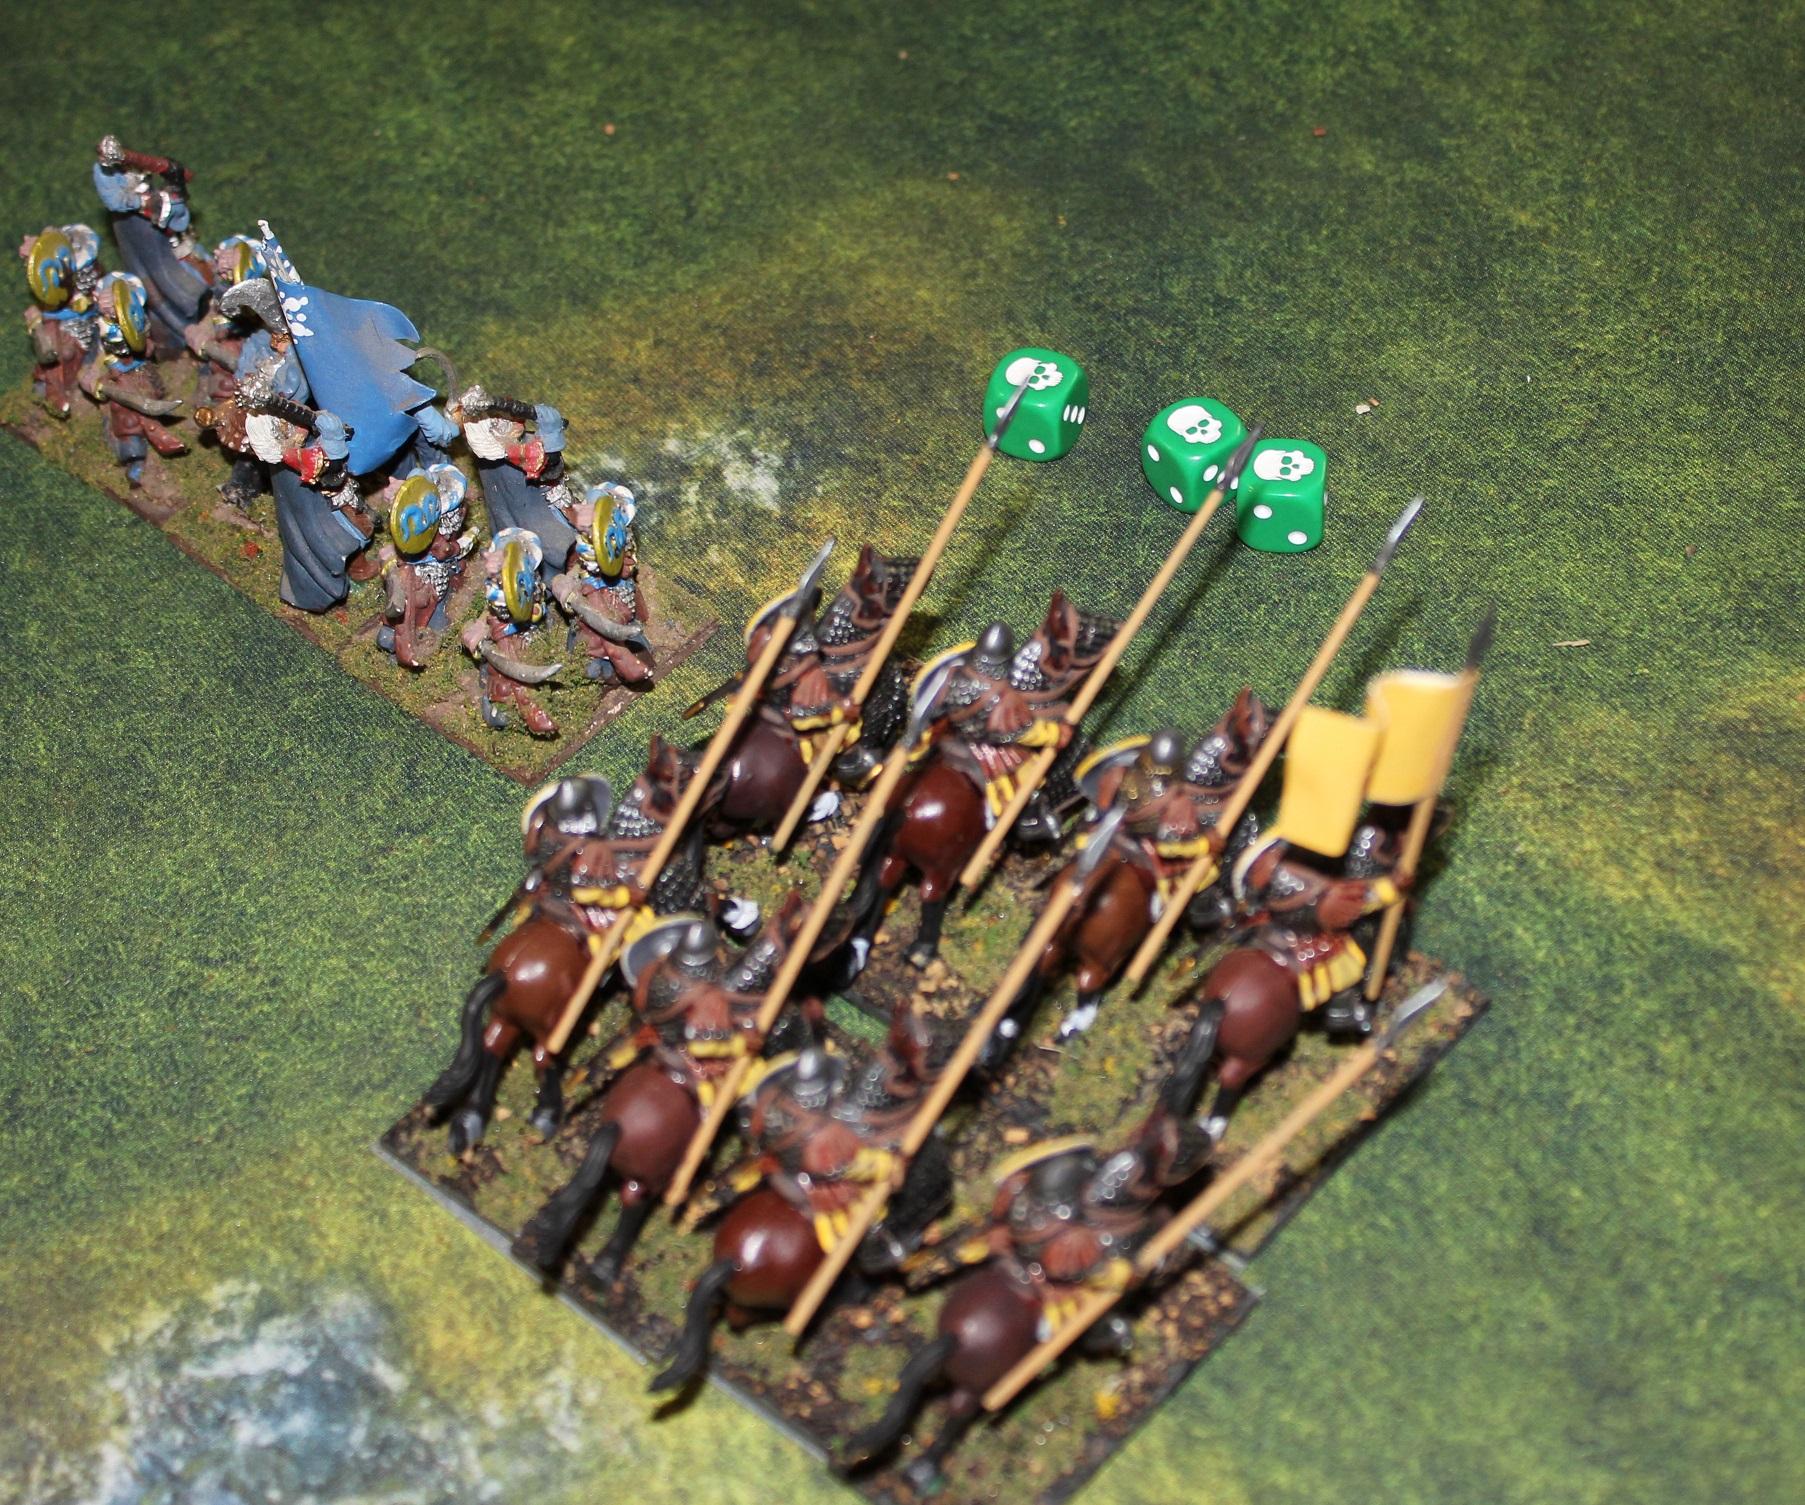
Or charge rolls like this one:
Sacrifice of the Hospitallers

Things are looking grim