Hello there! This is my first post on this forum. After realising how poor a medium Discord is to show progressive work on something and yet having people there being very interested in my project, I decided to document it here for archival and ego's sake.
So I recently joined the
GSC after being a longtime Necron player and after buying a box of them and kitbashing two extra leaders, all I was missing for the minimum 1k to play it was a big flashy vehicle. So of course, I looked into the 370 tanks that Brood Brothers allowed me to field with my rebellious boys and decided on the Basilisk. Not only for its massive Fark-off gun that can shoot anywhere, but also for said massive gun`s ability to slow down units, which I found could be useful.
Being a miser who loves making stuff I decided to scratch build myself a Basilisk in the old tradition of orky vehicles, making it look as banged up and barely holding together.
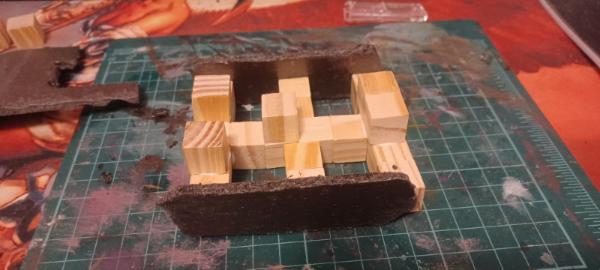
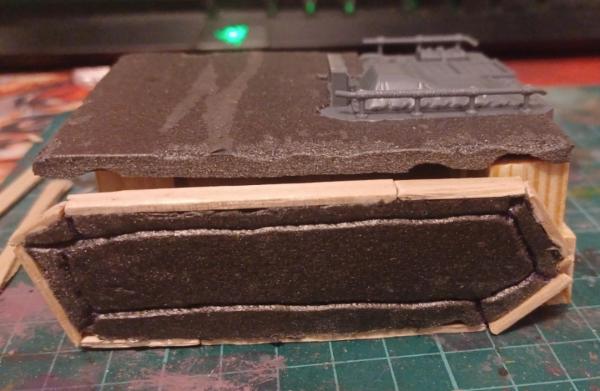
I began by getting my core components: wooden cubes and that crappy foam with paper on it you have to remove first. I got some size specs of the Basilisk online and used the cubes to do the rough shape of the vehicle in width, length and height, added more cubes everywhere for stability, glued them all using Weldbond and then drew and glued the classic tread shape of imperial guard tanks.
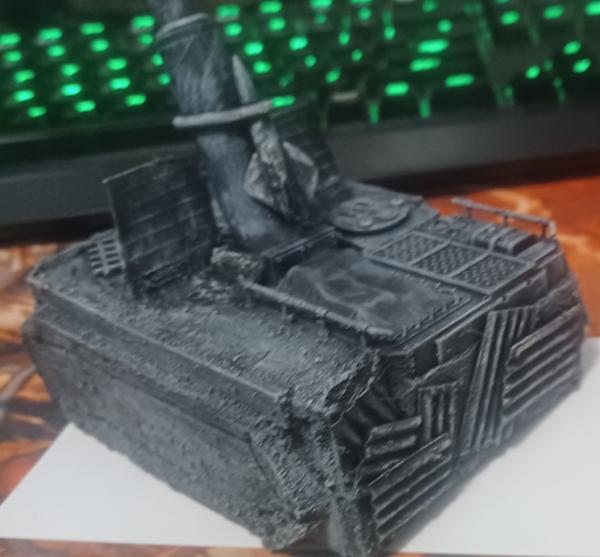
Then I added a top, cut out a space for a piece of the rockgrinder i didnt use so that the basilisk ad some details somewhere, shaped some lines in the treads and added cut up popsicle sticks for strength and looks.
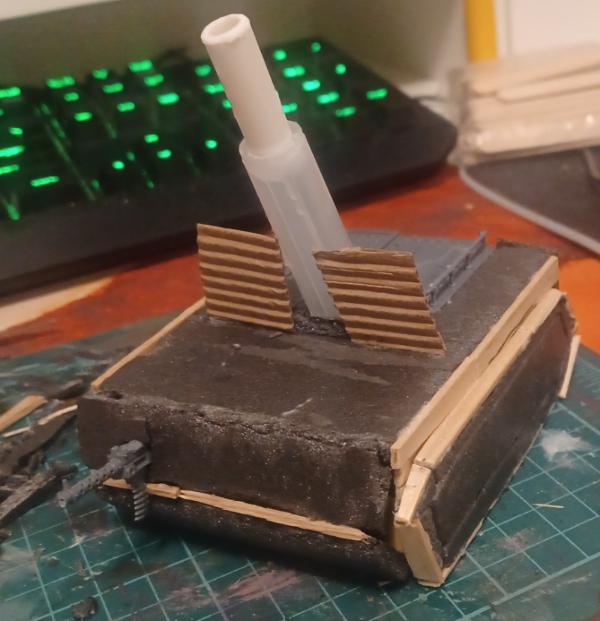
Skipped a few steps between photos but i added more wood to the sides to hide emptiness of the tank, glued foam in front of the tank so that when i glued two pieces of foam there, it could create the triangular shape common to these types of tanks. I also added very thin pieces of wood to fill the gap and help accentuate the curvature. I then took the arm of a
GSC hybrid holding a heavy gun, glued it from the inside of the basilisk and added a lil flap since in 10th, this baby also has a pretty long-range LMG.
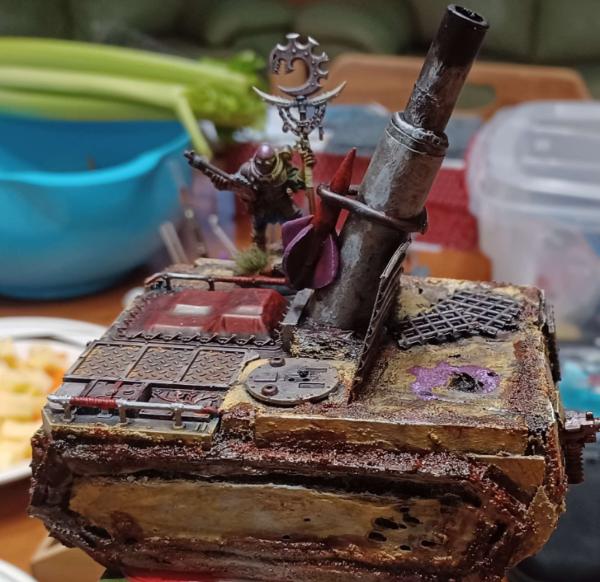
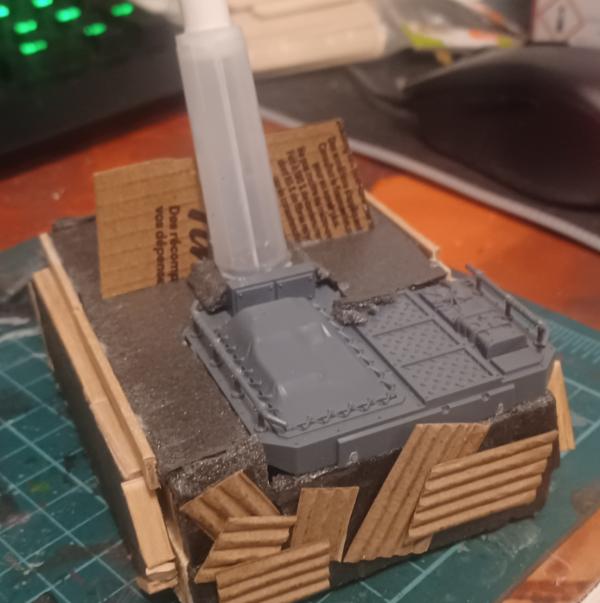
Using the cardboard heat-protectors on disposable coffee cups (tanks sponspored by Tim Hortons!) i added the shields that go in front of the earthshaker cannon which is two pieces of those air fresheners you open and close.
Here is a back picture where i added more of that Timmy's cardboard to look like those crappy sheets of metal you see on roofs and such. You'll also see i added another piece of foam to the cannon to make it more prominent.
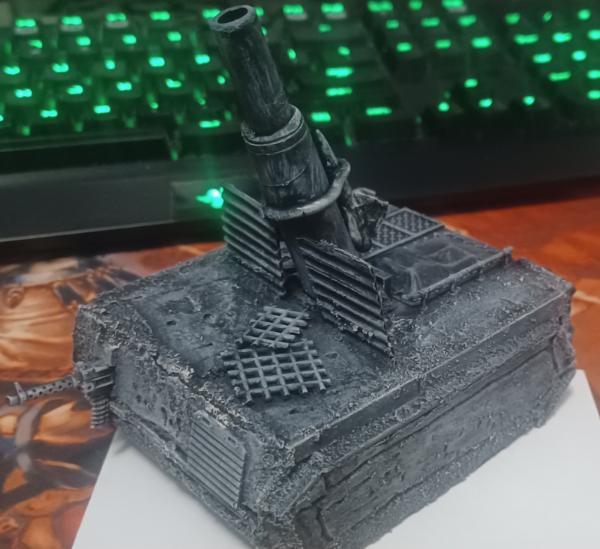
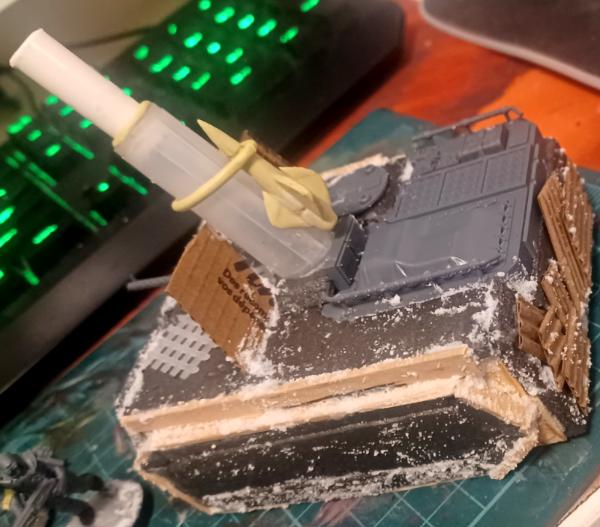
Finally I added more bits, more random stuff to make it busy, slapped on a ton of generic texture medium i had to make it dirty and fill any gaps i coulnt cover up and added a milliputt hunter-killer missile since you also get that for free in 10th.
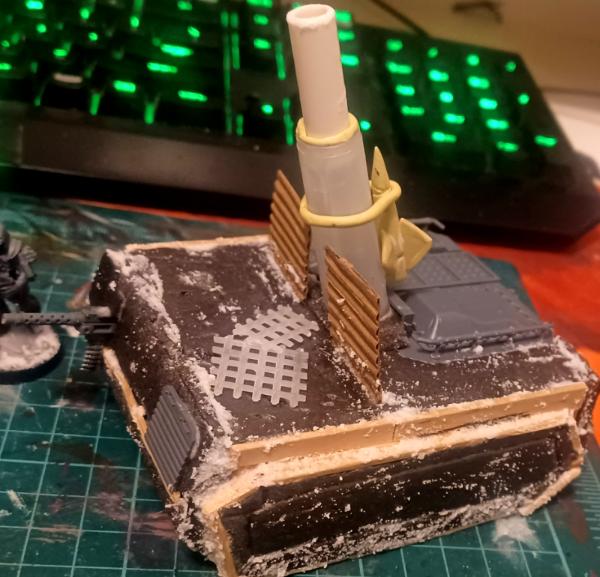
There I am so far! Ive now primed it and will update after giving it an initial drybrush in grey/off-white, which will make it ready to paint. Speaking of which, i have never painted any tanks ever as necron vehicles are weird. So i have no idea how in terms of colour/scheme imma do it. Soooo im open to suggestions!
Thanks a lot for reading and I hope you appreciate this project of mine! It should atleast keep me entertained as winter entombs me as we speak.


 RNGesus guide my path, let no decision be done with total agency.