The first rule of this Fight Club is actually... Talk about Fight Club.
Automatically Appended Next Post: Black Templars turn 4:
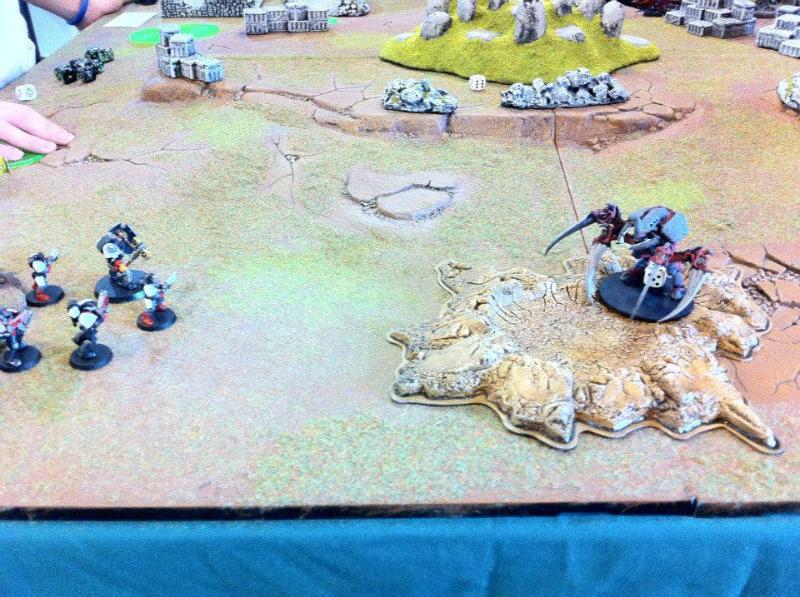
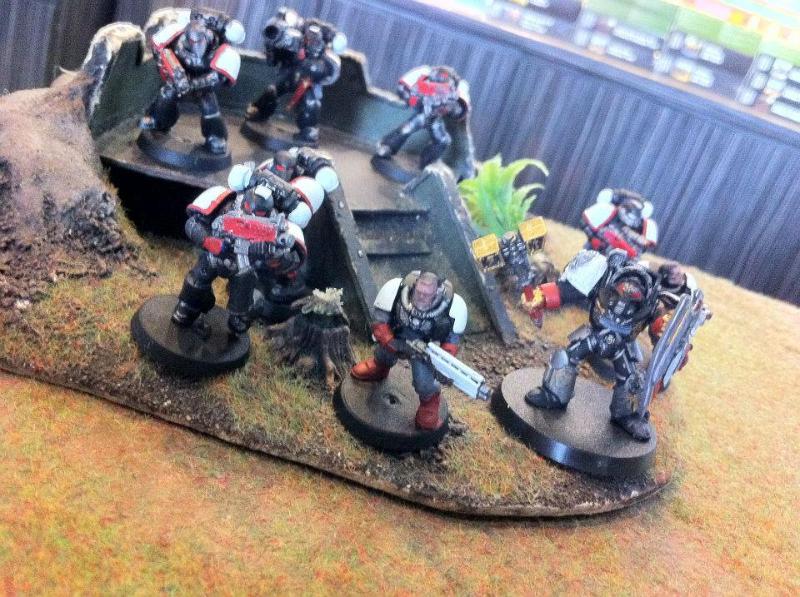
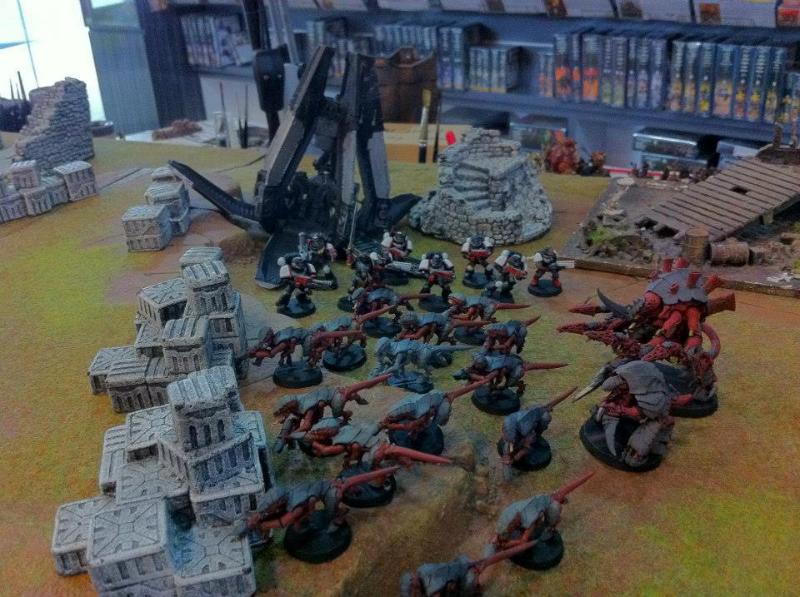
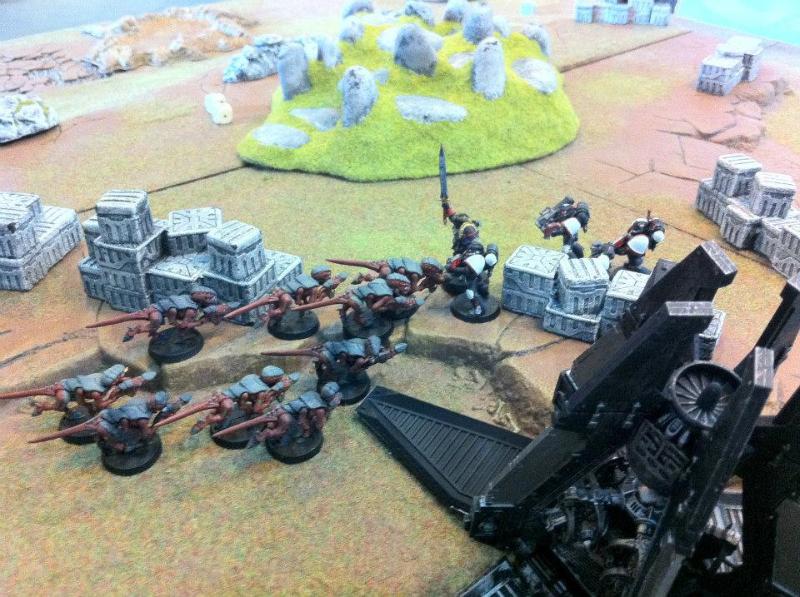
Helbrecht detaches from his retinue and moves towards the Carnifex, the squad itself doesn't move.
The Drop Pod still has its Deathwind launcher and this time actually hits. The Tyrant and Guard are unaffected, toughness 9 helps

My sole remaining Termagant however is splattered over the landscape.
The retinue shoots at the Carnifex, once again all fire either misses or pings off the Carnifex's tough hide. Even better, the plasmagunner blows himself up. Helbrecht however throws another holy handgrenade and the Fex is now down to one wound..
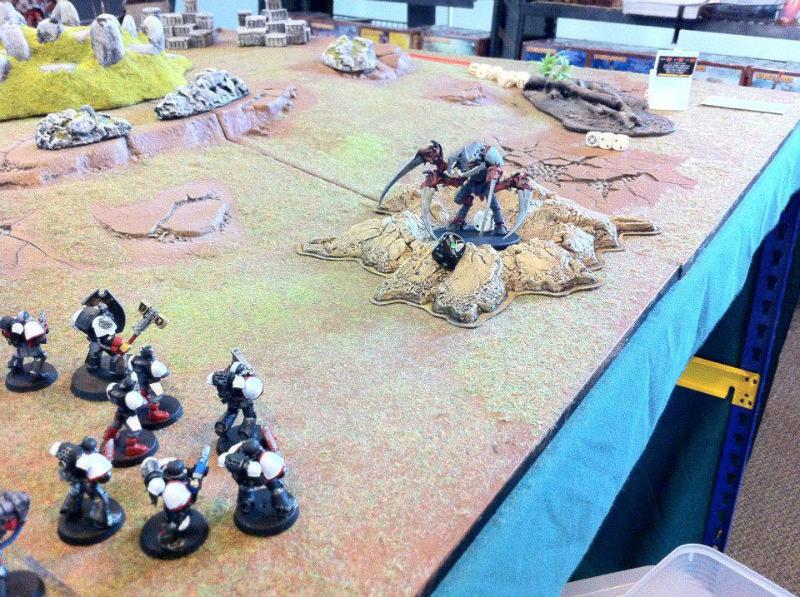
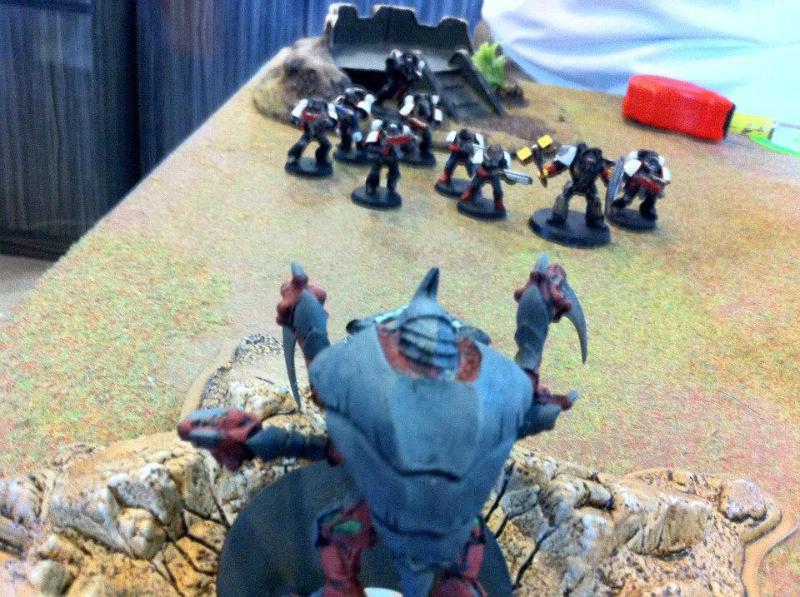
The Marshal then charges the Carnifex:
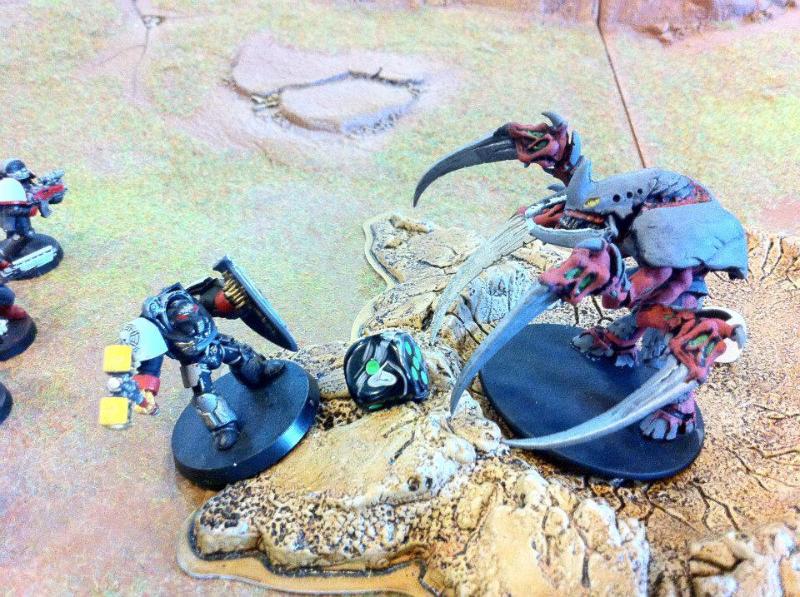
Both strike at I1. The Carnifex scores.... 1 HIT! But apparently Helbrecht had Eternal Warrior somehow so he lives. Helbrecht hits once as well and...
*POOF*
No more Mr. Carnifex...
Tyranid Turn 4:
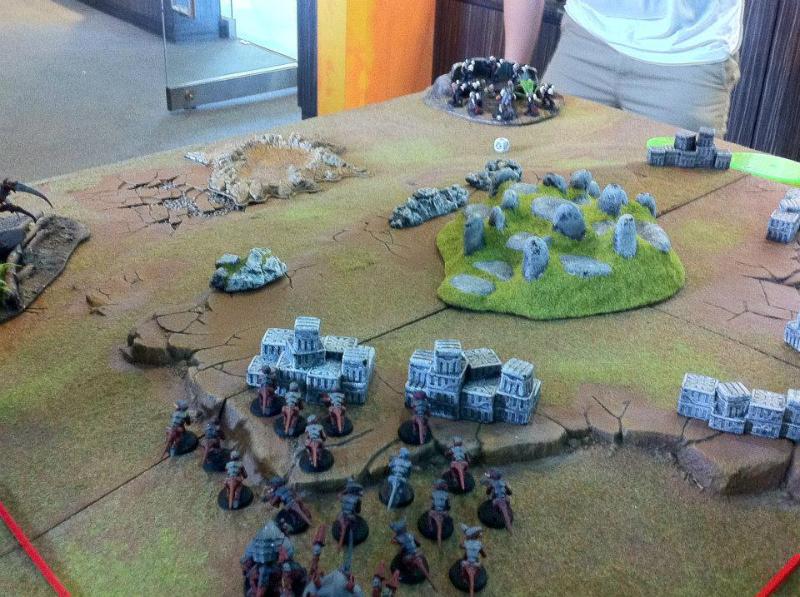
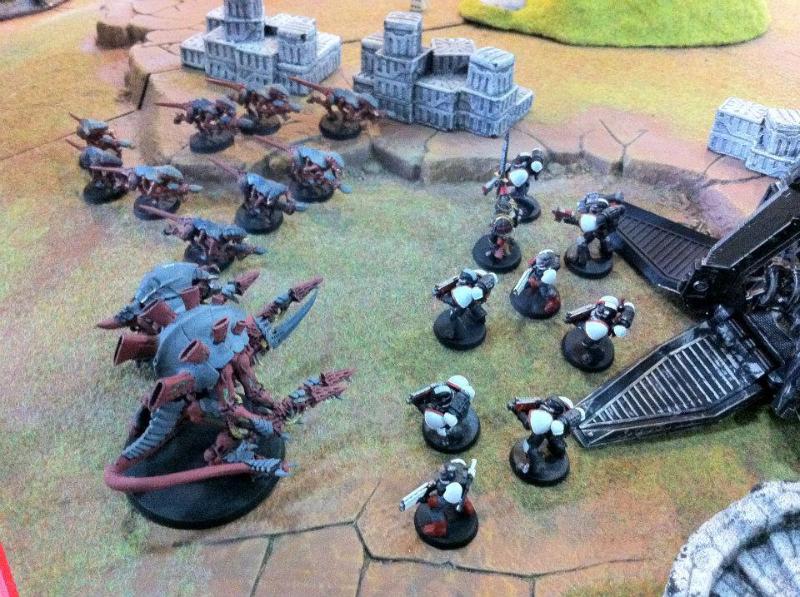
The Hive Tyrant and the Guard simply start moving around the hill to go and attack the remaining marines. I can't get in range this turn though, so the Tyrant shoots the Drop Pod, but takes only 1 Hull Point off.
Templars Turn 5:
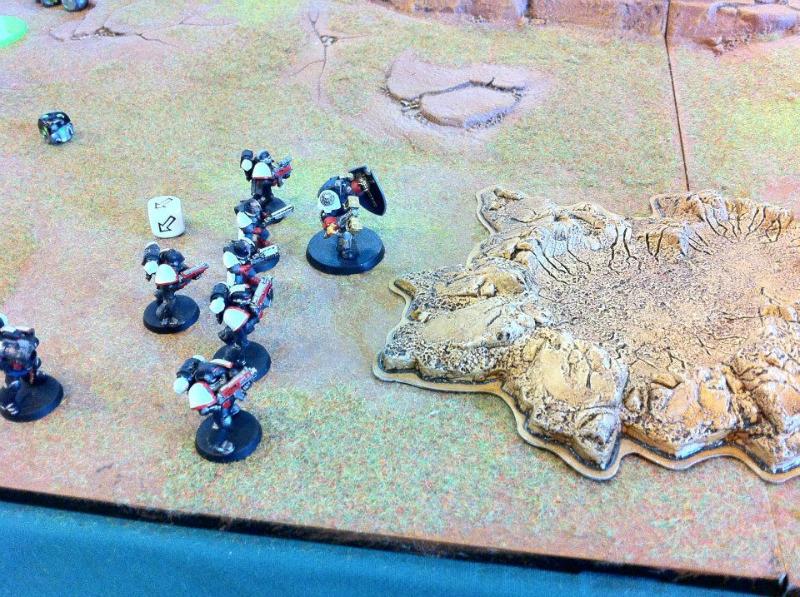
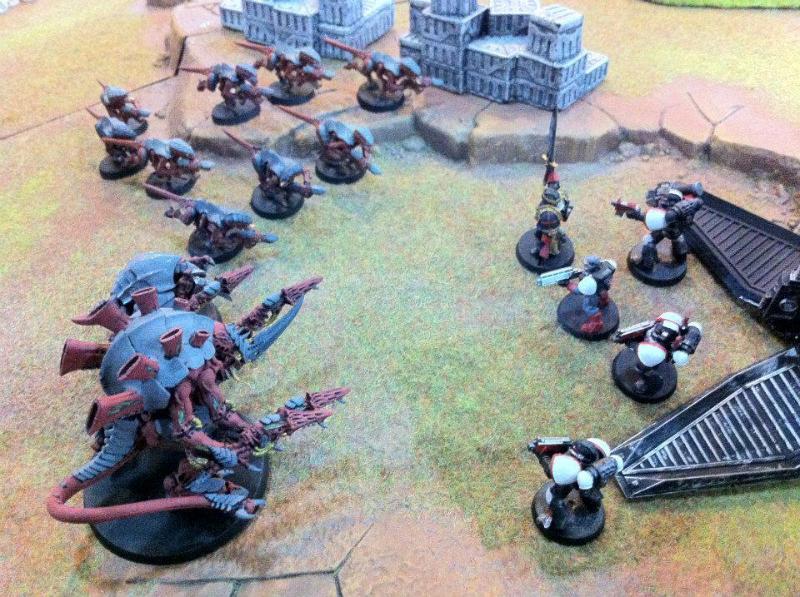
Helbrecht and the squad move towards the Tyrant. Only the Missile Launcher is in range and it misses on a snapshot. Note that Helbrecht is still walking around on his own..
Tyranids Turn 5:
I still need my secondary objective, shoot a unit dead. Helbrecht is just standing there on his own so the Tyrant moves closer and fires all those devourer shots...
to no effect whatsoever!
We check to see whether the game ends and... We get another turn as well.
Templars Turn 6:
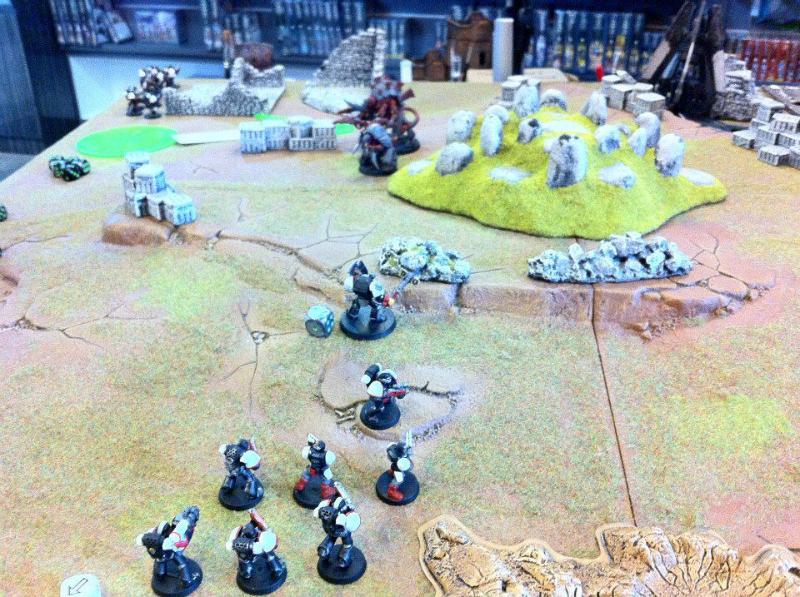
My opponent realizes he doesn't actually need to come fight my Tyrant to hit his objectives. Helbrecht rejoins the retinue and they start moving and running towards my deployment zone, where the Carnifex started the game.
Tyranids Turn 6:
I realize I still need to shoot something and taking out the whole squad whilst they run away probably won't work. The Tyrant turns back towards the drop pod.

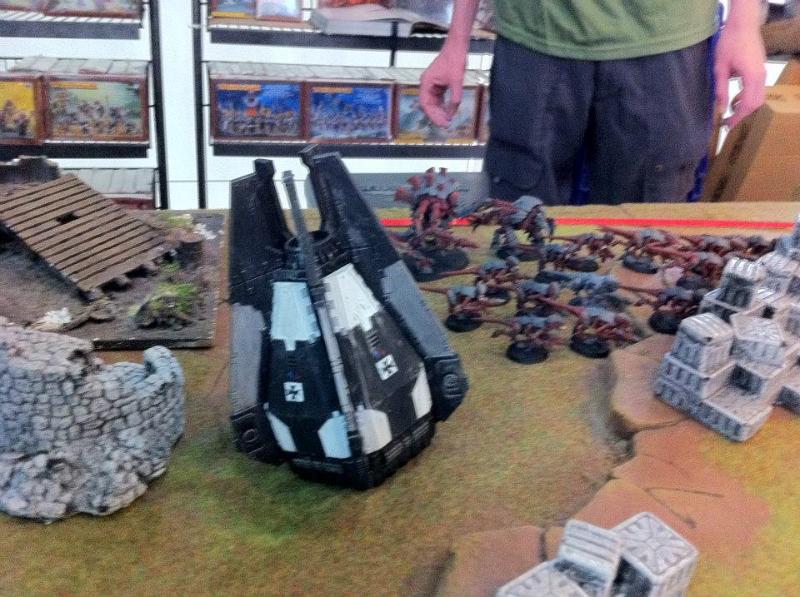
The drop pod just barely gets cover from the intervening terrain and boxes. My tyrant fires and takes off... 1 Hull point. It still has 1 left!
I really need the game to continue another turn here. I don't really understand how Brain Eating wurms can kill a big metal box that came falling out of orbit, but no matter. I want to shoot it again!
So we roll to see whether we have a turn 7....
*drumroll*
We do!
Templars Turn 7:
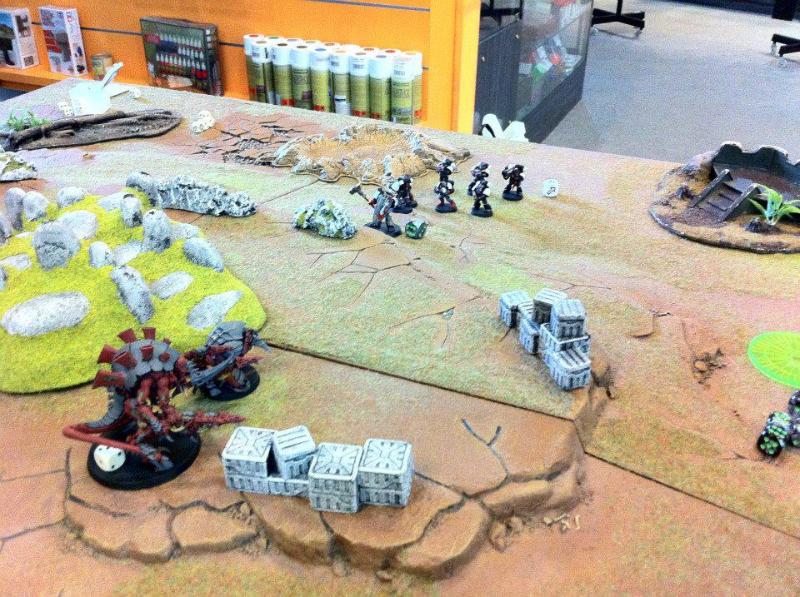
The templars move and run into my deployment zone. They can't even see the Tyrant any more due to the big intervening hill, so no fire.
Tyranids Turn 7:
Hive Tyrant moves closer to the Drop Pod so it doesn't have cover any more.
I take the 12 dice and roll, 7 of them hit. I reroll the 5 misses, for another 4 hits. Now surely I can roll a single 6 on 11 dice. Right?
I pick them up and roll. At first sight? 1s, 2s, 3s, 4s, 5s... No six. But we see only ten dice. One of them rolled through the drop pod somehow, out of
LOS. We go check it and.... It's a 6
Drop pod destroyed, objective hit.
Automatically Appended Next Post: So time to see who had what objectives and what was achieved...
Tyranid Primary: Challenge the enemy warlord in
CC. Done, he was challenged and pummeled to a pulp. That second bit wasn't even necessary but the baby Rippers at home sure enjoyed the Champion Pulp they had for dinner.
Tyranid Secondary: Shoot a unit dead. The Drop Pod, just barely.
Templars secondary... Have no units left in his own deployment zone. That was clearly accomplished.
Templars Primary: Have a surviving troops choice inside my deployment zone.
We counted it as achieved then, but I realized when I try to figure out exactly what the list was, the guys accompanying Helbrecht must have been his retinue. And hence they should have counted as
HQ I think.
But we ruled it a Draw then and that is how it goes in my books.
As for my units, I was happy with them.
The Termagants got a bit lucky when they only lost about half their number to those first shots when the drop pod landed, and afterwards got the Champion's unit locked in combat so my
HT could easily get to them in turn 2 and achieve my primary. Otherwise, who knows, they might have tried staying away from the
HT.
Also Iron Arm rules, especially as it effectively also boosts the Toughness of the one Tyrant Guard. Those two didn't get very often to begin with, and other than the one wound from
CC with the Champion, they were both unscathed. In addition the
HT was the one getting both my objectives done. So yup, I like my Tyrant
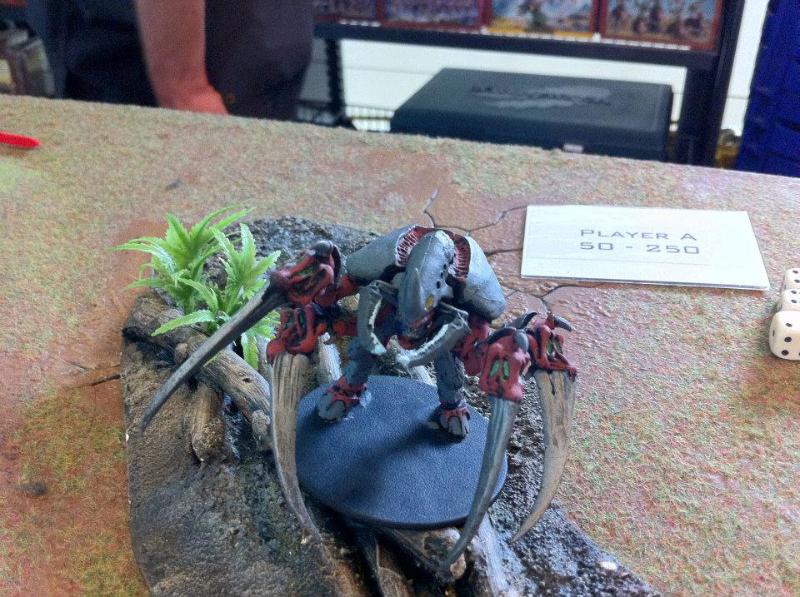
Even with his upside down shell.. The only disappointment would have been that it took 3 full rounds of shooting to destroy that pod. I had thought that 12 Twin-Linked S6 shots would have gotten that done faster. In fact, if it hadn't been for my secondary objective, I would have charged the pod immediately after the marines near it were wiped out and smashed it to bits, but... It needed to die from shooting.
And finally, good old Carni did what he was supposed to as well. Keep those guys around Helbrecht busy. That unit, 2/3rds of his army in points, spent most of the game trying to kill the Carnifex and only just barely succeeding. So yes Carnifex only got only a single hit in. It doesn't matter, he did his job regardless..
After that it was time for me to get some new models, paint them up and let Hive Fleet Bak Kut Teh loose on the world again, in another batrep..
Automatically Appended Next Post: Mutter wrote:Those rules are crazy ... O.o
You could put down:
- Hive Tyrant with three Tyrant Guard
- 9 Warriors
- Brood of 3 Carnifexes
With upgrades, that's almost 1850 points ...

Do note though, there is a stack of objective cards for the smaller army, similar armies, bigger armies and there is one objective card called "The kitchen sink".
I suspect that objective is "Table the opponent without losing a single unit"


 Hive fleet Sigma