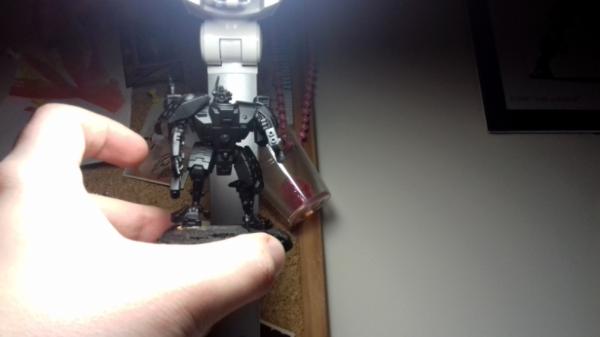
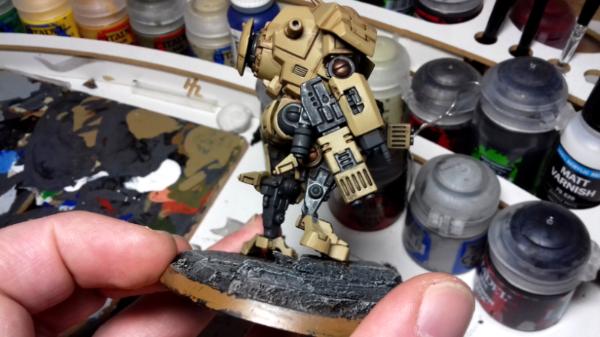
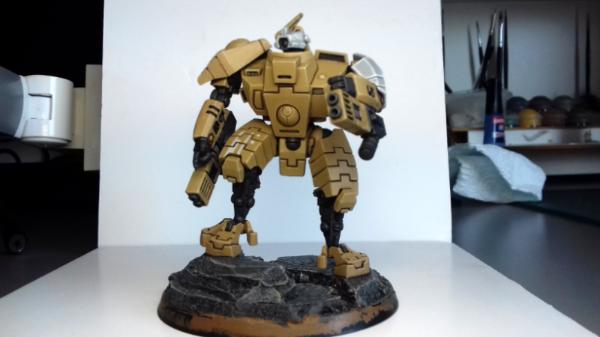
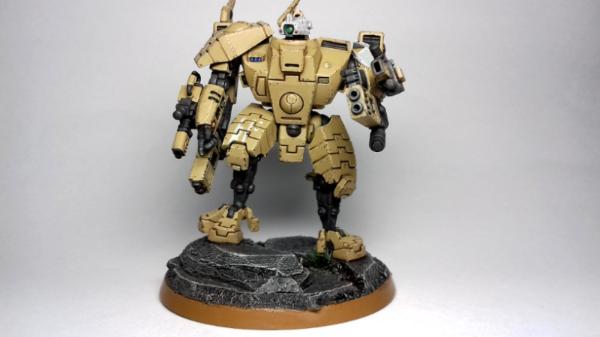
Hello, I'm ashamed to show my face in here without any painting updates but I thought a little interval battle report might be fun...
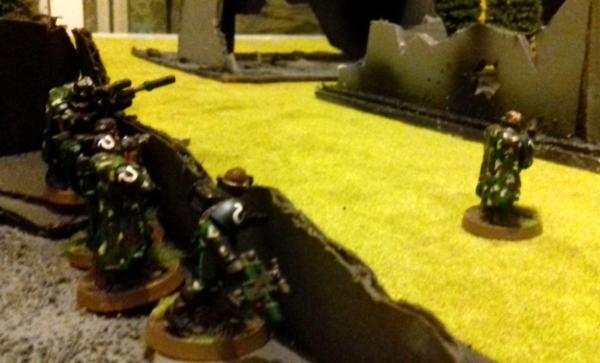
It was late, on a school night, and having cycled to Randy McStab's house with a case of models balanced precariously on my bike I was able to pressure him into a quick 1k game against his Ultras using the Open War cards. We took some photos as it was also a good opportunity to show of the lovely table and terrain made by Alex Kolodotschko.
We chucked some terrain on the table and drew a 'Hammer & Anvil' style deployment which had us deploy up to 15" towards the table centre. Our mission was 'Glory (Hole) Seeker' which is basically power level-kill points or double for a Character, Vehicle or Monster.
The forces:
Randy’s Ultramarines (Patrol 1000ish pts):
[Warlord – Not sure ] Librarian (Storm Bolter, Force Axe and a relic).
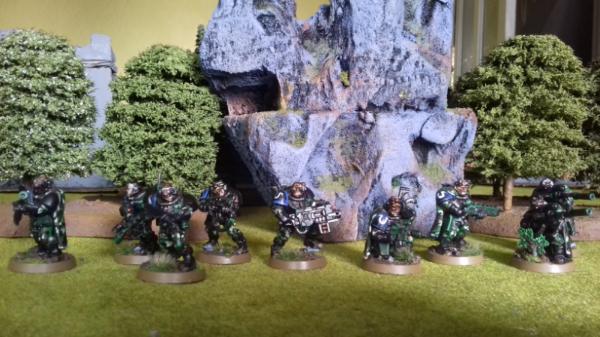
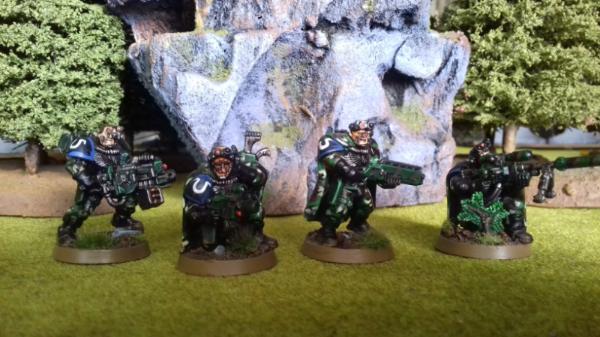
8 Sternguard with default guns.
10 Tacticals with a heavy bolter and melta gun.
5 Scouts with a power axe.
5 Scouts with a heavy bolter.
Razorback twin Lascannon.
Storm Talon with twin assault canon and skyhammer rockets.
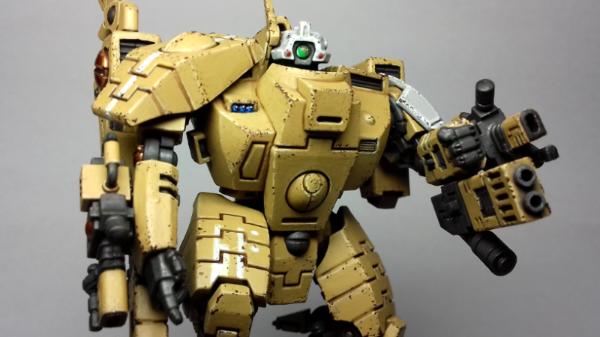
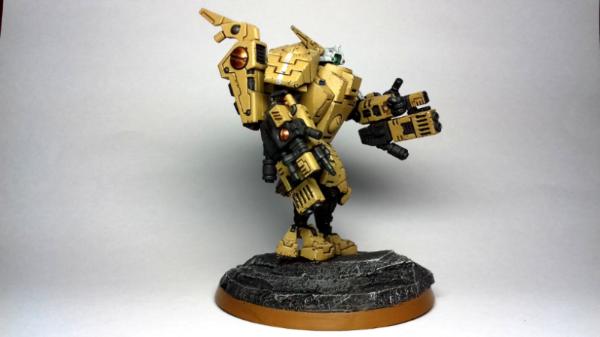
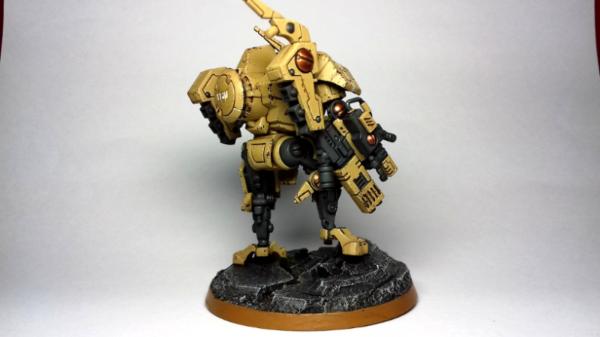
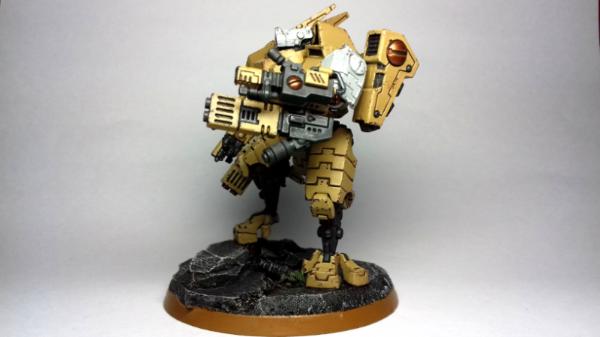
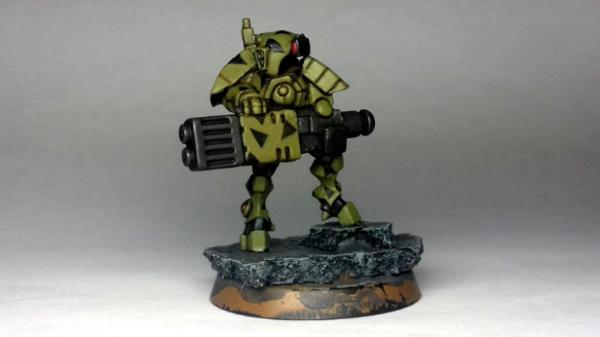
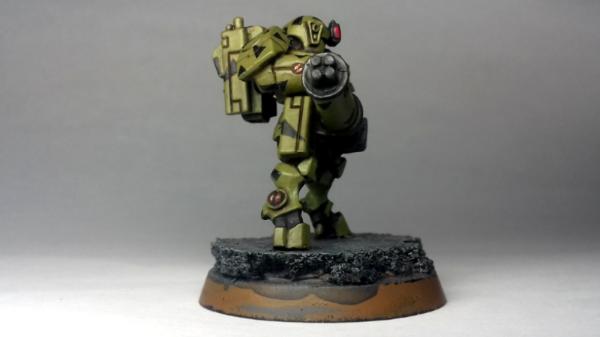
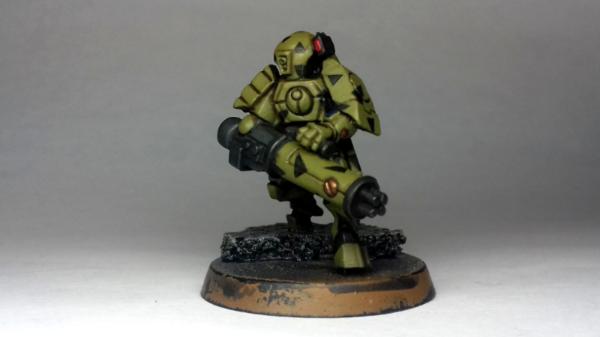
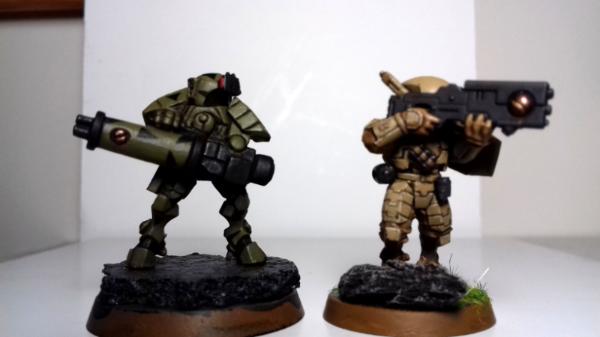
Mid-Life’s T’au (Battalion 999pts):
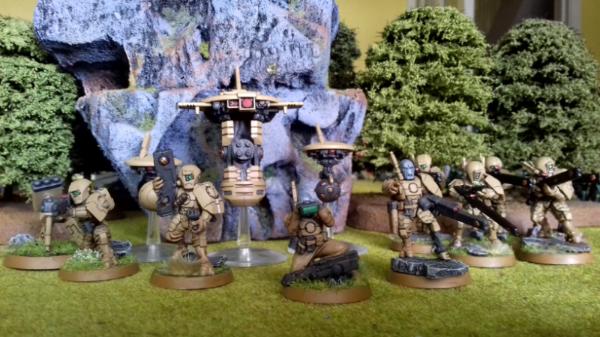
[Warlord – Inspiring Leader] Fireblade (PEN chip).
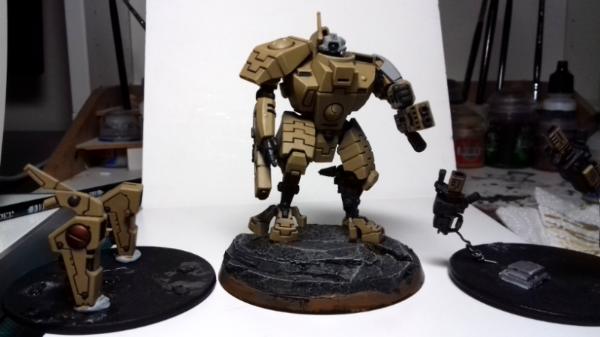
Commander (2 Fusions and 2
CIBs).
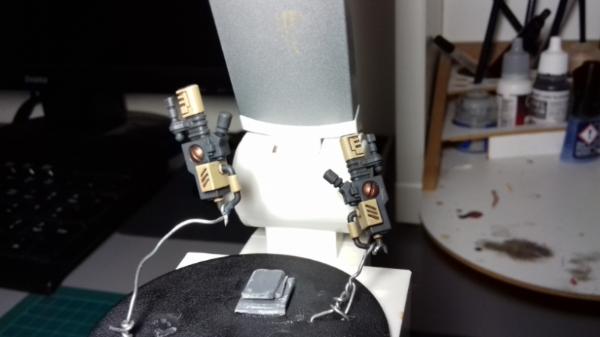
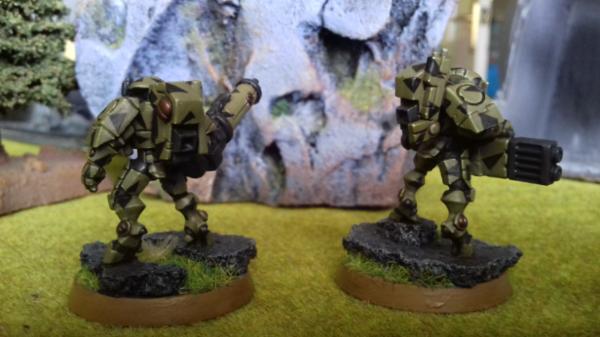
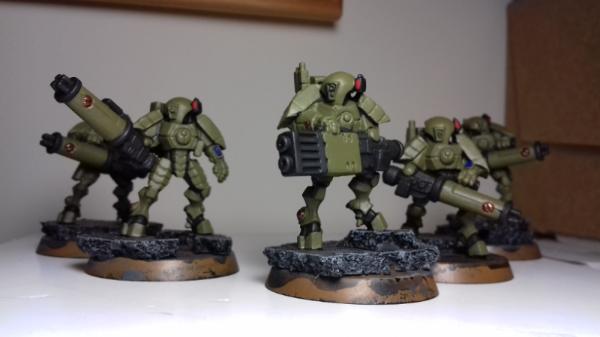
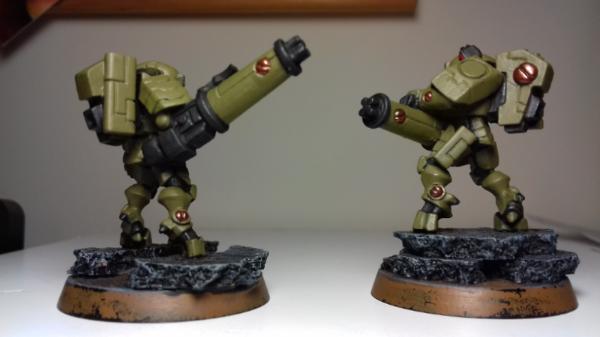
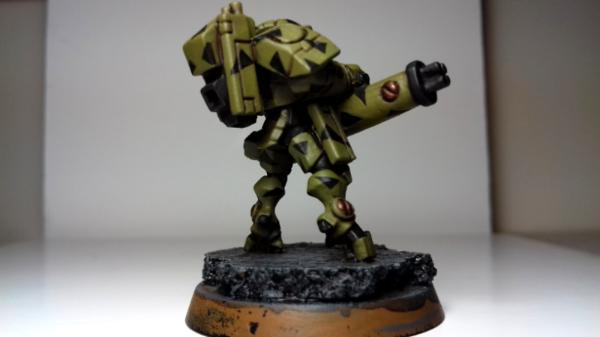
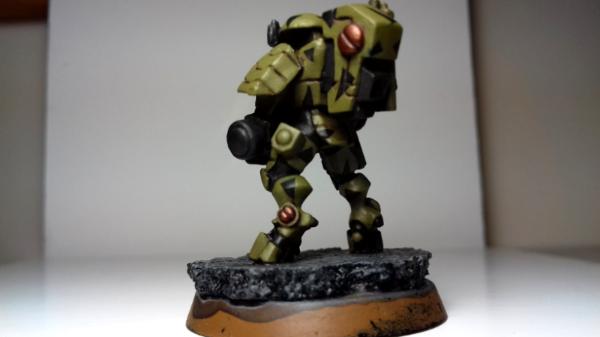
5 XV15 (1 Fusion).
9 Pulse Rifle Fire Warriors.
9 Pulse Rifle Fire Warriors.
9 Breachers.
Devilfish (stock).
9 Pathfinders (2 shield drones, pulse accelerator, grav inhibitor).
Hammerhead (Railgun and
SMS).
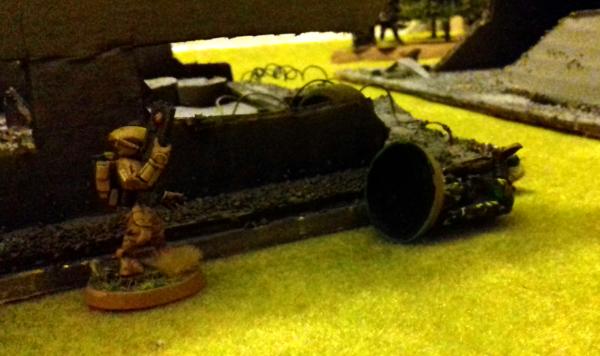
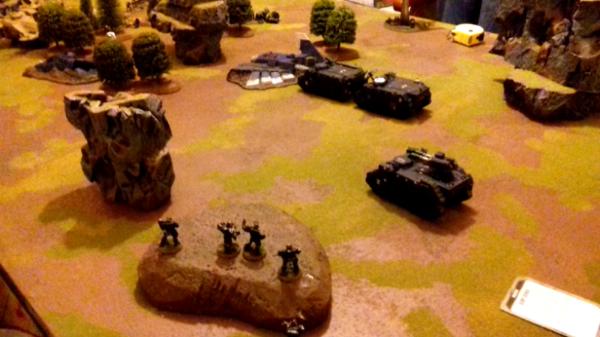
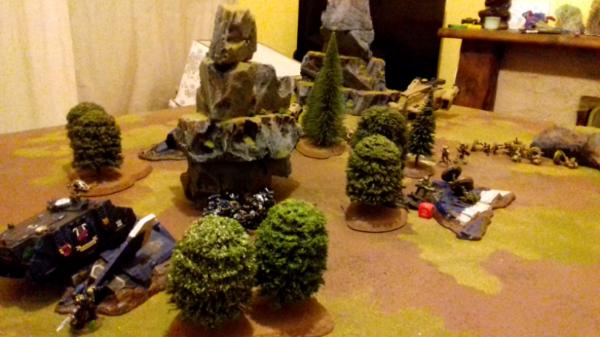
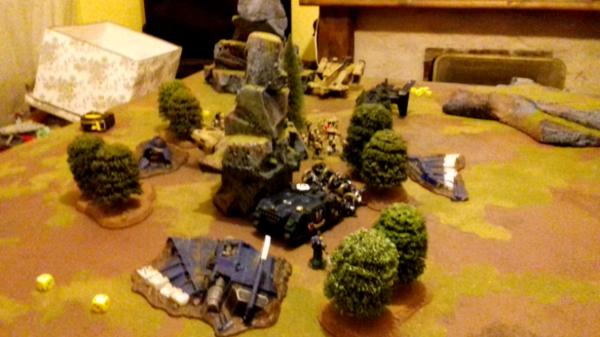
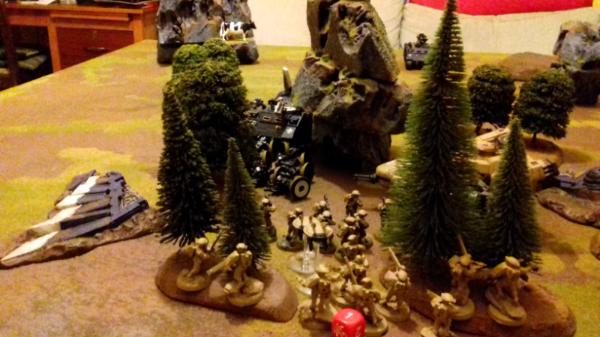
The table had a medium-sized rock spire in its centre, surrounded by trees and a crashed lander. Larger spires and the odd elevation were spread around the edges of the table.
Deployment:
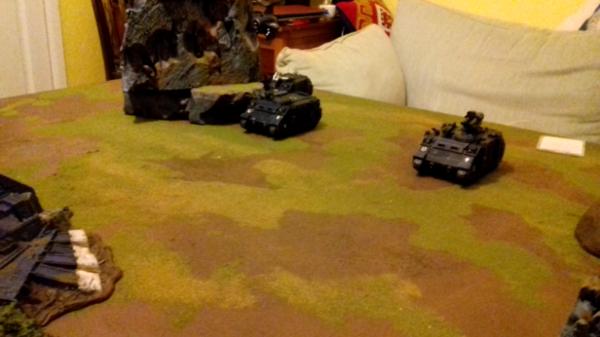
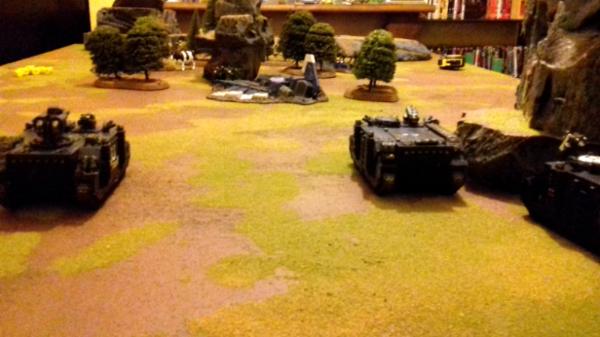
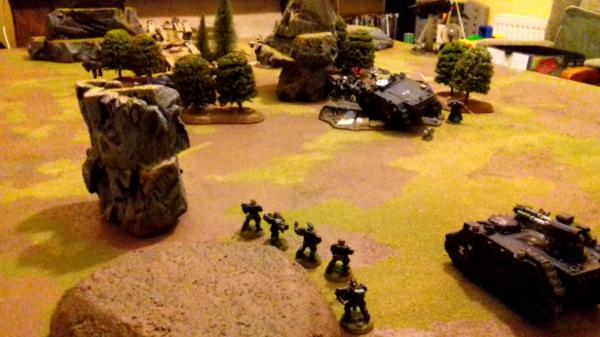
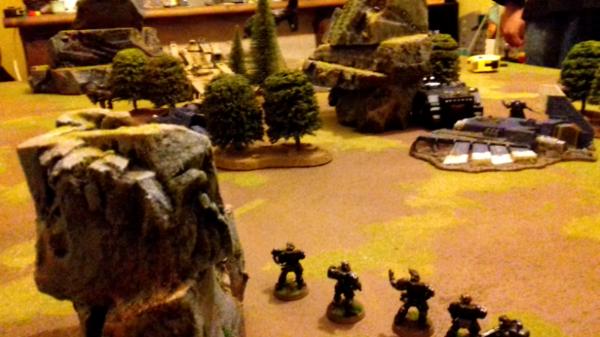
Randy deployed his transports (including
Tac squad) ready to advance but with his command Rhino (Sternguard and Libby) hidden to avoid a pesky turn 1 Railgun round. His Lasback menaced the Tau right and a unit of scouts were placed to protect his rear from a Manta Striking Commander. The second unit of scouts were deployed behind the centre rock spire ready to charge. The Talon was deployed out of
LOS with Randy’s Command Rhino.

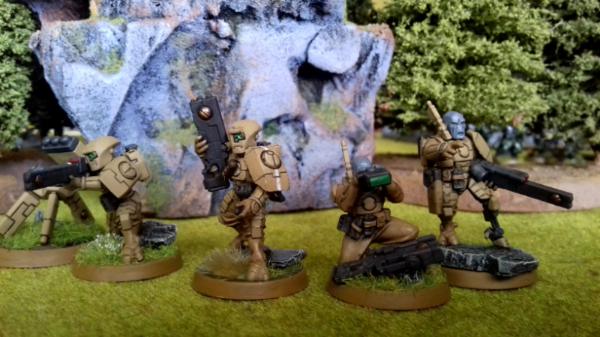
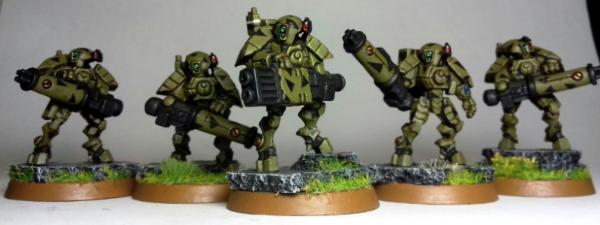
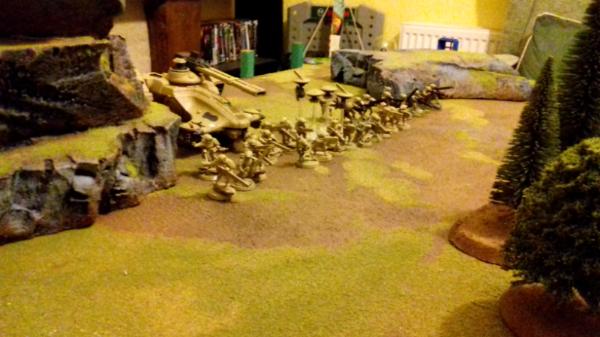
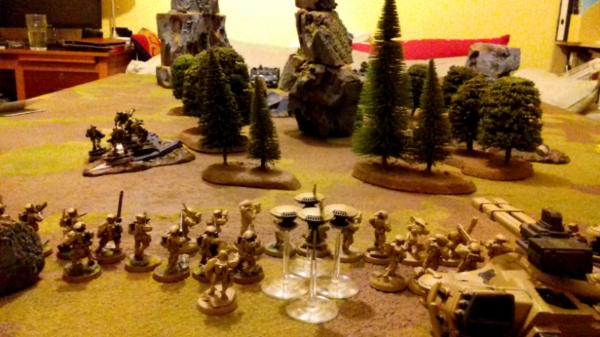
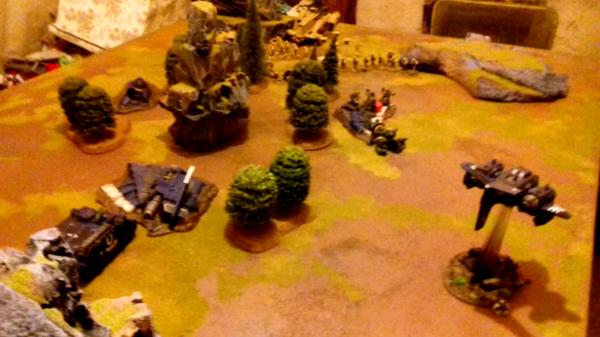
I deployed my Fireblade, Strike Teams and Pathfinder Drones as a gunline out on the open and vanguarded the Pathfinders toward the treeline for cover. My Railhead hovered nearby the Fireblade and his PENchip and I hid the Devilfish and Breachers behind the spire on my right. My Stealth Team infiltrated to my left-centre to threaten Randy’s Scouts and the Commander stayed in the Manta for later…
Randy won and accepted the first turn. I failed to steal it back.
Turn1 Ultras…
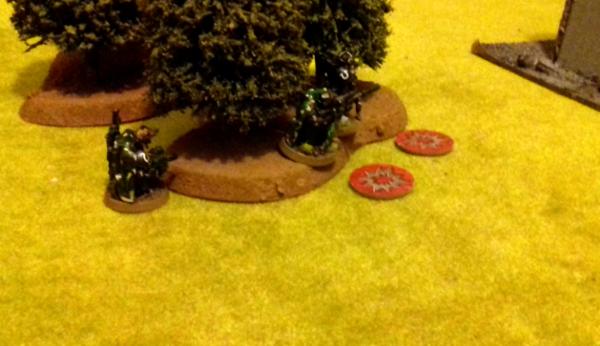
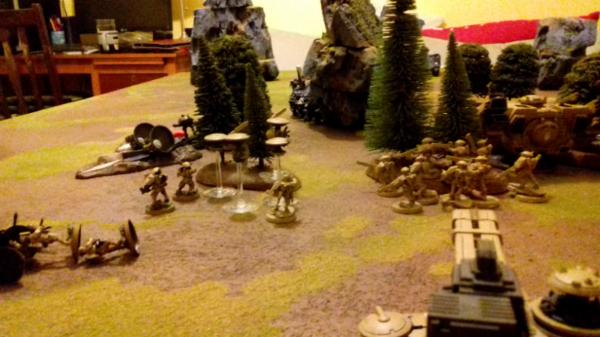
The central Scout squad moved into charge range of the Stealth Team, both Rhinos head off towards the central spire and the Talon headed down Randy’s right to get good
LOS on the majority of the T’au force.
The Lasback manages to hit and wound the Railhead but it passes the first of many 6+ saves.
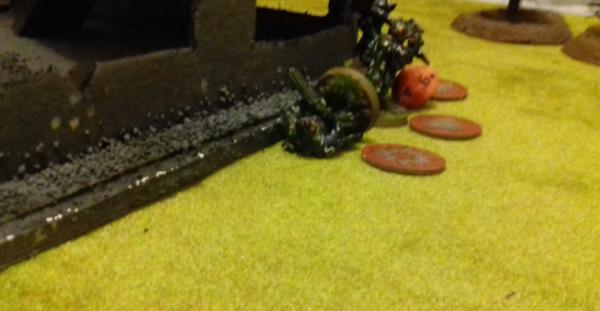
The combined fire of the Scouts and Rhino Storm Bolter wound one XV15 and the Talon whiffs with it’s Skyhammers versus the Railhead but manages to assault cannonise the Pathfinders leaving just three in the fight.

The Scouts successfully charge the Stealth Team (losing a Marine to overwatch) and kill off the wounded battlesuit and taking no damage in return. I forgot to measure the Grav Drone range at this point but in retrospect it was probably a few
mm out anyway.
Two Pathfinders break and run, leaving only to Shas’Ui on the board.
Turn 1 T’au…
Both Strike Teams move up a little and reposition for range and
LOS while the Breacherfish emerges from behind a spire and enters the treeline. The Fireblade stays put in an attempt to keep the force in leadership range.
The Stealth Team disengages from combat and falls back just a little.
The Fireblade opens up the shooting phase by marking the Talon, and the remaining Pathfinder does the same to the Scouts.
The Stealth Team and one of the Strike Teams reduce the Scouts to one Marine. The Railhead then puts five wounds on the Talon (without needing command points or PEN!) and finishes the scouts with its smart missiles.
The remaining Strike Team manage to put one more wound on the Talon and bracket it.
End of round score = whatever the power rating of that Scout Squad was.
Ultras Turn 2…
The Librarian disembarks and the Rhinos move into the cover of the central spire.
The Talon moves forward into the T’au deployment zone and the remaining Scouts continue to guard the Lasback.
The Libby Smites a wound of the Stealth Team but fails to cast a second spell.
Once again the Talon’s Skyhammer Rockets can’t hurt the Railhead but chews up the Fire Warriors on the T’au left with its AssCans leaving two alive.
The Lasback continues to unsuccessfully target the Railhead.
Thanks to the Fireblade’s warlord trait, the Firewarriors hold their ground.
T’au Turn 2…
The Breacherfish flat outs into the treeline and the Strike teams and Drones head to the cover of the treeline leaving the Fireblade behind.
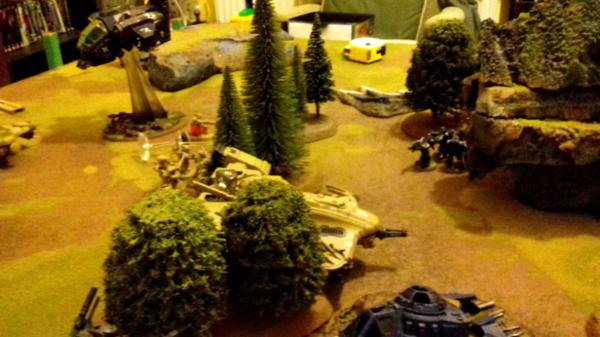
The Stealth Team move up through the crashed lander into range of the Talon and lead Rhino.
The Commander drops into the treeline next to the Breacherfish.
The Fireblade puts a Markerlight on the Talon and helps the Railhead damage it for another three wounds (2 left!).
Both Strike teams make good use of the RR1s and put another wound on the Talon.
The Stealth Team splits its fire and fails to bring down the Talon but does five wounds to the
Tac’s Rhino.
The Commander overkills the damaged Rhino but there are no casualties to the Tacs or nearby units who disembark in the shadow of the central rock spire.
End of round scores: Ultras () and T’au (+Rhino
Ultras Turn 3…
Finally in a position to fully engage, the Scouts move downrange to find targets, the Libby moves up for better smiting and the Tacticals reposition to slaughter as many filthy Xenos as they can.
The Talon closes in on the exposed Fireblade.
The Librarian’s Smite and his other similar power (Randy?) puts an end to the Stealth Team.
The Talon continues to phone its Rockets in but still manages to wound the Fireblade 7 times. The nearby Drone unit eats four of these, leaving the T’au Warlord on one wound.
The Tacs and Rhino choose their targets with care and finish off the Drone unit and the damaged Strike Team. The
Tac’s melta gun misses the Breacherfish.
Unsurprisingly the Lasback fails to damage the Railhead however the Scout’s heavy bolter puts a wound on the Breacherfish.
The Tacs fail a charge (there was less than an inch in it) and lose a Marine to overwatch/
FTGG.
T’au Turn 3…
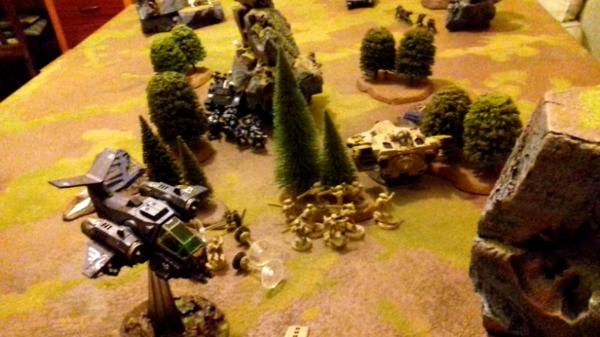
Breachers and gundrones disembark in pain range of the Tacs while the remaining Strike Team and Commander reposition to maximise overwatch the following turn.
The Devilfish flanks right so it can charge any remaining units while the Fireblade dives into his minions/honoured comrades for safety.
The Fireblade gets a marker on the Tacs and the infantry opens up with pulse blasters and volley fire. The Tacs are destroyed.
The Commander kills the Talon with his
CIBs (which doesn’t explode over my gunline) and then uses his meltas to pop the Command Rhino (rolled a 5 and a 6). The Sternguard disembark with no casualties.
At this point the Ultras give the signal to fall back.
The End.
We did work out the scores eventually but it was moot as Randy conceded after my 3rd shooting phase was more effective than I ever could have predicted. I had an unusually large amount of good rolls in this game and Randy didn’t really get into his stride of rolling terrifying strings of power armour saves.
It was nice to use my breachers to good effect and get a Fireblade Volley Fire in as the last few games I’ve had against guard had left me feeling a bit limp. Still, this was a tiny, very random game so it mostly came down to the dice rolls.
Anyway I hope you liked this quickie and sorry for the crappy photos – We were both very tired and I was just pointing my phone in the general direction of the table in between turns.
Randy – feel free to add your thoughts and correct my mistakes; and don’t forget to put a link in your plog too!


 Ultramarines, 3rd Co. and friends, 16k+
  4k
4k  2k Points
 Competition Index
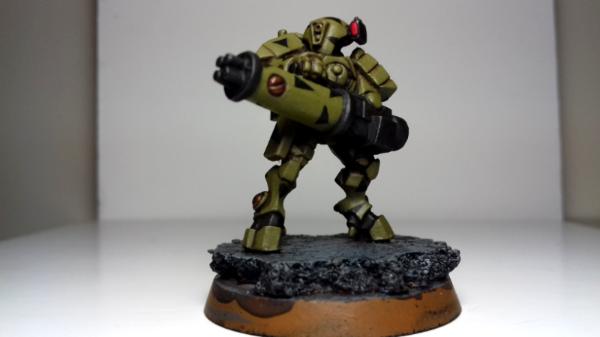
 [/url]


 but I think most