Hey guys
I recently bought a Tomb Kings Ushabti model just to paint up for lulz and I wanted a sceneic base. Playing around with some ideas and materials I decided to go with the ushabti standing on a stone pillar. Pretty easy to do, just make sure to play safe with them sharp pointy things kiddies out there


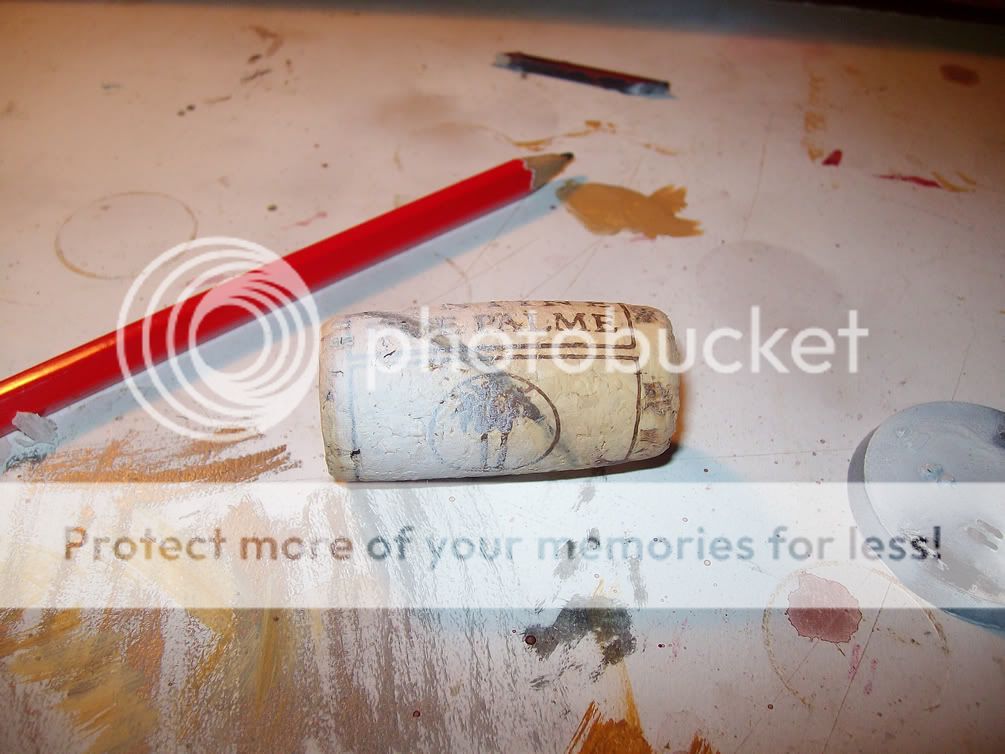
A cork
A Saw or something to cut pretty deep with
A Stanley knife . . . or carpet knife or the US equivalent (not shown)
Clippers and/or pliers of some kind
Shot glass . . . I needed something to hold stuff and that was closest to hand

Using blutack or something similar figure out how steep you want the pillar to be. If you want a model standing on it then a steep angle will require more work later on, but its up to you
Pencil on a guideline if you worry too much like me, to help you with the cutting

Using the saw or whatever you have to hand, make a clean cut straight through the cork. The pencil line helped keep me guided

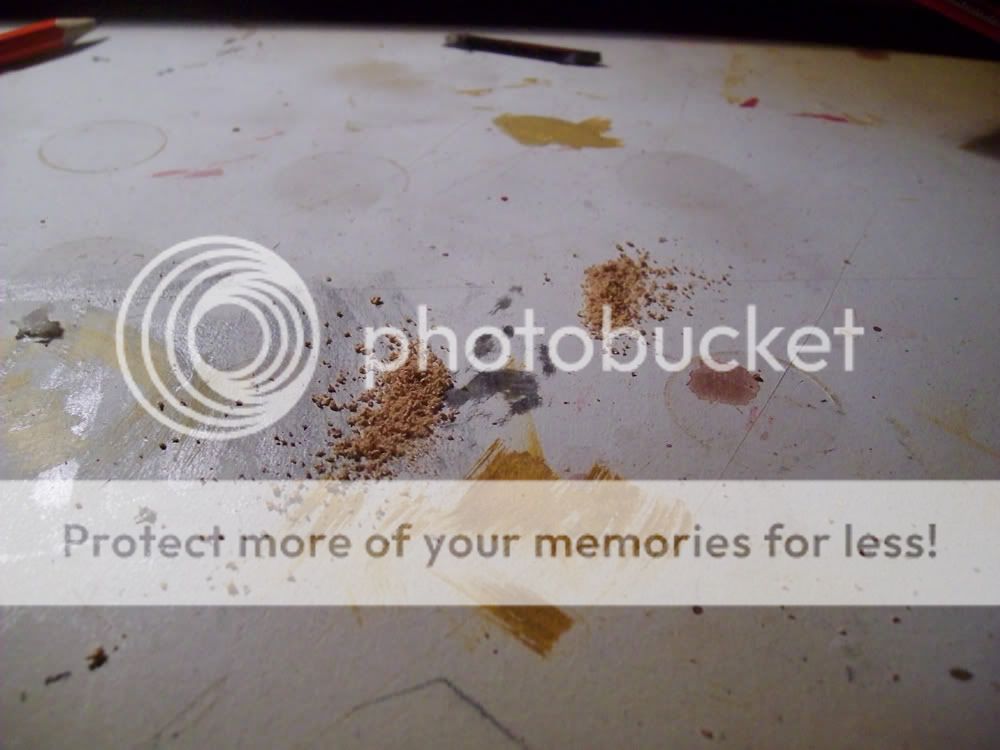
Save this dusty corky debris, handy as gak

Here the cork is split in two to show the final result. The first time I did this the cut was kinda rounded which was a pain when attaching to the base, im sure you can all cut straighter than me

Take your pliers or clippers, or some thing sharpto cut and dig away at the top of the cork (the bit that isnt going to be stuck down). This gives the feel the pillar has broken off and fallen down. You may need to make more cuts depending on what you want the pillar for. If a model is standing on it, then youll probably want to create a little alcove for the foot unless you fancy
GS-ing. Keep the bits you pull off and keep them with the dusty debris (In the shotglass
)
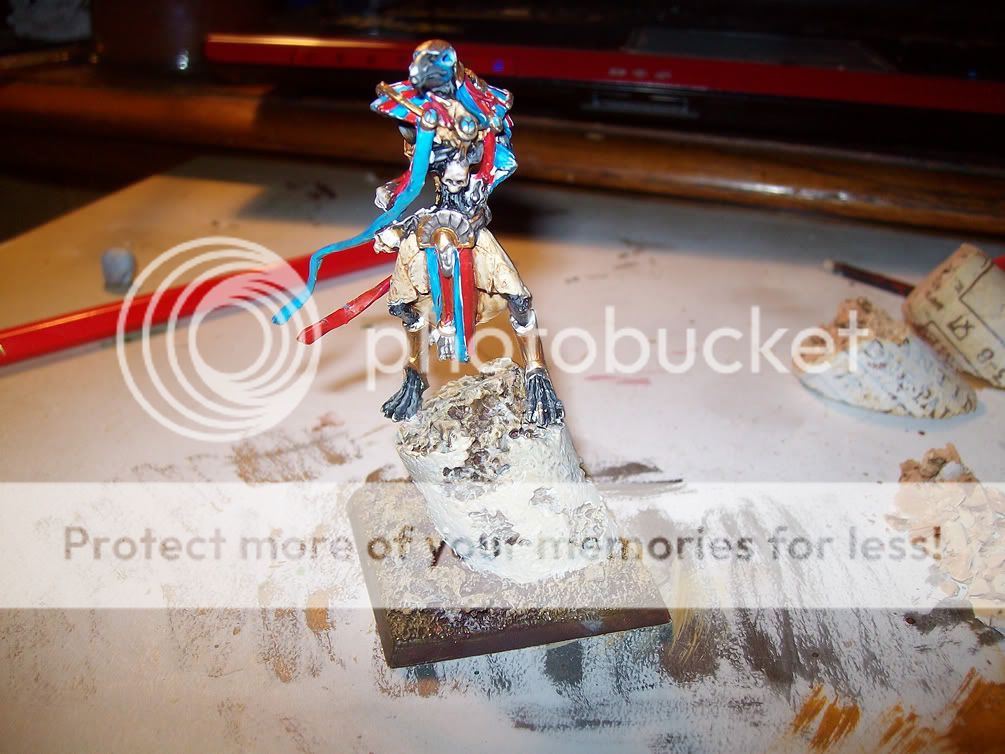
Then its a simple case of personalising the base. I had a gap between the cork and the base so needed to use some
GS to fill the gap. I super glued some of the bigger bits of cork down and then applyed PVA glue. Sprinkle with the cork dust and small bits of cork you clipper/plucked/cut off, or dip in some sand, or static grass, whatever takes your fancy. You can clip from the side of the cork to give some scarring of the rock or pitting, go wild. Then paint up how you want, mine was a scorched brown base, snakebite leather drybrush, bleached bone lighter drybrush, and paint the pillar bleached bone to make it sorta marbley/sandstoney.
Here's one or two angles of the base.


Use your imagination with it. For a cleaner pillar leave the clipping and cutting out or dont do as much. For the
40k players you could use the saw and some sandpaper to create necron crystals (cork is abit rough after I went at it with the saw)
Hope this helps anybody out for ideas or how to go about it
~Toxic