Switch Theme:

Cloaks for CSMs and Space Wolves  [RSS] Share on facebook Share on Twitter Submit to Reddit
»
Author Message
Advert


Forum adverts like this one are shown to any user who is not logged in. Join us by filling out a tiny 3 field form and you will get your own, free, dakka user account which gives a good range of benefits to you:
  • No adverts like this in the forums anymore.
  • Times and dates in your local timezone.
  • Full tracking of what you have read so you can skip to your first unread post, easily see what has changed since you last logged in, and easily see what is new at a glance.
  • Email notifications for threads you want to watch closely.
  • Being a part of the oldest wargaming community on the net.
If you are already a member then feel free to login now.


Made in fr
Sadistic Inquisitorial Excruciator


Amiens -France-

Hi there!

Here's a tutorial for those who know that real men wear fur!!! (sorry for this one )

Basically it's about adding a WoC cloak to your CSMs models (to make chosen ones for example), but you can use it for space wolves as well
( or any feral world homebrewed chapter).

For this tuto I'll be showing the making of a CSM chosen one.

1) The bitz you'll need
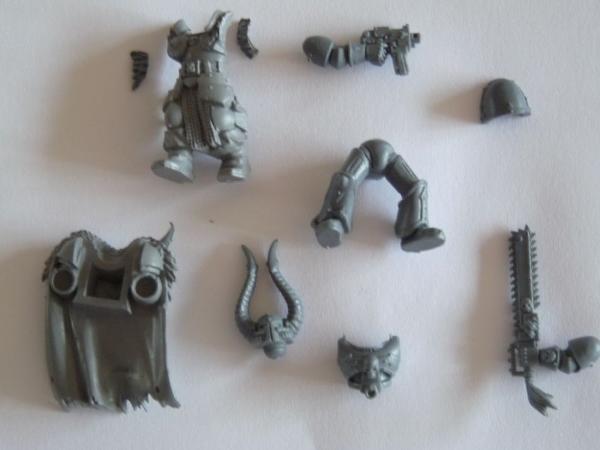
-1 WoC front body
-1 WoC cloak
-2 arms from the CSM/SW sprue
-1 power armor breastplate
-1 shoulderpad
-1 head
-1 backpack (missing on the picture)
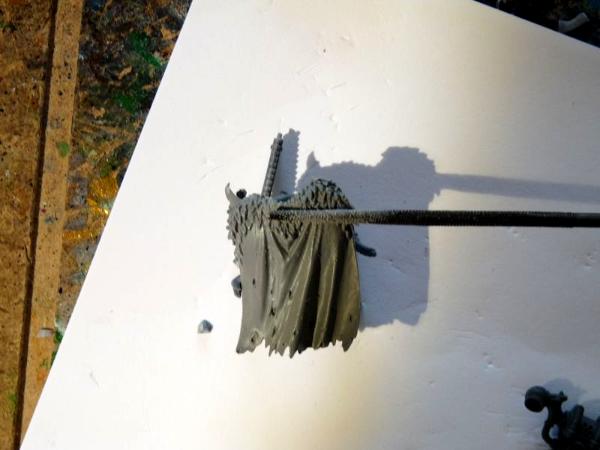
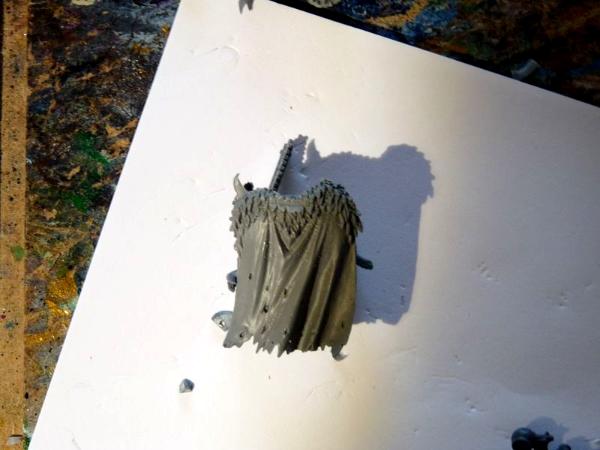
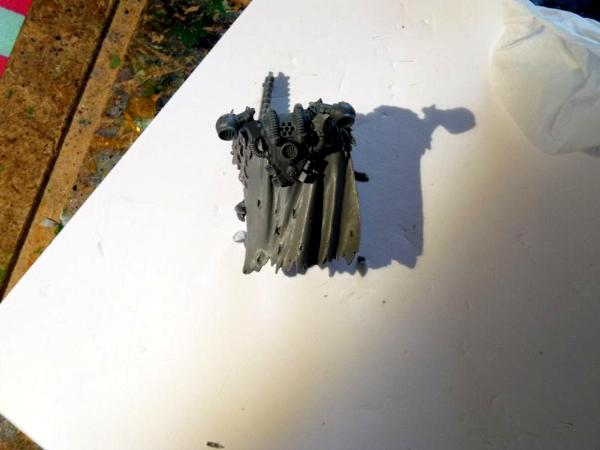
2) remove the WoC assembling elements from the cloak

you'll get this:

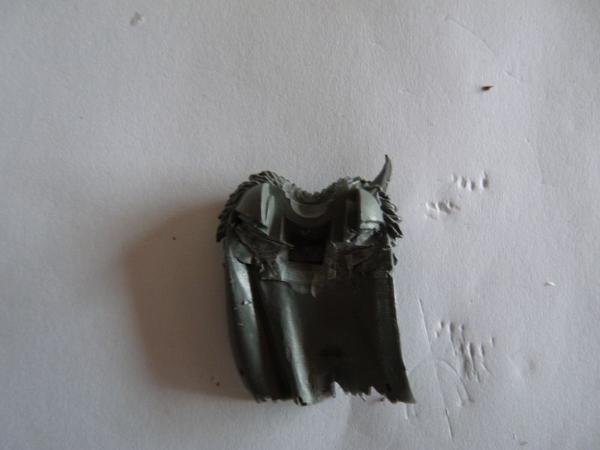
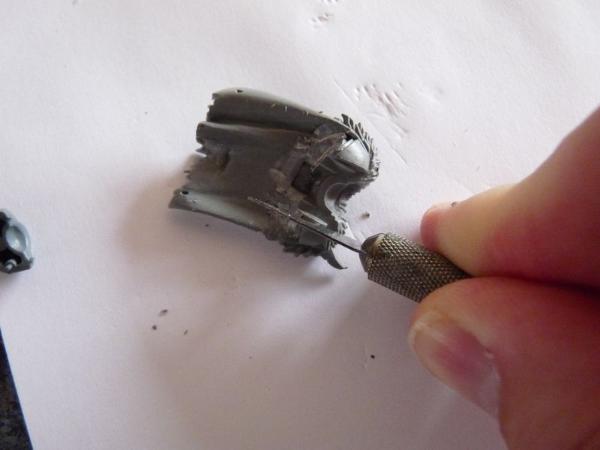
The space between the WoC shoulders is too narrow for the next step, you'll have to resize it a bit.


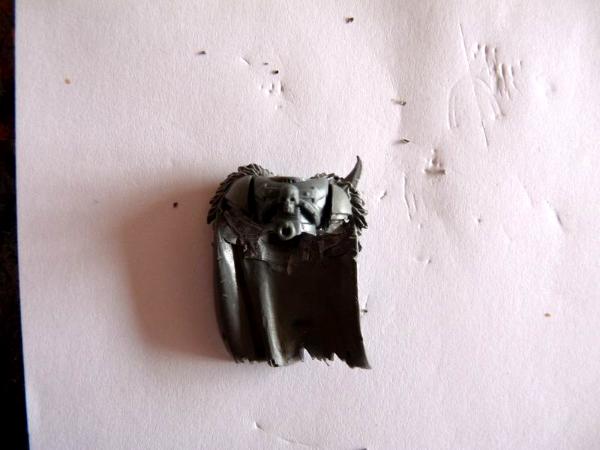
3) now you can put the breastplate in place:


4) once the breastplate is glued, you have to reshape the WoC shoulders like this:


5) Now take the shoulderpad and cut it in two halves like this:


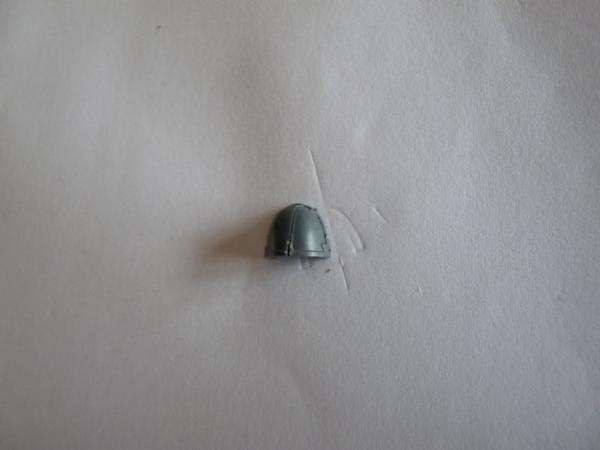
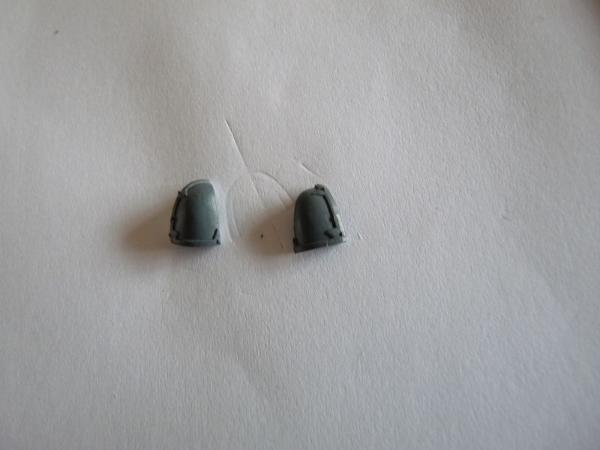
6)Glue the two halves on both sides of the breastplate:


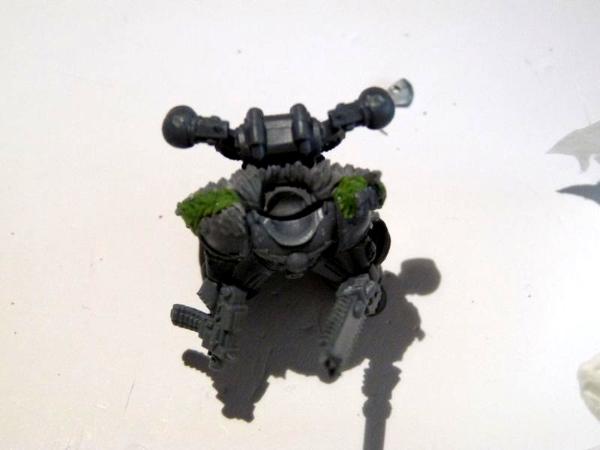
7)You can now glue the legs (no pics! did you really need it anyway? )
WARNING: you'll notice that the length of the cloak is the same as the lengt of the body. You'll have to adapt the base according to this point.

8) take the arms and reshape the shoulders like this:


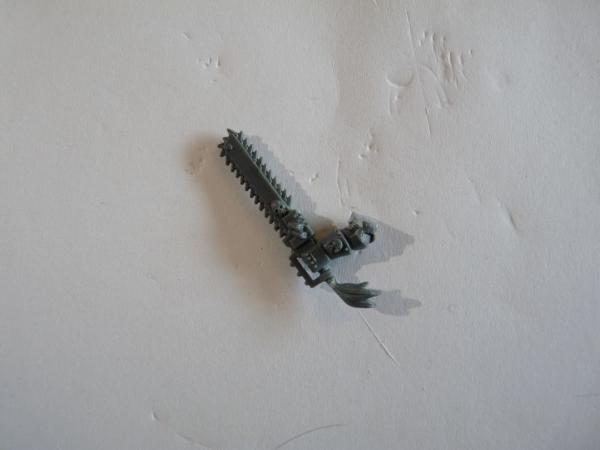
9) Now put the arms in place and glue them:


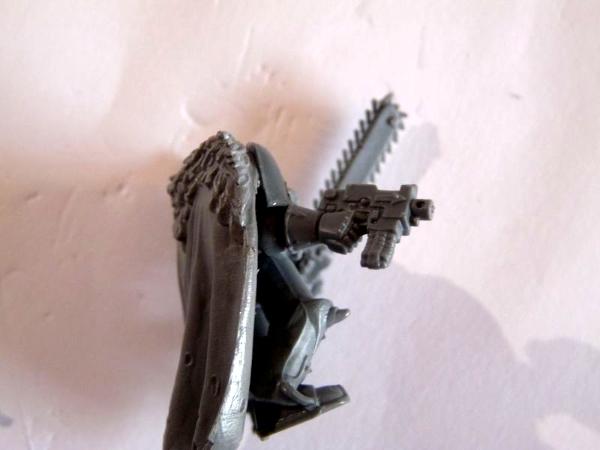
10) Cut the fur off the WoC front body:

and glue them over both half shoulderpads, this way:


11) use Green Stuff to fill the space between the fur parts:

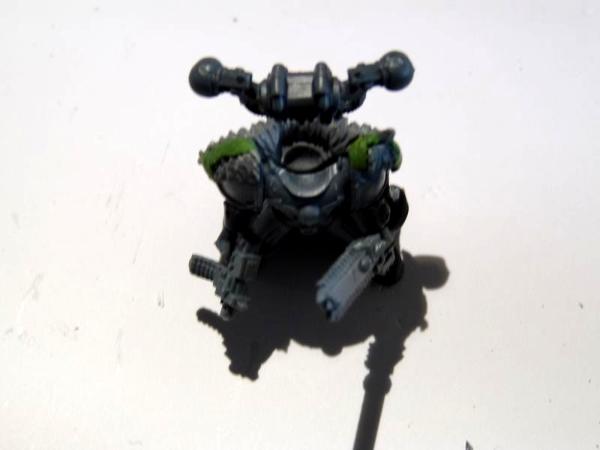
and shape it like fur:


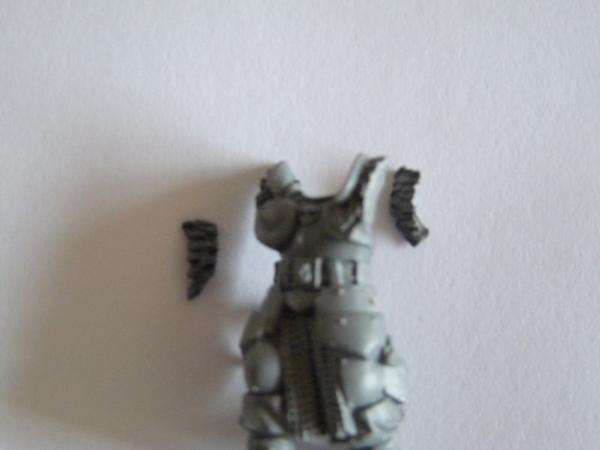
12)file the cloak there:

this is where you'll glue the backpack:

like this:


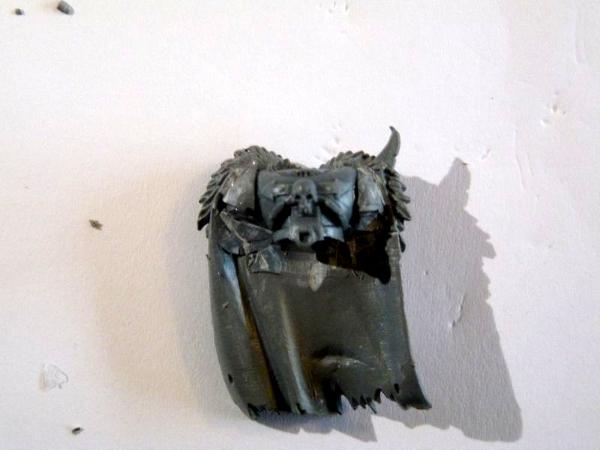
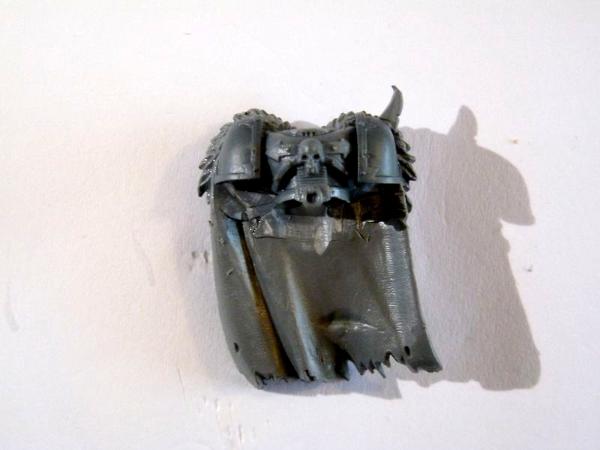
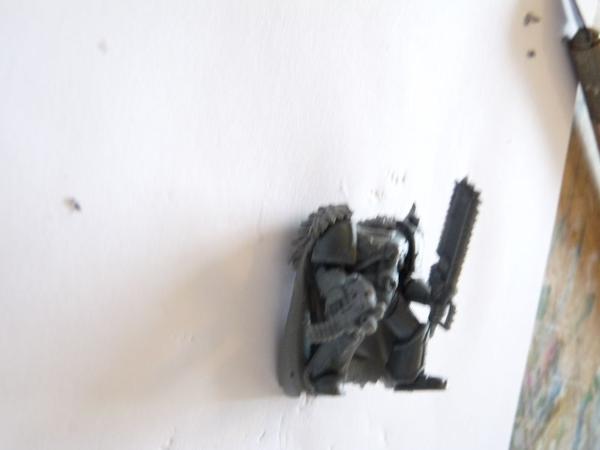
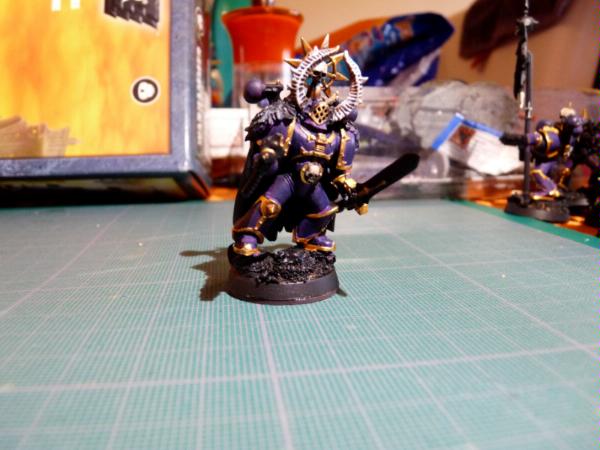
Now glue it on a base, put a head on it and the job's done.

Here's one of my finished ones:


I will try to improve this technique (arms and shoulderpads) I'll post pics as soon as I'll get time to work on it.

I hope it will help you.

Hyenajoe.


Made in dk
Nurgle Predator Driver with an Infestation


Denmark

Ooohh.. Interesting way to make champions. A nice and straightforward tutorial. I like it

"Not only is life a bitch, but it is always having puppies." --Adrienne Gusoff
"Put enough ranks in it, and you don't NEED combat skill" 
   
Made in us
Wolf Guard Bodyguard in Terminator Armor


Utah

I saw a guy with a army just like that nice to know how he did it

DR:90+S++G++M+B++I+Pw40kPwmhd+ID+++A++/wWD359R+++++T(M)DM+
Deff Gearz 2,000+pts. (50% painted), Retribution 57pt.(70% painted), FOW British Armoured Squadron 1660pts. (15% painted)


Made in us
Stormin' Stompa


Rogers, CT

I may do this

   
Made in gb
Servoarm Flailing Magos


So might I

"Praise Be To The Omissiah!"

"Three things make the Empire great: Faith, Steel and Gunpowder!"

Azarath Metrion Zinthos

Expect my posts to have a bazillion edits. I miss out letters, words, sometimes even entire sentences in my points and posts.

Come at me Heretic. 
   
Made in ca
Storm Trooper with Maglight


Vancouver

I must do this for my chosen!

Link to my Gaurd blog, PLease Coment!: http://www.dakkadakka.com/dakkaforum/posts/list/497565.page#0  
   
Made in gb
Thunderhawk Pilot Dropping From Orbit


London, England

Wonderful, I was thinking about getting some warriors to do Doghouse's templar conversion with, this has just doubled the appeal of getting that set, many thanks.


No trees were hurt in the making of this sig, however many electrons were disturbed.


Forum Index » Painting & Modeling Tutorials
Go to: