Switch Theme:

How to make Really cheap barbed wire!  [RSS] Share on facebook Share on Twitter Submit to Reddit
»
Author Message
Advert


Forum adverts like this one are shown to any user who is not logged in. Join us by filling out a tiny 3 field form and you will get your own, free, dakka user account which gives a good range of benefits to you:
  • No adverts like this in the forums anymore.
  • Times and dates in your local timezone.
  • Full tracking of what you have read so you can skip to your first unread post, easily see what has changed since you last logged in, and easily see what is new at a glance.
  • Email notifications for threads you want to watch closely.
  • Being a part of the oldest wargaming community on the net.
If you are already a member then feel free to login now.


Made in gb
Grey Knight Purgator firing around corners


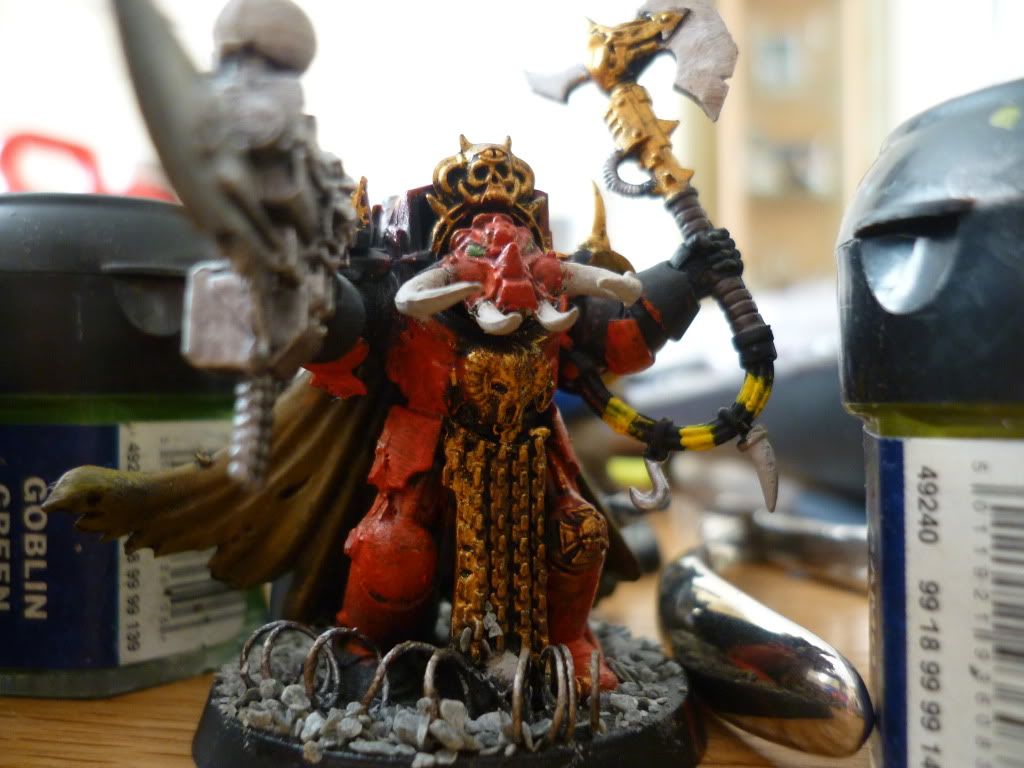
Ok I have used Barbed wire on my chaos marines to emphasise they fact they fight in cites a lot.


Things you will need.
Florist Wire (this is really cheap, you can do a whole army with 1 roll, it costs £1.56)
PVA glue
Whatever you use to base
Old paintbrush
Boltgun Metal
Mithril Silver


WARNING, THE WIRE IS SHARP
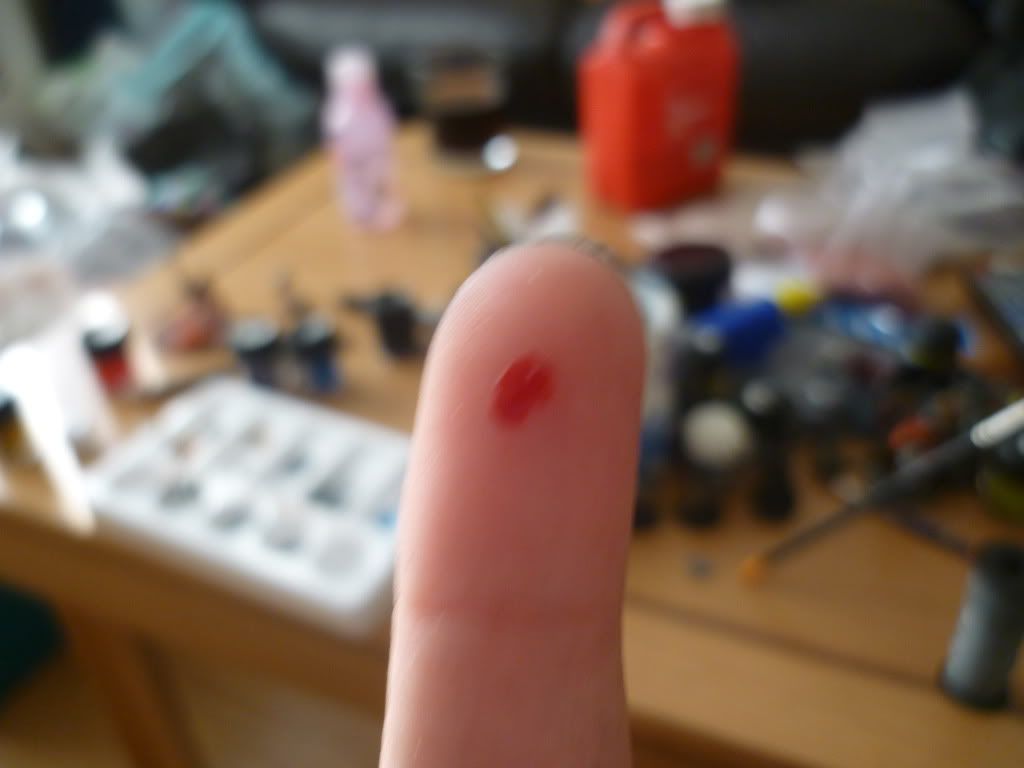
(ouch!)

1. Grab the Paintbrush and the wire, and reel off a small amount, then start to wrap the wire around the paintbrush.


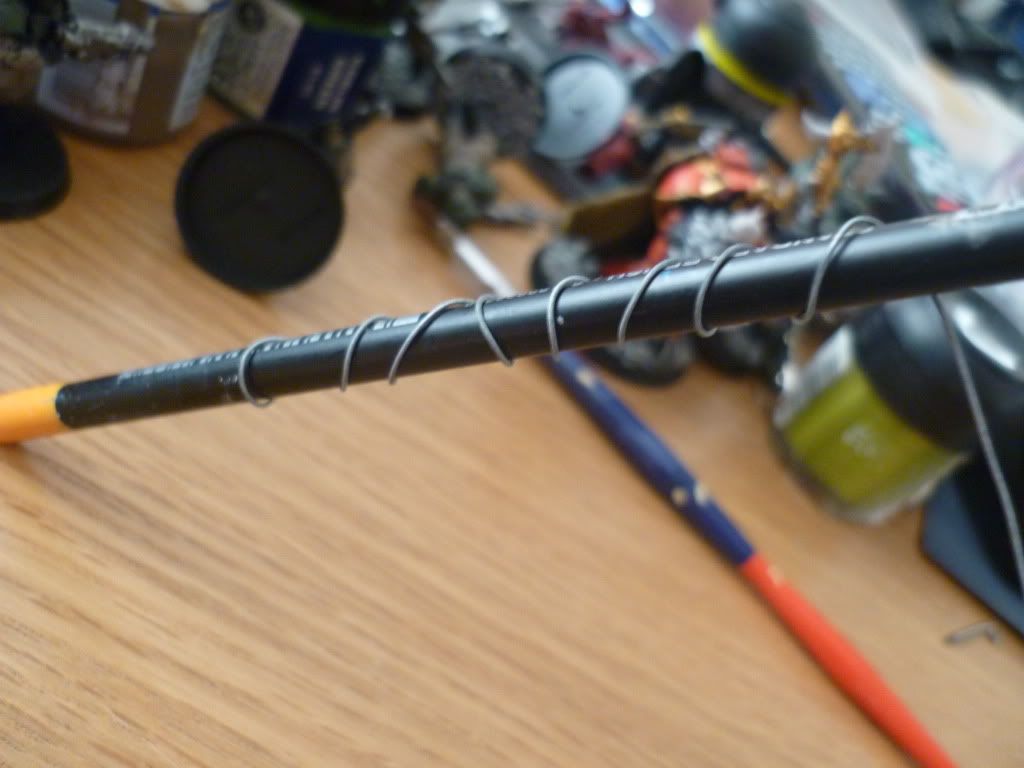
2. Once happy with the amount, Grab your clippers and clip the wire off the reel leaving it on the paintbrush.
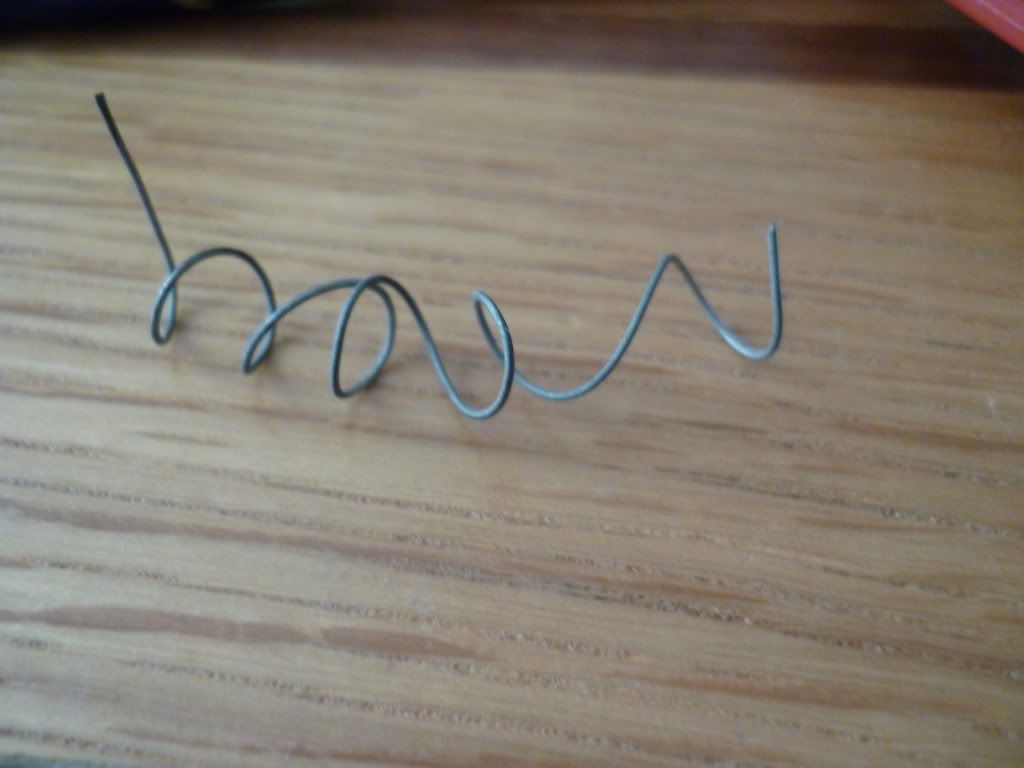
3 Pull the wire off the paintbrush and expand if neccesry, Once done clip off the amount you need for your base. Normally you can do 3 bases on one go.


4. Once based Put a small amount of PVA glue on the base and put the Wire down on it.
5. Grab a good paintbrush and paint it Boltgun metal.
6. Give the wire a light drybrush of Mithril silver.


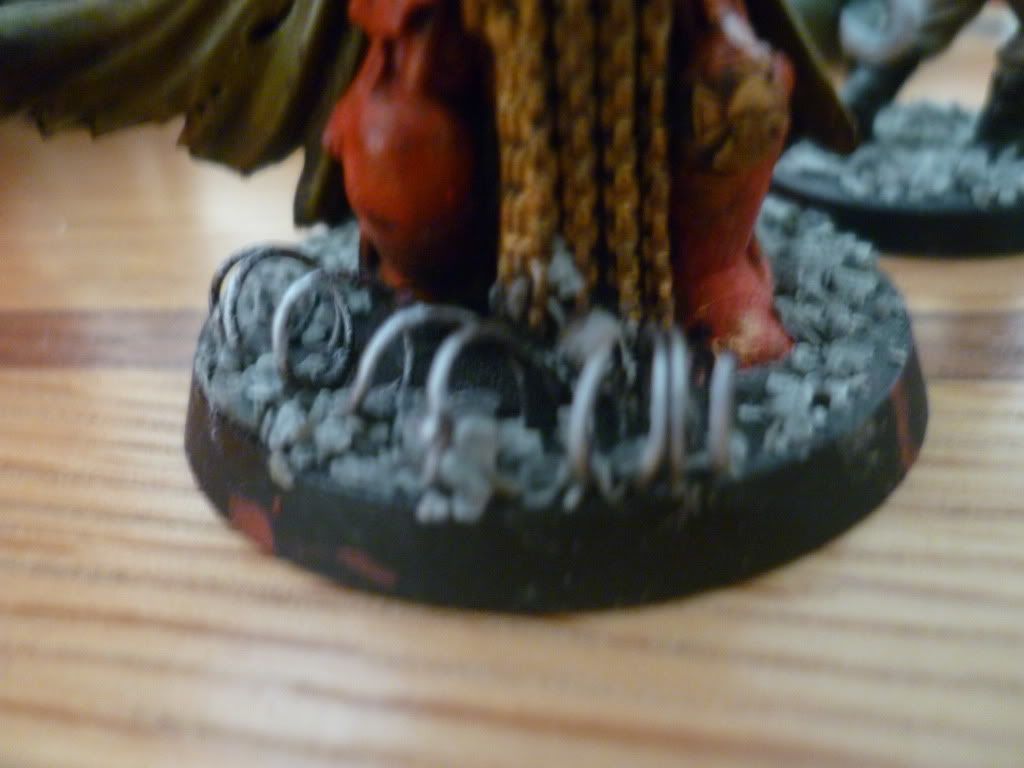
And you are done, it should take 10 minutes top! You could use this between posts to make barbed wire terrain.


Made in us
Drop Trooper with Demo Charge


While this is simple it doesn't look like barbed wire to me, and your terminator could use a wash!

"There are three things I need to win a war,men,guns and coffee!"

Armies so far: W/L/D
1250pts. 1/1/2
2500pts. 3/4/2 
   
Made in nl
Fresh-Faced New User


it is good but you can do ti better like anoder wier around it
   
Made in au
Incorporating Wet-Blending


Australia

I agree with FragGrenade, that doesn't look like barbed wire.

I think a better way would be to find wire mesh with an appropriate spacing, then cut strips out of it.

"When I became a man I put away childish things, including the fear of childishness and the desire to be very grown up."
-C.S. Lewis 
   
Made in us
Gargantuan Gargant


Binghamton, NY

There are several ways to do barbed wire, most of which involve wrapping and subsequently clipping multiple wires. Closely clipped wire mesh, like AlexHolker mentioned, is another method that looks pretty good. Whatever method you use, the key to barbed wire is barbs.

This may sound a bit harsh, but don't be discouraged. It's nice that you're trying to offer advice and all, but this is A) painfully simple (as in, "common sense, no tutorial warranted") and B) not very effective, visually. If you kept your coils even and called it a discarded spring I'd believe it, but this just isn't barbed wire. Check out some of the other tutorials floating around, though, if you'd like to improve the look of your models.

The Dreadnote wrote:But the Emperor already has a shrine, in the form of your local Games Workshop. You honour him by sacrificing your money to the plastic effigies of his warriors. In time, your devotion will be rewarded with the gift of having even more effigies to worship.
 
   
Made in us
Monstrous Master Moulder


Secret lab at the bottom of Lake Superior

Looks like great wreckage and detrius from buildings/cars, but, no barbs. However, on a tabletop, I don't think I'm going to notice tiny barbs wrapped around a paper clip, so I'd call your quick tip good. nice tutorial and good job with the pics, though.

Commissar NIkev wrote:
This guy......is smart


Forum Index » Painting & Modeling Tutorials
Go to: