= The Trick =
The trick with painting a Blackstone gem of
any color is the black (Woah, how deep is that?!). For other Gems the base coat is often fully painted over, but for a Blackstone you let the black do the job for you. This is an important point; A blackstone Gem creates the illusion of color and shine. The most difficult thing about the gems is the need for small fine detail lines, but with a little bit of practice these are easily accomplished. Besides the worst thing that can happen is to repaint it black and start again. So let's begin:
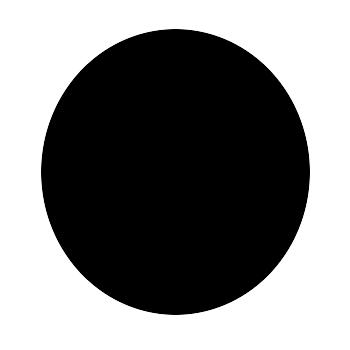
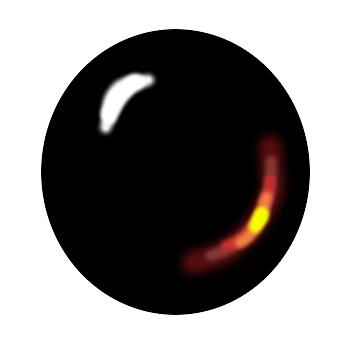
== Stage one: The Black ==
You're gonna want a base-coating that is black, but different from an undercoated black. The black that comes from an undercoat is a matte black, but that's not gonna cut it for a gem. Personally I use a 1:1 mix of black ink and Vallejo Flat Black. Apply this thinly over the entire area of the gem.
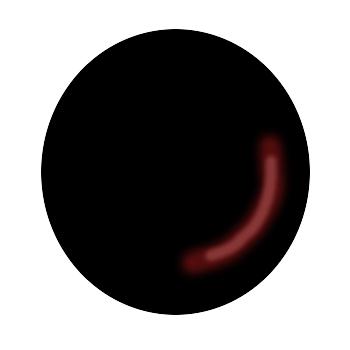
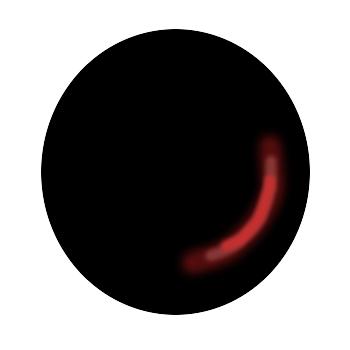
 == Stage two: Beginning Color ==
Now before you add any color you have to choose where the light is going to be hitting the gems. This will dictate where the color will be. The color will always be opposite where the light is hitting. EG: If the light is coming from the left, the color goes on the right of the gem. You're going to want to start with the darkest version of the color you want the gem to be. I've chosen red for the example, but it works with any color. The first line of color is the largest. It goes one quarter around the gem. Make sure to leave some of the black around the rim. This can also be the broadest line.

The second and third lines are a general lightening of the color. Each line is smaller than the proceeding one, both in terms of length and width. It's important to stay within the color lines, otherwise you lose some of the illusion of sparkle.
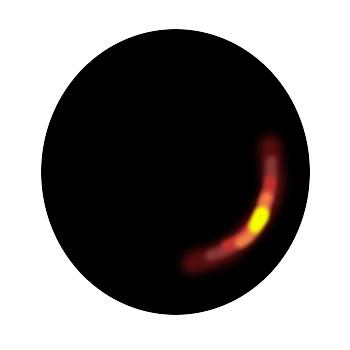
 == Stage three: Defining the color ==
Now we want to give the color part that final hit, These final definitions are of sharp contrast to really make it pop, but are also of the smallest to do. The final color is a dot of the highest highlight. In this case yellow.

 Stage four: The Glare
Now that the color is done the final part is to add the glare where the light is actually hitting the miniature. This glare goes directly opposite the color you've added. Regardless of the color you have used the glare is always a white. I prefer to use an off white, rather than a straight white. Some people will tell you that the glare is meant to be a dote, but I think it needs to be a very small line hugging the curve of the circle.
Once you have finished the entire miniature it's good to use a high gloss varnish on the gem to really give it a shine.
= The Result =
When you get the hang of these gems you'll find them very easy to do; because trust me if I can learn to do them, anyone can.
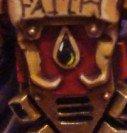
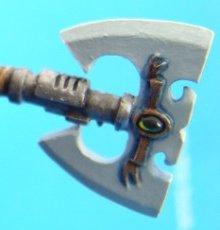
Finished Examples:
Well, that pretty much covers everything. I hope that helps ^_^


 "Whilst we stand, we fight. Whilst we fight, we prevail. Nothing shall stay our wrath"
  Guilliman and the Ultramarines are like Manchester United, everyone hates them because they are so awesome!


 The Sanguinius: because you wished your primarch rocked this hard!


