|
Good that you've found someone to give you pointers this early on. You're already thinning your paints and it shows - the finish on everything here is nice and smooth and the modeled details are still crisp.
Minor points of improvement before you tackle the next big jump (washing and drybrushing are great shortcuts, at first, then traditional highlighting, shading, blending, etc. really start to flesh out your skill set) in technique:
Model prep - Relatively simple things like cleaning off mold lines and drilling out gun barrels take time, but they go a long way towards giving models a more finished, "realistic" look - sprue vents, seams, and flash scream "plastic soldier" (and we all know that our minis are SO much more than that. Really. They are. Don't give me that look. STOP JUDGING ME! *cough* Right, back on topic...).
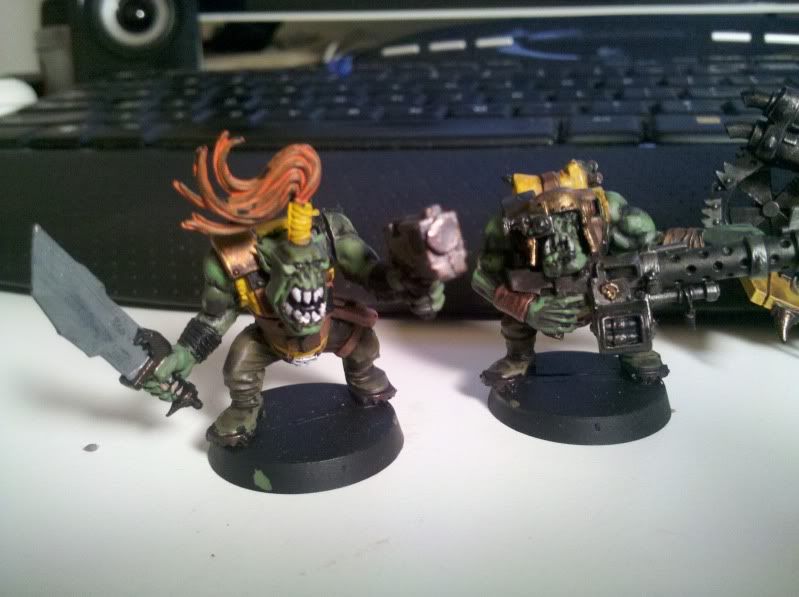
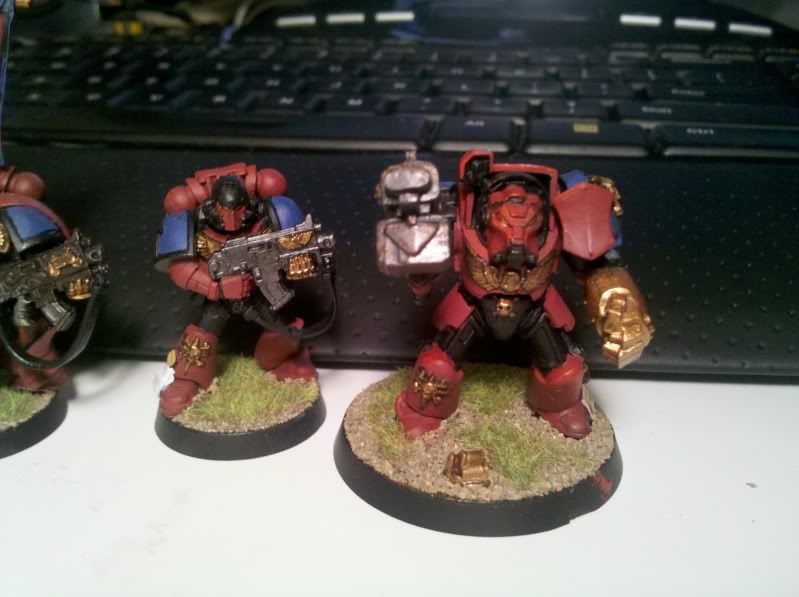
Coverage - You've gotten an even coat of both red and yellow, but the shade leads me to believe you've been using foundation paints. If that's the case, I can't be sure whether you've had to deal with the downside of thinned paint. yet - coverage. Really, it only seems to be an issue on the slugga boy in your first picture (at second glance, the blue border of the captain's banner looks a tad weak, as well). Both the gray of the choppa blade and the orange of his hair squig could do with another coat to strengthen and even out the color. The hair, particularly, looks to suffer from unintentional wash syndrome - watery paint pooling in the recesses, leaving strong color in the cracks and chalky splotches everywhere else. To avoid this, take care not to overload your brush. Very dilute paint tends to wick up into the bristles and flood the first area you touch your brush to. Don't be afraid to soak off the excess on a paper towel, first. I promise, there will still be paint left on the brush and it will be far more likely to stay where you put it.
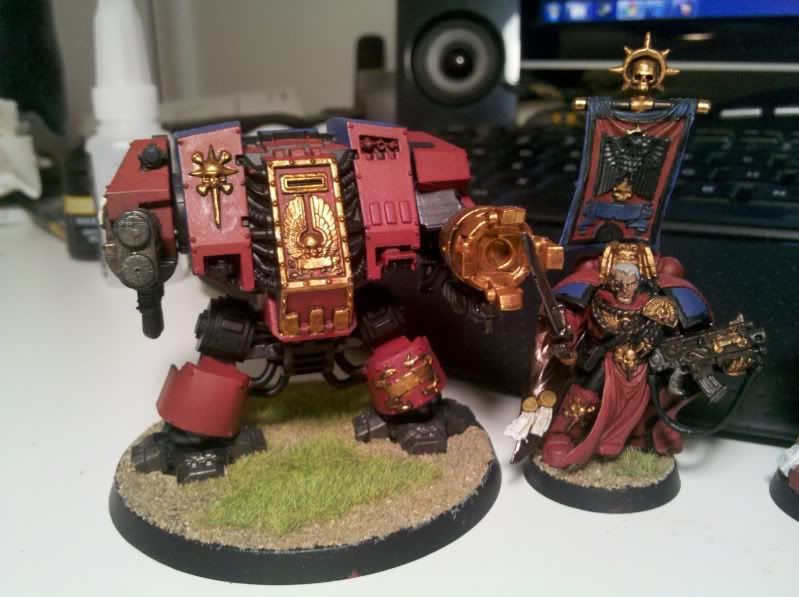
Detailing - You've paid attention to quite a few of the various bits and bobs - scrolls, teeth and nails, glyphs, etc. - but not all of them. The dread is the model that suffers, here, partially because of the sculpt. Dreads have lots of flat panels that leave monotonous fields of color, if left alone. There are lots of exposed cables around the sarcophagus and hips, as well as a few lenses on the left shoulder, call crying out for some paint. Picking out those details will help break things up a bit. Lenses, jewels, and eyes are also a great place to introduce some contrasting colors that help give models a bit of visual "pop" or complimentary colors to help tie a color scheme together. I had to look very closely at your terminator, for example, to see that his eyes had been painted, at all. Green to contrast the red or blue to match the shoulder pads would serve you much better.
On second thought, perhaps I shouldn't have called those "minor points." Really, they're very important fundamentals. What I meant to stress in calling them minor is that you're off to a very strong start, so you don't need to change too much of what you're already doing to see noticeable improvement.
|


 Templars 1800pts
 Guard 3600 pts
 Ba 3400.
  Grey Knights 3600 pts
  Wot! Grot damn it!

