 - by Iain Wilson
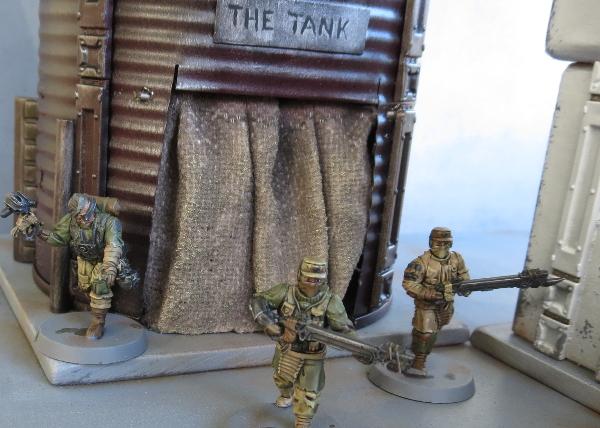
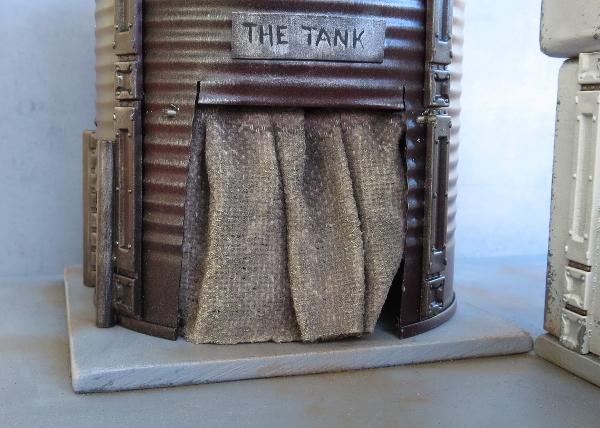
Last week I put together the second part of my Broken settlement, with some buildings made from a cardboard gift box and an old fruit tin. The fruit tin still needed a door covering, and I wanted something that looked sufficiently rough and ready. I decided to go with an old blanket to serve as a makeshift door, which wound up looking like this:
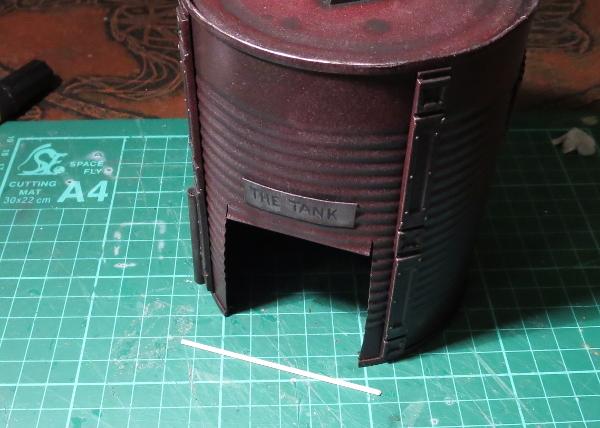
To start with, I took a length of plastic rod and cut it to run across the doorway with a little overhang on either side. This would eventually sit in place at the top of the doorframe, poked through a couple of holes drilled into the tin on either side.
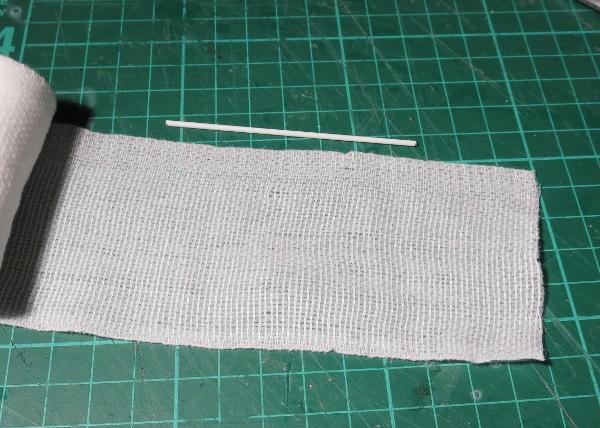
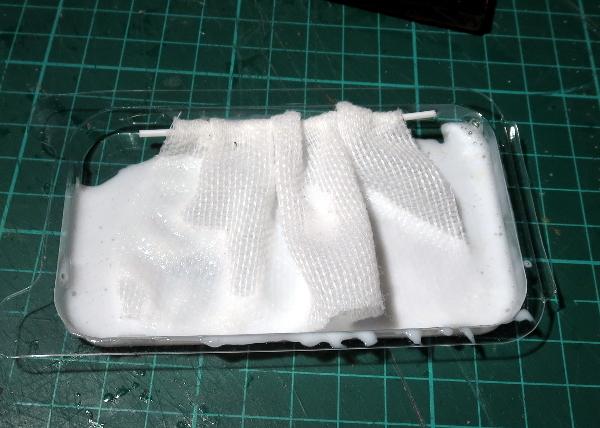
I then grabbed some crepe bandage and cut a piece a little longer than the rod, to allow it to bunch up. Bunched curtains look more interested than a flat sheet, unless you want to paint a design on, in which case a flatter surface is going to be easier to deal with.
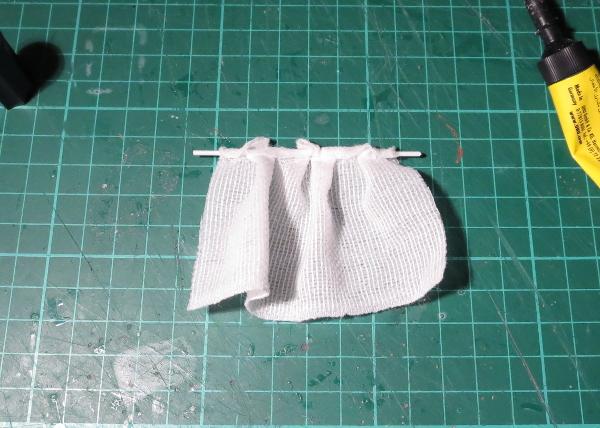
Next I glued the bandage over the rod with some superglue, bunching it up so that the ends of the rod were sticking out, and folded over the rod far enough so that the bottom of the blanket would just touch the ground when hung in place.
Now comes the messy part - I mixed up some PVA glue with a little water. The exact amount of water is going to depend on how runny your PVA glue is, but you're aiming for around the consistency of pouring cream.
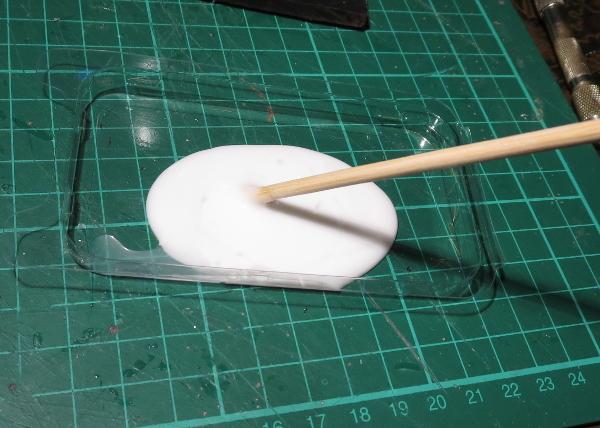
Then I dropped the bandage blanket in the glue and let it soak right in. When the glue dries, it will stiffen up the cloth, so you want it good and soaked through. If the glue is too thick, it doesn't soak in as well and you wind up with some parts of the blanket that are still soft and floppy, and others a goopy mess.
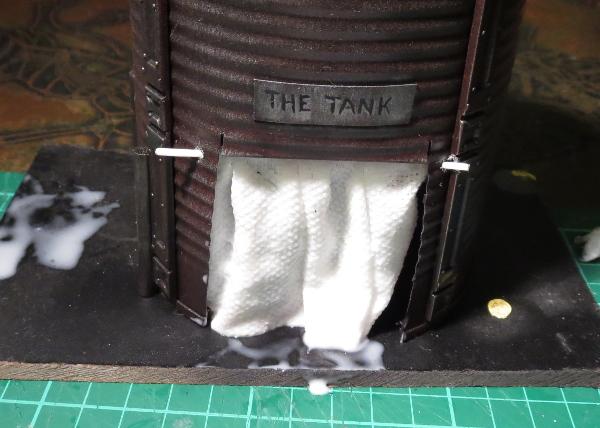
Once the bandage was nice and gluey, I hung it in place and arranged the folds to look as natural as possible, and then left it sit for two days to give it plenty of time to dry. Once dry, it will be stiff, but still slightly flexible. If it's too soft and doesn't hold its shape, you can stiffen it up a little more by painting on some additional glue, but try not to put it on too thick and fill up the weave of the fabric. If you have a brush-on superglue, you could also paint some of that onto the back of the blanket if it is accessible, but again, be sparing so you don't soak it into the weave and destroy the blanket look.
When the glue is properly dried, it's time to paint. I started out with a layer of Army Painter Strong Tone, but you could use whatever colour fits your terrain. If you use a wash or ink, make sure you give it plenty of time to dry, as the watery paint can cause the PVA glue to soften up again.
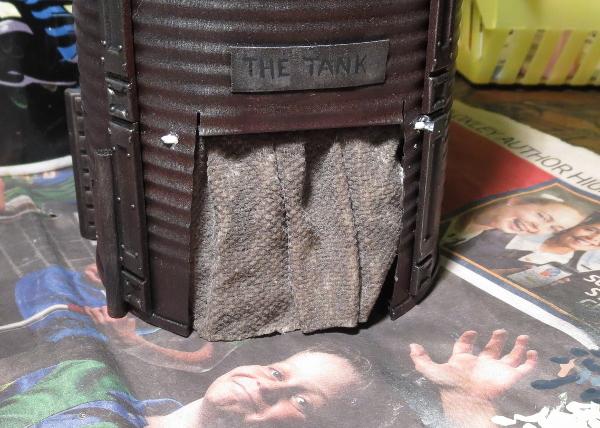
Once the wash was dry, I carefully drybrushed with some bone and white to highlight the raised parts of the blanket, and added a little more wash into the deeper creases for some extra shading.

And that's a job done!
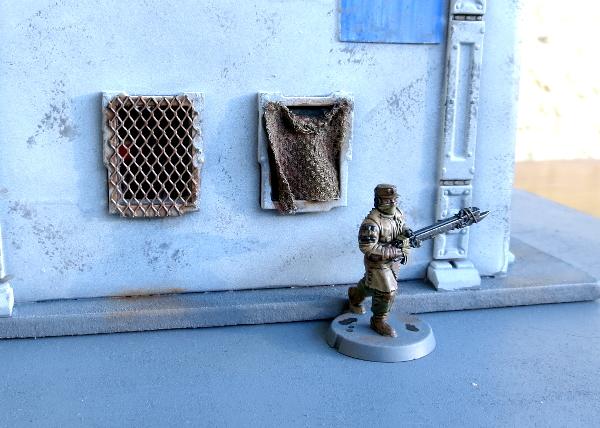
You can also use a similar technique to hang blanket coverings over windows. On this one, the blanket is tacked onto the outside of the window frame. To attach the soaked bandage to the window, I added a drop of superglue to the top corners, let that set, and then carefully teased the wet blanket into the shape I wanted it:
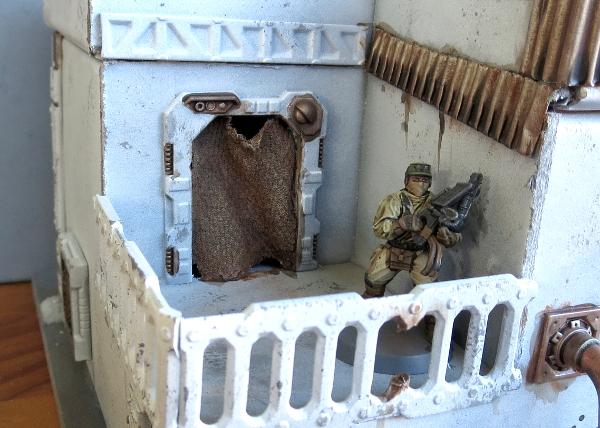
The same was done here to hang a blanket inside this door frame. This is a door piece off the Maelstrom's Edge terrain sprue with the door cut out of the frame. The blanket is superglued in place at the top corners and down the sides of the door frame and then shaped and left to dry.
On my next terrain project, I'll also be using this to add some canvas roof coverings to a building that's seen better days... Stay tuned!
To build your own stellar refugee settlement, you can pick up the Maelstrom's Edge terrain sprue along with the rest of the Maelstrom's Edge miniature range from the webstore here. As always, feel free to share your creations on the Comm Guild Facebook page!
For other Maelstrom's Edge modeling articles, including tutorials and walkthroughs of a wide range of different building and miniature projects, check out the article roundup here.


