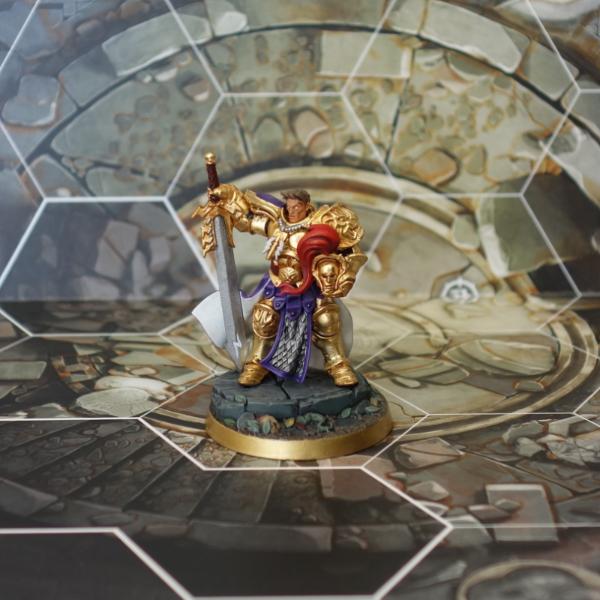
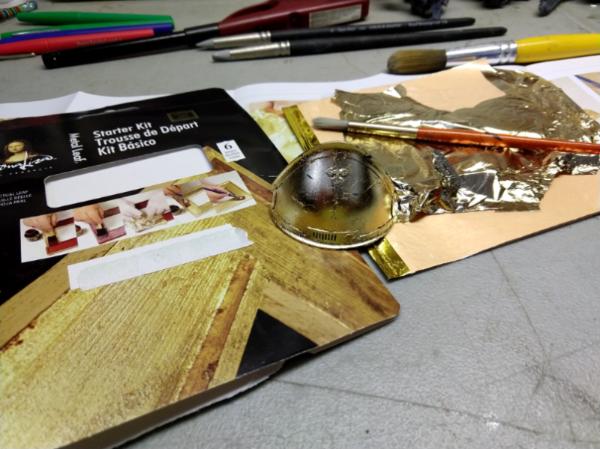
Fig 1 shows Steelheart’s Champions Stormcast Eternals from Shadespire with a unique twist: their signature gold armour was not painted, but created with gold leaf (well, imitation gold leaf, which is coloured aluminum). The golden armour in this picture is a thin metal sheet applied over the minis, held in place with a special glue called size. The base ring was painted with Vallejo Liquid Metal (VLM) Rich Gold, one of the best-looking metallic paints available, but the armour makes it look uninteresting. Read on if you’re interested in how I finished these minis.
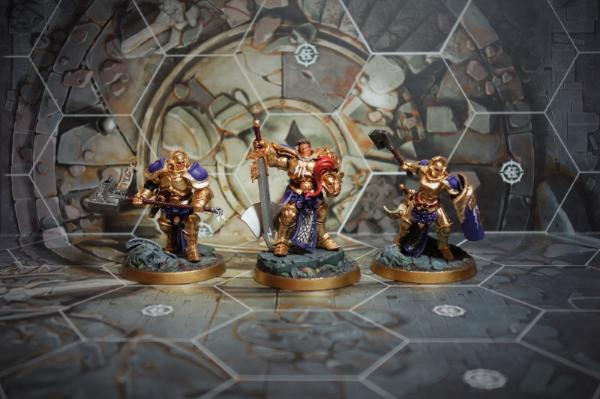 Fig 1: Steelheart's Champions from Shadespire. From left to right: Obryn, Steelheart, and Brightshield.
The main reason I am posting my process here is so that someone else can see the results and establish if it is something they want to try. It is a lot of work and a relatively difficult gilding project. I would not recommend doing an army with this method, it is far too much effort. In fact, it is so much effort that I will likely not do it again.
Research
Prior to starting any painting, I did some basic research to see if anyone had attempted something similar before and could only come up with was Fig 2, from Google Image Search. I don’t know who created the image but would love some additional information if anyone can provide it. Does anyone know if this “work in progress” was ever completed?
 Fig 2: The only other work I could find featuring a gilded stormcast.
Testing
Fig 2: The only other work I could find featuring a gilded stormcast.
Testing
I knew the minis would have to be gilded before assembly (the person doing the “work in progress” piece was obviously working in sections too, though they opted for an assembled mini) but wasn’t sure how an entirely gilded mini would look or how washes would behave. Obryn and Brightshield’s heads were selected for initial testing because they were small and relatively complex shapes, shown in Fig 3.
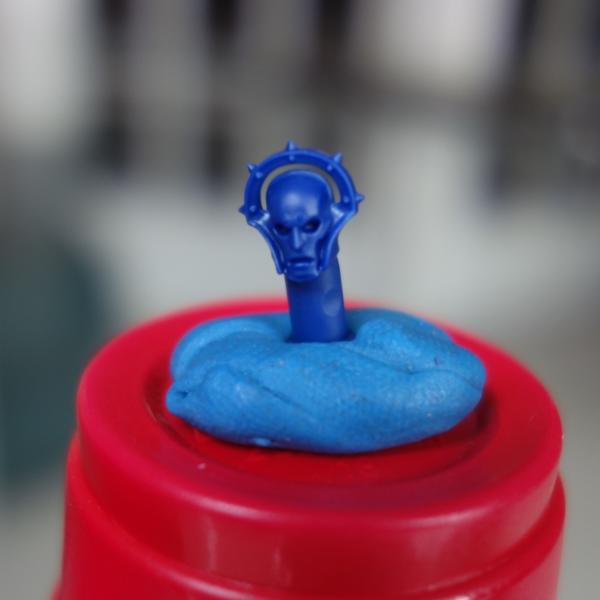 Fig 3: Obryn's head, fresh off the sprue.
The heads were primed with
GW Mechanicus Grey and painted gold with The Army Painter (
AP) Greedy Gold, which would help conceal any cracks in the leaf finish, shown in Fig 4. At the beginning of this project, I was not aware of Vallejo’s liquid metal series or I would have considered using it for a base gold layer. VLM Rich Gold was a good match to the leaf, though I used a water-based size and I’m unsure of how VLM Rich Gold would react to it.
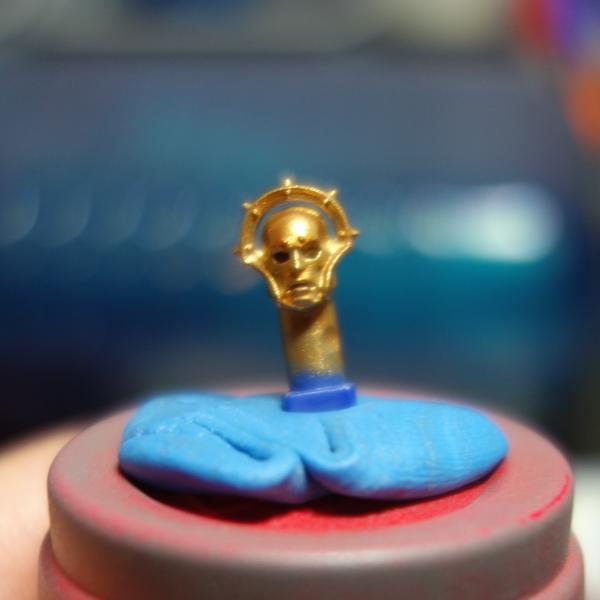
Fig 4: Obryn's head, primed and painted.
Water-based size was applied to Obryn’s painted head and allowed to become tacky. Size is a thin, flexible glue used specifically for gilding. It is a specialty product that is necessary to undertake this project. You can see the effect of tacky size on Obryn's gold head in Fig 5.
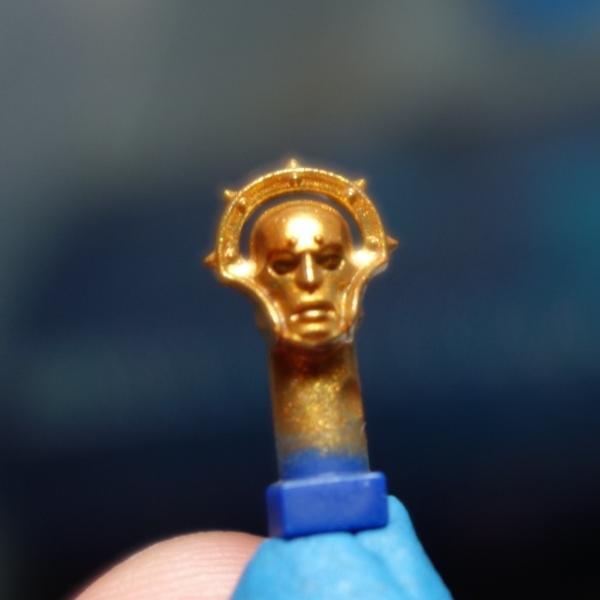 Fig 5: Obryn's head after a thin coat of water-based size became tacky.
Obryn’s tacky head was then wrapped in a sheet of gold leaf (shown in Fig 6) and the leaf was carefully fixed to his head with gentle pressure from a small drybrush.
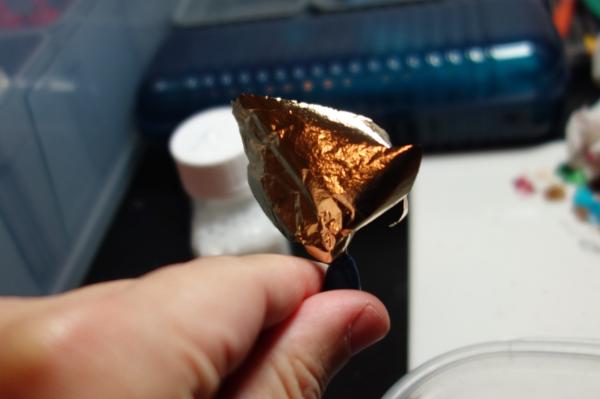 Fig 6: Gilding Obryn's head.
Excess leaf was removed by brushing it away with the same drybrush under light pressure. Heavy pressure will tear the leaf off the surface. This process was messy as there was a lot of excess leaf to remove. I worked over a collection tray so I could reuse the leaf than landed there… just don’t breathe heavily or the leaf scraps will blow all over. The gilded head was then sprayed with a clear acrylic gloss to protect the delicate gold layer, shown in Fig 7.
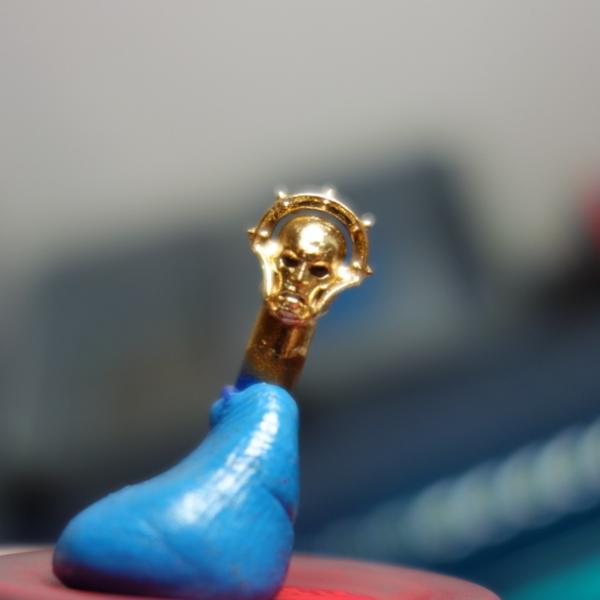 Fig 7: Obryn's gilded head.
Fig 8 shows an oil wash was applied over Obryn’s head. I had never worked with oil washes before and thought this would be a good opportunity to try because all the gilded components would have to be protected with clear gloss independent of the wash.
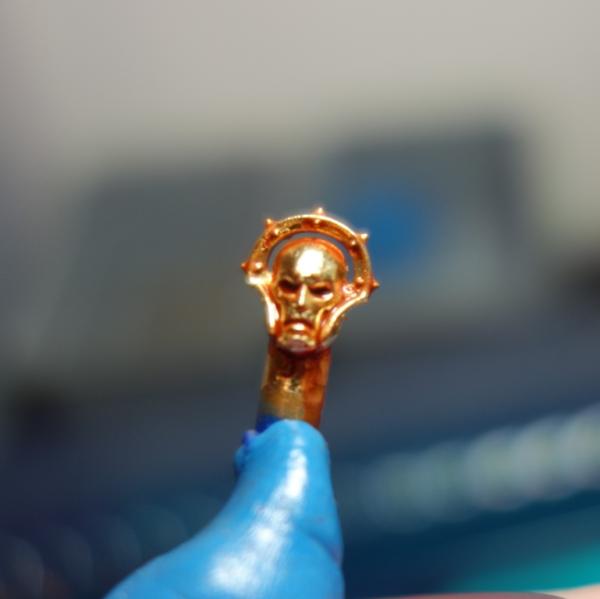 Fig 8: Oil washing Obryn's head.
Fig 9 shows Obryn’s head after the excess oil wash was cleaned away with a cotton swab, next to Brightshield’s head immediately after gilding. The wash dulled the gold down a lot and was difficult to remove. I decided to try a targeted wash of
AP Flesh Wash on Brightshield’s head once it was protected with clear gloss.
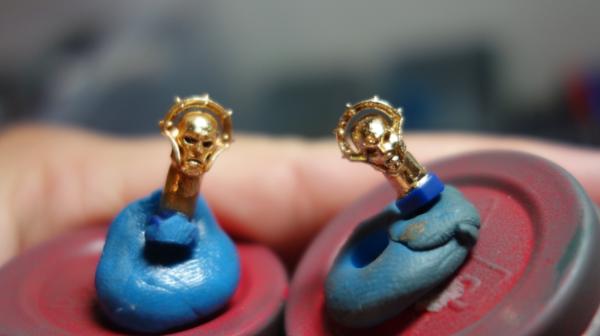 Fig 9: A comparison of Brightshield's raw gilded head with Obryn's oil washed head.
Oil washing was messy, so I tied a targeted
AP Flesh Wash on Brightshield's head, shown in Fig 10 next to her primed and painted (
AP Greedy Gold) torso. I was a little slack in doing the
AP Greedy Gold base layer because majority of it would be covered with gold leaf.
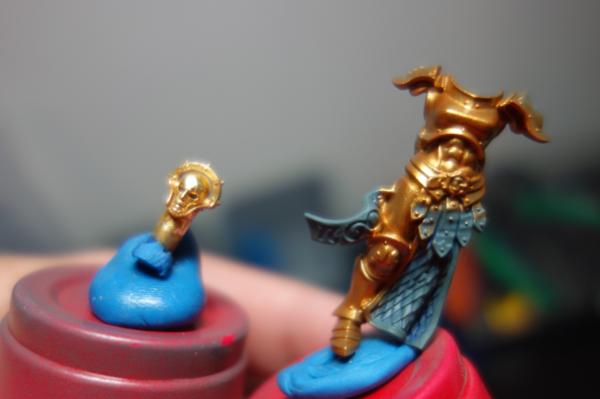 Fig 10: Brightshield's head with a targeted wash of AP Flesh Wash.
I was happy with Brightshield's head and had a viable system for gilding the minis: prime with Mechanicus Standard Grey, base with
AP greedy gold, gild, spray with clear gloss, then to a targeted
AP Flesh Wash. Painting would occur after that.
Production
Fig 11 shows Brightshields left arm, left leg, and back after gilding and protecting with clear gloss. Three sheets were used, one per region mentioned. No size was applied to gaps in the armour such as the space between her thigh and butt. Pure
AP Greedy Gold shows through there.
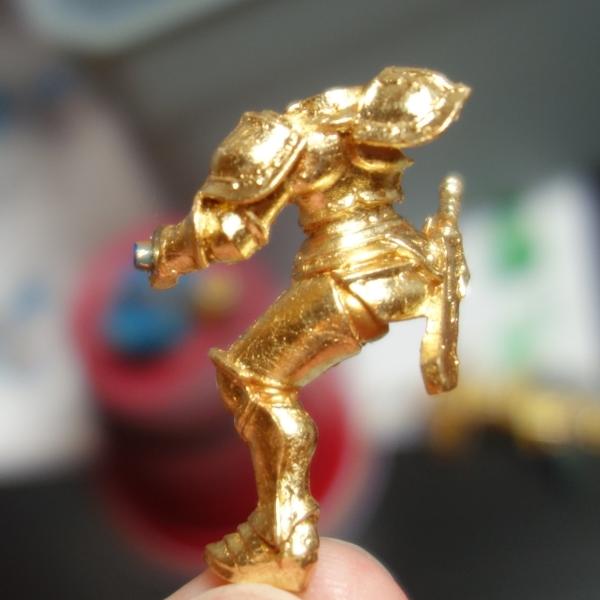 Fig 11: Brightshield's backside after gilding.
These Stormcasts were painted in the Lions of Sigmar colour scheme. Fig 12 shows Brightshield’s shield after a single coat of Vallejo Heavy Purple. It took about three coats of the heavy colour to completely conceal the gold leaf. You can see a bit of
AP Greed Gold on the golden hammer haft where leaf did not adhere correctly.
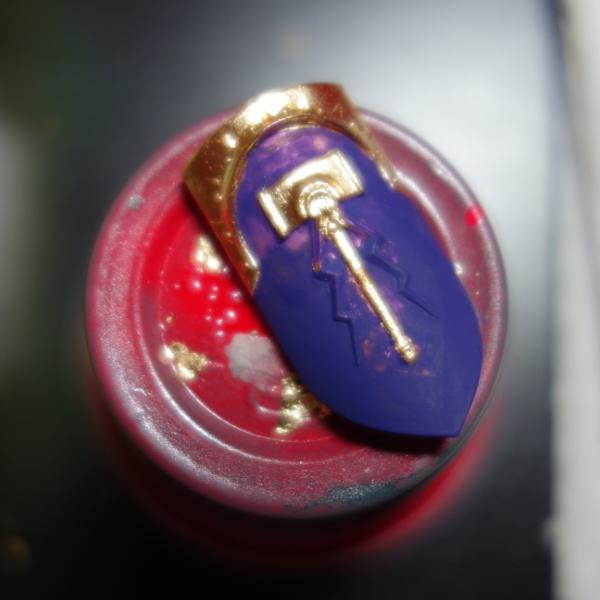 Fig 12: A single layer of Vallejo Heavy Purple on Brightshield's shield.
Size and gold leaf would occasional build up in places, usually the same regions washes would concentrate. It was difficult to determine where these buildups were on a newly gilded part because the brightness of the gold obscured it. Buildup usually became more apparent after the first coat of paint, meaning it would have to be removed once a portion of the model was painted, then paint would have to be reapplied. An example of buildup is shown in Fig 13.
 Fig 13: Gilding gunk buildup. It was a mixture of size, leaf, and clear gloss.
Gilding gunk was scraped away with a hobby knife. Size is sticky and flexible, so getting rid of it was not as easy as removing mould lines from a model, but a more painful scrape and pull process. Fig 14 shows the same region as Fig 13 after the buildup was removed.
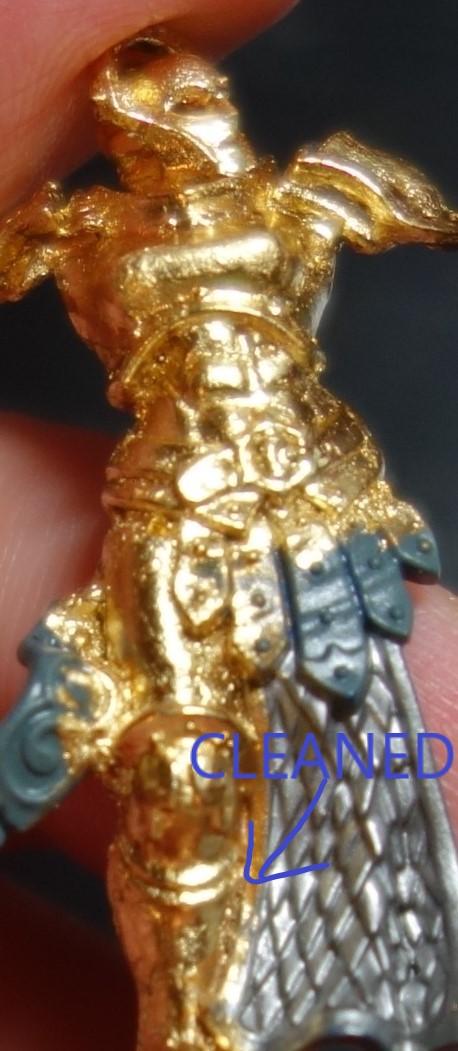 Fig 14: The same region as Fig 13, without buildup.
The major problem with gilding pieces before assembly was that there would be gaps in the gilded layers once the minis were put together. Steelheart and Obryn went together easily, but Brightshield’s right shoulder had a serious gap in down the middle of the pauldron. Fig 15 shows this nasty gap.
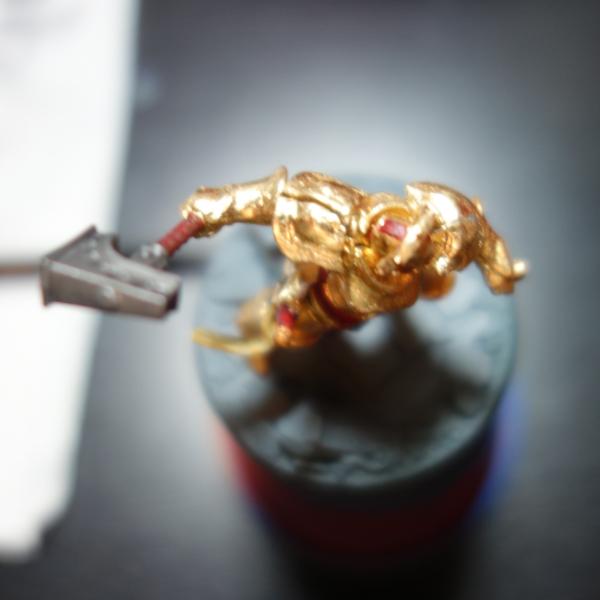 Fig 15: A gap in Brightshield's right pauldron.
I was able to fix it with a small amount of
CA glue and by pinching the front and back of the pauldron together. It was not an experience I care to put my fingers through again. The fixed shoulder is shown in Fig 16.
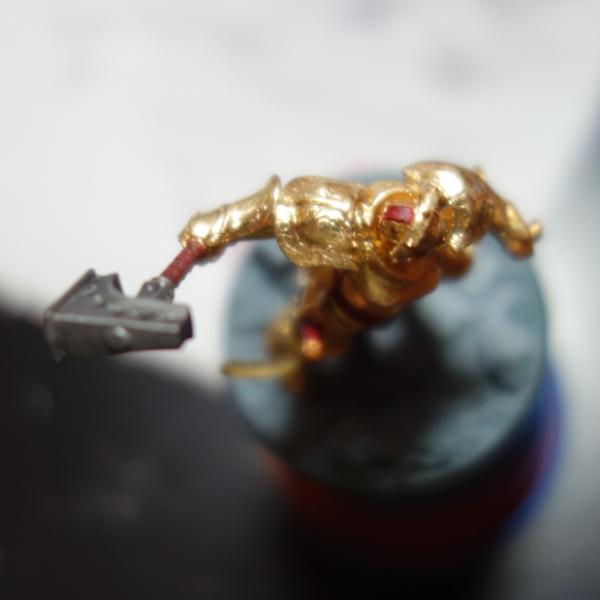 Fig 16: Brightshield's pauldron glued to close the gap.
I damaged the back of Brightshield’s right pauldron while minimizing the gap between front and back pieces, shown in Fig 17. This pic also shows some leaf that has come off the bottom of the shortsword scabbard. I don’t mind the contrast between leaf and paint, it gives the minis a bit of a worn look. I fixed the damage to the pauldron with VLM Rich Gold.
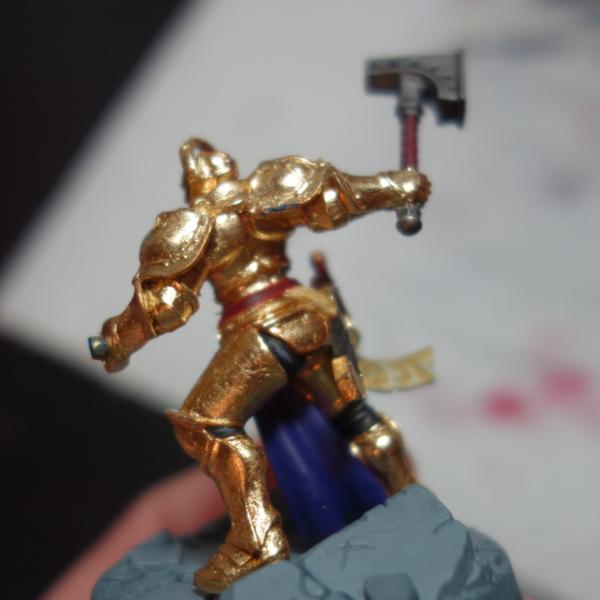 Fig 17: Damage to Brightsield's pauldron.
I painted as much as possible on pieces before assembling the minis. This was to avoid any slip ups. Paint that touched the gold leaf where it wasn’t supposed to had to be scraped off, either with a finger nail if access was easy or a hobby knife. Obryn’s head, front, and rear are shown assembled in Fig 18. The pauldrons were painted after assembly. The leaf had not been washed yet.
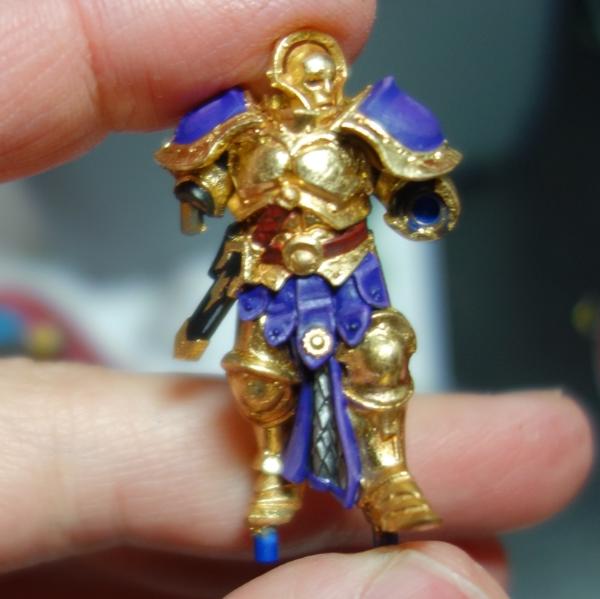 Fig 18: Obryn, painted and partially assembled.
Fig 19 shows Obryn assembled and washed with a targeted
AP Flesh Wash. His breastplate pectorals are
raw gold leaf, but the surrounding region (below and between) was washed. The area around the lightning bold on his left shin has been washed, as well as his feet.
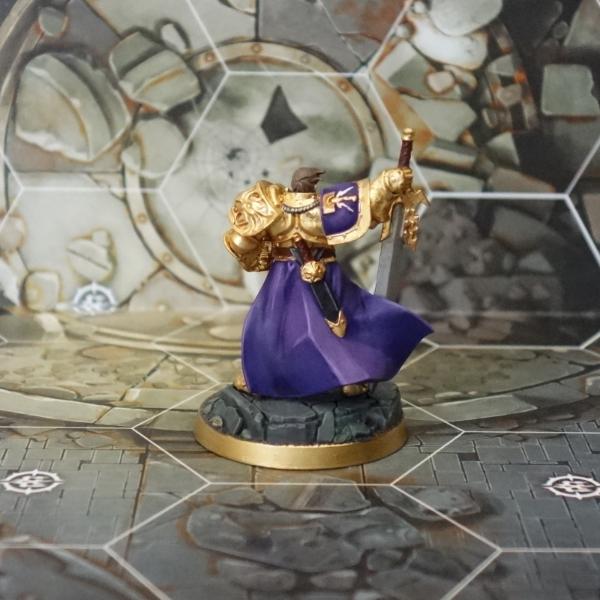
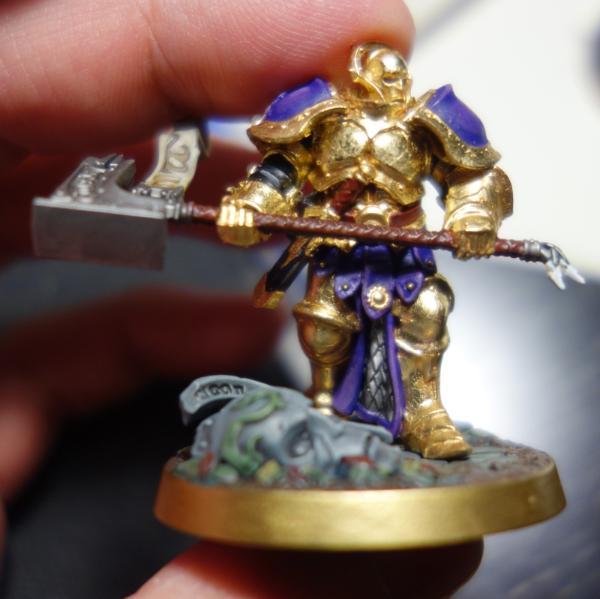 Fig 19: Obryn complete.
A comparison between a Knight Questor from the Warhammer Quest: Silver Tower box and Obryn is shown in Fig 20. The Knight Questor’s armour was painted conventionally with a base of
AP Greedy Gold, washed with
AP Soft Tone, then highlighted with
AP Greedy Gold. He looks OK, but pales compared to Obryn’s gold leaf armour. I have become quite fond of the subtle texture gold leaf provides to the armour. Tears in the leaf also look like wear. DISCLAIMER: I’m not a mini war gamer, so the Knight Questor is the only comparison mini I have.
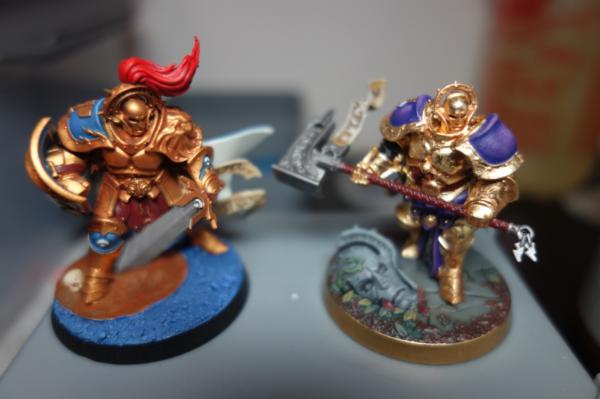 Fig 20: A comparison between a conventional paint job (left) and gilded armour (right).
Rivets on pteruges were painted with VLM Rich Gold. The sun decoration on Obryn’s pteruges was gilded with leaf. I missed the decoration on Brightshield’s pteruges and painted it with VLM Rich Gold. Figure 21 does an excellent job of showing the difference in brilliance of the two finishes.
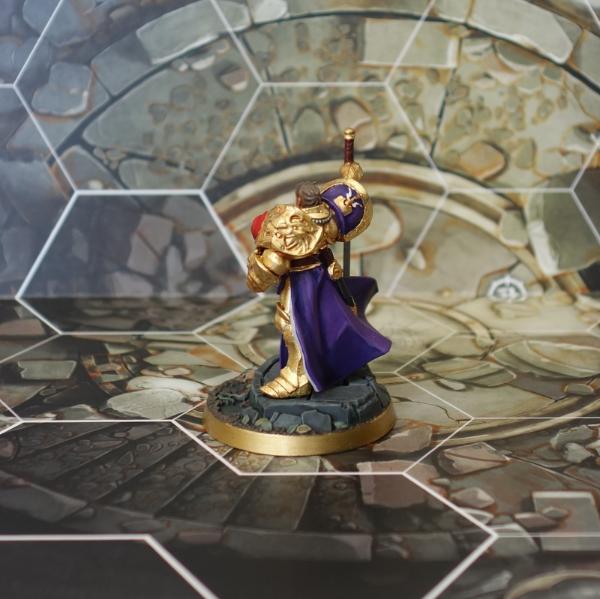
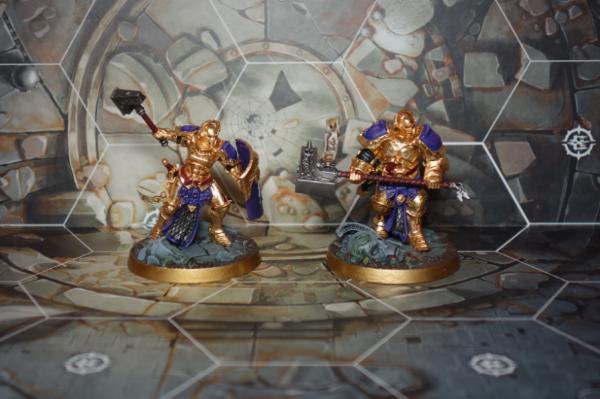 Fig 21: Brightshield and Obryn.
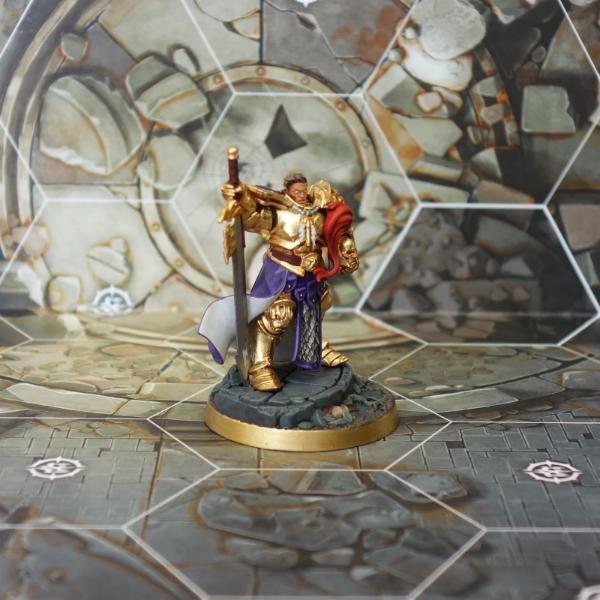
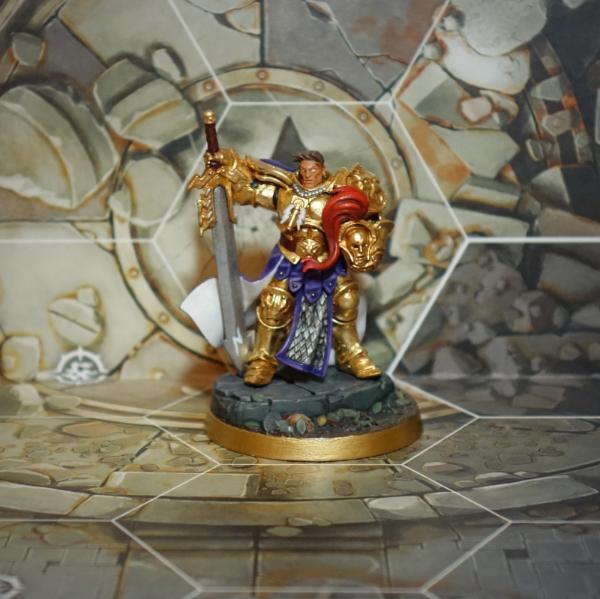 Fig 22: A final image of Steelheart.
Issues
Fig 22: A final image of Steelheart.
Issues
There are a few things about this finish that should be mentioned:
1. I'm not sure you can strip it with conventional means. The gilding is a metal layer and will probably not be peeled off with a cleaning agent.
2. Leaf is resistant to chemical attack, but susceptible to mechanical damage. Even though it is protected under a gloss layer, I don't think the leaf is very durable.
Thanks for reading and I hope you enjoyed it. Please let me know if you have any questions or comments.


 Ultramarines, 3rd Co. and friends, 16k+
  4k
4k  2k Points
 Competition Index