Welcome to game 28 of our campaign. In this battle, a combined force of Salamanders and Antipodean Rangers
are tasked with assaulting through a secluded valley identified as a key strategic location of the Renegade forces on planet.
But is there more to the valley than the imperium can imagine?
This game is the first battle of a 4 part operation in the Vale of Shadows.
Previous games in this campaign can be found here:
http://www.dakkadakka.com/wiki/en/Gordy2000%27s_Battle_Reports
++++++++++++++++++++++++++++++++++++++++++++++++++++++++++++++++++++++++++++++++++
+++ Orders: Task Force Malleus +++
+++ Triskelion Theatre Command +++
+++ Mission: Advance in Force to area designated ‘Vale of Shadows’ +++
+++ Imperial Order of Battle: +++
+++ Salamander Legion Astartes Strike Force +++
+++ 22nd Antipodean Drop Troop Battalion +++
+++ 1st Antipodean Commando Regiment +++
+++ 144th Antipodean Rangers Regiment (armoured recon detachment) +++
+++ Tasking: Reconnaissance in force. Identify, engage and destroy any and all renegade forces in location designated ‘Valley of Shadows’ (ref#24563a pre-Imperium carta) +++
+++ Anticipated enemy forces: minimal
+++ Addendum: Inquisitorial order #3475.34 vermillion level: identify any evidence of warp or daemonic influence amongst renegade forces. Report any such finding immediately to Inquisition representatives. Inquisition contact information not required - we will find you. +++
+++ For the Emperor +++
++++++++++++++++++++++++++++++++++++++++++++++++++++++++++++++++++++++++++++++++++
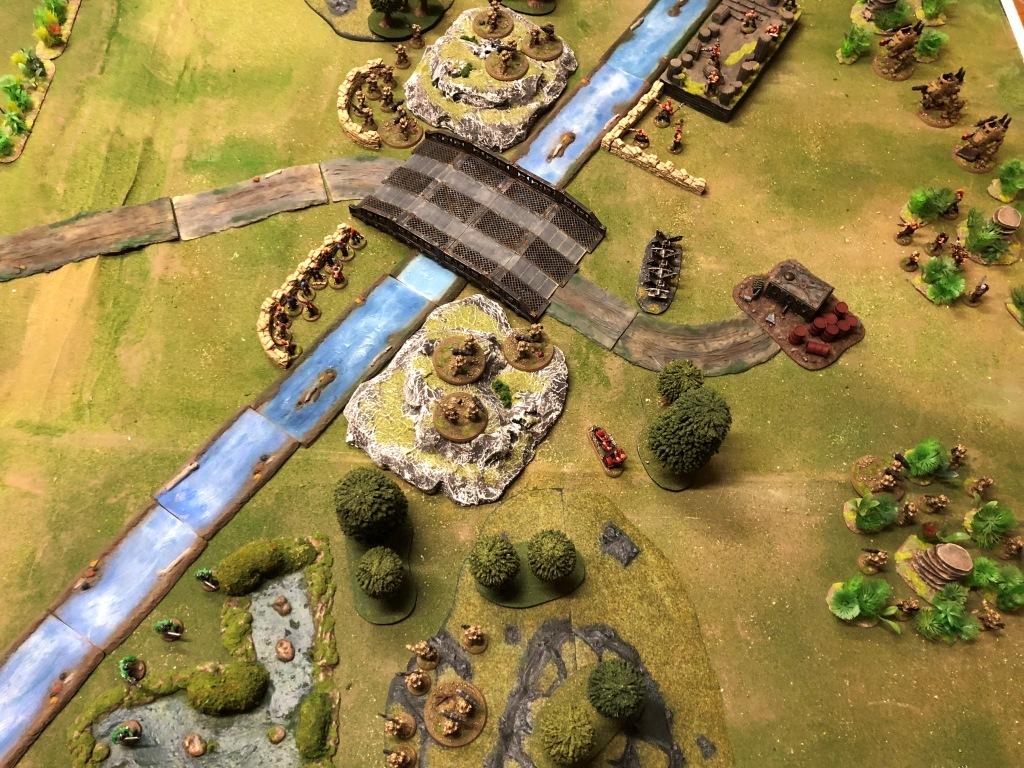
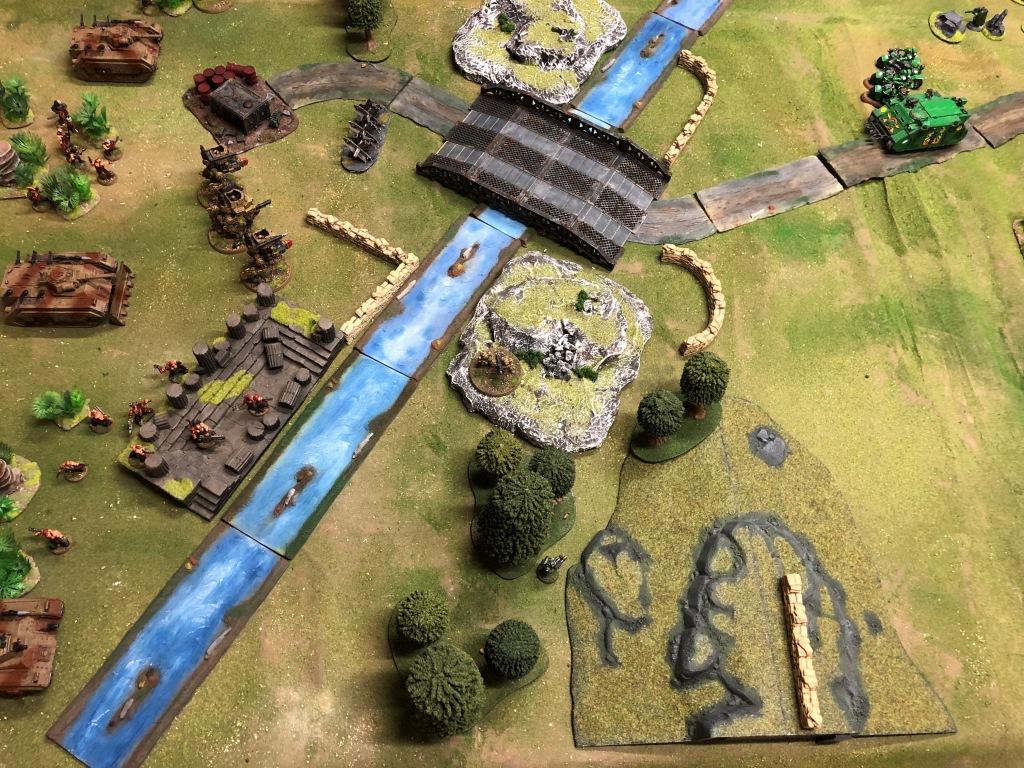
The field of battle – a strategic bridge lays across the Imperial axis of advance

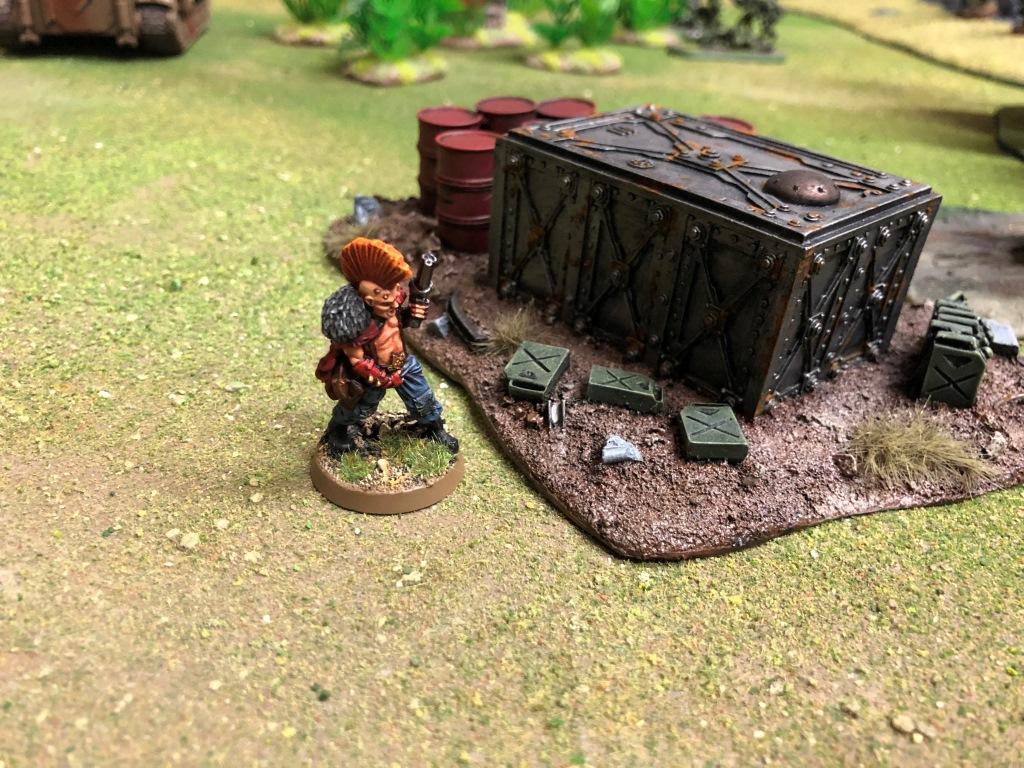
Renegades and Heretics man the defences as the engines of the Imperial force echo up the valley
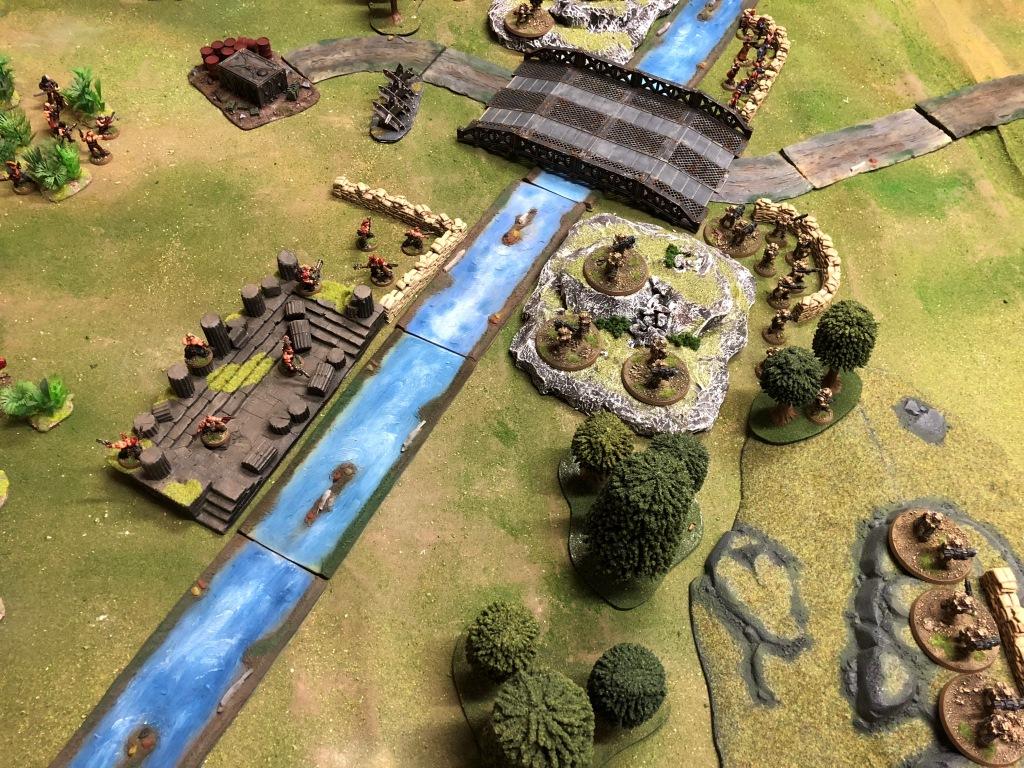
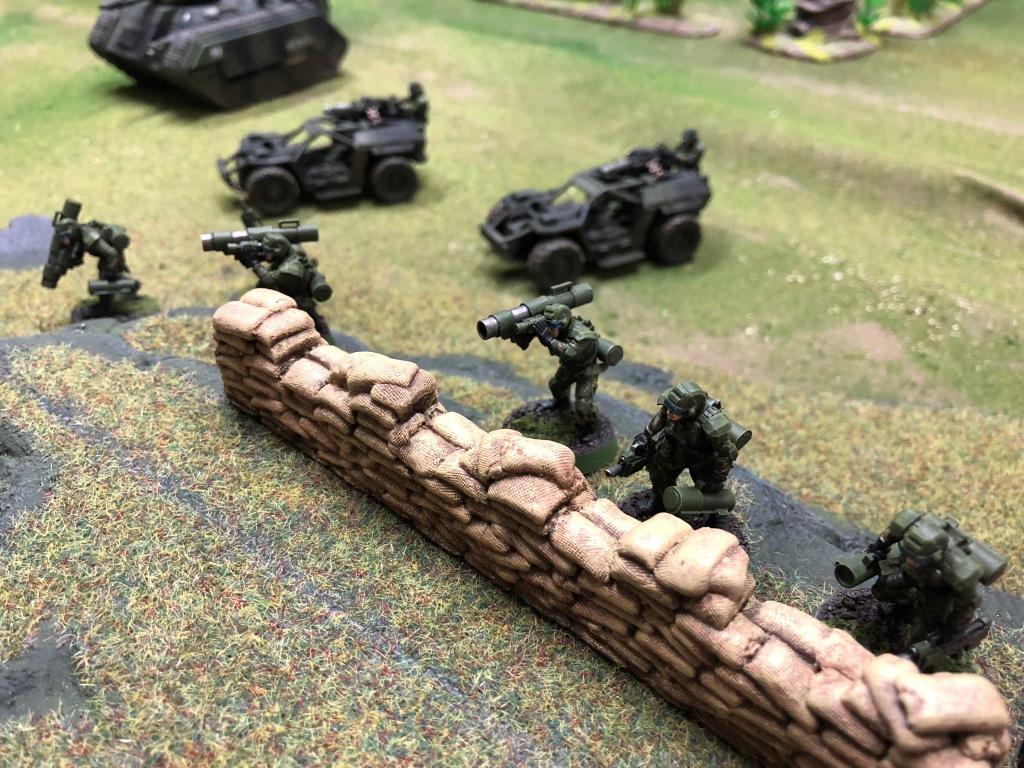
Heavy weapons teams guard the approach to the bridge


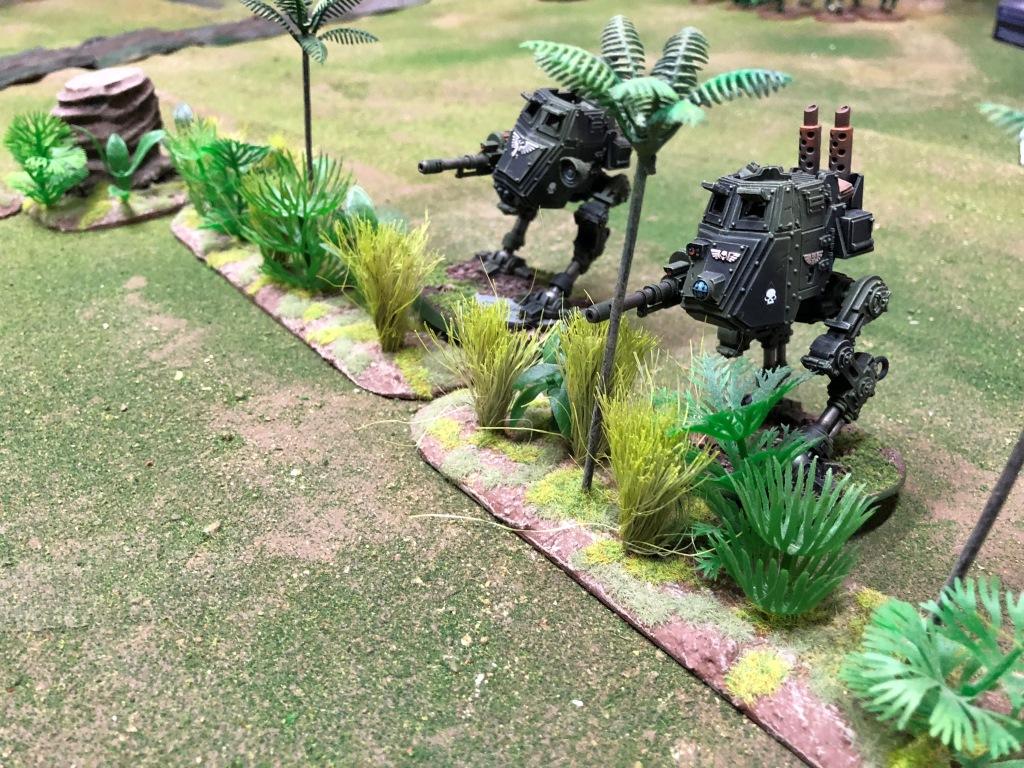
Along with Sentinels
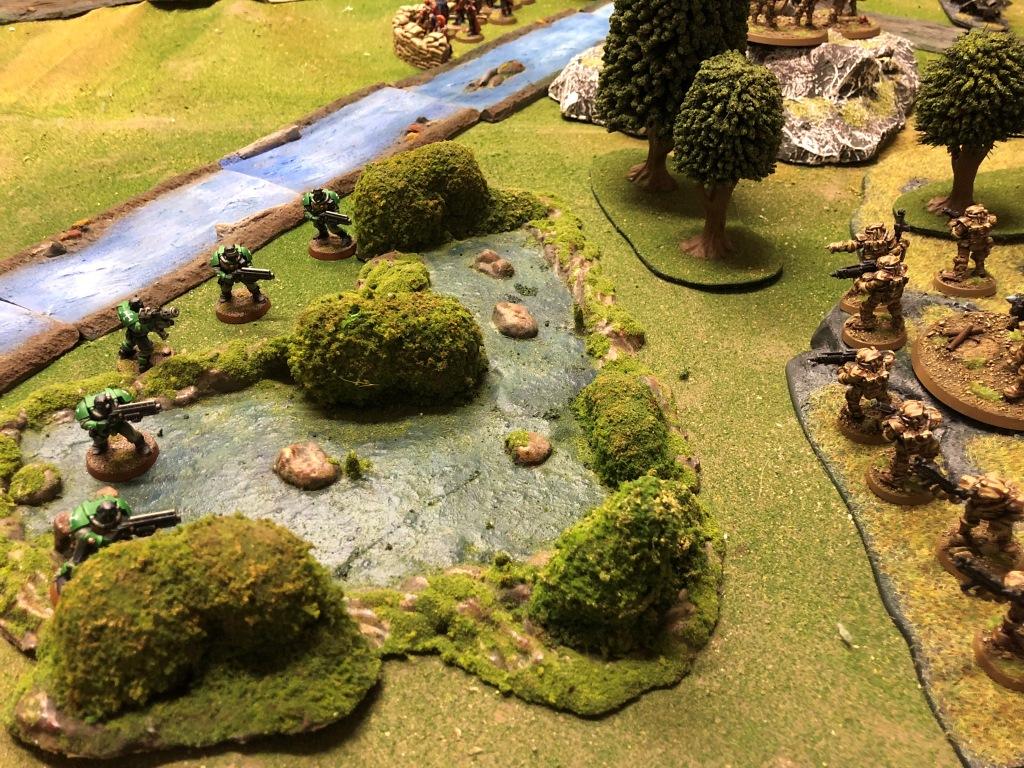
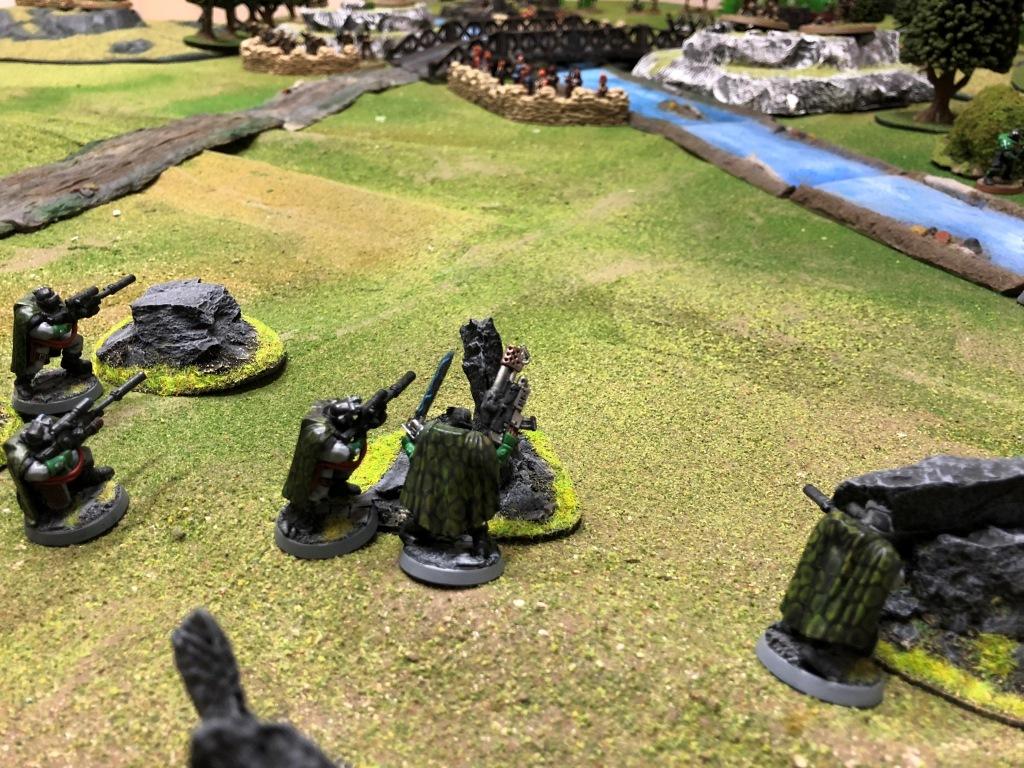
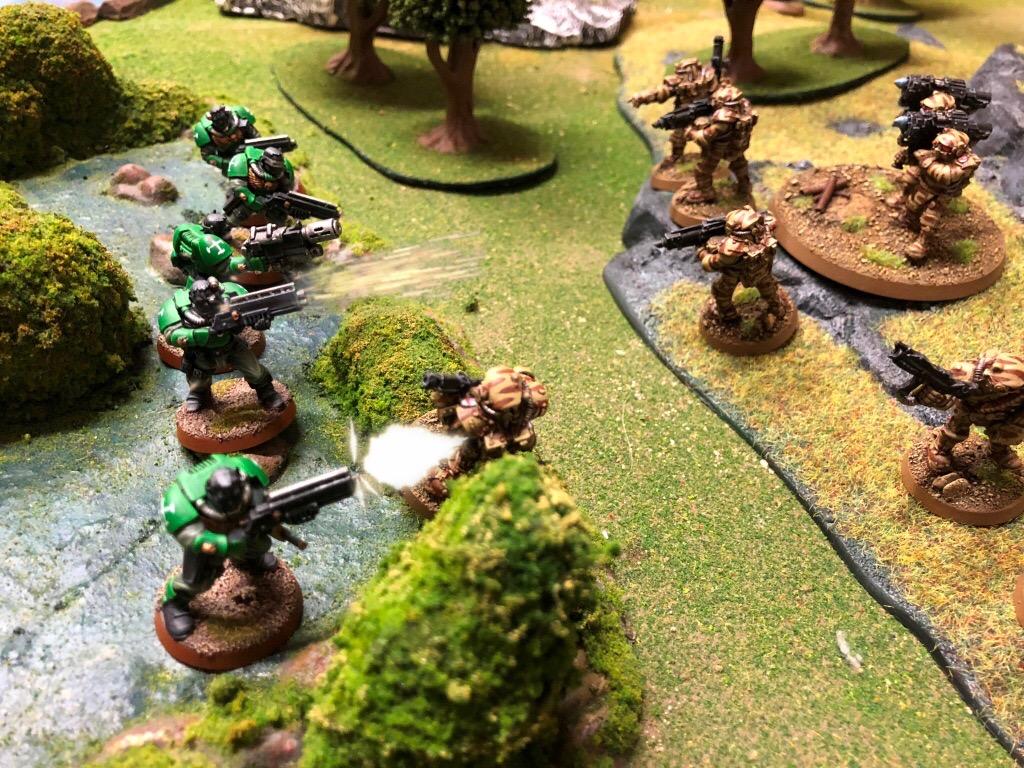
Salamander Scouts infiltrate the battlefield and surprise a renegade picket
Snipers keep the heretics pinned
The area is heavily defended in depth
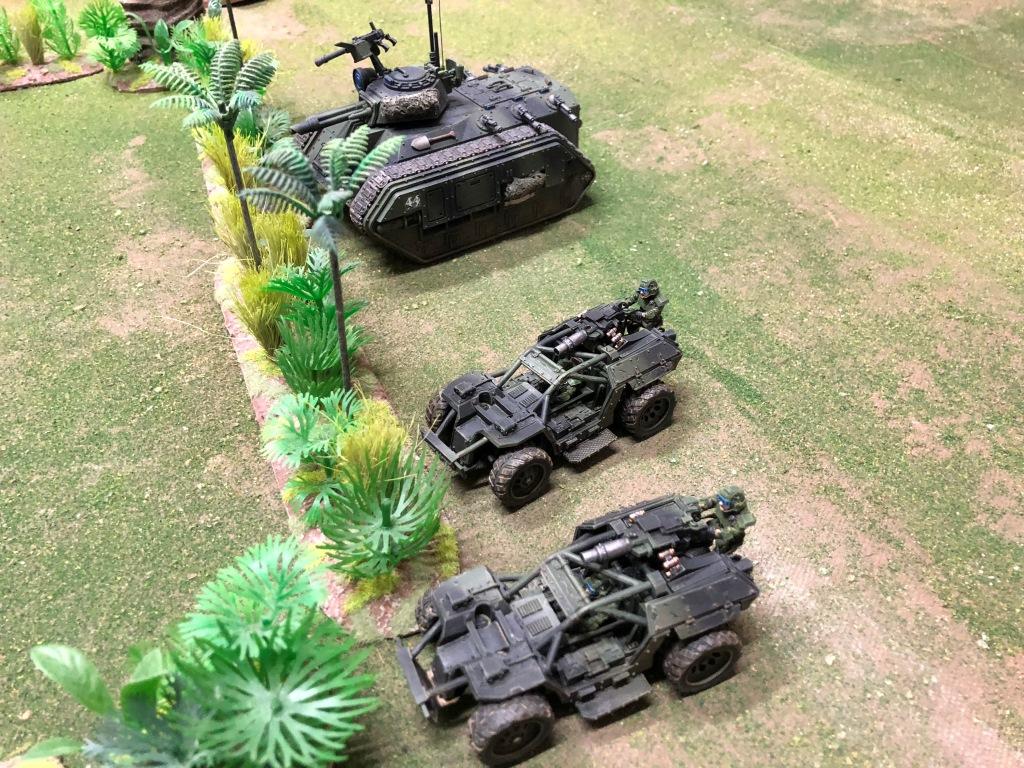
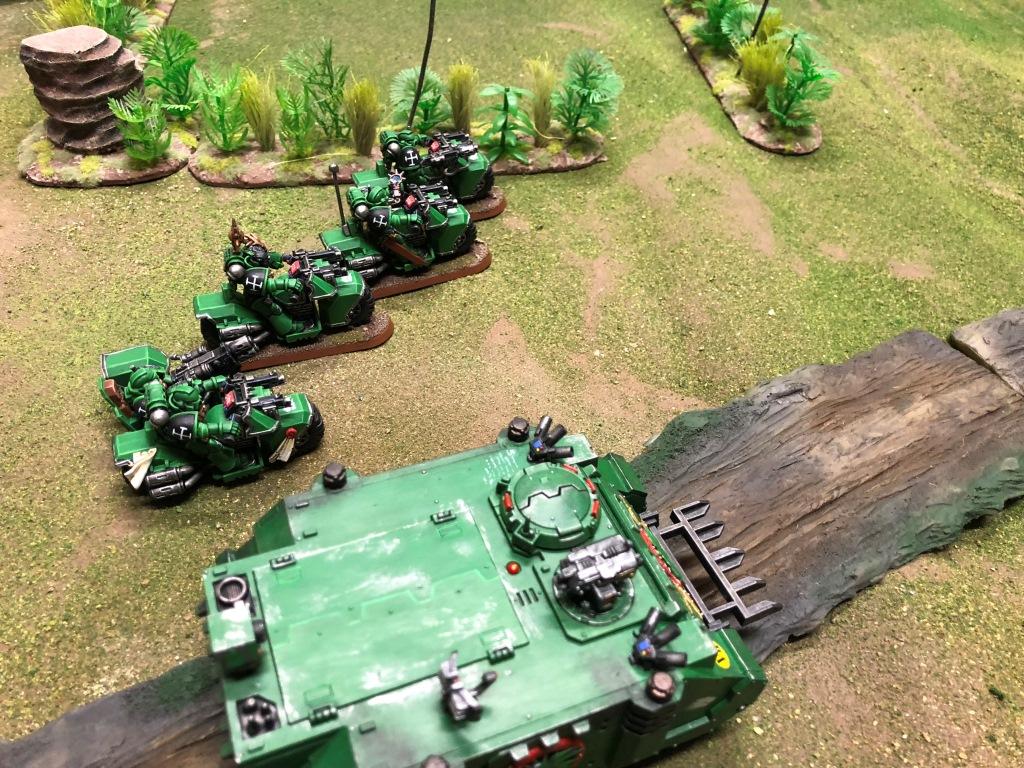
The Salamander main force arrives

Backed up by fast units from the Rangers

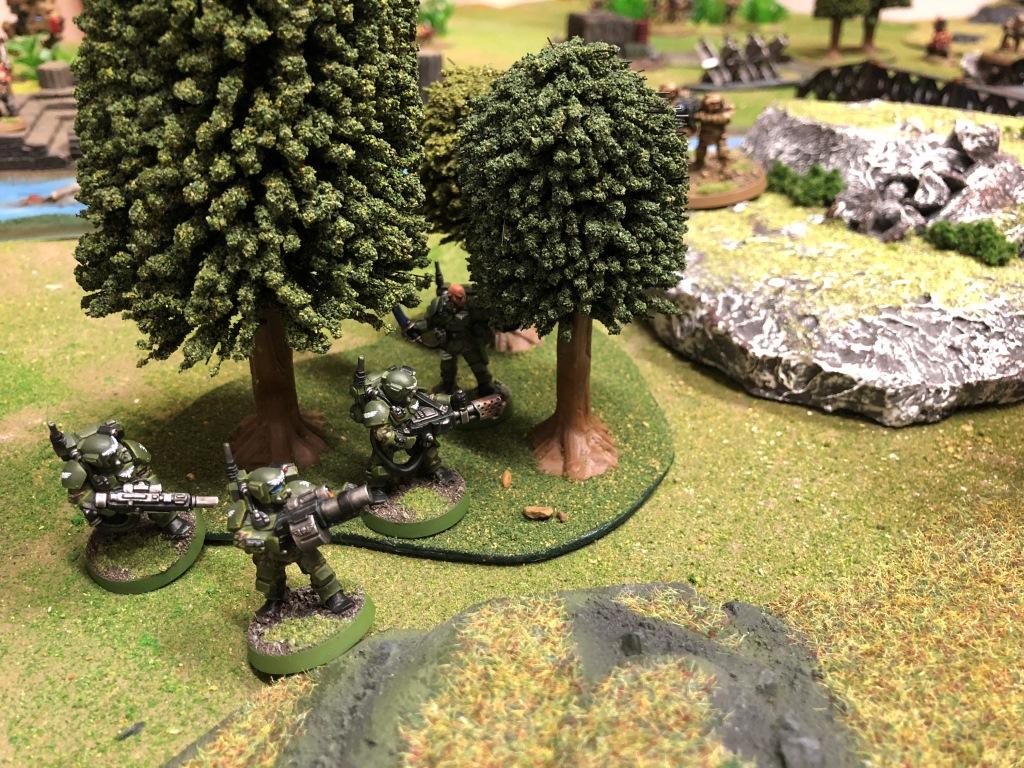
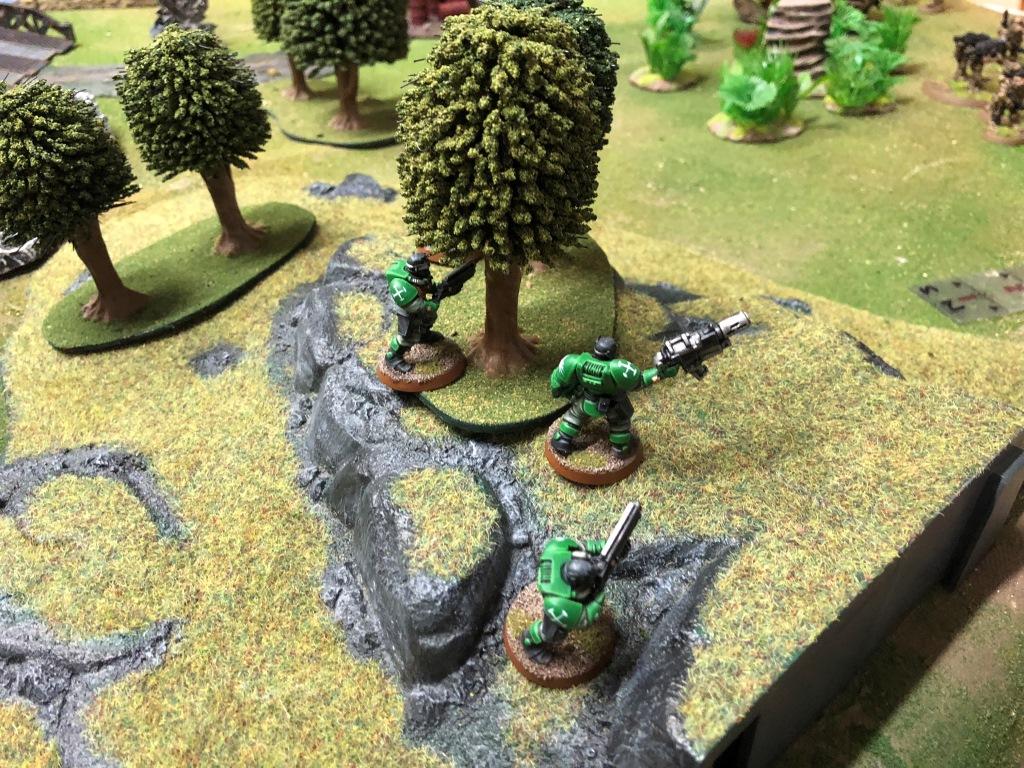
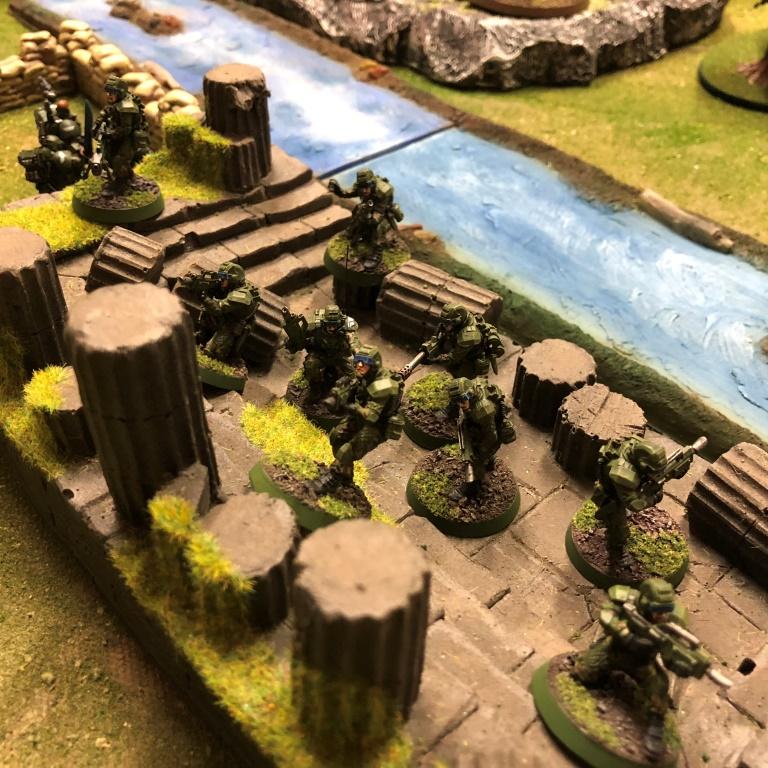
Having inserted into the area by stealth drop, Commandos slip through the woods unnoticed

And give a heavy weapons position a nasty surprise, wiping out a missile team
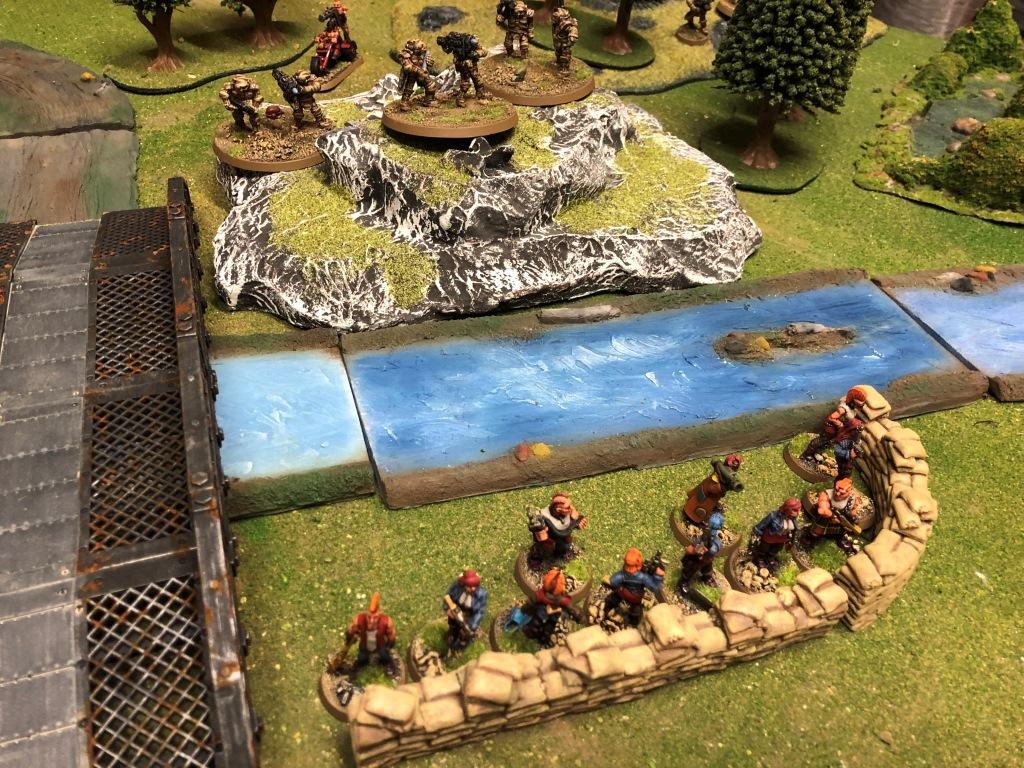
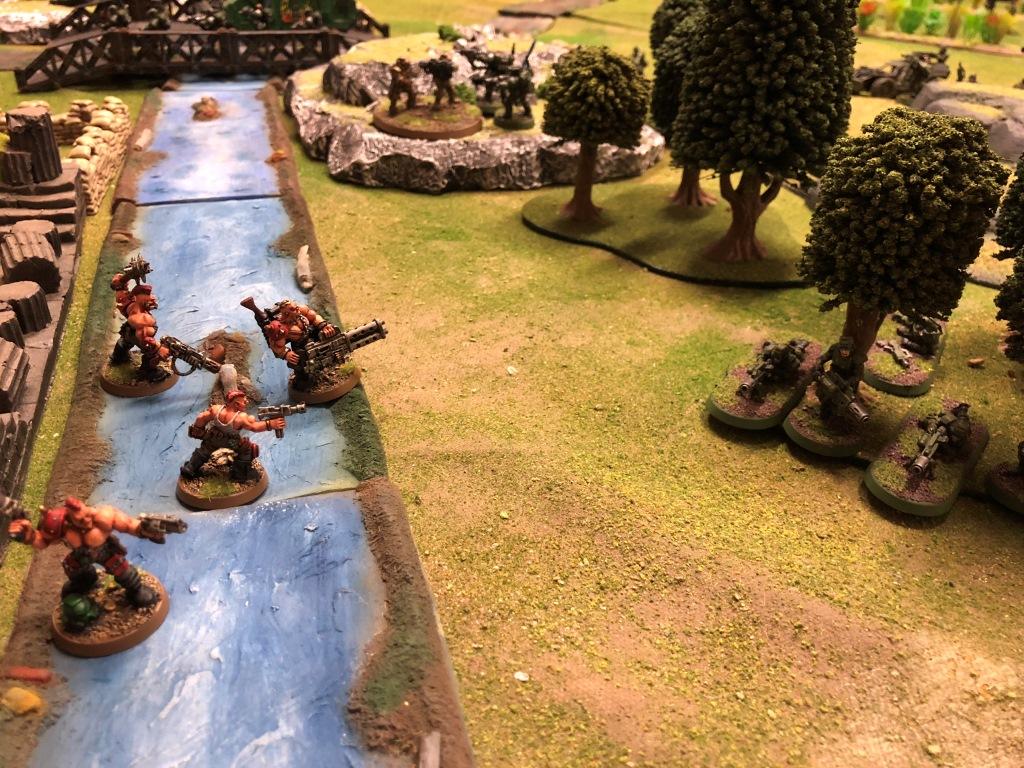
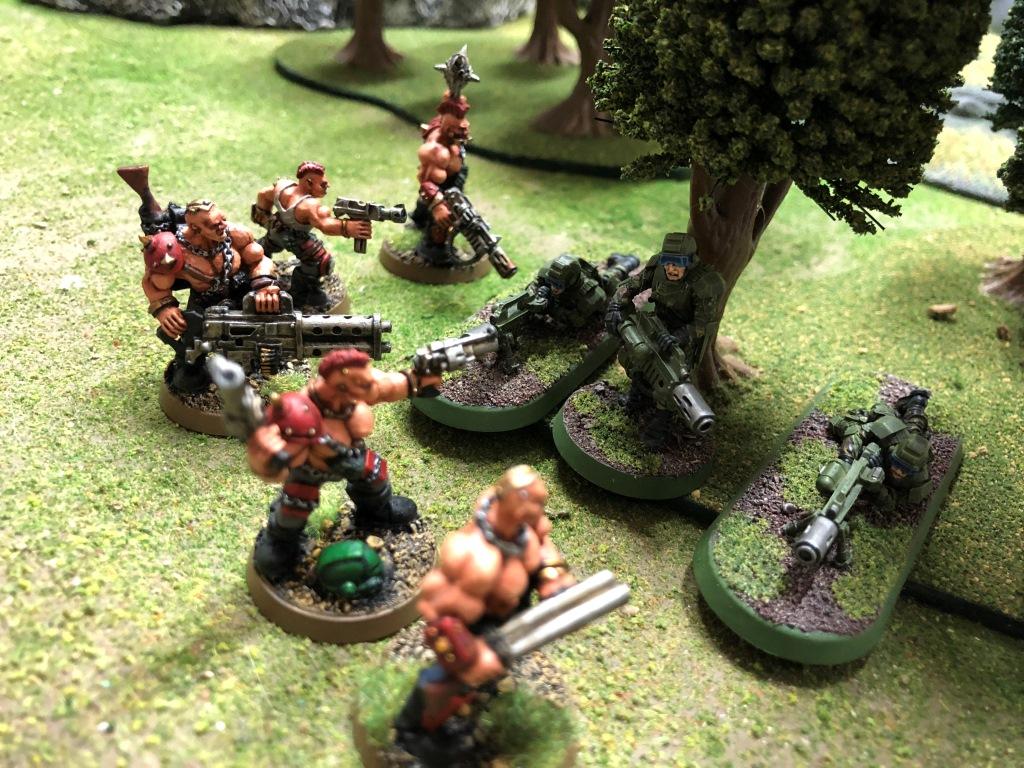
Across the river, a band of Khornate cultists give vent to their fury

The scouts move up

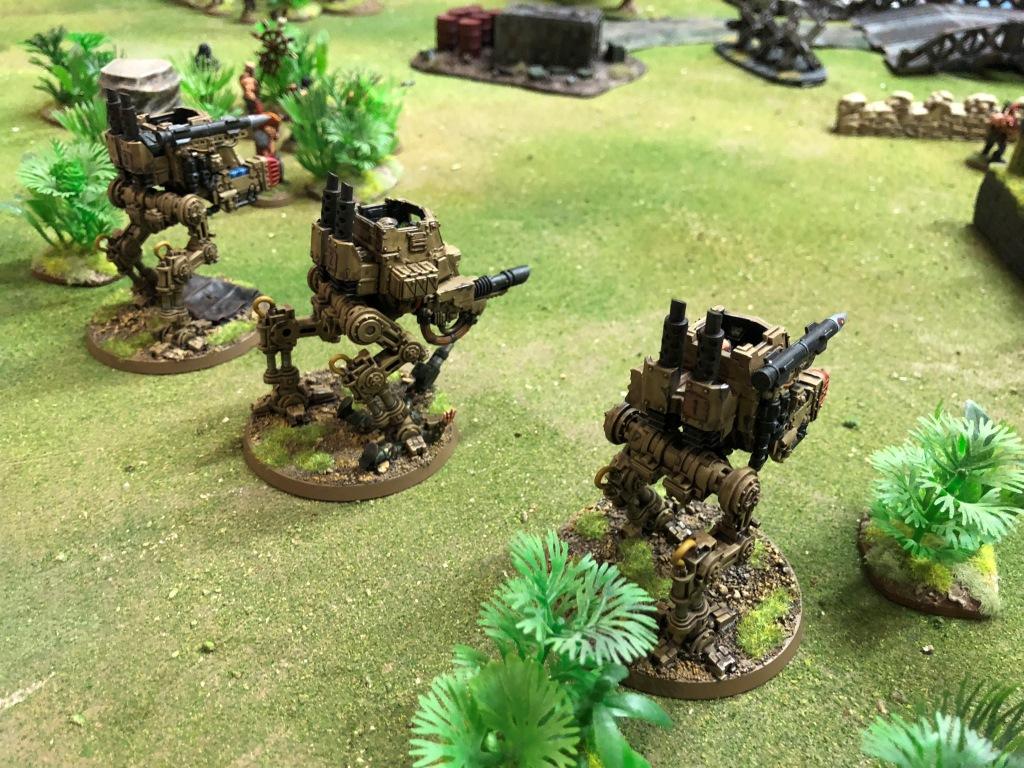
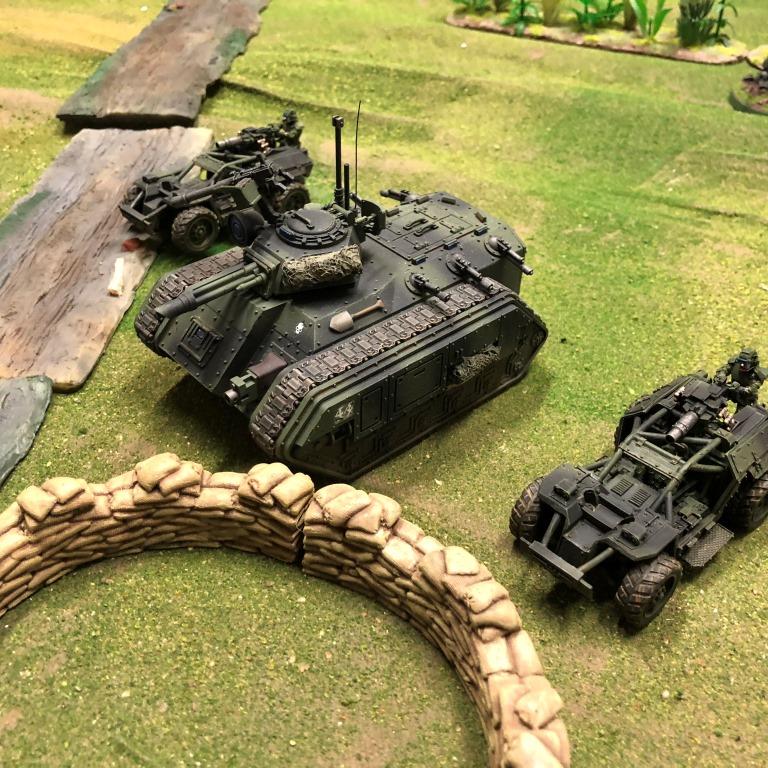
The vehicle detachment faces volleys of missile fire
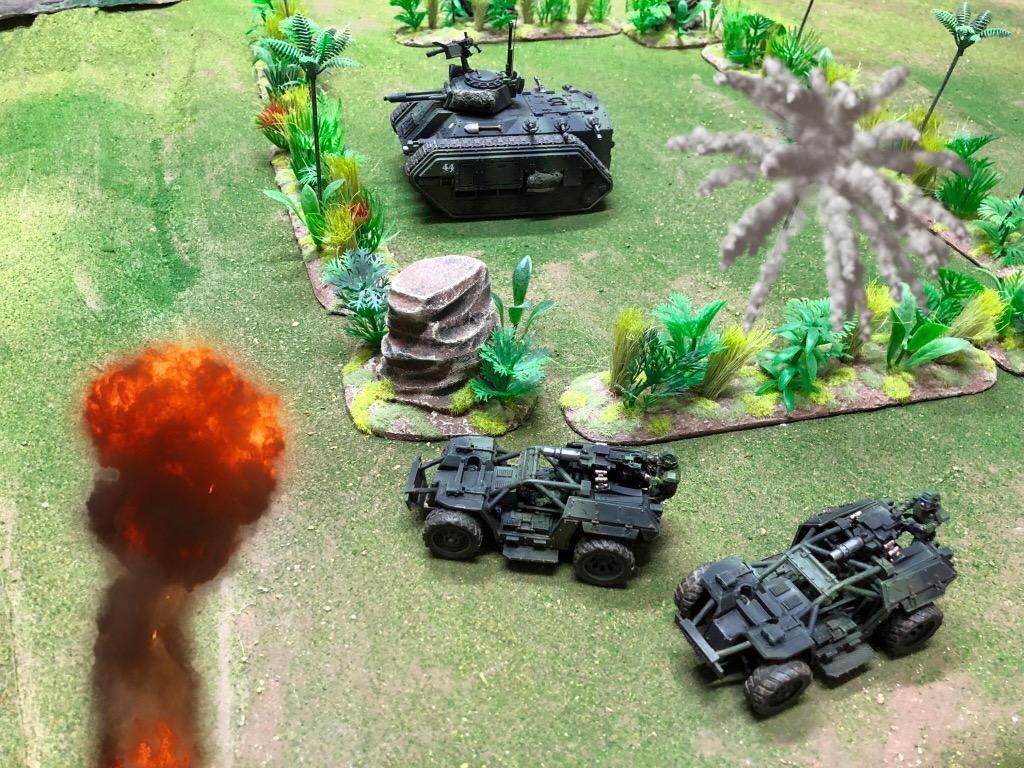
But close on the enemy regardless
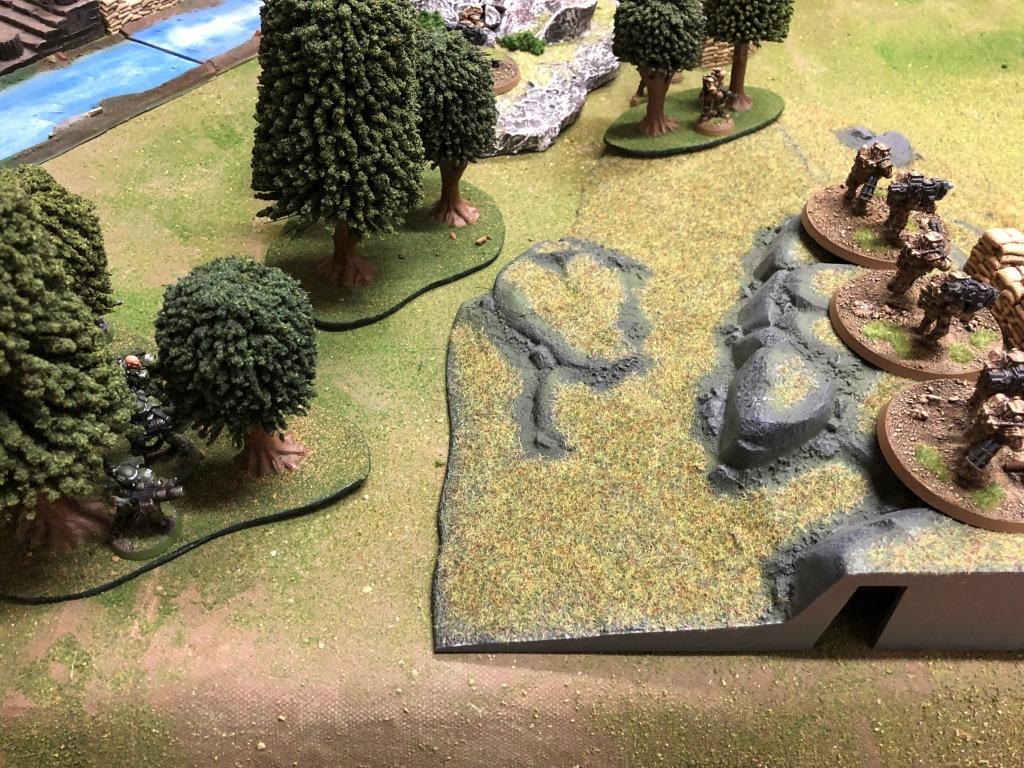
Commandos hunt for further targets
Ranger Sentinels cover the vehicle advance
Scouts assault the outer picket lines
As the main force hits the forward positions

Renegade reinforcements move up


Between space marine fire and Commando action, the first line of defences is wiped out
More Commandos drop on top of the bridge

As drop troops begin landing on the now vacant defence line

A melta team deploys in the woods

Renegade forces engage the new arrivals and a fierce firefight breaks out
Sentinels move up

Drop trooper missile teams open fire on the renegade armour
The scouts clear out the outer picket lines
Marine fast units move up

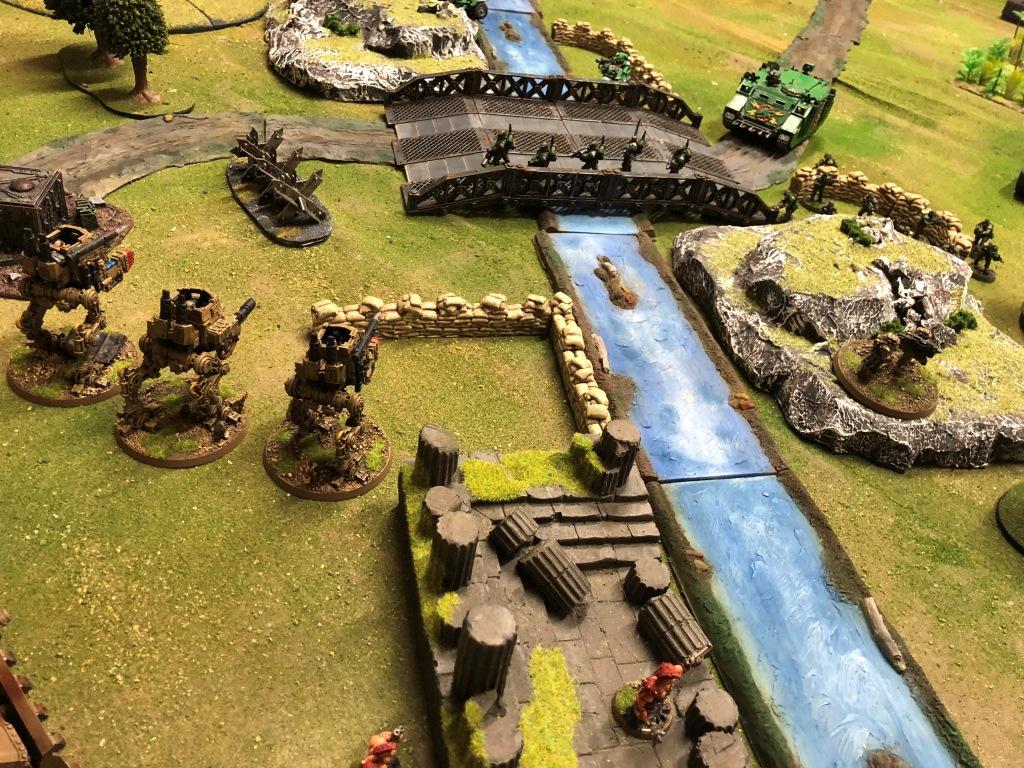
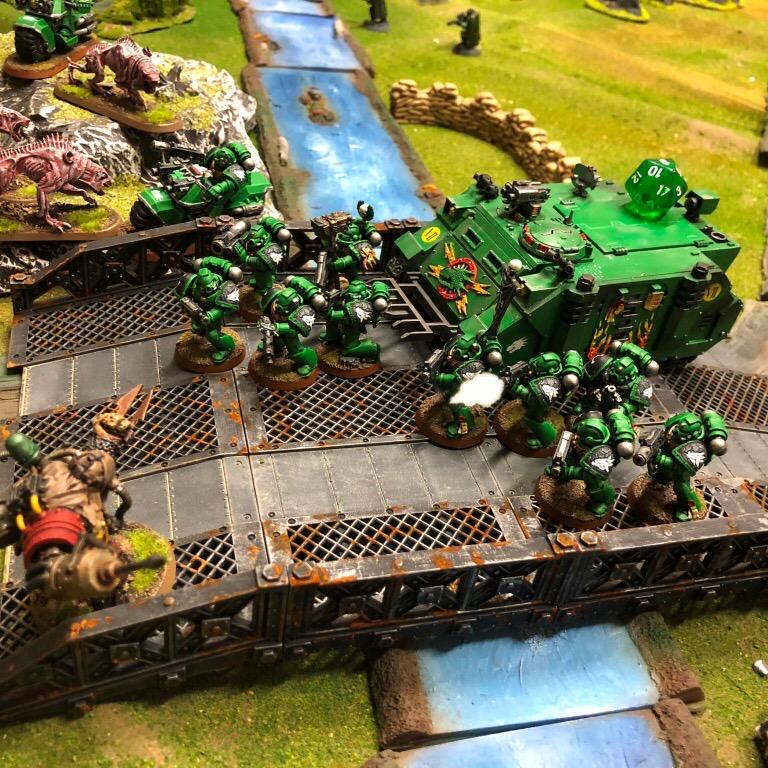
The bridge is seized by Imperial forces

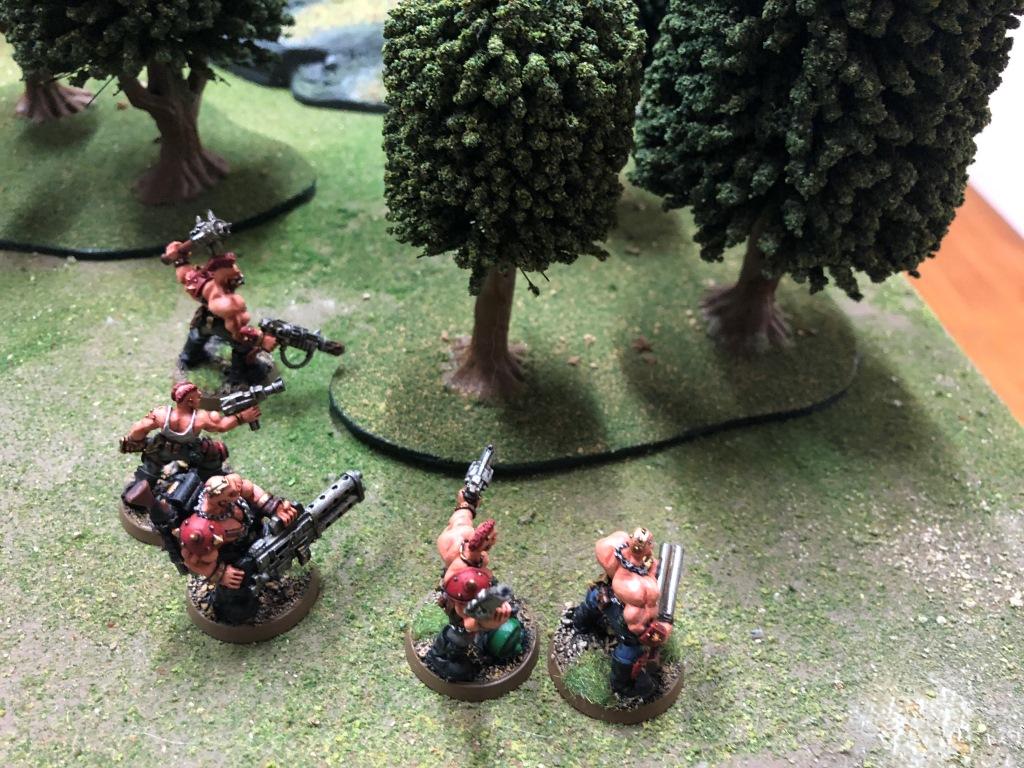
Renegade command orders an immediate counter-attack

The Khornate cultists swarm across the river
To the dismay of the melta team “We should have brought flamers”

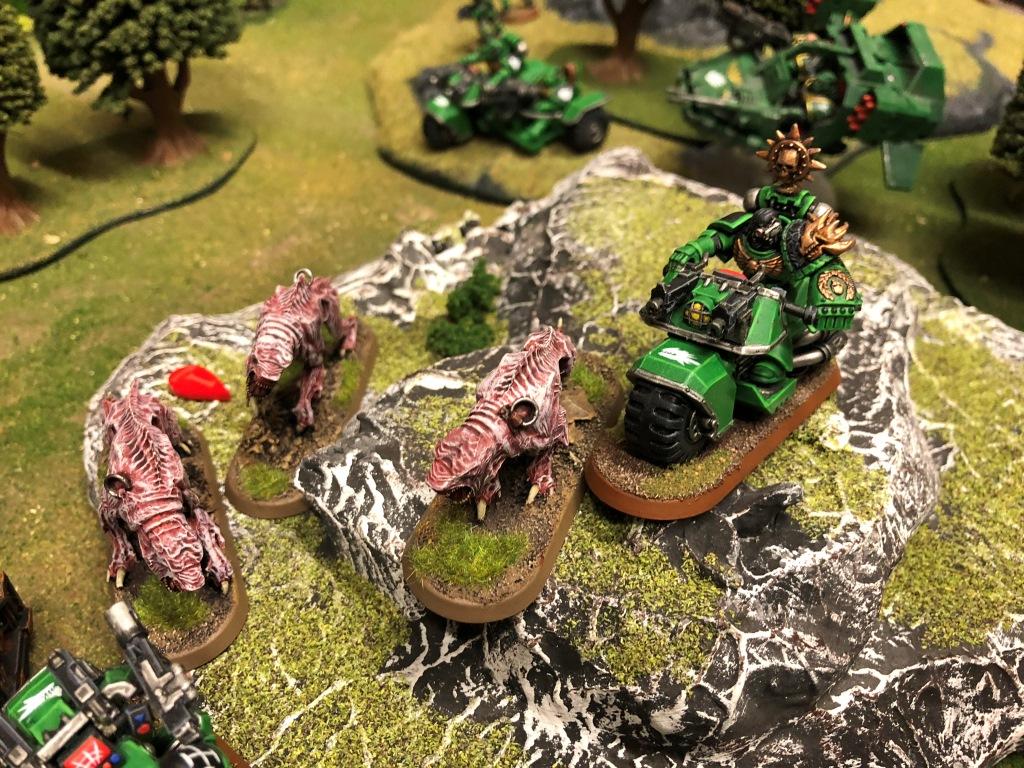
Chaos Ogryns appear, clearing the way for a Daemon Prince!
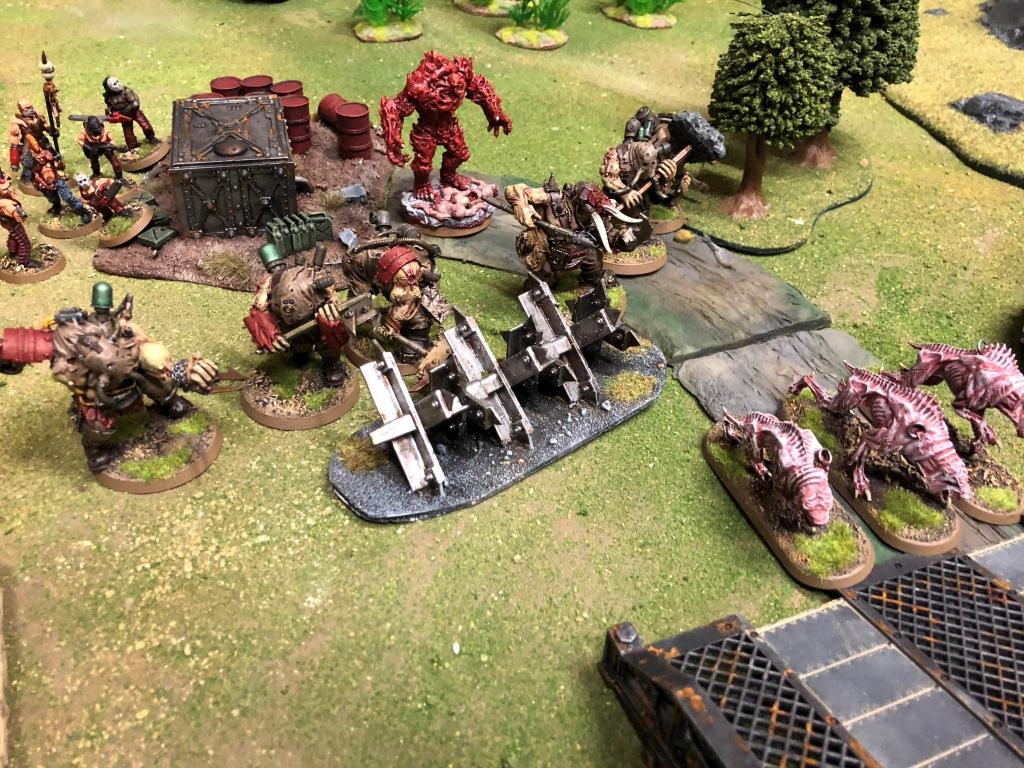
Warp-spawned hounds rush the bridge

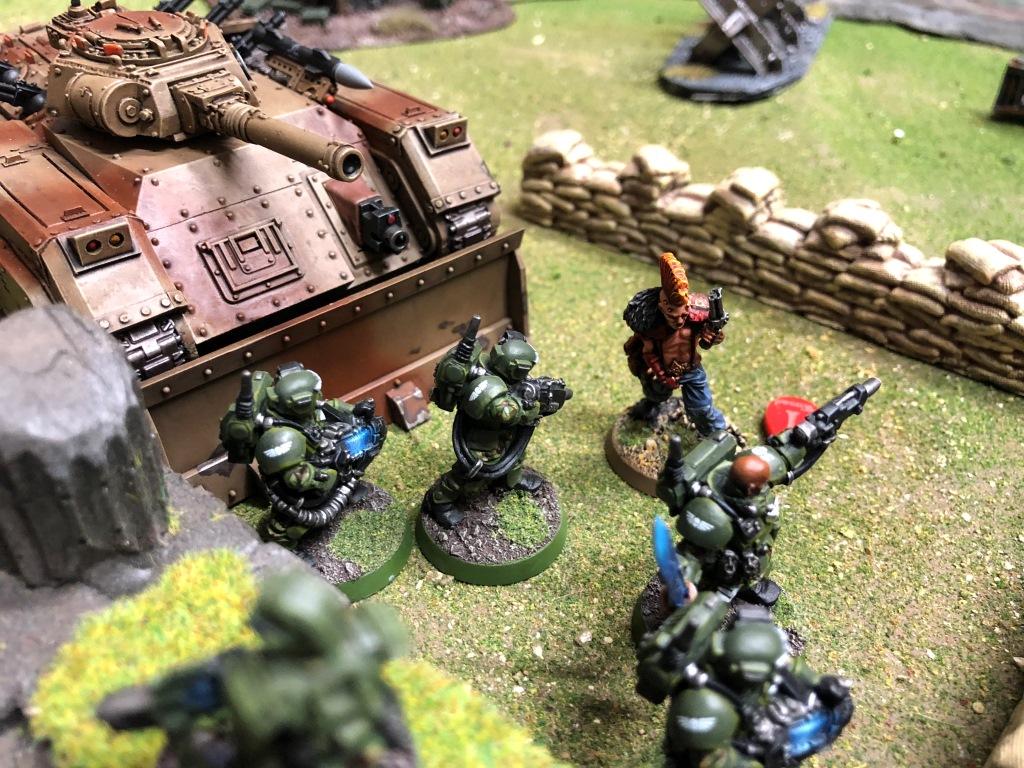
The Commando squad takes the brunt of the Ogryn charge

The hounds split off and hit the bikes
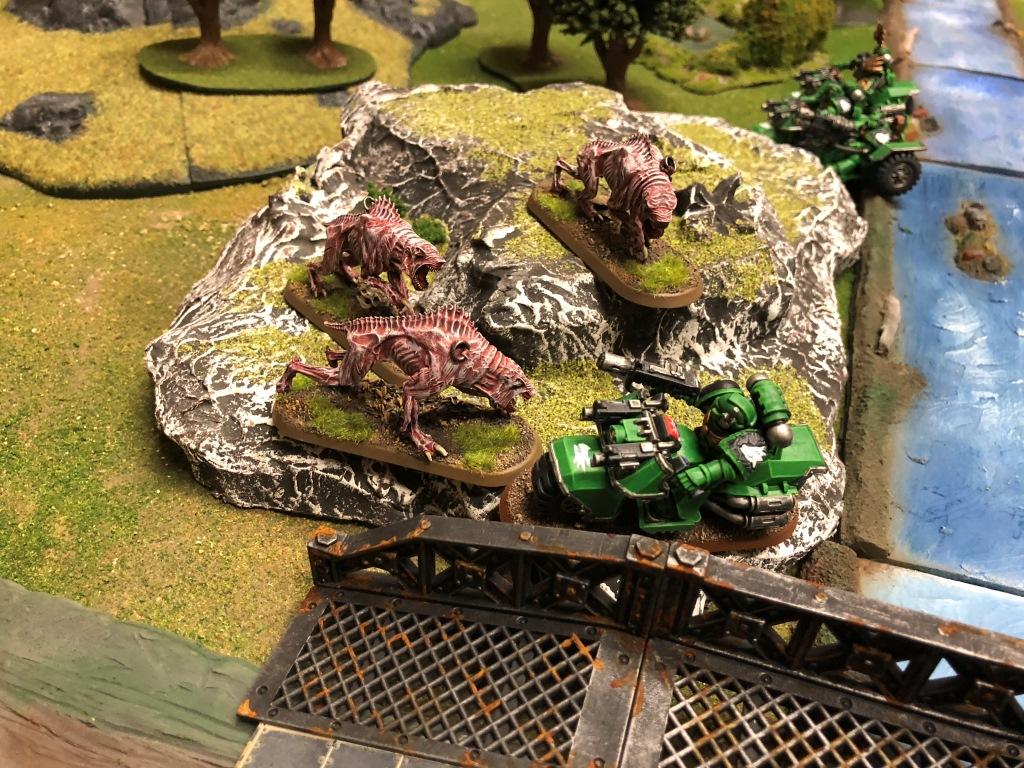
The cultists charge the melta squad
Only the Commando sergeant survives the Ogryn assault, and he quickly makes a tactical withdrawal

The melta squad is overrun
Rangers and Commandos link up and eliminate the last Renegade heavy weapons teams

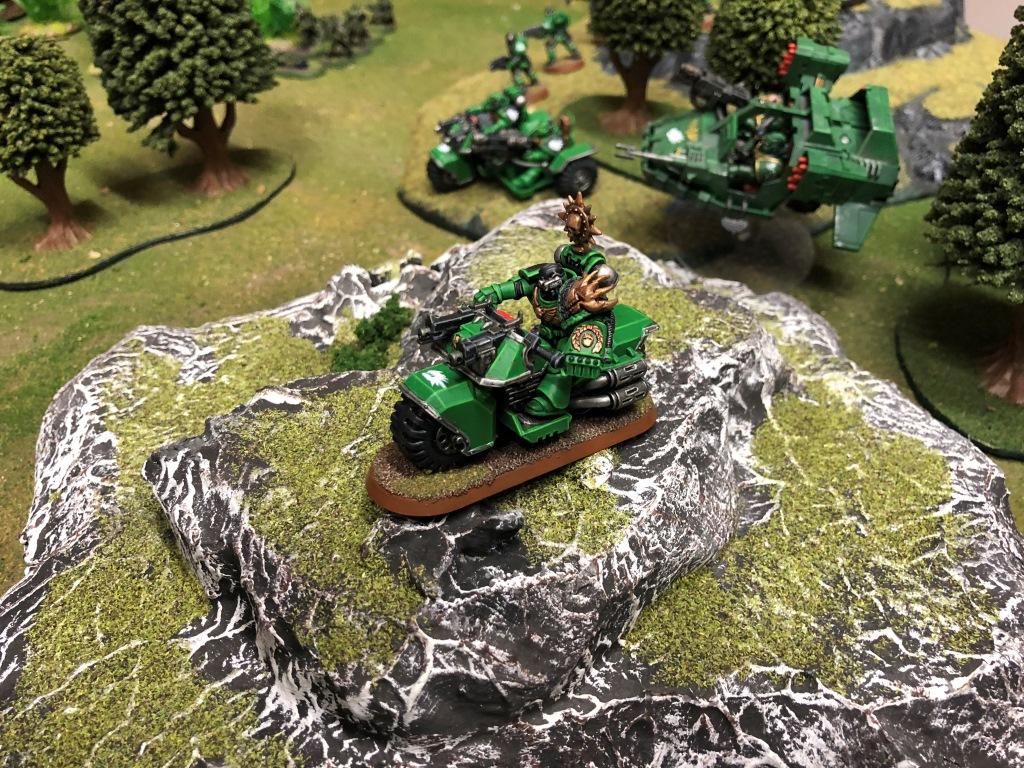
The Ranger fast units arrive and add their firepower to the carnage
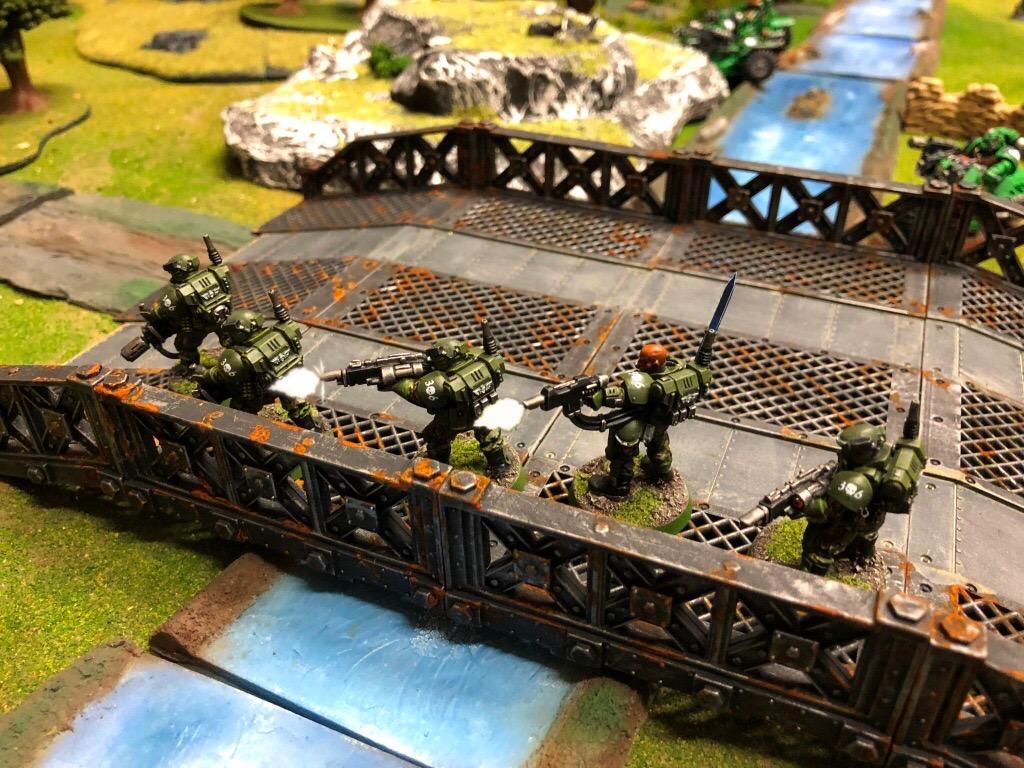
Salamanders deploy onto the bridge and drive back the Ogryns
Drop Troopers land across the river and gun down the Khornate cultists, avenging their fellows
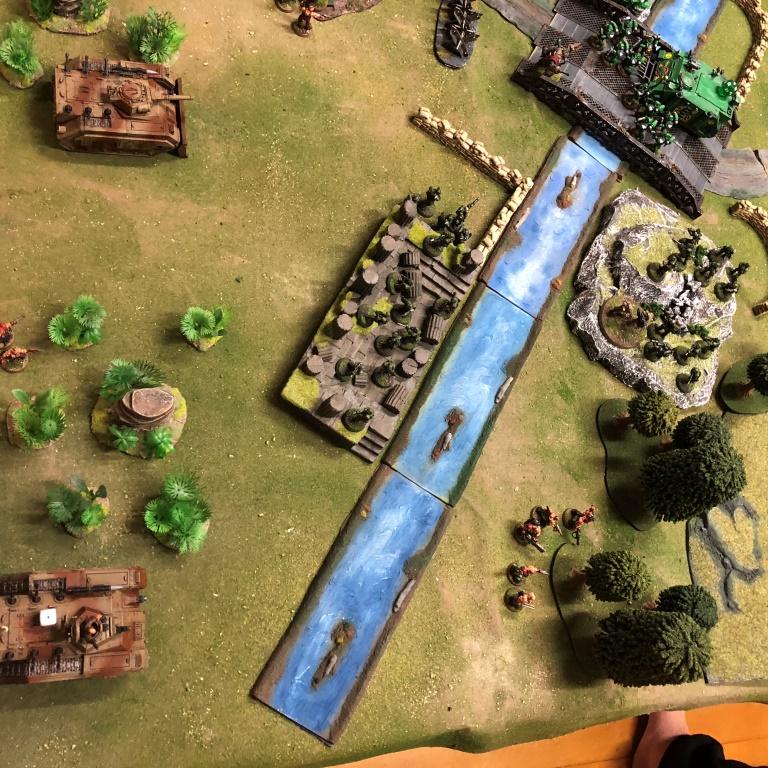
The situation at the bridge
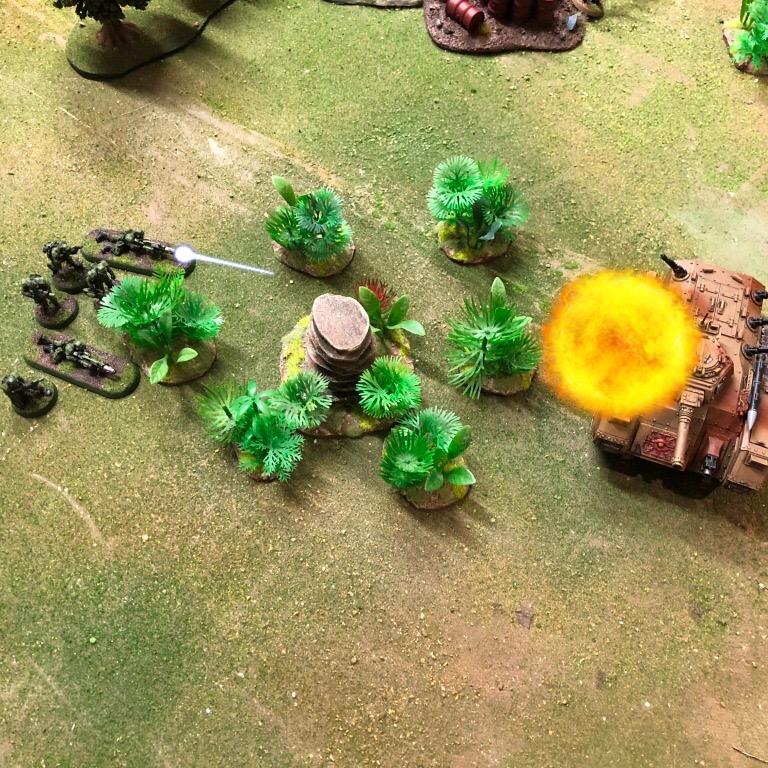
A second melta squad lands and knocks out a renegade Chimera
Salamander fast movers arrive on the flank

The Ogryns are pushed off the bridge by determined bolter fire

But the next wave approaches…

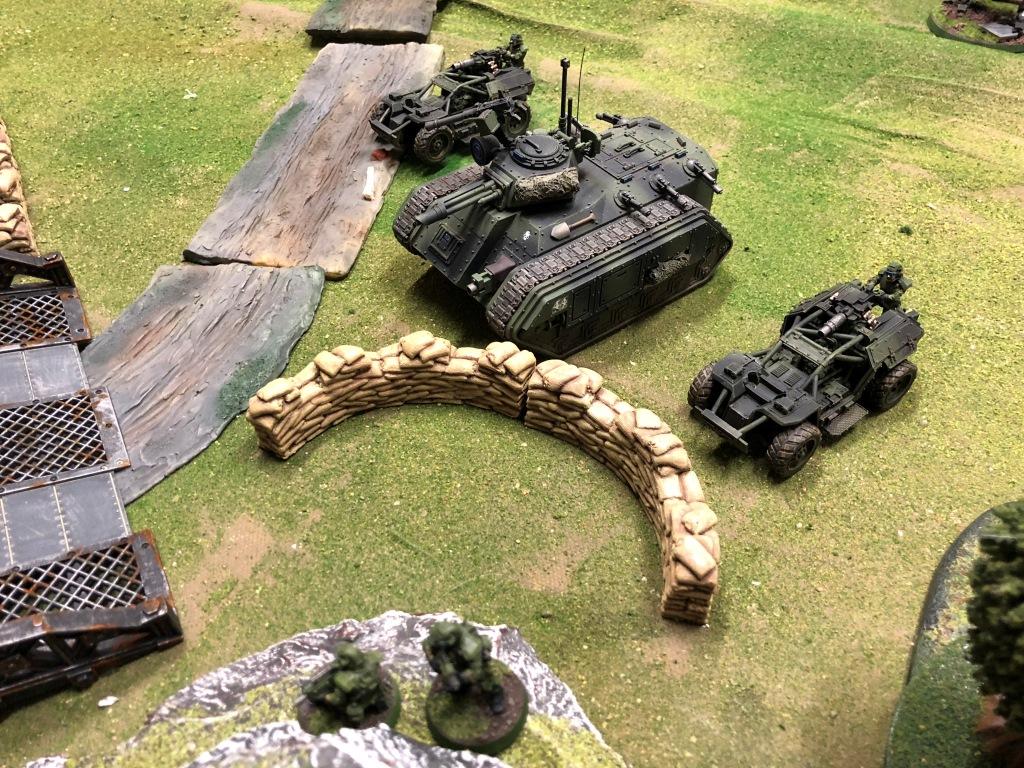
Ranger vehicles form a fire base on their side of the bridge

You want some of this normie?!
No prisoners! No prisoners!

Captain Punchmaster rides down the warp hounds
Another Commando unit arrives

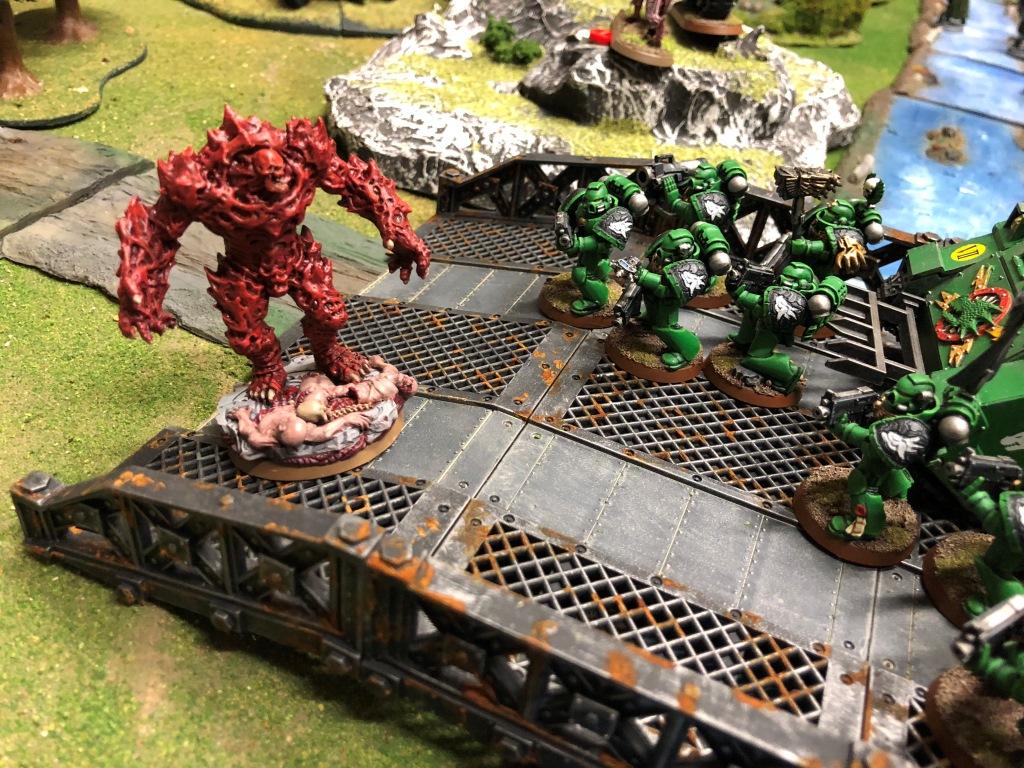
The Daemon Prince stomps onto the bridge as the Salamanders prepare themselves
Drop Troops secure the area around the bridge

The vehicle fire base shoots everything it has at the daemon
A last ditch assault by the surviving Renegades is halted by Commandos and Drop Troopers

Punchmaster!
The weight of fire and stalwart Salamanders drives back the Daemon Price, who withdraws further up the valley, pursued by Imperial fire

Victory Imperium!
++++++++++++++++++++++++++++++++++++++++++++++++++++++++++++++++++++++++++++++++++
+++ Triskelion Combined Command +++
+++ After Action Report: Task Force Malleus +++
+++ Enemy picket forces eliminated ref# location Vale of Shadows +++
+++ Hostile force composed primarily of infantry and light armour +++
+++ Leader-type engaged late battle. Possible Warp contamination. Subject withdrew deeper into Vale of Shadows post-action +++
+++ Ranger forces to remain in place to police battlefield. Salamander force to pursue enemy towards valley head +++
+++ The Emperor Protects +++
++++++++++++++++++++++++++++++++++++++++++++++++++++++++++++++++++++++++++++++++++
Really enjoying these length-wise assault scenarios – this battle is a first of four in a larger operation as the Imperial forces
fight their way into the Vale of Shadows to uncover….well, you’ll have to wait and see.
The poor old cultists didn’t fare too well against the Salamanders, although the ‘surprise’ Ogryns always give the Imperials a run for their money.
The Drop Troops had a tougher time of it against hardened Renegade infantry and Khorne cultists.
Next battle, a strong Salamander force continues further into the Vale of Shadows, as the Ruinous Powers send forth their chosen warriors to thwart them…


