yeah,
I didn't get no warhams done at the week end, too much drinking.. :sadtimes:
But, I recieved a few extra bits from Scott s6 on Monday.
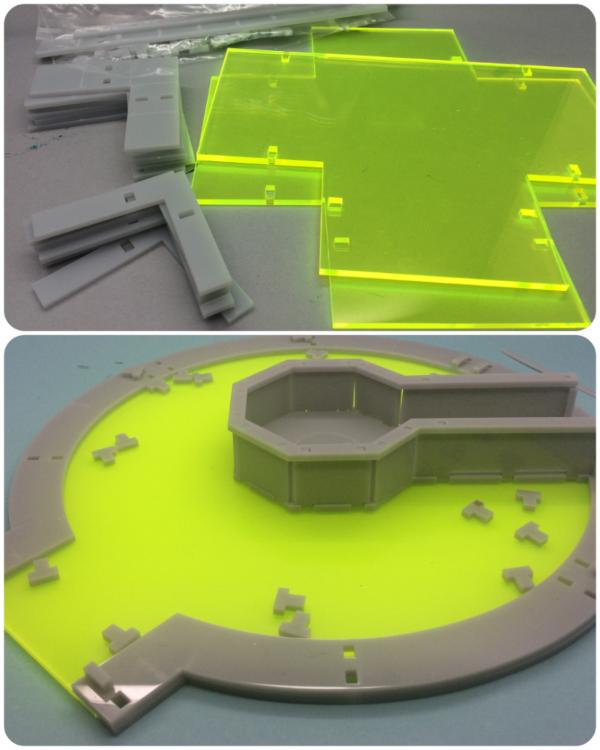
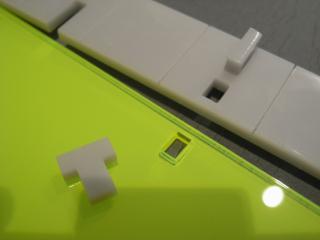
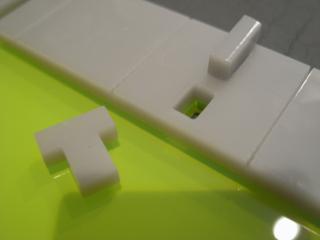
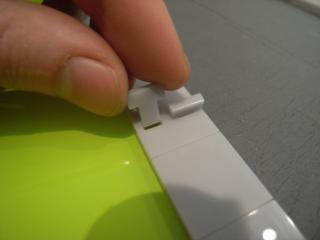
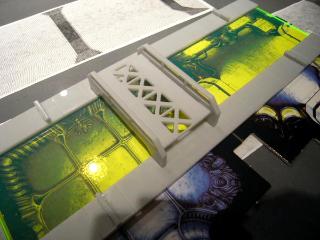
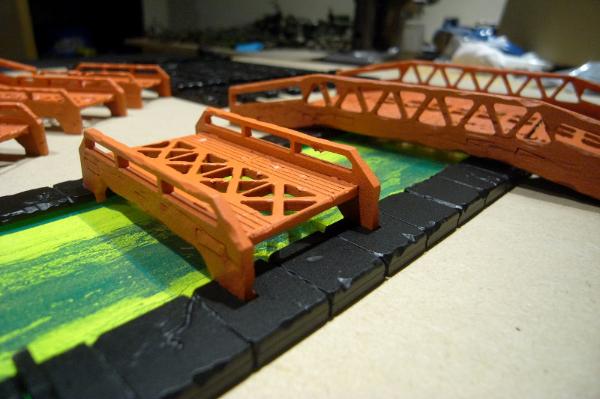
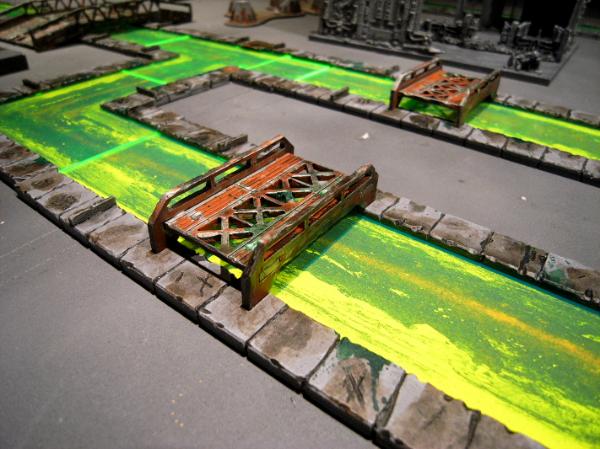
1x corner and 1x straight with bridge (these are convertion fodder to make a T junction)
2x canal ends.
Plus - I requested some offcuts of the green plastic from Scott with my last order, which he kindly provided.
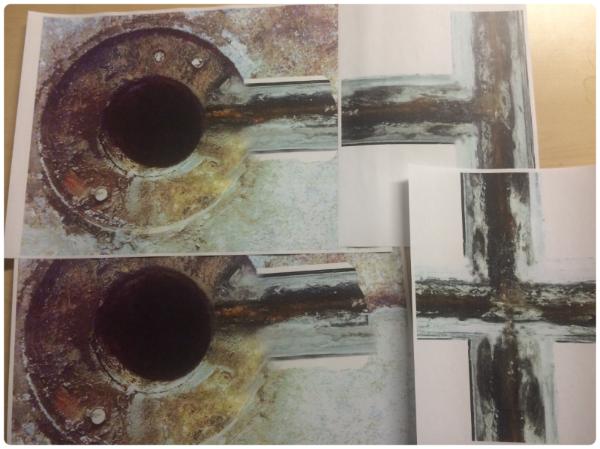
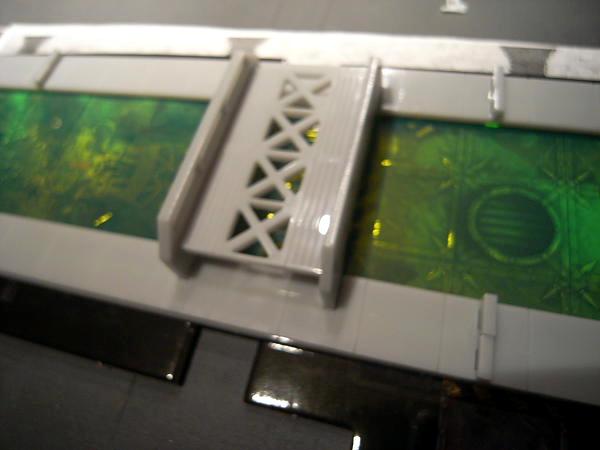
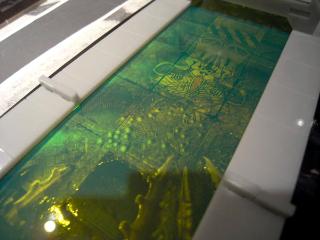
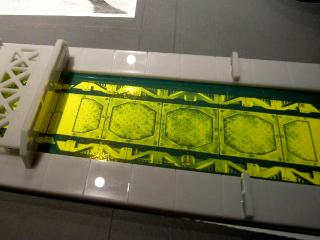
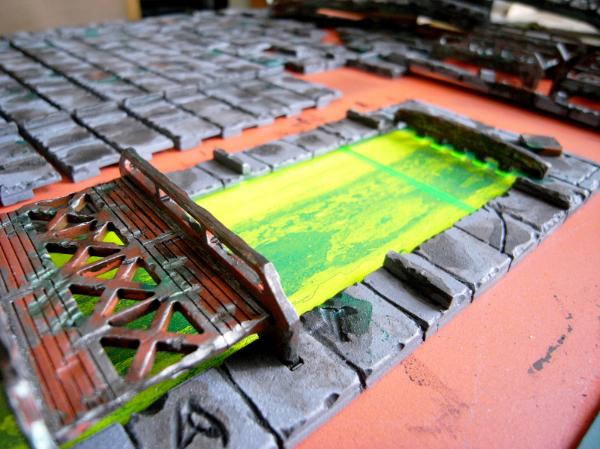
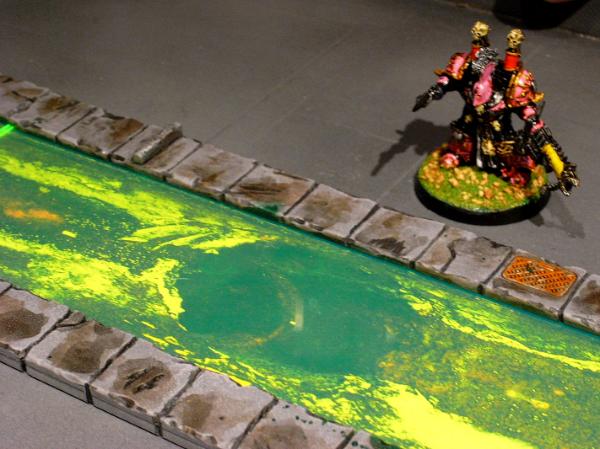
The offcuts are for varnish and texture tests, I want to see if I can create a water surface effect. The plan is to spray GlossVarnish through FishNet stocking type material.
Although when I recieved the off cuts, I saw one could be used in the T-Junction converstion which spared the extra straight from the knife... for now!
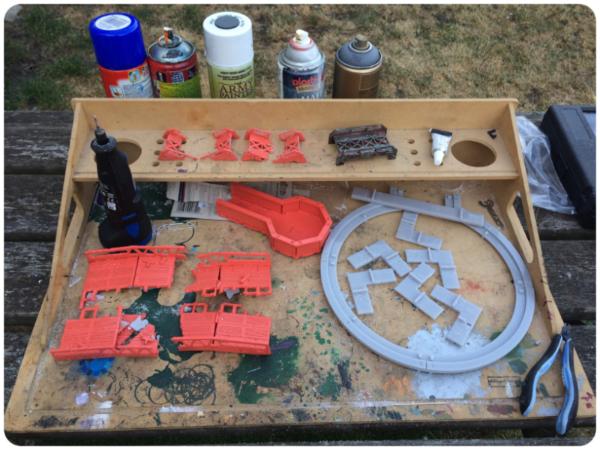
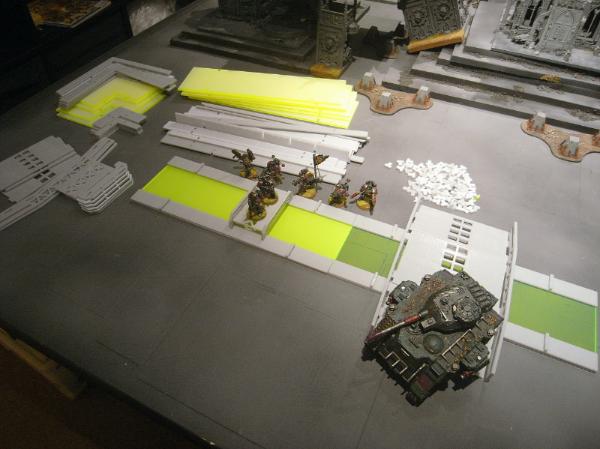
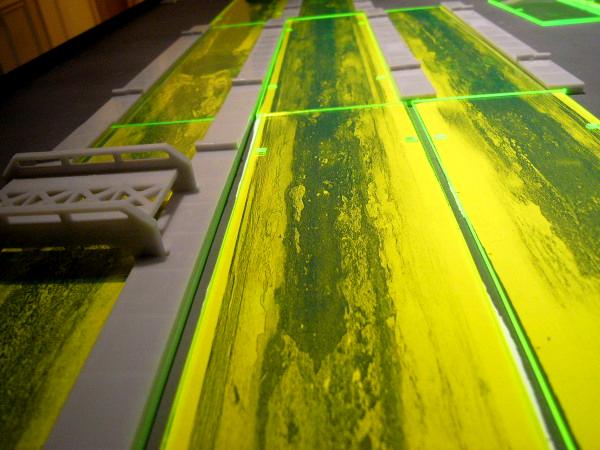
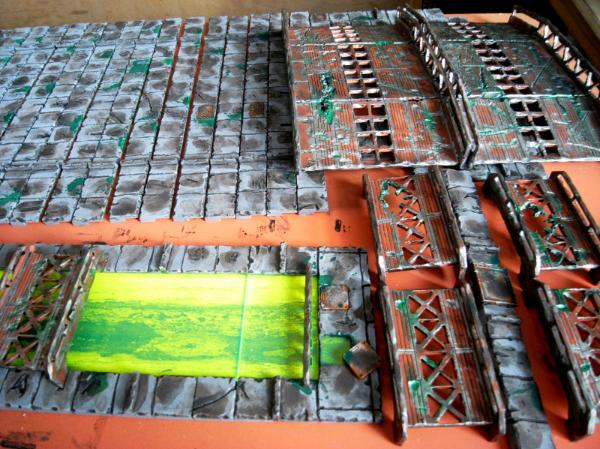
And work was restarted on the canals again, I've now assembled all the grey sections.
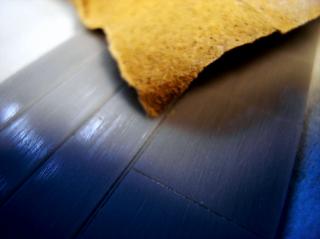
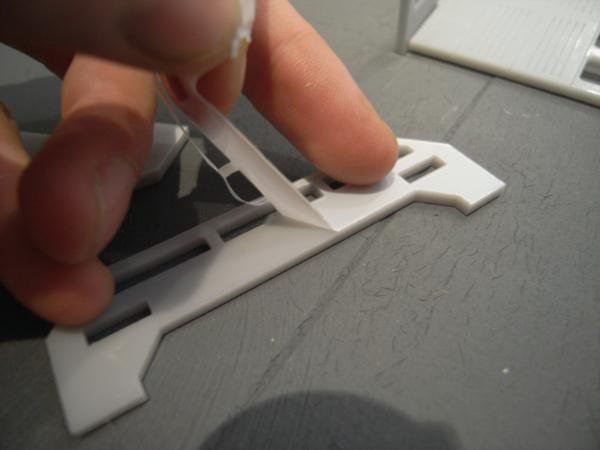
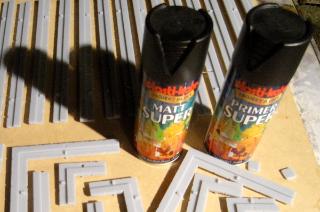
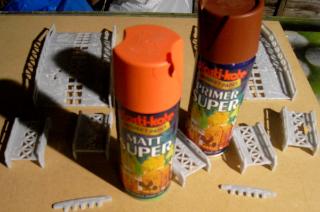
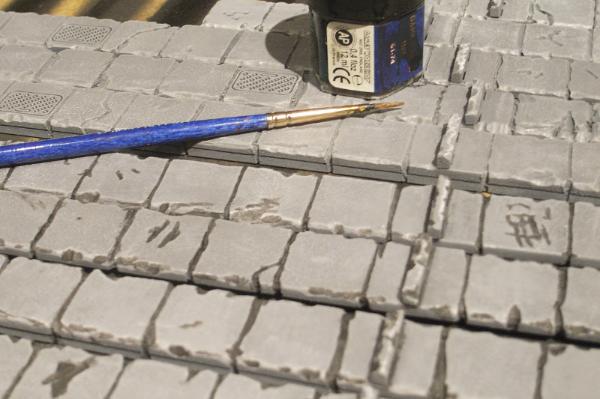
I scuffed all the plastic both sides with a medium sandpaper. This is to allow the glue and paint to bond better with the plastic.
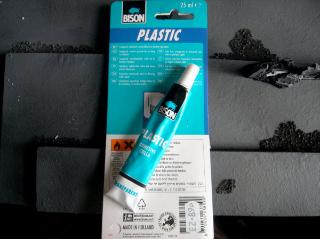
I used this plastic glue, Note this is not PolyCement the package describes it as being useful for hard plastics and has a picture of a kettle on it.
I've never heard of the brand 'bision' but the discription says bonds acrylics so seemd a better choice than super glue.
So far no issues with it. Seemed to be dry within 5 mins, pacakage says to leave over night.
(Scott, if your reading this, your probabilbly going to hate this bit, but when you release a modeling product...
Your going to have to accept that some people are going to bastardise it!...sorry)
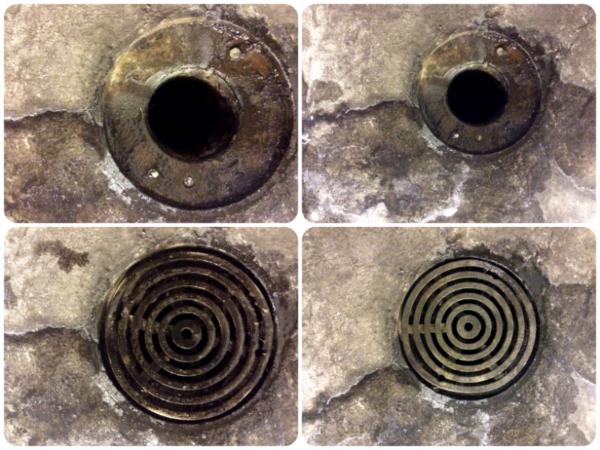
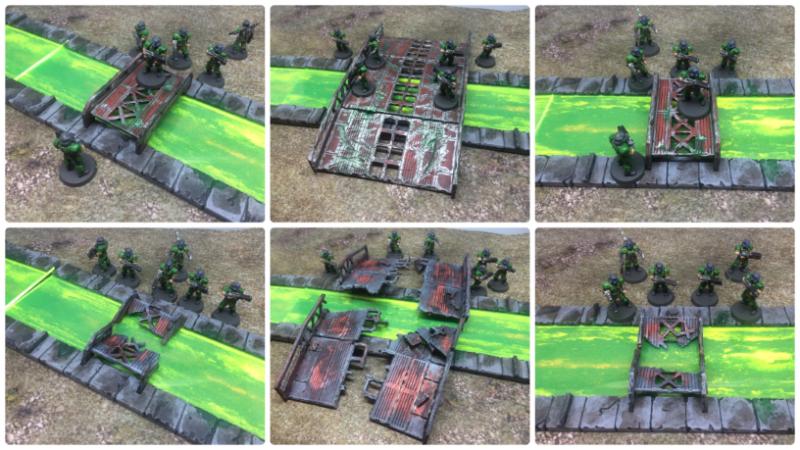
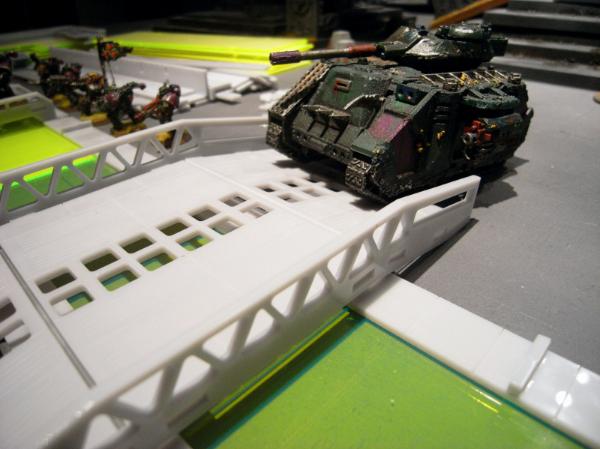
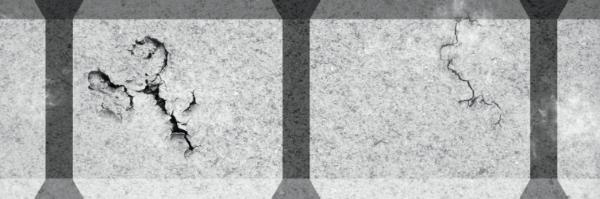
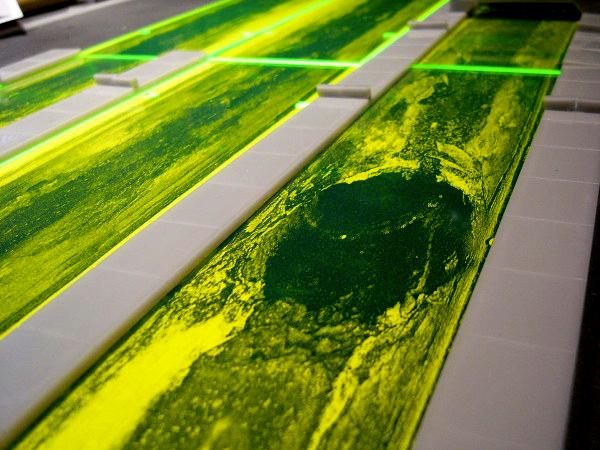
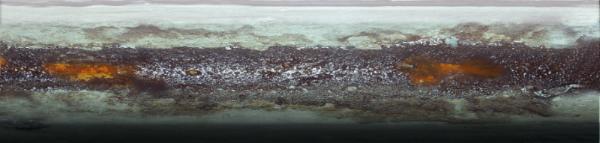
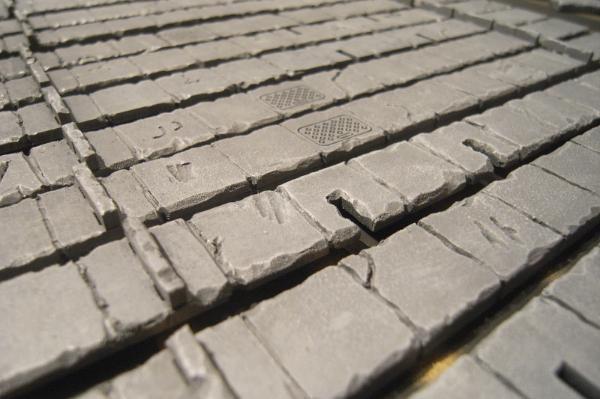
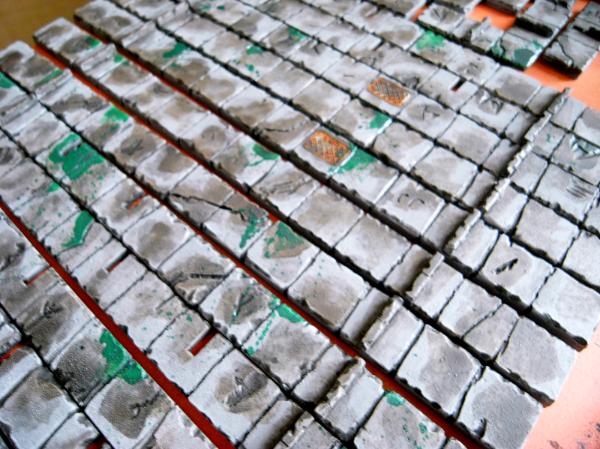
Next I started dremeling the edges of the canals...
Here you can compare the damaged and worn canals next to the nice and new versions.
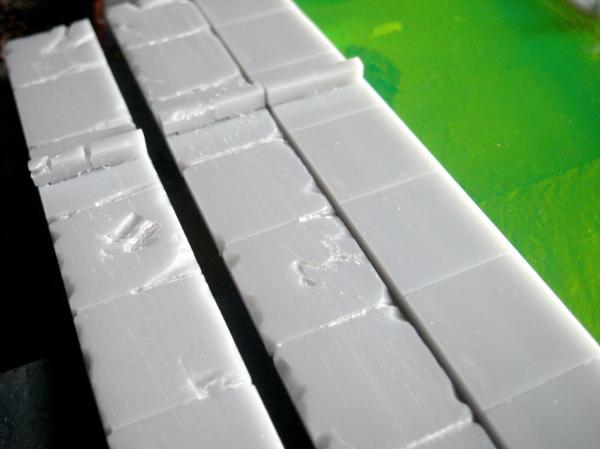
some more photos of the dremeled edges
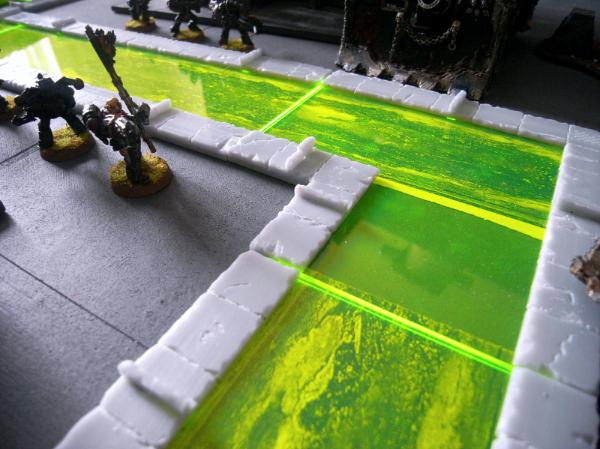
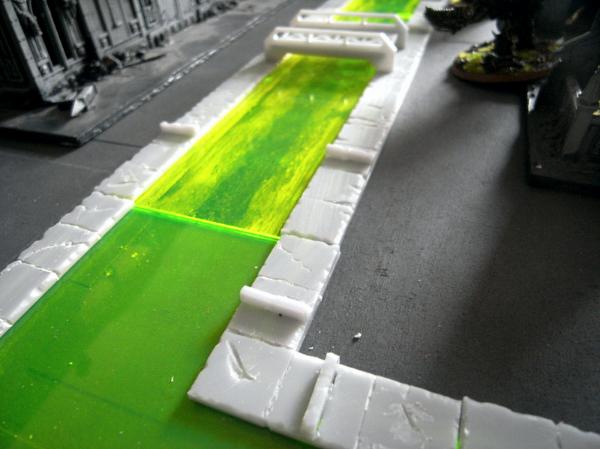
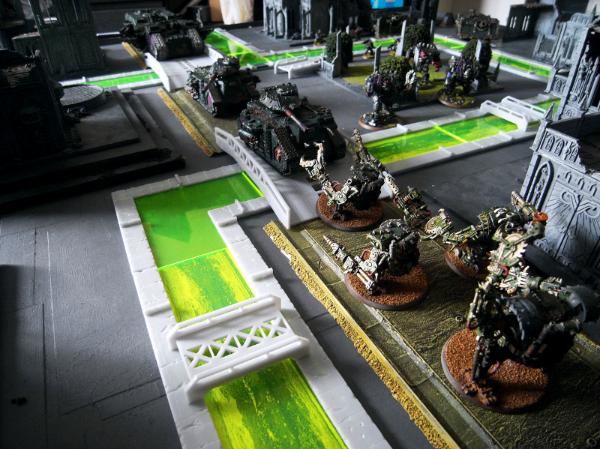
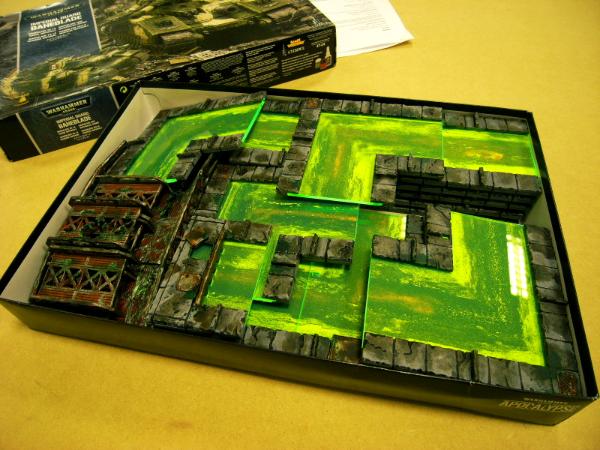
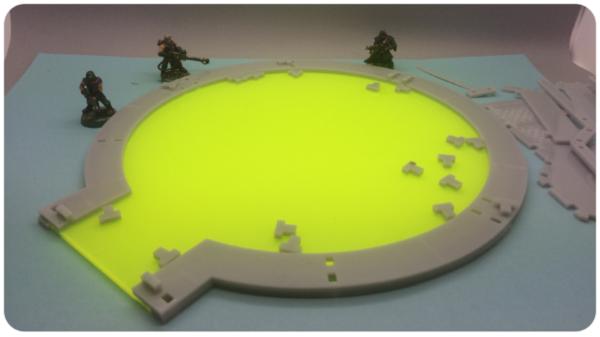
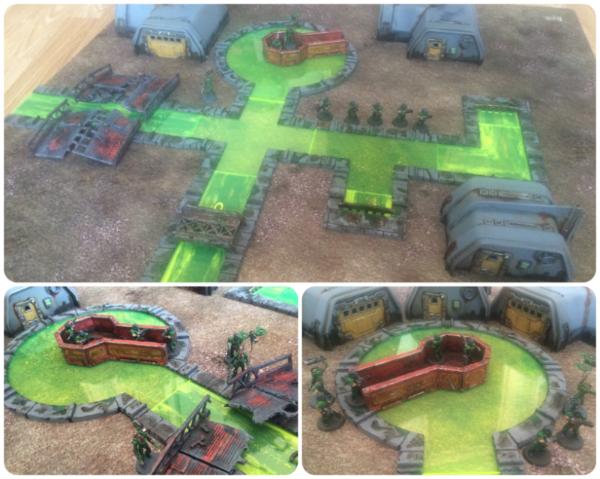
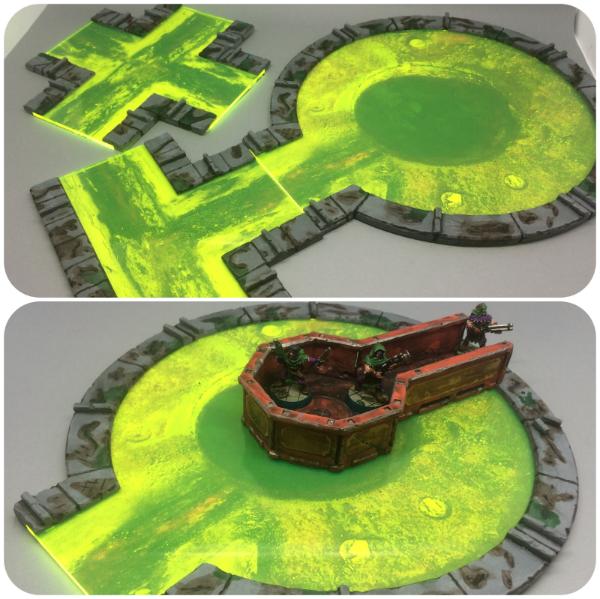
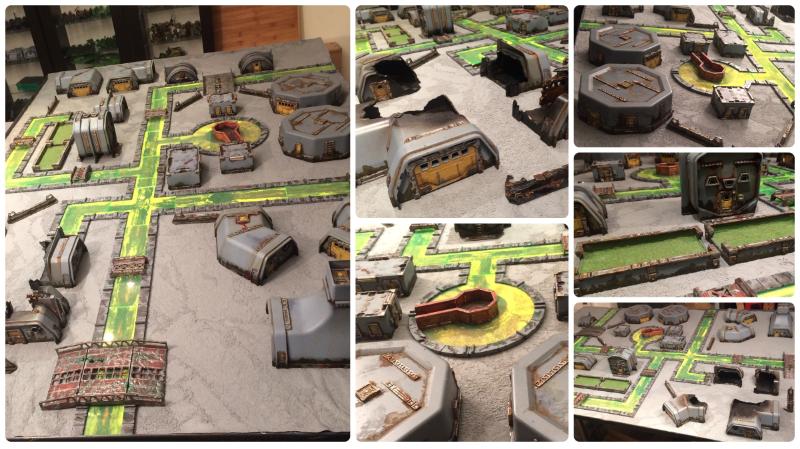
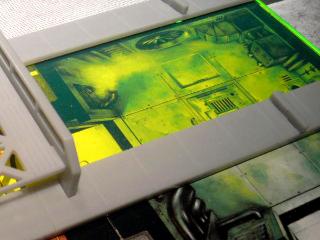
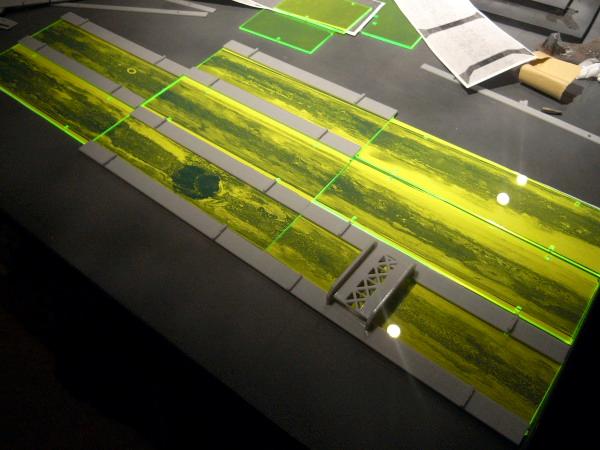
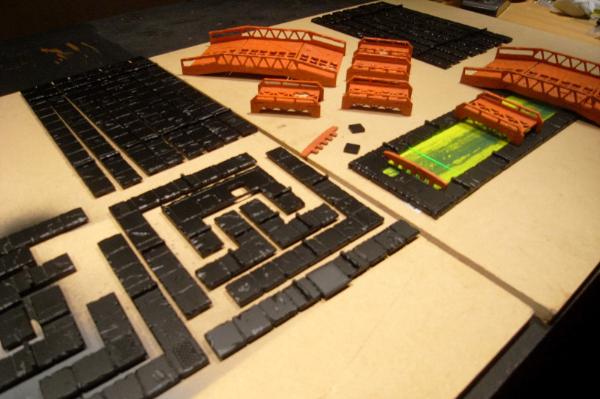
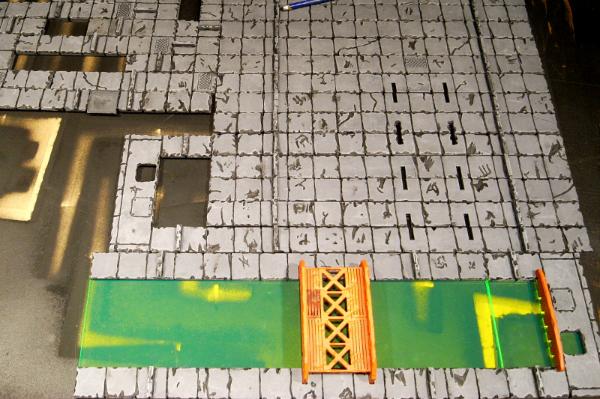
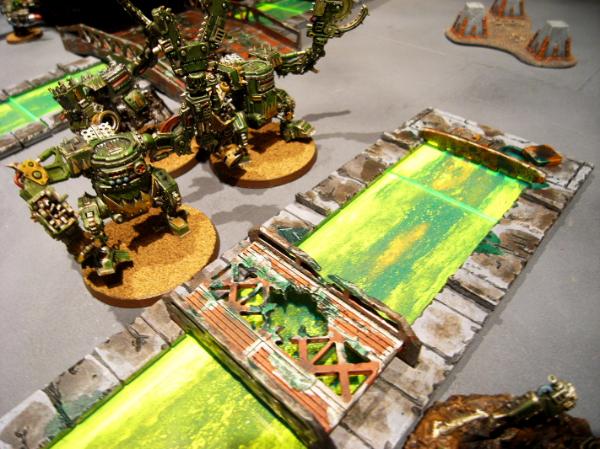
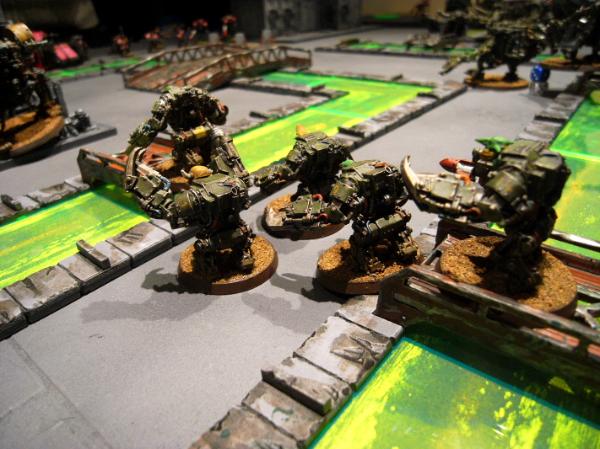
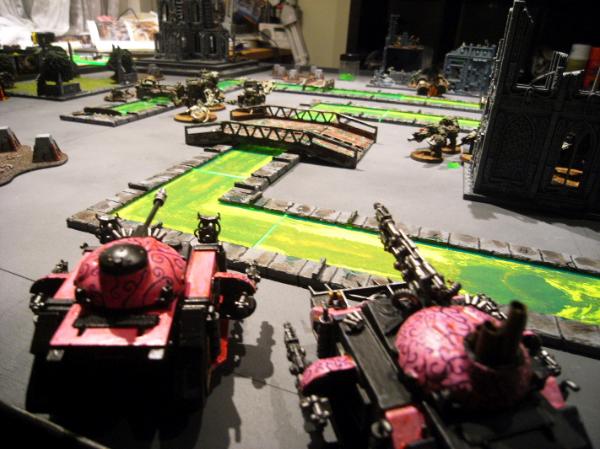
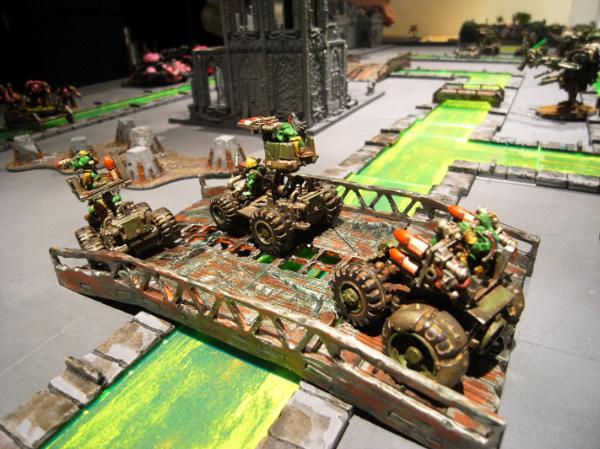
I couldn't help but have a play around with my set to see what layouts I could Make.
2x starter sets
2x road bridges
2x canal ends
1x extra straight,
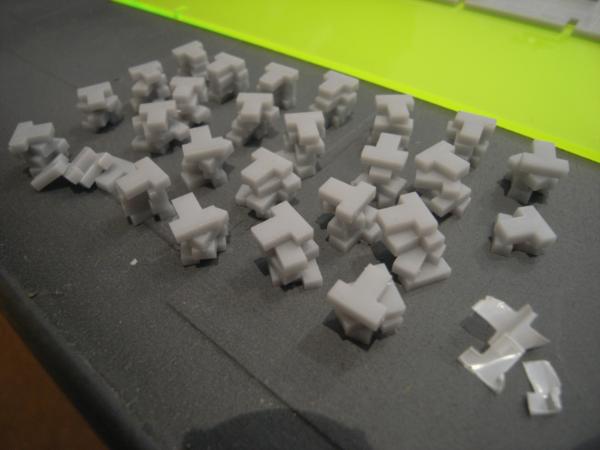
1x extra corner piece (converted to a T-junction)
totals £103 not bad!
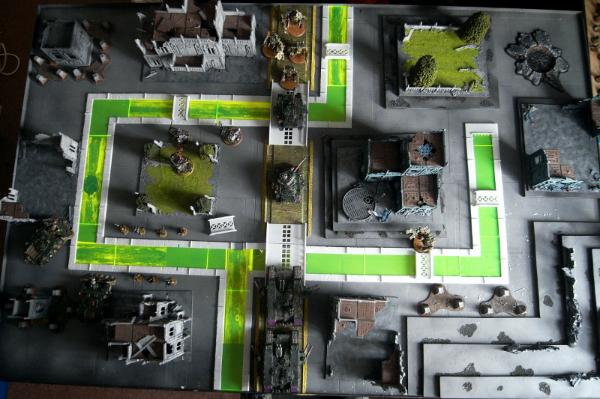
(x1 canal end not used)
So 4 sections still need dremeling and then I can get on with undercoating and painting these badboys.
Panic...


 until s6 releases junctions and cross roads?!