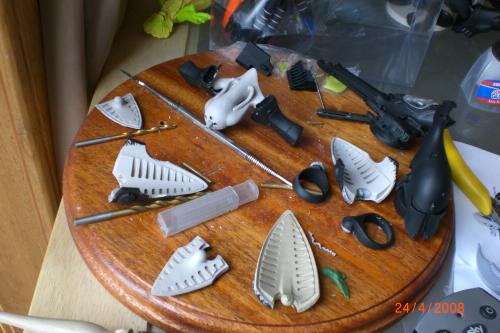
Assembly
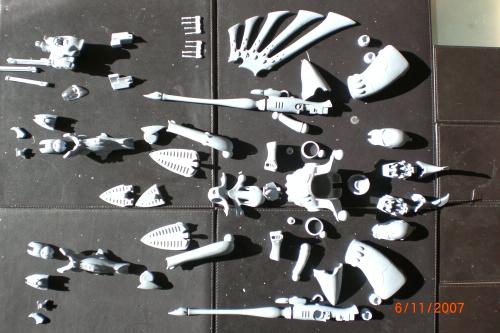
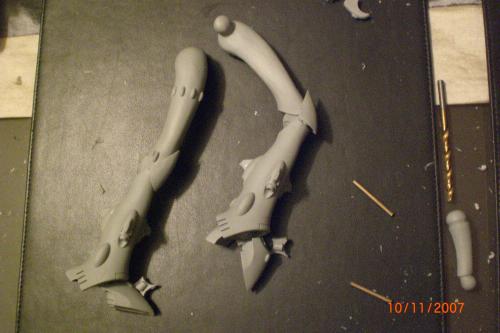
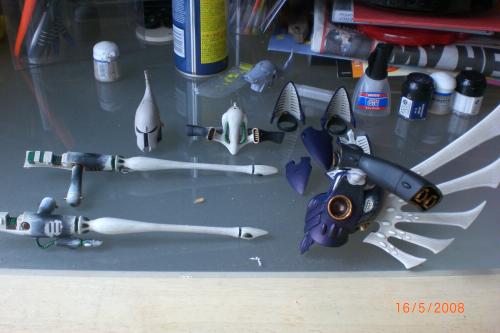
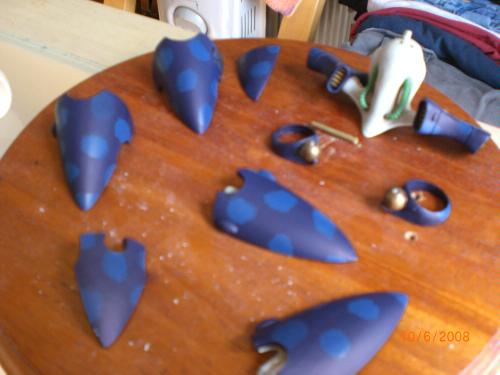
All the pieces washed and ready for assembly
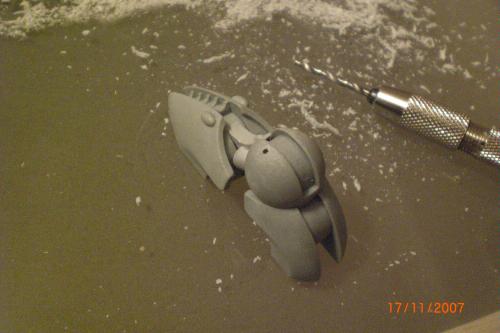
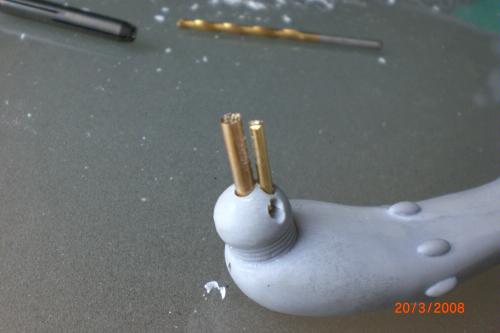
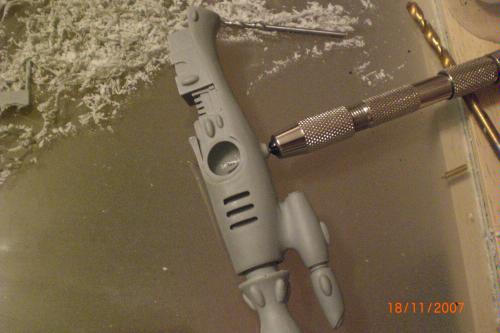
The thigh, the knee and the shin with 3mm brass rod
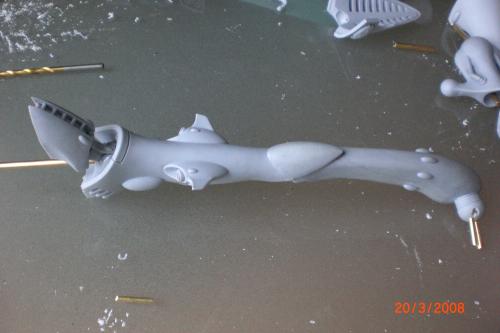
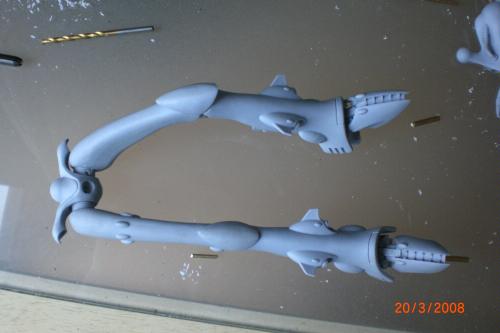
The leg goes together
another view
How I'd like the legs to look
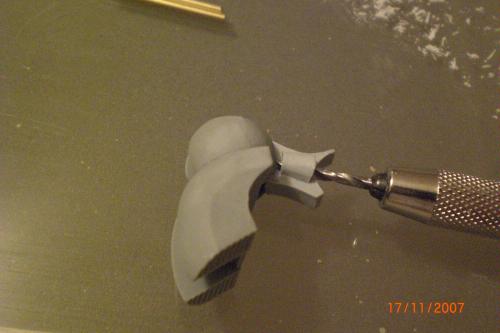
Pinning the heel
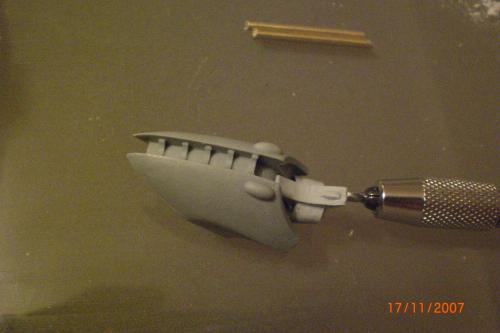
Pinning the toe
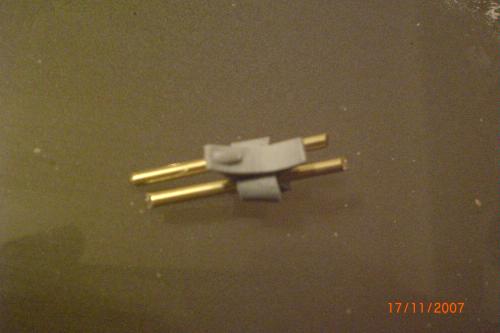
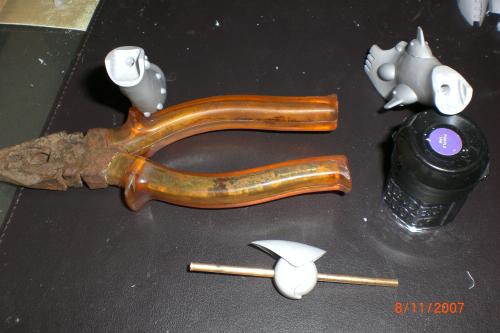
2 x 2mm rod used for the foot and heel connector
The foot comes together
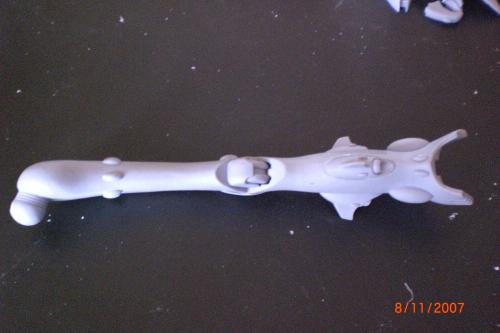
The straight leg with all the connections
The 3mm pin to the base
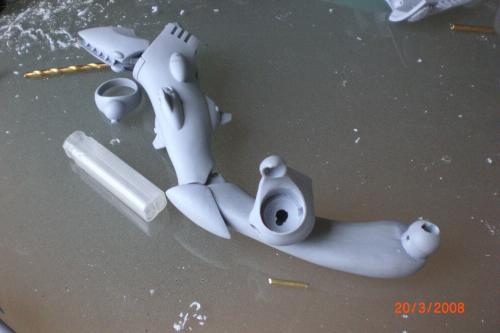
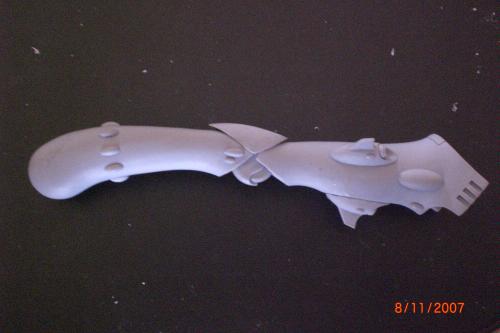
The curved leg and hip connector
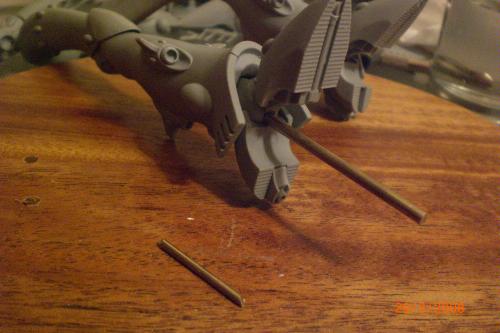
3mm and 2mm rod used to joint the 2 legs together
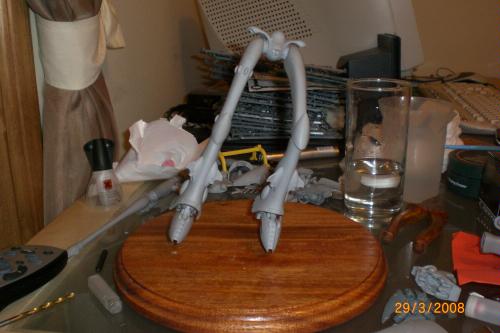
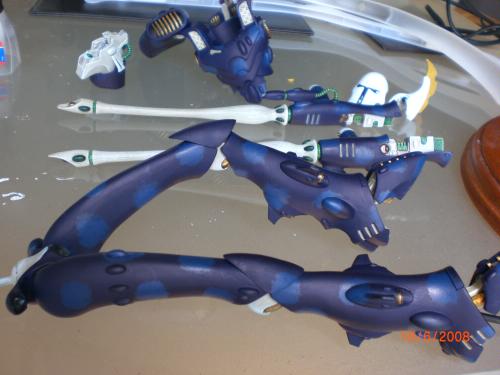
The legs, feet and hips all together.

The problem with the legs connected. The legs would just swing round on the one main pin as they were naturally weighted to one side.
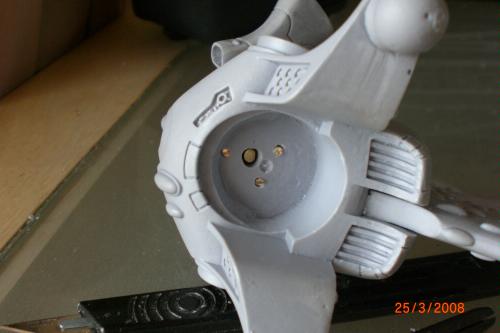
You can just make out the heads of the 2mm pins I put in front and back in the socket for the groin armour plate to strengthen the leg and hip joint
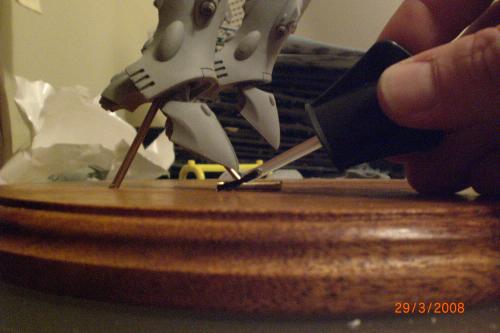
The solution for the legs. I drilled another 2mm pin from the toe of the straight leg and then glued a 3mm piece to the base to stop the movement.
Don't make the torso center hole too big for the pin.

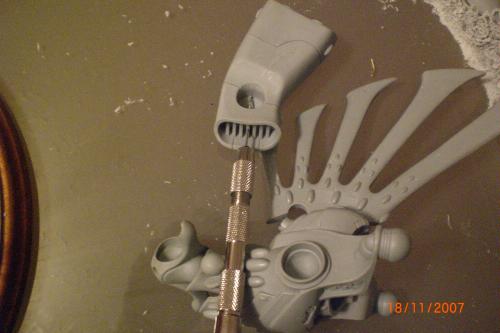
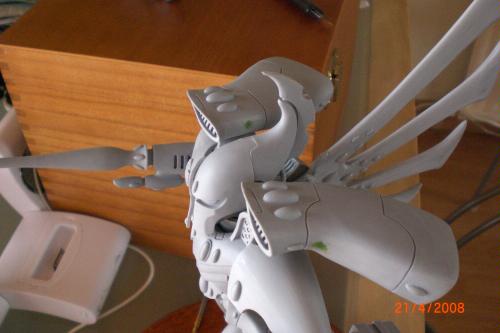
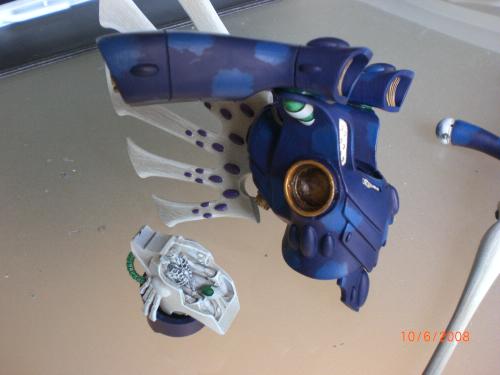
The spines get pinned in place.
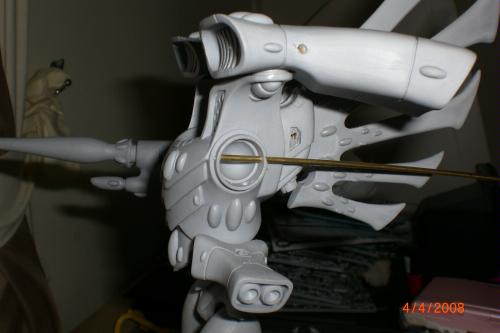
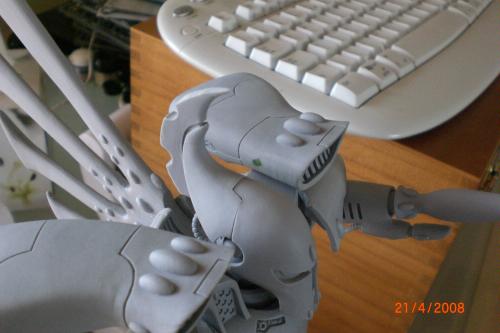
This is the method I decided on for attaching the arms. On the torso is a 3mm high lip of just under 1mm thick around the shoulder lip. This is where the ring for the shoulder armour slips over.
The Pulsar goes on. You can also see the pinning at the engine mounts and shoulder.
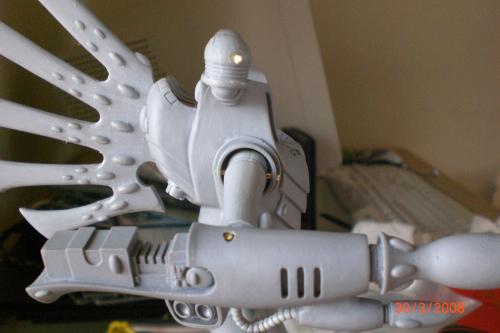
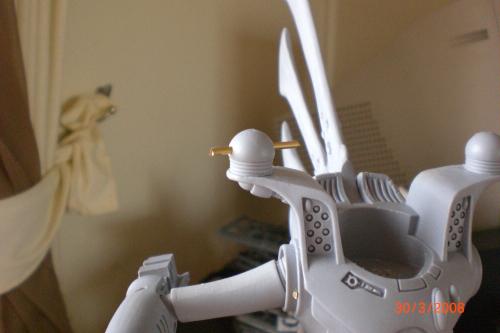
One of the pins on the arm to pulsar joint.
The other pin. Going in through the hole for the cable mount on the bottom of the pulsar casing.
-12112957-500px.jpg)
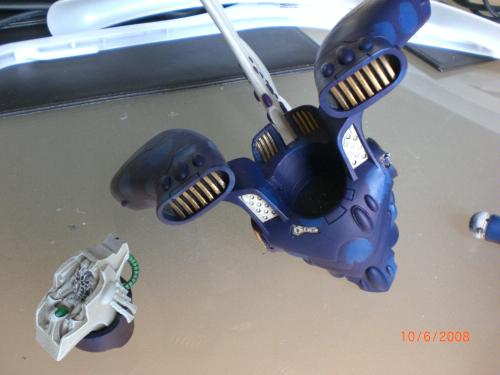
The hip thrusters get pinned.
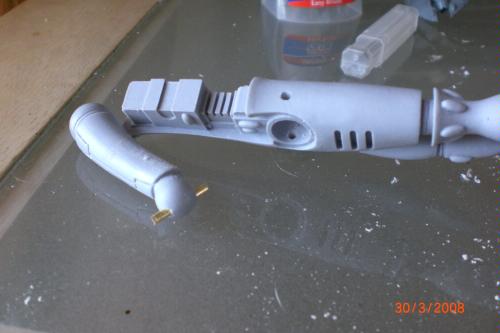
Pinning the engines - front ways 1mm

2mm Side pin. I've went through the flattest part of the side panel as this will be easier to fill in later.
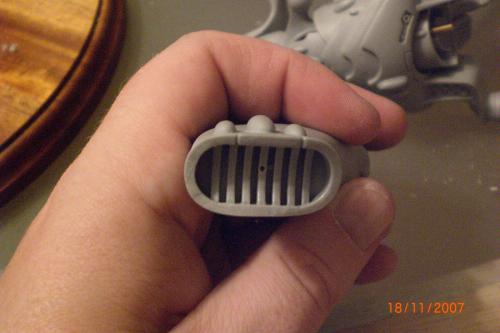
This shows the 1mm hole in the center, front of one of the engines.
2mm side pin through the engine mount.
The pin holes get filled in.
More shots of filling in the holes
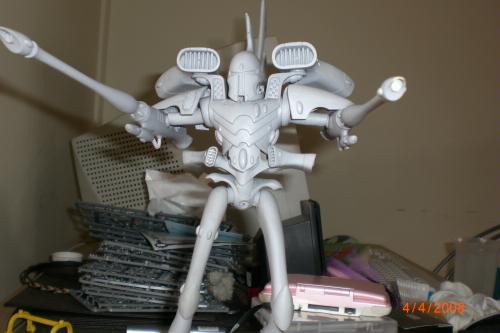
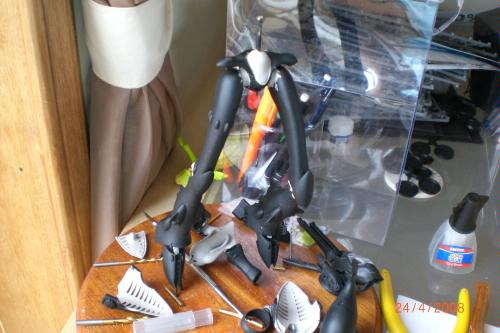
The model reaches a stage it can support it's own weight.
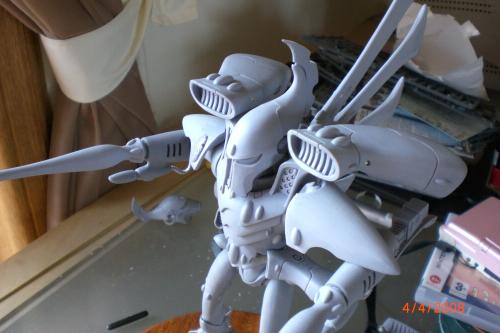
Another shot.
Painting
Now I'm getting the model together. How am I going to paint it?
I'm going to base it on the scheme I've already got sorted out for my army.
I'm going to do the stippling smaller than this example but using the same colours.
I tested the scheme on this waveserpent.

Undercoat!
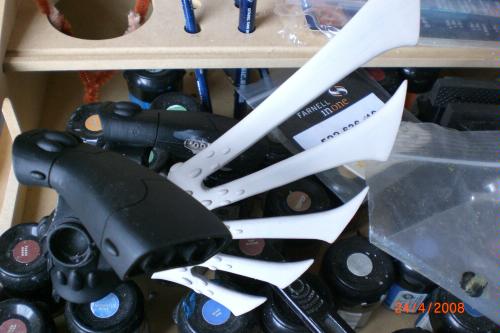
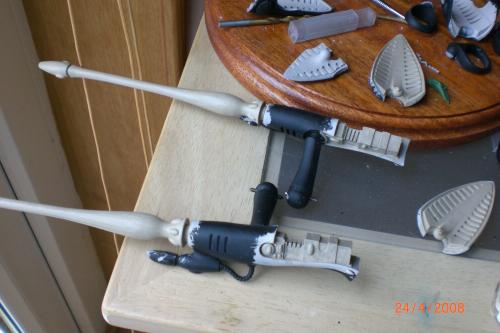
I wanted to do the central and hololithic spines as well as the pulsars in a bone effect.
I started with dheneb stone. Then a commando khaki base coat.
More Dheneb then khaki.
More Dheneb then khaki.
The guns now dry-brushed with bleached bone up to white.
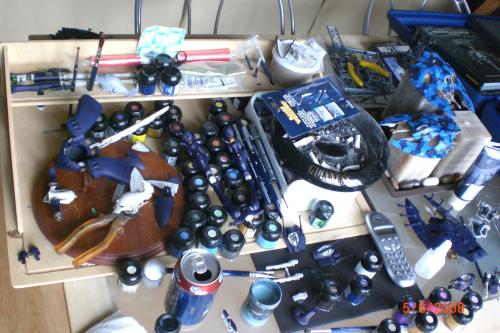
My really busy painting station.
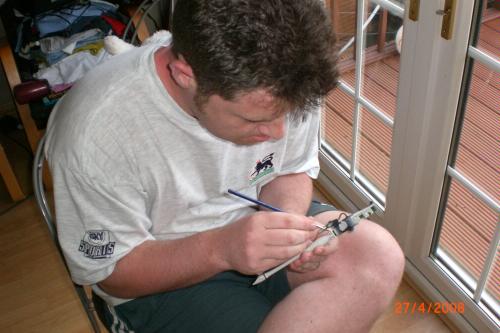
Me doing green ink washes, note the tongue.|
All the bone finished and the green in washes going on the pulsar.
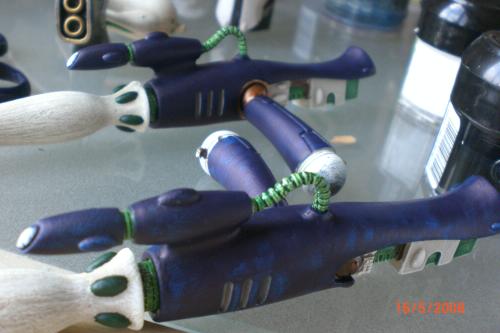
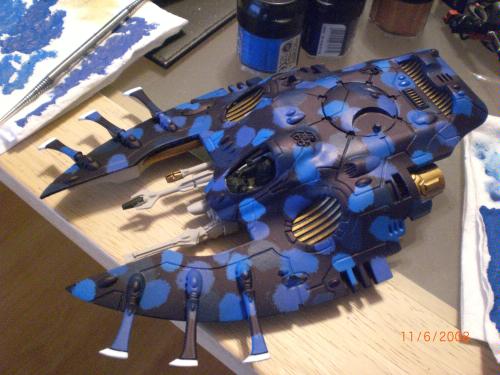
The midnight blue basecoat starts to go on.
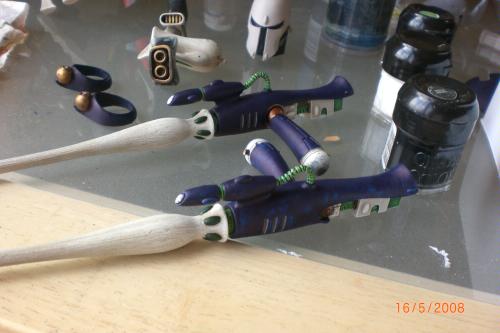
The guns get bluer.
The torso - Blue.
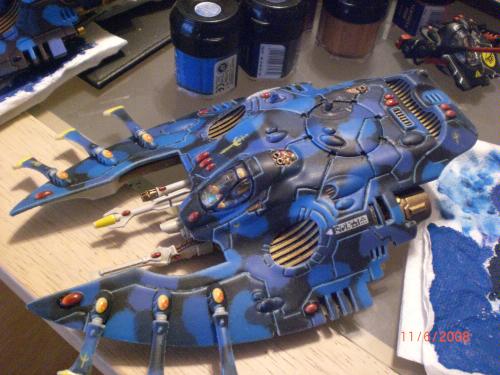
The armour skirts receive a stiple - this is in regal blue.
The legs and guns receive their first stiple.
The torso receives a stiple.
Another view.
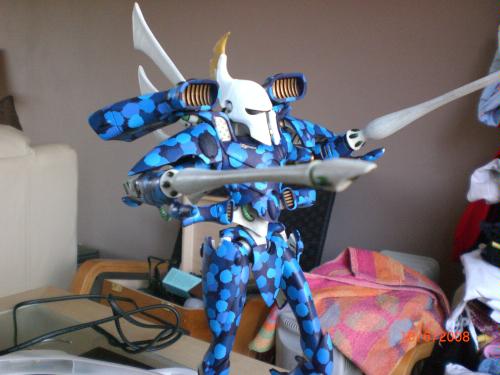
The stippling finished. A further stipple of Ultramarines blue, enchanted blue and an enchanted blue/ice blue mix were applied.
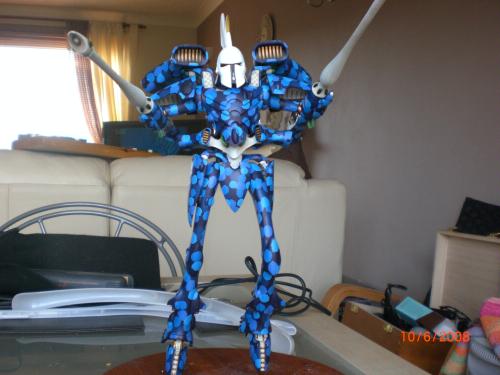
Another pic
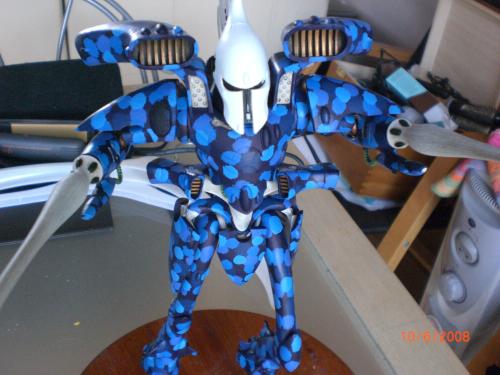
And another.

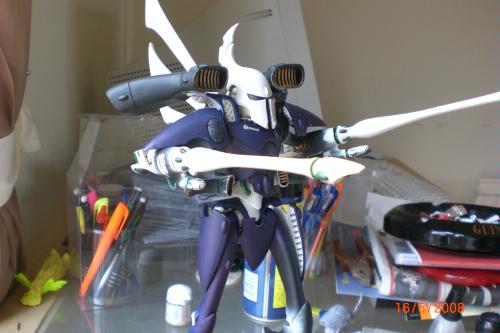
The last one for now. The scheme looks a bit bright just now but this dulls down with the varnish.
I'll post again soon. Let me know what you think?
