Introduction and the Plan
Article by Panic...
Yeah,
I decided to use the citadel Scenery painting Pack and paint the board the Standard Scheme.
I figured that doing a battle board might for some people be a daunting experiance, so I decided to make this Article so that my fellow dakkites can get a feel for doing this at home!
I Read the instructions from WD347(uk) and the GW website on how to paint the board, and with this information, this is how I did my board. I'd advise anyone making their own board to read as much as they can to mentally prepare themselves for the task... Also I take no responsibilty for how your board turns out!!!
But don't worry too much it's FUN...
Preparation
I recommend that before you start, you get all your materials ready and create a large clear work area with lots of space surrounding it.
I used a 3’ x 4’ board ontop of a table in the middle of the Living room As my work area.
I also cleared the hallway as a staging/drying area.
Because Painting this Board required that I took over the living room and hallway, I gave my Girl Friend Advance notice (two days!) that the Flat was going to be a little messy for two days!
I can’t stress how important this is!!!
You should probably do the same with your partner/parents etc...
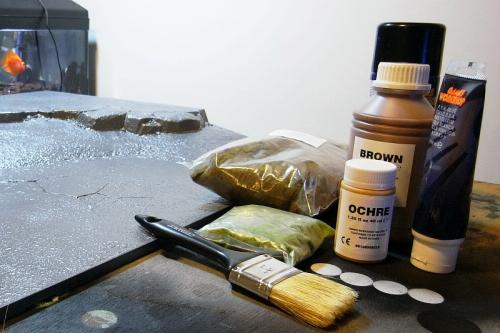
Materials
I used these materials
- Scorched static Grass (from The Scenery Pack)
- Static Grass (from The Scenery Pack)
- Brown Paint (from The Scenery Pack)
- Ochre Paint (from The Scenery Pack)
- Big Brush (from The Scenery Pack)
- PVA Glue (from The Scenery Pack)
- empty 2ltr Plastic bottle
- Black Spray
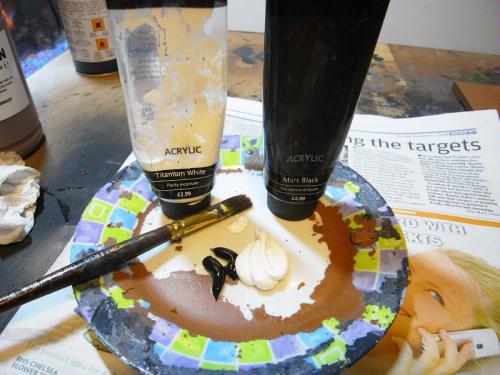
- Art supply Black Acrylic (you need allot so this is cheaper than using citadel pots)
- Art supply White Acrylic (you need allot so this is cheaper than using citadel pots)
- Plate (for mixing paint)
- Another Big Brush for Glue Spreading
- Another large Brush for Detailed Glue Spreading
- Smaller Brushes for detailing and spreading
- Citadel Paint (for the skulls... Dheneb Stone, bleached bone, skull white, devlan mud)
- Large sheet of Strong/Thick Brown Paper.
- A biscuit tin...For static grass reclaiming! the Wider the better, get this from the post office.
- I also used a large sheet for resting the tiles on over night, I suggest wrapping paper for this.
- Lots of Newspaper.
- Purity Seal.
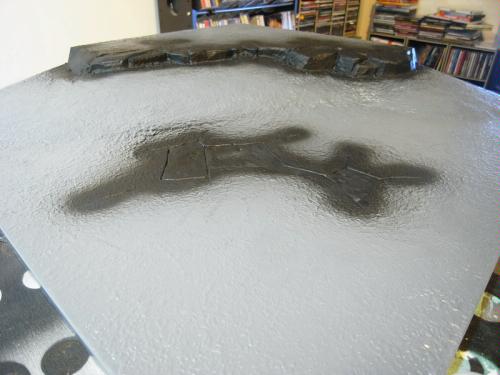
Painting the board
I sprayed the Rock areas Black.
Base-coated the board brown.
 .
.
use a plate!.
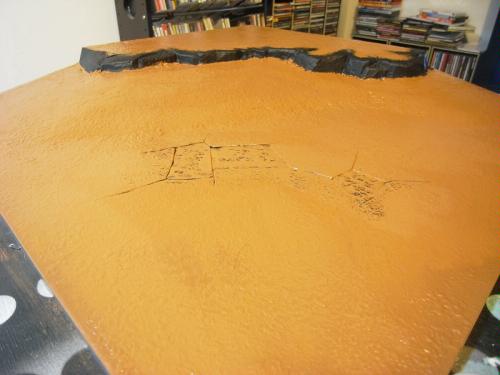
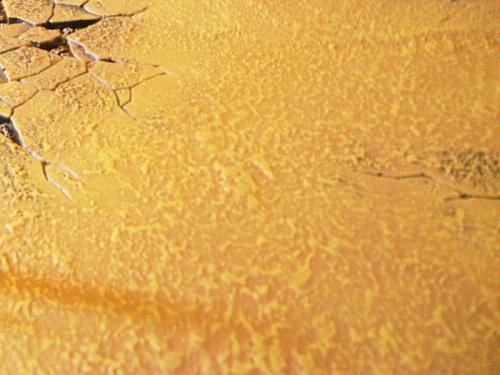
Highlight the brown with a heavy coat of dry-brushed ochre.
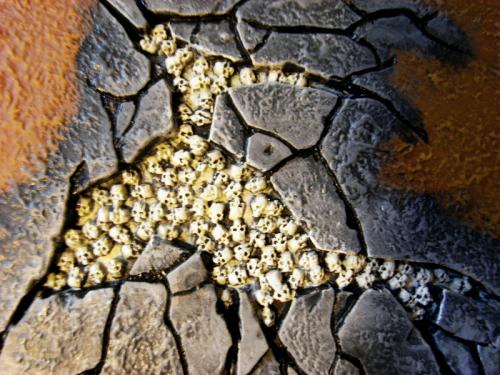
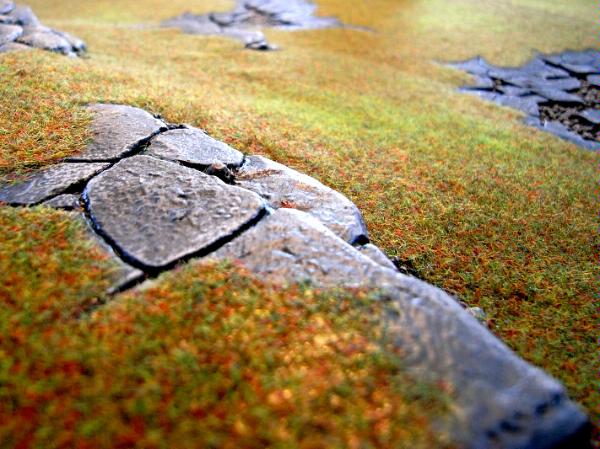
Painting the Rocks
All the rock areas and skull pits followed this simple highlighting plan.
You can use citadel paint, but I estimate that you'l use 4 pots (£12!)...easy... So i used acrylic art paint from art supply shop , much cheaper and I mixed on a Plate!(i bought these two tubes ages ago for £3 quid each)
Dark grey heavy dry-brushed /over-painted onto the black.
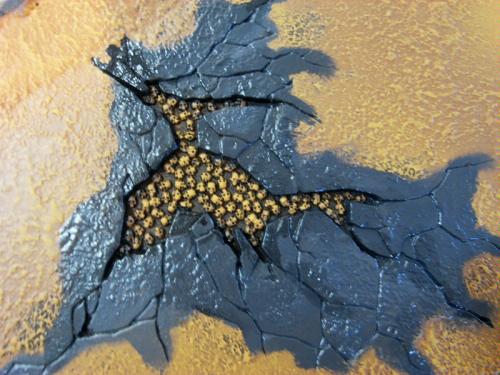
grey lightly dry-brushed over all the dark grey.
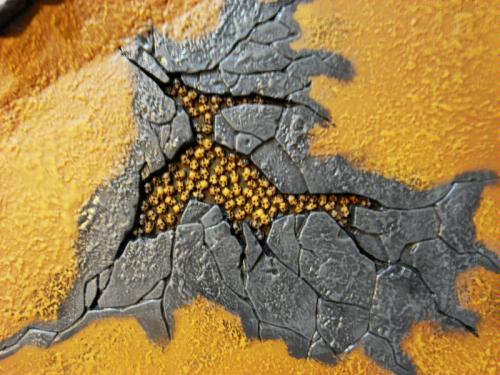
Light grey/ almost white lightly dry brushed around the edges of the rock slabs/boulders.
and Very Dark Grey/black painted into the cracks and around the boulders.
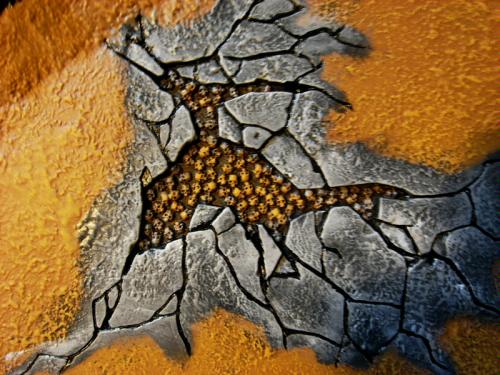
Painting the Skulls And Skull Pits...
Over-Brushed Dheneb Stone.
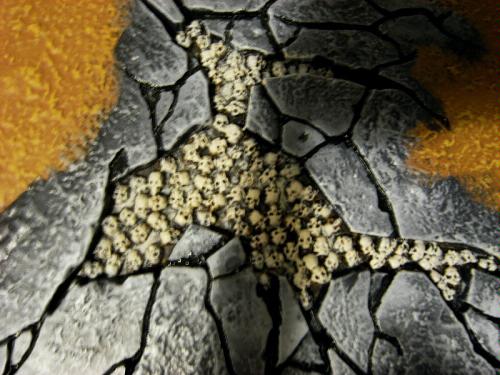
Heavy Dry-Brushed bleached bone.
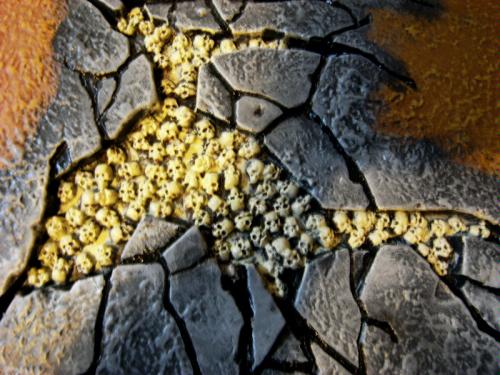
Light Dry-brushed skull white.
Loaded with devlan mud.
Flocking
I decided not to follow the method in WD word for word.
I decided that with two people, working fast, we could manage a tile at a time.
Separate the LightGreen grass into 6 small piles, one for each tile.
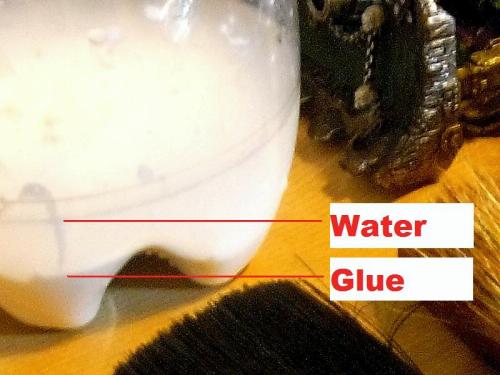
I used a Plastic bottle cut in half for glue mixing
So I mixed up a mixture of PVA glue that I figured was about 50/50.. in the picture it has yet to be mixed together, If you look carefully you can see the glue level and the water level.

>My Girlfriend provided my extra hands. Huzzah!
So I painted the Glue around the complex shapes while She used a big brush to paste glue all over the plains...
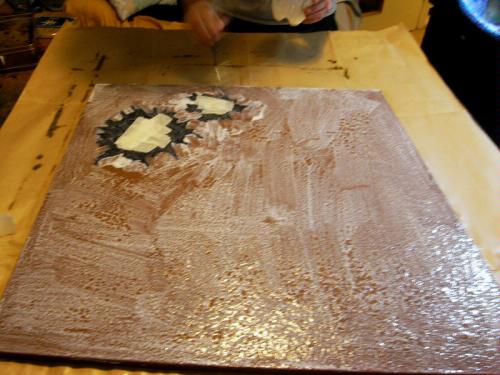
Once this was done we scattered the entire contents of the scorched grass straight onto the tile. waited 30secs - 50sec...
Turn the tile upside down above the brown paper and, hit the back repeatedly for about 1 min to shake the excess grass OFF.
Flipping the tile back over and put it down on the table again.
Using 1 of the six piles of Green Static Grass We randomly placed it in little patches around the board, and left it there!
Make sure you place the light green static grass after you reclaim the scorched grass is too keep the colours separate...
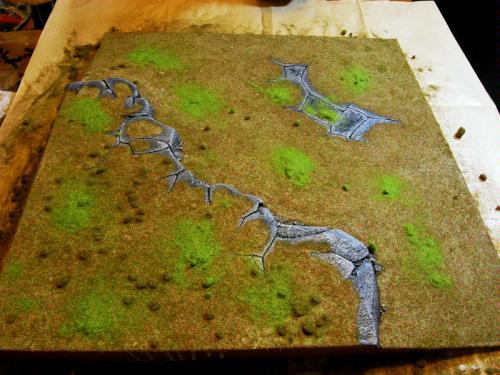
you can see some of the glue under the grass showing up as white... don't worry the glue drys clear...
Reclaiming the Static grass! two people works best, fold the brown paper sheet in half and slowly tip the static grass back into a container (the biscuit tin).
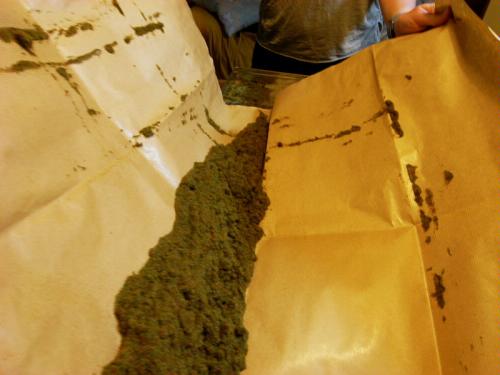
And left to dry Over Night.
Leave the green static grass on the boards, reclaim it the next day
Next morning...
I sprayed it with healthy dusting of Purity Seal, keeping the can about 1' to 2' from the board... don’t spray too much or to close to the board or the varnish will build up on the static grass in a rather unpleasant way.
I gave it 15mins and Sprayed another light dusting of purity seal for good measure...
1 hour later it was dry and ready for it's first game.
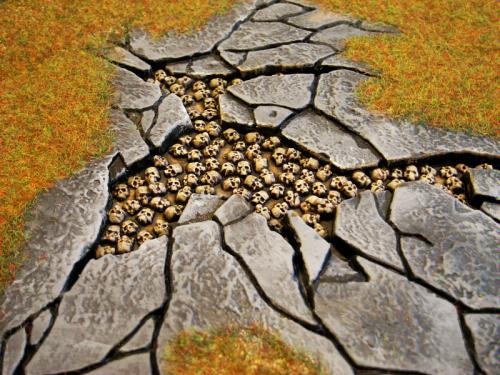
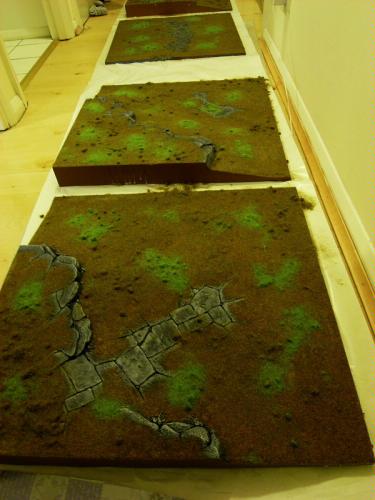
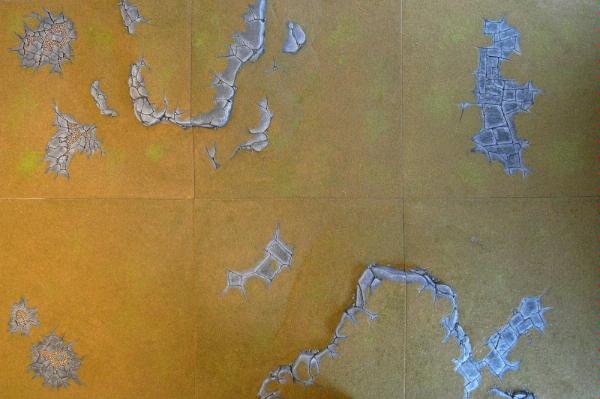
End Results Photos
varied Set ups
Setup1
Setup2

Setup3

Setup2
Some photos of the finished Board.


city of death buildings look good on the board!?

Review
Realm of Battle Board
I rate the Battle Board 9/10
My only issue is, I hate the clips! they are so annoying... the don't want to clip together and pop apart!...
The board is awesome, I played around with a few layouts I love it!
my mind is buzzing with ideas of custom tiles, and hope for the future expansions...
I'm even thinking about getting a second board to paint snowy...
Citadel Scenery Pack
I rate the scenery Pack 9/10
You get way more than you need to paint and flock the board! I only used about half of everything!!
I can use my left over paint and flock to paint all my future terrain to match this standard scheme. I may even convert my old terrain to match this scheme... anyways...
My only issue was you really need more of the light green, I'd suggest buying a extra tub.
It took me 14hrs to paint/flock/varnish this table... not including the drying/down time...
If your about to make you own, good luck! Post your table when your done and PM me so I can see the results
click here to see The first game on this table --> Battle Report
PANIC...