- by Iain Wilson
A beautifully painted army that someone has slaved over for more hours than is healthy can be a truly wonderful thing to behold. Sometimes, though, we just want to get some models on the table as quickly as possible. Way back when I first started writing these articles, I shared a tutorial on
painting with washes, as it's a really simple technique for speed painting. (Don't look at it, the pictures are horrible and I really need to redo them...)
I thought I would revisit it this week, with a step-by-step walkthrough painting a Broken
Pa'Ku (almost) entirely with Army Painter Quickshade washes.
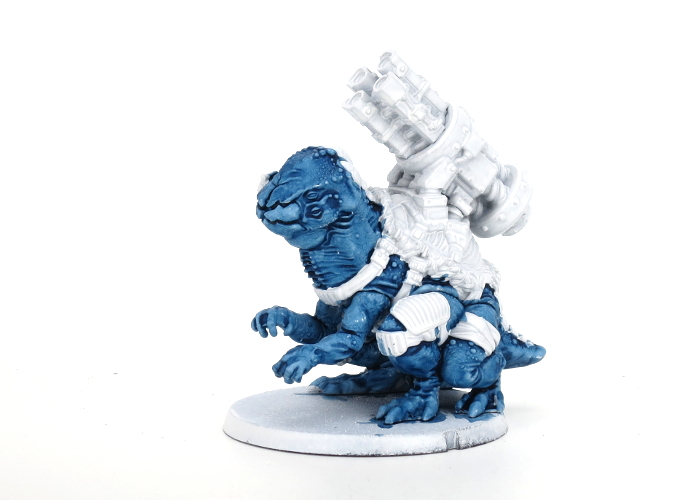
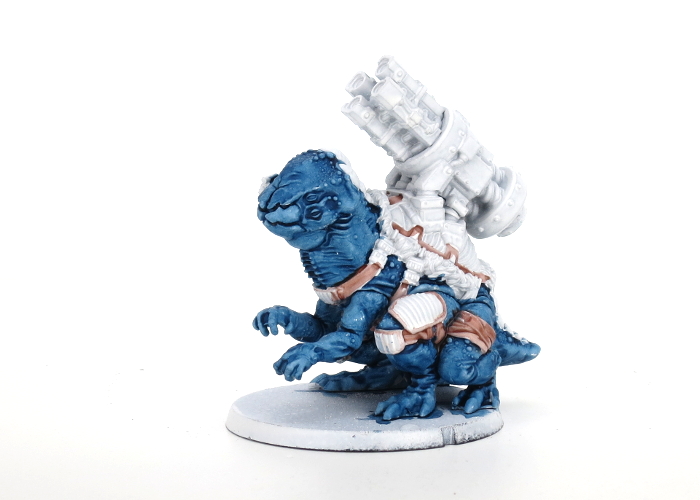
A quick note before starting: Army Painter have two different product ranges under their 'Quickshade' banner. The first are dips, which come in a tin and are used precisely as the name implies - you essentially paint the model in basic colours, drop it in the dip, shake or wipe off the excess dip, and call the job a good 'un. These are good for quickly adding shading to a bunch of models, but can result in a rather muted overall effect due to everything being shaded the same colour. The second product is what we're using here. These are washes, sold in dropper bottles. Washes are thinner than regular acrylic paint, and are usually painted on over lighter colours, where they settle into the creases and darken everything up. Instead of doing that, I'm painting directly over a flat white spray undercoat.
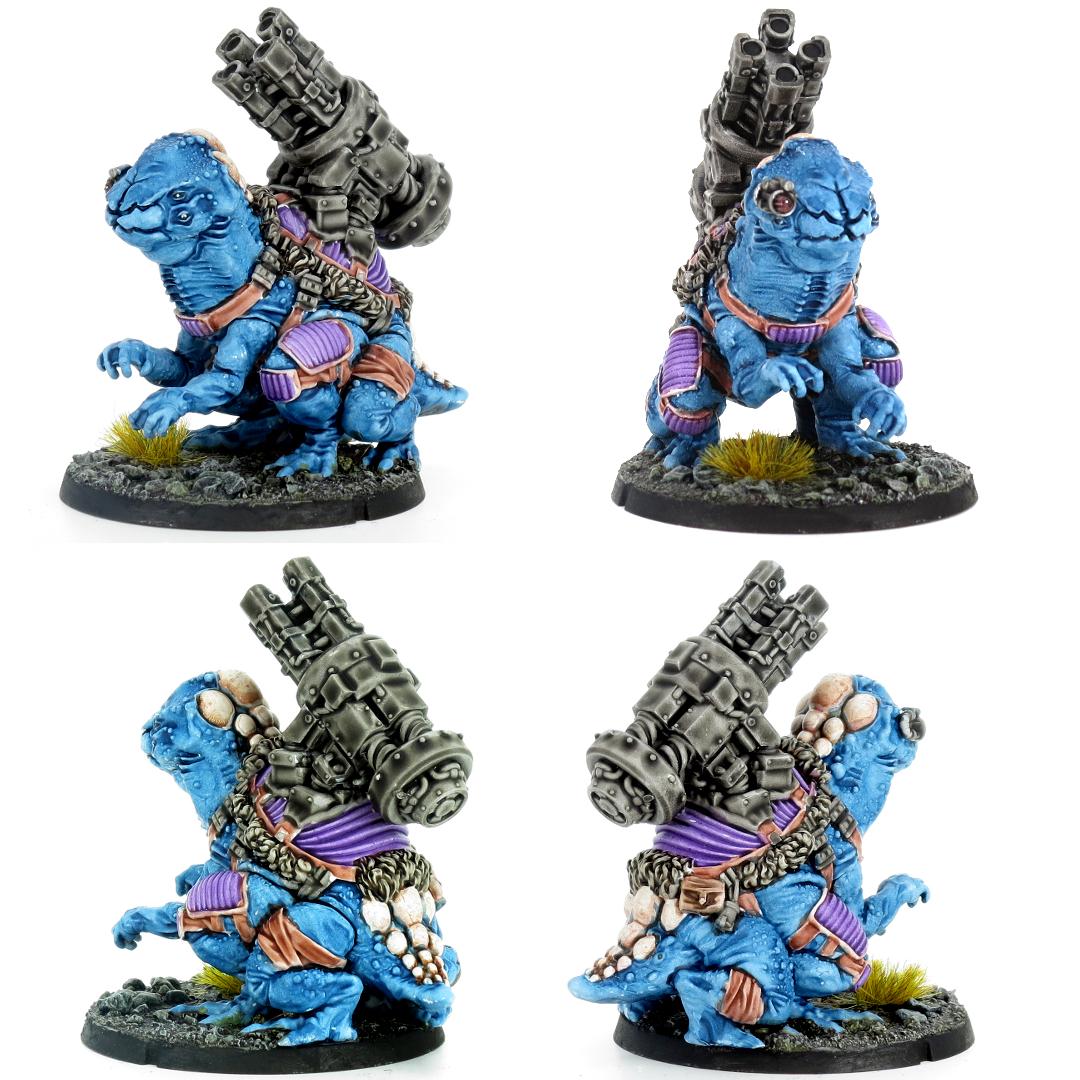
My
previous Pa'ku was painted green, so I decided to change it up a little and go blue this time. The first step, then, is to paint a generous coat of Blue Tone all over the
Pa'ku's skin. Because the wash is quite watery, this isn't a precise operation. You're unlikely to win awards with models painted using this technique, as regardless of how careful you are, a little bit of wash running into places it doesn't belong as more or less unavoidable. If it gets too messy, you can wait until the first layer dries and then touch up the rest of the model with some white paint before proceeding.
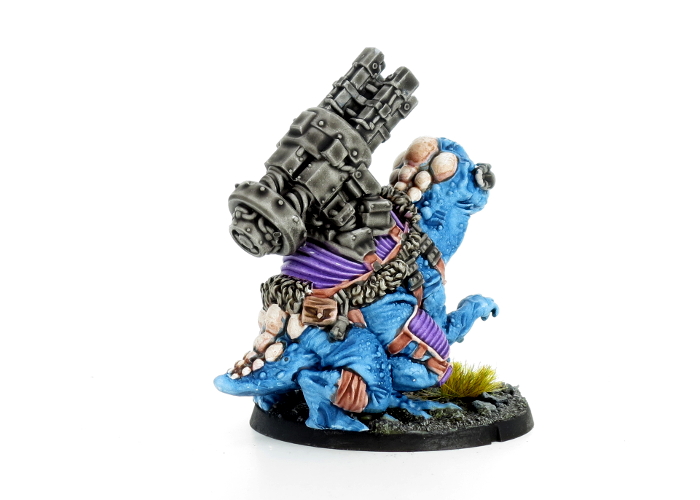
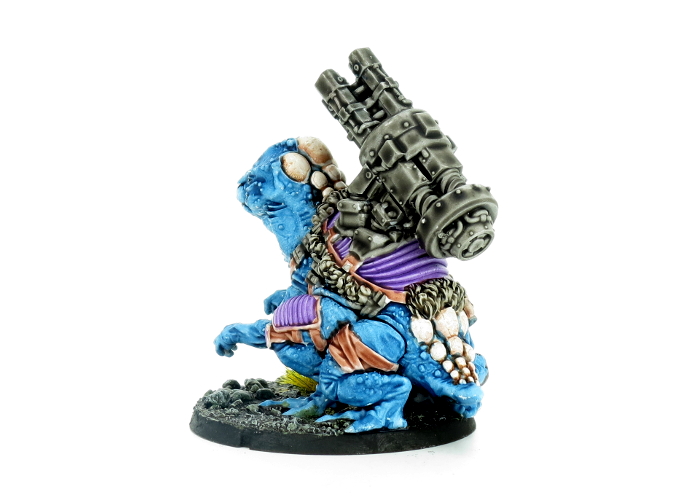
Next up, I painted the straps and bindings with a coat of Mid Brown.
I wanted the large bumps on his back to contrast with the blue skin, so used Flesh Wash. Over the white, this created a light, weathered-bone sort of colour. This needed to go on quite heavily, and required a couple of touchups after it dried, as the flesh tone is very light. In hindsight, Soft Tone might have worked better.
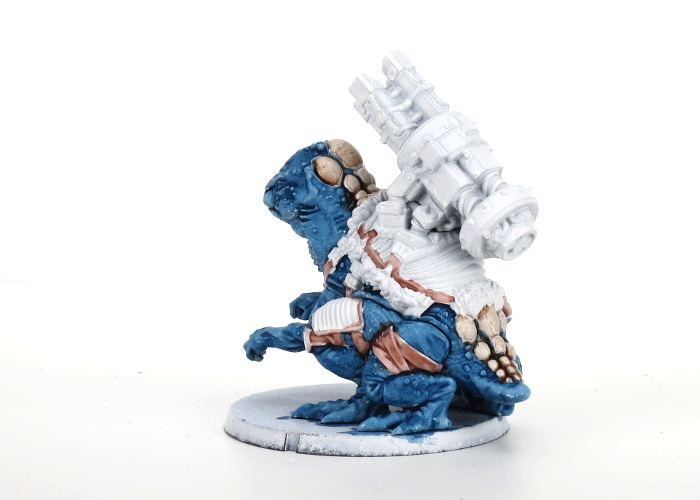
For some brighter colour, I painted the armour pads with Purple Tone.
That left the gun and other metal parts, and the fur around his back pad. I painted these with Dark Tone. For the metal, I was aiming for a dark grey/black tone rather than a true metallic. If you want more of a metal tone, then painting the metal parts with Gun Metal before washing would have done the trick. Instead, I opted for a couple of coats of Dark Tone, with the below picture showing the first coat.
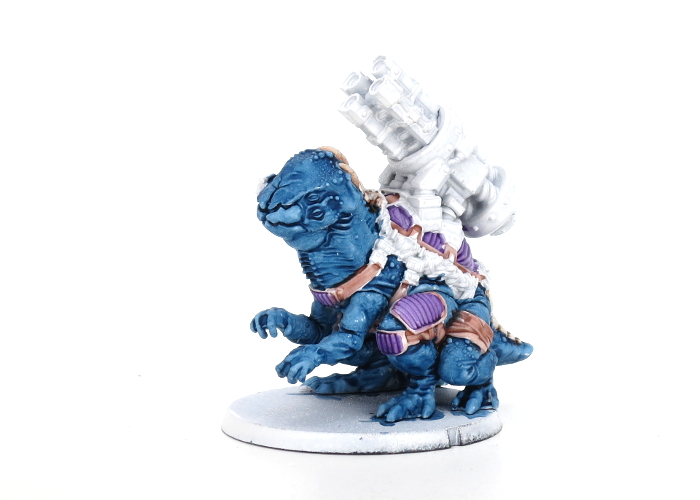
To finish up, I applied the second coat of Dark Tone to the metal parts, and ran a coat of Strong Tone over the fur to help differentiate it slightly from the metal. I also decided that the brown was paler than I wanted, so gave it a second coat of Mid Brown. The Quickshades lend themselves well to this sort of layering - they're heavily pigmented, but over the white the effect is light enough that you can get subtle colour effects with light coats, and a more vibrant colour with a heavy coat, or layer extra coats (or different coloured washes) over the top for a darker finish.
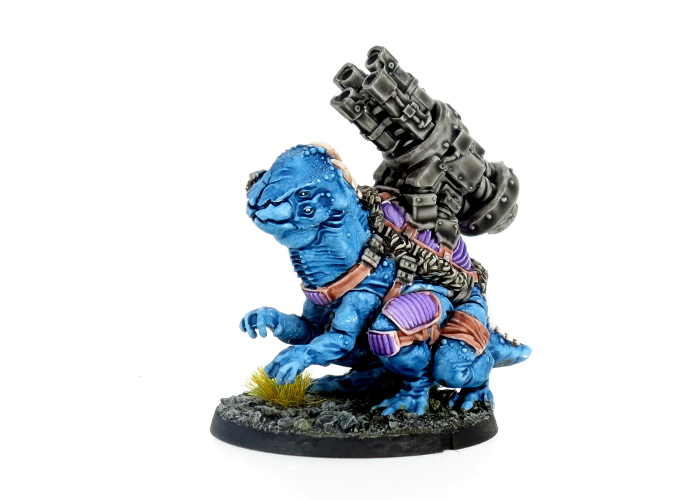
I also went over the targeter lens with some Red Tone, and added a little Dark Tone into the other three eyes, following up with a small dot of regular white paint (hence the 'almost' disclaimer!) in the center of each eye and the targeter when the washes dried.
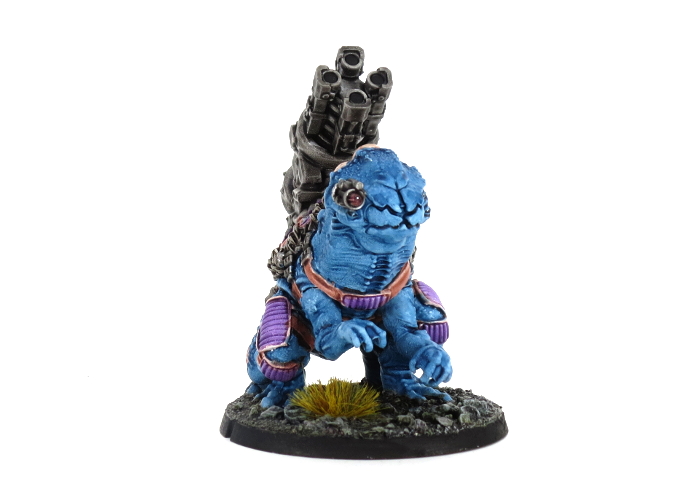
The base was painted with Army Green, washed with Strong Tone, and then drybrushed with Ash Grey.
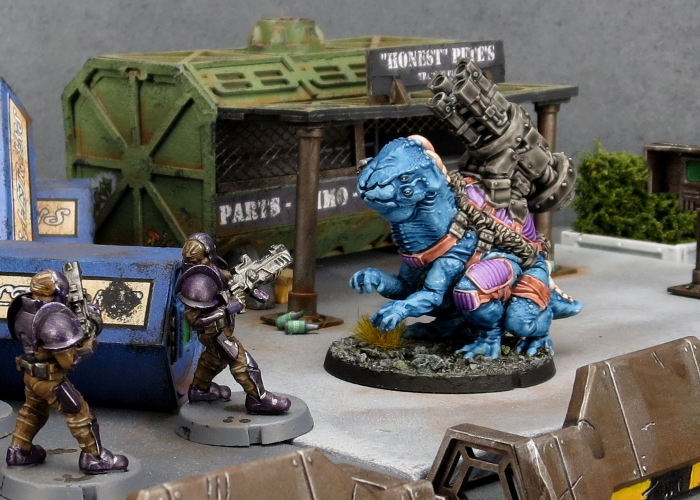
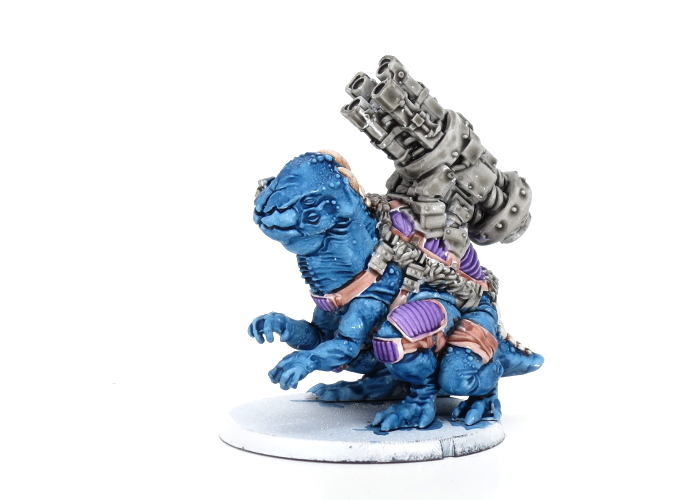
The end result is a fairly basic colour scheme - If I was so inclined, I could go back over and tidy up a few small areas of splash-over from the wash, and add a few extra details here and there like the cabling on the gun.
If you're looking for quick and easy, though, it's a really handy technique to play around with, and can easily be adapted to other colour schemes using different wash shades.
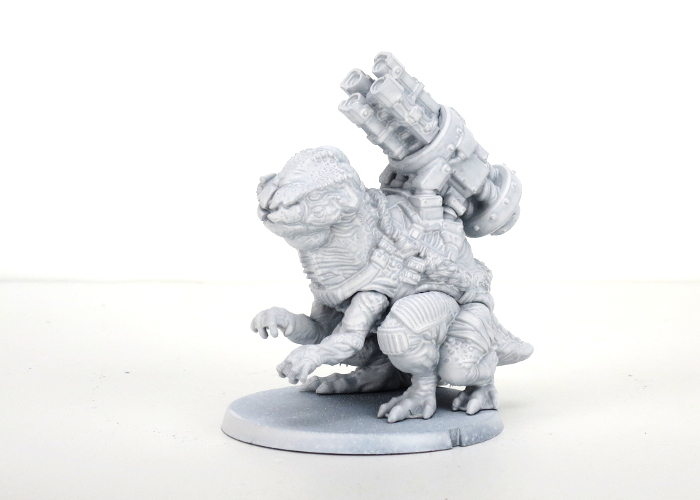
If you're keen to paint up your own big, blue, artillery frog, you can pick up the resin
Pa'ku kit, along with the rest of the Maelstrom's Edge model range in the webstore
here.
As always, feel free to pop along and share your creations, or ask any Maelstrom's Edge- or hobby-related questions on the
Comm Guild Facebook page!
For other Maelstrom's Edge modeling articles, including tutorials and walkthroughs of a wide range of different building and miniature projects, check out the Hobby section of the Maelstrom's Edge website
here.