Hi,
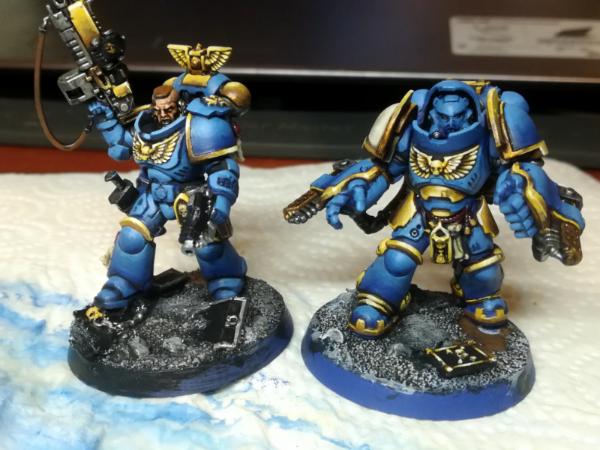
I am playing a friendly escalation league with both beginner and veteran co-workers, adding points every 2 weeks.
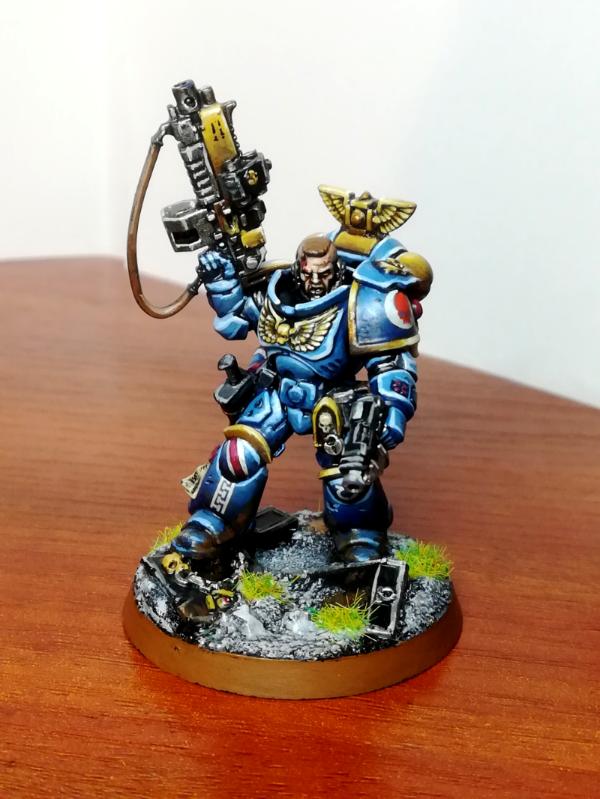
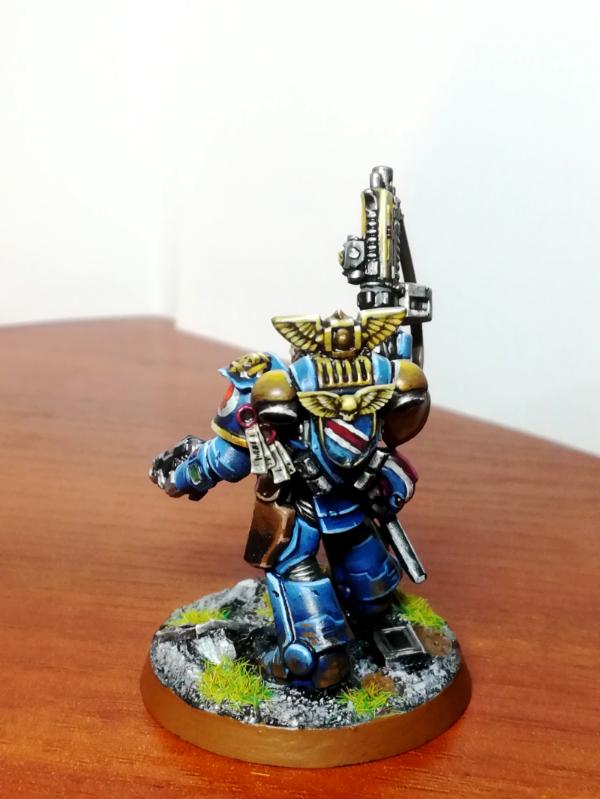
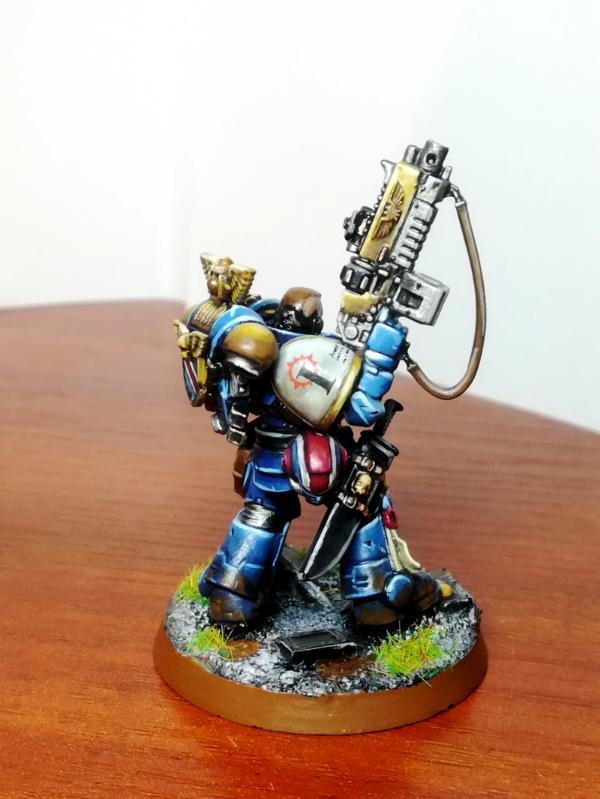
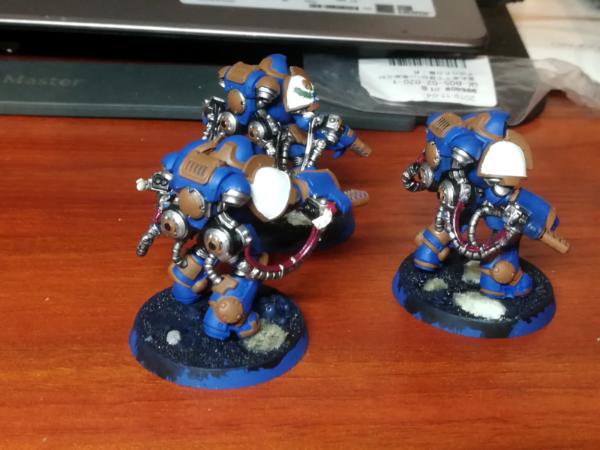
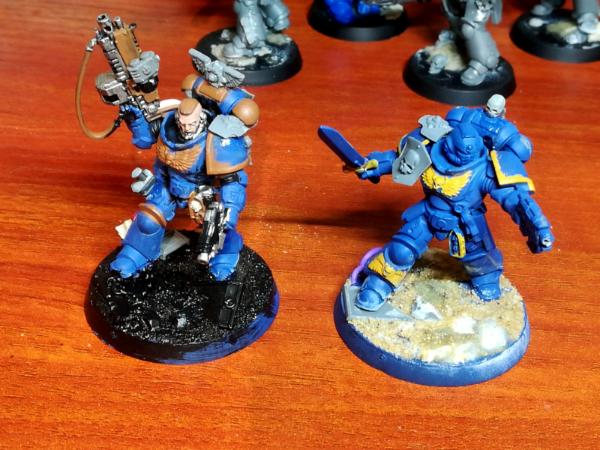
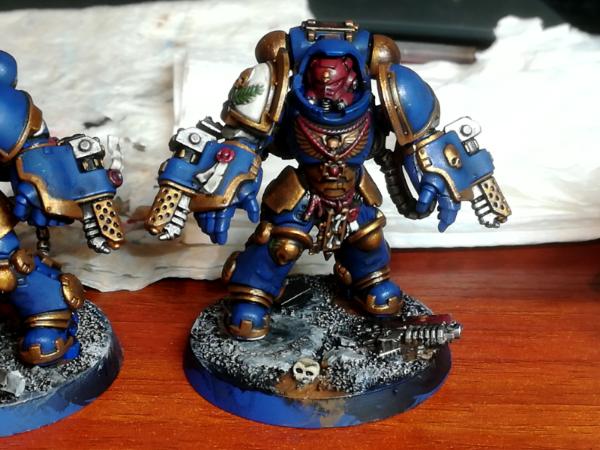
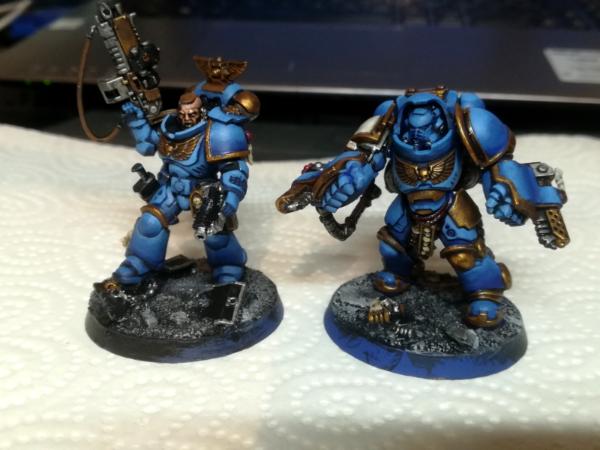
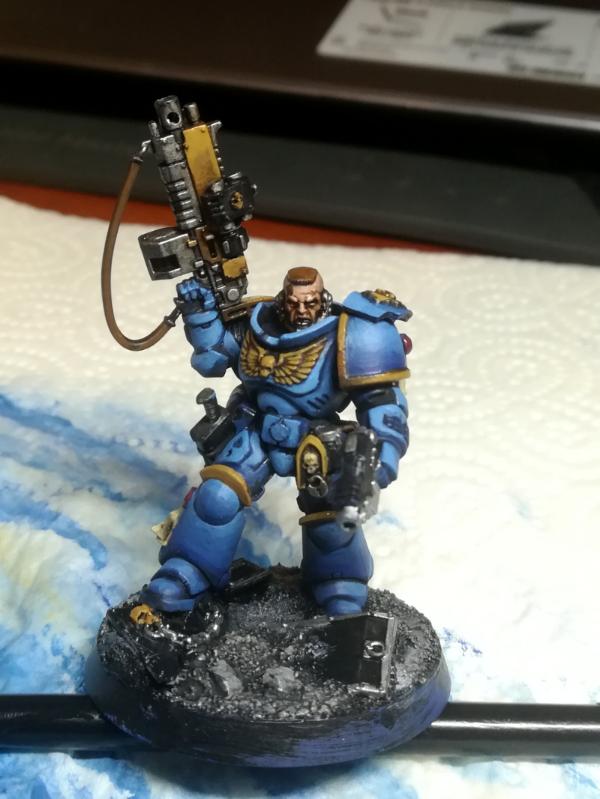
This is a great motivation to get my minis painted, and I uploaded some pictures of the first 500 points last week.
Army list here:
https://www.dakkadakka.com/dakkaforum/posts/list/784217.page#10681027

All feedback is welcomed
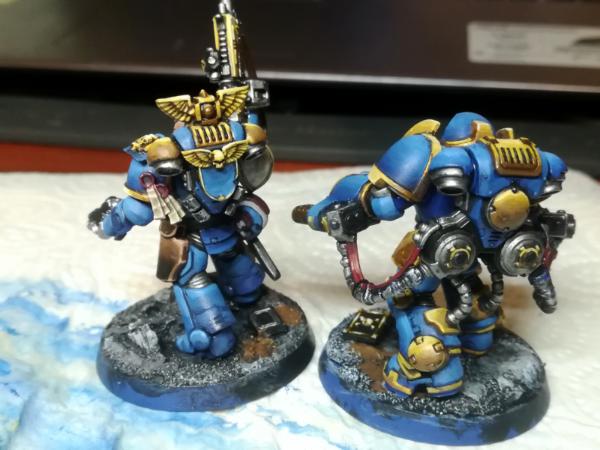
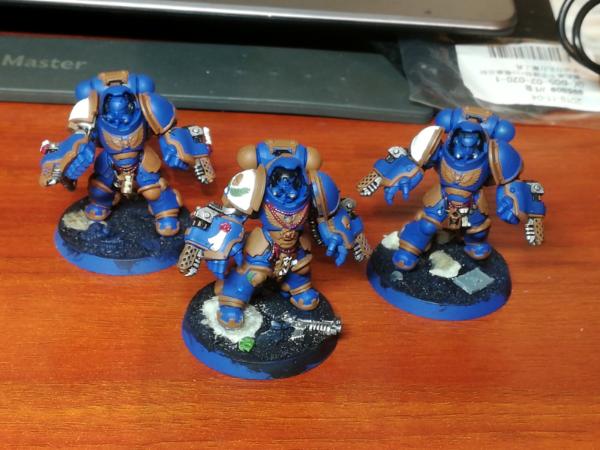
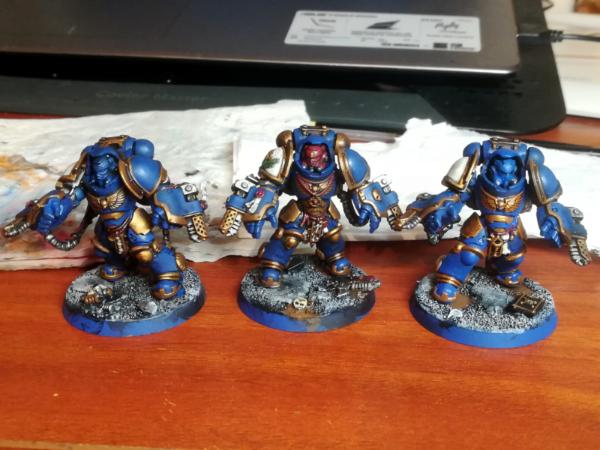
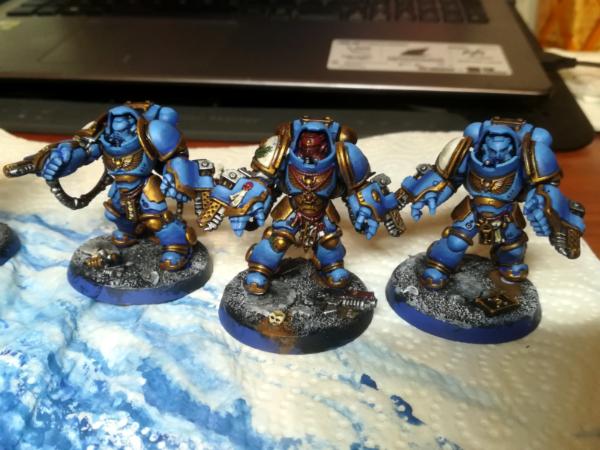
Due to your positive response to the painting style, I wanted to document and show the process I use to get these results while I paint the minis I need for the next phase of the league. (3 aggressors and 1 primaris lieutenant with rifle.)
BASE COAT
I start with a base coat to all the elements of the miniature. This has no secret, it is just putting the correct colors in the correct place.
I apply black and brown before applying the metals and gold. The metals are slightly dry brushed, while the golds are more solid in the application. I leave the eyes and lenses untouched.
These pictures are taken hallway into it, sorry for the lack of visual representation. By the end, the desired result is a clean base coat on everything, without pain spilling from one area to another, and golds and metals correctly applied. Again, no secret here.
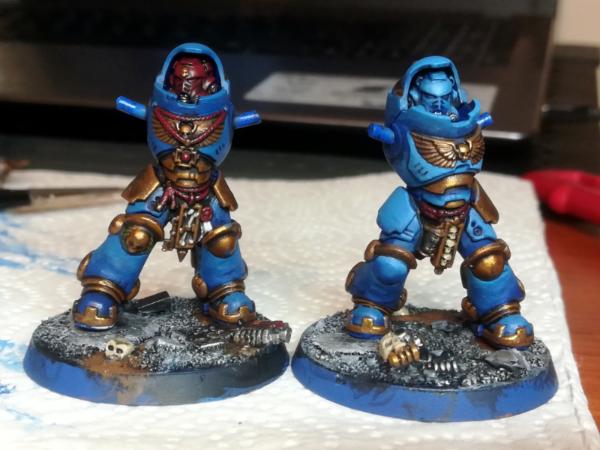
 WASH
WASH
Next step is also simple: black wash.
The pictures might be missleading due to the previous pictures taken before finishing the base step. The wash helps a lot to define all the shapes, darkening the miniature and giving a good base gold to later apply some Non-Metalic Metals.
I use a brown wash on the big gold areas, like the eagles, but it generally makes no difference after you use the black wash on top anyway.
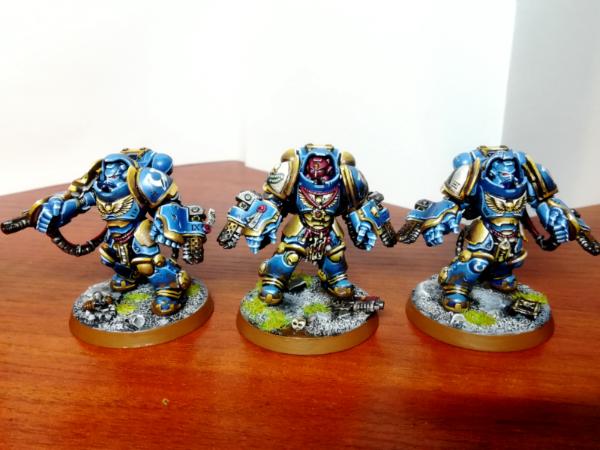
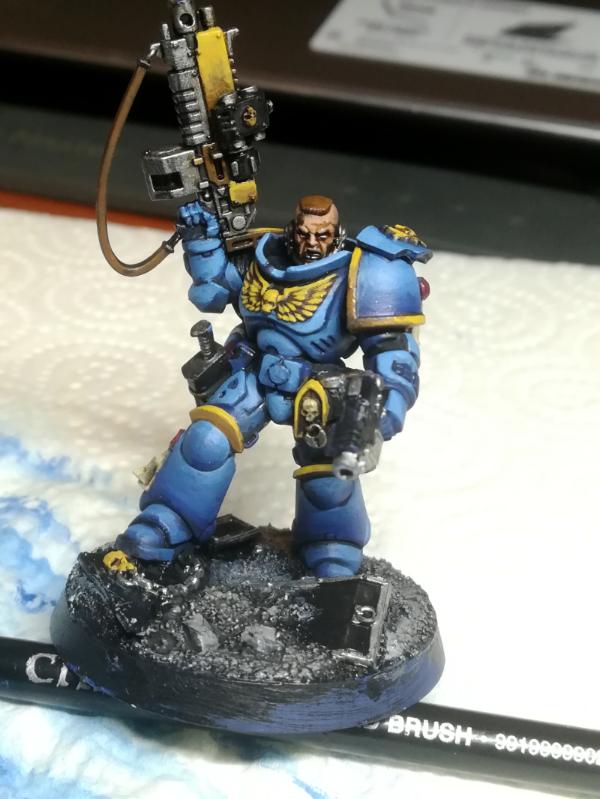
 BLENDS
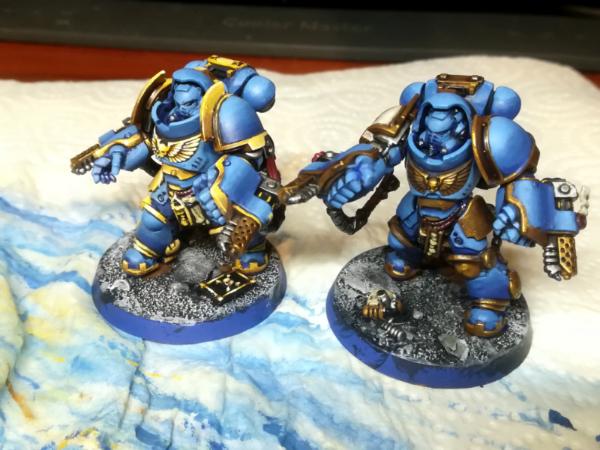
This is probably one of the 2 more important steps of the process, hand to hand to the highlighting. I wet blend all the blue areas of the miniature, mostly from top to bottom, but trying to think about where the light would hit the miniature as well.
The blends are a 3 step process. First I apply 2 wet blends, from the base color used to a slightly brighter blue, and then from that blue to a 1/3 white and blue mix. The 3rd step comes after applying the decals, and is a 50/50 mix of water and black. This helps exaggerating the contrast and makes the decals look like they belong on the miniature, adding some slight shading to them. This is a comparison between the previous step and this one. The whole mini gets brighter,but I leave the washed areas untouched, thus keeping the original darkness in.
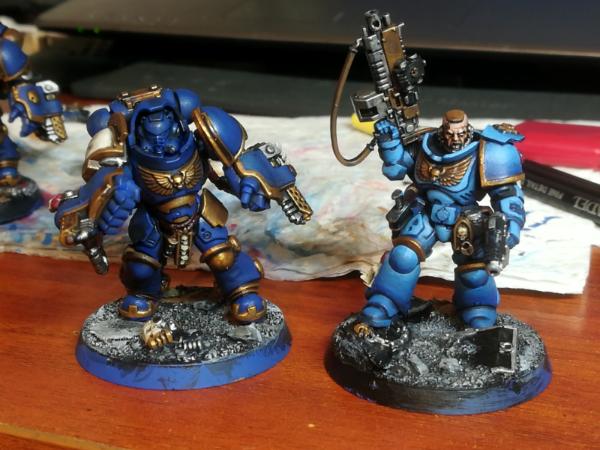
In the picture 1 is the base coat. 2 is the blue for the first blend. 3 is the mentioned mix, for the second blend. 4 is the first highlight, but is not used in this step.Keeping consistent colors is important to keep all your blends the same, both in the miniature as well as per unit and per army. I do mixes between the 3 main colors to add occasionally smooth a particular area, but I try to keep them clean and separated during the process. If it was not obvious, a wet palette is a must for this. I have a homemade one that is as cheap and easy to do as it can be.

Here you can see the difference between 1 level of blend (left), and 2.(right). I think these 2 levels are necessary, so you can control where your brighter areas are. Probably this could be done in 1 step, but I have not yet managed to get there. That would speed up the process significantly. Currently, it takes me around an hour for this step, although keep in mind those miniatures are quite complex.
Results of this step:

That´s it for today! Let me know what you think, and if you are interested in more. I´ll be happy to answer any questions, as well as reading all the feedback to improve as a painter.
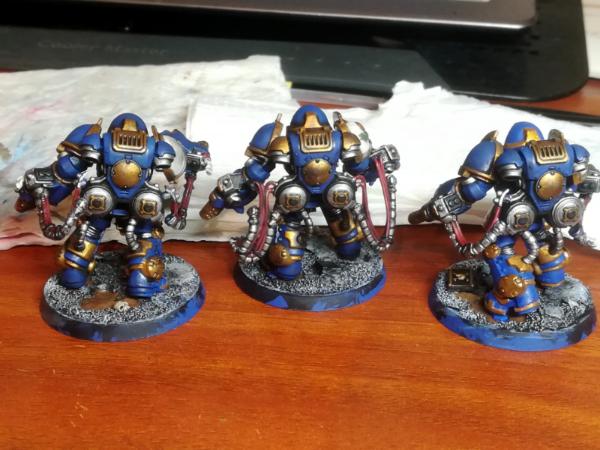
Today I will be painting the non- etalic metal golds, tell me if you would like me to document the process differently.
Automatically Appended Next Post: Next step:
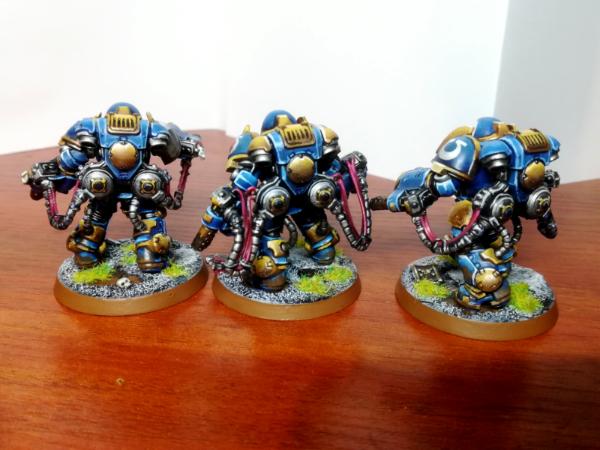
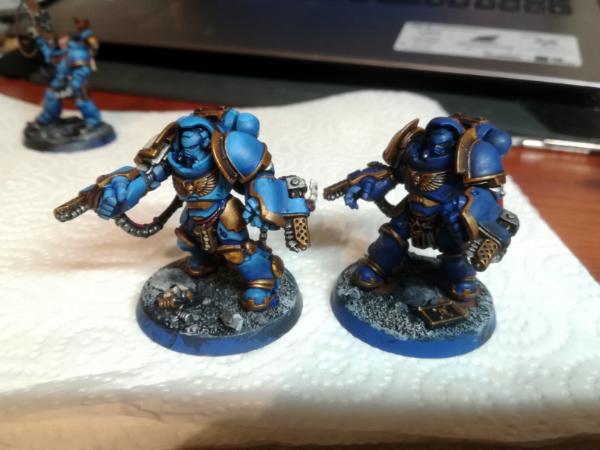
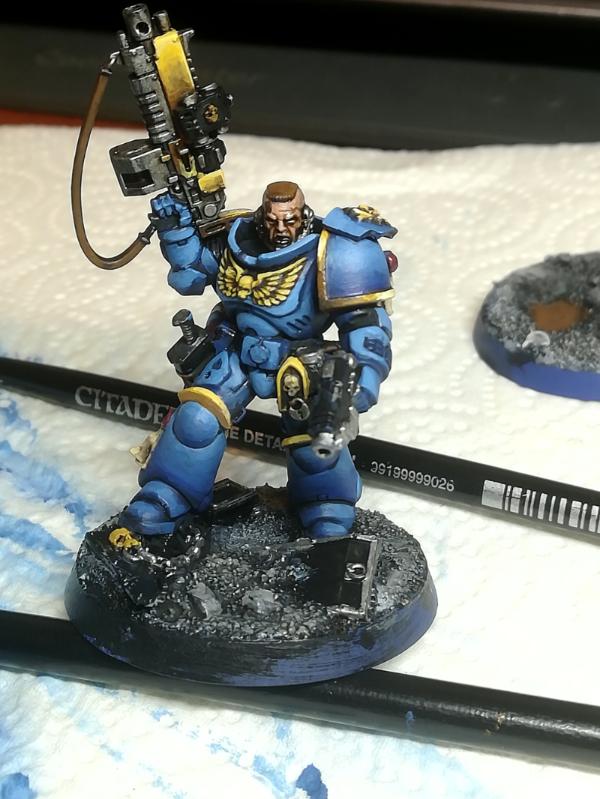
Non-Metalic Golds
Basically wet blending on all the golds. this process is easier than the blues because the areas are smaller, and due to the high contrast of metals, you can get away with less smooth blends.
Highlights later will help everything pop even more. Until then, the results are a bit half baked, but that´s just part of the process.
Comparison wit hand without the step:
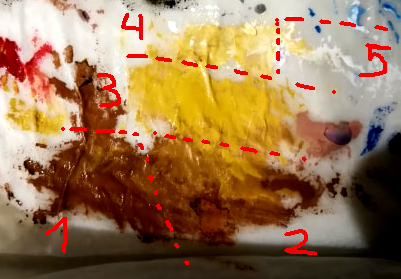
I do use 5 colors, on top of the base of gold with a black wash. 1- Brown, 2- 50/50 brown and yellow, 3- yellow, 4- 50/50 yellow and white, 5- and white.
Layer by layer application
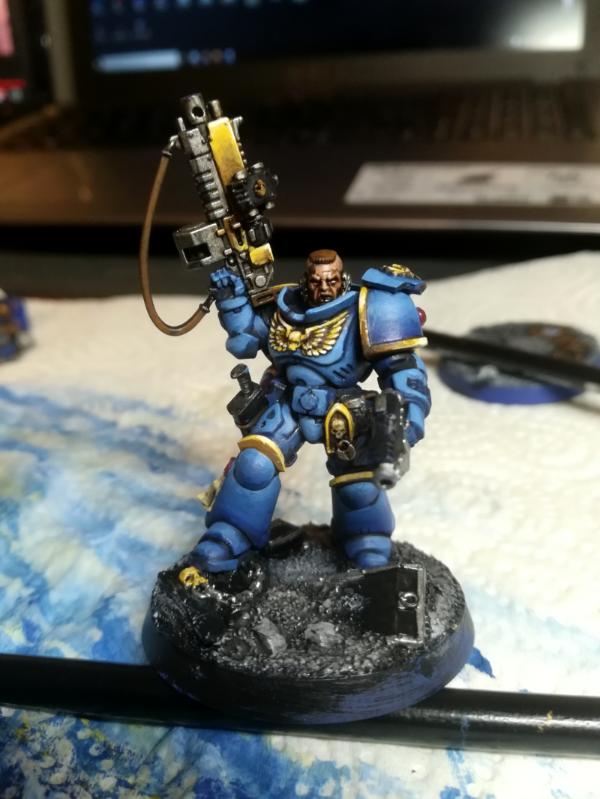
Final result