I wanted to try a couple of new things with a firewarrior and I thought that I would document the process in tutorial form. I want to do this for a couple of reasons: Firstly, like anyone who writes a tutorial I hope that my experiences help others; and secondly, I'm ok at painting but I am aware that I still have a huge amount to learn so I am hoping that if any really experienced painters read this they will take the time to give me some feedback and advice.
When I have completed the mini I will add this to the article section. Right now instead of making replies I will edit the original post.
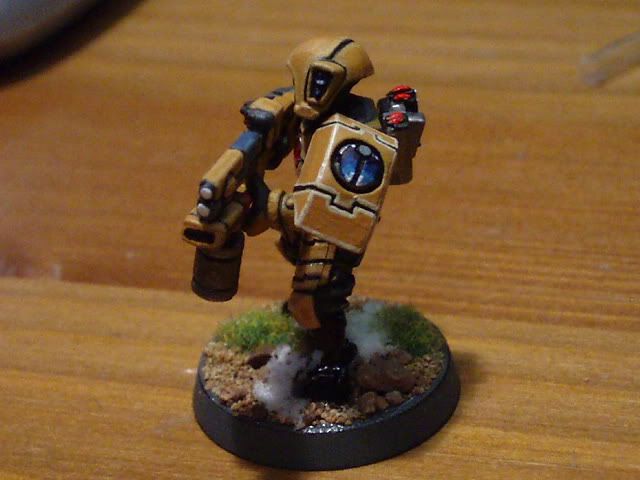
NB - Please ignore the daft weapon cnversion.
Onward.
This tutorial is written in stages that correspond to the stages that I follow when painting the Firewarrior figures. But first I want to make some brief observations regarding equiptment.
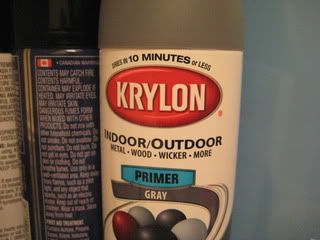
Basecoat -> One of the new things that I wanted to try was a basecoat that was not my usual choice of
GW Chaos Black. After looking around for what other people were suggesting I settled on the Krylon brand and for colour I chose Grey Primer. Grey seemed like a good choice as I thought it would be easier to paint over than black and easier to create shadows with than white.
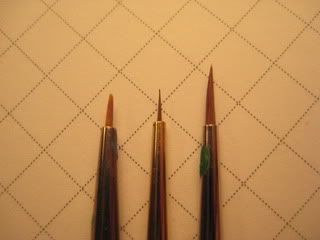
Brushes -> I find the Citadel Fine detail brush way to big to work with for a lot of models so I purchased a number of brushes from Michaels (a large art and craft store in the US). In the picture below you can see the citadel fine detail brush on the right, my blacklining brush in the middle, and my general use brush on the left.
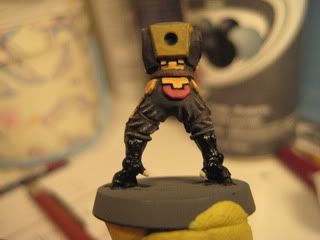
Stage 1 - the main section of the figure - legs and torso.
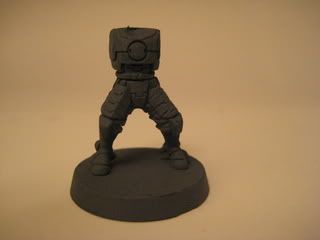
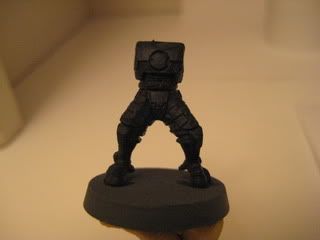
Step 1 - First things first, I basecoated the model using the krylon spray. In comparrison with the
GW spray I actually found that the krylon gave a much finer mist and retained a little finer detail on the model but this may just be because it's a new can. On the downside it takes quite a bit longer to dry which is why there are some lumps and bumps on the model from where I picked it up too early. You may notice it on the left knee and on the gun arm.
Step 2 - The next step for me was to give the whole model a coat of some extremely thinned down chaos black that I made myself and that I use as a wash. Because the model was already grey the deep recesses became a dark black very quickly but the rest of the model remained considerably lighter than if I had used a basecoat of black. In the picture it looks much darker than it really is so I have included a picture of the gun arm aswell.
Step 3 - Next I painted all of the armor with a coat of Tausept Ochre which is one of the new
GW foundation colours. When I first started using this colour I found that it dried way to fast so I mixed in a litte paint thinner and that has largely solved the problem. Usually when I do this step I am very carefull to leave the lines black and for most of the model this is what I did but I wanted to try a couple of different methods for blacklining so I completely covered both of the leg pads. I also took the gun arm as far as this step.
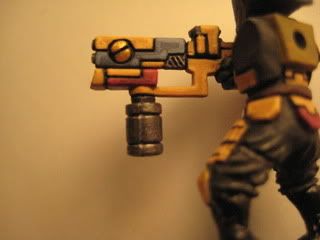
Step 4 - Then I covered all of those areas with a very thinned down vomit brown. It took about 4 coats before I was happy with the colour. I find that it is worth the time to do it this way because it gives a much smoother finish and brings more of the detail out on the model. The second picture shows the new colour against the Tausept Ochre that is on the gun, not a massive difference but an important one.
Step 5 - Next I picked out some of the details on the model. The belt buckle was drybrushed with boltgun metal then given another wash with my thinned black. The belt itself was painted a medium/dark brown which was a folkart brand paint from Michaels. I also blacklined the legpads, the figures left leg (pic right) was lined using a 005 ultrafine marker, and the figures right leg was lined using the middle brush in the pic above. I rushed both legs a little but I think that the better job was done with the brush and paint. I picked out the two white things at the top of the legs - don't know what they are. Finally I painted the armor straps boltgum metal.
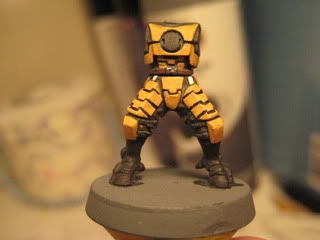
Step 6 - Went over all of the "soft armor" again with my thin black and then highlighted with grey and then again with bleached bone. I also gave the lower legs (which I think of as boots) a coat of regular chaos black. I also "gemmed" the chest plate, and picked out a couple of pieces of armor in scab red and shadow grey. For a great gemming tutorial go here
http://www.coolminiornot.com/article/aid/41
Step 7 - The last step was to highlight the models using my home made highlights which are just my colours with some bleached bone mixed in and then thinned down. I also gave the gem and the boots a layer of gloss varnish, the boots look like shiny leather.

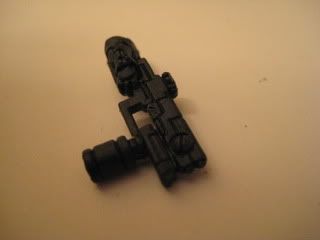
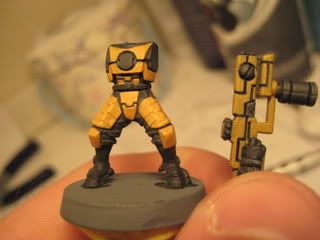
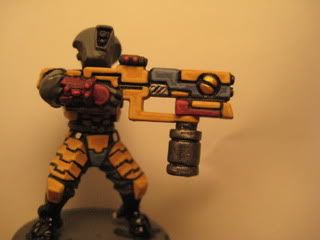
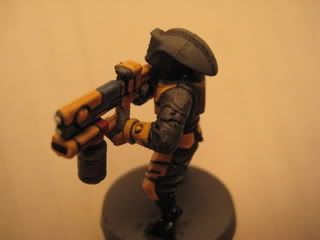
Stage 2 - The Arms and Weapon.
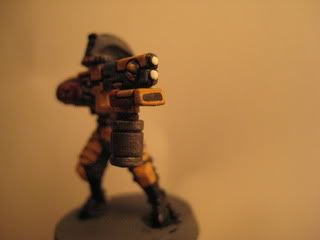
These pieces follow the same basic process as the above. The main difference is that I am much more careful to avoid going over the black lines with the weapon as I think that they are harder to fill in later.
I did want to draw your attention to a couple of things; for the bolt on the end of the weapon I use burnished gold, on the end of the weapon I paint a small black oval for the grenade launcher, and I paint the two barrel ends white. I think that it is these little touches that make an army look great on the battlefield rather than just good.
Also I know a lot of people don't worry about the quality of painting on the parts that you can only see when you examine a model closely but I find I am unhappy if I paint this way so I paint every section as best I can unless it will absolutely not be seen. For example on this model the models left arm will be hidden by the shoulder pad. If I wasn't going to use the pad I would have painted the strap boltgun metal and gemmed the tau symbol the same as the chest plate.
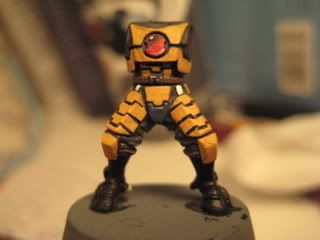
Stage 3 - The Head and the Backpack.
Step 1 for the helmet was to give it a coat of Tausept ochre just like the rest of the armor. Once again being careful to not go over the lines. Step 2 was to fill in the actual colours once again using thinned down paints to achive a smooth finish. I choose one of the helmet segments to fill in with shadow grey or scab red. In this case I felt that the gun had enough colour on it so I filled in the smallest segment of the helmet.
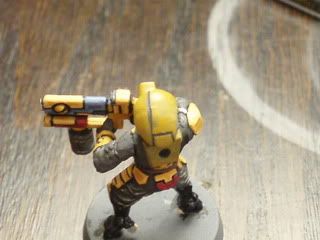
Step 3 was to fill in the area around the optic with chaos black and then paint the lens effect onto the optics themselves. Step 4 was to highlight the helmet. I have included a large picture of the highlights because they didn't show up well on a smaller pic.
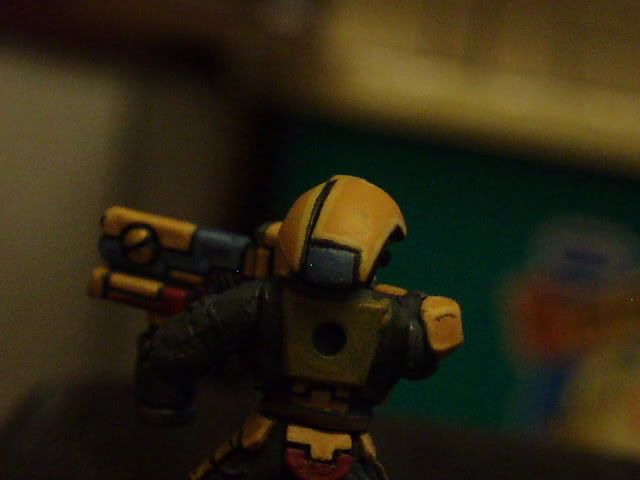
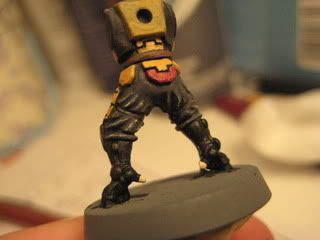
The final thing that I did tonight was the backpack. I paint the whole thing black and then pick out some of the details with boltgun metal, skull white, and blood red.
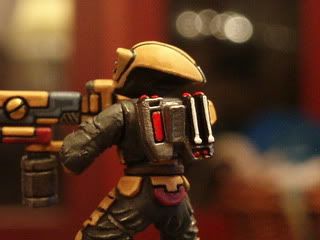
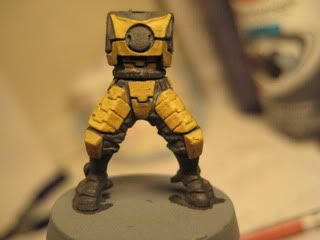
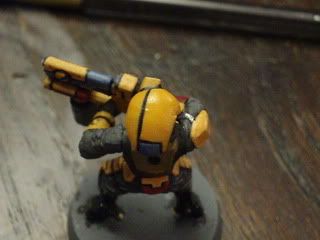
And here is a pic of the model so far:
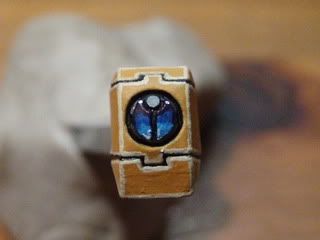
Stage 4 - The shoulder Pad and base.
I'll start with the shoulder pad as it's the last piece of the actual model that's left to do.
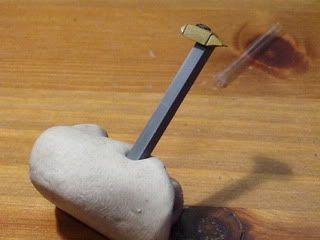
The reason that I have separated out the shoulder pad from the rest of the model is that there are a couple of techniques that I wanted to point out. Firstly, when I am painting small parts like this I glue a piece of sprue to a section that will not show on the actual model. In this case I have stuck it to the back of the shoulder pad. I then press the sprue into a piece of bluetack which I can then manipulate so that the section I want to paint is towards me and is held very still.
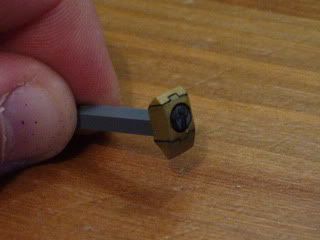
Step one for the shoulder pad, which you can see above, is to fill in the line with black ink, and give it a coat of thinned down Tausept Ochre.
Step two is to go over the Ochre with Vomit brown.
Step Three is to Gem the sept marking. I use a base of midnight blue, then Enchanted blue, then Ice blue, then white. I use codex grey for the small circle.
Step four is something that I have not tried before and it was to give a highlight of a very narrow strip of bleached bone. I'm not sure I like the effect.
The base is (for no particular reason) always the last thing I do. I have been told many times that I don't put enough effort into my bases so I decided to try some of the
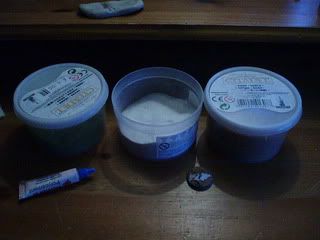
GW basing products to see if they gave good results. For this base I bought some sand, static grass and snow from the
GW basing range.
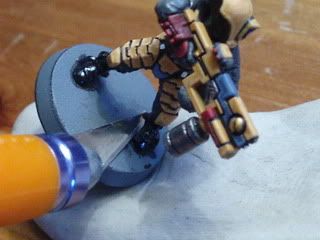
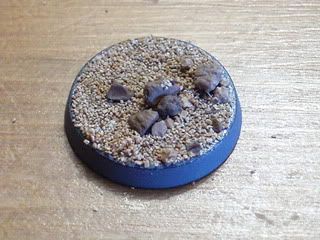
The first thing to do was to separate the base from the figure, to do this I cut the feet from the base using an exacto knife and cutting down into some bluetack. Cutting into the tack means that I wont damage my work surface with the knife or my model with the work surface.
The fnext step was to coat the base with some glue. Usually I use PVA glue (wood glue) and spread it about with a cheap paintbrush that I bought for the purpose. This time the only glue that I had handy was some humbrol polycement. I didn't want to ruin my brush so I spead it around with the "wrong" end of a paintbrush. As you can see from the picture I do this a lot with this particular brush. Then I dipped it into the sand making sure to get a frew of the "rocks" stuck to the base.

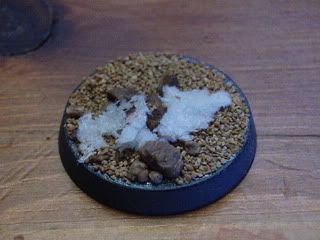
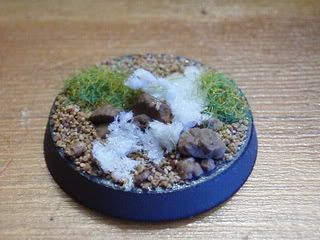
The next step was to put on some of the snow. I wanted to have a little more control than just sprinkling the snow down over some glue, so I mixed some of the snow powder into a little humbrol glue and spread it over the areas I wanted covered. To do the grass I put glue down on the base where I wanted the grass, picked up a clump of the grass out of the pot, and lightly dabbed it against the glue allowing some to remain stuck in place.
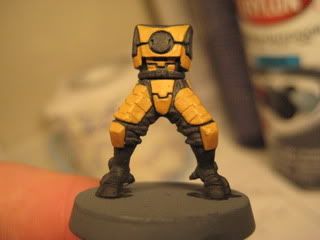
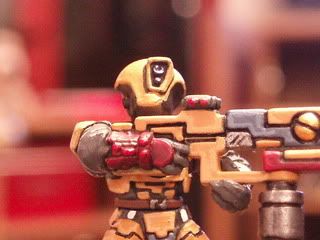
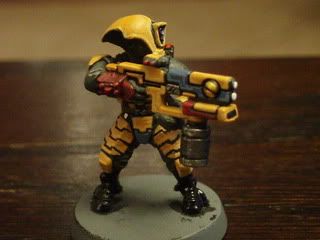
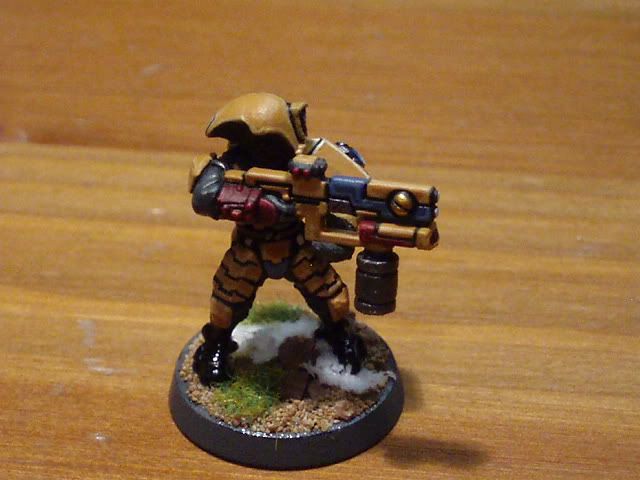
So there we have it a complete Firewarrior. Here is a few larger pics of the finished article.
Evaluation.
Things I didn't like.
- There is a lot that I like about this model but way more that I don't. I wish I was a better photographer I honestly think that this model looks much better in person. This model was also a bit rushed so it doesn't quite have as clean lines as I would have liked.
- The krylon spray worked well but I don't think that grey was a good choice. Rather than having the best of both white and black, all using grey achieved was an extra step where I has to give everything a black wash first. I will definately be sticking with black in the future.
- My gem work is not as good as I would hope even following the excellent tutorial that I referenced in the text; practice, practice, practice, I guess.
- The trigger hand on the gun is too dark and the red didn't work well at all I should have stuck with vomit brown for both gloves.
- My highlighting needs a lot of work in fact I intent to abandon the single colour highlight technique in favor of blending just as soon as I get that technique down.
Things I did like.
- The base worked out really well. The
GW products are of a high quality and judging by the amounts that I used on this model, you could do a whole army very easily using the above method.
- The leather boot idea worked well. In real life it really does look good.
Thanks for reading. I hope that this tutorial helps in some small way. All comments and criticism very welcolm.


 Cleanse, Purge, Kill.


 Kreig - 2850 pts
 Skaven - 3450 pts
 Orks - 1950 (pro painted)