Foolproof Falcon Pilot
Somewhere in the unknown universe.
|
This guide is intended to make your model's look good enough that people will admire them, but it won't win you a golden demon. Also, these are tips to painting Eldar, but you can paint Dark Eldar the same way. Without much more to say:
Armor
When painting an eldar model, the mesh armor is the first thing you want to paint. Generally, painting armor applies to wraith units, aspect warriors, and guardians (jetbikes included) Begin with either primer of whatever general color you want your model to be, or white primer. Next, basecoat your model with a dark shade paintof the armor's color, preferably a foundation paint (eg. mordian blue for blue armor). The next two steps are interchangeable. You may either drybrush the armor with a light paint before washing it with a wash of the chosen color or wash then drybrush. If you drybrush before washing, your armor will look like it is brand new, freshly made by the bonesinger. If you wait to drybrush, the armor will appear worn by battle/ the elements.
Generally, you won't paint all your model's armor one color; you may want to paint helmets, kneepads, shoulder guards a different color. the same painting guidelines apply to these areas but, well, with a different color.
When you are done with all the previous armor painting rules, highlight the very edges of some of the armor with very thin skull white.
Cloth
Farseers, warlocks, exarch, rangers, and autarchs all wear cloth over/instead of their armor. There are three ways to paint cloth. Keep in mind that the undercoat will be the most prominent cloth color.
Way 1: Undercoat, then drybrush codex grey over a light shade of cloth or skull white over a dark shade of cloth. If the cloth is really dark, you may want to instead drybrush chaos black over it to add to the darkness. If the cloth is black or white, use codex grey to drybrush it. Then, just as with the armor, you may highlight your cloth with skull white.
Way 2: Undercoat with a deep shade of the chosen color, then drybrush a lighter shade over it. Highlight with skull white. This will give a more colorful acpect to the cloth than the first way of painting it. While such colorfull cloth is generally befitting for eldar, you may choose the first method of painting for something like dark reapers, which tend to be, well, dark.
Way 3: Undercoat with a light shade of the chosen color, then wash it with a darker shade. drybrush the cloth with the lighter shade. Highlight with skull white. This method will provide more contrast than method 2.
Gems Every Eldar model (even harlequins) have some sort of gem on them. To keep it simple, either paint the gem white before washing it with any given ink or paint it a chosen color before covering it over with 'ardcoat. simple, but effective, and it looks nice. Paint helmet eyes the same way.
weapons
If you look closely, you'll find that eldar ranged weapons have extremely clear and well defined lines. the simplest way to paint the ranged weapons is to choose two to three basic colors and then color each different section one of the three colors. The most important thing to remeember here, however, is to stay within the lines. The same method applies to chainswords.
Eldar swords are a lot of fun to paint, and I have two main methods. For the first, i choose two colors, one of them generally metallic, and paint the tip one color while painting the base another. in the middle, I use drybrushing to blend the two colors together.
My second method it to paint the entire thing with a metallic paint before heavily drybrushing it with skull white. This gives the weapon and archaic feel that works well on a witchblade or a singing spear.
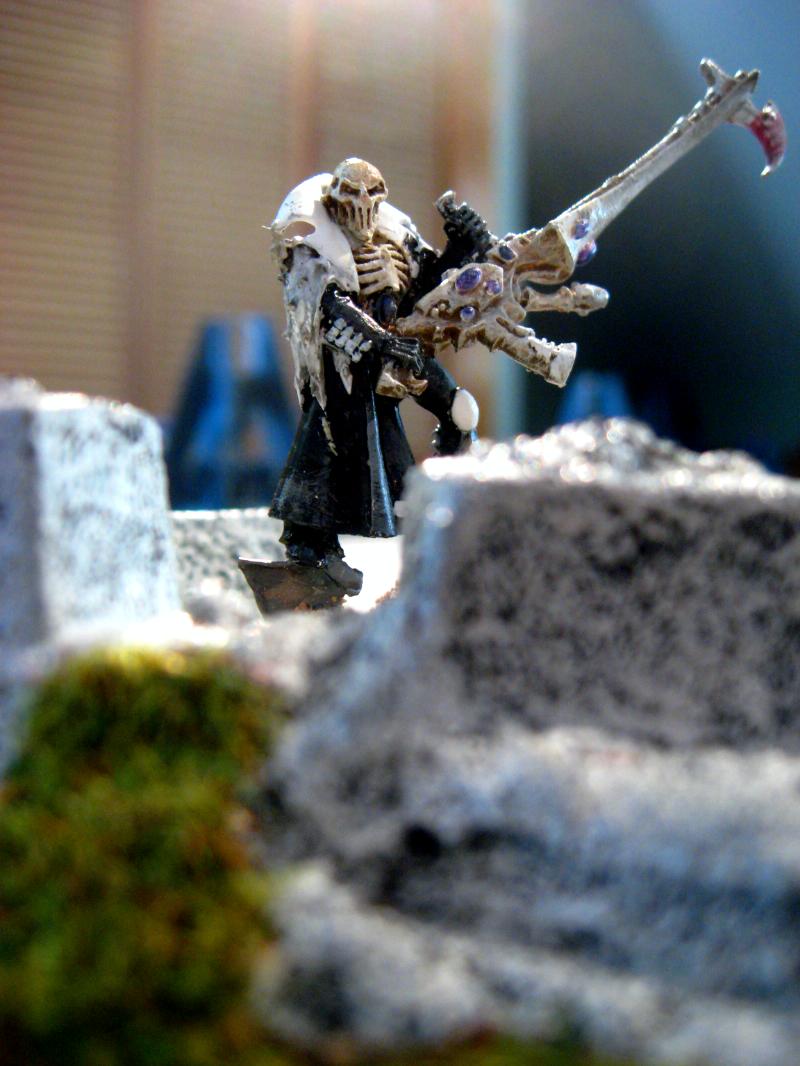
Bone
A surprisingly high amout of eldar models use bone (howling banshees, dark reapers, warlocks) somewhere on them. I have an extremely appealing way of painting bone on your models.
First, undercoat with snakebite leather. Next, drybrush heavily with bleached bone. Third, drybrush lightly with skull white. Then wash lightly with gryphon sepia. Lastly, highlight the edges lightly with skull white.
You can use this technique to paint armor, weapons, or actual bones (on models like the death jester). I use it to paint rune armor as well. Since most eldar constructs are made from bone, this is a safe technique to use anywhere (except on gems and cloth).
Eldar Vehicles
Eldar vehicles, much like eldar guns, have very well-defined lines. Thus, you can paint them with the same technique as you would paint, say, a bright lance or a shuriken catapult.
the prism cannon The prism cannon is unlike any other eldar ranged weapon. The prism cannon provides for all sorts of creativity when dealing with the prism itself. The simplest and easiest is the lightning technique. To paint a lightning pattern on your prism cannon, first paint the "glass" in the prism a very dark color. Next, paint a lightning pattern over each piece using a color jsut barely lighter than your basecoat. This pattern should be thick, and it does not matter if it is blotchy. After you have painted this initial lightning pattern, use a light color (of the same general hue) to paint a thinner lightning pattern within the darker, thicker one. Lastly, paint an extremely thin lightning pattern of skull white within your previous patter.
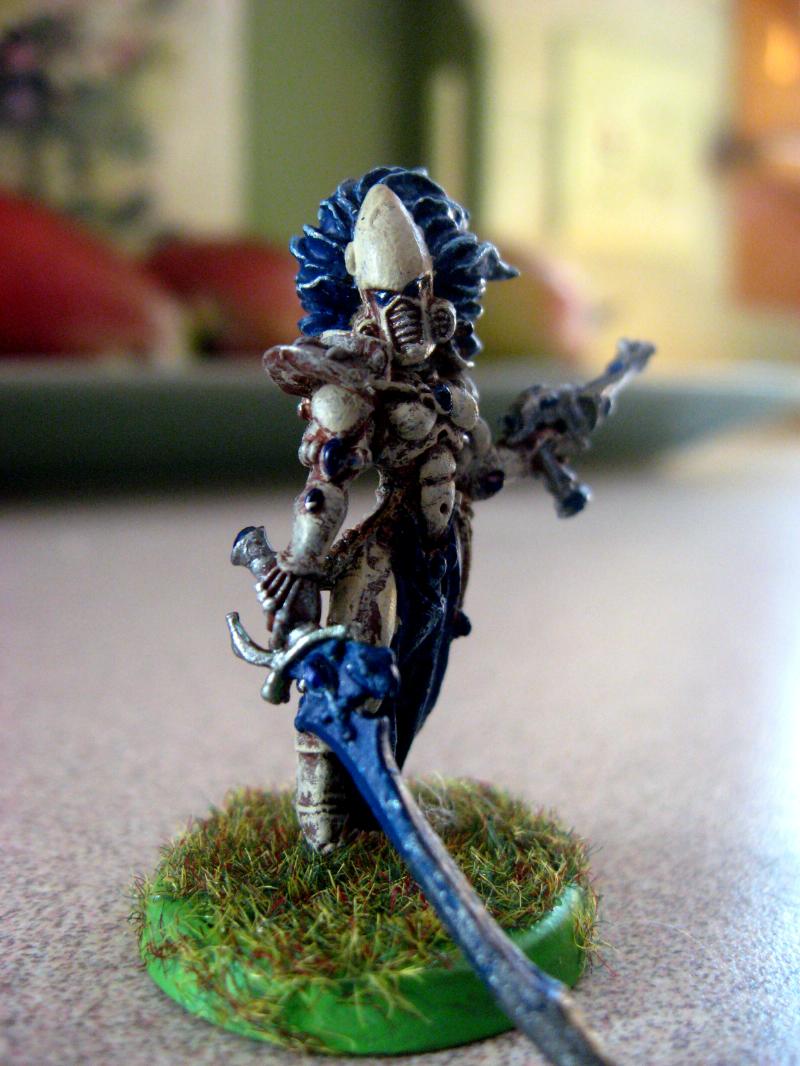
Hair
a lot of eldar models have hair (the eldar are fond of their topknots). In general, there are to parts to any hair you might paint: the roots and the tip. The roots, if you couldn't guess, are closer to where the hair sprouts from the model and the tip is the other end.
To begin painting hair, paint a decently bright color (not too dark and not too light) over the entire hair. Next, wash the roots with a dark ink and highlight the tip with a light paint. The highlight and the ink should be the same general hue as the basecoat, unless you are painting harlequins, in which case you can experiment with crazy and contrasting colors.
[i]elf skin[u]
basecoat with elf flesh, then drybrush over it with bleached bone.
I hope this painting guideline is of any use to you.
|


 To die knowing that your task is done


 Kreig - 2850 pts
 Skaven - 3450 pts
 Orks - 1950 (pro painted)